Thief, available on Xbox One, PS4, Xbox 360 and PS3, is brimming with collectible gold and loot for Garrett to gather. The collectible loot can be discovered in the form of trinkets in the open, within secret rooms, locked away in safes and in crawl spaces. The most valuable loot in Thief 4 is hidden away in chests across The City and finding it all not only requires a considerable amount of work but also some luck.
Is your display case in the Clock Tower looking bare? To assist you and Garrett in becoming The Master Thief we’ve composed a Thief 4 Gold Loot guide, detailing the locations and safe combinations. Follow on to read more… 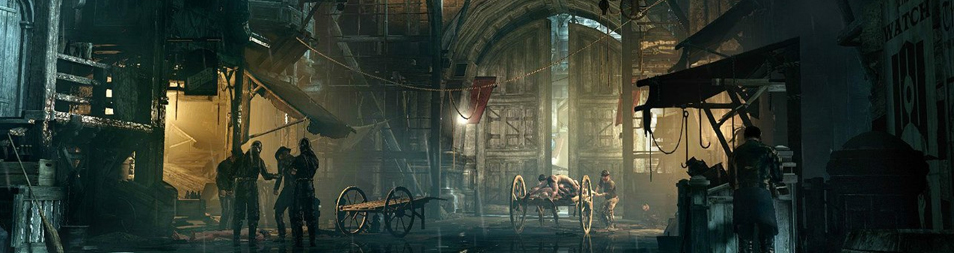
1. Chapter 1 - Lockdown Lyegrove's
Jeweled Mask
To progress through the storyline you are required to head into the Jeweler’s shop, as you enter the shop head straight down to the basement where you will find two jewelers hard at work. In this room you need to pick up a document called ‘Lyegrove’s letter’ from his workstation, take out the jewelers or create a distraction, the choice is yours. Reading this letter you will discover that the safe’s combination is 7-3-9. The safe can then be located in the south west corner, open it to collect your unique loot.
2. Side Job: Beauty Within
Miss Scarlett’s Hand Mirror
To access the safe you will first need to accept the side job, ‘Basso’s Beauty’. Locate Miss Scarlett’s house near clock tower bookbinders, Miss Scarlett is asleep and easy to sneak past but be wary of her protective father who regularly checks on her. Knock him out and reach the main floor to find the safe on the south wall, use the combination 8-2-4 to access Miss Scarlett’s Hand mirror and complete this side job.
3. Chapter 2: Dust to Dust
Soul of the Automaton
Locate this safe in the workshop; one number to the combination is displayed on the back of the mechanical man, another on the mechanical skill on the chair and the third can be learnt purely from trial and error. Use the safe combination 3-1-4 to open the safe and claim your loot.
4. The City: Sick Willy’s Stash
Earrings and a Necklace
Find this sage containing some earrings and a necklace in Baron’s Way South. Head south until you reach the district and look for a ladder that you need to lower with a blunt arrow. As you head upwards you’ll come across an open window, ignore this and instead pry open the closed one nearby. The combination to this safe is the date in the game, 8-4-2 use this to open up the safe.
5. Chapter 3: Dirty Secrets
Pocket watch and a necklace
Discover this fifth safe in Madam Xiao-Xiao’s private chamber. You’ll pass through her office towards the safe during the story progression. The safe combination, 5-7-3, can be found within a document in the brothel. Find the safe just past the office and enter this combination to discover the valuables.
6. Chapter 4: A friend in Need
The Great Safe
This safe is required to be opened in order to progress through the story and beyond Chapter 4. The combination to the safe is discovered earlier within the chapter, in the architect’s study. Discover ‘The Great Safe’ in the keep of the safe chamber, and reset the lock mechanism before entering in the combination. There are two combinations required to unlock this safe, the right is 0-1-8 and the left is 3-1-9.
7. Chapter 5: The Forsaken
Serendi Stone Circles and Ivory Circle
You’ll be required to visit this location in order to progress through the story and so finding this safe should be fairly simple. Head towards the treatment level in the asylum and enter room 3E, keep your eyes peeled for patients pacing the corridors. The combination to the safe, 7-3-1, is discovered earlier on in the chapter on a note.
8. Side Job: Check Mate
Chess Piece
To hunt down this safe you must first accept Basso’s side job, ‘Check Mate’. Enter Mourningside through the door next to the Shady Merchant. Now enter Archie Maxwell’s home by climbing crates and forcing open the window. Discover the safe on the wall of the basement to this building; enter the combination 7-7-6 to access the safe’s contents. When approaching the basement, watch out for Archie who’s walking about the house, choose to either sneak past him or knock him out cold.
9. Chapter 6: A Man Apart
Serendi Stone Circles and Sapphire Circles
Locate this safe in a room on the first floor to the Baron’s mansion, patrolled by two guards. Either knock them out or create a distraction to buy yourself sometime. Open the safe using the combination 8-8-9
10. Chapter 6: A Man Apart
Valuable Loot
After witnessing the cold blooded murder of a guard at the hands of a Graven, head towards the west hall to find a room patrolled by a guard. Knock him out and use the combination 0-1-7 to open up the safe.
11. Chapter 7: The Hidden City
Five Valuable Bonds
During Chapter 7 as you descend down the lift; one of the three guards above you strolls into a tunnel. Head in his direction to discover the location of the safe, the combination isn’t learnt until later on in the chapter, forcing you to back track. But being the lovely folks that we are, we’ll let you in on the secret that the combination is 6-7-3, enter this and claim your valuables from the safe.
12. Client Job: The Carnal Connoisseur
Client Loot
To access this safe, you must first accept Vittori’s client job, ‘Carnal Connoisseur. Find the safe tucked up behind a painting in the Wine Cellar and the combination between two documents throughout the mission. Enter 8-1-2 to access the valuable loot.
Have you got any Hints and Tips for Thief 4? Let us know in the comments below.
If you enjoyed this, here's a few more you'll definitely like:


 The Witcher 3 How to - Family Matters Botchling Monster Guide
 inFamous 2 Demo Walkthrough
 Act of Aggression: Chimera - The Euro Elite Unit in the spotlight
 Watch_Dogs Reputation System
 Ratchet & Clank: Full Frontal Assault Walkthrough