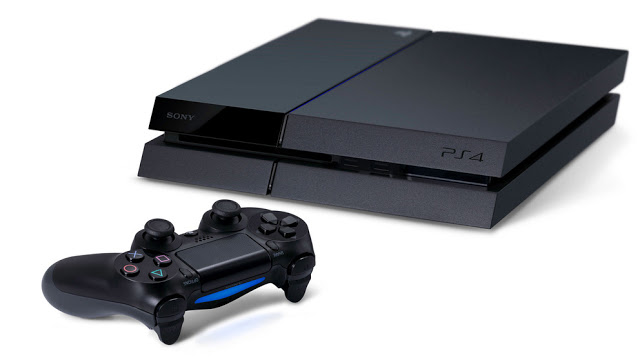
The PlayStation 4 is also available as Ultimate Player Edition with one terabyte of memory. But if you already have a PlayStation 4 console, you don’t have to buy a new one. With a little skill you can make your own Ultimate Player Edition.
The Ultimate Player Edition of Sony's PlayStation 4 is basically the same console as the previous retail version. The difference between the ordinary Sony console and the Ultimate Player Edition is that in the Ultimate Player Edition there is a fat hard drive with a terabyte, which is about 1,000 gigabytes, is installed. The ordinary version has only 500 GB.
PlayStation 4: Build Your Own PS4 Ultimate Edition Player
Therefore, you just have to really replace the hard drive of your old PlayStation 4 and already you have an Ultimate Player Edition. But cannot do that with consoles, right? However, exactly that happened!
Here’s is the list of required components:
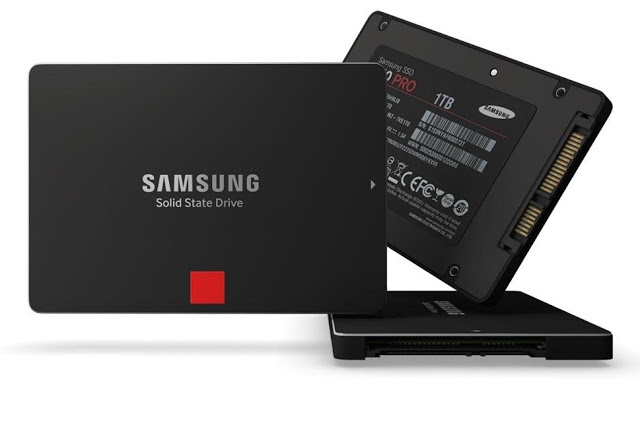
- 1 Terabyte SSD hard drive (Alternatively, you can find HD with 2 terabytes, but such devices are very expensive)
 - Commercial PlayStation 4
- External storage for backups (Optional)
- PC or laptop with internet access
- 1 gigabyte USB flash drive (preferably USB 3)
- Screwdriver
- PlayStation Controller with connection cable
Step by Step to Ultimate Player Edition
Once you have all necessary components, you can start to build your own PS4 UPE. But keep in mind that you will lose your warranty by modifying the console.
The individual steps:
- Back up your important data from the PS4 to an external HD (Optional).
- Put up your PlayStation out and grounding yourself by touching a radiator before or a similar metal object. To prevent its electrostatic charge.
- On the surface of the PlayStation 4 board you can see the PS logo which you should push with your thumb off the disk.
- Under the disk on the top left is the holder of the hard drive to the fore. This is installed under a kind of grid and secured with a screw. Turn out this with a screwdriver and pulling the disk gently under the cover out.
- The recently developed disk is now connected to the frame, therefore you have to remove more screws, to free it from the caddy.
- Screw after the new hard drive in the caddy. Then you push the caddy with the disk back under the cover in the bracket and screw everything firmly. Build up a cover and finish! You have already done the technical part!
- Next, you need an operating system for the new hard drive. You must download this firmware to your computer from the PlayStation website.
- Once the firmware is downloaded, copy it to the USB stick and in exactly this form: USB> PS4> UPDATE> * Downloaded firmware *. Pay attention necessarily to the capitalization of the folder, Format the USB stick in a FAT format, such as FAT32.
- Insert the USB flash drive into the USB port on the console.
- Now connect directly to your controller via the charging cable to the console. Without firmware console recognizes no radio controller.
- Start the console in Safe Mode by holding down the power button. The console will beep twice and then show a menu.
- Select menu "Initialize PS4". The PlayStation is now installing from the USB flash drive, the new firmware.
- Once the firmware is installed, skip everything in the following menu.
- Connect your external disk with backups.
- Then go to the System Settings and select "Backup and Restore". This will get you all the settings from the old drive to the new one.


 3 Simple Ways to Save Online Recipes This Holiday Season
 Evolve: Hunter Tips - Class Breakdown
 Randals Monday (PC / Steam) Walkthrough
 How to disable HUD (head-up display) in Watch Dogs for Windows PC
 Learn how to play new Angry Birds 2 (iOS / Android)