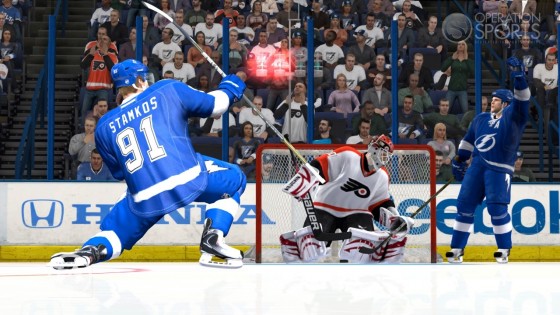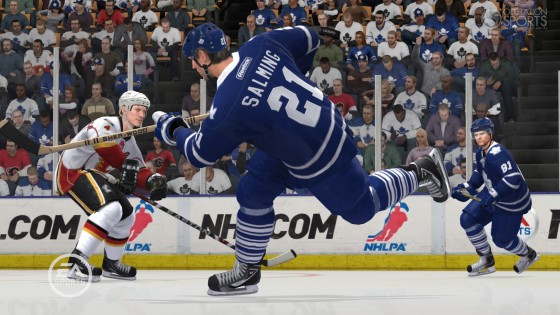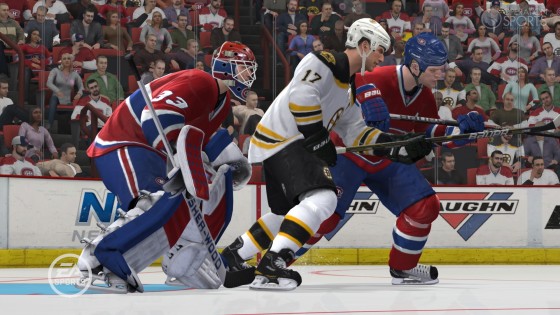

Before worrying about the finer points of where to aim your butt on a hip check, it's important to understand some of the top-level strategies that you can employ in NHL 12. Many users forget, neglect or are straight-up unaware of the various ways you can manage your lines, on-ice formations or player tendencies. These are the decisions a coach would make, and they can actually make notable differences when you hit the ice.

Matching Lines
Effective line management in the NHL series has always come down to watching the energy level of your players closely and deploying them against the correct opposition line. Obviously, it helps to have some foreknowledge of both the team you are playing as and the team you are playing against. Knowing who your shutdown defensive pair is can cut down on a lot of the guesswork when trying to match lines effectively.
Don't be afraid to use your third and fourth units as true shutdown lines. Your fastest and most talented lines are going to be in your top-6 forwards, so you'll want to try and get your third line to plug up the neutral zone and go for chances against the opposition's first or second lines. Fourth lines can often be a liability, but using them to waste some clock and rest the units can be extremely helpful, especially in the third period.
As for matching on defense, it's probably better to avoid the common NHL practice of using your top pair with both your first and fourth lines. You want your top defensive pairings to be ready for your best lines as well as for power play time, so stick your third defensive pairing with your checkers and fourth-line plugs.
Faceoff and Forecheck Formations
Changing your faceoff alignment can be valuable for walling up in front of the net or applying extra pressure in the offensive zone. Before the draw, you are able to select “Normal,” “Aggressive” or “Defensive” formations. Sometimes you'll want to stick with the “Normal” setup, as any other formation will align your d-men up on the wings. This negates a point shot and possibly creating a breakaway for the opposition, especially since many human players will send wingers charging out with poke checks looking for an easy counter-attack.
These aggressive and defensive styles can be valuable for late game situations as you'll want to have several players crashing an opposition net to create a chance rather than passively playing their conventional position roles.
Setting a forecheck formation can help put players where you want them, and this is actually fairly important for the less talented players on your team. A 3-2 forecheck is nice for your third-liners, as grinders with less agility and outright speed will more likely go to the boards or deeper into the zone, putting them in better position to pressure the opposition and be ready for rebounds. Then again, a 1-2-2 forecheck will plug up the neutral zone, allowing you to protect a lead at the expense of offense.

Offensive / Defensive Tendencies
Affecting the tendencies of the AI in the NHL games hasn't always been the clearest and most responsive system in sports games, but you can certainly make some subtle changes to where your players will be on the ice when you're not directly controlling them.
On the defensive side, it's important to set a strategy and pressure that counters some common human tendencies. It often seems that online players, especially online league teams, like to collapse on the net, but this actually happens quite organically by default. Human players will often scramble and herd around the front of the net, negating the need for any top-level influence. It can actually be useful to set a “Tight Point” strategy that will put pressure on the blue liners and then couple that with a “Contain Puck” pressure setting, which will force your AI wingers to glide towards any opposition players that try and sneak up the sideboards.
Offensively, basic strategies such as “Hold the Lead” or “Full Attack” seem to only have nominal impact, but designating specific line tendencies can be quite useful. Once again, knowing your team can make a difference here, but using a “Behind the Net” strategy for the Sedins or Joe Thorton encourages more of a side/end board presence and puck-cycling opportunities. Setting your grinders to crash the front of the net is usually a safe choice, unless you have some speedsters on that line, in which case it might be better to stick to more conventional overload or rush strategies.
Special Situations
It's extremely important to always be aware of how much time is left in a game, especially if the score is close. Knowing when to take a timeout or pull the goalie are two options that should never be taken for granted.
Calling a timeout is as simple as pausing the game and going to the team management screen and selecting “Home/Away Team Timeout.” This will completely restore the energy for all four of your lines, possibly mitigating a situation where you've iced the puck and can't change out a tired line.
Just the same, it's also valuable to know when to pull the goalie. You can pause the game between faceoffs and select “Pull Home/Away Goalie,” or you can also press the LB and Back buttons (L1 + Select on PS3) to pull the goalie during play or after the whistle. It's often beneficial to wait for a true offensive zone faceoff before pulling the goalie, but sometimes you'll have to pull the goalie when you gain possession in your own zone and carry the puck up the ice. Real NHL teams tend to wait until about 60 to 80 seconds are left in the game to go for the extra attacker, but in NHL 12 that gives the opposition plenty of time to score an empty net goal, especially with aim assist, so you want to wait for the true, final push in order to remove the goalie.

Final Thoughts
Experimenting with different formations and strategies will not only better prepare you for human competition, but it will also help you examine your own game and find ways of maximizing the players on your team. Some of these settings may only have subtle effects, but being able to use your top line for one extra shift or have a defender pinch at the right time could make all the difference.


