The Citadel of Flame is a level 70/75 dungeon located in Fireheart Rise that requires the completion of a group event to access. It follows the story of Logan and Rytlock as they attempt to stop Gatheron Baleflame from becoming… well, Ragnaros.
")
Rozgar is fond of large, AoE sword spin attacks, knockdowns and plenty of bleeds. Fight him using ranged weapons and use evasive rolls if he heads toward you. Failing to dodge these attacks will result in imminent death.
As he angers, he’ll ramp up the knockdown attacks and bleeds; again, avoid him at all costs by sticking to ranged DPS, and if possible, have someone cleansing bleeds.
")
Like most boss encounters in Guild Wars 2, Bolok and the Hierophant can be easily defeated by simply avoiding their attacks and killing the adds they summon. In this case, these attacks are pools of fire that will appear beneath you and kill you almost immediately. These boss fights are separate, but have almost identical strategy.
")
By far the most difficult encounter in the Citadel of Flame, the Flame Legion Effigy can only be defeated once the acolytes that heal him are dead; however, they are shielded, and will not be attackable until he has lost some of his health. This will happen twice, both times healing him to full health, before you can officially begin taking him down.
Attack him using ranged weapons, and keep your distance. He has a constant AoE fire field surrounding him, so it is imperative that you keep range and keep constant DPS. If possible, have someone cleansing the burning effects, and keep moving to avoid his fire attacks.
")
One of several ‘fun’ encounters in Guild Wars 2 dungeons, Gatheron Baleflame is completed by standing within Rytlock’s protective shield and waiting until Gatheron’s giant, fiery boulders have smashed against it. Each boulder will leave behind a Molten Heart, that must be collected, taken up to Gatheron and thrown at him.
Be watchful for giant walls that prevent progression toward Gatheron, and of the constant DoT fire damage taken whilst outside the shield. Gatheron can be attacked using traditional methods briefly when his ‘godform’ is disabled after receiving too much damage.
")
Baleflame is attempting to return to power after his defeat by your hand. You must stop him at all costs. This dungeon path is both the shortest, and easiest to complete, and recommended when attempting to farm [Flame Legion Char Carvings] for Citadel of Flame Gear.
There are 6 critical moments in this dungeon path:
Have 1 person move to the final nest and one person begin at the first nest, killing them until they meet while the other 3 kill and tank the mobs.
")
Spawns Adds that can be easily AoE killed. Also spawns a Giant Devourer, which should be ignored. Focus The Warden; when he dies, the fight will be completed.
Ignore turrets and enemies, run directly for the bombs and return them immediately. If it isn’t working, try assigning one person to mob duty, kiting them around until the event is complete. Be mindful of the flame turrets, and evade them where applicable.
")
Avoid and ignore mobs, use extinguishers to remove flames and move quickly to the goal point, then waypoint back after completion.
Kite, not kill. Survival event. Just stay alive until the bomb explodes.
")
The goal is to attack the Eternal Flame using Boulders when no Acolytes are alive. Gatheron will run around attempting to make life difficult. Have 4 players stand in each corner of the room, constantly watching for acolytes and killing them as they appear, and throwing boulders when there are none left alive. Have the 5th player keep aggro and kite him.
")
Quite possibly the most challenging (and frustrating) element in the Citadel of Flame, this event requires that all 5 players in your group simultaneously light a torch to open the gate. The problem is that 3 – 5 mobs spawn on all torches every 30 or so seconds, lighting the torch takes about 4 seconds, and you only have a 5 second window.
Though I’m sure it’s possible to complete this event in multiple ways, we found that the best method is to have each of the 5 players leave one mob alive on low health – when all are synced, have all players kill the mob simultaneously and light their torch. Voice communication recommended.
")
Have your DPS focus on the flame turrets first, as these guys will decimate your group in a matter of seconds. Avoid mass AoE attacks, kill adds, tank and spank.
This is challenging no matter how you tackle it, but we found that it’s best to focus on the flame casters first, and bring them down quickly. When there are multiple range AoE enemies on the field, things can turn bad in a matter of seconds.
")
Evade dodge explosions at the right moment to succeed. Takes a few tries. Remove armour to avoid damage. Use speed buffs where available.Be aware of the enemies at the end; they’re difficult, and the 3 flame turrets above will annihilate you in moments. If you group doesn’t make it through together, kill the mobs as far back against the wall as possible to avoid the turrets.
When your group has made it through, head up top to take out the turrets and the boss, Gatheron’s Pet Drake, who can be tanked and spanked without much concern.
")
Given the difficulty of this dungeon path, this boss is a cakewalk by comparison. Simple tank and spank, shoot and scoot, DPS him down and forward roll through the wave spikes he’ll cause whenever he jumps and slams the ground.
")
Currently, it is believed that this path is broken. We’ve made it to the final encounter, The Superweapon Flame Effigy, but were unable to defeat him. We’ll add step-by-step instructions upon successful completion; however, at this point in time, we recommend avoiding this path until an official statement has been made by Arenanet.
")
Note: This path CAN be completed. We simply haven’t been able to do it. We’ve had the Flame effigy down to 20% health, but a mass crystal spam wiped our key members and allowed him to regenerate again. Though possible, we feel that this encounter is currently unbalanced; crystals drop without sufficient warning time making it next to impossible to evade them with any premeditated precision.
Special Thanks to Wicked, Careless, Reamus and Bilz from The 101 Guild (http://the101.eu/) for their invaluable assistance in completing these dungeon paths.
")
")


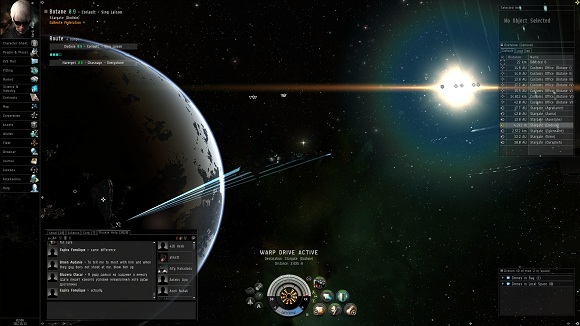 EVE Online Beginner's Guide - Episode 1 (Introduction) .
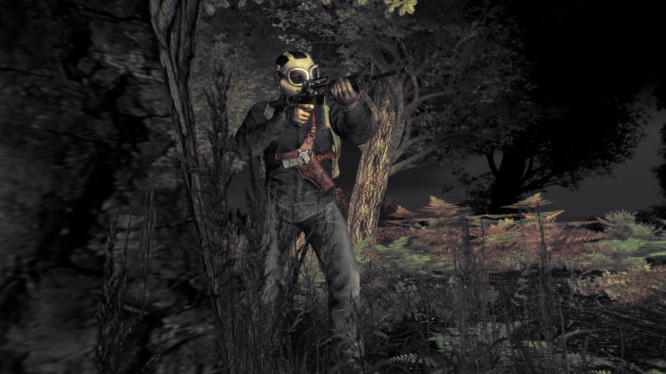 Games Like: DayZ .
 Airtime: MMO Stream Schedule (11/03/2014 – 11/09/2014) .
 Eorzean Evening Post: Looking for Alexander .
 Massive Thought: Who Are We? .