World versus World (WvW from here on) is a major element of Guild Wars 2. Up to 2,000 players from three worlds across four battlefields vie for dominance in order to gain loot, rank and bonuses for their entire world. It’s a huge undertaking and if you’re new to the battle then it can be difficult to figure out where to begin.
This guide will focus entirely on WvW mechanics and terminology and assumes you’re already familiar with basic Guild Wars 2 gameplay mechanics.
The ultimate objective of WvW is for your world to triumph over all others by battling two other worlds at a time and working up the ranking ladder.

Three servers battle for dominance over a certain period (one week at the tim of writing, with plans announced for two week periods) by earning points for locations under control of each world. The better your world performs the higher they are placed in the ladder, meaning tougher worlds to fight until your world comes out on top.
Points for captured locations are tallied every 15 minutes (currently) and more points means more rewards for you and your world.
In a nutshell: You win by kicking all other players as far out of the battlegrounds as you possibly can.
There are four primary types of claimable locations:

Click to enlarge. Source: http://wiki.guildwars2.com

Resource or Supply Camps are the simplest of the claimable locations to capture. Unable to erect any walls, gates or stationary defences the camps are taken and lost often, but are also worth the least amount of points to your world. However, Resource Camps are perhaps the most important targets strategically (see Supply section below).

Towers are simply footholds to help gain ground on the battlefield. Much harder to assault than the camps, towers can be upgraded and reinforced by the guild who claimed it.

Only three keeps exist in each of the four battlegrounds, one for each world. While the keeps are high value targets, they are also easily defensible. Any force advancing on a manned keep will need to plan their assault carefully. Keeps can also be upgraded extensively by the owning guild, including the ability to build a waypoint to allow for fast travel to the keep.

A colossal structure that exists only in the centre of the Eternal Battlegrounds. The castle is nearly unassailable by an unorganised force when even a handful of defenders are present and gives a huge tactical advantage to the owning world, allowing for fairly easy access to all areas of the map, the strongest defences of any structure and perhaps even a morale drop for the world you took it from.
While Stonemist Castle’s 35 points might not seem worth the effort it takes to capture it, it makes for an excellent staging point for capturing the twelve towers around the Eternal Battlegrounds.
There are also several secondary locations scattered across the battlefield:

Sentries are simply lone veteran npc’s that stand between certain objectives. One or two players can easily dispatch one of these sentries, giving a small Event reward.
Even though they’re near useless as a defence, seeing a sentry point claimed by another world on the map can be an early warning sign of an incoming force.

Numerous npc camps are placed around the battlegrounds. Earning their loyalty through dynamic events will lead to those npc’s becoming allies and assisting you where they can.
While not worth much strategically, the bands of allied npc’s will roam the roads attacking your enemies. They can help to slow down enemy forces or assist in defending a location.

Each of the three borderlands contains a single orb of power, marked on the map as a sun-like or circular star icon. After defeating the npc’s guarding the orb, a player can take and carry the orb to their own altars to grant everyone from their world a 5% health increase and +50 to all stats for as long as the orb remains on their altar. These bonuses stack, so if one world has possession of the orbs in ea ch of the three borderlands, those worlds players will gain 15% extra HP and 150 extra stats across all four battlegrounds.
Despite not being worth any points, the secondary locations can still offer tactical advantages that can help turn the tide of a battle in your favour.
Finally are the tertiary locations, which don’t offer any direct benefit in battle for your world but are still important to know about:

The Emerald, Garnet and Sapphire Sanctums – one on each of the borderlands – are two part jumping puzzles that allow players to obtain free rewards, notably siege weapon blueprints. Simply grab the two halves of the key to unlock the vault, whilst fighting off any enemy players who decide they’d prefer to stop you.
The obsidian Sanctum in the Eternal battlegrounds can be accessed from any of the three keeps, and is much more perilous.

Garrisons are the entry point from which all players enter the battle and are the only locations to always have a waypoint available and is usually where most players will end up after being defeated.
While you can’t capture an enemy garrison, you can try to cut off reinforcements coming from it to help keep an allied siege safe.

Not actually a location, but rather a mass of people sticking together and mowing down anything in their way. Often the most destructive force in any battle but near impossible to control. Any player going into WvW alone should seek to join the zerg on their rampage as soon as possible.
All points gained for your world through WvW add to your world’s Power of the Mists, a list of passive bonuses for everyone in your world. It offers passive benefits to health, defence, healing and endurance as well as bonuses for crafting, gathering and even extra cash per kill.
These Mists bonuses apply even outside of WvW.
Badges of Honor are considered by some to be the primary reason for an individual to participate in WvW. Badges can be found in loot sacks occasionally dropped by partipating in any enemy or npc kill.
The badges are used to purchase unique WvW armor and weapons, as well as playing a role in Legendary Weapon crafting
In order to complete your monthly achievements and earn your reward, you need to rack up 50 total kills in WvW. You don’t necessarily need to land the finishing blow, but you must directly contribute to the kill.
While offering no tangible benefit, the bragging rights from being amongst the best of the best aren’t easily ignored.
Siege weapons are what truly bring WvW to life. Placed by using blueprint purchased from siege vendors and then built by players who are carrying supply. Each player can only carry 10 supply at a time, so to build any siege weapon you’ll need a few extra players to help or be able to make multiple trips to a supply depot.


The primary anti-personnel weapon, Arrow Carts can blanket large areas with volley after volley of arrows. As one of the cheapest blueprints available and easy to build, the arrow cart is often used in all situations, from extended sieges to simply trying to gain some ground.

Breaching a gate without siege weapons can take a very long time, even with a large group, whereas a couple of guys with a flame ram can take it down in minutes. A cheap and easy to build weapon designed for crashing through gates exclusively.

A short range weapon designed to take out enemy siege weapons (and enemy players) with great efficiency. It has less of an area impact than the arrow cart, but is capable of dealing much more focused damage.

A medium range weapon. Powerful, but needs to be aimed manually, leading to some inconsistency between shots. Does large amounts of damage to walls, making it very effective at keeping the pressure on all sides during a siege or simply busting a hole in the walls for when using the door isn’t satisfying enough.

The most powerful long range weapon available, trebuchets can devastate an enemy defense. While a little too cumbersome to be used defensively, a well placed trebuchet will force a defending force to leave their comfort zone and destroy it. An unchecked trebuchet will nearly always guarantee a successful siege.

The only mobile siege weapon available, albeit the most expensive. Siege Golems deal large damage to structures with mobility allowing it to move where it’s needed most or just to get out of harm’s way. They’re also relative slow, so allies can assist Siege Golems by helping boost it’s speed and mobility.
On top of these weapons, a number of defensive weapons can be built at some primary locations:

Used to fight off attackers during a siege. Simple yet effective – if you’re defending and you see one unmanned, jump on it.

Launches volleys of explosives over long range. Good for breaking up enemy clusters and destroying siege weapons out of reach of other defenders.

Placed directly above gates, these oil cauldrons can decimate enemy attacker and flame rams in the vicinity of the gate below. Often the first defence targeted by an attacking force.

Supply is arguably the defining factor in WvW for its effect on siege mechanics. All of the buildable objects within towers such as gates, defensive emplacements and even the walls themselves require supplies to be built, fortified and repaired.
A keep with a plentiful stock of supplies isn’t going to fall into enemy hands in a hurry, a prolonged siege effort can essentially “starve” the defence by cutting off access to their supplies.
Each player can carry 10 units of supply. These can be used to build siege weapons or repair gates and walls. If you’ve run out of supply (and you’re not fighting for your life) your first priority should be to get more from the nearest resource camp. Most importantly, NEVER take supply directly from a tower or keep, unless they already have an excess of supply in their depot.
All primary locations can hold a certain amount of supply. Resource camps will generate supply of their own over time and send dolyaks caravans out to towers, keeps and Stonemist Castle which will add to their supply depots should the caravan arrive safely.
Depot Supply is needed to build upgrades at primary locations, which is why it’s important to stay well stocked and to warn other players not to take from the depot. Whilst under siege, supplies are used by players to repair damage and build siege weapons. The more supply you have saved up, the longer your defenders can hold out.
Capturing a primary location is fairly simple in theory. Get inside the location, kill the “boss” npc and clear out any remaining defenders. In practice, it’s rarely so easy. Camps can be taken by a handful of attackers if left unguarded, however every other location will require a bit of strategy.
Getting through the gates of other locations are usually the main goal as the defenders will often be overwhelmed instantly by the flood of attackers pouring through the breach. Defenders will usually sit atop the walls, with or without siege weapons, fending off the attackers at the gates. This is the most common type of siege at towers and oftentimes at keeps too.
For the defence to be successful, they simply need to hold out long enough for the attackers to become demoralised enough to run out of steam, or for their zerg group to roll around and demolish the attacking force. It’s hard to control either option, so for defenders, sieges are a matter of endurance.

There are other options available to attackers however. Overpowering the defense with a well-placed trebuchet or two, blasting through a wall rather than the gate or trying to eliminate as many defenders from the inside as possible and preventing them from returning inside once they return from their garrison.
Unless the attackers are going for raw firepower, they’ll likely have to whittle down the locations supplies before they can do damage to a gate or wall without it being repaired. Stopping the caravans from getting through to the location, either by intercepting the caravan or outright taking the resource camps nearby will stop the defenders from gaining any more supplies, which will slowly be used to repair gates and walls.
If the location does fall to the enemy, any remaining supplies will become theirs, so it’s just as important to use them up for repairing as it is to ensure that they have nothing left when they take over; losing a well-stocked keep will severely hamper any counter-attack efforts.
If you’re new to WvW then your best bet is to simply follow the zerg; the victories are frequent, if a little wayward at times, and the rewards come fairly frequently. Don’t worry too much about siege weapons at this point, just get involved with the fighting whenever you can. For the most part, this is enough to farm up badges of honor, so if that’s all you need from WvW then this is all you need to know.
If you want to get more involved, start looking at the map and locations and respond when allies call for help. Defending can feel slower-paced than the zergball but has the potential to be more rewarding once you become proficient with siege weapons. If you have a group of people to work closely with you can form a small strike team to take enemy resource camps and even undefended towers.

After that you can contribute to the war effort on a greater scale by claiming a location for your guild. Any guild that has an emblem can claim a location, as long as the person claiming has the right privileges. Claiming is often an expensive responsibility with little direct rewards, however each guild can only hold one location at a time, so the burden rests on many shoulders to claim and upgrade key locations. Resource camps are the cheapest to upgrade if you’re looking to try it out, but they’re also the hardest to defend.
Once you’ve gotten to this point you should have all the experience you need to help influence the flow of a battleground. Always remember that no matter how experienced you are, etiquette is still important. Don’t take out your frustrations on your own team by being a jerk. Defeat is inevitable – just regroup, strike back and enjoy your vengeance firsthand.


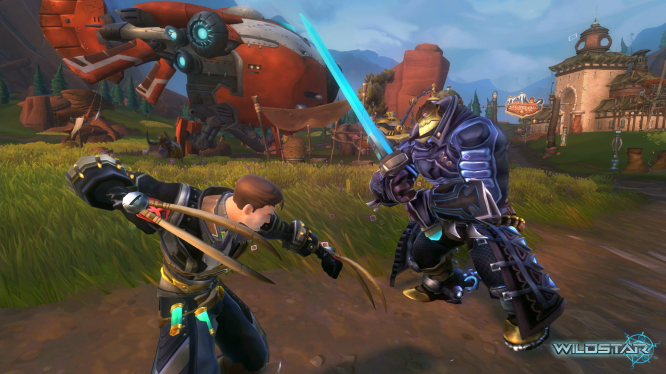 5 Reasons Wildstar Deserves Another Look .
 Warlords of Draenor Unveiling! .
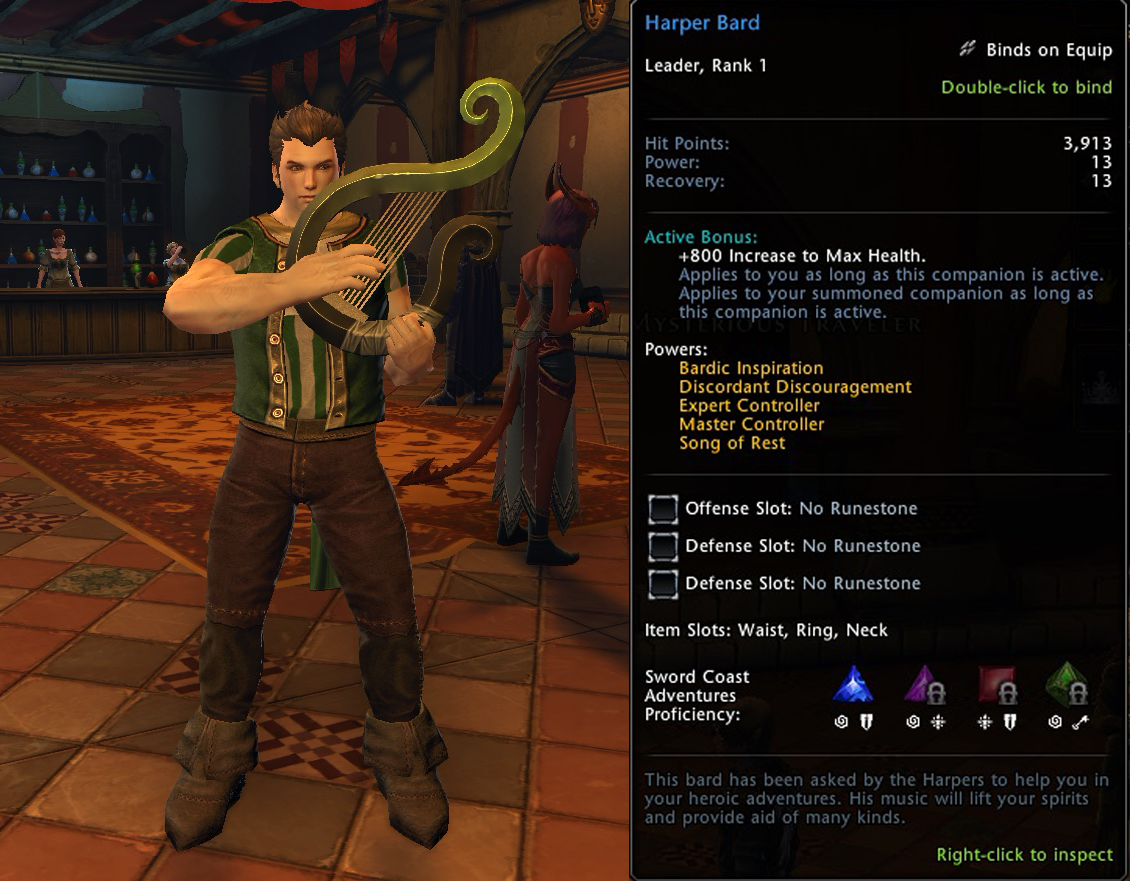 Harper Bard Giveaway for Neverwinter on Xbox One .
 Bel's Blog Bonanza - March 27, 2015 .
 Skyforge Q&A Part Three .