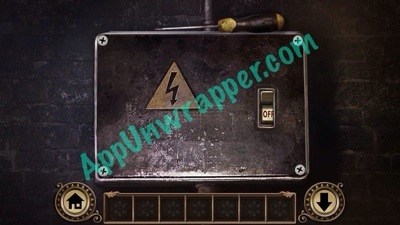
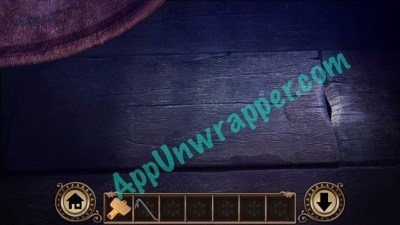
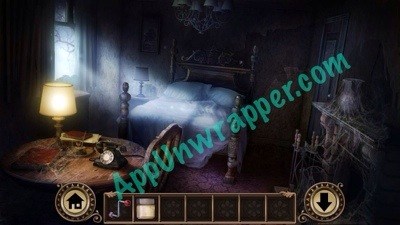
1. Tap on the fuse box to the right. Take the cross head screwdriver and use it to unscrew all four screws. Notice that one of the fuses is melted.
2. Pick up the newspaper near the grate.

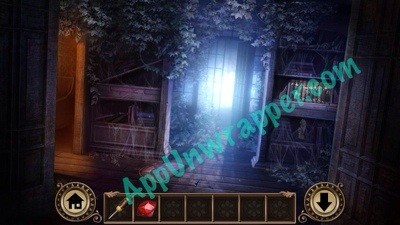
3. Check out the bottom of the door to the left. There’s a gap. Slide the newspaper under the door.
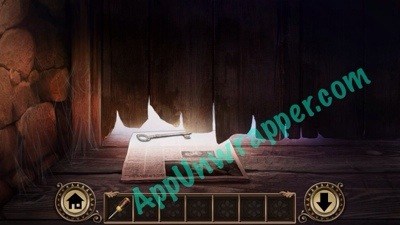
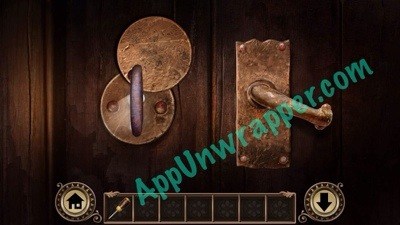
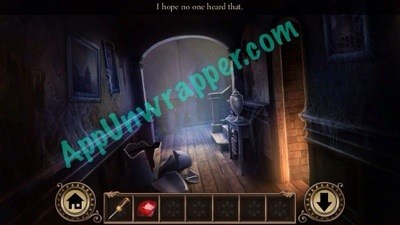
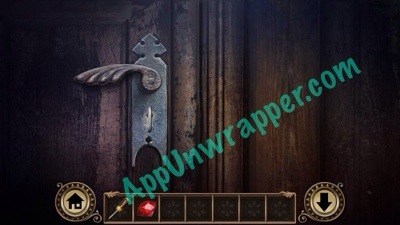
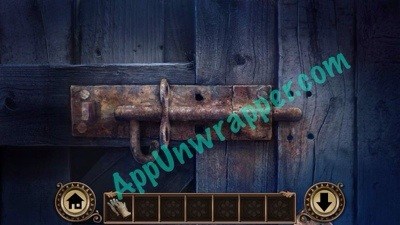
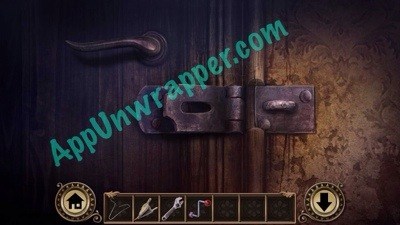
4. Examine the lock and handle of the door. There’s a rotating piece covering the lock. Lift it up and stick the screwdriver in the keyhole. The key will be knocked out onto the newspaper. Pick up the old key and use it to unlock the door.
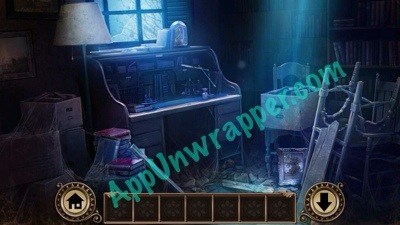
5. There’s a key in the big urn in the next area, but you can’t reach it. So continue on. Go up the stairs, open the desk drawer and take the book. You can’t do anything else up there right now, so go back down.

6. Continue on down the hall and find the row of books. Place the book you found with the others and rearrange them so they make up a picture. A drawer will open. Take the drawer handle.
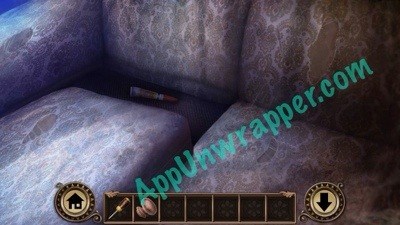
7. Continue into the next room. Move the sofa cushion to find the crazy glue.
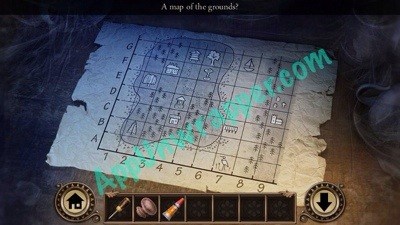
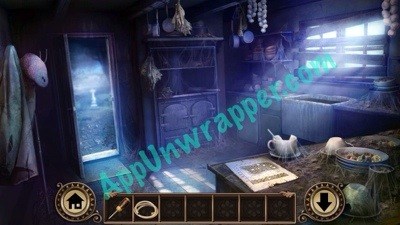
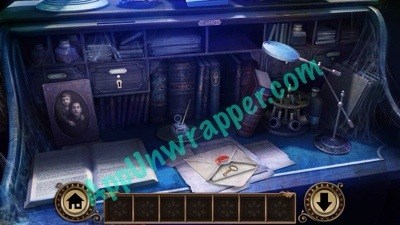
8. There’s a pair of shears hanging by the window, but the glass cuts you if you try to get at them. So ignore it for now. Continue on to the kitchen. Look at the map on the table.
9. Take the knife from next to the sink.
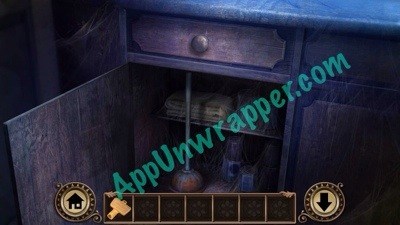
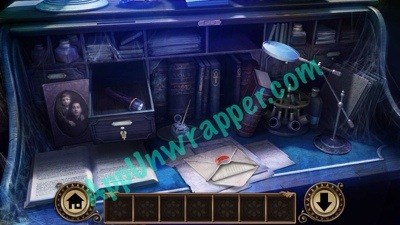
10. Use the drawer handle on the drawer. It falls off, so use the crazy glue first, the try the handle again. Open the drawer and take the hammer.
11. Use the hammer to remove all the nails on the planks on the door here. Then head back to the big urn and use the hammer to smash it. Take the ornate key.
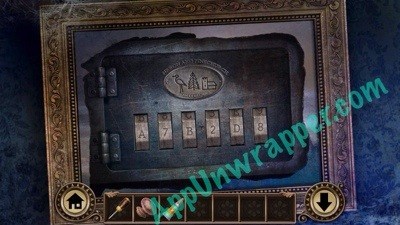
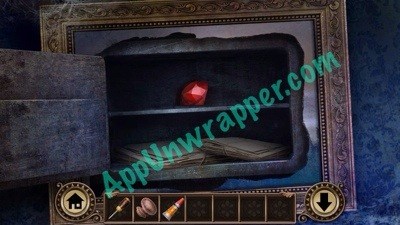
12. The the left of the staircase, there’s a painting. Use the knife to cut through it and peel it back. There’s a safe! The clue on it is Heron Pine Church. It also shows the little icons of each of those words. Locate those three on the map from the kitchen. Their coordinates are the combination for the safe lock. So it goes A7B2D9. Take the red gem (ruby) from the safe.

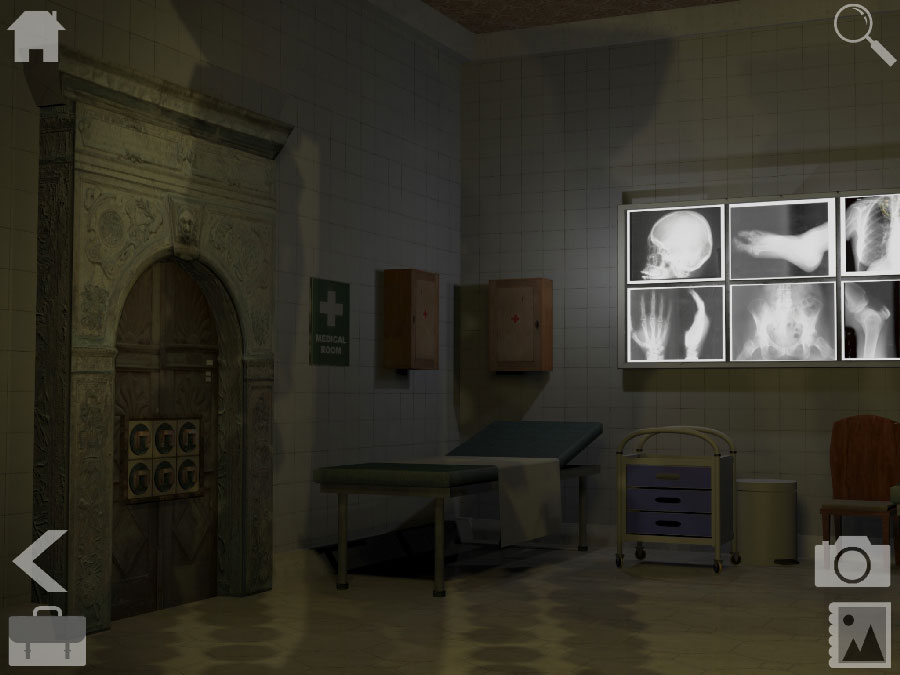
13. Use the ornate key to open the door to the left of the bookshelf. This room has some taxidermy and pinned insects. Take the hosepipe from the table.
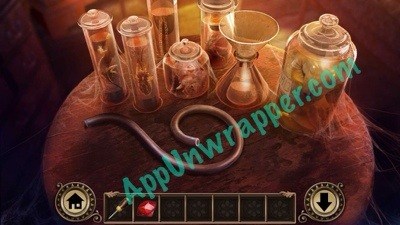
14. Place the red gem in the tiger’s eye socket and take the large silver key from its mouth.

15. Use the large silver key to unlock the door in the kitchen that leads outside.
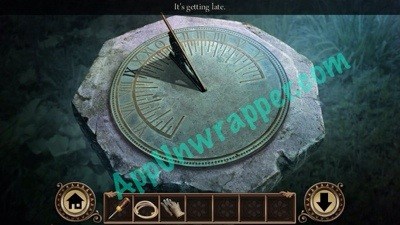
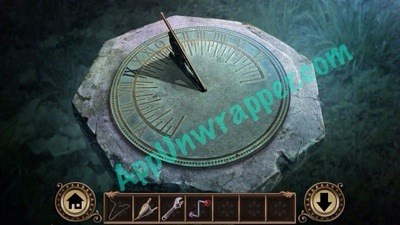
16. Take the garden gloves from the sundial and notice the time on the sundial.
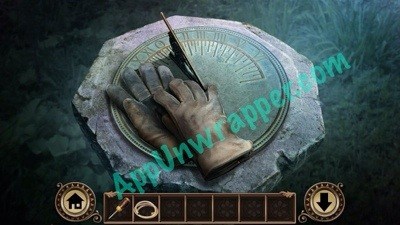
17. Go back to the window with the shears hanging in front of it. Use the gloves to remove all the broken glass, then take the shears.

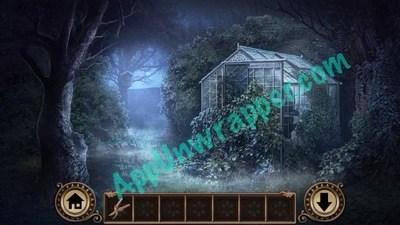
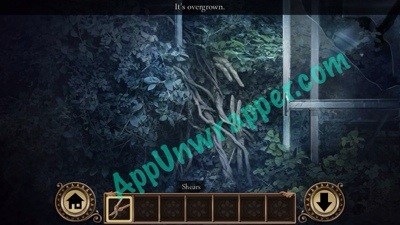
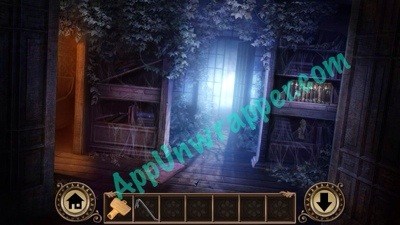
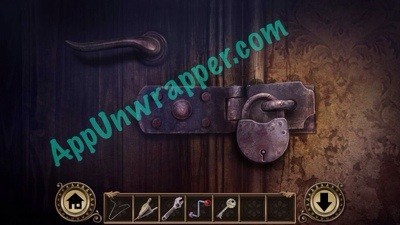
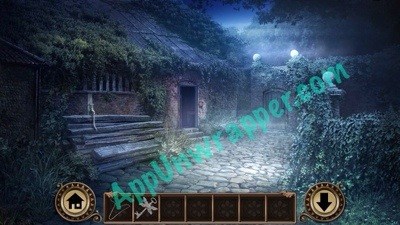
18. Go back outside. Use the screwdriver to remove the lock on the door to the left of the sundial. Go through it and use the shears to cut the vines blocking the greenhouse.
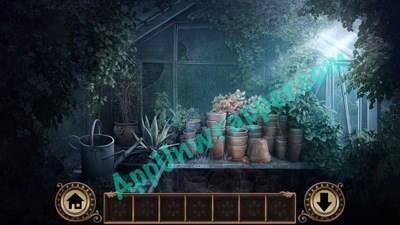
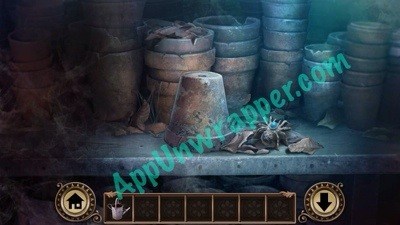
19. Go inside and pick up the watering can. Move the flower pot aside to get the jeweled spider.
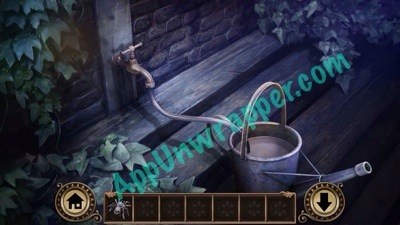
20. Go back to the sundial and head through the right door. Attach the hose to the tap and place the other end of the hose in the watering can. Turn on the water and then take the full watering can.
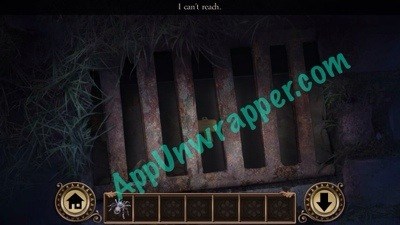
21. Go back to the sundial again. There’s a grate in front of it, with something down there and out of reach. Pour the water from the watering can down the grate and the plastic key will float up. Take it.
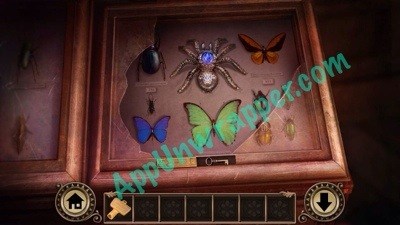
22. Go back to the taxidermy room. Place the jeweled spider with the other insects and get the small bronze key.
23. Go to the kitchen and use the small bronze key to open the locked cabinet. Take the plunger.
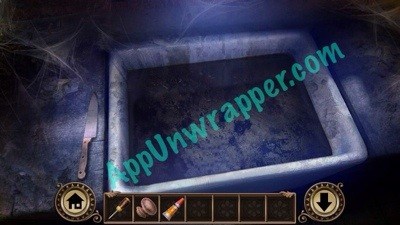
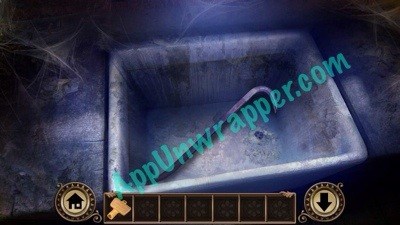
24. Use the plunger in the clogged sink and take the crowbar.
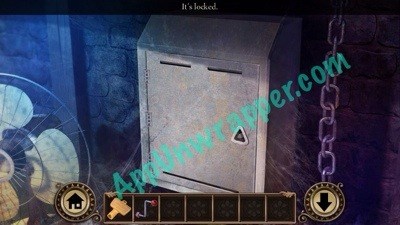
25. Go back a couple of screens and lift the rug. Use the crowbar to pry up the loose floorboard. There’s a locked box inside that we’ll come back to later.
26. Go back outside to the screen with the tap. Pry open the metal sheet near the left door to access a sliding block puzzle. Slide the red pieces around so the yellow piece can go left and unlock the door.
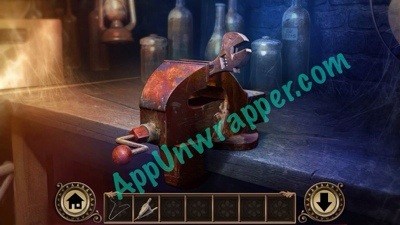
27. Go inside. Take the crank next to the vice grip. It won’t work right now. We’ll come back to it.
28. Use the plastic key to open the locked cabinet to the right. Take the fuse.
29. Take the pliers and the wood shavings from the crates to the left.

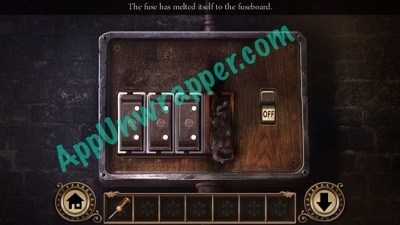
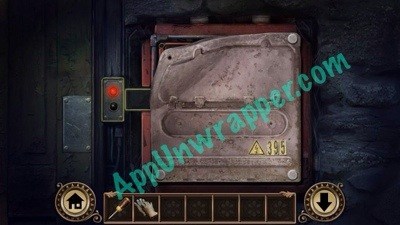
30. Go back to the room you started in at the very beginning. Go to the fuse box. Use the pliers to pry off the melted fuse. Then replace it with the new fuse and flick the switch on.
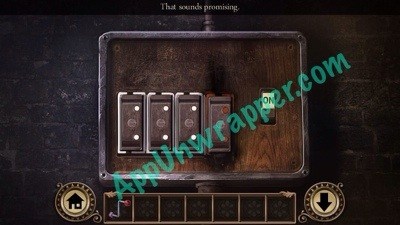
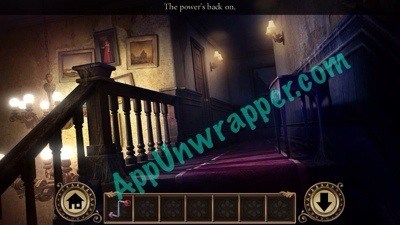
31. Go back up the stairs. Now the lights are on and you can see.
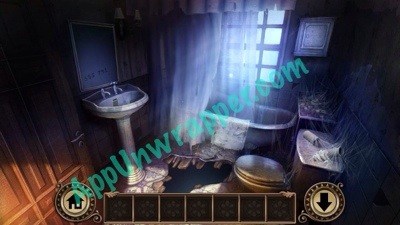
32. Go through the door to the bathroom. Open the cabinet to the right of the tub and take the grease.

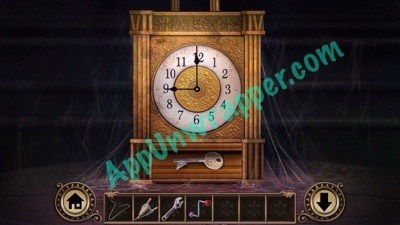
33. Continue down the hall. Notice the clock. Set it to the same time as the sundial (9PM) and then press the third button to rotate the whole clock face so it’s straight up. Take the round key that pops out.


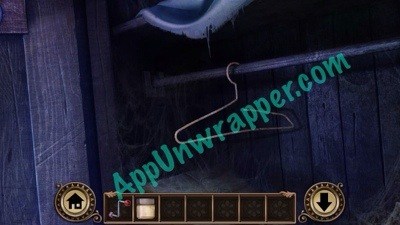
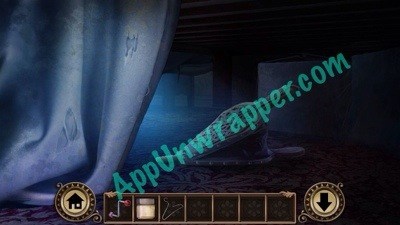
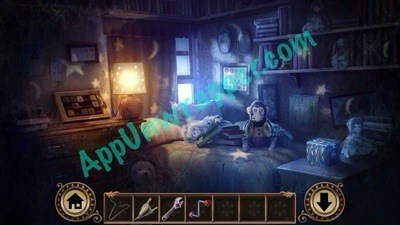
34. Enter the right door to the bedroom. Take the coat hangerfrom the closet. Look under the bed and move the sheet to get the bellows.
35. Leave the bedroom. Use the round key to unlock the door to the left and enter the kid’s room.
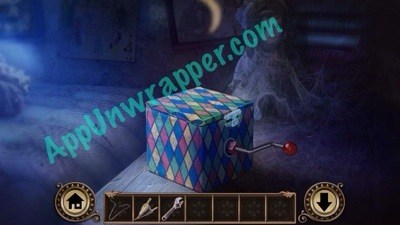
36. Use the crank on the Jack-in-the-Box. Keep turning it until it pops up. Take the tape covering its eye socket.

37. Go back to the adult bedroom and use the tape to fix the telephone cable. You can dial 911 if you’d like.
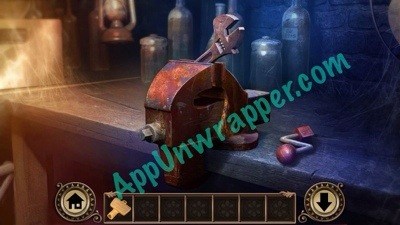
38. Go back to the shack with the vice grip in it. Use the grease on the vice grip, then try the crank again. Now you can take the wrench.
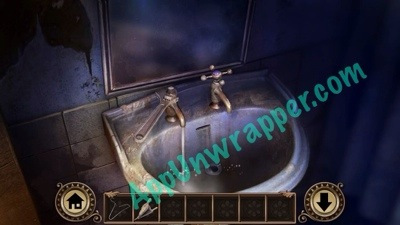
39. Go back to bathroom and use the wrench on the hot water. The steam will cause some numbers to appear in the mirror.
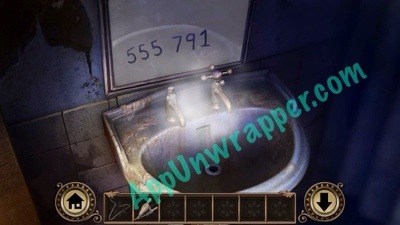
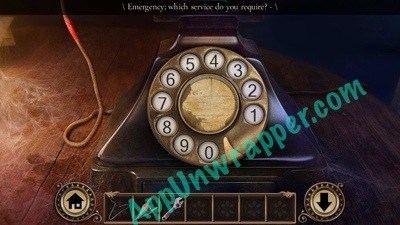
40. Go to the telephone and dial the number from the mirror. It’s a rotary phone, and you need to dial it like the real thing. Then listen to the message: FOXTROT LIMA ALPHA MIKE ECHO.

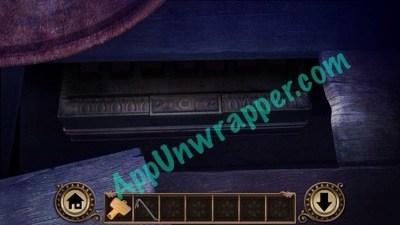
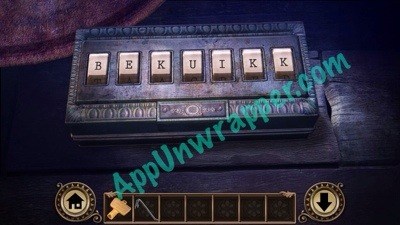
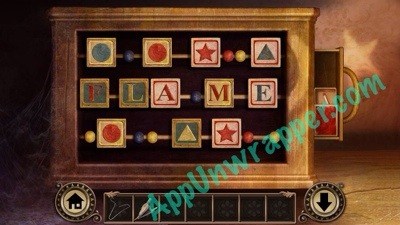
41. Go back to the kid’s room and look at the block puzzle. Use the first letter of each word from the phone call (FLAME) in the middle row, and make all other blocks symbols. Then take the matchsticks.
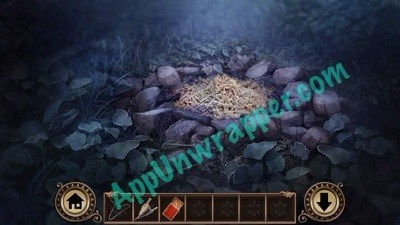
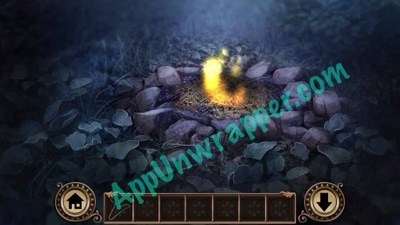
42. Go past the greenhouse to the treehouse. The bees are blocking your way. Put the wood shavings in the fire pit, then use the matches to light the fire. Use the bellows to blow the smoke to scare away the bees.

43. Now you can go up to the treehouse. Take the red umbrella. You can also look through the telescope, but it’ll be blurry right now.

44. Go back to the manor and head upstairs. There’s a trap door to the attic. Use the umbrella to reach the handle and pull it down. Go up.


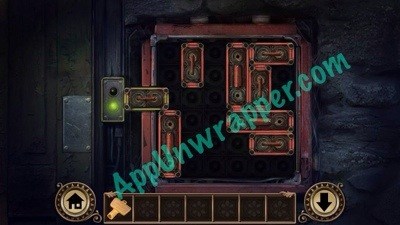
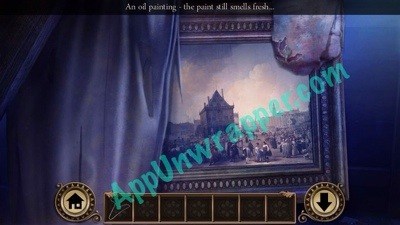
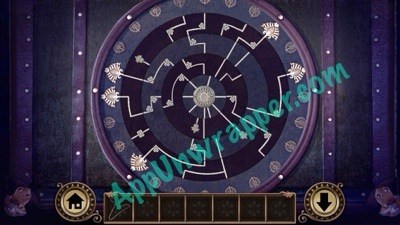
45. Notice the painting with fresh paint on it. Then solve the puzzle on the chest to unlock it and get the dragonfly key. To solve this puzzle, make a path from the center to each of the the five pieces on the outer ring. You can follow the screenshot below, but the center ring still needs to be adjusted.
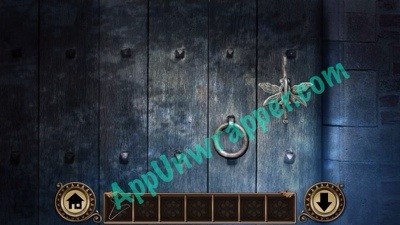
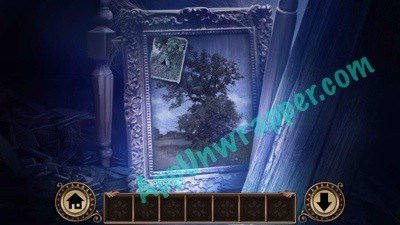
46. Go back outside to where the faucet/tap is located. Use the dragonfly key to unlock the door here.
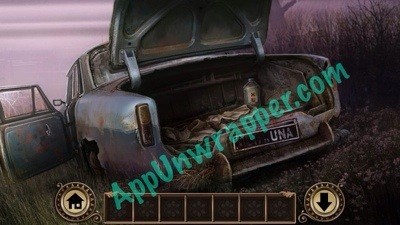
47. Go past the well and down to the water and the car. Use the coat hanger to open the driver-side door. Flip down the passenger-side sun visor to get the car keys.


48. Use the car keys to open the trunk and take the paint thinner.
49. Go back to the attic and use the paint thinner on the painting. It shows you something hidden behind the deer head in the taxidermy room.

50. Go to the taxidermy room and peel back the wallpaper by the deer head to get the telescope lens.

51. Go back to the tree house. Place he lens on the telescope and look through to see part of the word “FORTUNA.”


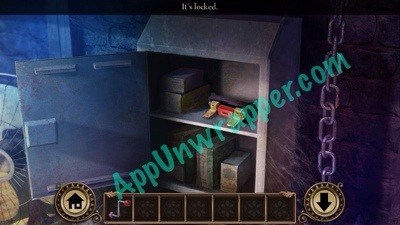
52. Go back to the manor. Time to open the box you took out of the floor. Change the letters to say “FORTUNA” and get the rusty key.
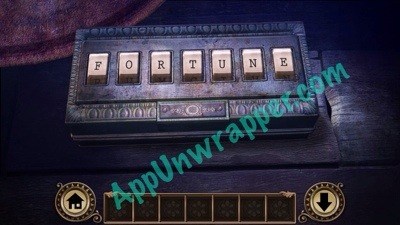
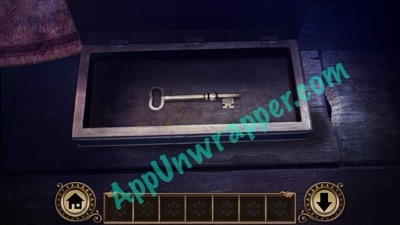
53. Go back out and to the well. Instead of going to the car, turn towards a building. Use the rusty key to unlock the door and head inside.
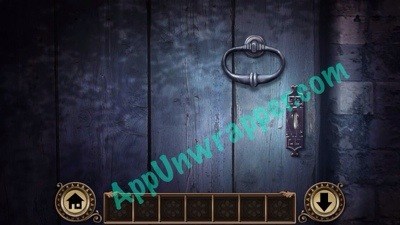

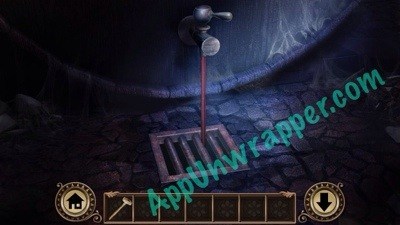
54. Take the sledgehammer and bucket. Also take the spigot from the wine barrel.
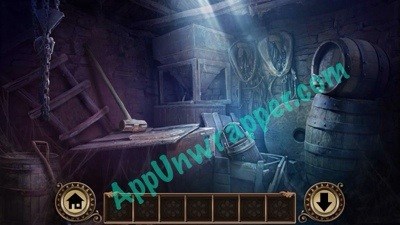

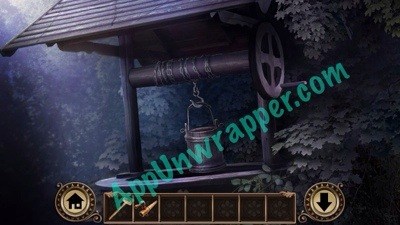
55. If you use the bucket with the well, it gets stuck down there! Oh no!
56. Go to the bathroom and use the sledgehammer on the weak floorboards. Then go through the hole to the room below.
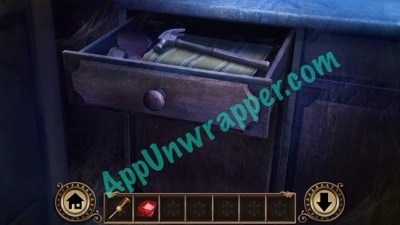
57. Look at this painting. Then mess around with things on the desk until you find an envelope with the desk key inside it. Take the key and open the small drawer to get the flashlight.
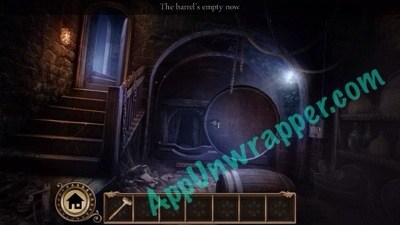
58. Go back to the very first room of the game. Use the spigot on the giant barrel and turn it to empty it. Then you can roll it over, revealing a secret passage.
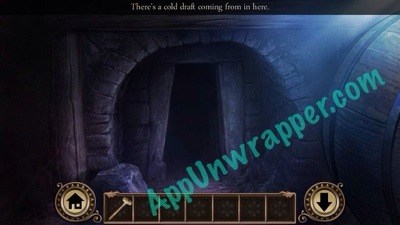

59. Use the flashlight to light your way. Take the bucket (if you drop it down the well again, you can keep picking it up again here! It’s like it’s stuck in a loop. And it doesn’t seem to serve any purpose).

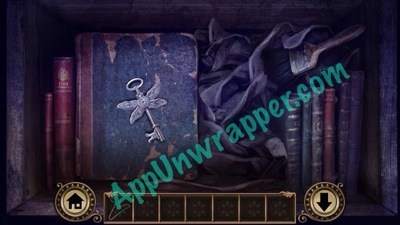
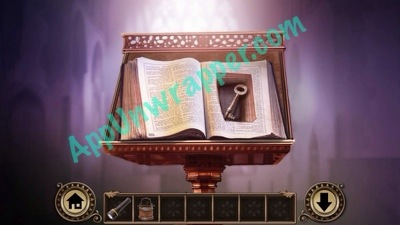
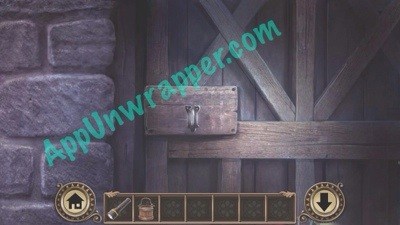
60. Continue through, up the ladder and into the church. Take the church key from the Bible and use it to unlock the door.
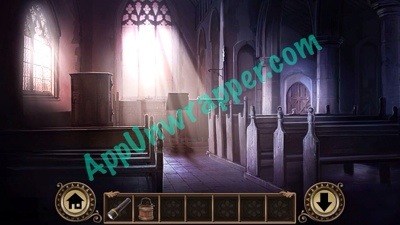
Congratulations! You completed the game! If you liked this game, try The Magic Castle — Mystery Adventure and Cabin Escape: Alice’s Story.


 Lazors – Complete Walkthrough Tiny Level 1-10
 LINE Rangers Cheats: Tips, Tricks & Strategy Guide
 Wubu Guess The Pokemon All Level Answers
 What’s the Mix? 4 Pics 1 Mix Places Answers
 Guess The Emoji Answers Level 23