**Note: Only read the walkthrough if you want the answers. If you just want a hint, post in the comments section and I’ll answer.
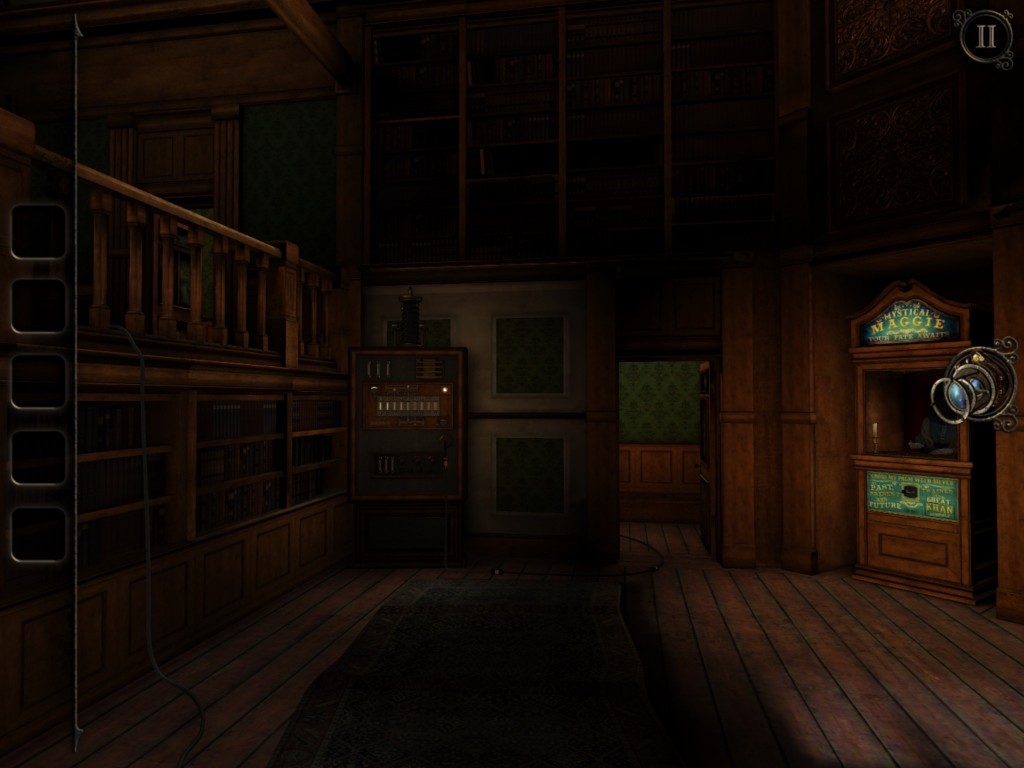
1. Lift up the hanging tapestry and take the “Mount Fuji” tile.
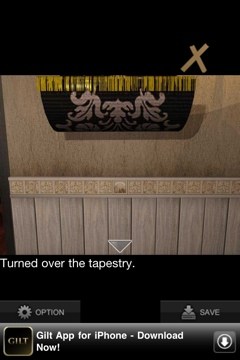
2. Zoom in on the white double-door and take off the tape.
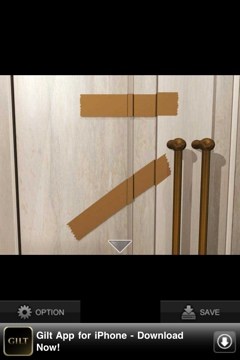
3. Turn around to the table with the bowl of colored beads. Zoom in on the bowl and tape up the crack.
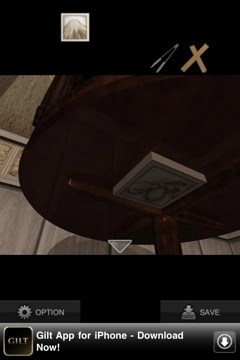
4. Look under the table for the “Eggplant” tile.
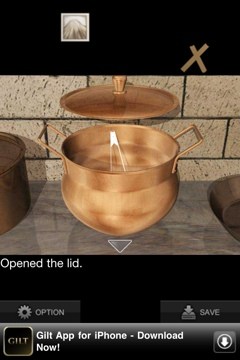
5. Open the pot above the fireplace and take the tongs.
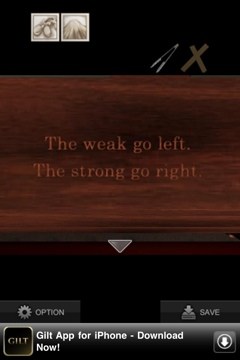
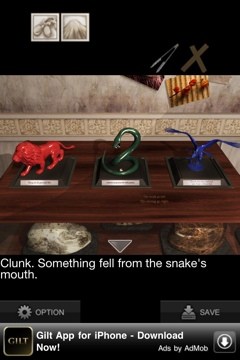
6. Move over to the table with the three animal figures. Make sure to zoom in on each one as much as pissible, then zoom in on the carving on the table. You need to move them in order from weakest (on the left) to strongest (on the right). So move the lion left, then snake, then hawk. Then tap the snake again and the glass eye will drop out of its mouth. Take it.
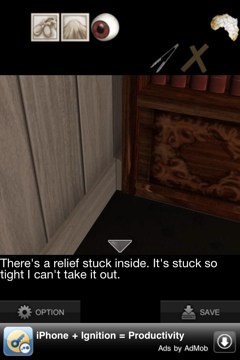
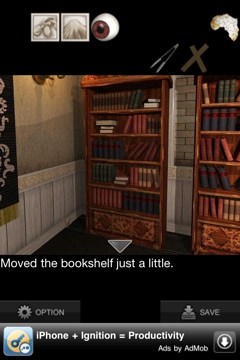
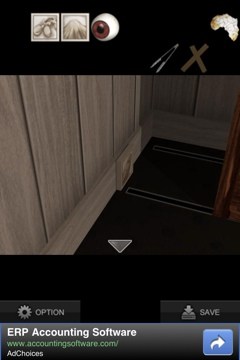
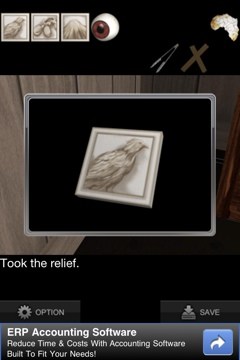
7. Head over to the left bookcase and look between the lower left corner and the wall. There’s a tile there. You need to zoom in all the way on it. Then zoom out and look at the pulley on the right of the bookcase. Then tap the bottom of the case to move it over so you can take the last tile, the “Hawk.”

8. Tap the upper right corner of the right bookcase until you find a book that talks about Fuji, the Hawk, and Eggplants. This is the order they go in. Take them over to the screen door and open the panel. Place the three tiles in order: Mount Fuji, Hawk, Eggplant. Now you opened the entrance to get upstairs. But don’t go yet. We have more to do downstairs.

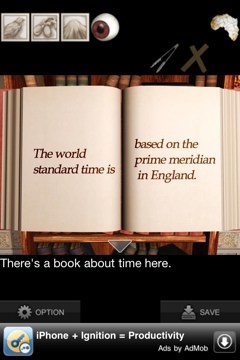
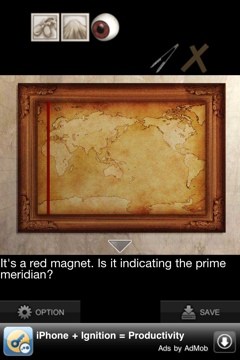
9. Go back to the right bookshelf and open the book that talks about the world standard time being based on England’s prime meridian. Then move back to the table with the animals and zoom in on the map. Move the red line until it moves to the left. Then it will slide over, revealing a map piece.

10. Go back to the right bookshelf and make sure you read every book you can. There are five total. Now we can go upstairs.
11. Go to the phone and punch in “135” from the book on Japan. The first clock hand from downstairs has now fallen off. Go down and collect it. Make sure you also examine the hand that’s still on the clock or you won’t be able to use the phone again later.

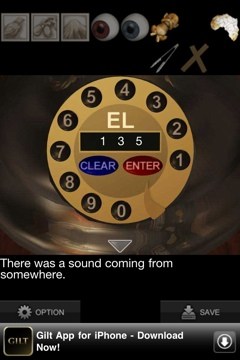
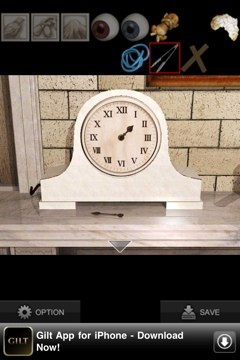
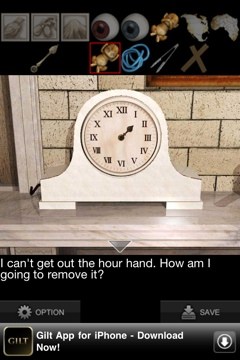
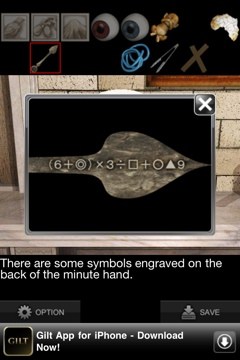
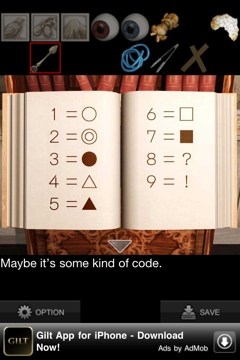
12. Zoom in on the clock hand in your bag until it shows you an equation. Use the code from the book on the bottom shelf to solve the equation (6 + 2) x 3/6 + 159 to get “163”. Punch it in on the phone and the second hand falls downstairs. Collect it, combine it with the first hand and go to the clock upstairs. Put the combined hands onto the clock and then open the clock up and take the first monkey from behind the pendulum, “No Speak.”

13. Go to the cabinet below the telephone and hit it with the tongs until it opens up. Take the hose.
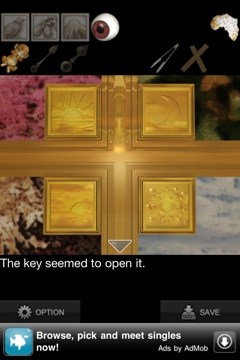
14. Go over to the shelves to the left of the bust. There’s a puzzle with four seasons on it. Remember that book from downstairs? Match Spring with Dawn, Fall with Dusk, Summer with Night, and Winter with Snow. In other words, it looks like this:
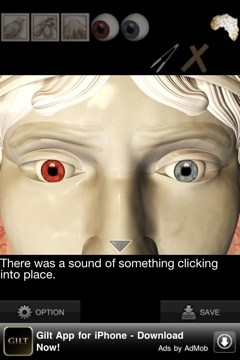
15. Take the second glass eye from the drawer below it. Put both eyes in the sockets of the bust. The panel will unlock so you can take out the “No See” monkey.
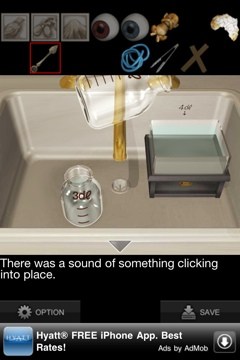
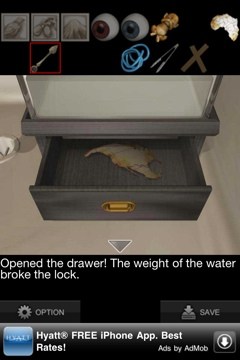
16. Open the door to the right of the grandfather clock. Go up to the sink. There’s a 5dl beaker and a 3dl beaker. You need to use these to get 4dl in one beaker to move them onto the scale. The way to do this is fill the 5dl with water. Pour it into the 3dl beaker. Then spill the 3dl beaker down the drain. Pour the 2dl left in the 5dl beaker into the 3dl beaker. Fill the 5dl beaker again and pour 1dl from it into the 3dl beaker. You should now have 4dl left in the 5dl beaker. Pour it on the scale and it unlocks. Take the second map piece from the drawer.
17. Leave the bathroom. Put the two map pieces into the globe and it opens. Take the last money, “No Hear” and go back downstairs.
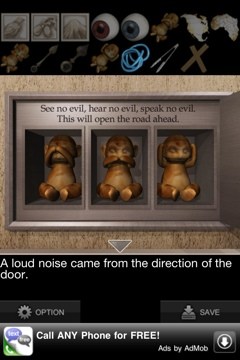
18. Open up the panel to the left of the brown door. Place the three monkeys in this order: See, Speak, Hear.
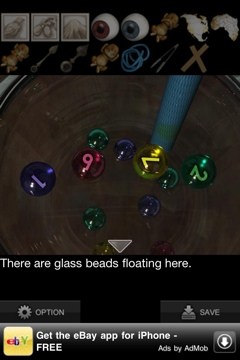
19. A keypad appears on the brown door. You can now go up to the bathroom and attach the hose to the bathtub faucet. Lead it out the window. Go downstairs and pull it in through the window using the tongs. It should now be leading into the glass bowl with beads. Go back up and turn on the bathtub faucet.
20. Four beads now float up to the surface of the water. They read 1972.
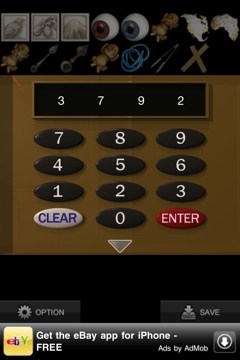
21. Use the hint “symmetry” with the keypad. So 1 is 3, 9 is 7, 7 is 9, and 2 is 2. Enter 3792 into the keypad.
And you’re out! Congratulations!

—-
Strange House II (2) is out! See our walkthrough here.
If you’re looking for more room escape games, check out The Lost City by Fire Maple Games, Escape Game: “The Meddling Shogi Player”, Antrim Escape 3, Atmosfear and these other escape games.