
A guide to Resident Evil Revelation contains all information required for completing this game effortlessly. You'll find:
- detailed description of all chapters
- hints concerning fighting bosses and stronger enemies
- location of important items
- solution to all in-game riddles
What is more, a single chapter collects info about so called handprints. When you find them all, you get an access to two special weapons: PSG1 rifle and G18 handgun.
Michal "kwisc" Chwistek
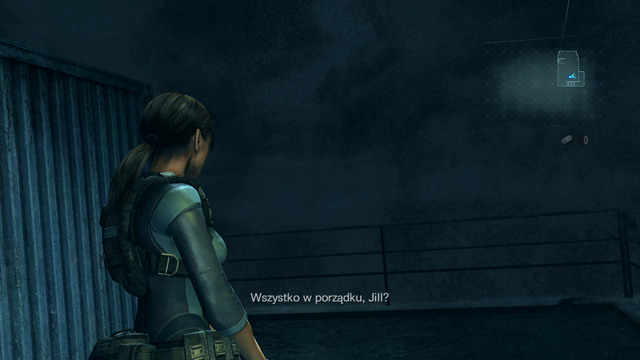
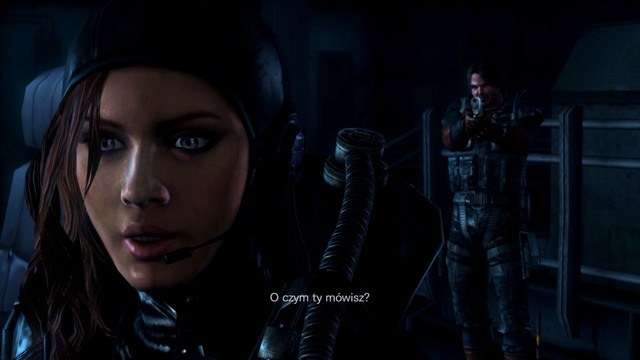
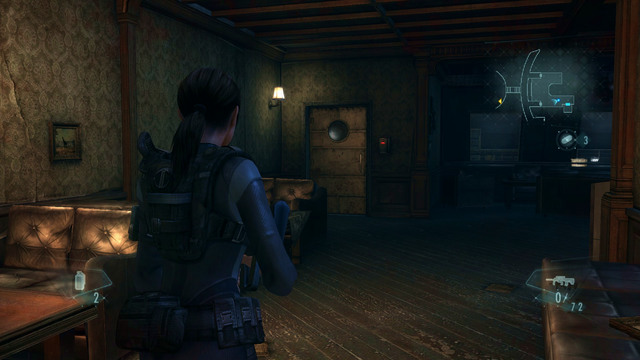
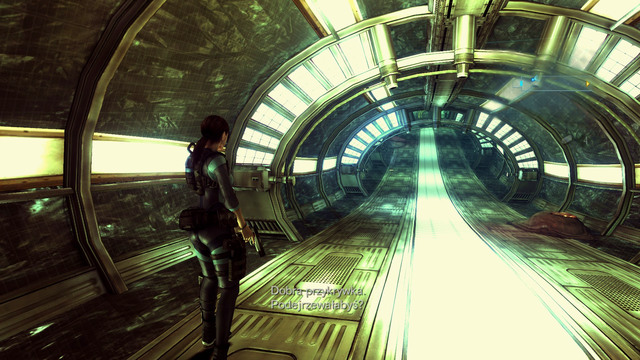
At the very beginning, you're on a board of Queen Zenobia.
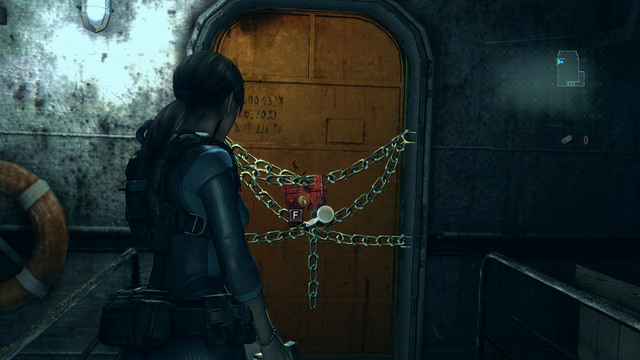
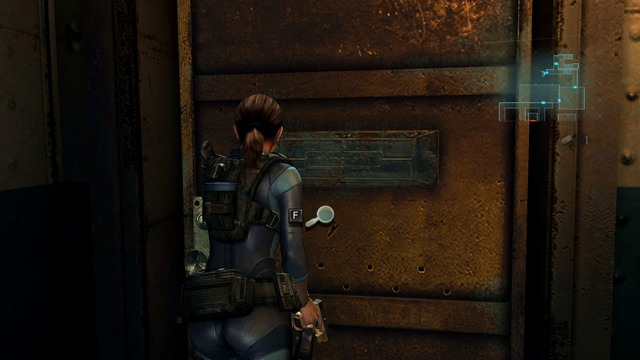
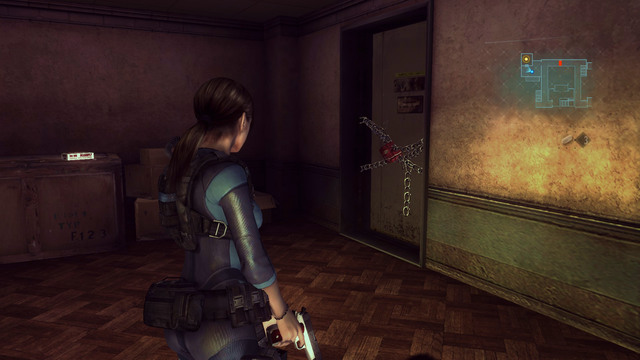
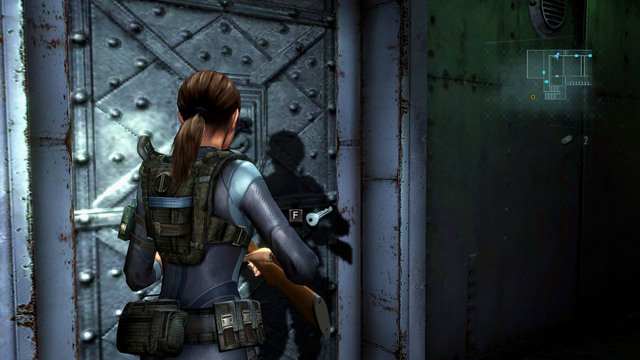
Go forward until you get to to the blocked door. Destroy the chain with pistol or knife (shot button, without aiming).
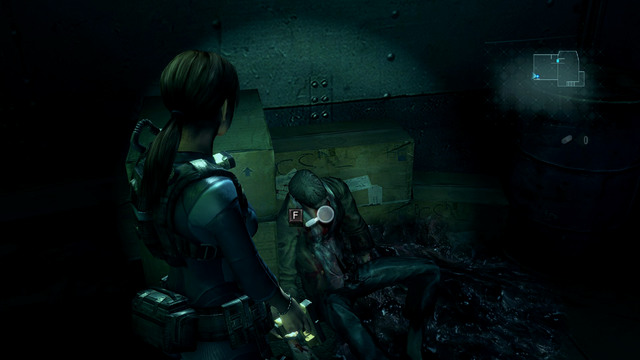
Then go inside and head for the passage in the left corner. Search bodies on your way there.
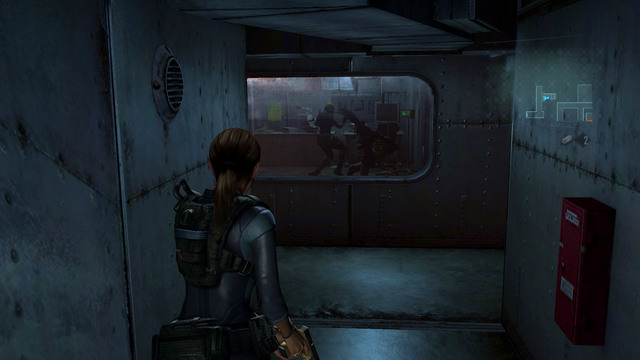
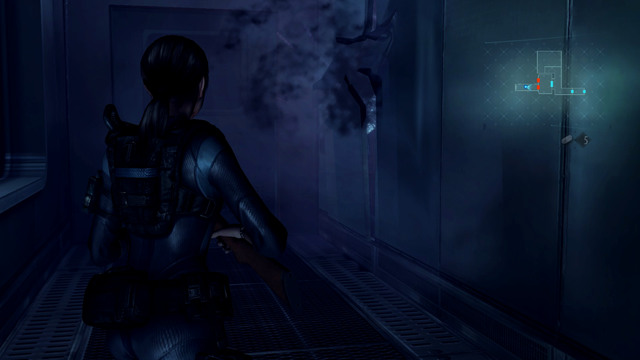
Short corridor leads you to the room, where you'll shortly see some weird shadow. Look carefully at where he did disappear from and move on.
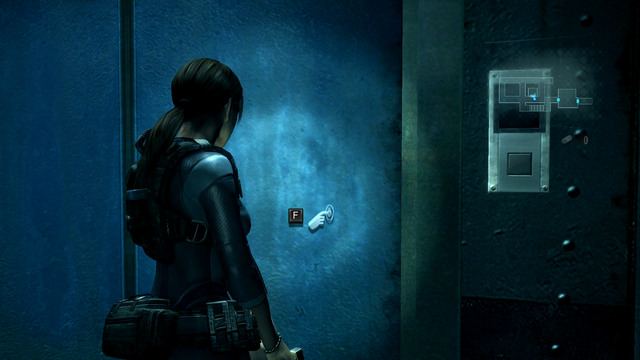
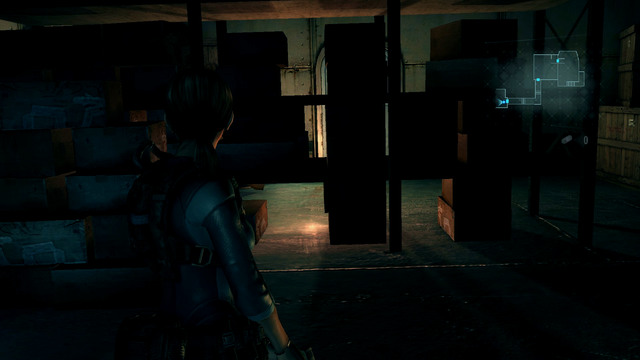
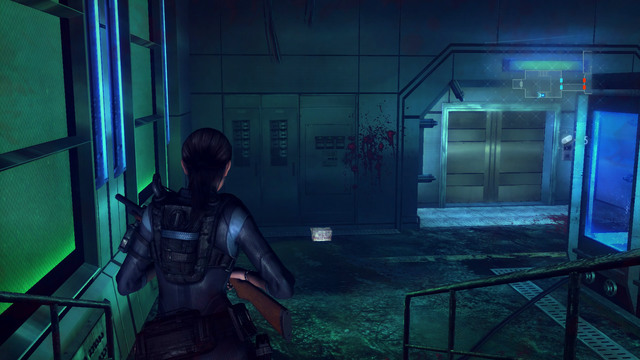
Turn left and the first crossroads. On the right you can find only a barricade and broken elevator.
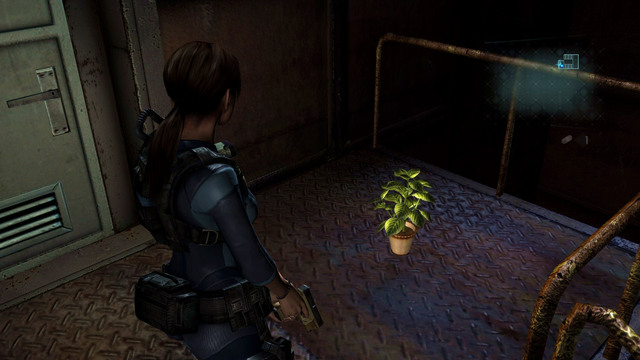
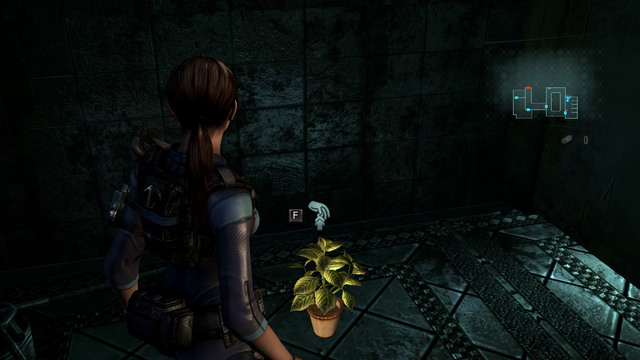
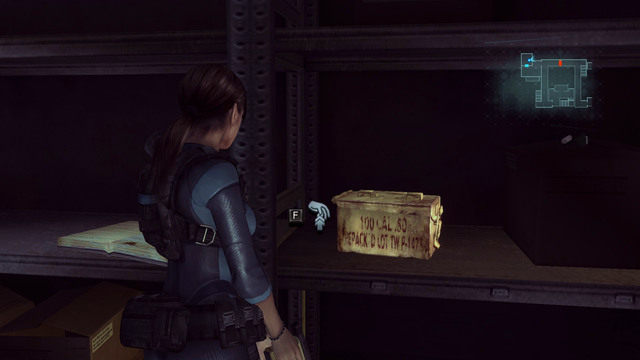
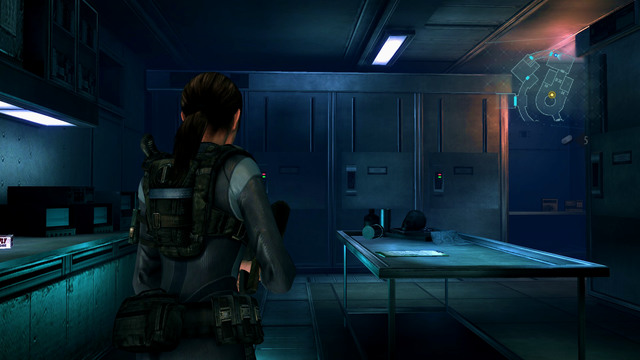
Moving forward you should see a door and lockers next to it. Search them carefully and you'll find green herb. It regenerates your health rapidly.
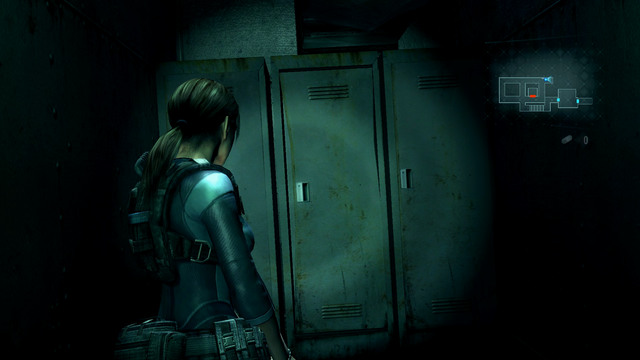
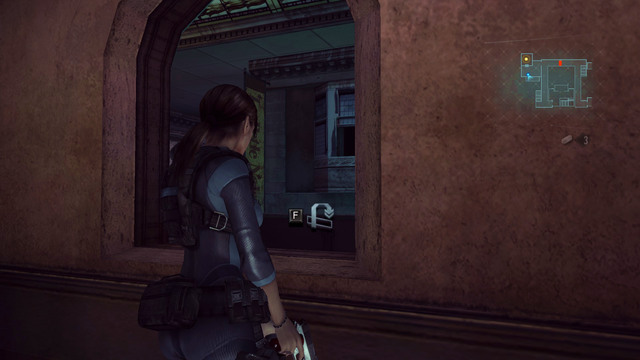
When you pick it up, move through the door on left and go forward. On left from the next manhole you find ammo hid in the locker.

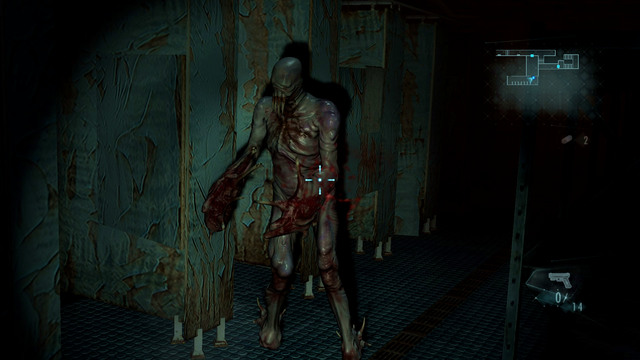
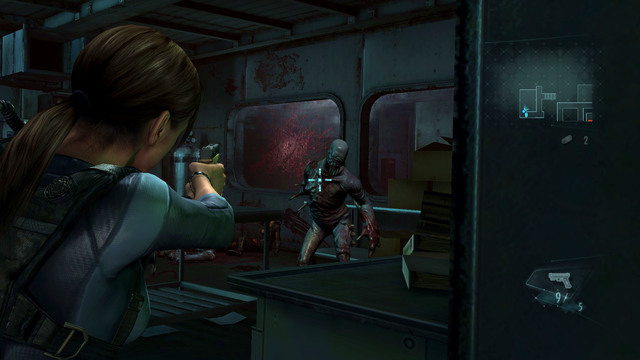
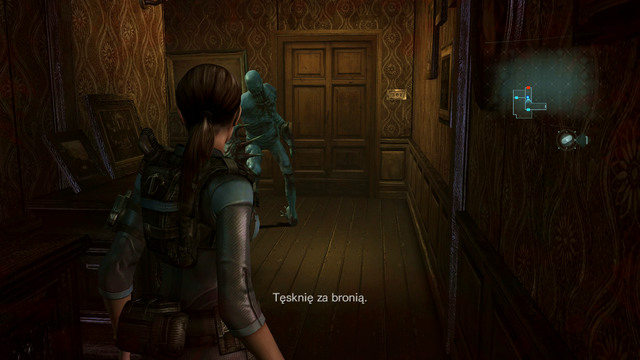
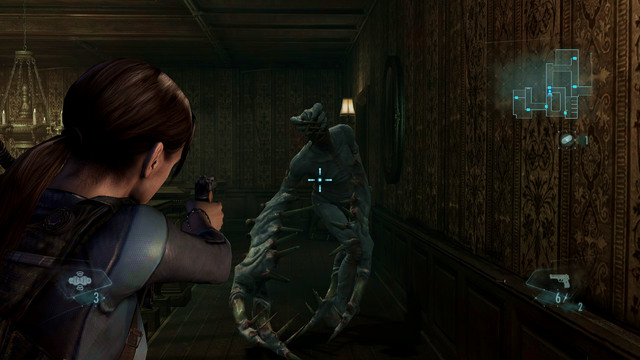
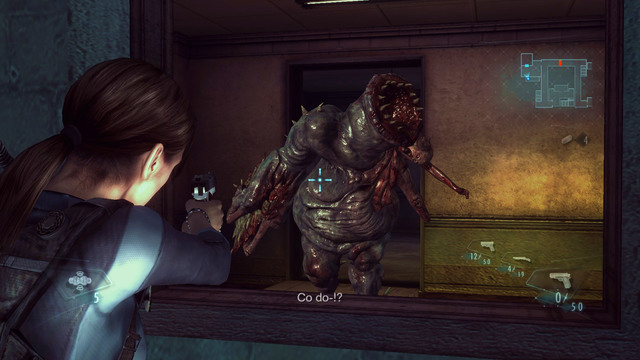
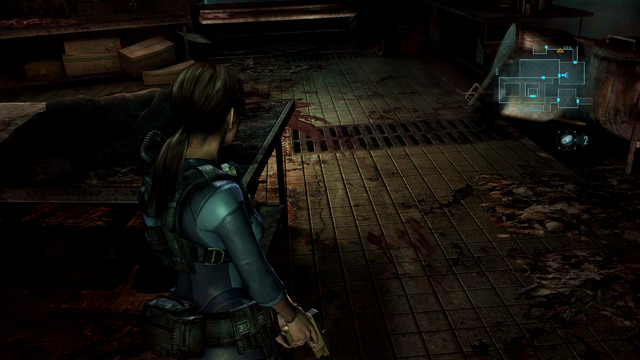
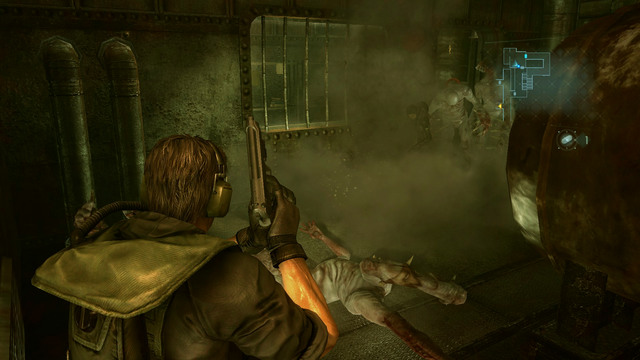
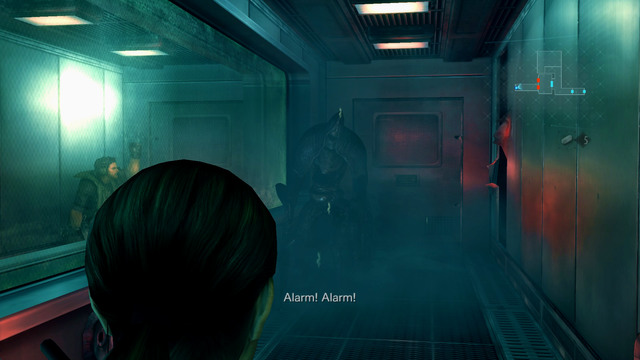
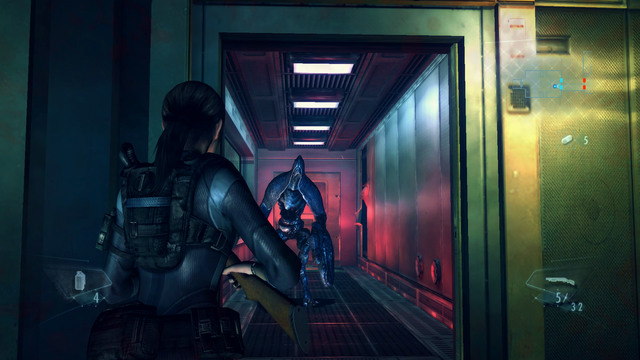
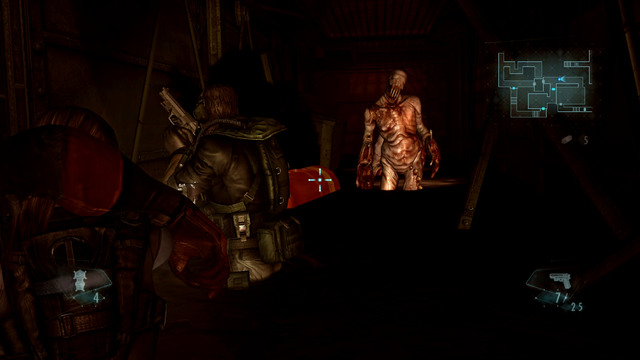
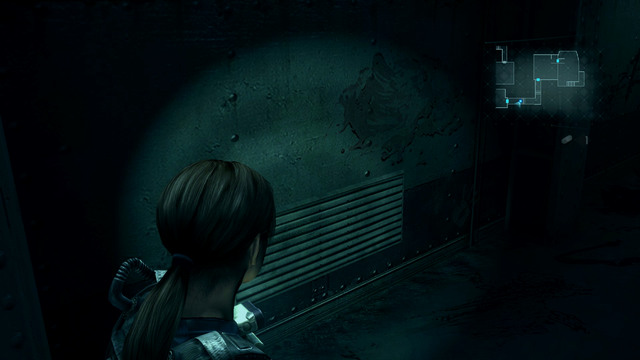
In the room behind a door, you find a bloody grating. Search it. After a short cut scene, you will be attacked by the first enemy.
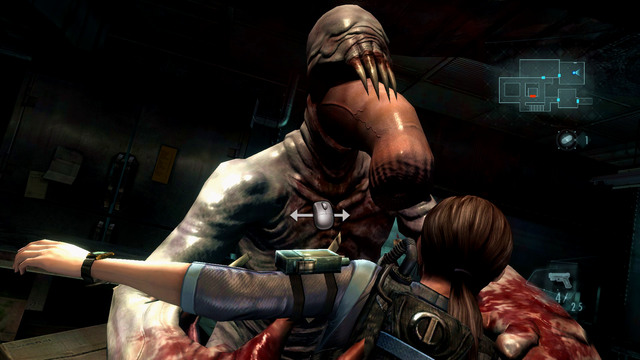
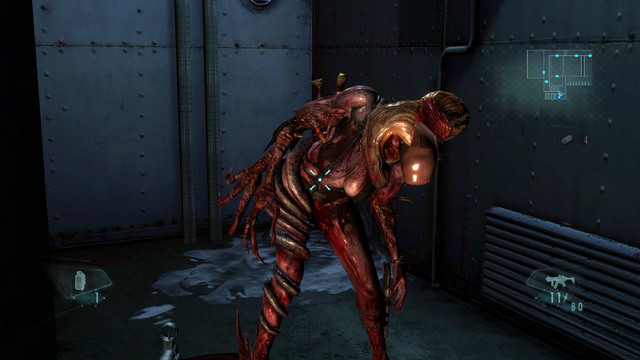
Try to keep him at distance and aim at head. It shouldn't be difficult as the enemy is rather slow. If you get caught, follow the instructions on the screen to break free. Firing at head is important because it lets you kill the mutant faster and costs less amount of precious bullets.
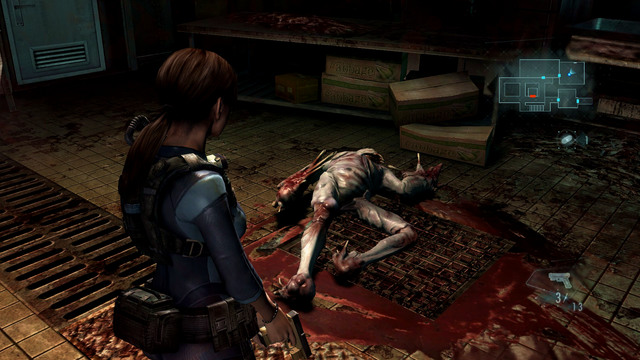
When the beast dies, the first part of this episode ends.
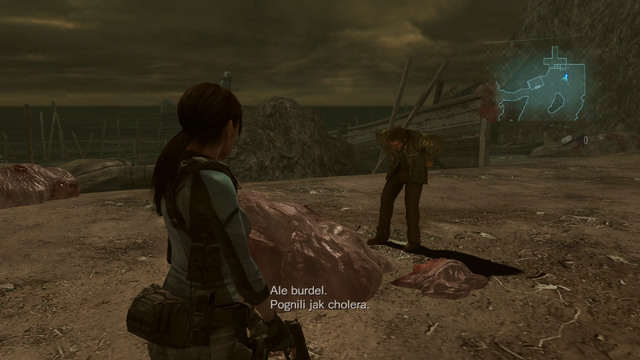
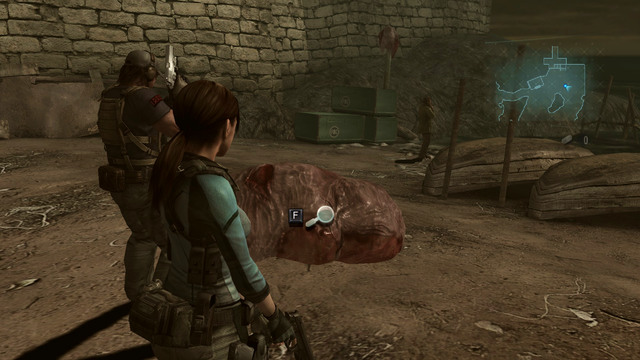
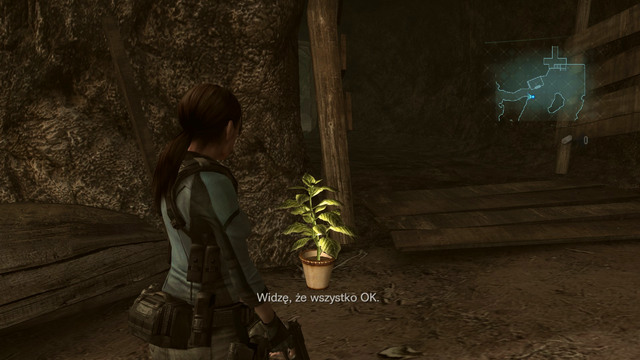
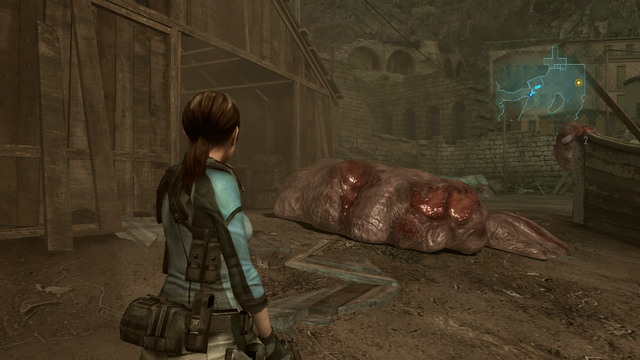
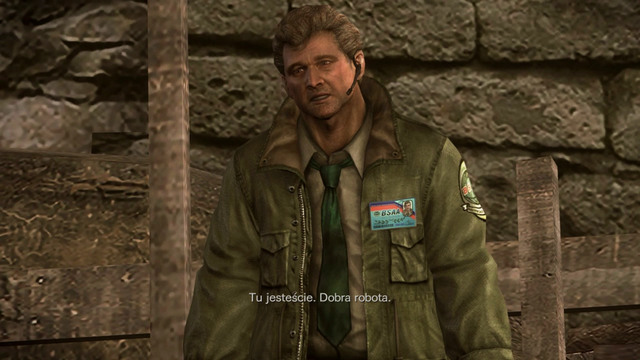
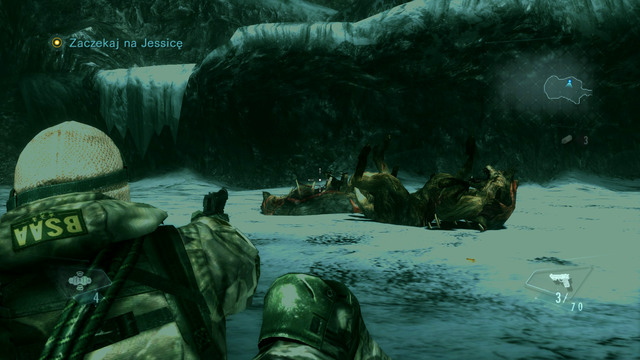
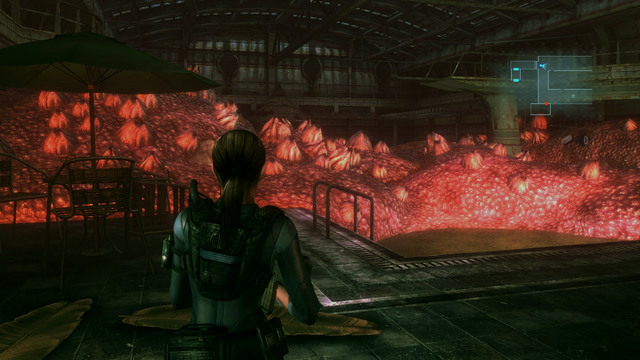
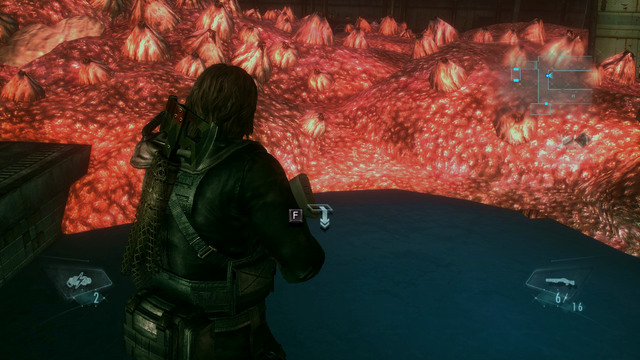
You begin the mission on the abandoned beach. Jump onto a sand and look at the bunch of meat at which your boss is standing.
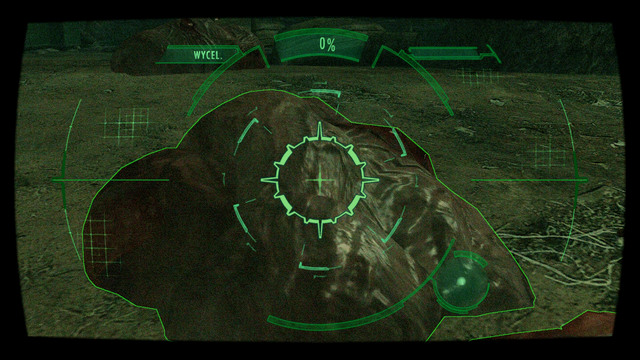
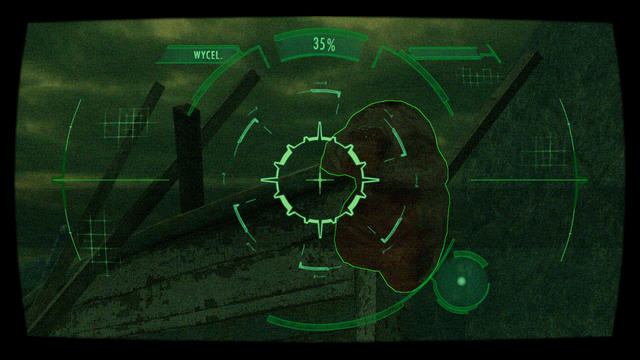
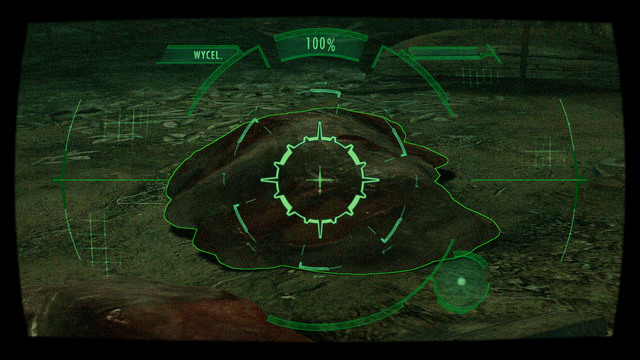
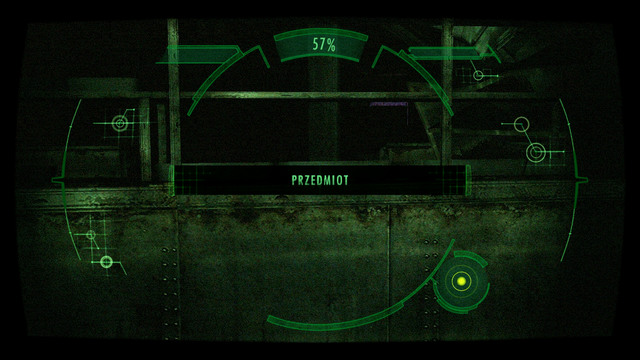
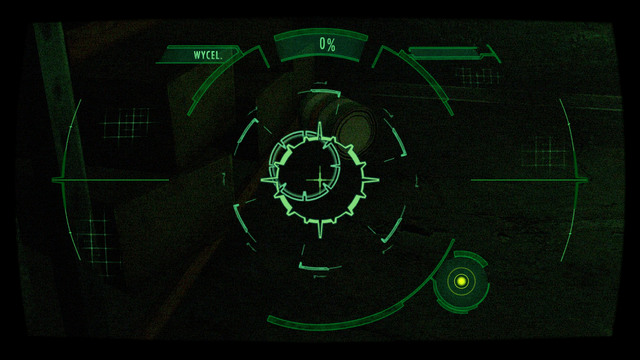
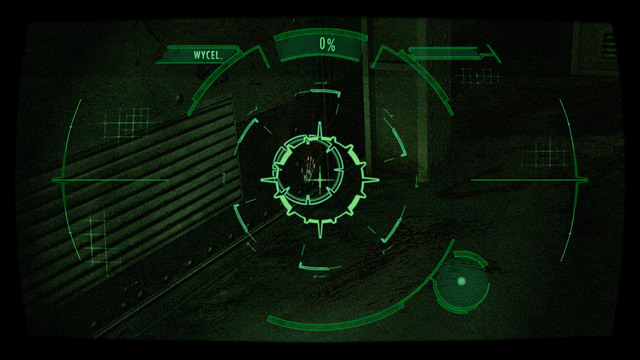
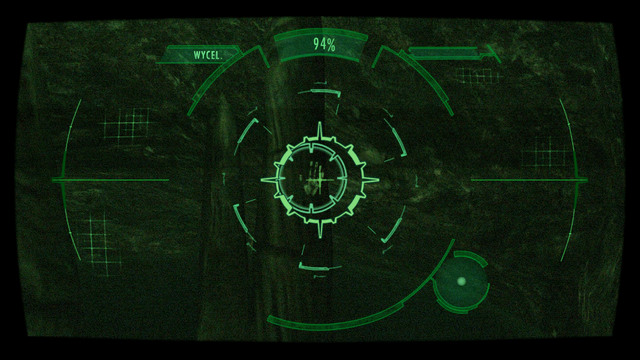
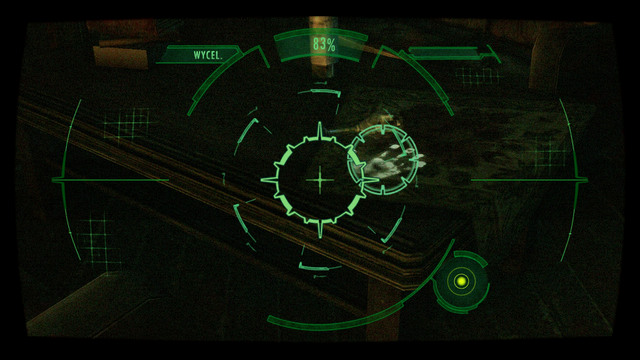
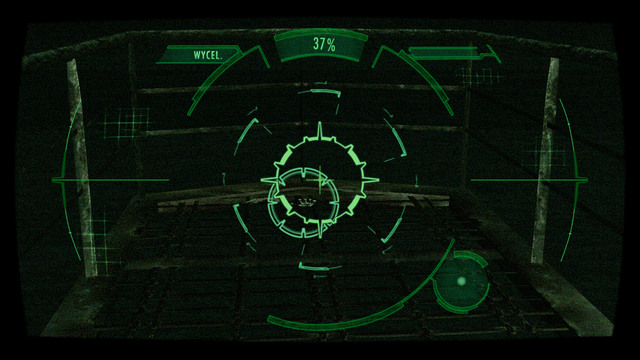
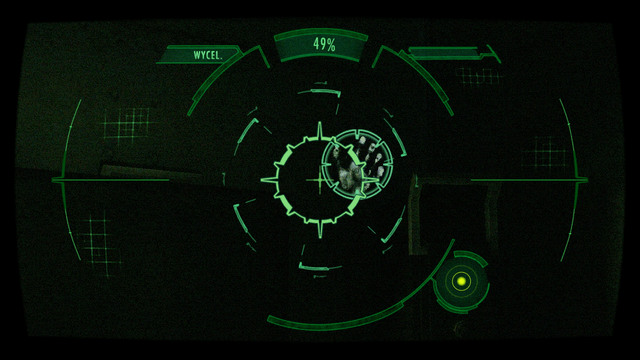
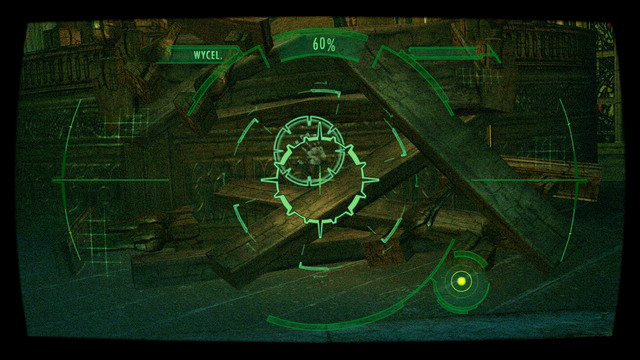
He orders you to scan the mutant with Genesis. To do so, press a tool button, aim at the meat and hold the shot button. In this way you fill a few percent of the bar at the top of the screen.
Your mission requires scanning a number of beasts to get a 100% knowledge about them. The second part of meat lies on the left from the first one, just next to the blue table.
After scanning it, pick up an ammo lying a bit further. Another pack of ammo lies on the ships, nearby the shore.
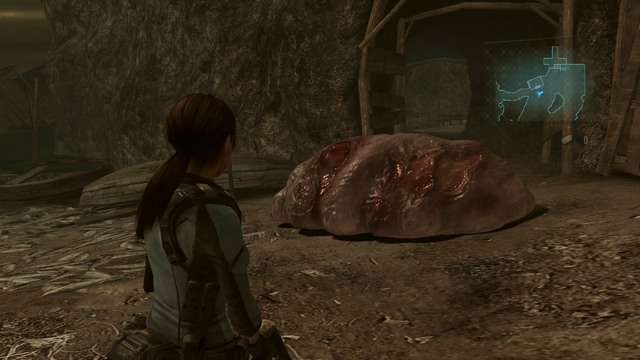
When you pick it up, scan a pile of meat nearby the first sample. You'll detect metal inside it.
Take it off and give to your boss.
More fragments of mutants are thrown over the whole beach. One can be found at the old, wooden boat.
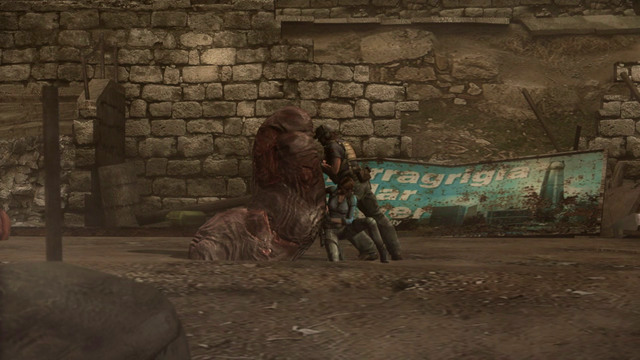
Second one is in front of the entrance to the short tunnel. When you approach it, you'll be attacked. Beast is very slow, so you should kill her easily.
When it dies, pick up nearby ammo and green herb. Further path leads to the other end of passage under the rock.
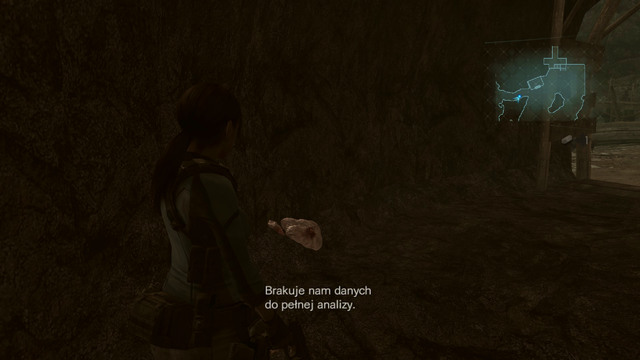
In the short tunnel you find a small piece of substance, which can be scanned.
The bigger one lies on the other side of beach and explodes due to scanning.
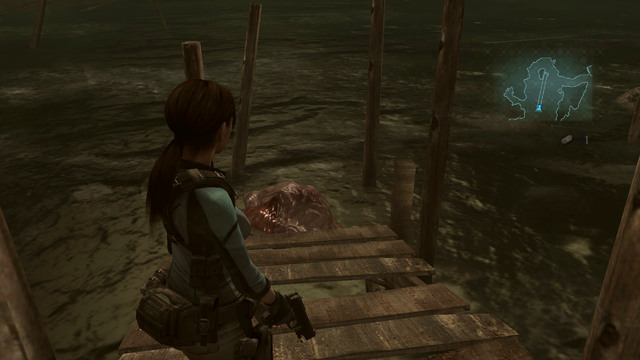
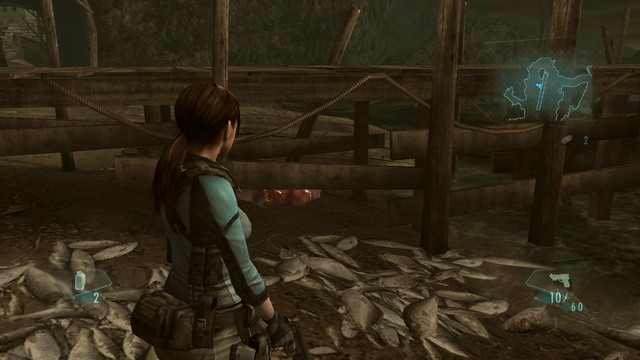
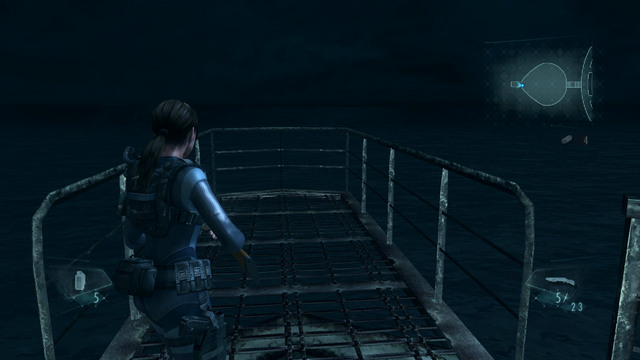
More samples can be found underwater on left, at the end of the pier and next to the barrel on right. Pick up also ammo and grenades.
The last bit of meat is hid under the sand under the pier. To see it, you have to walk to the very end of location.
When the bar is 100% full, you obtain additional med kits, so use Genesis to scan enemies whenever you can. It's the best to do so, when they are dead, but sometimes their bodies disappear so quickly that you can examine only living organism. Remember also that every scan of the same type of monster makes more difficult to full a Genesis bar.
Genesis lets you also discover invisible items (it's good to search new rooms with it) and examine handprints, about which you can read more in the dedicated chapter. When the last examination is done, head for the other end of beach to your boss. In this way you finish this stage. But before you get there, you'll be attacked on the other side of the passage.
Kill him quickly and pass collected materials to O'Brian.
When you get onto a ship again, use a Genesis onto a formerly killed zombie and then move on.
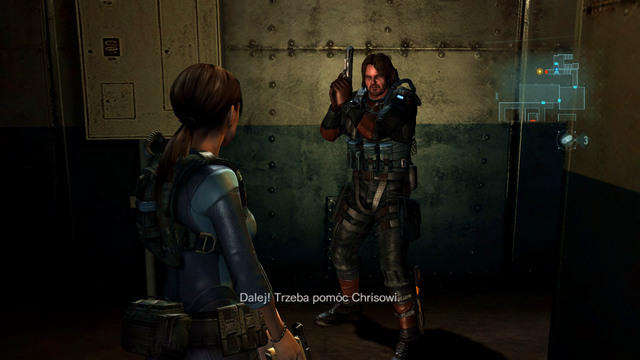
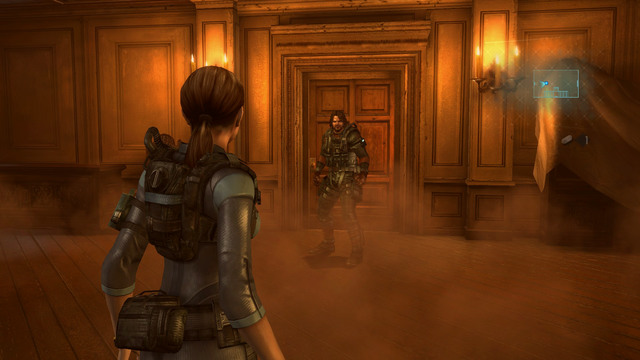
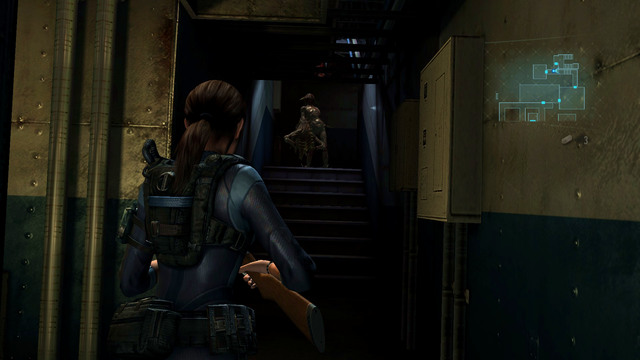
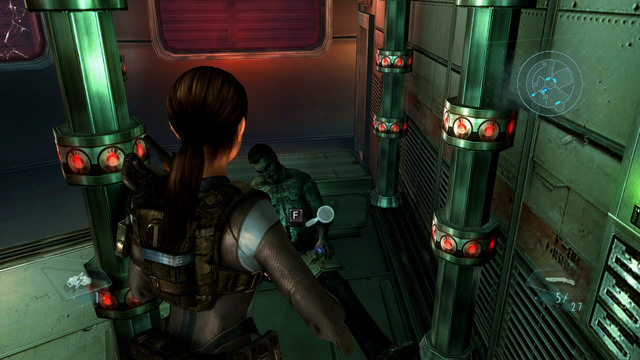
Go forward on the crossroads and look at closed door. Behind it, you'll see a tied man.
To open the gate, you have to return to the crossroads and turn left. Go upstairs where you find a green herb.

After picking it up, open door and head forward, until you see an entrance to the cabin on left.
At its end you find a bathroom. Be careful there, as one mutant is hiding inside - he'll attack you, when he sees you.
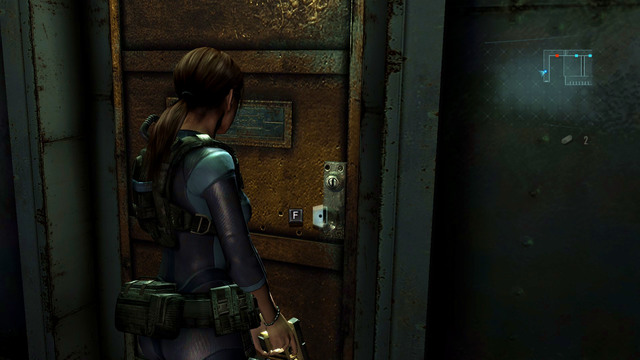
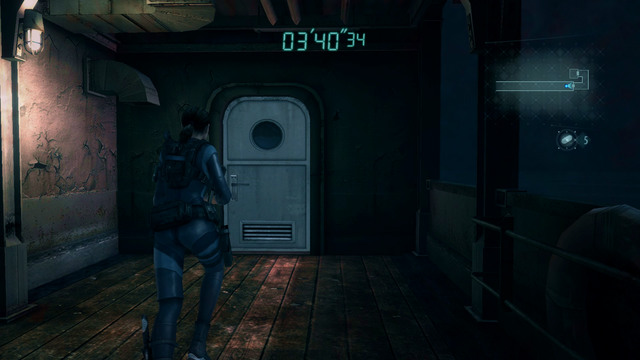
Moving forward, you get to the corridor with two closed doors. Door without an anchor mark requires a key, which you'll obtain soon.
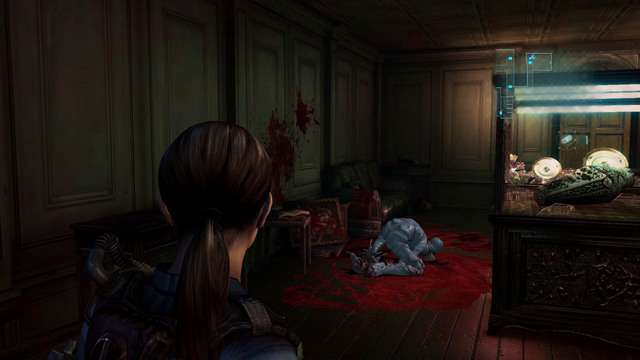
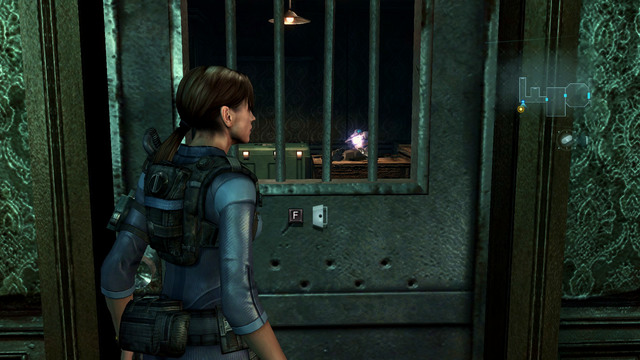
When you get through the only open door, go downstairs. There, you'll see a death of unknown woman.
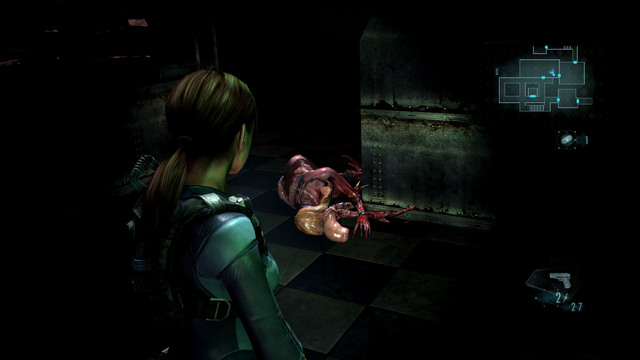
To revenge her, pick up bullets hidden in the locker on right and then go left. Short corridor leads you to room with two mutants. Kill them one by one, scanning before firing.
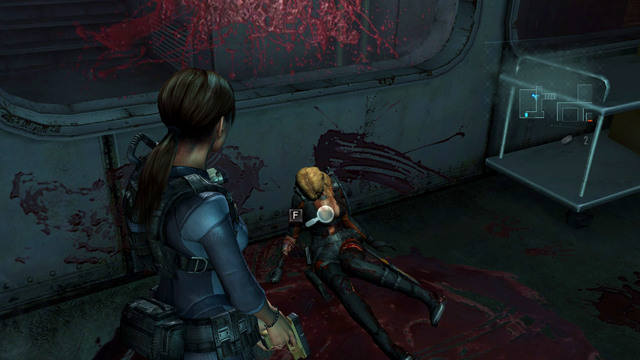
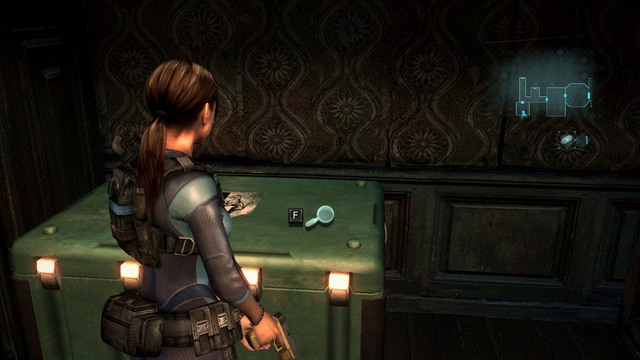
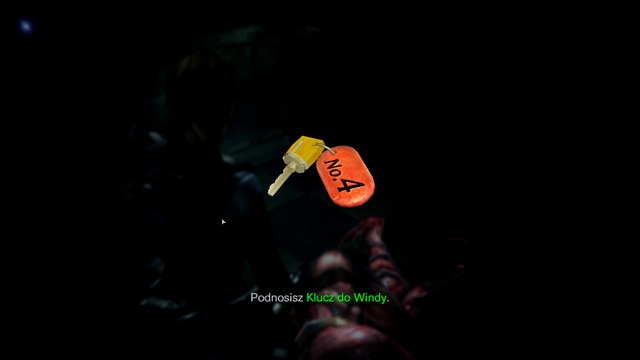
When the area is clear, look at a dead woman and scan an area around her with Genesis. You'll find a key.
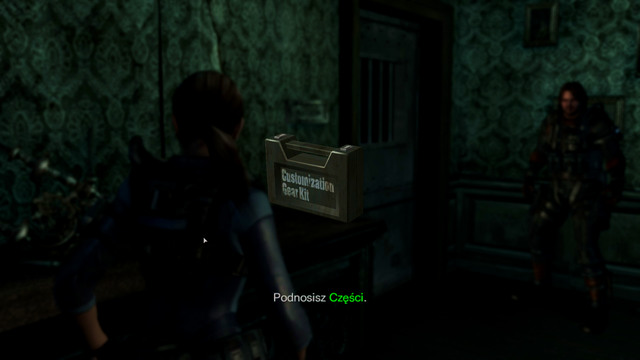
Now you can return to the place where you've seen a tied man and try to rescue him. On your way there, kill all enemies and search a room which was previously blocked (to which leads door with an anchor on it). Inside you can find ammo, grenades and one mutant. If you use Genesis during searching this room, you find two more items, including a green herb.
During walking, it may turn out that you don't have enough bullets to kill zombie. If so, you can omit a battle or use your knife. But melee fight requires some good evasions. To avoid an enemy attack, wait until he begin a claw swing and then press an up arrow. You should avoid the blow. It's worth to practice evasions, to use them freely in the further part of the game.
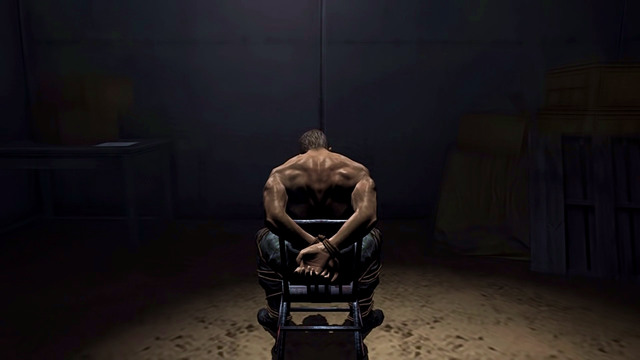
When you open door to the room where the tied man is, the episode ends.
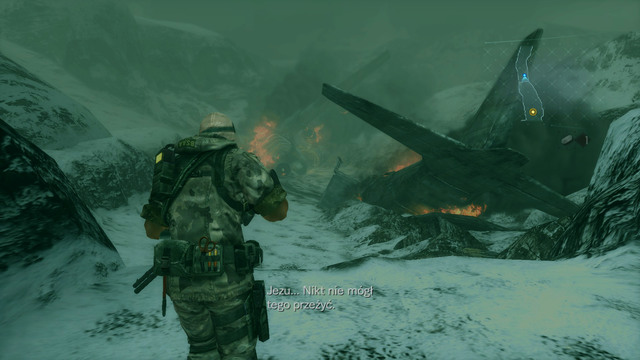
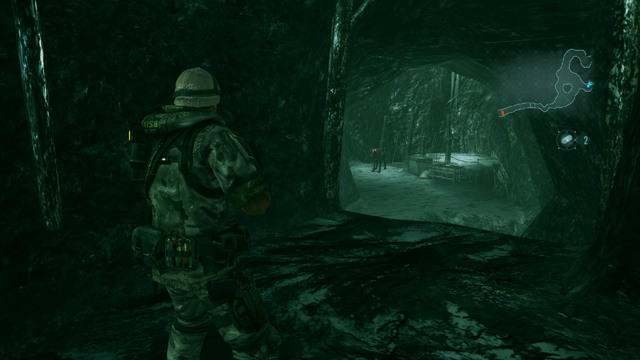
Go forward, at the beginning, until you reach a site where the plane has fallen.
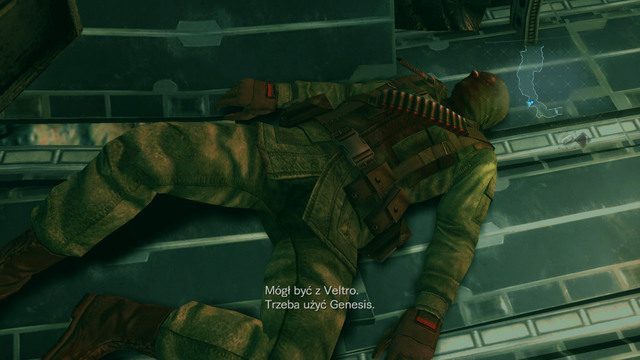
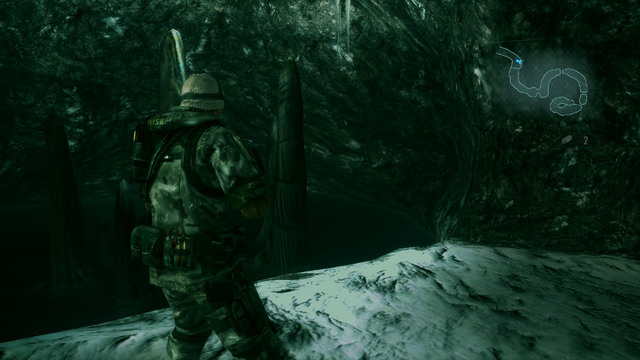
Inside, you find a pilot body, which you have to examine with Genesis. It gives you a flight plane. Pick it up and move on forward, until you reach a deep cave.
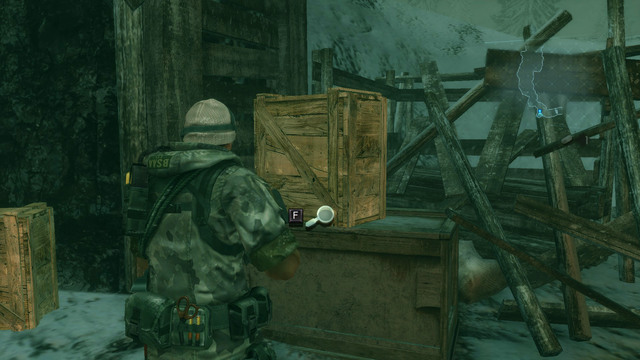
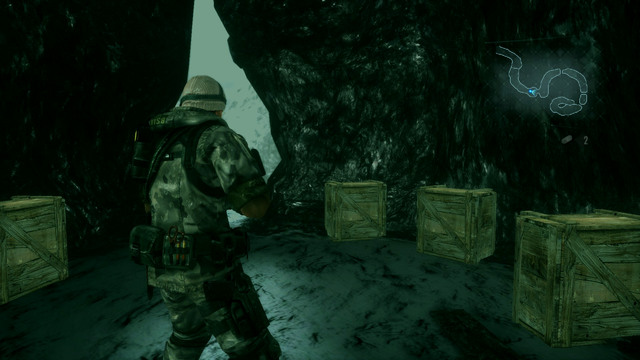
Before you get inside, destroy wooden crates with knife and pick up ammo and green herb.
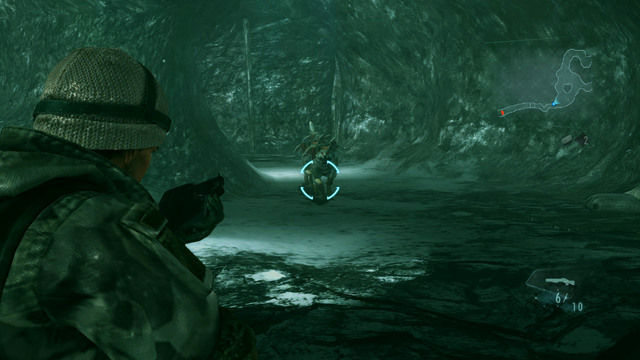
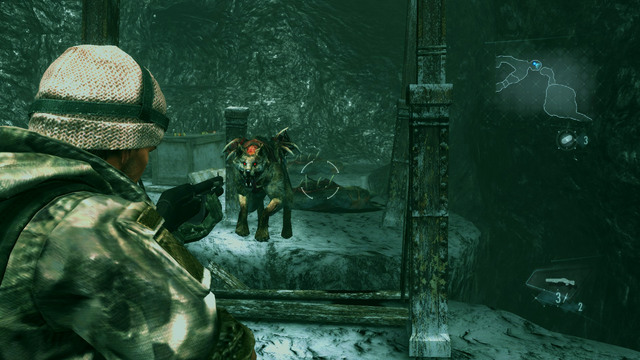
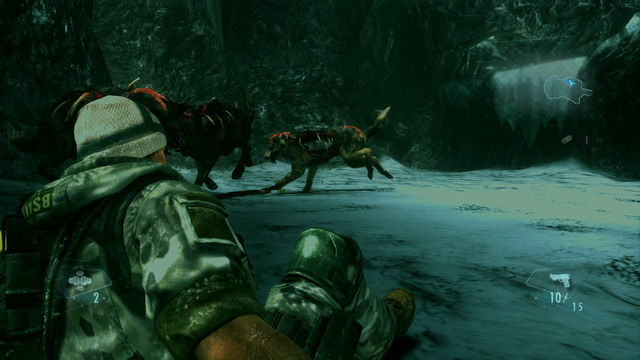
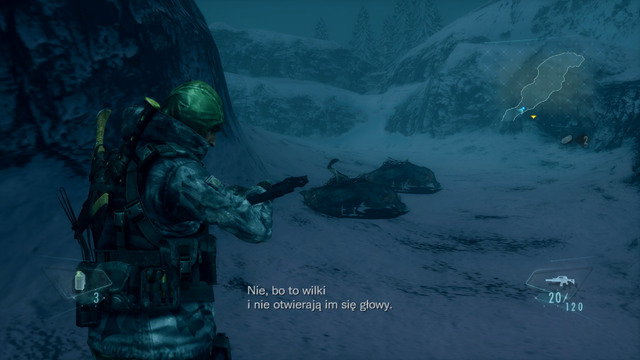
After a short walk, you'll be attacked by a small group of mutated wolves. Defeat them quickly, using your shotgun on a short distance. If any beasts get closer to you while reloading, try to evade its attack.
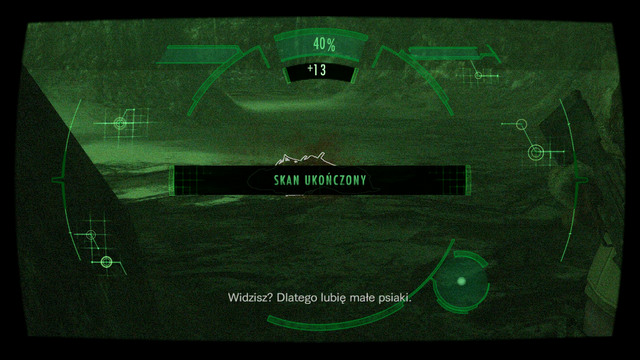
Wolves bodies disappear right after death, so scan enemies when they are still alive or just after killing them.
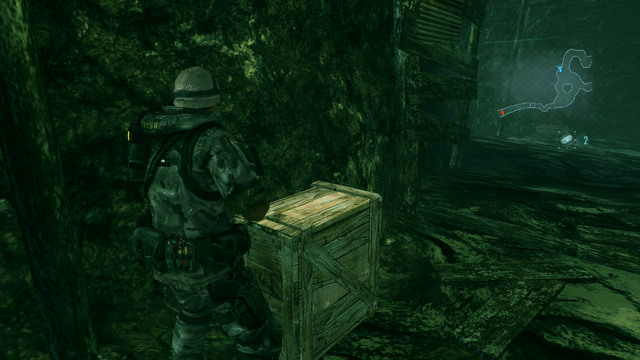
When the area is clear, pick up ammo hidden in the nearby crate and then go forward choosing a path on right.
Both roads lead to the same place, but the right passage allows you to eliminate running enemies safely.
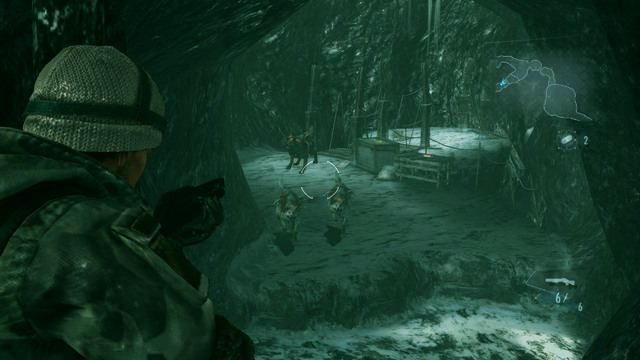
It's enough for you to get to an edge and you'll see a pack of wolves. Move back about 2-3 meters and kill off monsters jumping up to you one after another.
When the last mutant is dead, go down and collect ammo. Next to the bullet you can find hidden green herb, which you can detect using Genesis.
Three wolves will appear behind a wooden bridge. Kill them while they will try to jump at you and then get at the other end of the abyss.
You find a new type of grenades here: B.O.W. Decoy. It lands on the earth and lures all nearby enemies to explode a few moments later.

Throw a first decoy at wolves, who will attack you from the left, after jumping down to the bigger cave.
Use it for the second time, when new enemies arrive. This should help you clean up area very quickly.
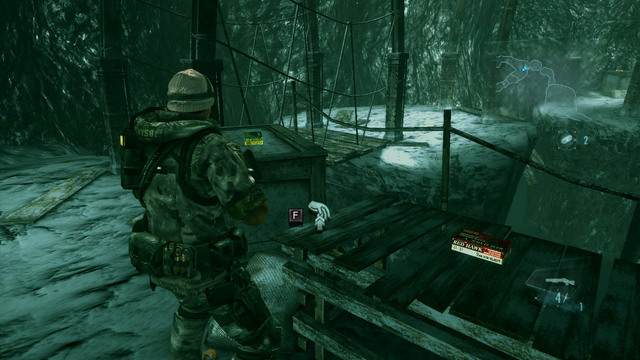
When the encounter is over, pick up all nearby items and move forward.
At the end of tunnel you find crates with ammo, decoy and medicament. Collect all and head forward until you fall down a level lower.
A rather difficult fight begins there, when you will have to eliminate all running wolves while lying on the ground. And you have only a pistol and decoys, that you've picked up.
Try to fire at closest enemies and don't miss, because you don't have a lot of ammo. To save some bullets, you can also use a knife against the beasts which jumped at you and are very close to you.
When all wolves die, move forward until this part of episode ends.
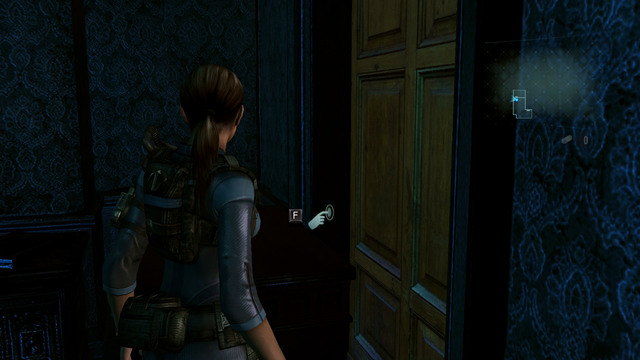
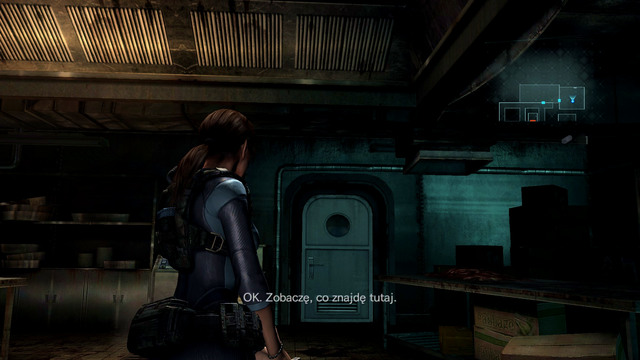
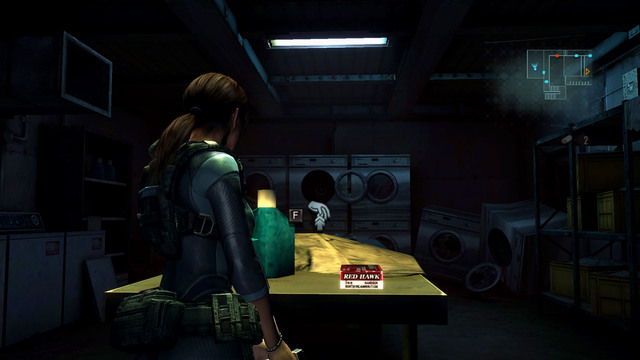
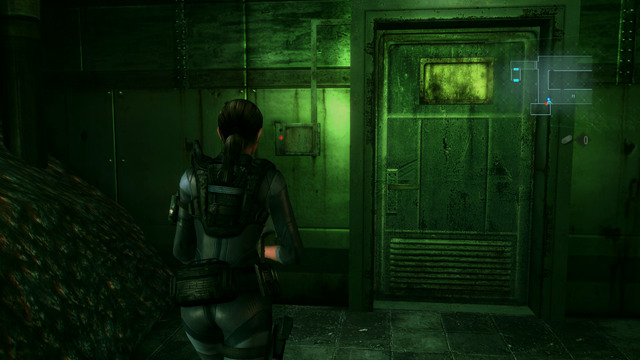
When you get into an empty room, move a cabinet blocking door and enter the bathroom.
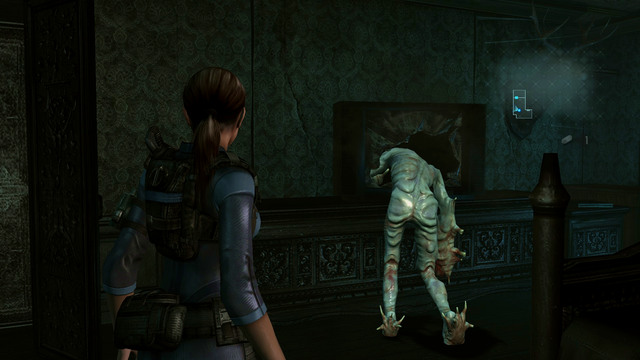
You'll find a green herb and a screwdriver hidden under the toilet bowl. Pick up those items and return to room.
As you make it, you'll be attacked by zombie. To defeat him without any weapons, move next to the TV and evade to avoid the blow.
Beast will smash his head into the screen and you can safely approach the exit door.
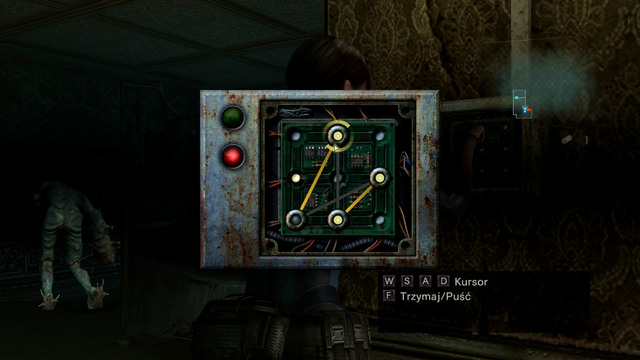
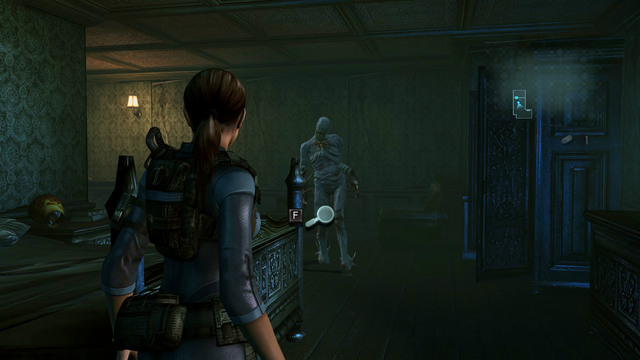
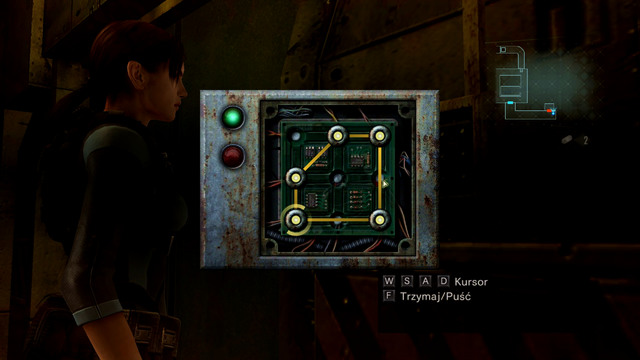
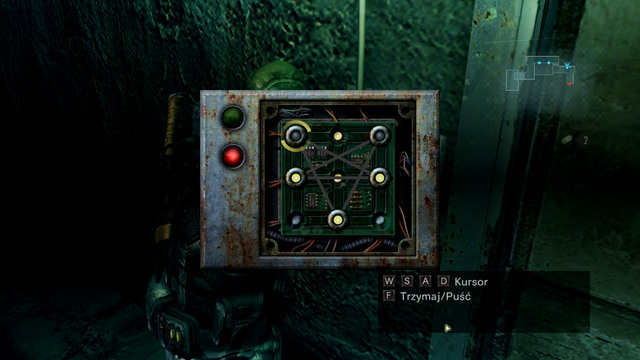
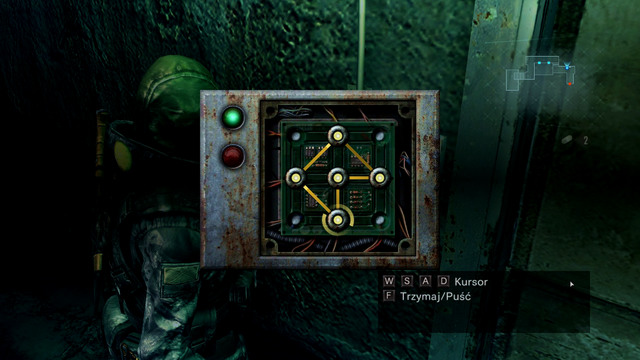
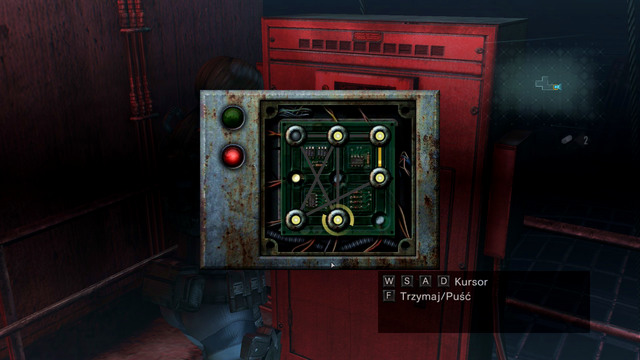
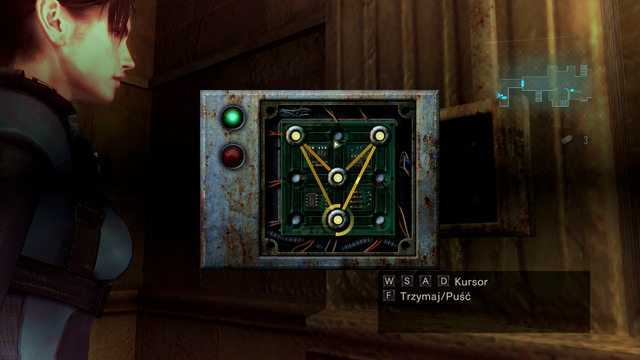
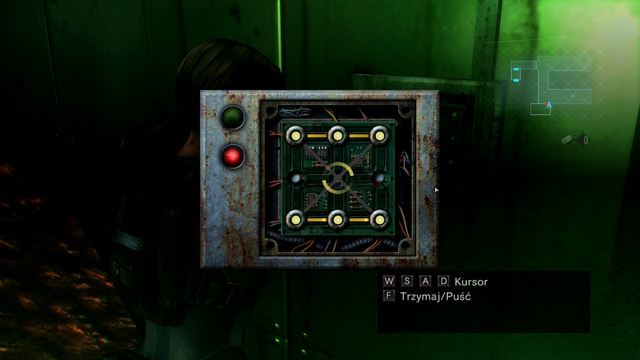
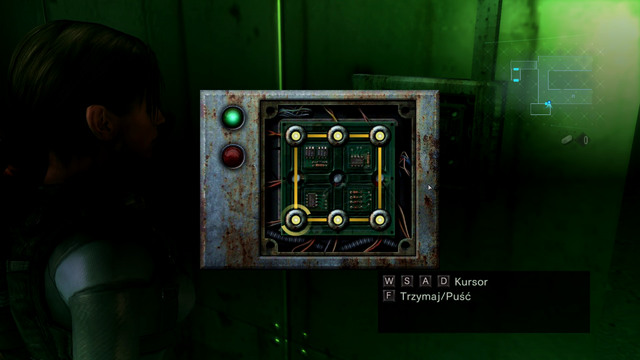
To open it, use a screwdriver on a box on left. A simple minigame launches. You have to place circles in a way, to make them be on the glowing fields and their connections not to cross. You point a metal circle with an action button and move it with movement keys.
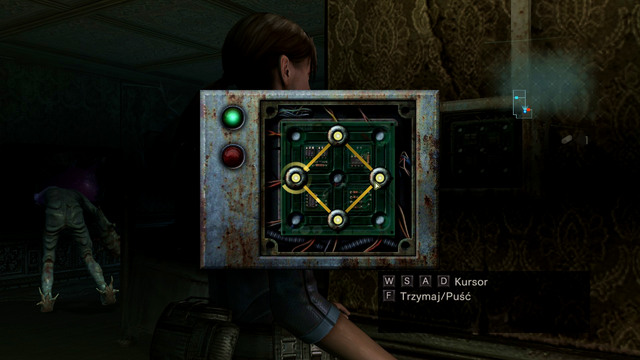
Move an upper circle left and then switch on its former place the bottom circle. Now you should make a scheme shown on the screen above without any problems.
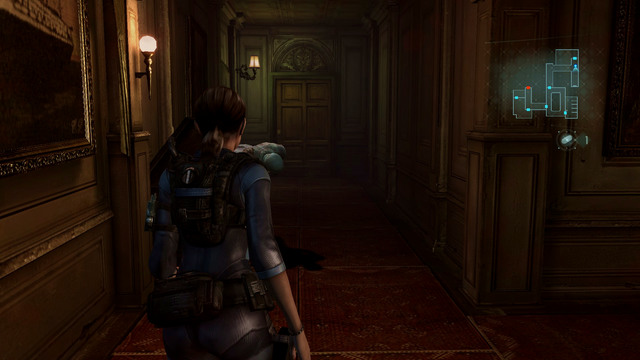
When the door open, leave the room quickly. Path leads right.
Avoid another zombie attacks and get to a small hall. Behind a door on right there is a bathroom, where you find a green herb and another enemy.
If you don't feel good about evasions, pass this place and head for door on left.
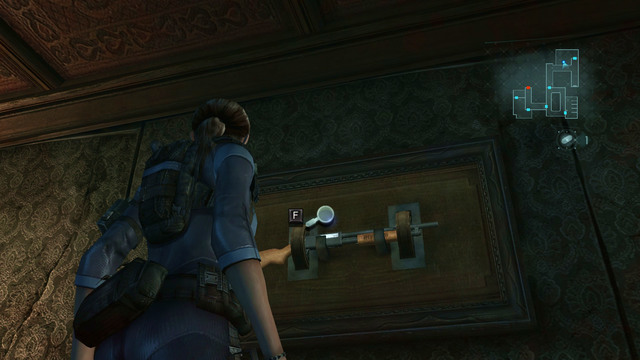
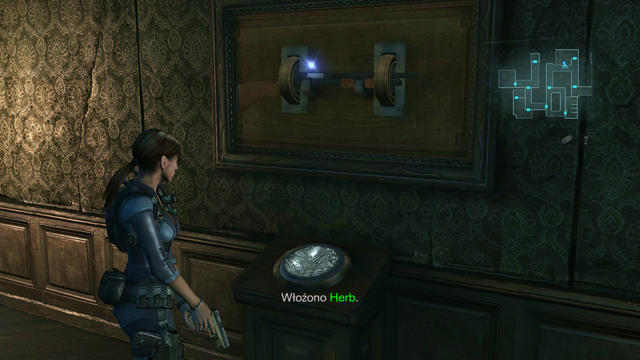
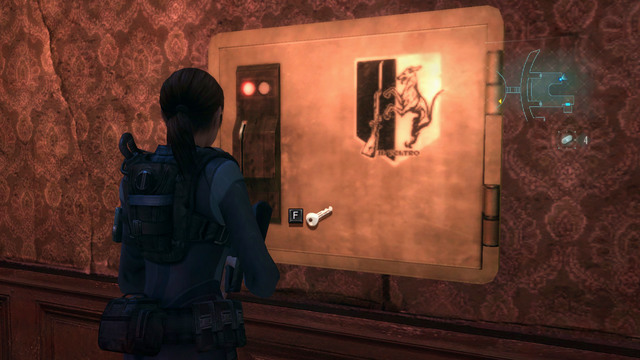
You will see a long corridor with a painting on the wall. Under the painting you find a safe, which you can remember - but you'll open it in the further part of the game.

Moving forward, you see a zombie going right. Run next to him and enter the room on left.
Inside you find ammo and a shotgun hanging on the wall. But you will be able to pick it up later.
For now on, collect bullets and return to the corridor. Now you have to run quickly forward before another enemy emerges from the locker.
Corridor takes you to the room with expositions and zombie, who is eating. Pass the zombie from right and then move the cabinet blocking the door twice.

When you finish, run quickly to the other end of room, lure out the beast and push the furniture two more times.
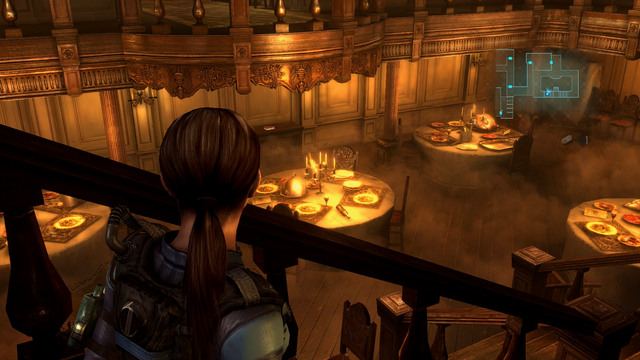
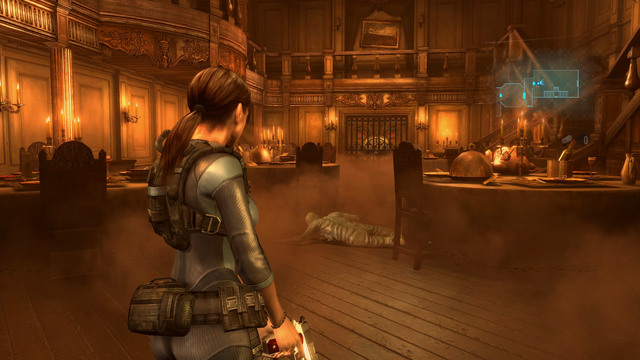
Now you can enter the dining room of the ship.
You partner emerges from left and you have to follow him. During the march you'll run into few enemies. You can kill them with obtained decoys or pass them, making quick evasions.
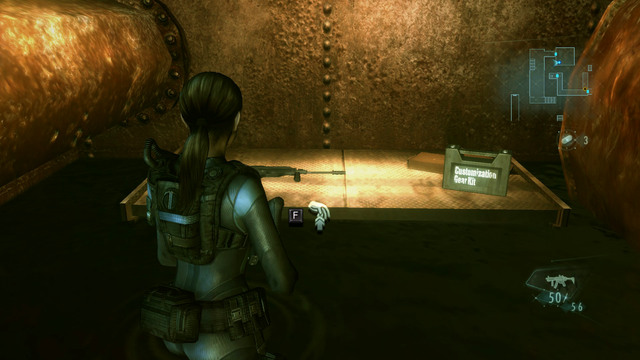
Finally, you get to the place, where Parker points you a room with weapons. Enter it and pick up a stolen equipment.
Inside, you find also a green chest, thanks to which you can change your weapon and use previously found upgrades.
One of them lies in front of the room.
When you make all changes, go outside and return to the dining room. You can earlier search an opposite room, where Parker was held. Using a Genesis you find there a grenade.
From the dining room return to the place where Gill was trapped. You'll find several enemies on your way, the one with two big claws. Kill him using grenades, to not lose a lot of bullets.
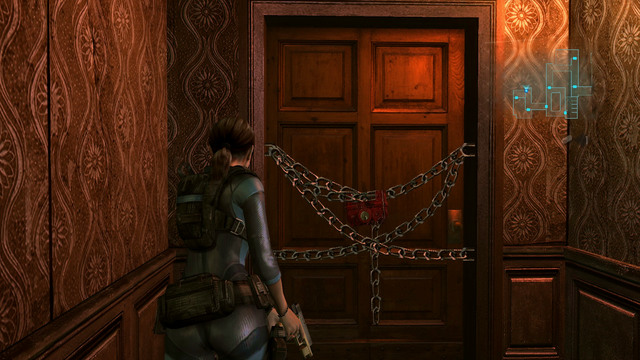
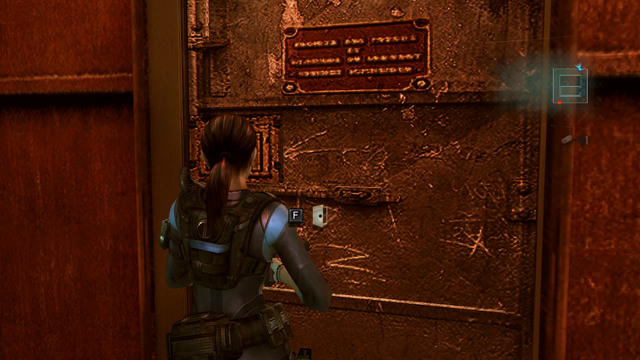
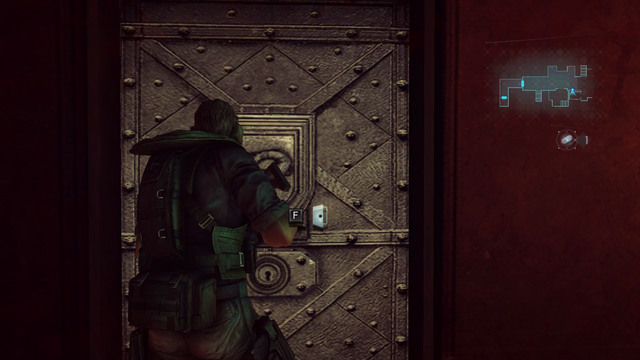
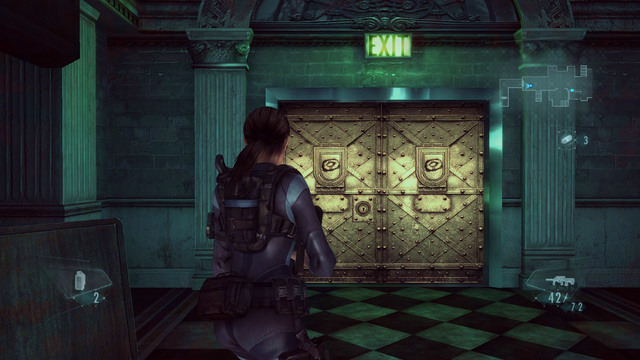
Opposite to the place where you've been trapped, you should see a chained door.
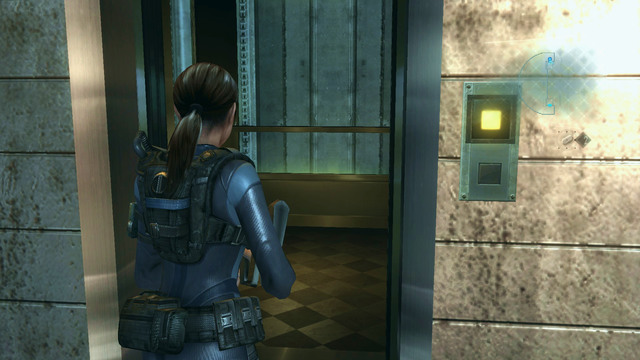
Destroy a padlock with a knife and then go to the elevator. It takes you to the bridge.
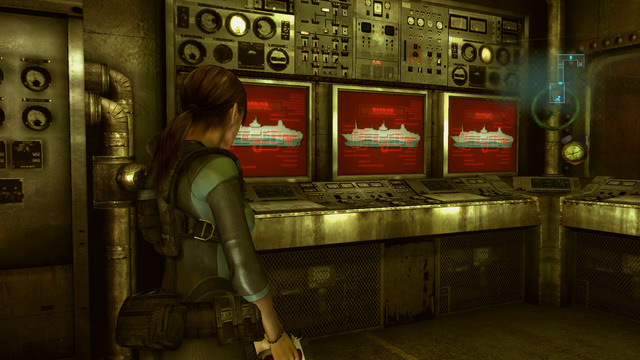
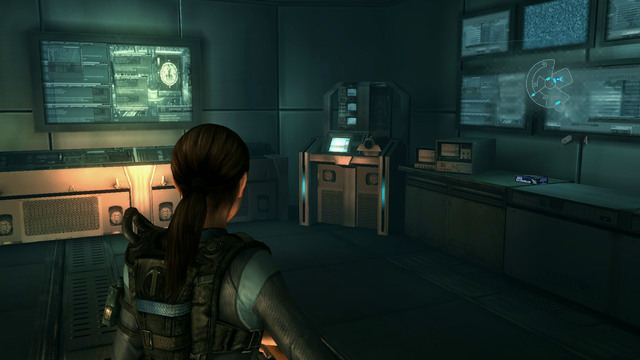
Walking forward you get to a room with few lockers. Open them all to collect ammo and herb. Bridge is a few steps ahead.
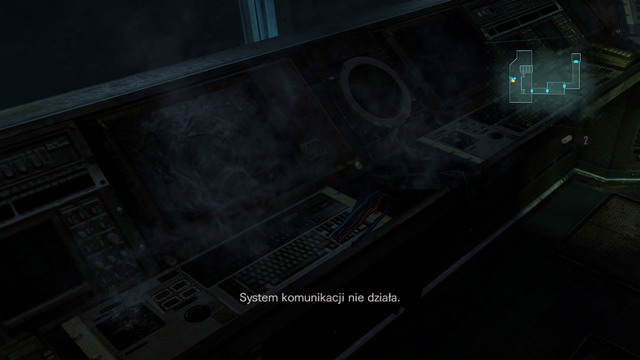
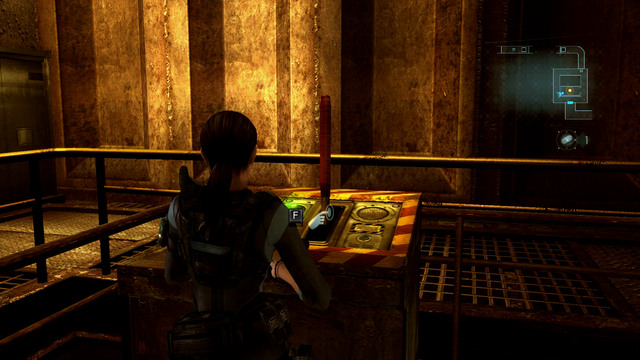
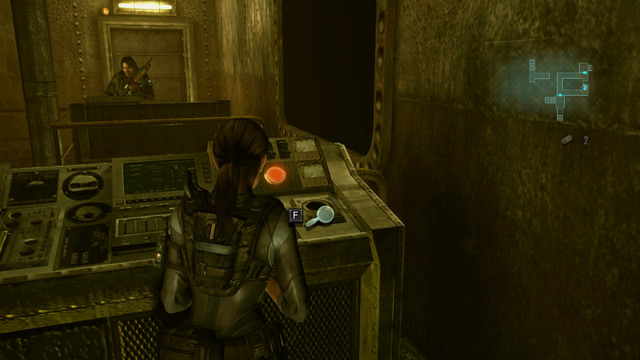
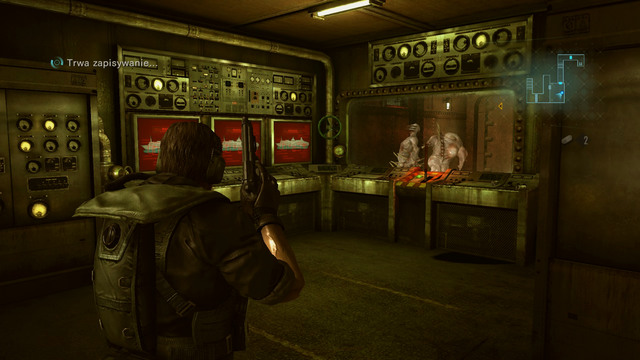
Examine the broken machines and collect all possible items. There will be among them an ammo case, which increases a number of bullets. A moment later this stage ends.

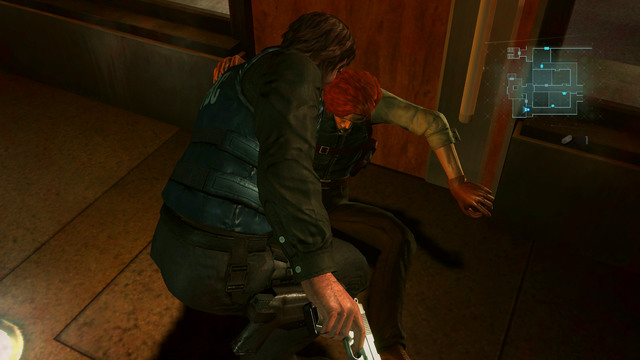
When the episode begins, pick up all items lying here and there and then exit room and go downstairs.

A moment later you'll be attacked by a new type of mutants. They are very fast but it takes them a lot of time to attack for the first time. Use it to kill them from a long distance.
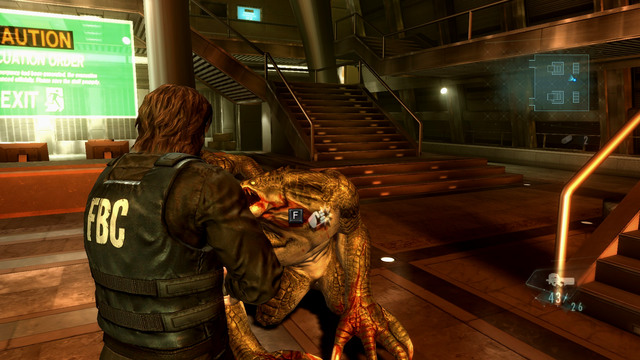
To save ammo, you can finish enemies off with fists. You do it with action button when the beast is knocked down. But be careful and avoid such actions if there are more monsters running around.
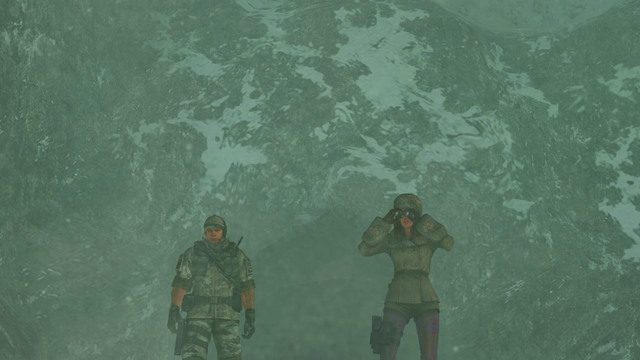
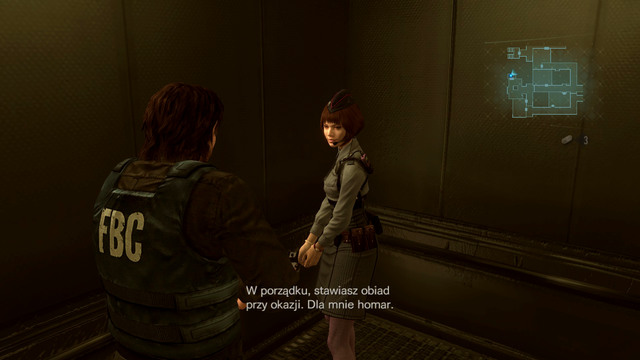
When the area is cleared, search the room for bullets and herb, and then follow Jessica to the elevator.
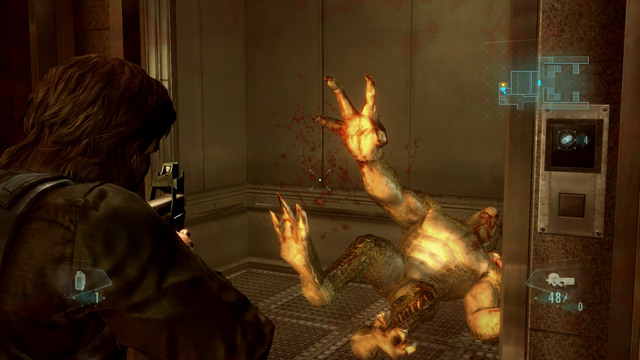
Inside you find a single enemy, but he shouldn't be problematic for you.
When it dies, push the button and ride up.
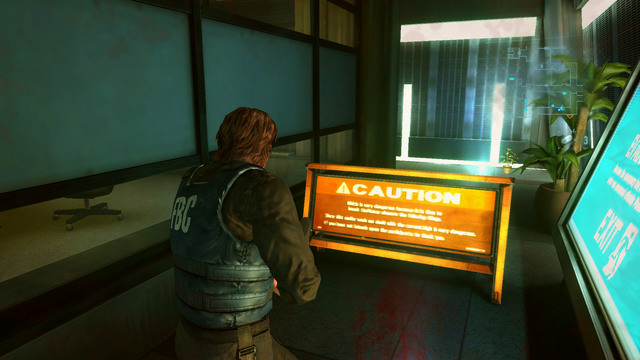
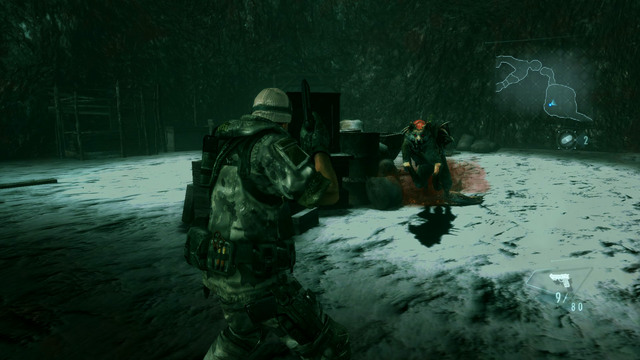
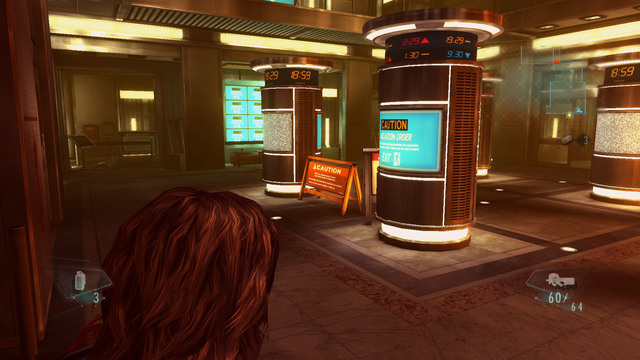
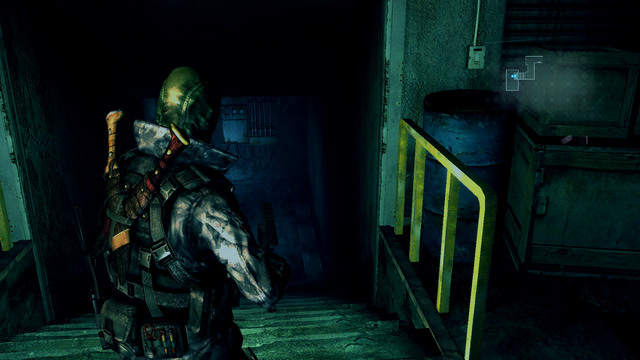
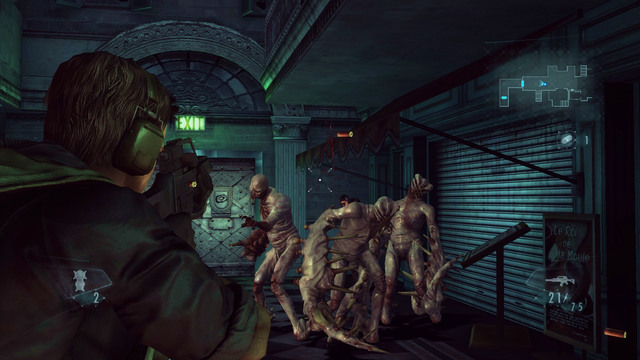
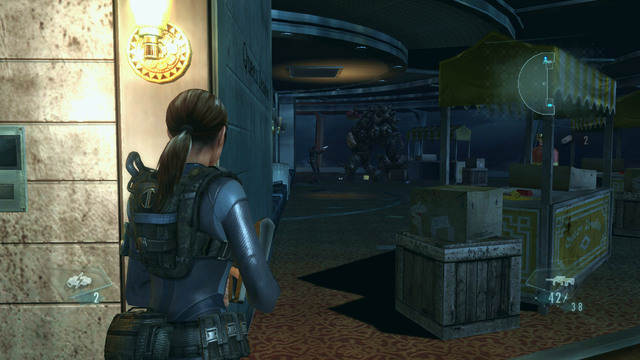
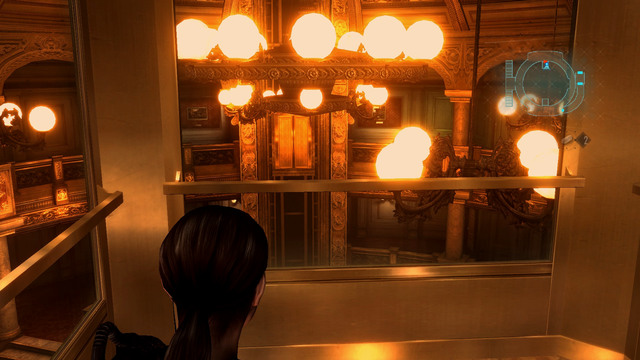
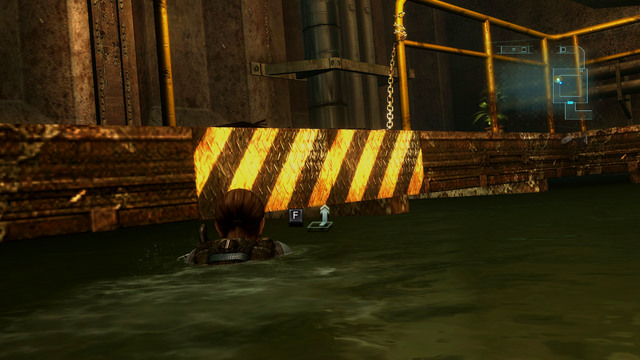
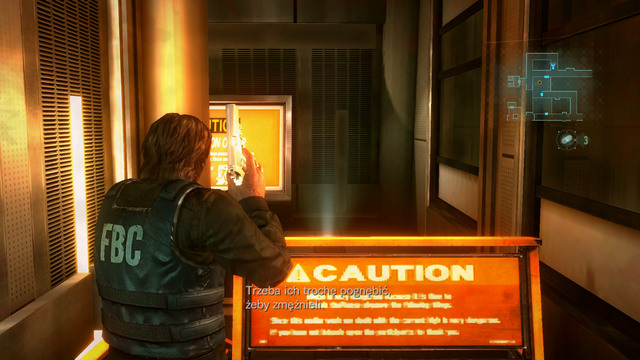
Moving forward, you get to the place with the orange blocade. You can jump it over and pick up items lying on its other side, but be prepare for three monsters attack.
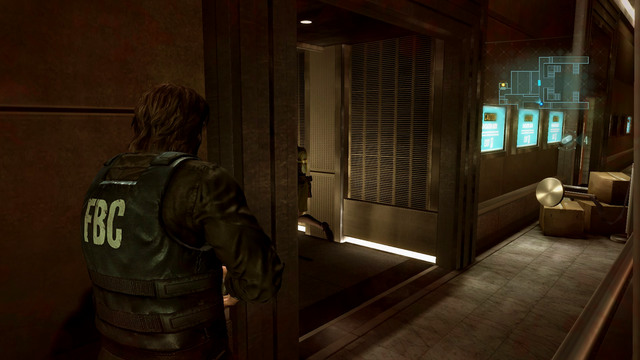
When the area is clear, go behind the barricade again and enter the room on left.
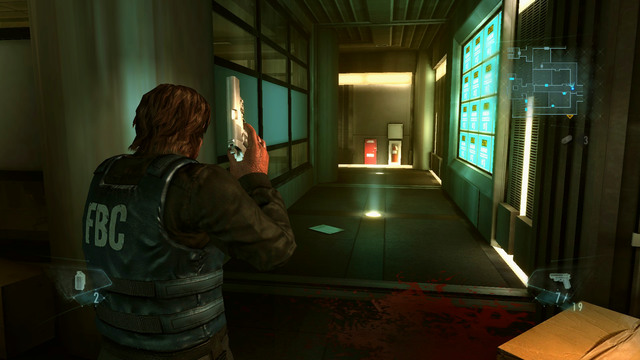
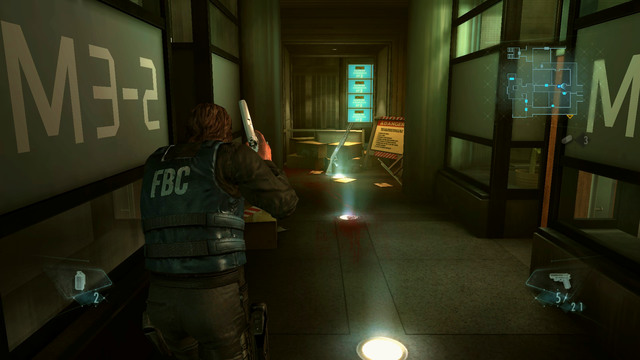
Leave the room with the exit on the other side. You get into a short hallway.
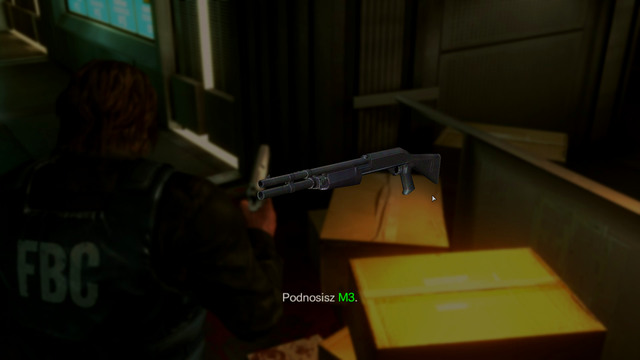
On its left end, you find an entrance to room full of useful items. Collect them all and then head to the other side of corridor. You will find a M3 shotgun on your way, which will be very handful in the upcoming fights.
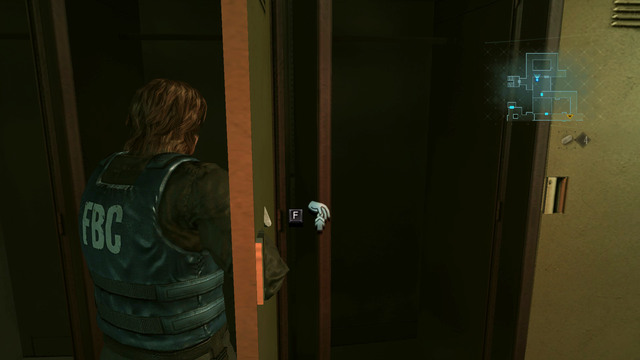
Moving through a room with green herb lying on the ground, search carefully all nearby lockers. You can find inside of them few nice items.
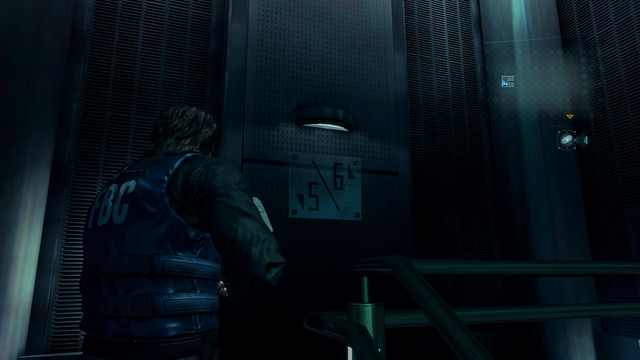
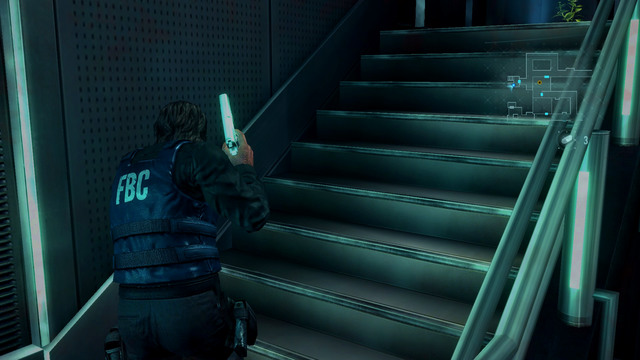
Finally, you get to the stairs, with which you have to get at the sixth floor.
There you meet more enemies. Kill them and move forward, until you reach a roller blind blocking the way. To move under it, you will have to need a help of your partner.
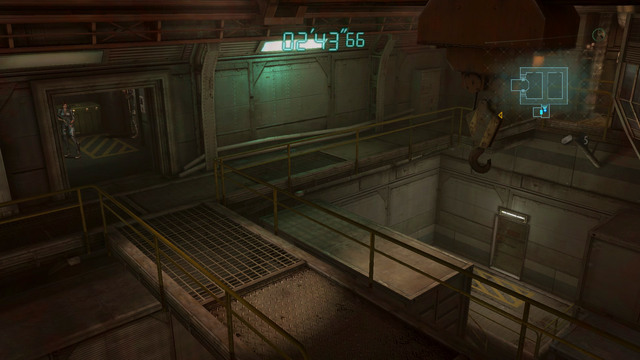
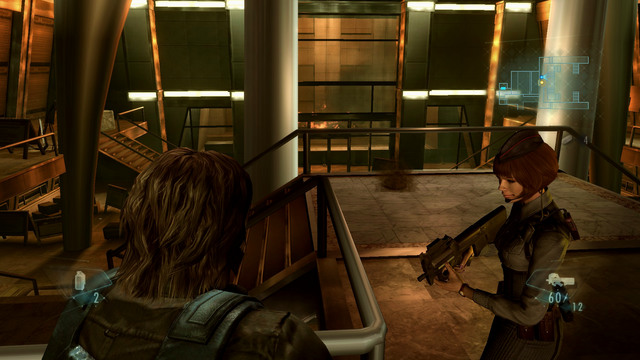
Another corridor takes you to the elevator you were looking for. Push a button to launch it and then stay in the corner next to the crane and prepare for a long fight with running mutants. During this fight use grenades wisely and, during a short breaks, pick up ammo.
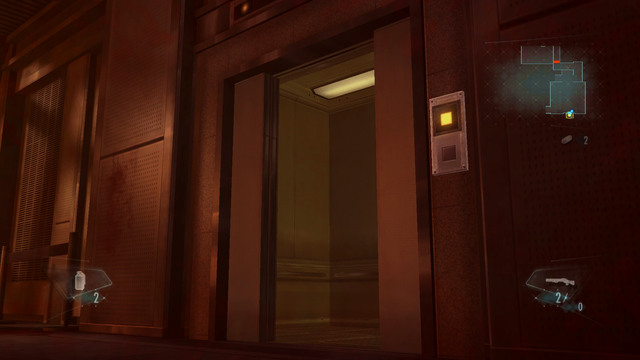
When the elevator opens, enter it, wait for Jessica and push a button on right to ride up.
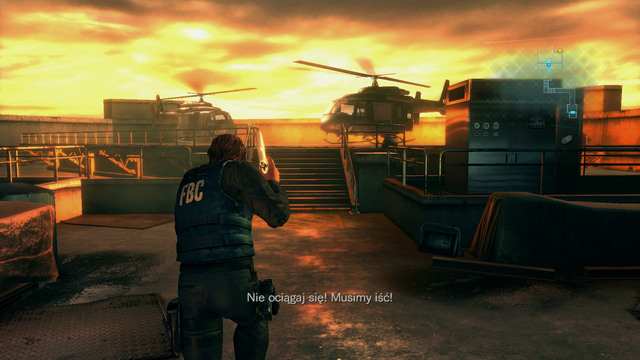
There you find a helicopter waiting for you, what ends this stage.
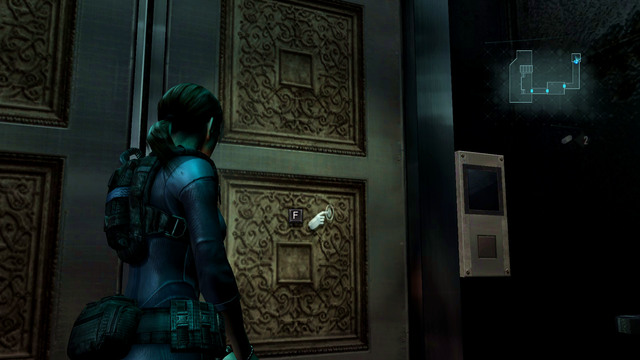
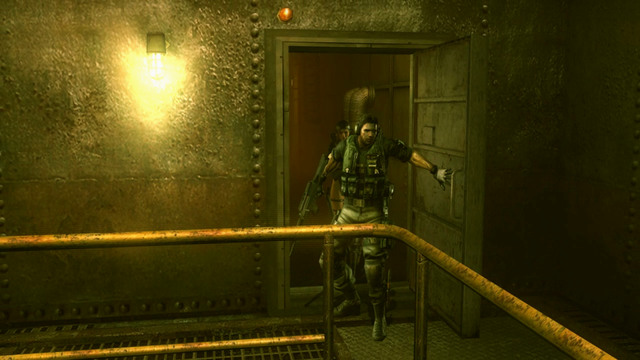
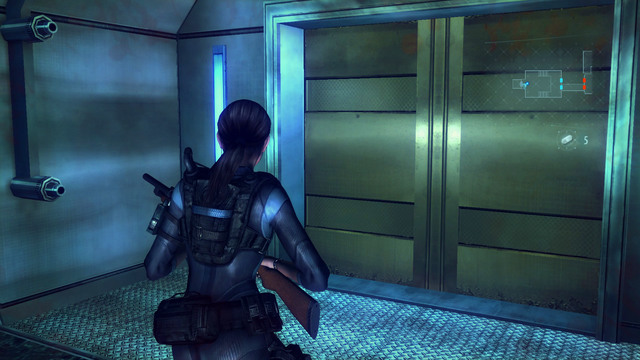
When you get on a bridge, go downstairs after Parker and open door.
Behind them you find an ammo, green herb and broken elevator.
When you collect items, turn right, kill a single mutant and then enter the room on right.
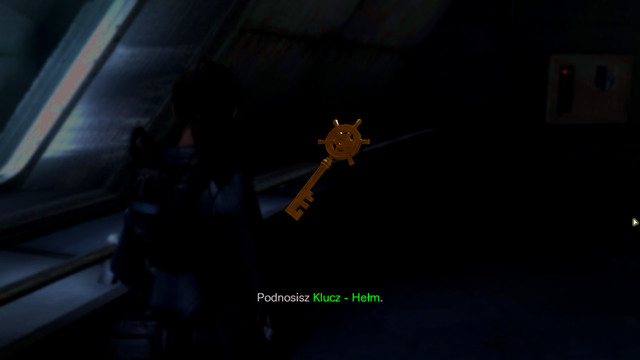
You can find there many useful things (like weapon parts) and helmet key thanks to which you can open door in the previous corridor. There is also a safe which requires the same card what the safe behind the painting. But, unfortunately, you find this card only in the further part of the game.
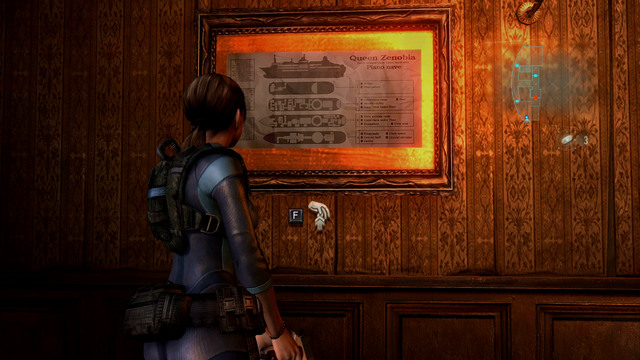
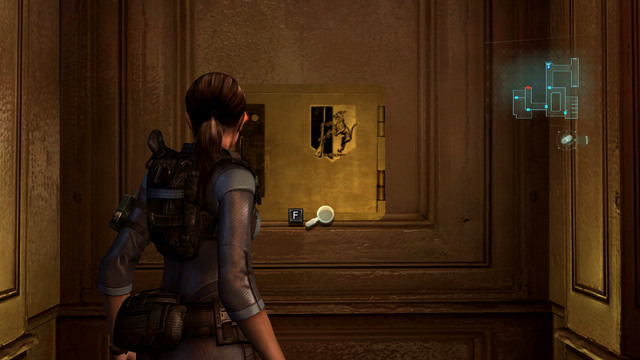
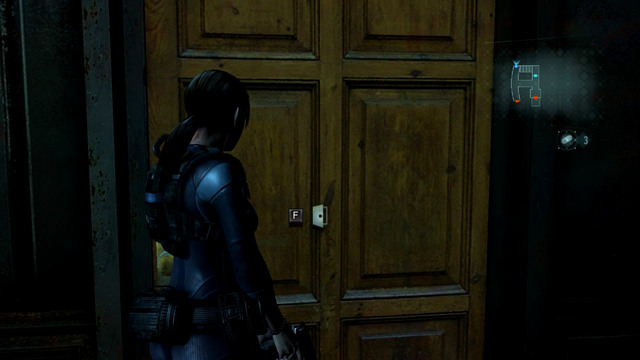
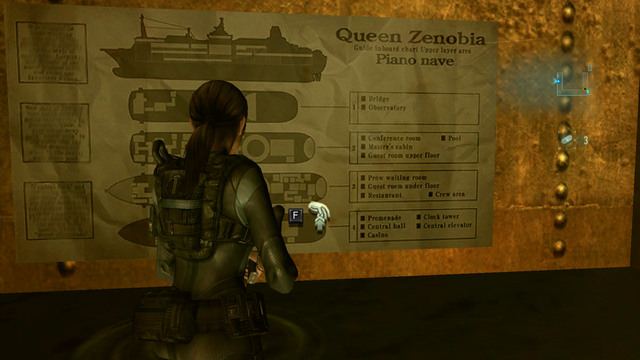
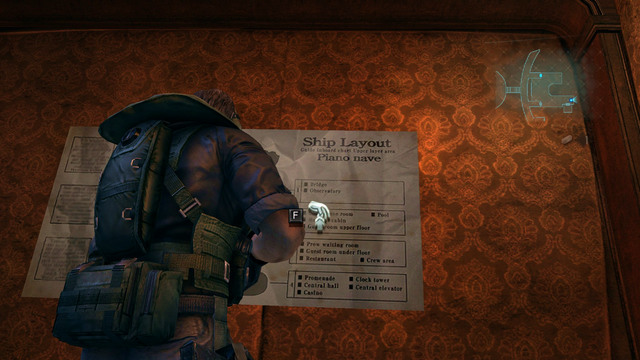
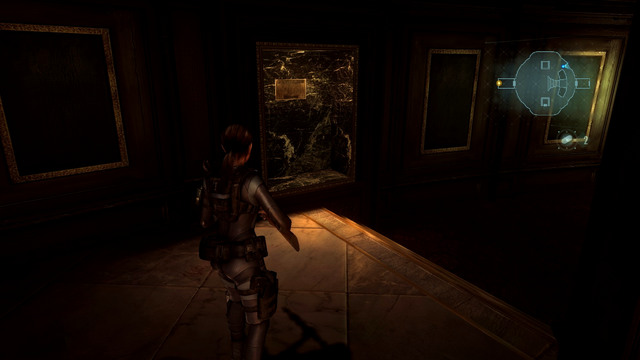
Behind the door with helmet you find a well furnitured room. Take a ship map hanging on the wall and silver emblem lying on the bookshelf.
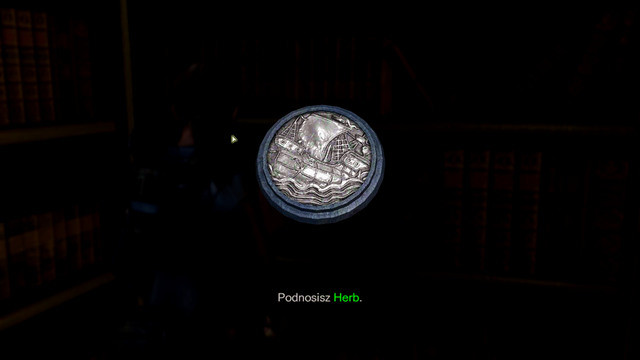
Thanks to the latter item, you can unlock the shotgun which you have seen in the first episode.
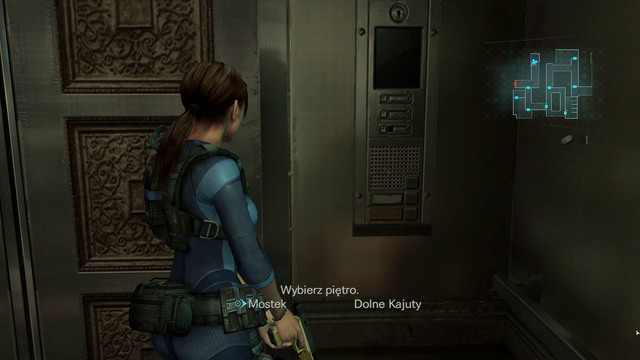
After taking the map, head for the bridge and then to the elevator, which takes you to the upper cabins.
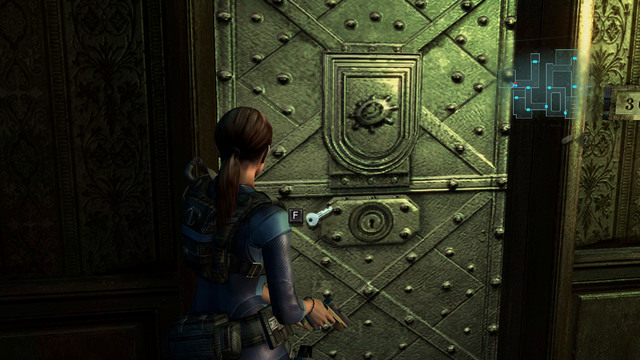
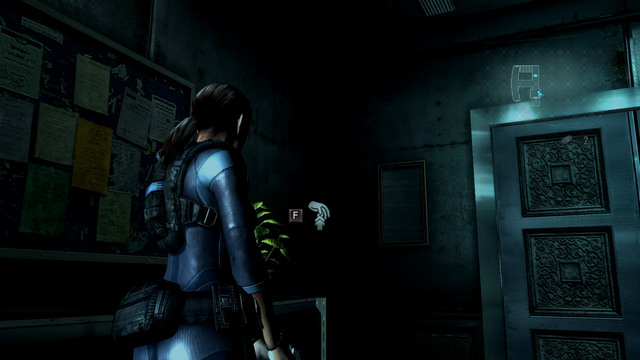
Moving forward, visit a room with a helmet symbol.
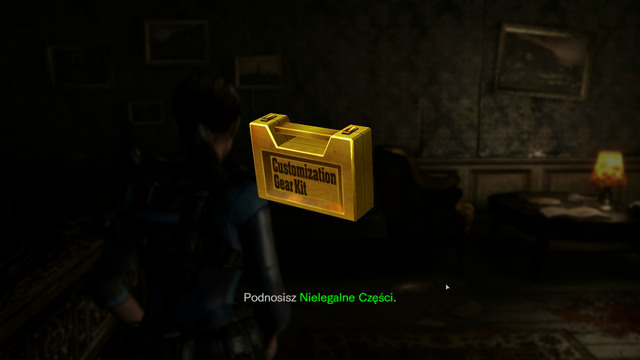
If you use Genesis inside, you find illegal weapon parts.
Remember also about a shotgun hanging on the wall (Windham). You find it in the room to which leads a corridor with safe under the painting.
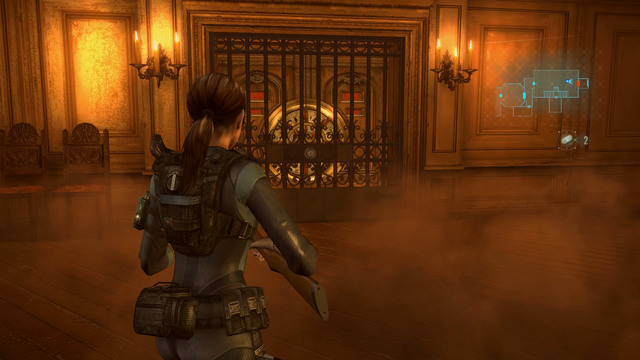
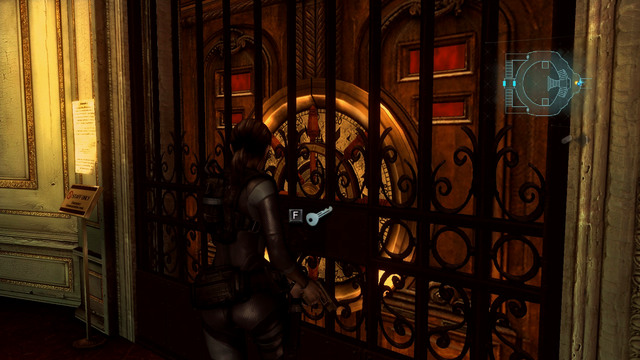
But your main goal is the dining room. Thanks to the key you've found, you can open gate leading to the further part of the ship.
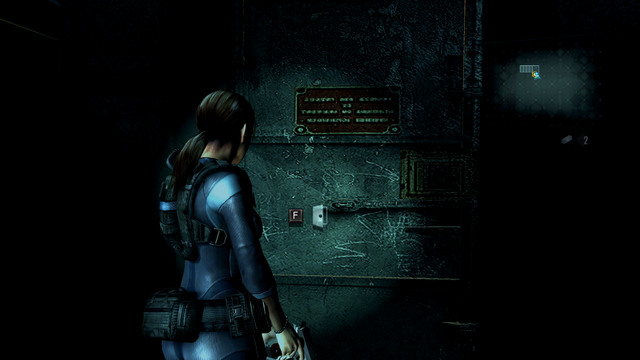
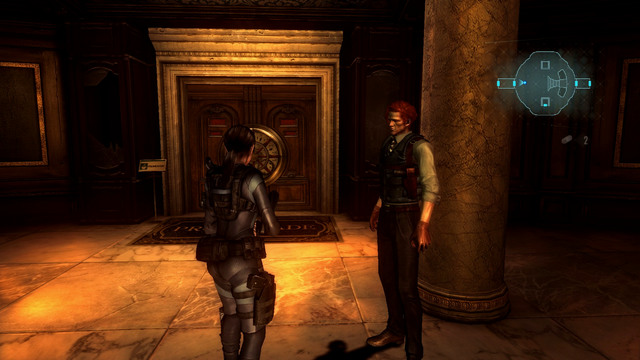
When you get to the big and lit hall, head for its other end and look at a paper left next to the door.
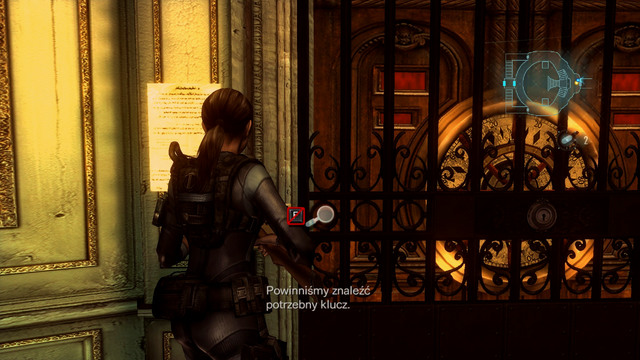
It tells you that the key you're looking for is probably in the part of the ship called a promenade. The gate on the bottom of stairs lead there.
Go through it, collect ammo and then enter the corridor on right.
It takes you to the area with two mutants. Kill them quickly and collect items lying here and there.
You find there also a chest which lets you add upgrades to your weapon and a half closed passage next to it.
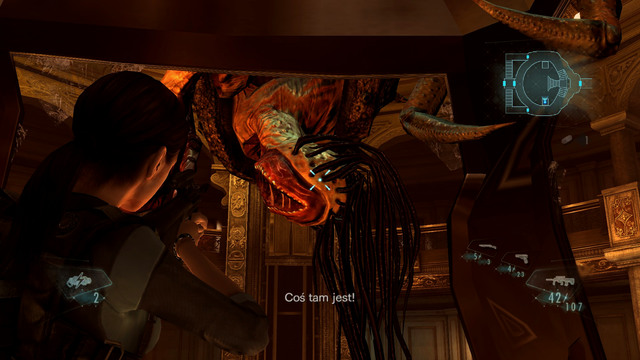
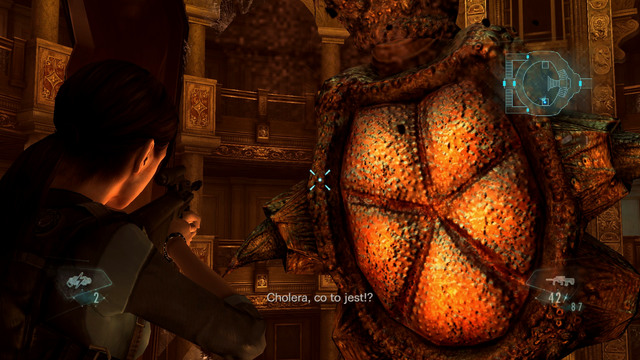
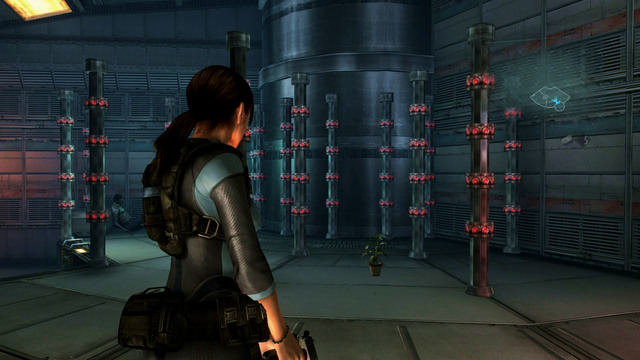
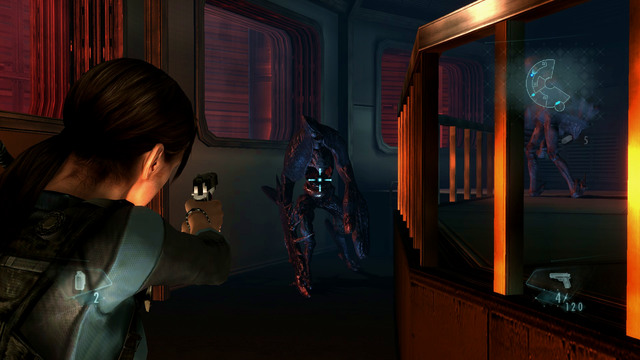
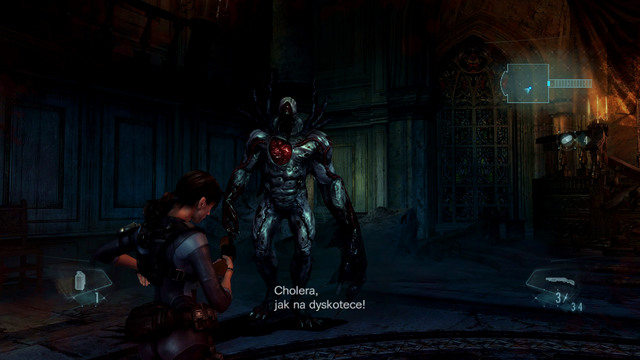
Use it and go forward until you see a chained door. Behind them you'll run into a very strong enemy, so prepare yourself.

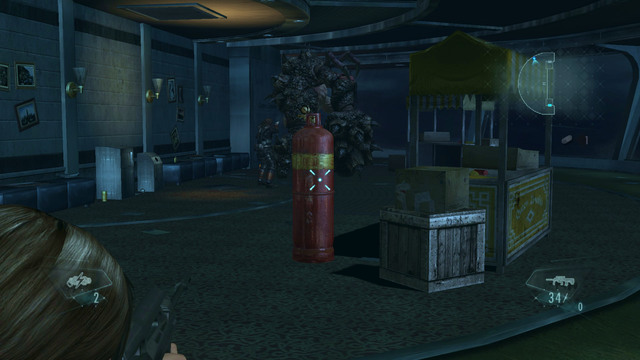
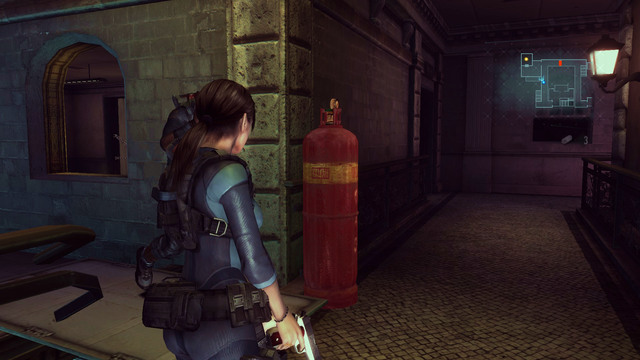
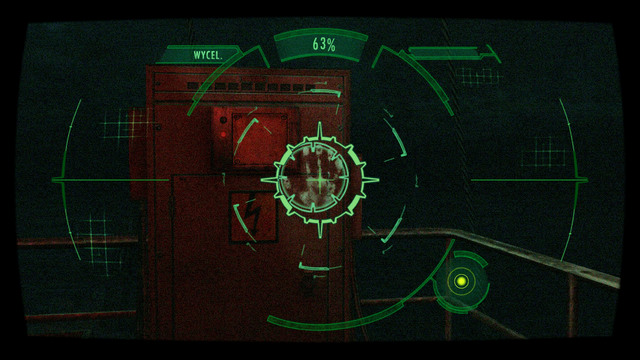
First of all, get to know where all the red gas bottles are located. You can explode them with a single shot and stun nearby enemies. You'll use it during the fight with beast waiting behind the door.
You may need also every shortcuts letting you to quickly jump a floor lower or jump through the window.
Pick up also nearby herb and ammo.
When you are ready, fire at the chain through the window and begin the battle. During all the encounter try to aim at beast's head and don't waste ammo on weaker mutants (they will respawn). It's best to kill boss subordinates with grenades or exploding the gas bottles, but try to do it in a way to make the big mutant hurt. You will have to run a lot, so learn all available paths very well. A good idea is to, for example, jump through the window next to the place from which beats emerged. He is to big to go through it, so he'll have to walk the room around what gives you additional time.
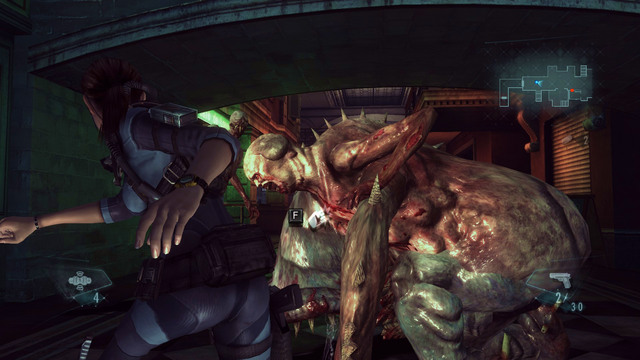
A good idea for saving ammo, is to kick the beast when it's stunned by the explosion. In such situation approach the beast and hold an action button for a while (in increases damage) and release it before the beast comes to itself. Beware of traps that beast sets up. You can destroy them with pistol shots.
When the boss is dead, pick up a lifebuoy key that he dropped. Thanks to it you can open door at the bottom of promenade and return to the lit hall.
From there head to the communication room and finish this episode.
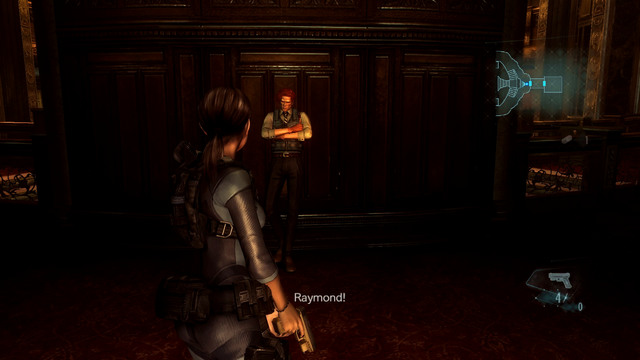
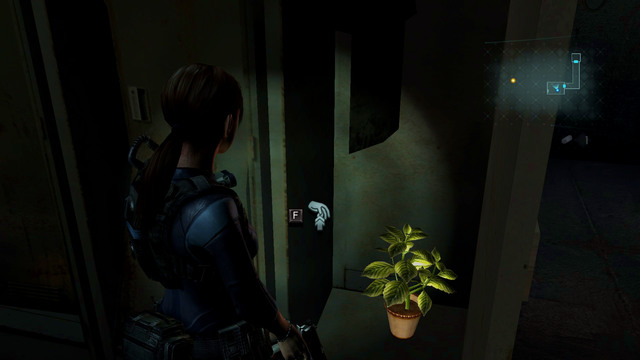
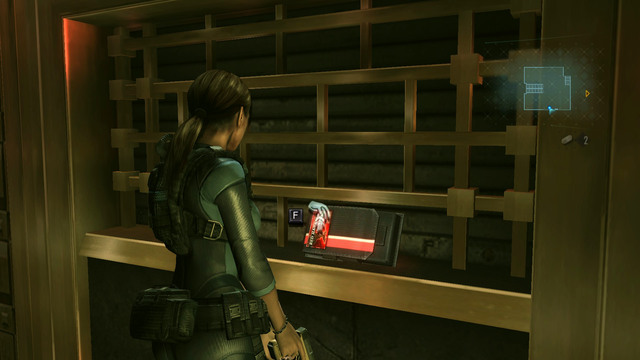
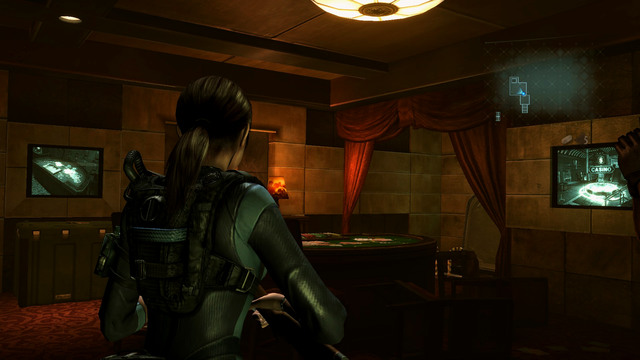
Leave the room and take an anchor key from Raymond.
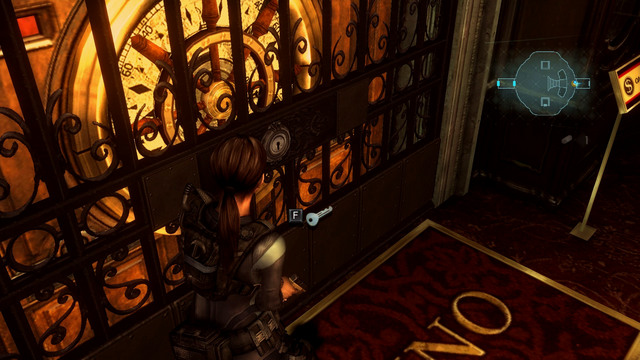
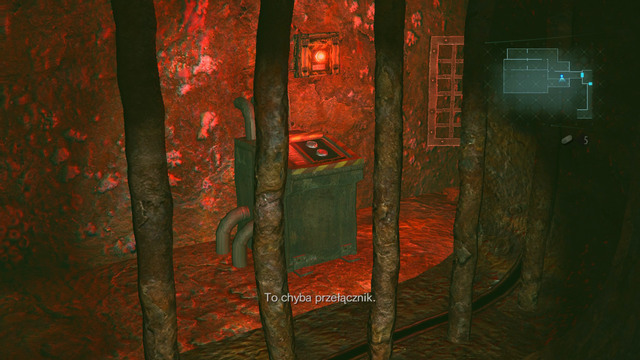
You have to use it to open casino door under the nearest stairs.
Go through it and use a stairs on left and pull the lever to launch the power.
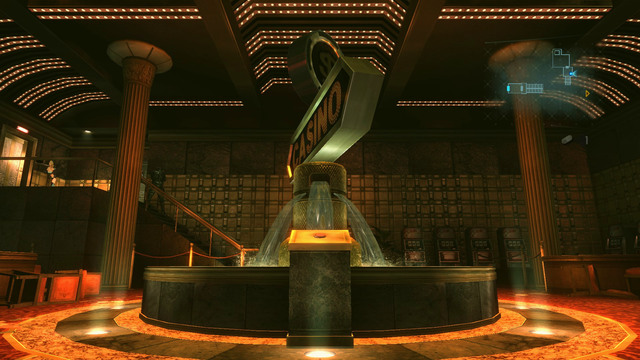
Now you can return to the fountain and press a button nearby. A moment later mutated fishes will emerge from water. Kill them.

At the body of the last monster, you find a coin.
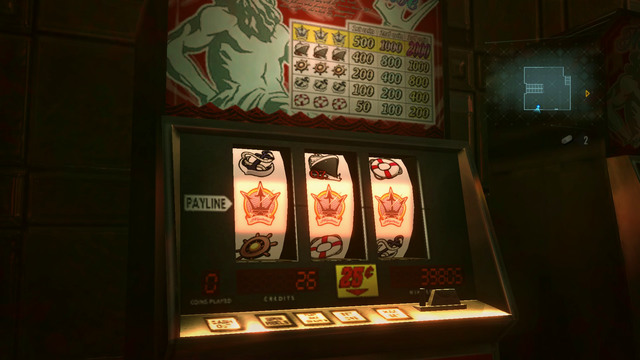
Throw it to the closest machine, until you win the whole bunch of coins.
Now you can return to the lever, but search the whole room for any useful items earlier.
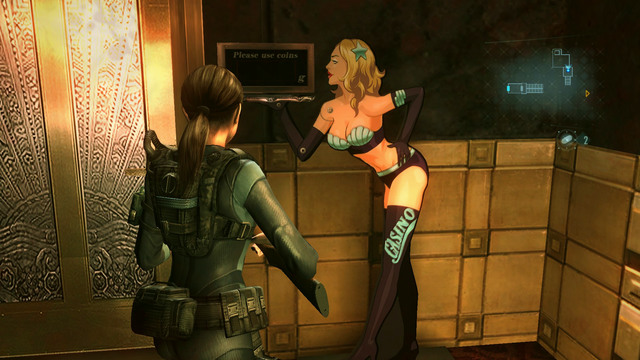
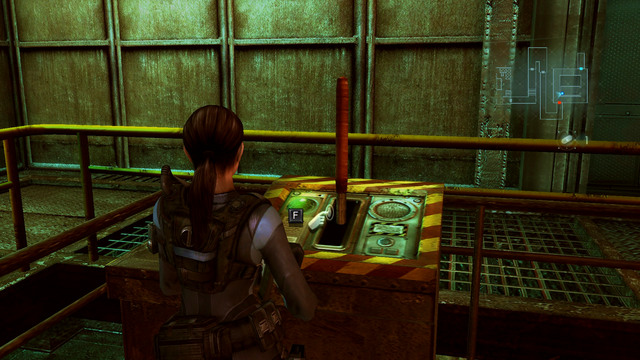
Next to the lever, you see a woman holding a tray. Approach her and press an action button. Your task is to place on the tray coins weight 107 grams.
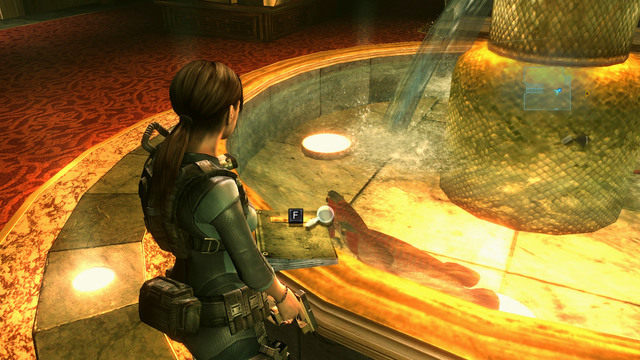
Helpful information about it can be found in the casino worker report, next to the fountain. Copper coin has 7 grams, silver 9 grams and gold 17 grams.
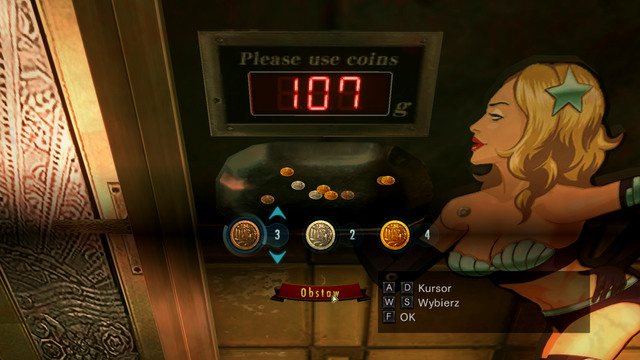
To get the remained weight, put 4 gold 2 silver and 3 copper coins on the tray and then push the button. You just opened a nearest door.
Behind them, you find ammo, chest with weapons and entrance to the shaft.
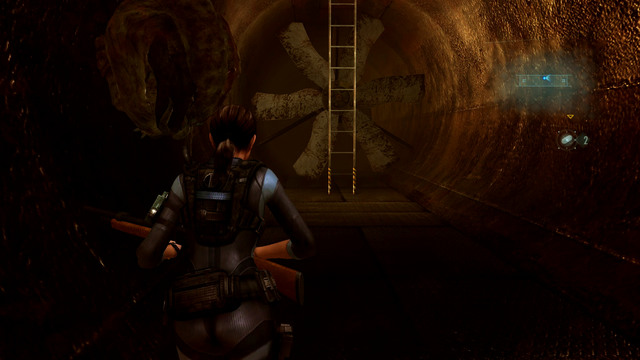
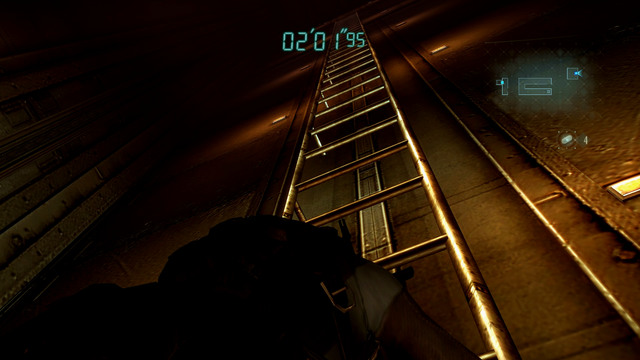
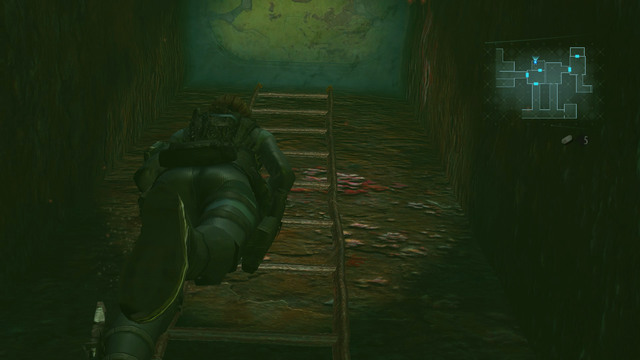
When you replenish supplies, jump to the very bottom and use a ladder on the other side.
You get to the room with an elevator. Try to launch it and, when you get no response, go through door on south.

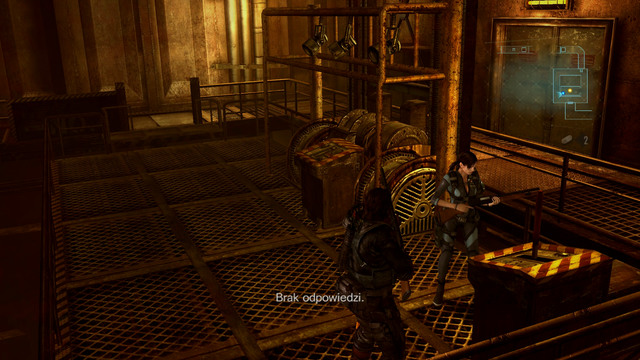
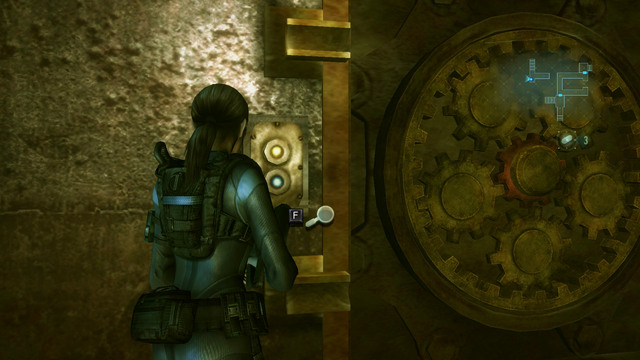
You get to the next passage, which you have to unlock by the chest on right.
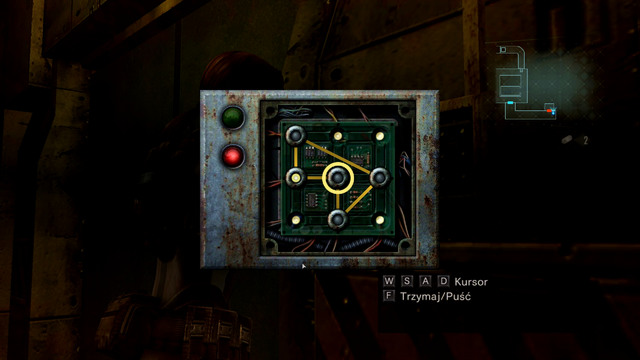
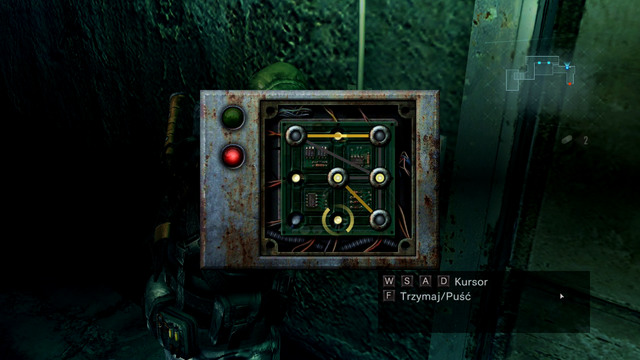
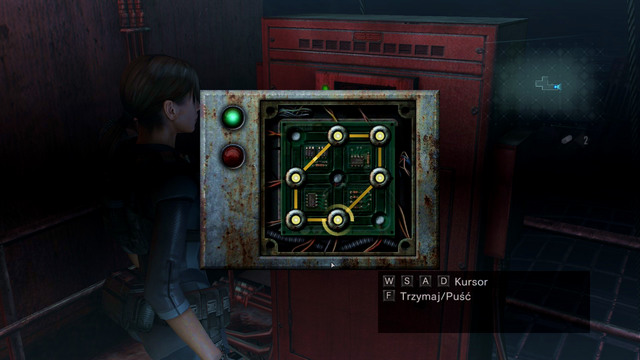
To complete a minigame, move a circle from the center to left, and the circle from the right upper corner to the center.
Then just push the hoops to a glowing points, and you get a shape shown on the screen above.
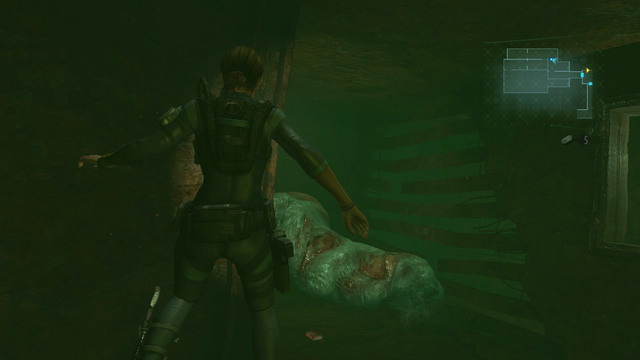
Go through door and move forward, killing mutants on your way. Your target is a dead woman, which death you've seen in the first episode.
You can also check previously closed door with an anchor symbol on it on your way. It's nearby the dead Rachel. Inside you find a boxes with weapons, ammo and MP5.
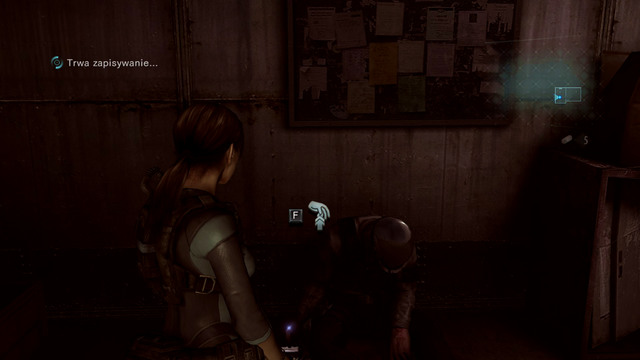
When you get to the place where the woman was murdered, examine the journal lying on the ground.
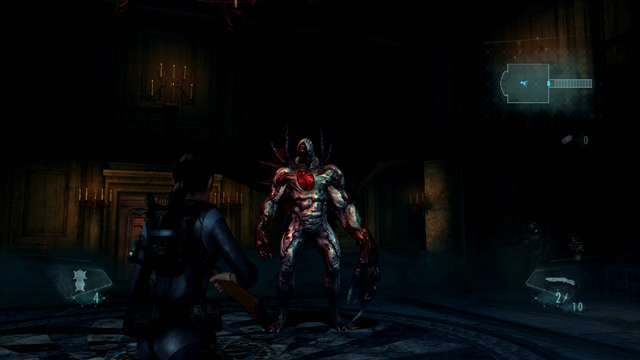
A moment later, a new mutant appears.
Your task is to get it and kill. During the chase check everything carefully with Genesis. Thanks to that, you get a very important ammo.
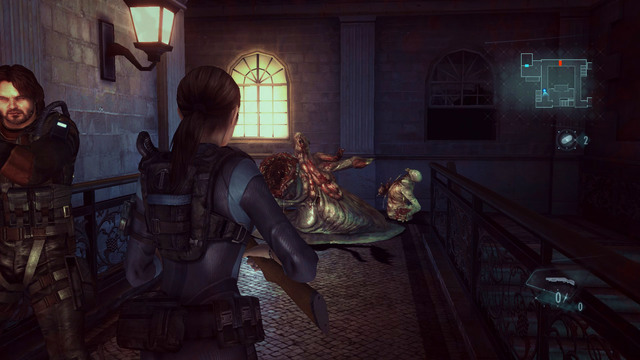
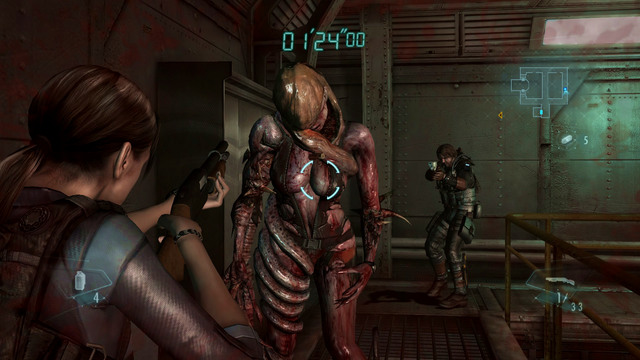
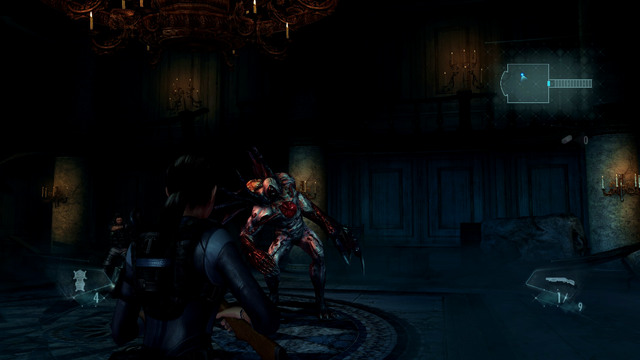
When you hear a woman voice and see a normal mutant, prepare for a boss attack. At the beginning, kill the weaker enemy, to later deal with the mutant woman. When she gets heavily damaged, she'll start to run away.
Last one encounter takes place in the room with violet glowing machine. There will be many enemies, so use grenades and take a place where you can't be surrounded. Your main target should be the woman, Parker will help you fight the others.
When the beast is dead, scan its body and pick up a dropped key.
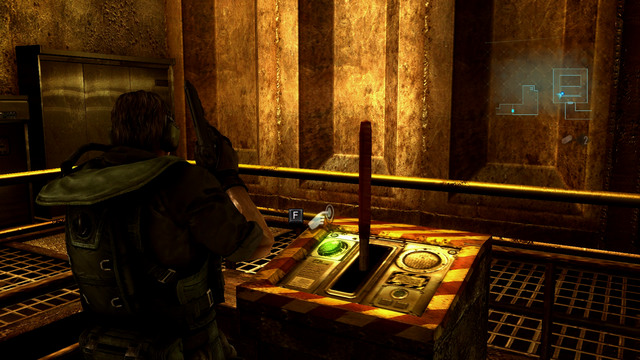
Now you can return to the elevator, use a key on the proper panel and then pull the lever. This finishes the episode.
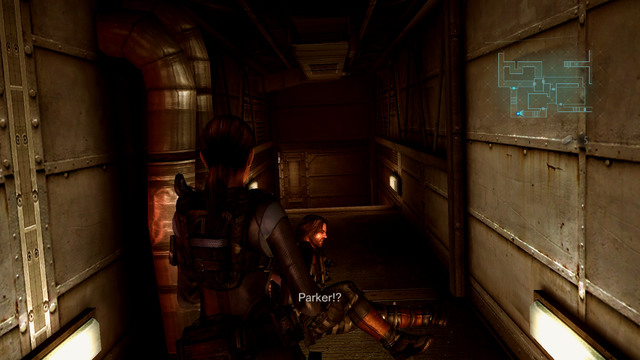
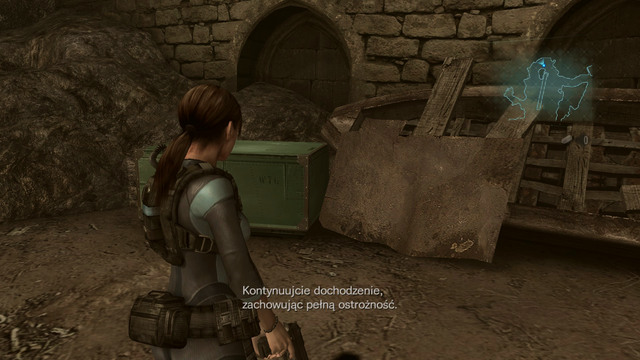
At the beginning, go downstairs and move forward.
Behind the first door you find green herb and ammo, and a moment later two blocked passages.
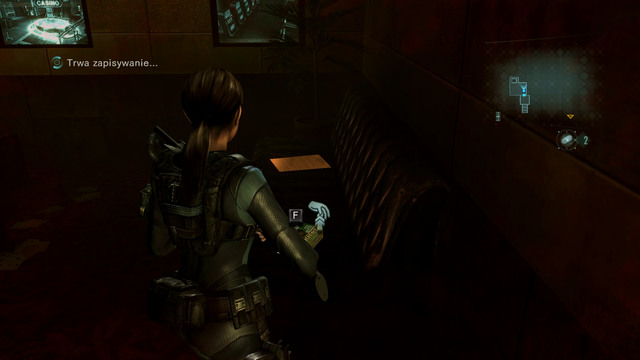
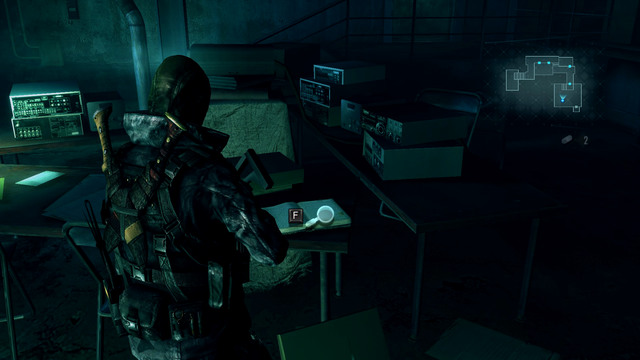
Next to one of it, there is a box at which you should look carefully. Your character will ask his partner for a screwdriver and will be told that it was lost somewhere at the beginning of the tunnel.
This item lies next to the locker, close to the first door. Use Genesis to see it.
Use a tool to unscrew the up of the box and trigger a simple minigame. To complete it, follow the instructions below:
1. Left upper corner circle move to the center and place a rim from the left edge on its former place.
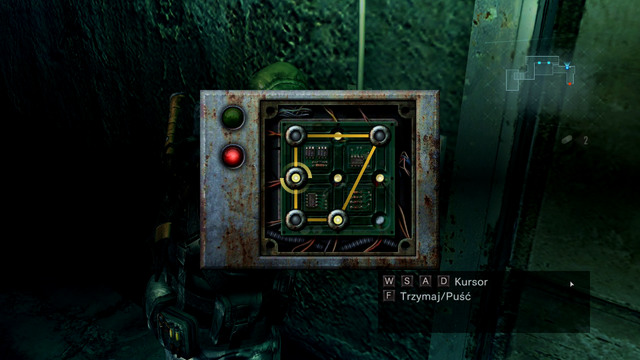
2. From the middle move to the left bottom corner.
3. Circle at the right edge move to the left edge.
4. Create a figure shown on the screen above.
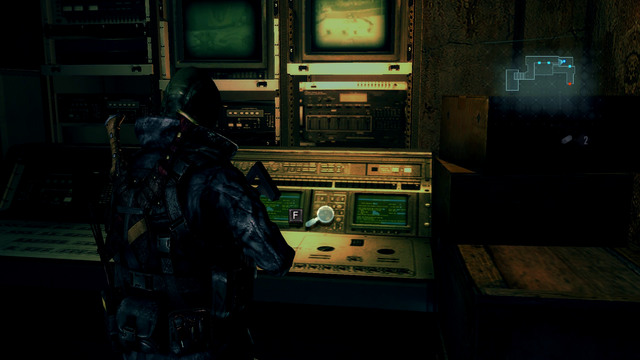
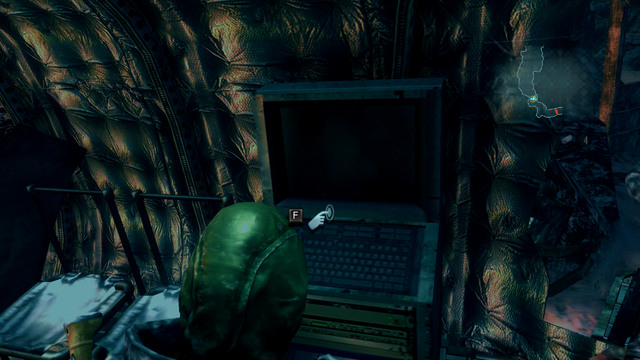
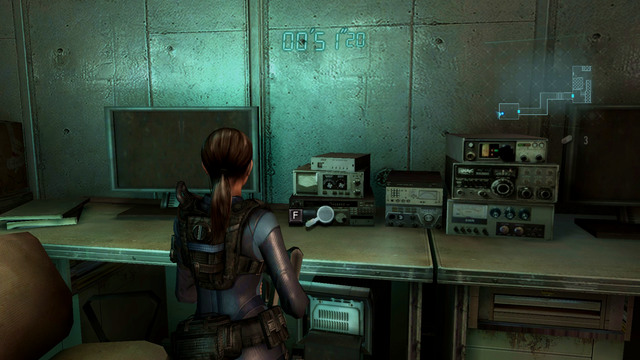
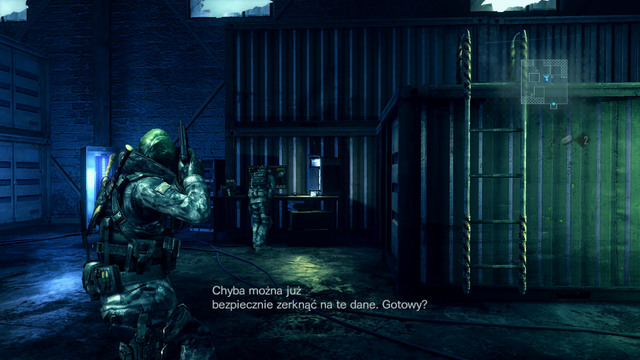
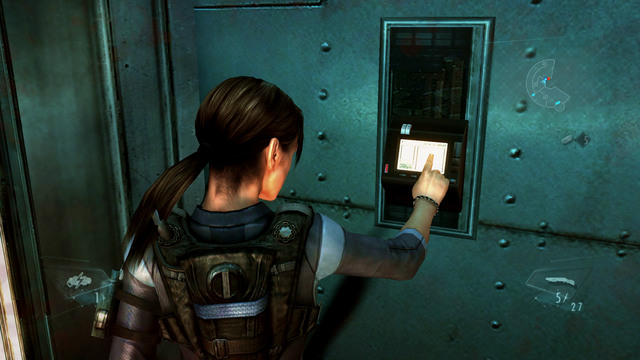
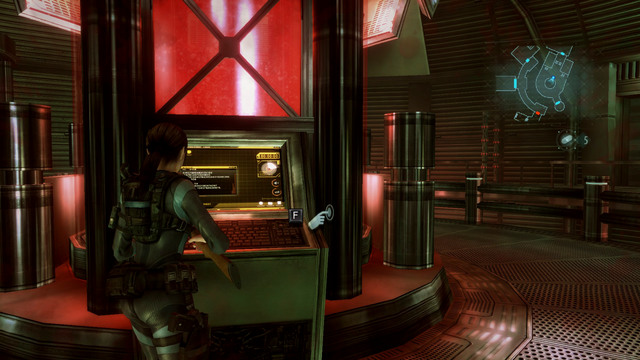
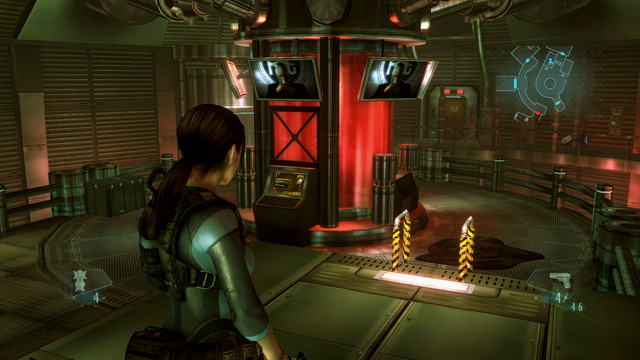
When the door open, go through it and use a computer. This unlocks the second passage.

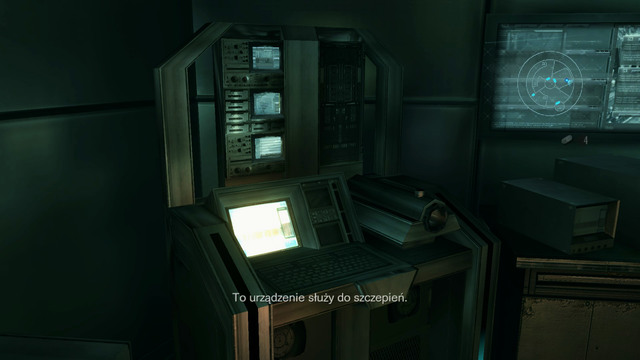
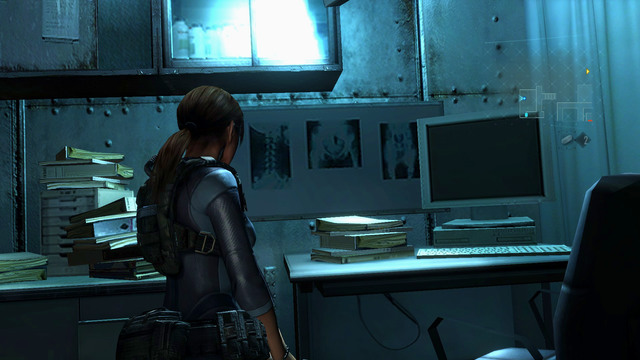
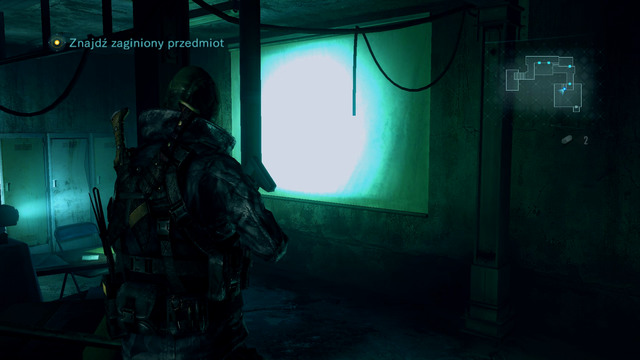
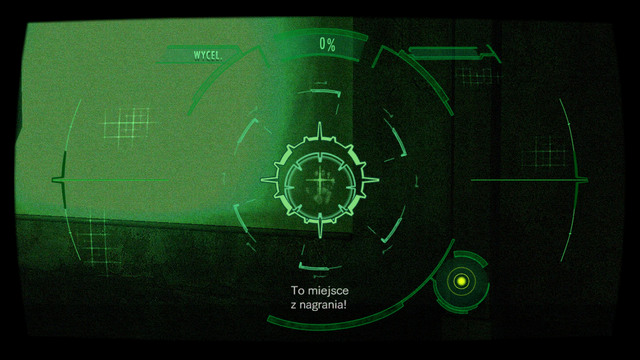
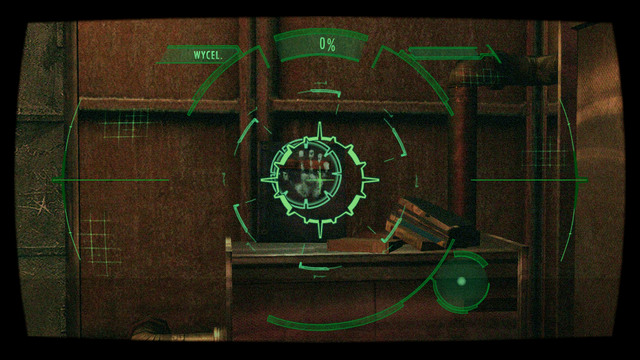
Short corridor leads to a room with a projector, where you have to find a Security Token.
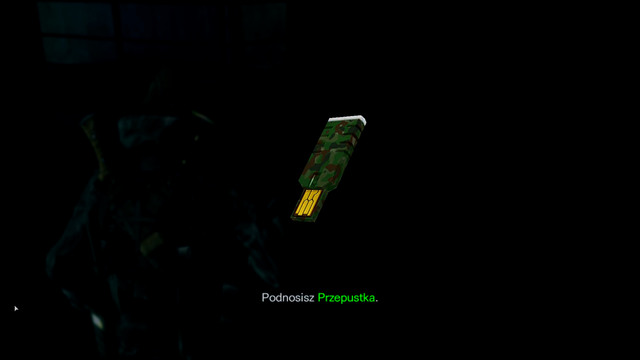
You find it using Genesis. It lies in front of closed door.
Pick it up only when you collect all other items, because when you do, this stage ends.
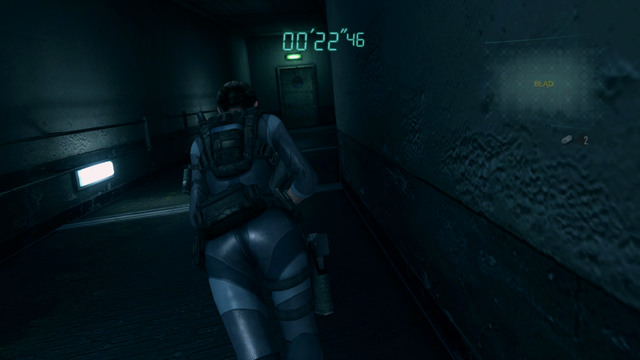
As Jill again, get out of elevator and go through door on left.
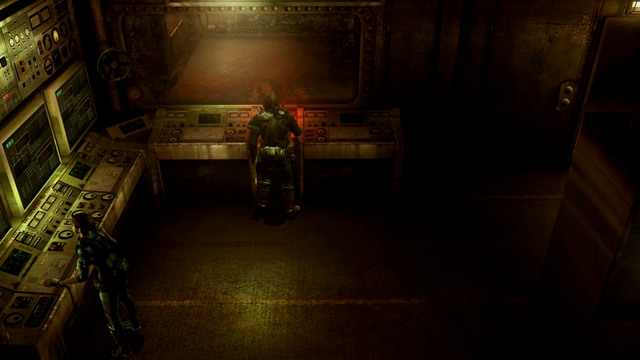
Corridors lead you to the computer which informs you about a lack of power. To regain it, you have to find a machine room.
At the beginning get out through the door on the other side of room and loot crates on right.
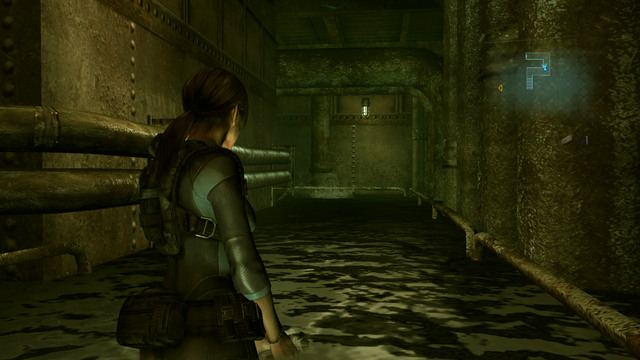
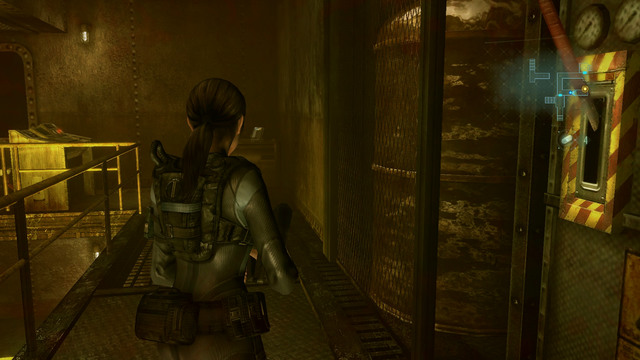
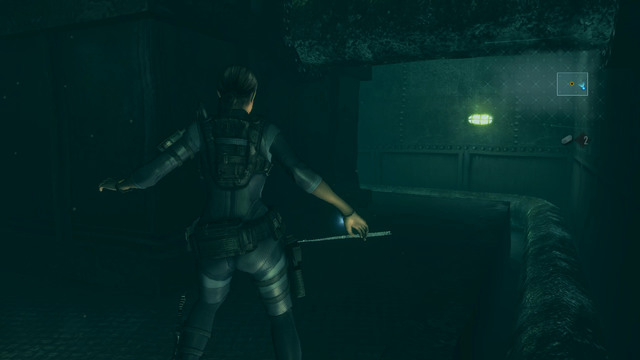
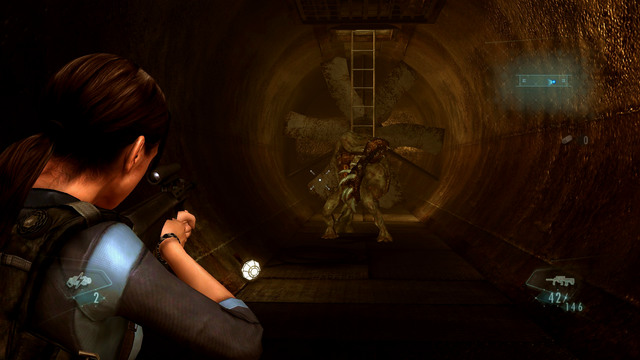
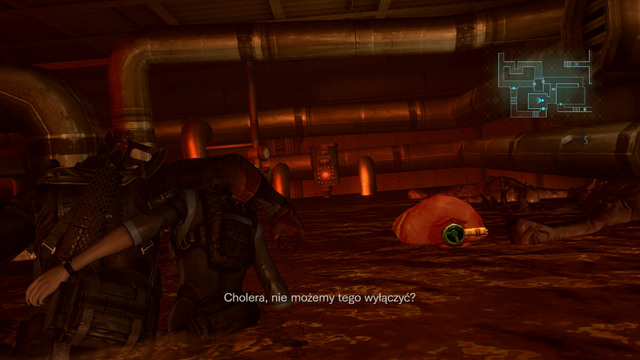
Corridor leads you to the drowned part of ship, where you'll be attacked by the floating mutant. Fire at him when he emerges and then run forward. Fighting him has no sense.
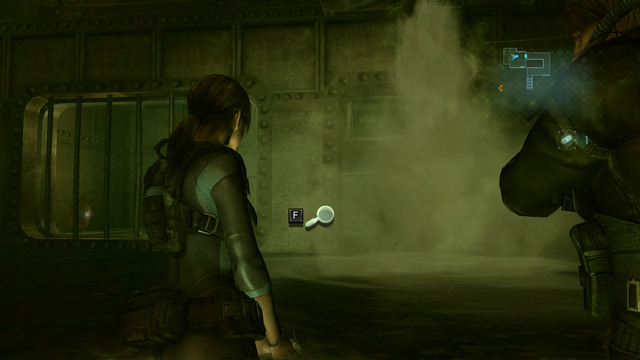
In some moment, one of the ways will be blocked by the steam coming out of pipe.
Don't worry about that, but remember this place, as behind bars you can see a cog, which you will need later.
Move forward, you get to the crossroads. Kill a floating monster and then head for passage on north. You find a broken console and a lever controlling the steam direction.
Pull the lever and the blockade a level lower will disappear. Return to the crossroads and use a corridor on south to get there.
From the place where the steam was coming out loot a map from the wall and weapon upgrades from the chest.

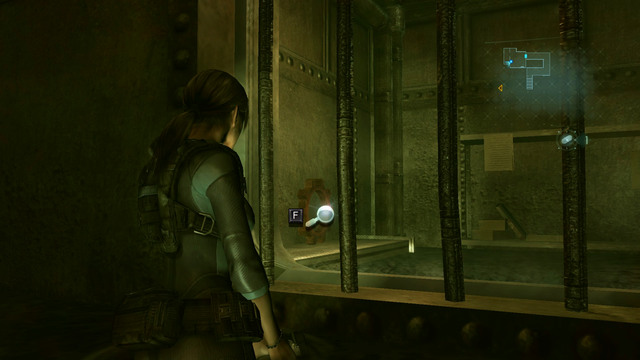
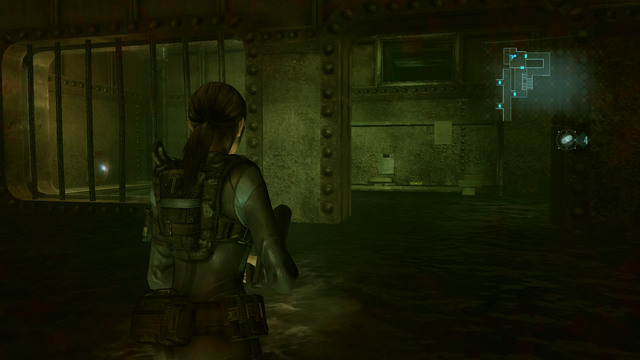
Further path leads you to another flooded area, where you can be attacked by mutated fishes.
You will also be passing a closed gate, which can be opened by the cog you've found. But leave it for now.
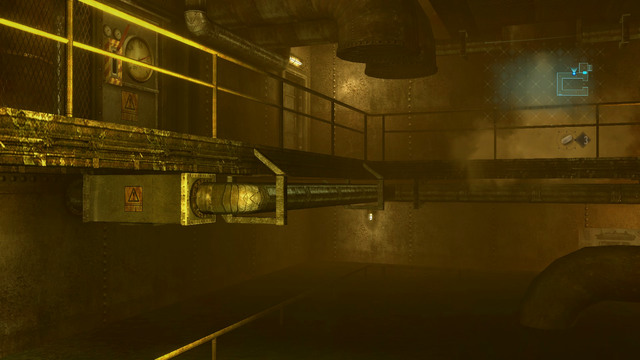
When you go downstairs, move forward. You'll find there a new rifle and useful parts.
When you collect all, return to the flooded corridor and go left.
You get to the place where partner awaits you. Pull the lever, pick up nearby items and then use a lever on the other side of the room.
This unlocks an access to the cog, you've been passing earlier. Return to it and take it.
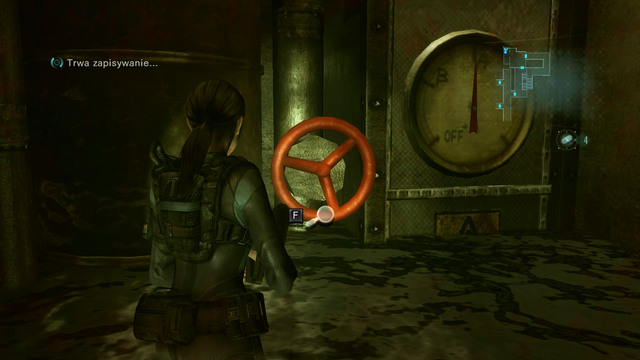
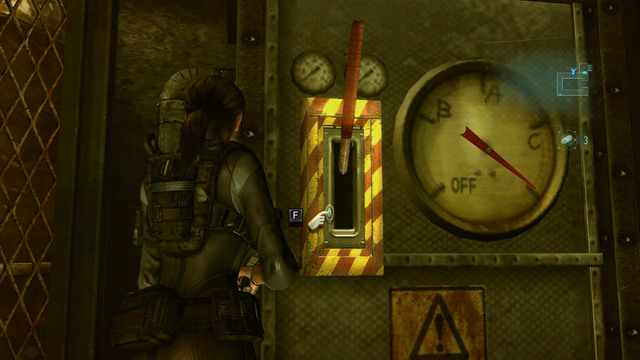
Next to it, you find a red valve which can cut off the hot steam for ever.
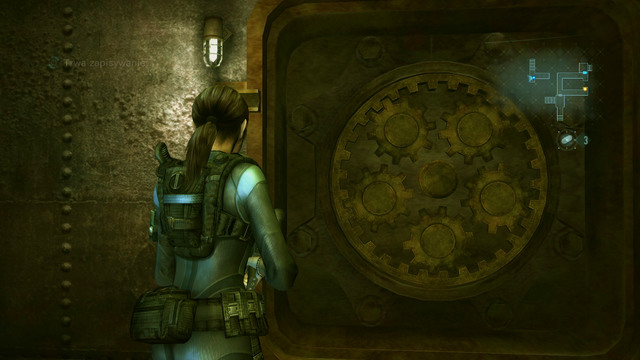
Now you can return to the southern corridor and use a cog on the gate. Open it with a button on left and then pick up a restart key.
Use it in the machine room, what brings back the power, but also makes the ship starts sinking. When you make few more steps, the stage ends.
Move forward until you meet a two groups of wolves. They aren't tough so you will deal with them without any problems.
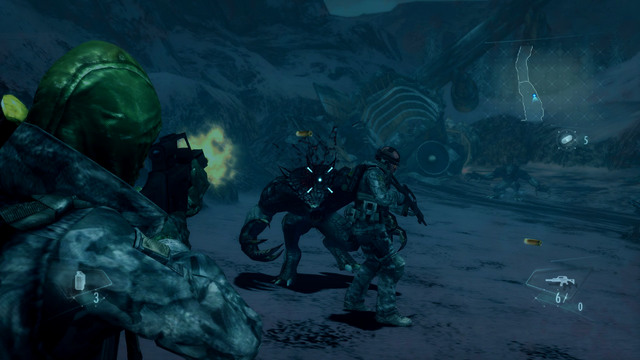
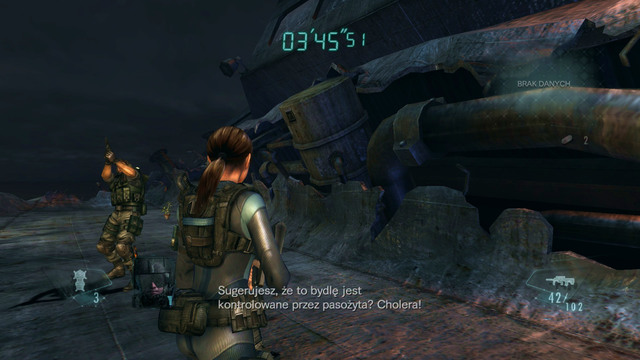
Real fight awaits at the airplane wreck. You'll be attacked by the beasts which can disappear.
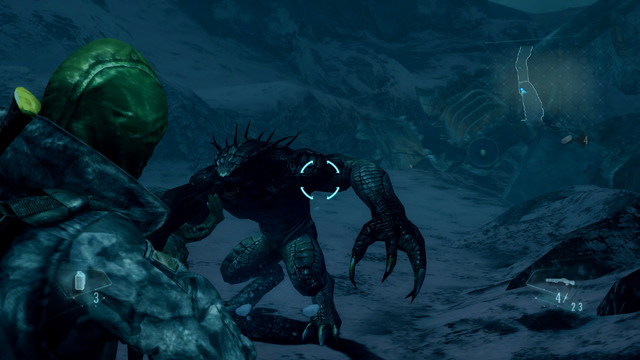
To defeat them, stop in the place where you can't be surrounded by them and fire when their camouflage stops working. You can also fire at will - when you hit a beast, it becomes visible. Remember to collect ammo and herbs during the fight.
When the last beast dies, approach the wreck and move aside a blockade and then use a computer. A moment later this episode ends.

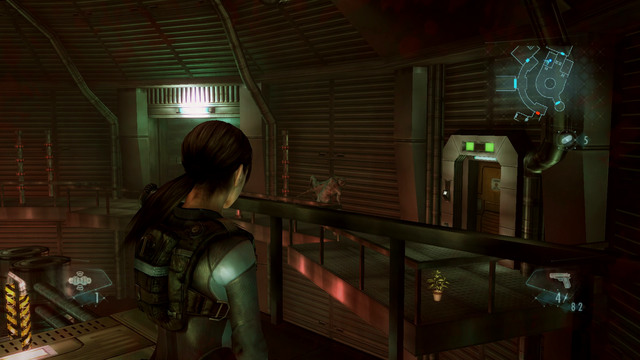
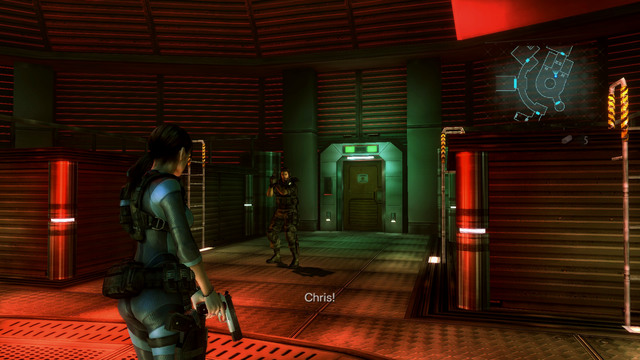
After landing, approach the door on left and find an entrance to elevator.
Next to it you find a map hanging on the wall. Pick it up and then ride onto a lower level.
The short corridor takes you to the promenade, where you'll be attacked by a group of zombies.
Kill them and run forward to go through the silver door on right.
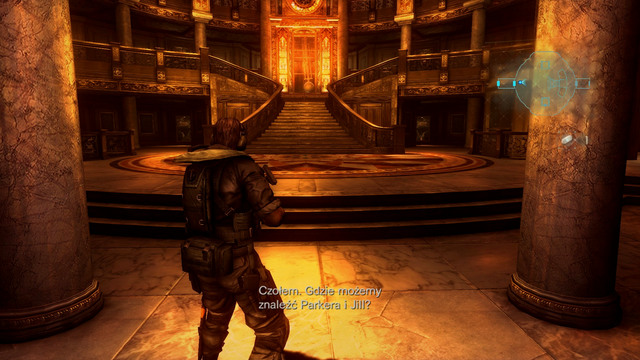
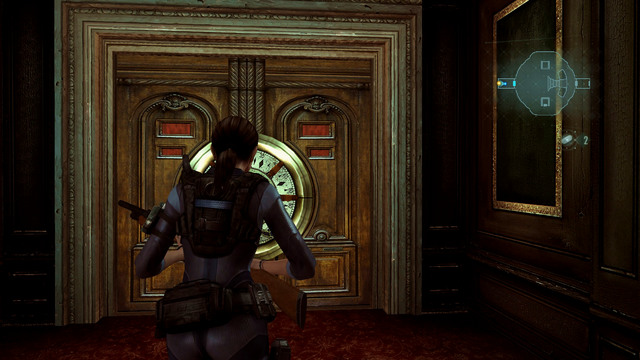
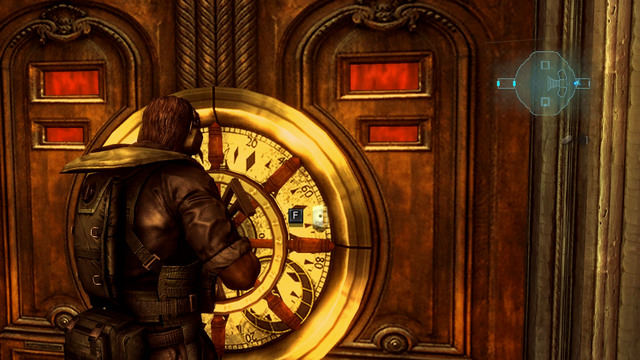
From this place you have to get to the big hall with a clock, where you get to know that Jill and Parker are probably in the bilge.
So go through the door under stairs and follow the direction that map shows you.
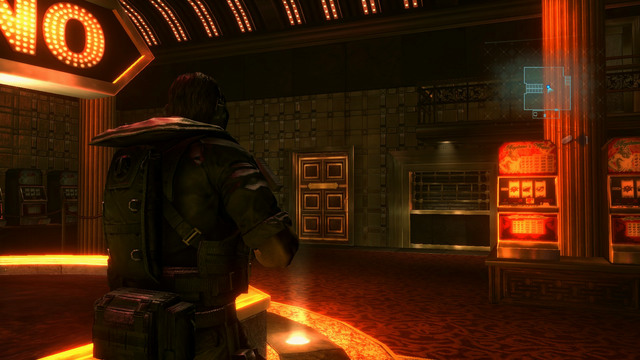
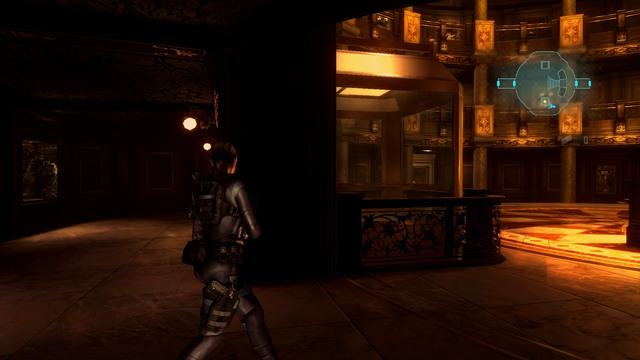
When you get to the casino, approach the room on right from where you can hear a noise pounding.
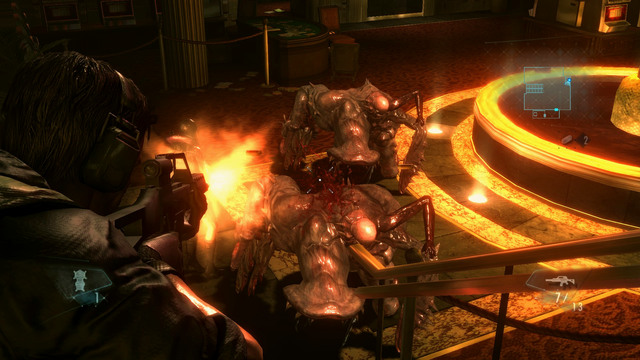
A moment later two strong mutants will emerge from there - you've already meet them during the third episode. To defeat them, keep them at bay, throw a grenade from time to time and fist fight them when they are stunned.
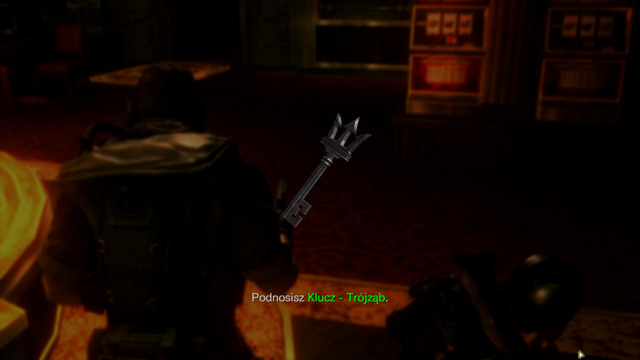
When the fight ends, you find a trident key. Use it on door in the room from which enemies emerged..
Running forward you find a new type of mutants. Those monsters explode after getting 2-3 shots or getting near you. Keep them necessarily on distance and help yourself with grenades.
Kill all enemies and you get to the elevator. Launch it by pulling the red lever and watch a short cut scene.
When it ends, go through the door on right and run forward until you reach a machine room marked on the map. On your way there you'll find big groups of enemies, so save ammo and collect all possible items.
Especially difficult fight awaits when you meet three exploding mutants. Have a grenade prepared. If you run out of ammo, you can try to go through them into a room with the red valve. Inside you should find many bullets and green herbs.
When you get to the machine room, the stage ends.
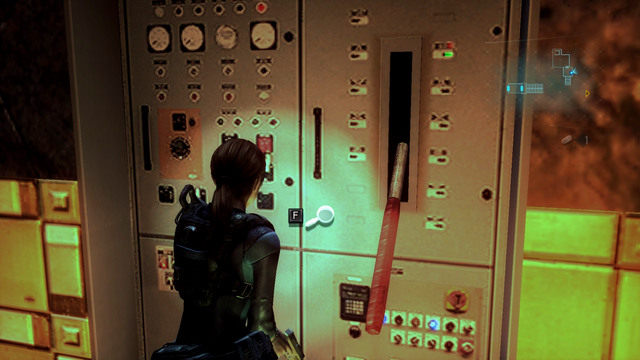
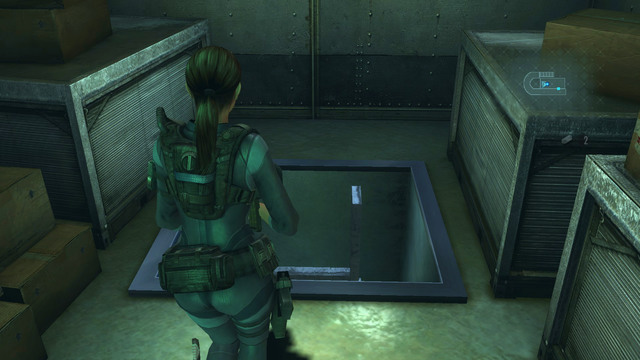
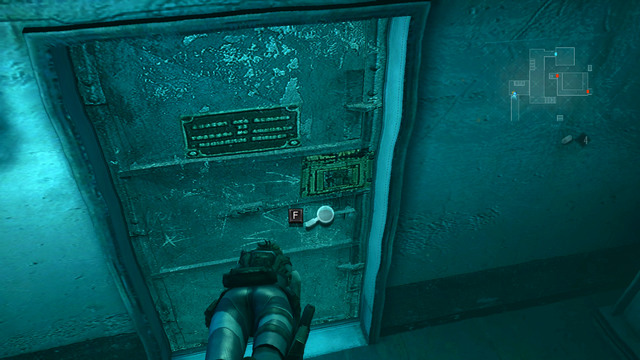
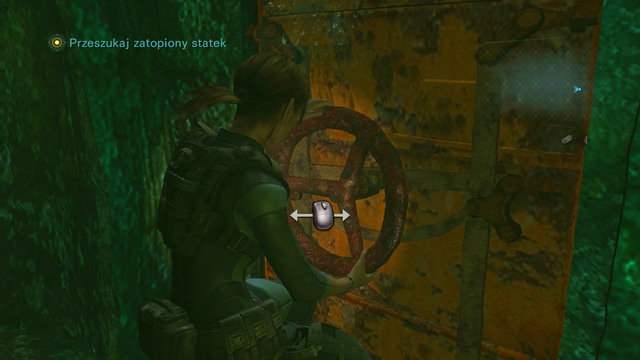
You play as Jill again. Dive pressing an action button and find a silver tube lying at the wall under pipes.
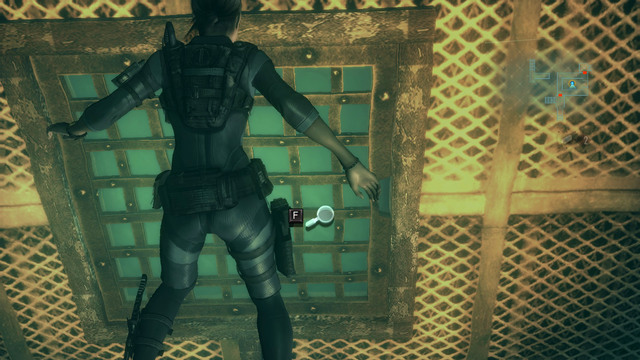
Use it on square grating.
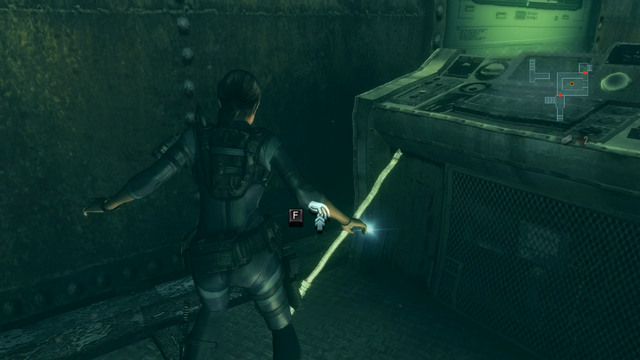
When it breaks, use the second one, next to the control panel in machine room. It unlocks a passage on the upper level. During diving remember to get some air. If you won't emerge for too long, your character will start dying.
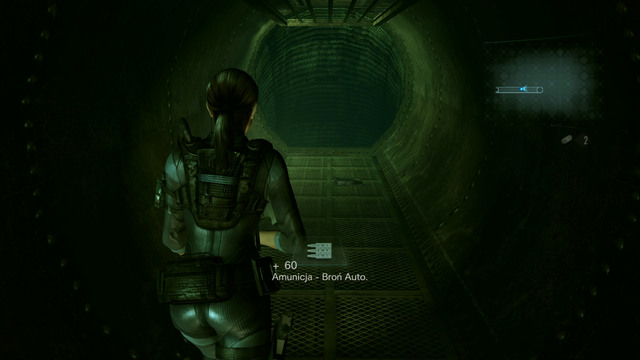
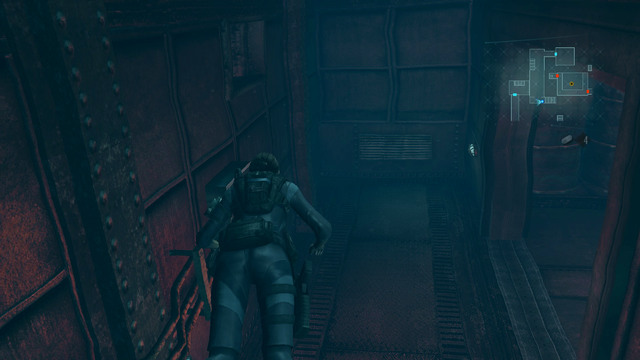
When the grating is done, move forward and pick up items. A bit further you see a hole through which you can get onto a lower level.
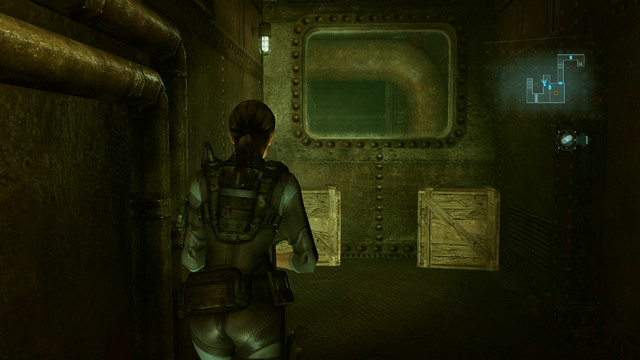
When you land, go through the door behind your back and head for stairs marked on the map.
They take you to the room in which Jill automatically closes security gate.
After a short cut scene get out through the door on the other side and get into an elevator. It takes you onto a higher level of the ship.
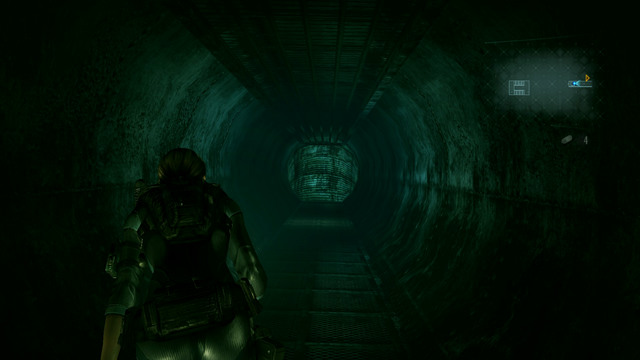
When you get to the place, enter the tunnel on left. You'll meet a charging at you mutant. Kill him before he reaches you, and then run away because his body will explode.
After that head forward until you reach a big, lit hall. Here you have to enter an elevator and launch it.
During the ride, you'll be attacked by the strange mutant. Fire at his abdomen or head until he disappears.
If you can't make it, you'll be hit very strongly, so make sure that you have enough ammo before you enter the elevator.
When you get up, try to get onto a board of the ship. Here you fight the beast you have met before. This boss isn't difficult, but you have to remember to avoid his charges. Try to be at the other end of the room and wait until mutant starts approaching you. It's enough to press an evasion key just before an impact to avoid the blow.
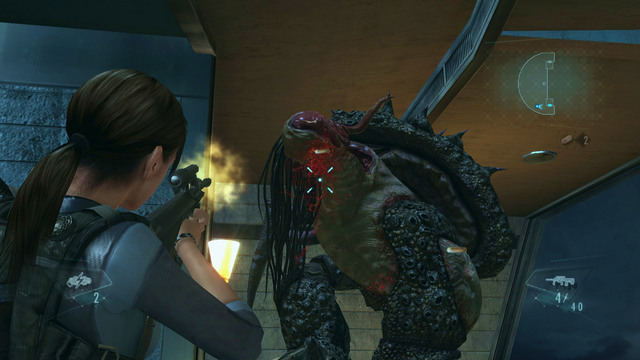
After that you have few seconds to fire at his unarmored head or abdomen. Only firing at those places you hurt him.
If you are not good with evasions, you can hide behind walls on both ends of the chamber. Stand next to it and when the beast starts charging, make few steps toward the cover. Then you can walk around the beast and attack it from behind.
A good idea is also to use a gas bottles standing nearby. Being a bit behind them wait until beast gets closer and blow up the bottles. You stun the monster and get few seconds to fire at his head. If you make it too slow, the beast will smash bottle with his charges and get no damage at all.
Repeat evasion until the beast is dead. Then you can climb up via a ladder and get onto a board.
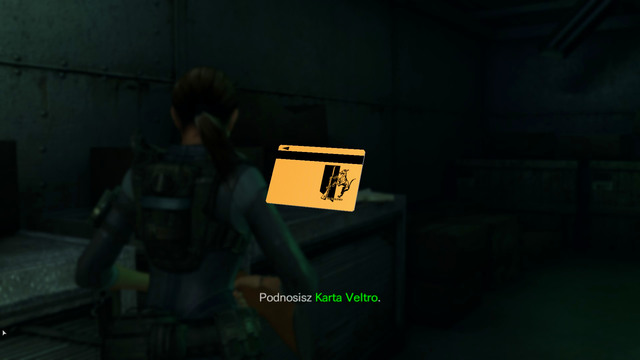
There you find a Veltro card, which opens all passages with a scanner.
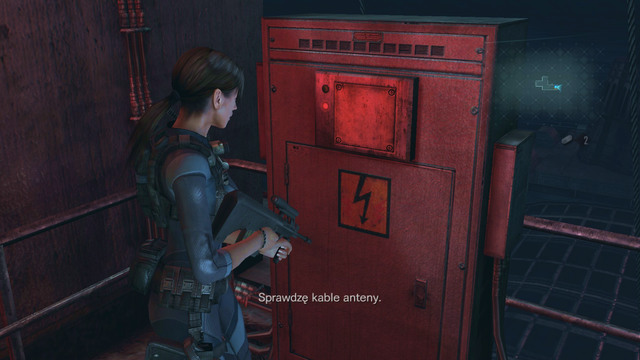
On the board you find another control panel. You have to launch it by completing the minigame, you've already known.
Circle from the right bottom corner move to the right upper corner and put a rim from the middle on its former place.
Now you can place a circle from the middle of the bottom edge in the middle of the left edge. When circle from the middle of upper edge is moved to the center of the square, the riddle is almost done.
Now just make a figure shown on the screen above to launch antennas. A moment later this episode ends.
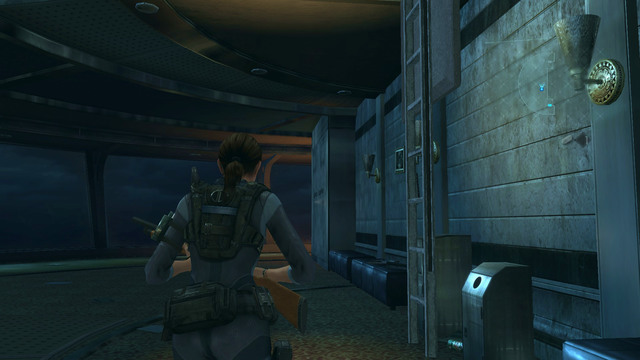
When this stage behind, go down using a ladder on right and run forward until you get to the place where you've fought a boss earlier.
You need to get into an elevator on the right side of this location.
Enter it and push a button to get into a lit hall.
At the very bottom you find Raymond. After a short conversation get through door leading to the promenade.
Now you have to go to the other end of the ship and find a big gate marked with a lifebuoy.
Behind it, you find a blocked elevator which starts working when you complete a short minigame. Beware of attacking beasts on your way there.
When you get into an elevator, choose a "Deck" option, ride up and search all the room. In the safe you find handgun parts.
When you collect everything, get onto a deck and head for a helicopter landing killing beasts on your way.

When the area is cleared, open the container on left. This part of episode ends.
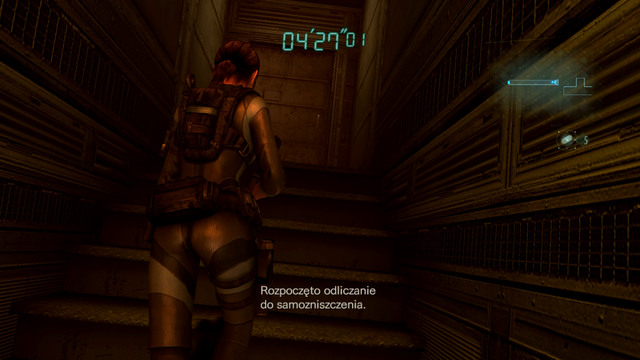
Turn to the ship and get through the door on the very right.
When you get through it, the time starts counting and you will have to get through the waves of enemies. Here it's best to use automatic weapons. Don't save bullets and grenades and try to get onto the other side of sidewalk ASAP. Use red bottles with gas, to explode nearby enemies. When you get through the door, you'll be attacked by firing and exploding mutants. Try to blow out the second one from the distance what opens a way to the elevator.
When you get to the ramp, turn quickly right and avoid mutated Rachel. After that head for door marked by the game. Firstly jump down and then go right, without killing enemies. Just destroy traps lying on the ground.
Behind the door you find a short corridor with three enemies. Pass them and use quickly a computer marked on the map. The episode ends.
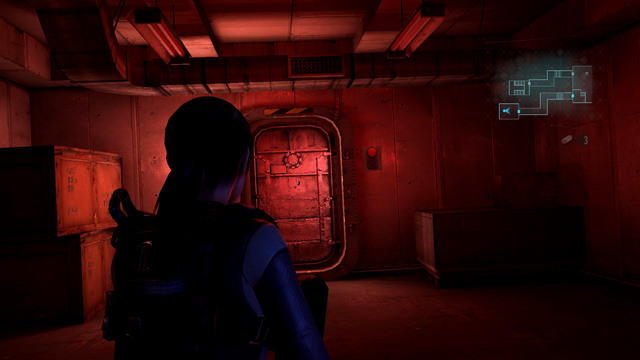
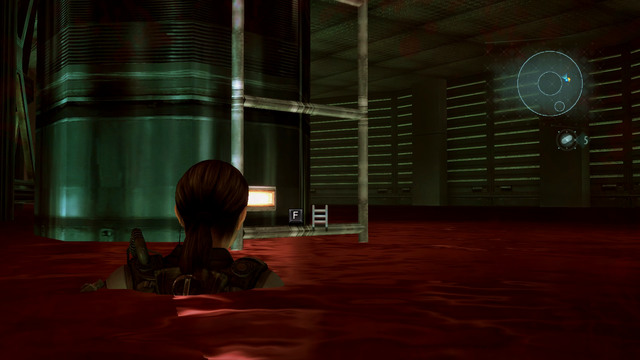
When you try to get to the door, the room will be flooded.
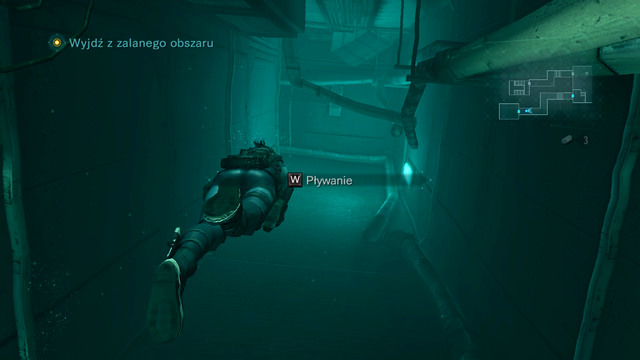
Swim forward until you get to place, where you can emerge.
After that head to northeast corner of this location. You find a ladder which takes you to the surface.
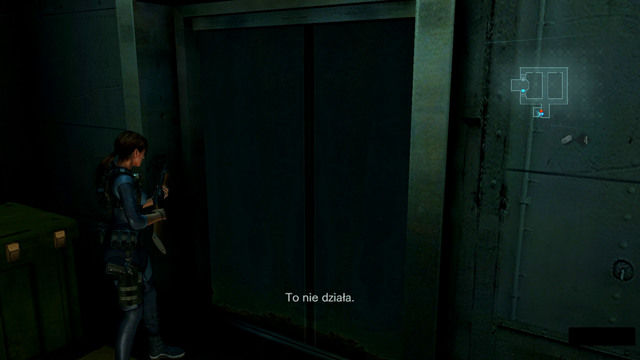
As it turns out, the elevator is broken. Jump back to the water where the map shows.
Behind a door under the water, you find a corridor leading to the staircase.
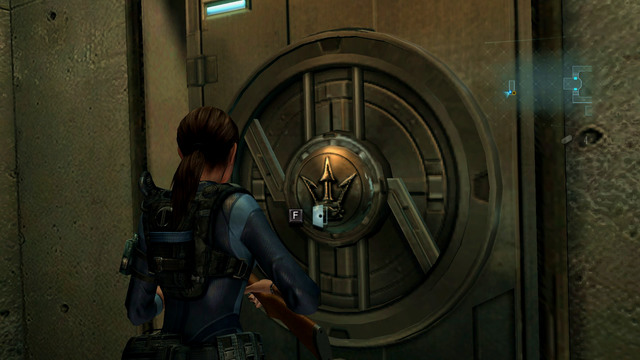
On its top you find a ladder. Climb to the top and look at a door marked with trident. It is locked.
Jump to the water and approach door at the very bottom.
Then you have to head forward, breathing when you can and avoiding swimming monsters. Your target is marked on yellow on the map.
When you enter a canal, go to its other side and dive again.

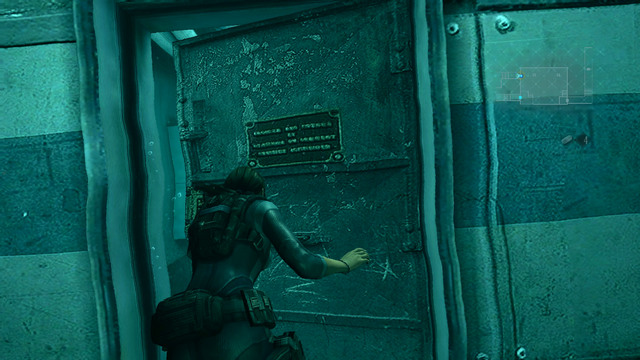
Behind one open door swim forward until you see a narrow passage in a broken window.
It takes you to further corridors, at end of which you find a big flooded room.
Emerge on the surface and go on the land where you can see black-yellow stripes.
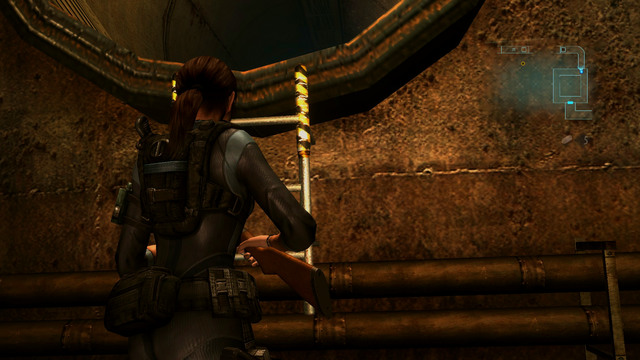
Then go further to the shaft, from which a broken ladder hangs. Tunnel leads to the casino, where this part of episode ends.
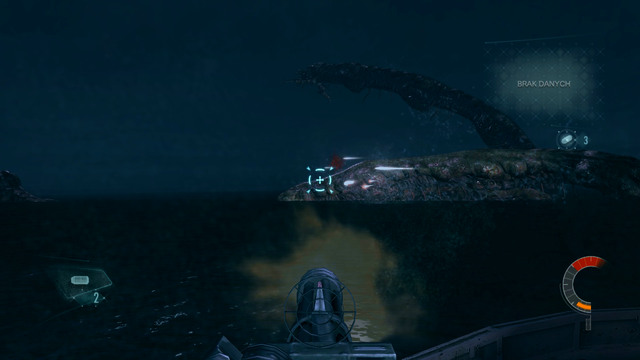
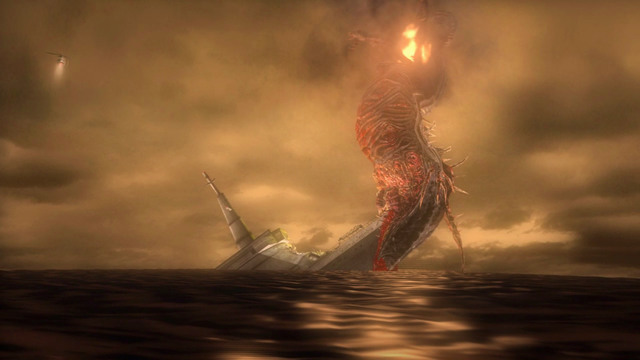
You begin this stage as Chris and you have to prevent big tentacles from destroying the boat. Enemy will fire missiles or attack with his jaws.
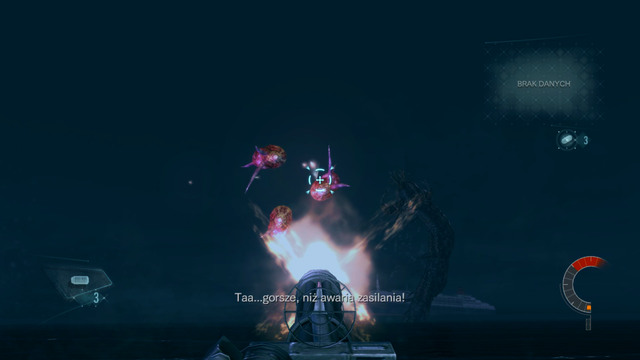
To avoid damage, destroy incoming missiles with your rifle and blow up tentacles with grenades (aiming key). During the fight look at a weapon heat bar in the right bottom corner of the screen. When it gets full, you'll have to wait a few seconds for another shot. Make short pauses to avoid that.
This part ends when you get to the ship.
You are Jill again. You have to get to the laboratory. To do so, use door with a trident symbol which you've passed already.
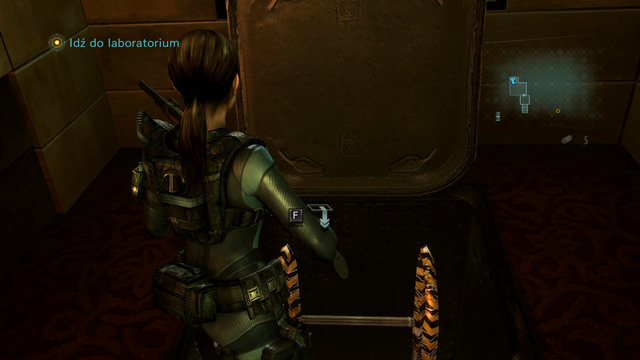
At the beginning, jump down where the ladder is and move forward until you get to a room with broken elevator. If you meet any mutants, throw a pulse grenade at them.

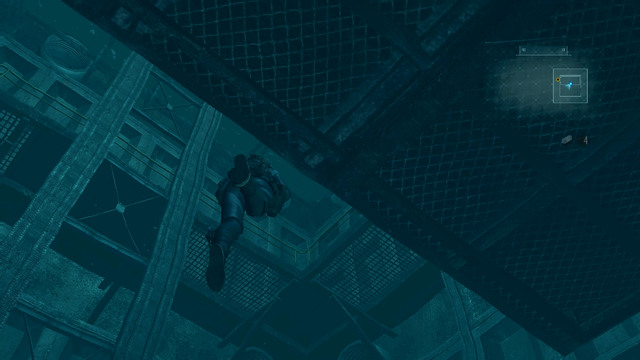
In the mentioned above room, climb up and jump to the water at the other end of platform. Underwater corridor takes you to the place marked on the map.
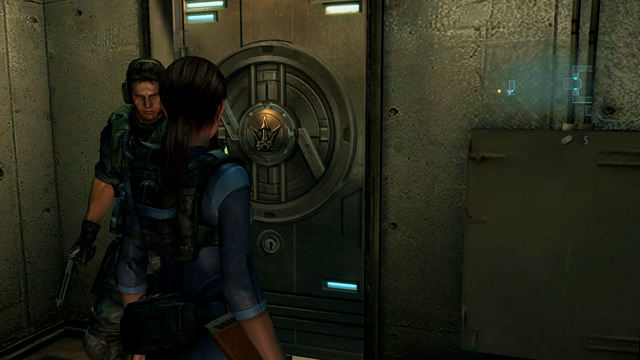
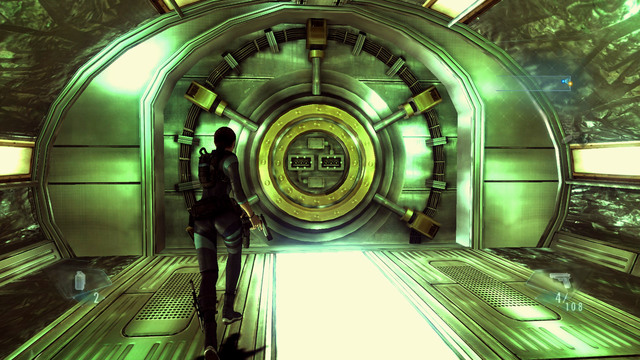
Take a key from Chris when you get onto surface and go through pointed door.
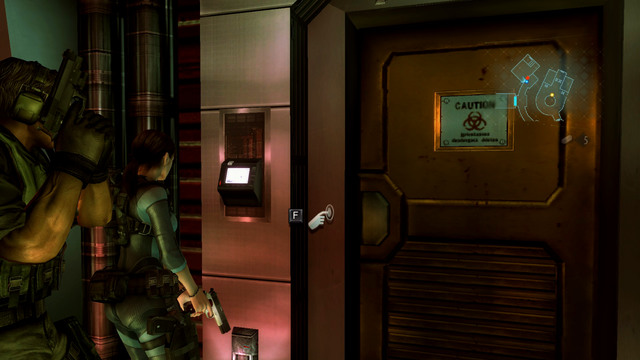
Inside the laboratory, you'll pass a big door with fingerprints scanner. To open it, you have to leave your fingerprint there.
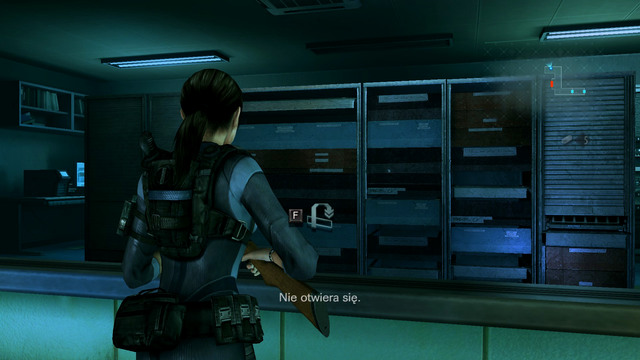
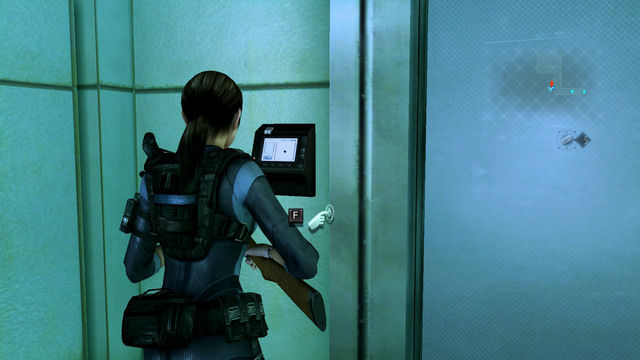
A machine can be found at the end of the corridor. Although the door are barred, you can get inside jumping through the broken pane.
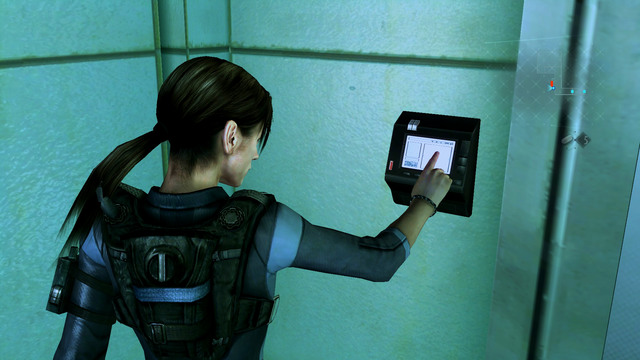
After using a computer, return to the corridor and open the gate.
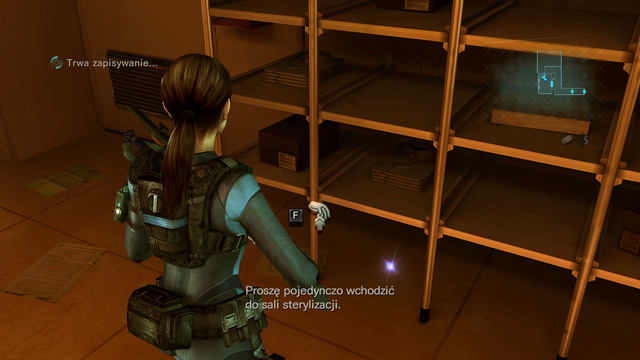
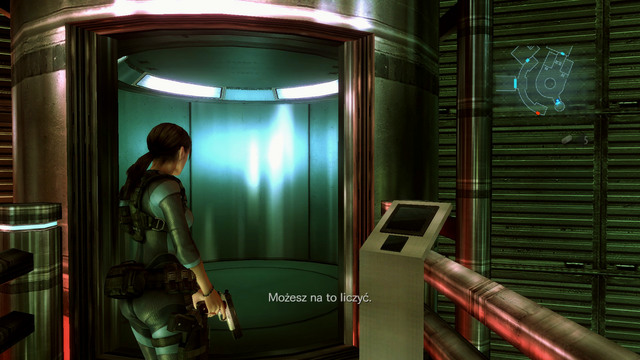
Inside you find several useful items and sterilization chamber.
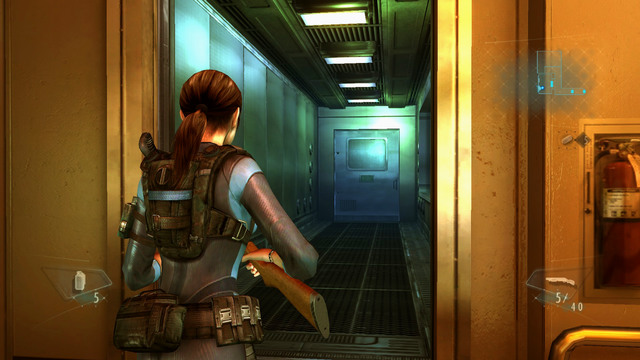
When you pick up everything, enter the cleaning room.
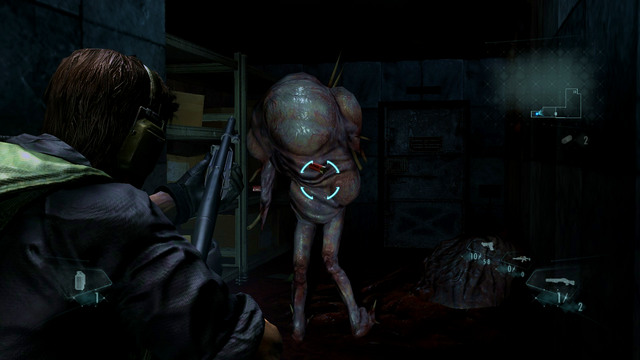
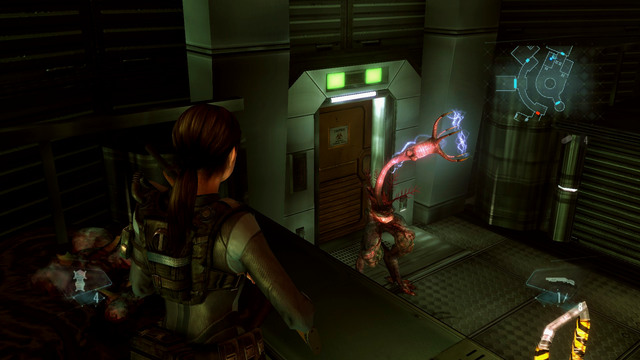
A moment later a new type of mutant emerges from behind the wall.
This monster has shield-like limb, which protects him against bullets. To save ammo fire at his head, backs or legs.
This monster deals a quite big damage if you hit you with his claws so be ready for evasions. After two-three of his missed blows, the door to chamber open and you can freely escape from his attacks.
When the enemy is dead, search the room with aquarium carefully. You'll find a new type of handgun, L. Hawk, and some ammo.
Nearby elevator takes you onto a next level of laboratory.
Moving forward, you get to the place where virus is held. A moment later this episode ends.
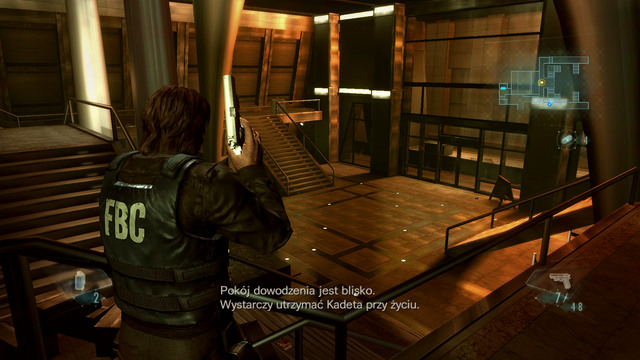
Move forward and follow your partner at the beginning.
Man will take you to the elevator, which rides you to the supercomputer you're looking for.
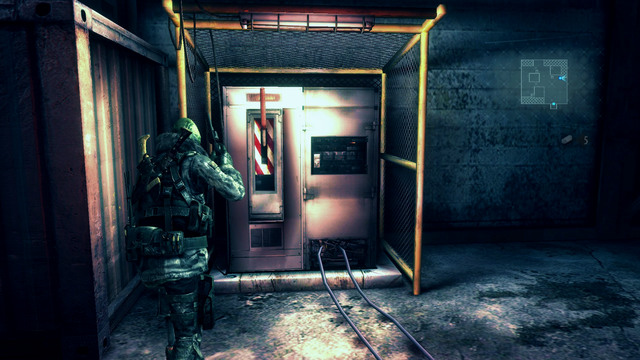
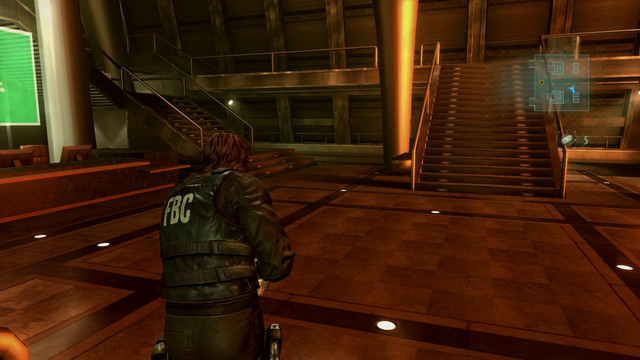
To launch the machine, you have to pull two levers which can be found in the vicinity. Bur before you do so, pick up all nearby items. You will need them, because after turning the computer on, you'll be attacked by hordes of enemies.
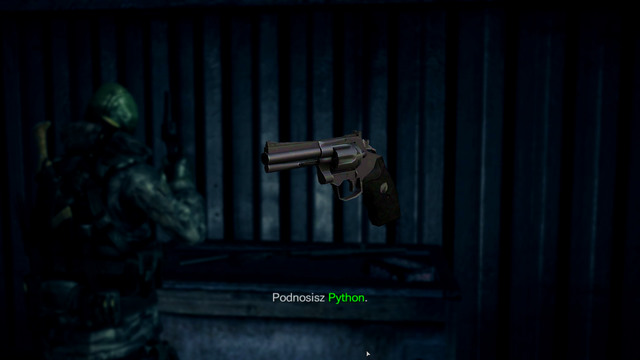
During the fight use a Python which lies nearby. One shot kills most of enemies.
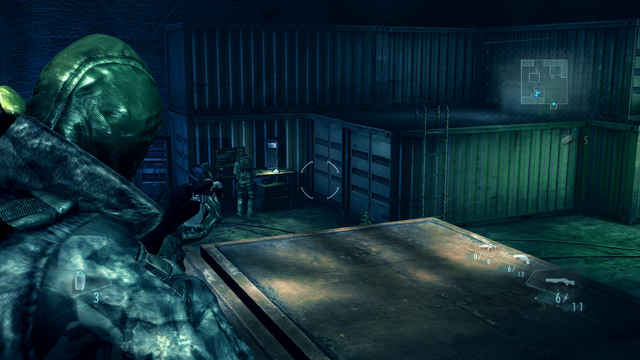
Get to know also how this place looks like. During this encounter you should often jump between platforms to get some time for reload and find ammo.
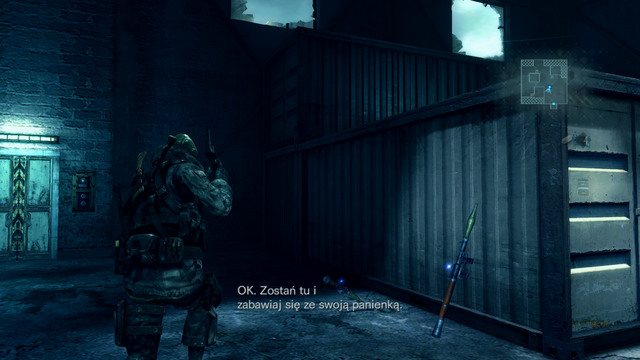
Among enemies you will recognize wolves, lizards and beasts which can disappear. Against the latter ones, you should use grenades and a rocket launcher which leans against one of containers.
At some stage, one of generators turns off. You have to turn it on again so your partner can work.
When the last enemy dies, this stage of episode ends.
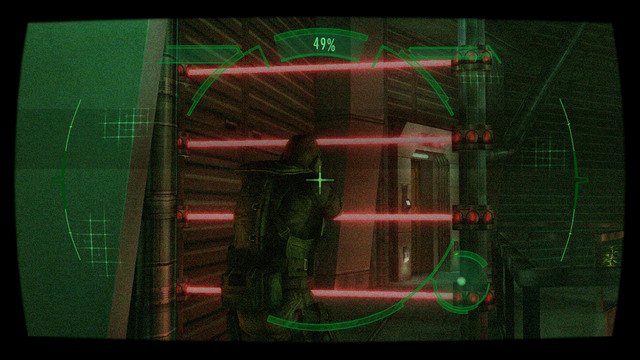
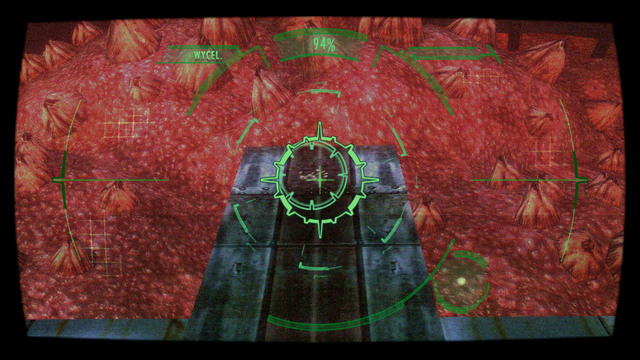
You play as Jill again. Use Genesis to spot red lasers between bars. Don't touch them, because they cause a huge damage.
A safe road leads right, where you can find a safety system switch. Using it blocks a way back, but thanks to it you can move further on.
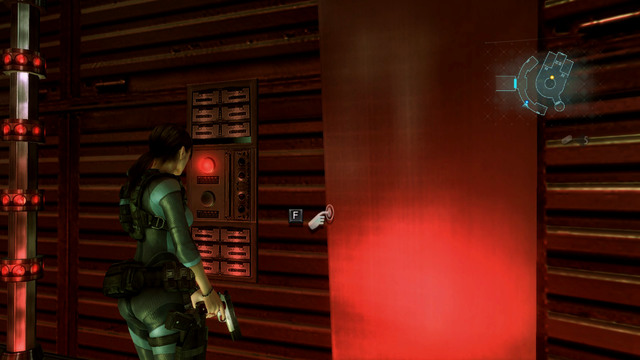
Behind next lasers you find a button which turns off all barriers.
When you push it, you can get to the other end of the sidewalk and open door with fingerprints scanner.
Then go forward until you get to a room with a big container of virus.
When Chris takes care of supercomputer, search the area carefully and pick up all necessary items.
Further path leads to the elevator on left.
It takes you a level lower, where you run into a laser labyrinth.
Using Genesis go through the barriers to the switch and push the button.

Doing so, you'll be able to jump a level lower and then go to the next part of the laboratory.
There you'll fight three mutants. Try to fight them one at once and throw grenades at them.
When the last one dies, use a fingerprints scanner to get through another door.
A bit further you find a room with vaccine machine, laboratory map and lasers switch. At the beginning pick up all items and press a key using for barriers.
After that you get an access to the body you've passed. Search the body and find short notes and vaccine prototype.
Take the medicament to the special machine and then use it on your character.

When you finish, check a computer on left and when the files finish downloading, take a verification code. A moment later the room will be flooded with red liquid.
Now you have to return to Chris, swimming over lasers and getting through the broken pane.
When you emerge, look for a ladder and then climb up.
To begin a neutralization of the virus, you have to input the data into the machine in the middle.
When short cut scene ends, group of enemies start attacking you.
At the beginning, climb onto one of platforms on the upper level and using the weaker weapon eliminate the least dangerous enemies.
Use a shotgun, automatic rifles and grenades against shark-like enemies. Try to attack them from above, moving between platforms if they get to close to you. Remember also to avoid shooters standing a bit further.
When the last monster dies, the virus is neutralised and episode ends.
You play as Parker. Go through door on the other end of hall. Behind it you find a promenade. You should head to the elevator on its end.
Before you get there, you'll fight few groups of mutants. Eliminate the weaker ones first and at the very need finish off the beast with shield.
When area is cleared enter the elevator and head for the bridge. There you find a Jessica waiting for you.
After a short cut scene this part of episode ends.
At the beginning run forward after your partner, swimming through the flooded corridors.
In one place you have to separate: go through door on right and help Parker escape.
When the hot steam blocks your way, move back a bit and then push a red button on the wall. It turns off the steam.

Behind the door, you'll be attacked by a pair of zombies. Fire them down from a handgun and move forward until you meet your previous partner.
To kill incoming beasts, destroy a nearby gas bottle with a single quick shot.
Finally, the corridor takes you to the place where you get separated with Parker and counting begins.
Run very quickly forward until you find a mutant with the shield. Quick him rapidly to safely rotate the valve which stops the hot steam.
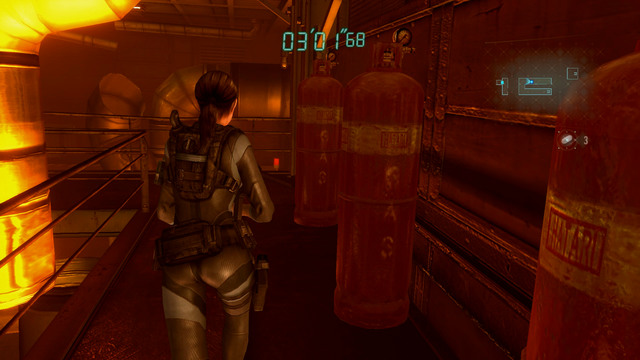
When it's done, move forward. When you pass three bottles under the wall, you run into a big charging monster. Instead of firing at him, move back a little and blow up bottles when the beast get close to them.
Moving forward you get to a high shaft, where you'll be attacked by more mutants. Don't fight them, just climb on the top of nearby ladder.

A bit later you find door leading to the deck. Now you have to go forward and avoid flying items. At the beginning run from left so you don't get him by the barrel. When it passes you, go to right side and after next barrier turn left.
Next danger is an incoming boat. To avoid being crushed move to the right side and move back a little when you see it flying. When you pass two more barrels, the way to the door will be clear. Go through them what ends this episode.
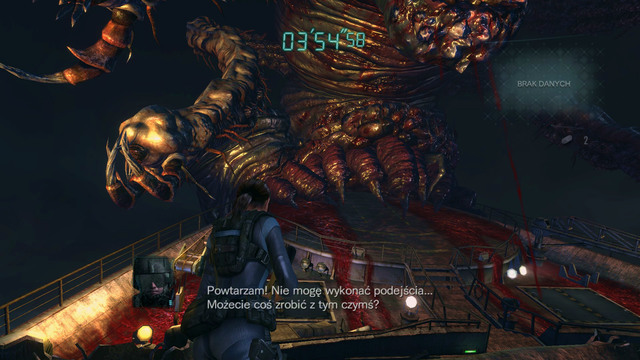
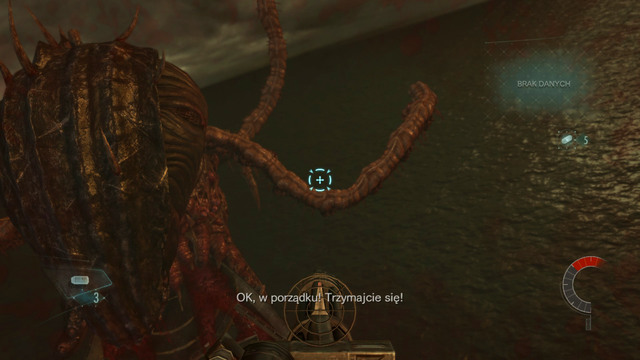
This episode begins from the encounter with a huge mutant. To defeat him, you have to focus on avoiding his blows.
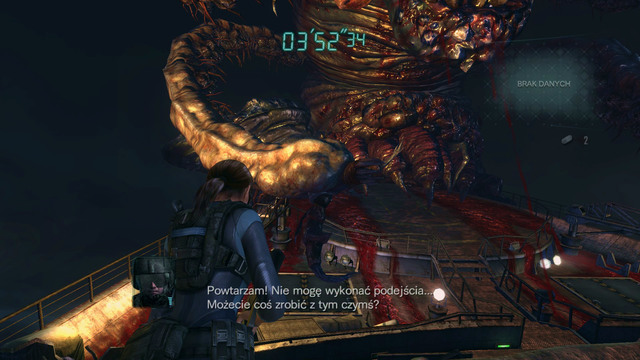
Beast has two types of attacks: with a tentacle and missiles. To not get hit, run from one end of location to the other and fire at the incoming missiles. Doing so, you should be relatively safe.
When it comes to attacking this beast, don't use any of your weapons. Your only tool should be rocket launchers dropped by the helicopter.

Fire them at beast's tentacles and finish the encounter before the time runs out.
When beast get stunned, you get onto a helicopter from which you'll be firing at tentacles again. Usually they attack in pairs, so use grenades to eliminate one of them and then finish off the other one with a quick series from the automatic rifle.
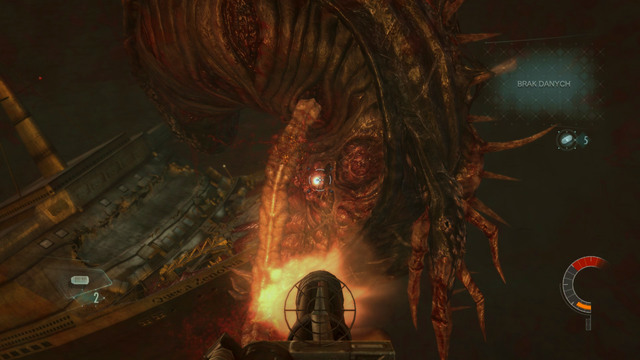
Fight isn't difficult, but you have to be careful to not overheat the rifle and look around right and left to not get surprised.
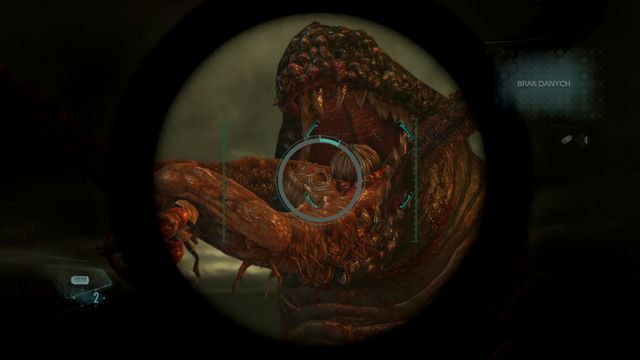
At the very end of encounter, your hero will grab a rocket launcher. You'll have to aim at beats's jaws and press an action button when the order appears.
This kills the might beast.

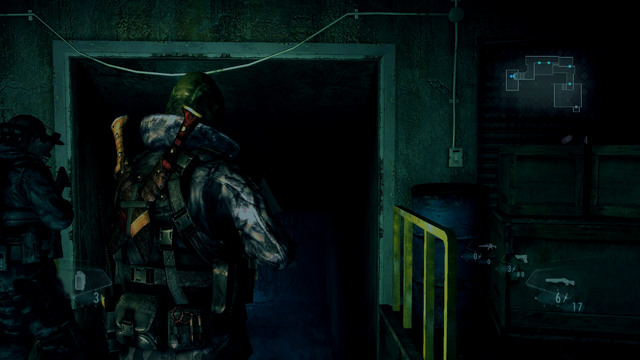
As a Parker defeat quickly the monster you find in the corridor and use an elevator to get onto a higher level of the skyscraper.
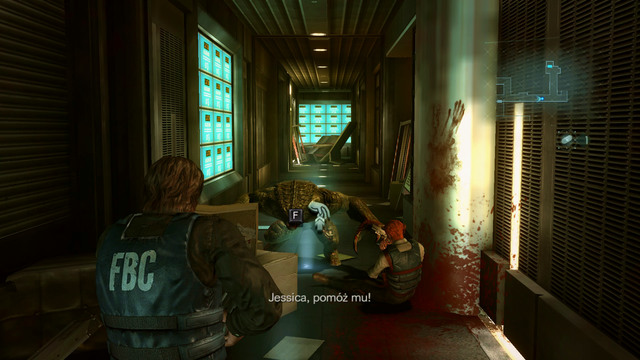
You'll see Reynold being attacked by mutants. Rescue him by killing two monsters in front of you and then a single one which will jump from behind you.
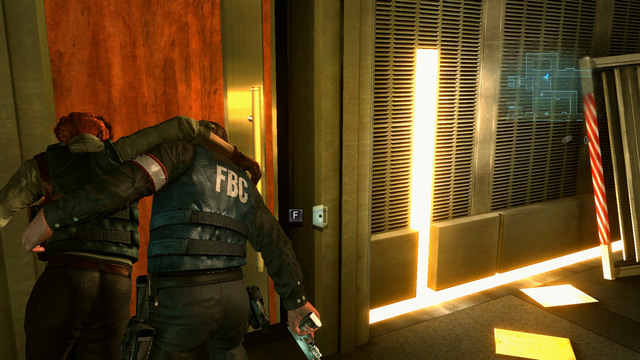
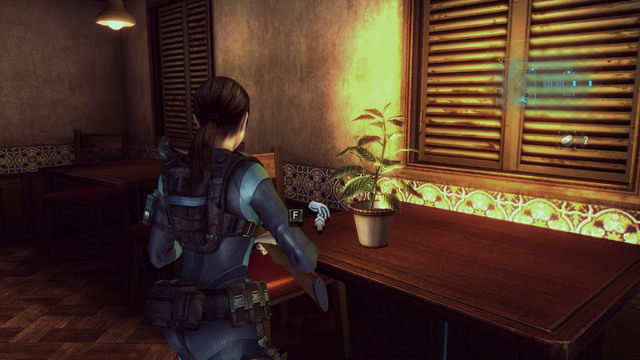
When the area is cleared, help him stand up and enter the room on the left side of corridor. You find there herb and some ammo.
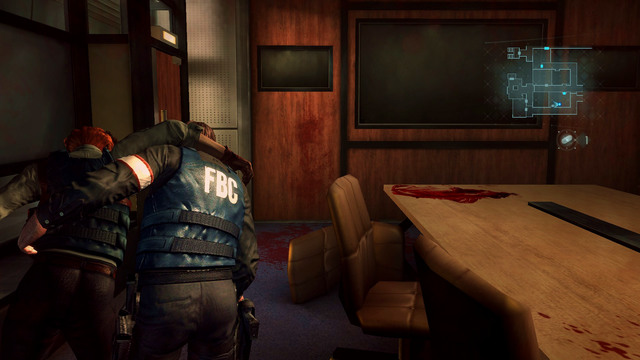
Moving forward kill more enemies until you see a door on left. Behind there you find a conference room with ammo lying on the table.
Pick up bullets and exit the room on the other side. A but further Parker will leave Raynlod on the ground to find him a first aid kit.

At the beginning, jump over the orange barrier on the other end of corridor. You find there green herb.

Now you should go to the place marked on the map, searching rooms which you pass on your way.
Near to the marked point you find another orange barrier.
Behind it you find stairs leading to the fourth floor.

There you find more enemies. Kill them quickly, pick up tourniquet from the ground and return to the wounded man.
Before you help him, you'll have to kill few more enemies, but thanks to the ammo you have found, they shouldn't be problematic.
After a short cut scene move forward and use an elevator at the end of corridor. It takes you to the place full of mutants. Kill all of them, collecting ammo thrown everywhere in the meantime.
Your target is wide door to which second stairs lead.
When you get there, new waves of enemies start running at you. Stay under the wall and fire at them and don't get surrounded.
When the last mutant dies, you can open door and finish the episode.
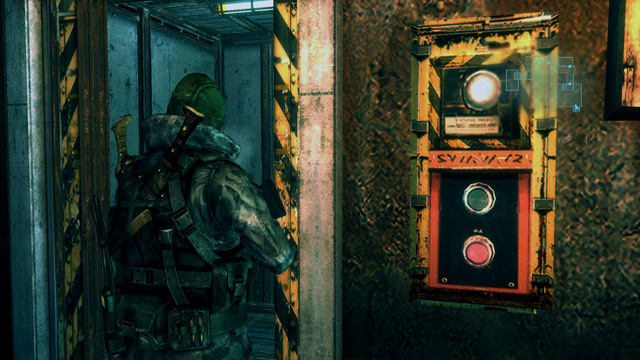
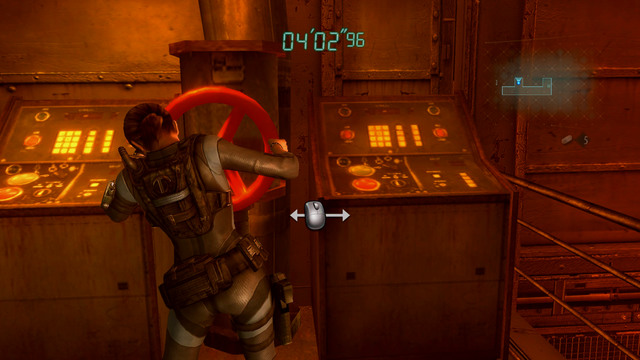
At the beginning, turn the big red valve and get through the door on the other side.
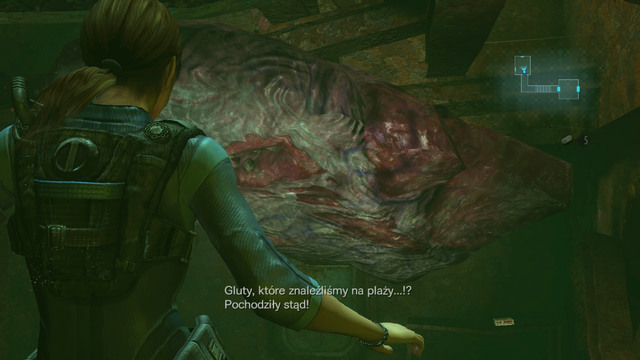
You get to the location, where the mutated meat hangs from the ceiling.
Behind the door you find a small cabin and inside an ammo to automatic weapons.
Pick up bullets and swim through door on left. On the crossroads turn left to get more bullets and then head for the opposite direction.
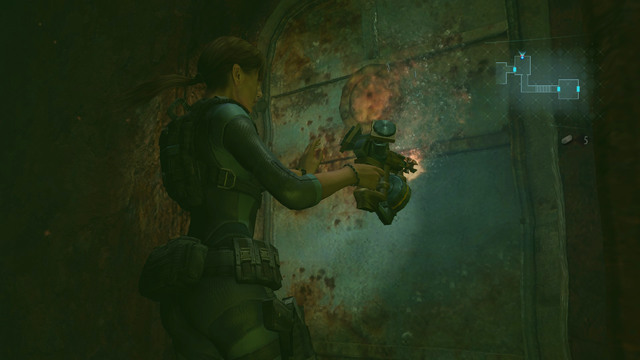
It takes you to the room with grilled door.
To open it, get through door on left and swim forward until you get to the power switch.
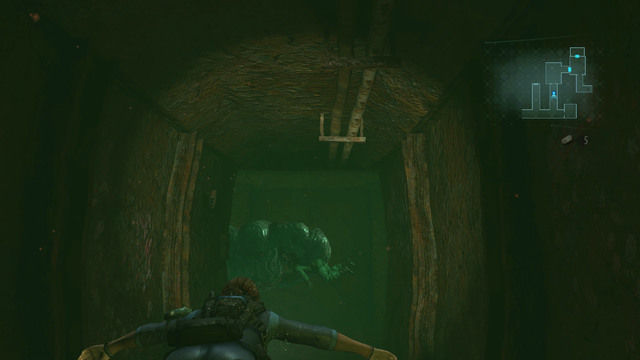
You will meet big swimming mutants on your way. You can use a pulse grenade or just pass them, hiding in narrow passages. Each time before entering a location, look carefully at beast's movements and follow it in a way it doesn't notice you. If you get caught, you will be dead.
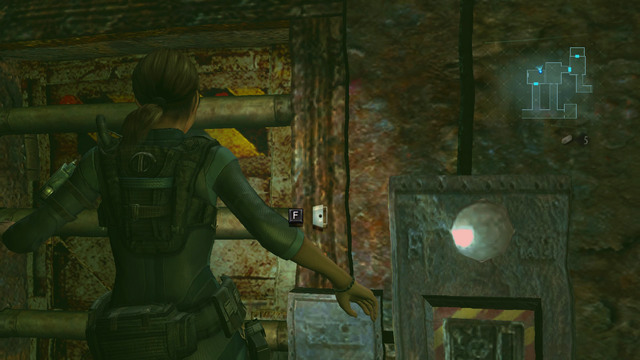
When you turn on the power, return to previously closed door, open it and climb up via ladder behind it.
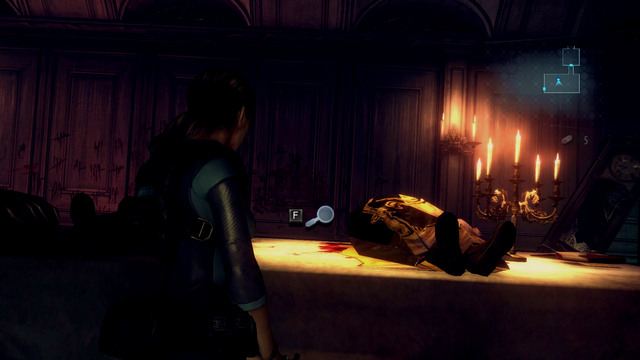
In the dry part of the ship pick up a dictaphone from dead soldier's body and move forward.

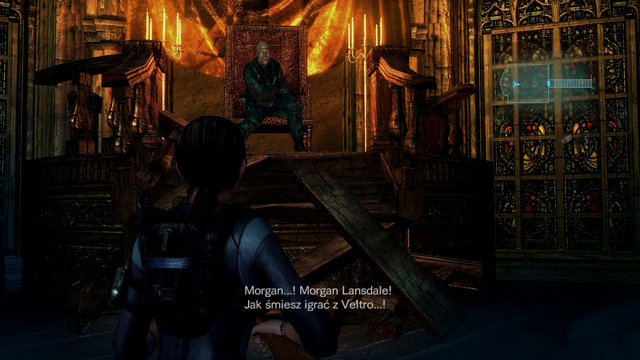
You get to the place, where a chef of Veltro awaits you. After a short conversation pick up Norman's PDA from the ground and try to leave the room. A moment later final encounter begins.
This whole stage is a fight with mutated chef of Veltro. Enemy isn't easy to kill, so prepare for a long encounter. In the first phase of the fight, move back from him, avoiding direct contact. When he teleports to you, you have to fire at the red gland on his chest. A single shot from the shotgun is enough for monster to fall back and start walking into your direction. If you miss, a monster will hit in the ground, knocking you down even if you're not in the range.
After certain number of hits, the mutant will begin a new tactic. After every teleportation he creates illusion, which only differs by not having a red gland. This gland appears on the original enemy just before him making the blow, so you have to look at two enemies at once, to make a clean shot. A good idea is to approach the right mutant and look at the other one. In this case, it's worth to use an automatic rifle, because shotgun makes not enough damage from the distance. You can change your equipment in the chest under the wall.

Another attack of this enemy is creating an illusion, which attacks very quickly but causes no damage. A moment after disappearance of the illusion, an original one appears - and you have to fire at it.

Third phase is the most difficult one, so try to save many healing herbs for it. This time, the beast will charge at you - avoid it with quick evasions and then fire at his gland on the chest or backs. Sometimes, he'll create few illusions but only one (with the gland) will cause you damage. Fire at this one.
The last type of his attack consists of making one copy in front of you and then teleporting behind you to make a slow swing. You can avoid this blow easily, but you have to move forward when you only see an illusion. It's also a good moment to make few shots at the glands. When the monster stuns for a while, approach him and push an action button to make a powerful hit. When beast falls down on the ground, dead, the game ends. Congratulations!
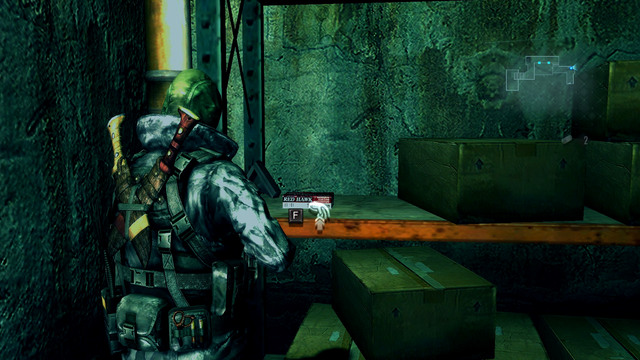
Localisation: Episode 1 - Part II
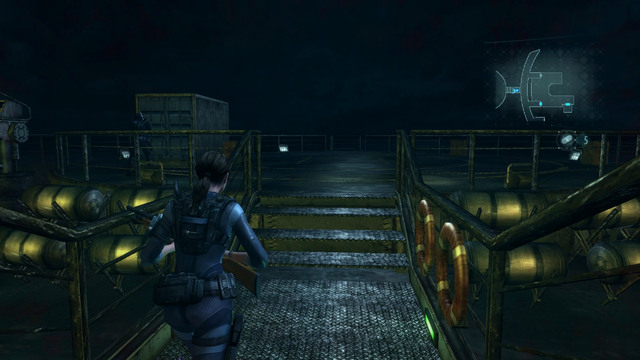
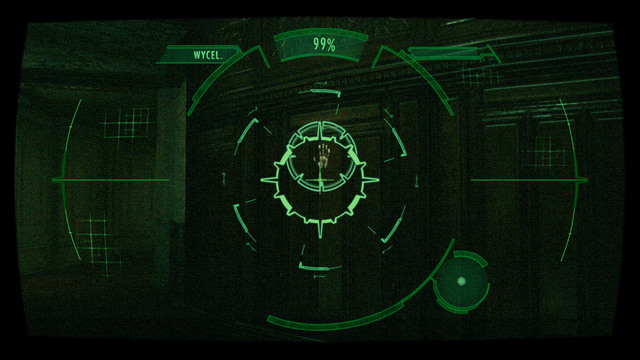
First handprint can be found in the green container on the other side of the narrow passage, on the right from the platform.

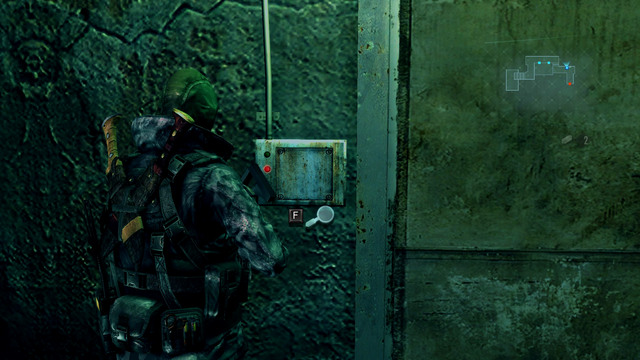
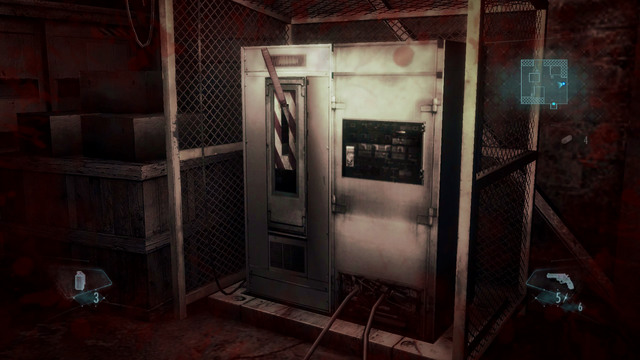
Localisation: Episode 1 - Part III
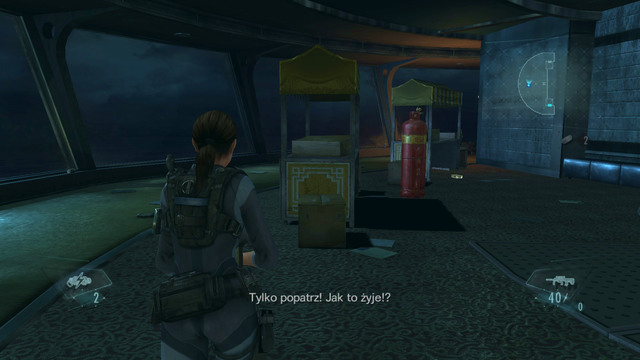
It's placed next to the vendor machine, which glows. You pass it going to the room with the first enemy.
Localisation: Episode 1 - Part III
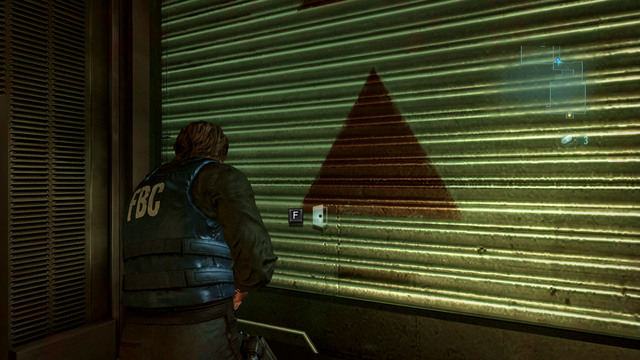
To find it, you have to return to the room which you entered from the deck. There is a small corridor going from it. There you find a third handprint.
This one is on the left wall, just next to the shaft.

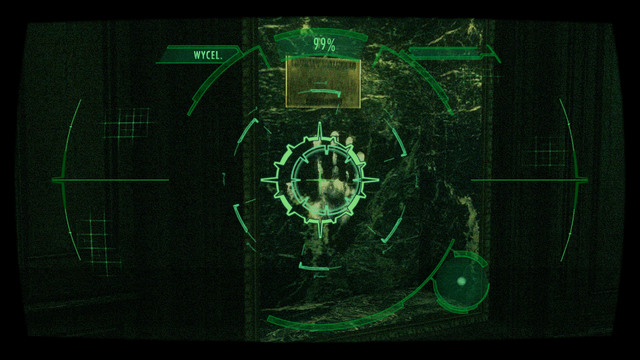
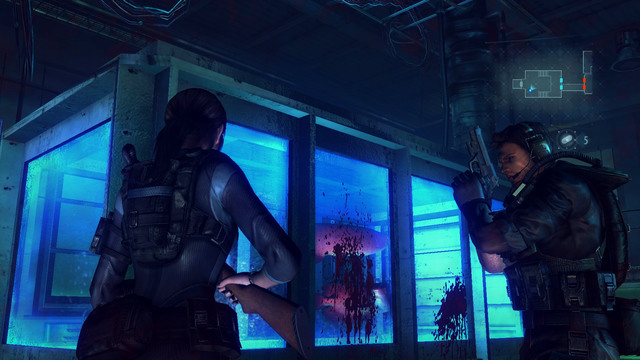
Localisation: Episode 1 - Part II
This handprint can be found in the room where two mutants kill an unknown woman.
It's placed on the table next to the computer.

Localisation: Episode 2 - Part I
Another handprint can be found in the cockpit of the broken airplane.
Localisation: Episode 2 - Part I
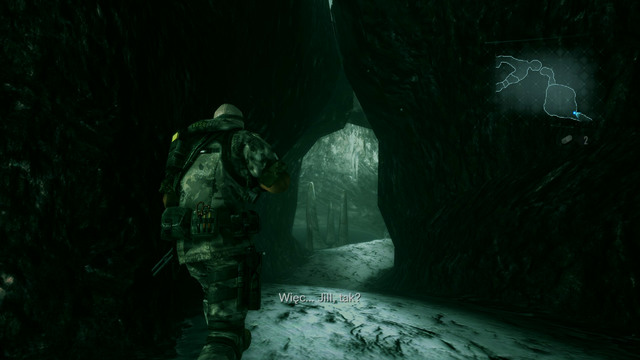
When you get decoys and use it at two groups of beasts, move forward until you see a small lake on the left (Jessica starts talking about Jill).
There are rocks sticking out of it, on one of them you find a handprint.
Localisation: Episode 2 - Part II
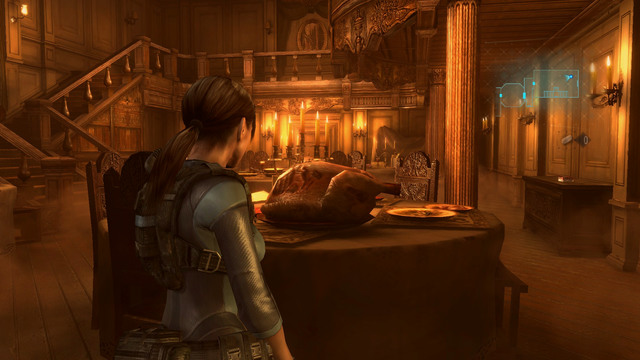
Seventh handprint can be found on one of turkeys in the dining room.
Localisation: Episode 2 - Part II
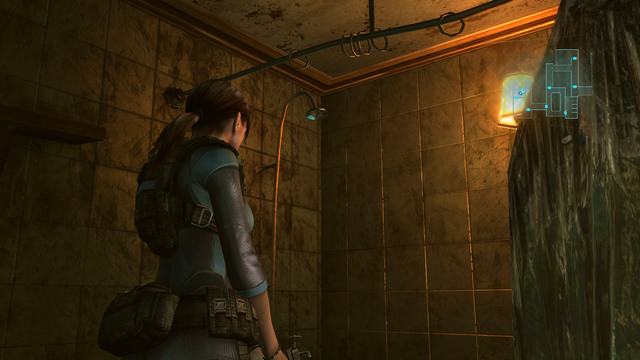
This handprint can be found in the room where Jill was imprisoned. You find it under the bathtub. Return there after getting a Genesis.
Localisation: Episode 2 - Part II
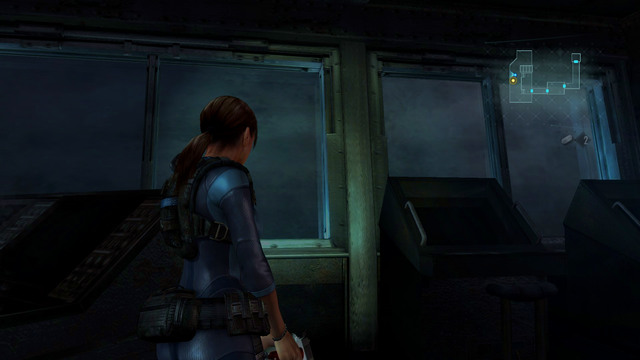
It's on one of windows on the bridge.
Localisation: Episode 3 - Part II
This handprint can be found on the wall opposite to the communication room. It's in the lit hall.
Localisation: Episode 3 - Part II
In the same room go to the very bottom and under the stairs.
In one of broken showcases you find another handprint.
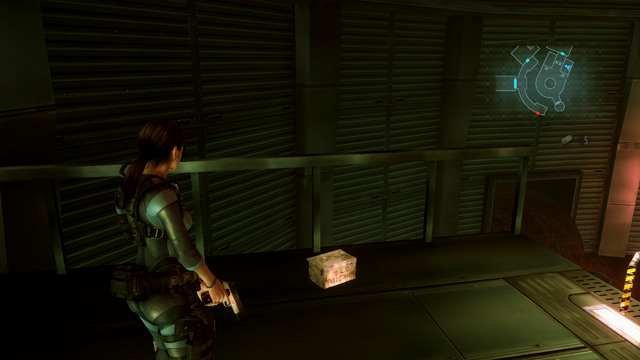
Localisation: Episode 3 - Part II
When you finish off boss on the promenade, enter the room from which beast emerged.
On one of crates you find a handprint.
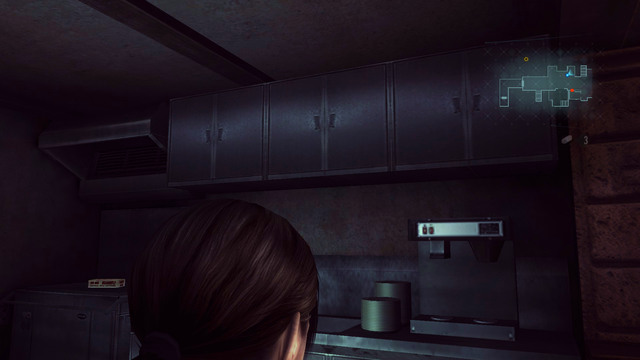
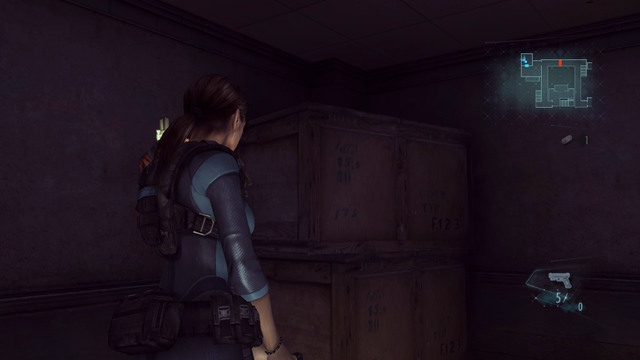
Localisation: Episode 3 - Part II
When you're on the promenade, go downstairs and find a small kitchen. Handprint is on the cupboard.
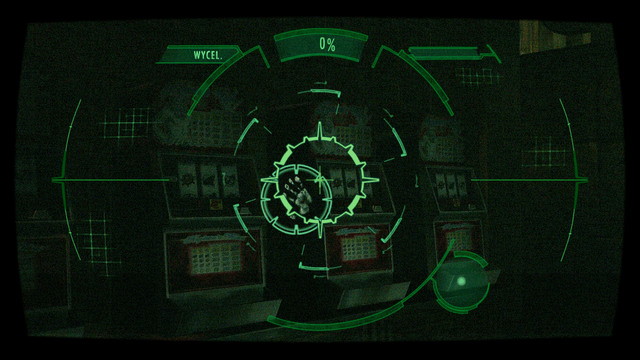
Localisation: Episode 4 - Part I
This handprint can be found at one of slot machines, under the escalator.
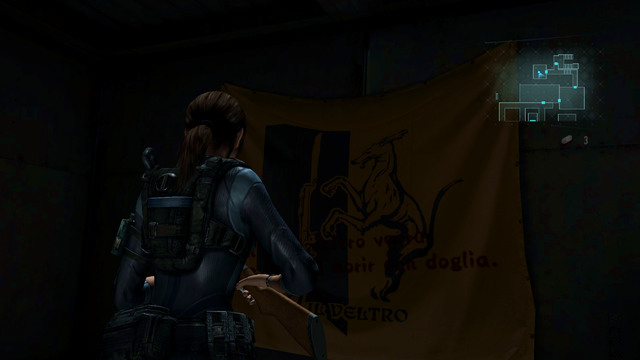
Localisation: Episode 4 - Part I
During the chase after a mutated Rachel, check a room where you've found a dummy of Chris. When you kill a mutant there, you can scan a Veltro flag on the wall, what gives you another handprint.
Localisation: Episode 5 - Part I
Playing as Keith, you get to the room with a projector.
In the right bottom corner of the white shade you find another handprint.
Localisation: Episode 5 - Part II
When you play as a Jill again, get off the elevator and turn left. Over the locker you find another handprint.
Localisation: Episode 6 - Part II
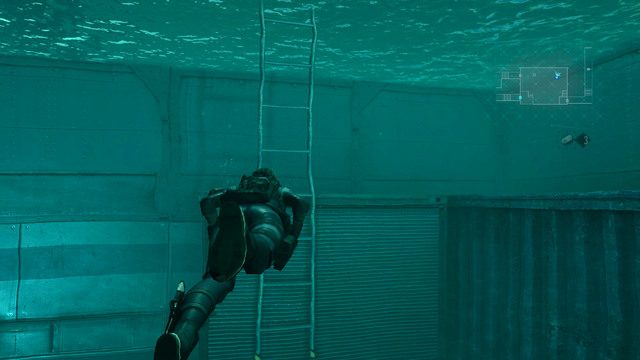
Go up in the big hall until you get to the infected swimming pool.
On the other side of the room you find a closed door, which you have to open playing a minigame.
Firstly, switch the places of circles in the center and on the bottom and then circles in the right and left bottom corner.
A figure appears, from which you can make the one shown on the screen above.
Localisation: Episode 6 - Part II
Another handprint can be found on the chest which launches antennas on the deck.
Localisation: Episode 7 - Part I
When you get on the deck, look at the nearby tables.
On one of them you find a handprint.
Localisation: Episode 7 - Part I
Another handprint can be found also on the deck.
It's placed on the very front of the deck.
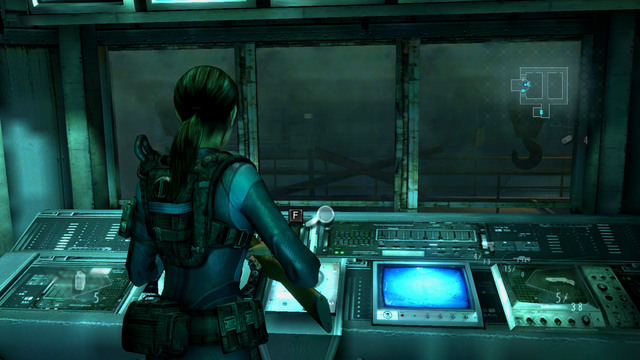
Localisation: Episode 8 - Part I
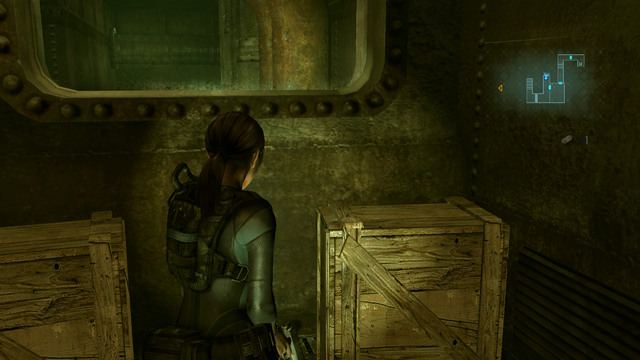
When you emerge from the water for the first time and climb up the ladder, enter the control room of hold.

On one of windows you find another handprint.
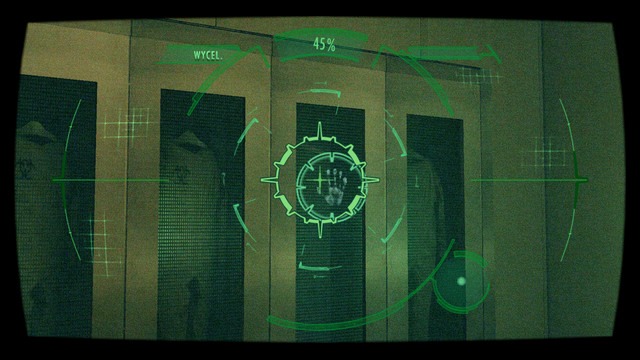
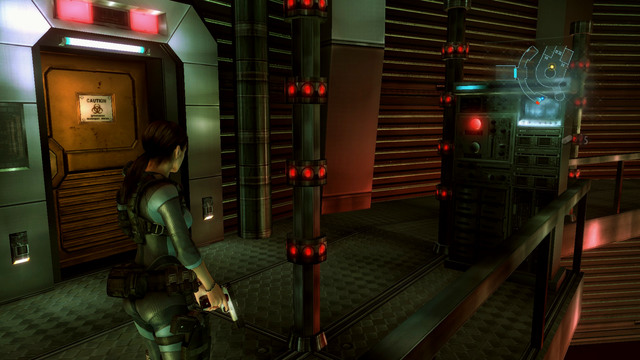
Localisation: Episode 8 - Part III
Handprint can be found on one of lockers in the room with fingerprints scanner.
Localisation: Episode 8 - Part III
Another handprint can be found on the aquarium behind the sterilization chamber.
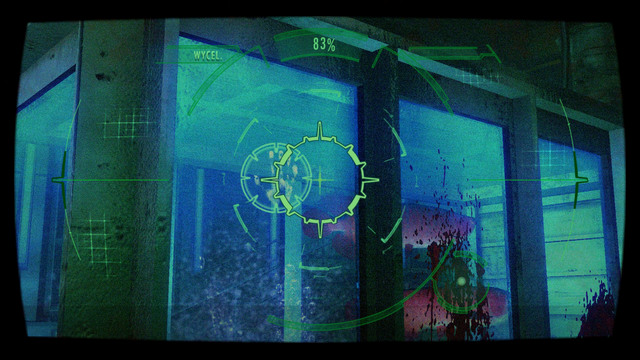
You can scan if after defeating the first mutant with shield.
Localisation: Episode 8 - Part III
This handprint can be found in the corridor in which you lands after using an elevator from the room with aquarium. It's on the arc on the left.
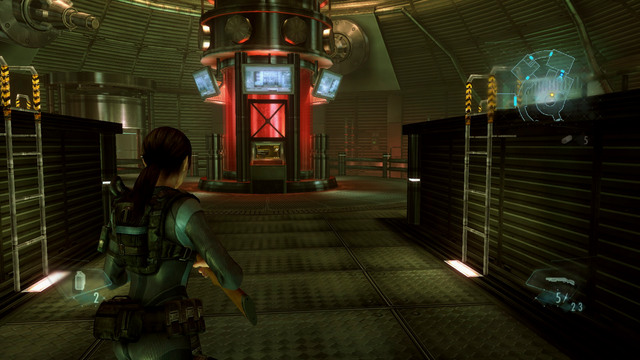
Localisation: Episode 9 - Part II
Another handprint can be found next to the screen in the dissection room.
This room is a bit behind a door with fingerprints scanner, which you open playing as a Jill.
Localisation: Episode 10 - Part I
When you play as Parker, get on the very top of the hall and get through the door leading to the swimming pool.

Now you can jump to the water which is virus free and swim under the big growth on the other side. You find there many useful items.
When you collect it, dive again, this time choosing a tunnel on left. At its end you find a springboard, on which you can find another handprint.
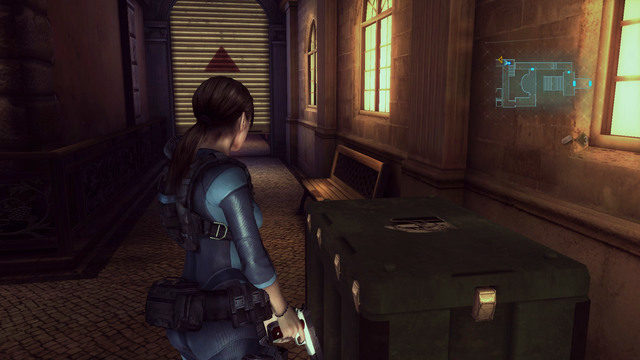
Localisation: Episode 11 - Part I
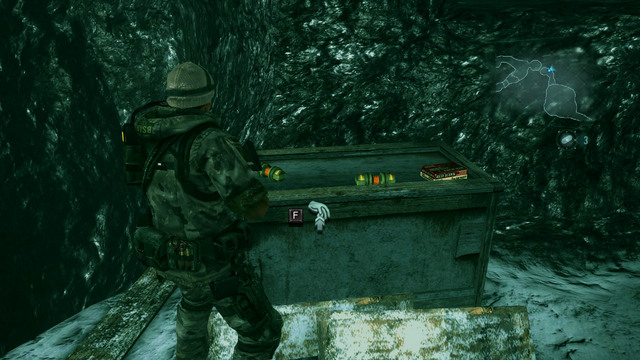
This one can be found on the container behind your backs after beginning this stage.
Localisation: Episode 12 - Part I
Another handprint can be found in the dining room with corpses on the tables.

It's placed on one of bloody walls.
Localisation: Episode 12 - Part I
The last one handprint can be found just before the fight with the final boss.
It's left at the throne of Veltro leader.


 Rainbow Six: Lockdown Game Guide & Walkthrough
 Rage Game Guide & Walkthrough
 Resident Evil 5 Game Guide & Walkthrough
 Remember Me Game Guide & WalkthroughResident Evil: Revelations Game Guide & Walkthrough