
The latest production from id Software studio stands out from other FPS games available on market mainly with the very large number of additional activities that player can make. Besides the classical shooting monsters and bandits, this game offers rally racing, card game, arena duels or specific training of American football. Due to an amount of similar activities this guide is divided into part, which describe in detail each of them.
Walkthrough - a description of all main plot missions, which completing is necessary to complete the game. You'll find there details of visited locations, tips for fighting with stronger opponents and locations of various items hidden in the world RAGE.
Side missions - a description of all side missions available in the game, made in the same detail and extensively as a description of main missions.
Maps of Wasteland - a big oversight on the game from developers' side was not putting a world map in the game, which would allow quickly finding previously visited locations. In this guide you'll find a solution to this problem. Two detailed maps of both parts of Wasteland will serve you as a invaluable assistance while exploring the world of RAGE.
Schematic recipes - a list of all schematic recipes available in the game along with their locations and tools used.
Earning money - cash in RAGE is very important. With it you can buy new weapons, ammo, schematic recipes or healing bandages. In this section you'll find tips on getting rich quickly. Using these tips will make you a real wasteland wealthy man.
Vehicle jumps - Authority put spy drones on the entire Wasteland, which track citizens. Your task is to find them and hit them with a vehicle. Thanks to maps and screens included in this guide you should have no problems in finding all 18 drones. As a reward you'll receive tools used to construct items and special achievement.
Field goals - in order to relax tension on saving the world, RAGE creators have prepared funny mini-game, where your goal is vault your character between the goal posts hidden in the Wasteland. Finding them all is very difficult, but thanks to the map included in this guide, it will not take you more than 10 minutes.
Collector cards - between many mini-games available in RAGE, you can also find a collector card game. But you're not able to buy all 54 cards in the shop. They are hidden among entire Wasteland and finding them requires a high level of perception or ... this guide.
Special id rooms - for all fans of previous id Software games, RAGE creators prepared special, hidden rooms, reminiscent of their style to first part of Wolfenstein, Quake and Doom series. In addition there is another secret room in the game, whose description can be found in this guide.
Michal "Kwisc" Chwistek
Translation: Maciej "Elrond" Myrcha
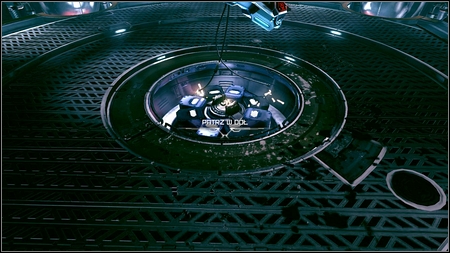
After you gain control over your character, follow received commands. First look up and then at the ship's floor. You'll be able to accept the calibration or reverse the camera rotation axis.
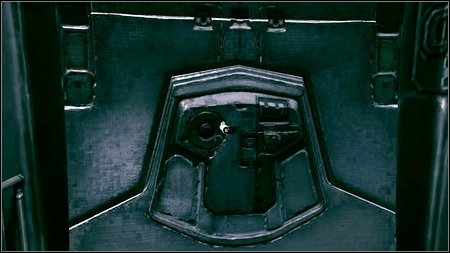
When finished, listen to the president's recording. After that you can leave the capsule by approaching the door and pressing E key.
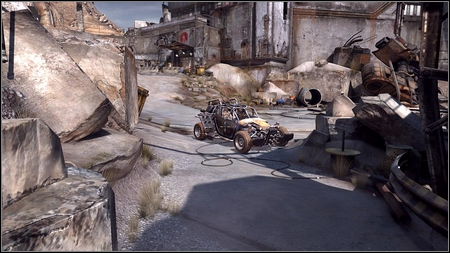
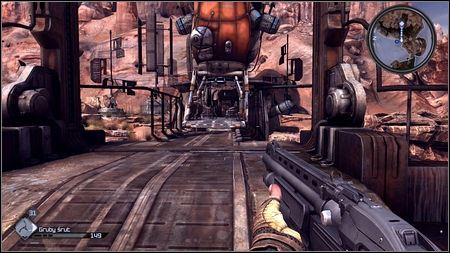
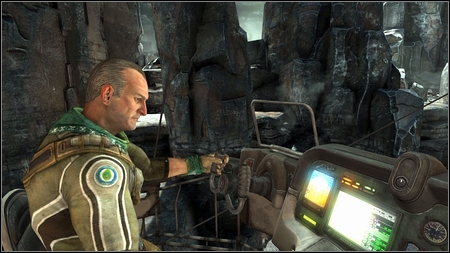
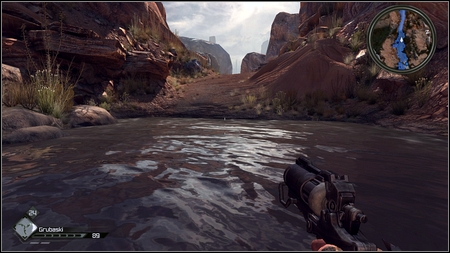
A steel walkway will lead you down the valley where you'll be attacked by bandits. A mysterious stranger driving buggy will save you. Move to him and then get inside the vehicle using E key.

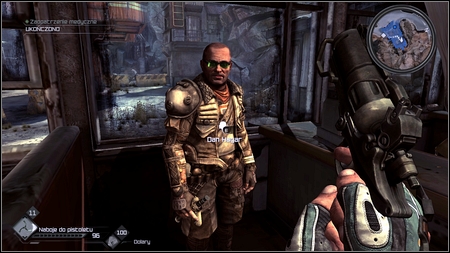
A man will present himself as Dan Hager and drive you to his house. Get out of the buggy by pressing E key.
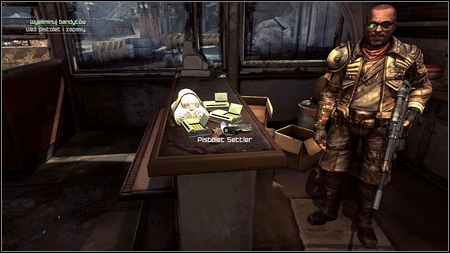
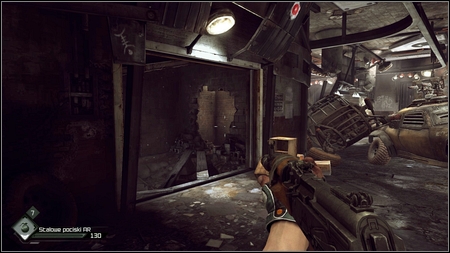
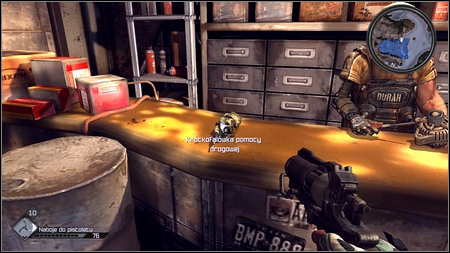
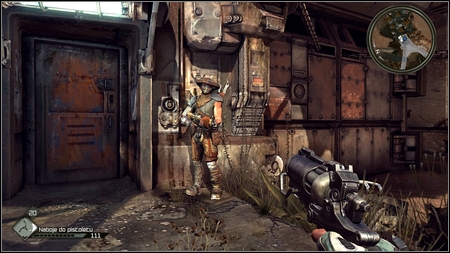
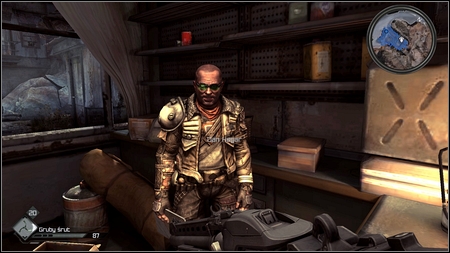
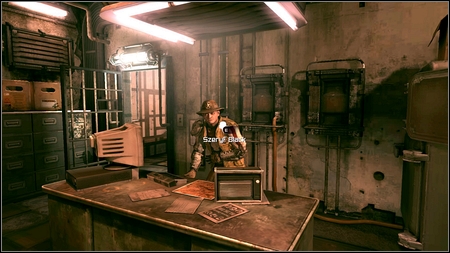
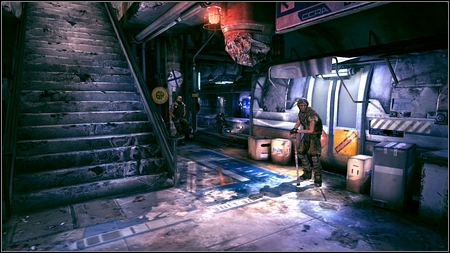
After leaving the garage, talk to your savior. He will give you a first mission. You'll be also able to pick up a weapon lying on the table. You can access your equipment by pressing TAB key.
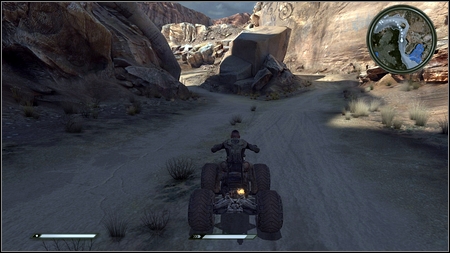
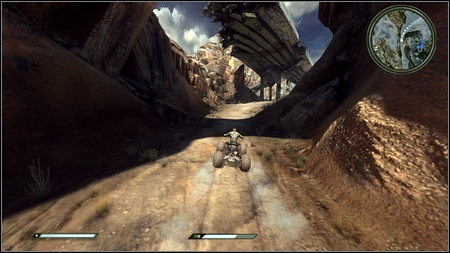
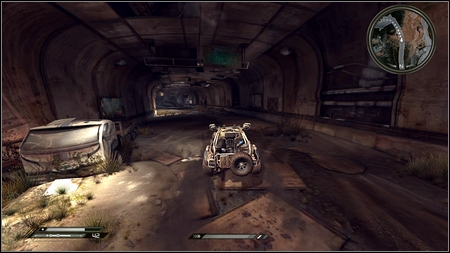
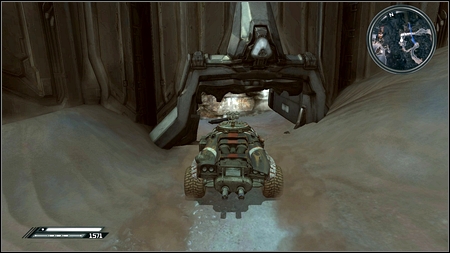
First go to the garage and sit behind the wheel of the ATV standing near. You need to drive it to the place marked on the map (white dots indicate the route). You'll get there much faster if you use a boost (SHIFT).
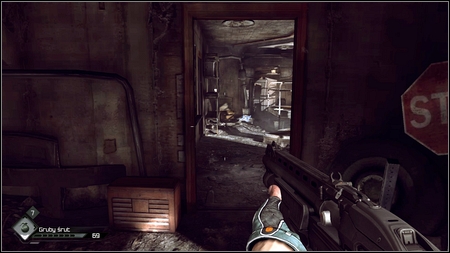
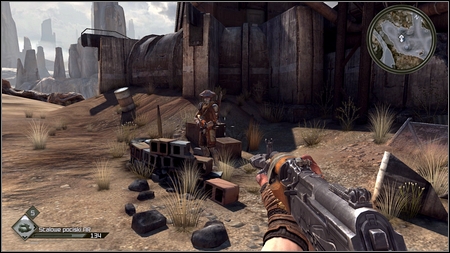
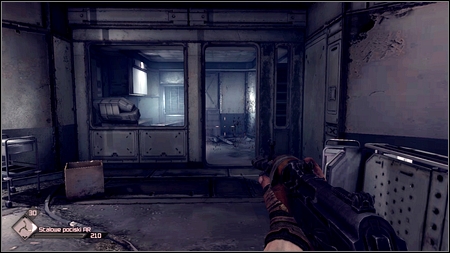
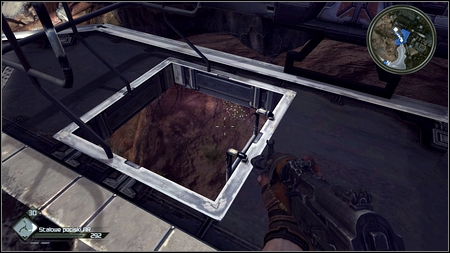
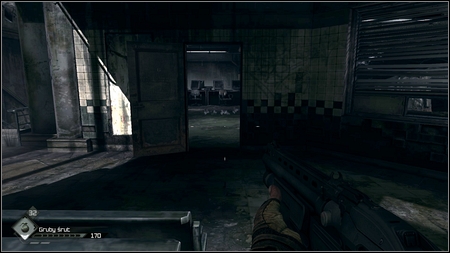
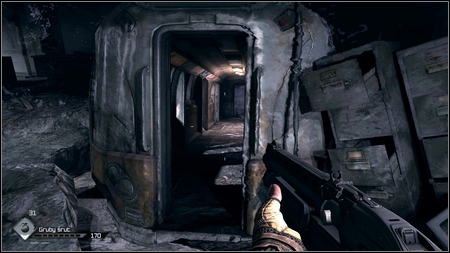
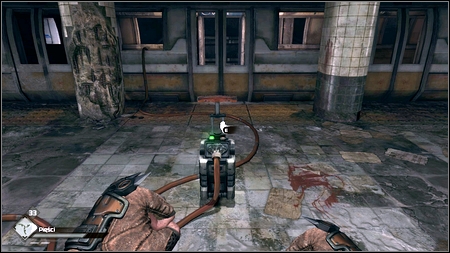
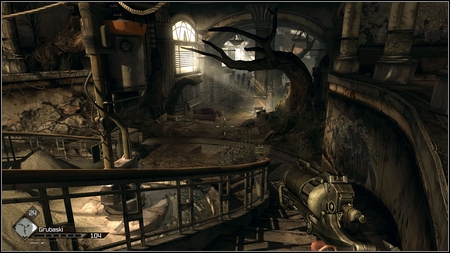
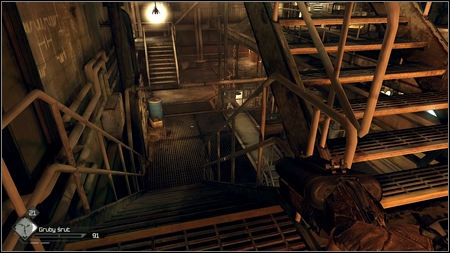
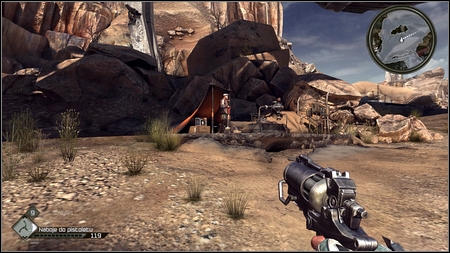
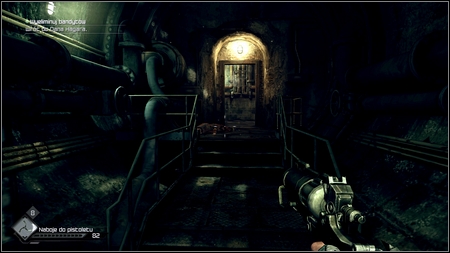
After getting to the destination brake (SPACJA) and get off the ATV (E). Wooden bridge to the right will lead you to the Ghost Hideout.
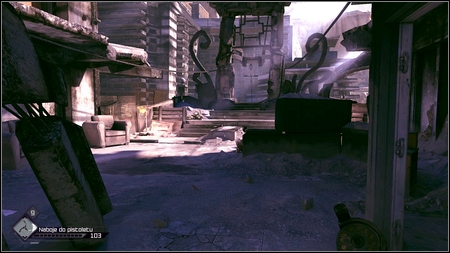
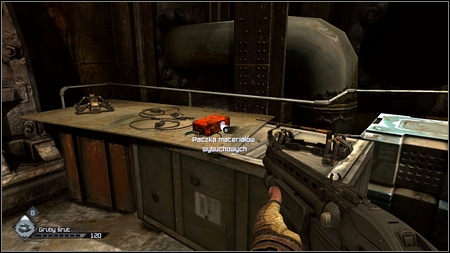
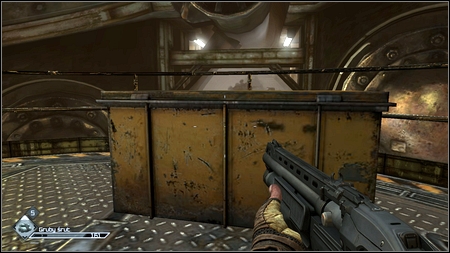
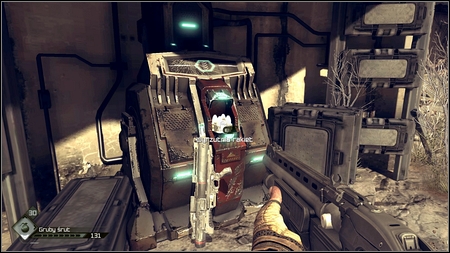
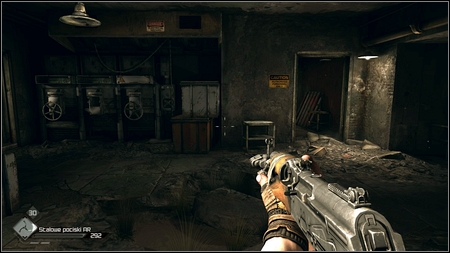
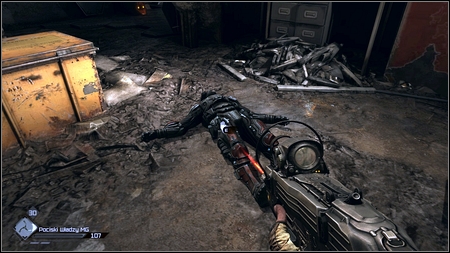
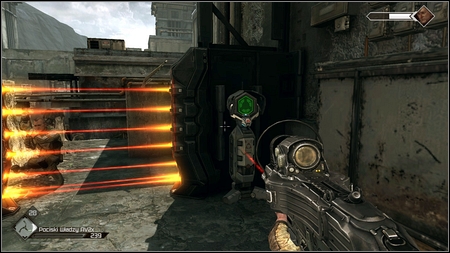
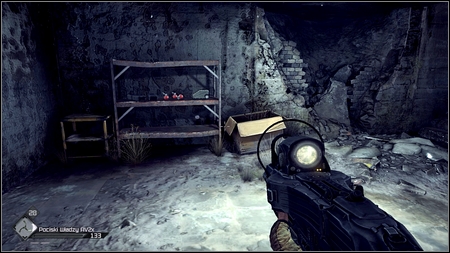
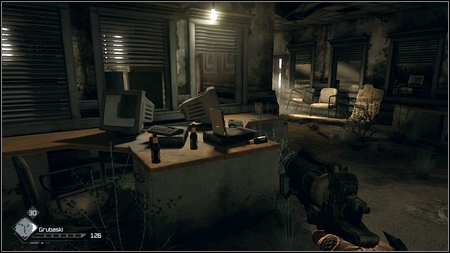
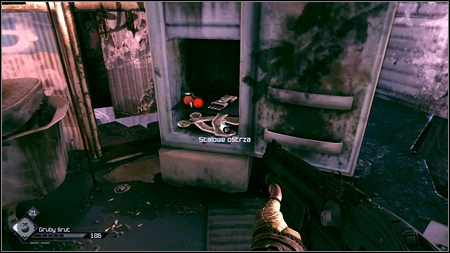
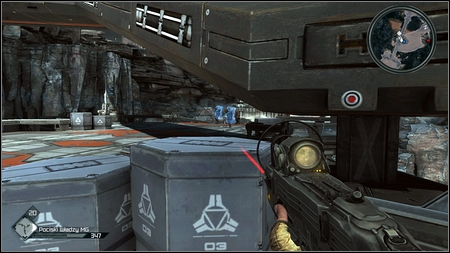
Once you're inside, you'll receive information about possibility of looting opponents' corpses. Remember to exactly search all corpses encountered in the game. Also explore carefully all visited rooms - you can find many valuable items inside. First of them can be found in a crate standing on the left of the entrance.
Jump to the top by pressing SPACE and then take Devar's Travels Vol.1-6 and three cans of food. You can sell them later.
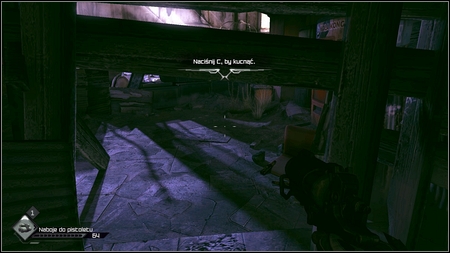
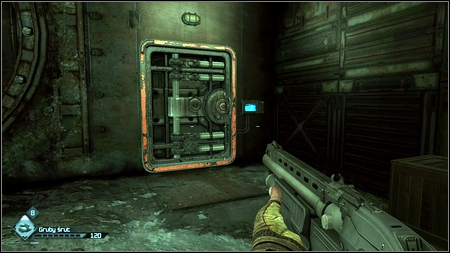
Further way leads to the right. In order to go under wooden barricade, press C key. Your character will crouch and you'll be able to get to the other side.
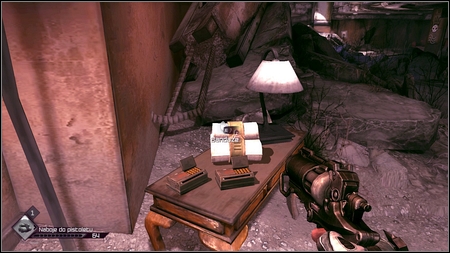
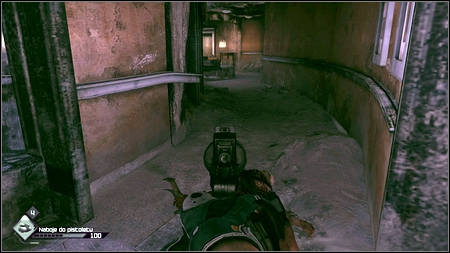
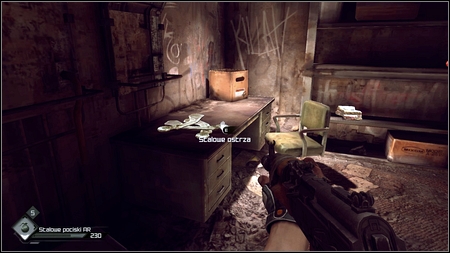
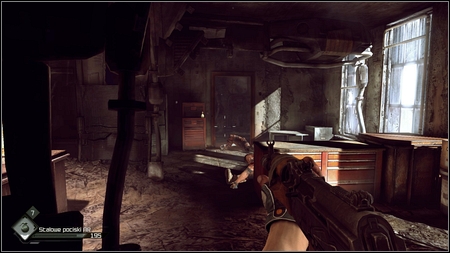
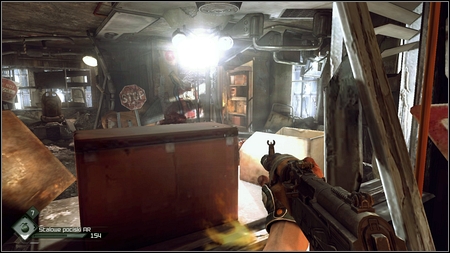
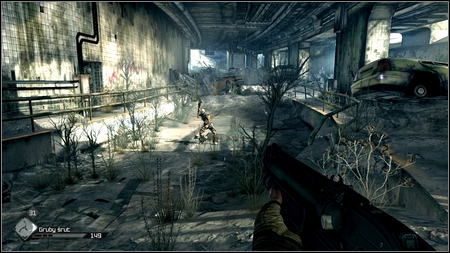
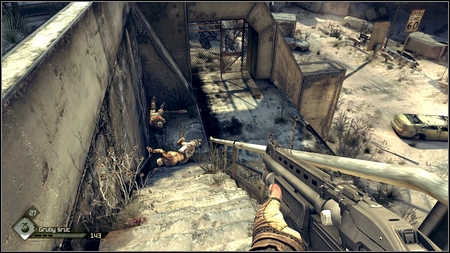
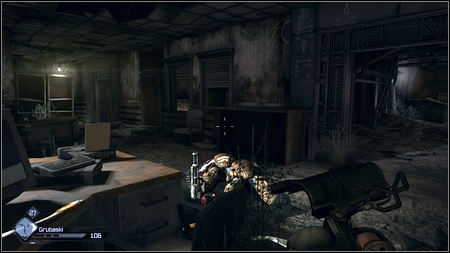
Jump over another rumble and then continue to the right. There will be one of bandits waiting for you on the left side. Zoom your view with RMB and kill him. Additional ammo and bandages can be found on the nearby table. Do not forget to search the corpse.

Going straight ahead you'll be attacked by another enemy.

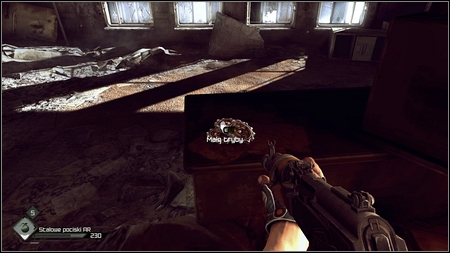
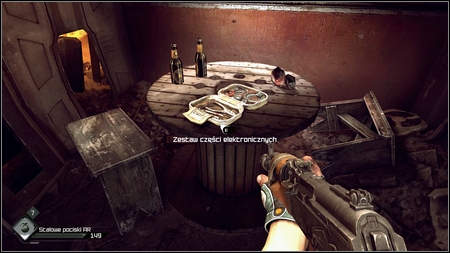
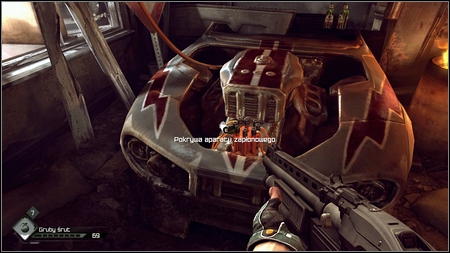
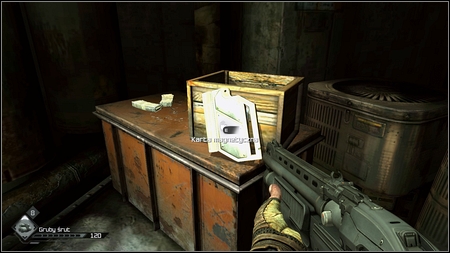
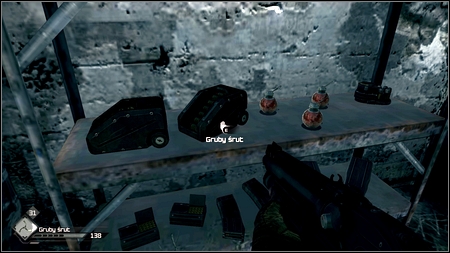
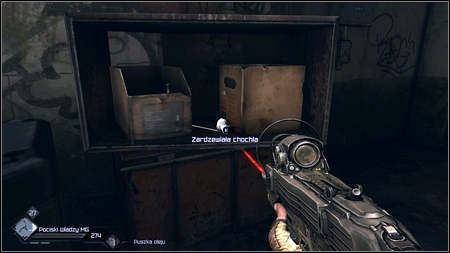
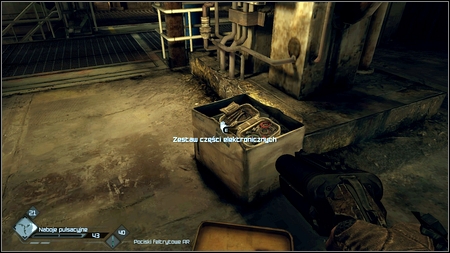
Once he is dead, examine a box on the left. You'll find electronic parts inside, which will be useful when you create your own items.

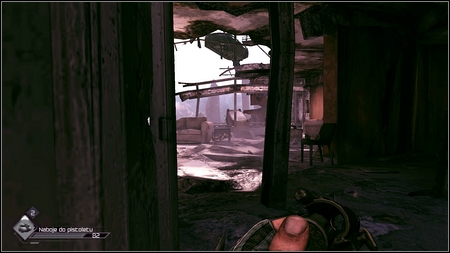
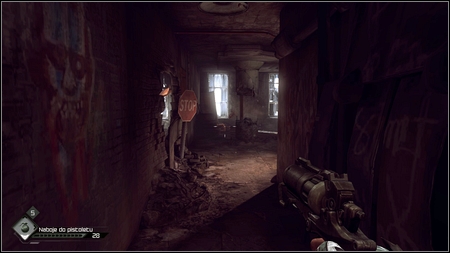
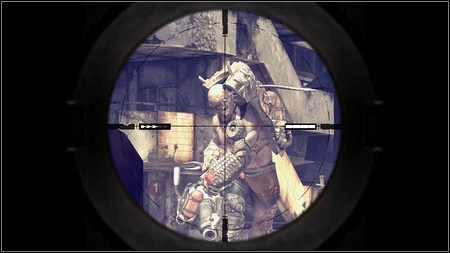
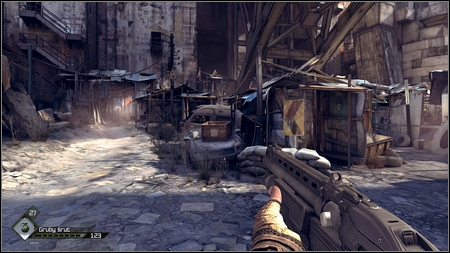
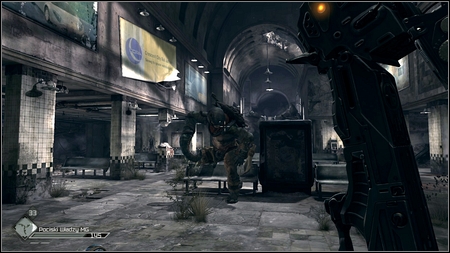
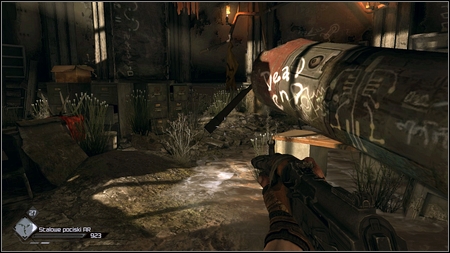
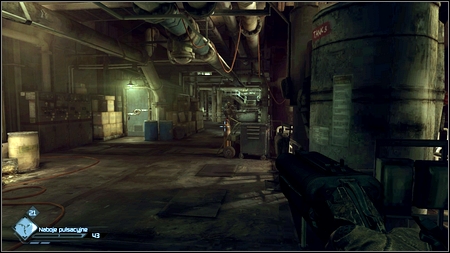
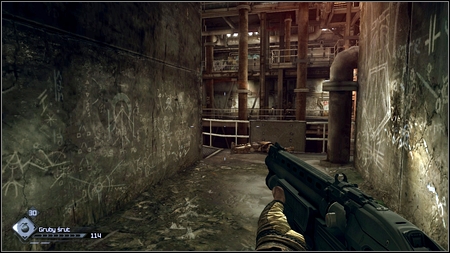
Move forward. You'll reach a small square with an odd sculpture. There is a corridor to the right, where two more bandits will attack you.
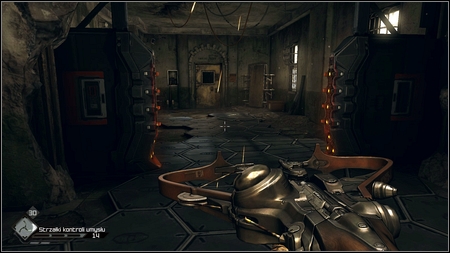
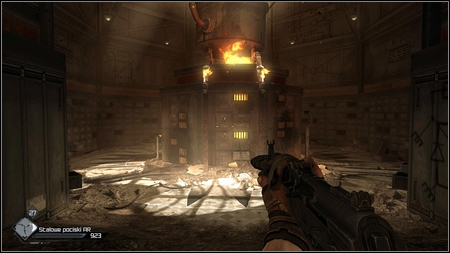
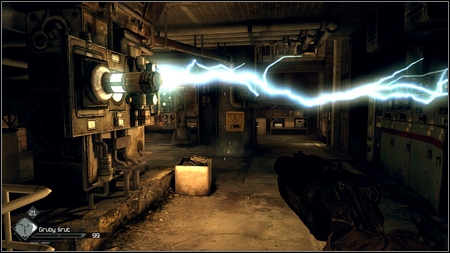
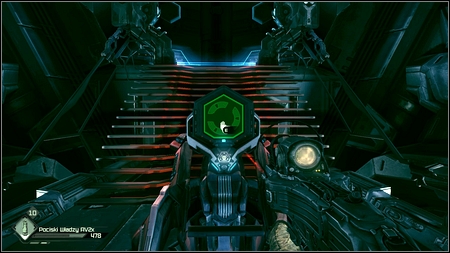
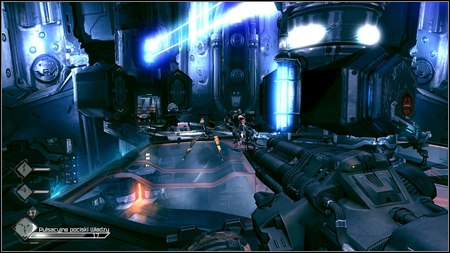
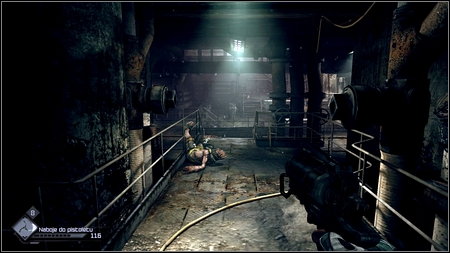
Kill them and then approach the huge statue. You'll fall into a trap there and come round in a Kill Room.
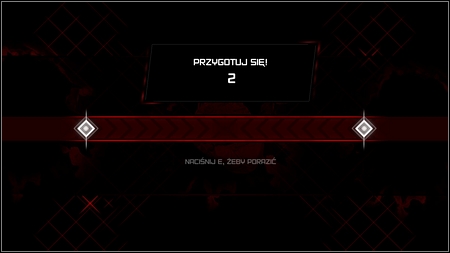
To avoid death you will need to activate an electric charge in your body. Do this by pressing E key when two rectangles come across each other in the middle of the screen. The closer two charges will be to each other, the more life will be regenerated. In addition the charge will kill nearby enemies.

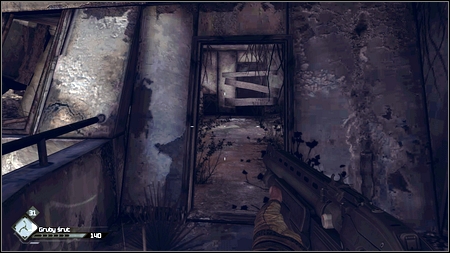
When you clear the area, leave the room, pick up ammo and then sneak up on your opponent (C) and kill him with bare hands.
The next three opponents will be waiting for you outside, on the left. Get rid of those using firearms.
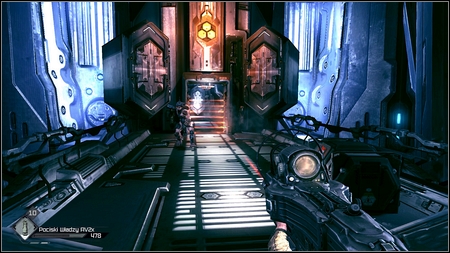
After the shooting go to the enemies' position and turn left. The corridor which you'll reach is patrolled by another group of Ghosts. Kill all of them, pick up the bandages on the left and run straight ahead.
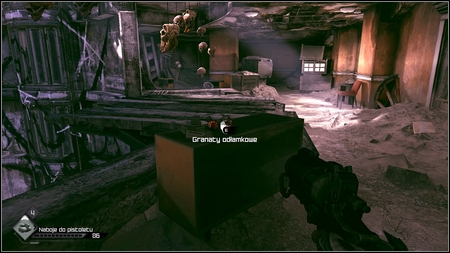
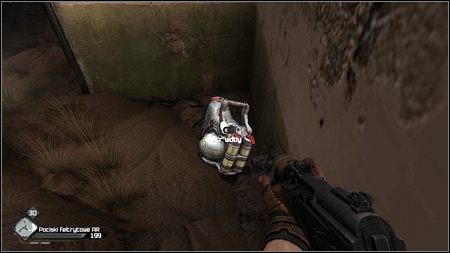
Going around the room with the statue eliminate more thugs. Once larger group of them is dead, pick up grenades from one of lockers. These are items which can be usable during the fight. To do so, select them by pressing F2 and then throw with Q key. In a similar way you can use bandages (F1).
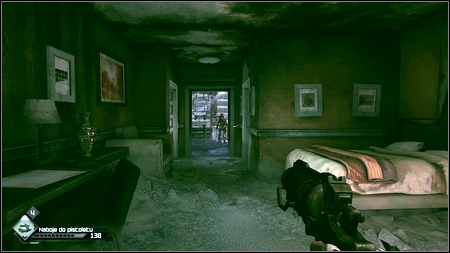
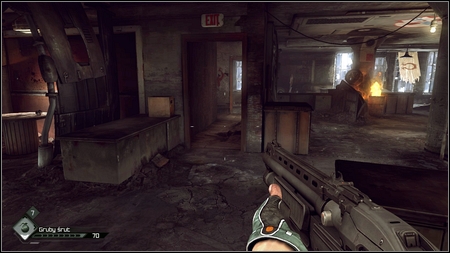
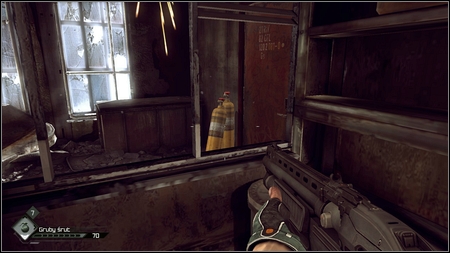
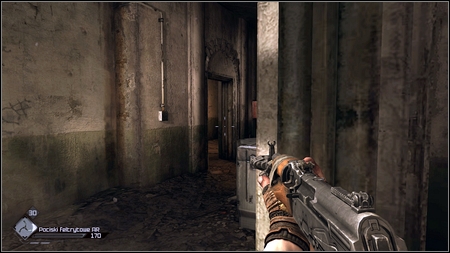
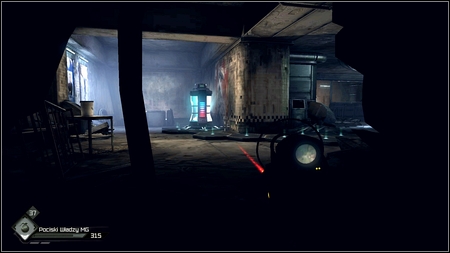
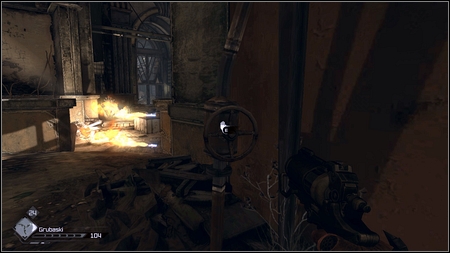
Move forward. You'll reach a little ruined house. In one room Ghost waits for you. Throw a grenade to test new weapon and walk inside.
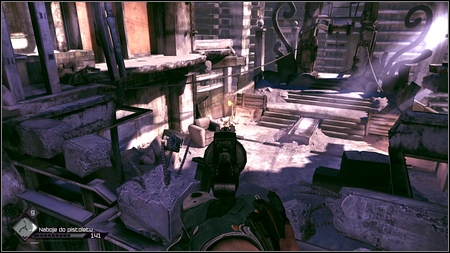
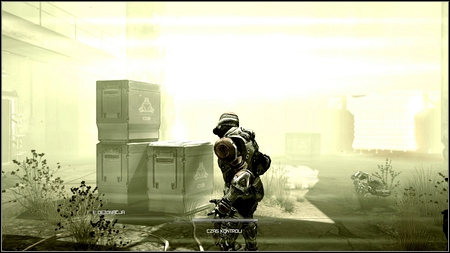
You'll be shoot from the below by two more thugs. Shoot them by crouching and hiding behind wooden barricade.
Once they're dead, go down and get rid of further enemies. These will be the last opponents in this location.
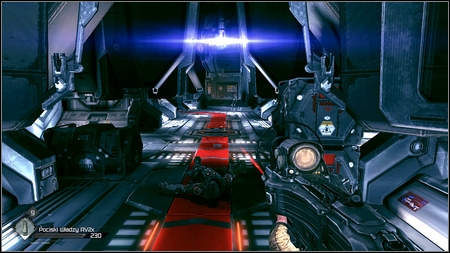
In order to leave the Ghost Hideout walk to the edge of the precipice and then use the zipline above.
In this way you'll get to the first room and you'll be able to go outside. After completing your mission get on the ATV and drive back to the Hagar Settlement.
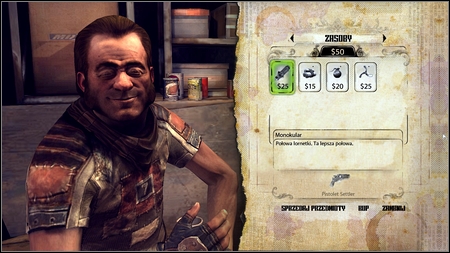
Before you talk to the man, you can visit Halek who runs the shop or complete the side mission given by Loosum. Both can be found on the right of the settlement entrance. By the merchant I recommend replenishing ammo and buying an Assault rifle. Money you need can be obtained from selling you findings (food cans, books, rusty tools, etc.). The most valuable item is the Wolf Goblet - its location can be found in the "Special id rooms" section. If you have some cash left, buy the Monocular. Thanks to it by pressing RMB you will be able to zoom the view, making shooting from a greater distance easier.
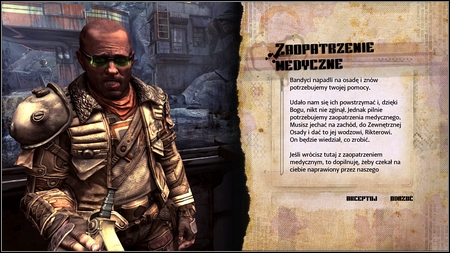
Dan will ask you to go to the nearby village and gather some medical supplies, needed for healing wounded. Goal of your trip will be marked on the map.
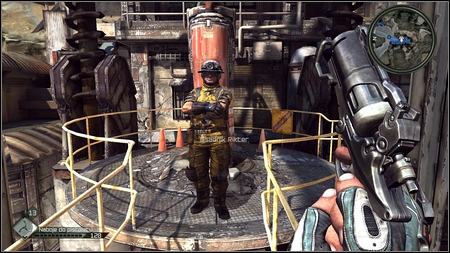
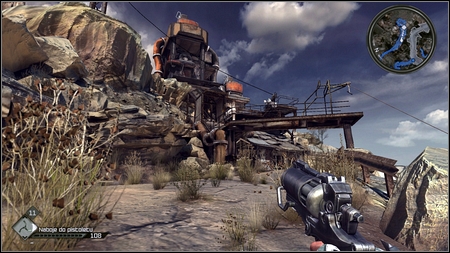
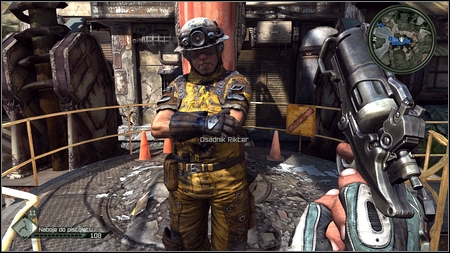
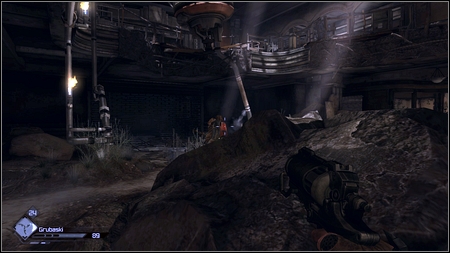
Once you get to the Outrigger Settlement, go to the top of steel construction and talk to Rikter.

He will redirect you to Janus, who sits on a chair to the right. She will agree to help you but wants a favor in return. To win her favor you need to find lost settler named Juno.
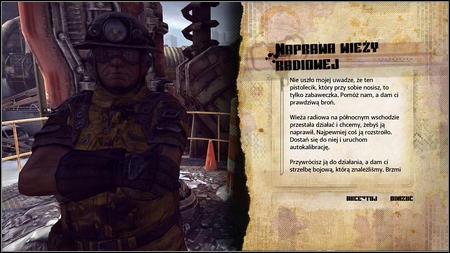
Agree to these terms and return to Rikter. He will order you a task to repair the radio tower. At this station Juno was seen for the last time. Take this mission and return to your vehicle.
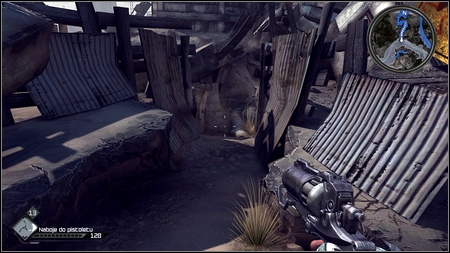
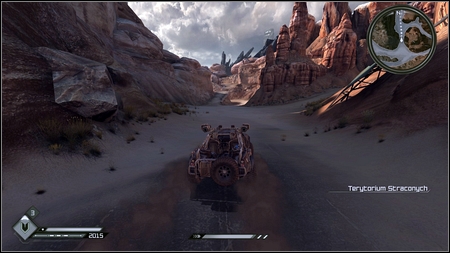
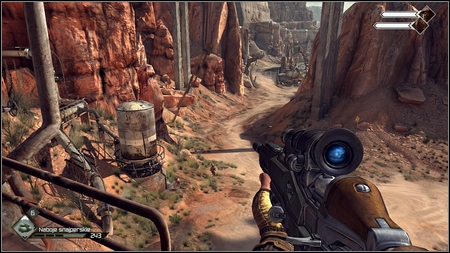
Once you get to the place marked on the map, get off the vehicle and enter Wasted Territory.
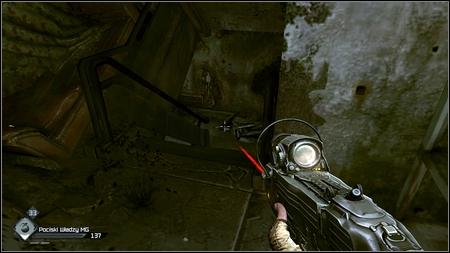
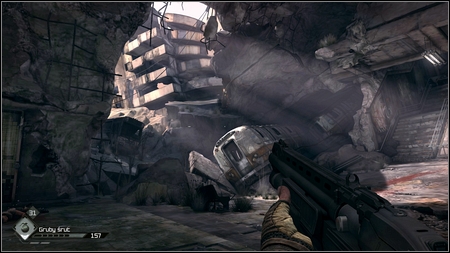
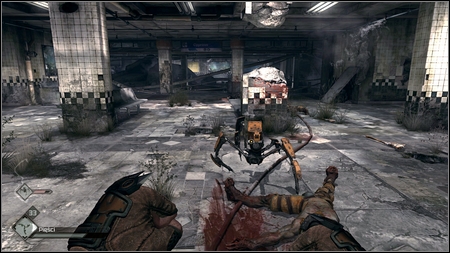
A narrow path between rubbles will lead you to the place where two first opponents are stationing. Both can be killed with the Wingstick.
Once your enemies are dead, keep moving to the left. You'll find other thugs there - kill them all.
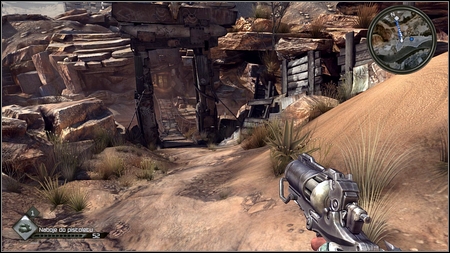
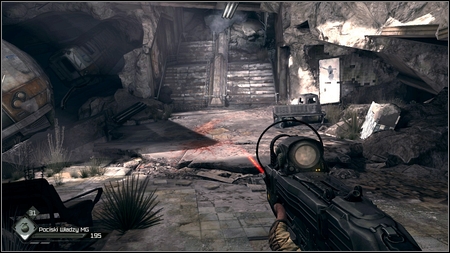
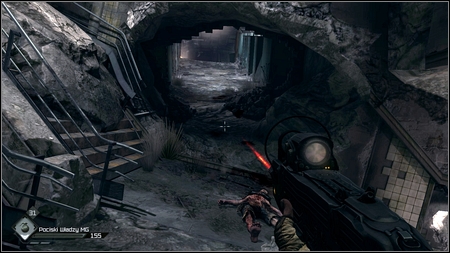
Yet another one will jump out on you a few steps further but then the area will be clear until you reach the radio tower. Its location is marked on the map.
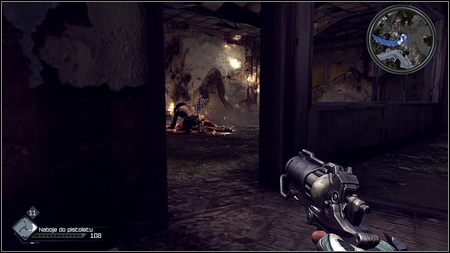
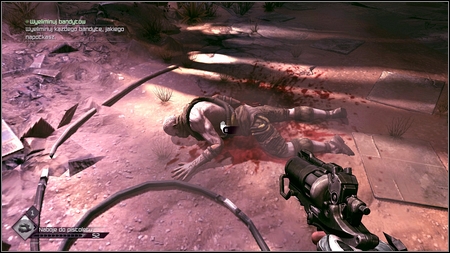
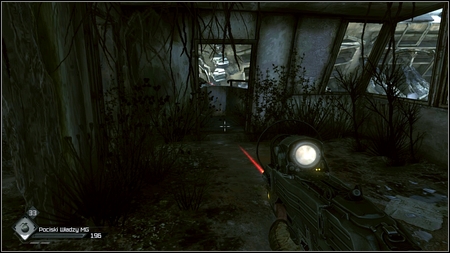
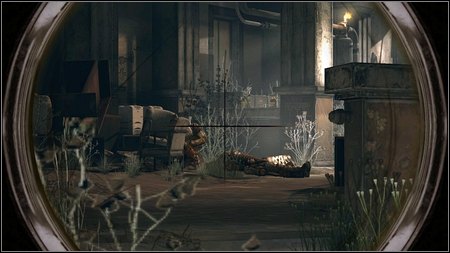
After reaching the building crouch ad slowly go inside. In one of the rooms you'll see a mutant preying on the Juno's corpse. After you kill him, another creature will jump out from the right.
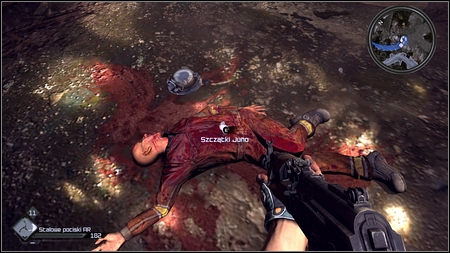
Kill him too and then examine the mutilated corpse.
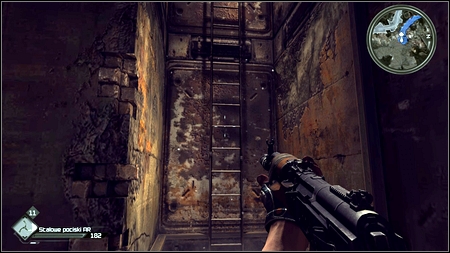
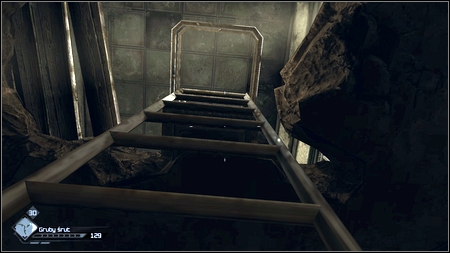
Go straight forward until you get to the ladder which will lead you to the upper floor of the building.
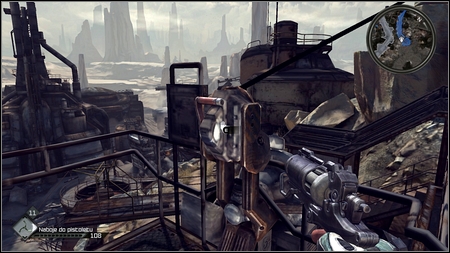
Once you get upstairs you should see in front of you a mechanism actuating the tower.
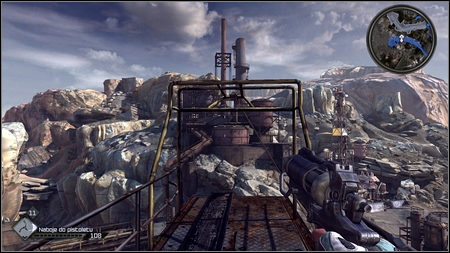
Use it and then turn right. At the end of steel walkway you'll find the zipline which takes you to the main road.
After you return to the village talk to Rikter and Janus. The man will give you combat shotgun as a reward and the woman will give you medical supplies you're looking for and your first schematic recipe.
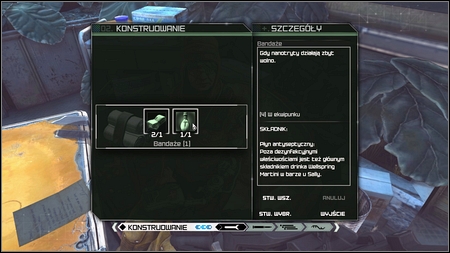
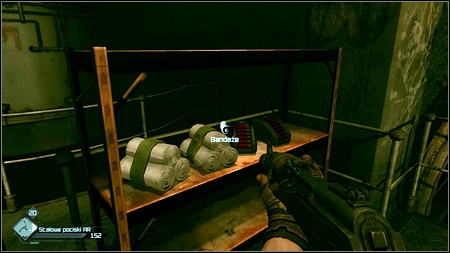
In order to build Bandages press TAB and select Engineering tab. If you have required elements just click on "Build" or on "Build All" and bandages will appear in your equipment.
You can now return to Dan and give him acquired supplies. You'll finish your mission in this way and receive 100$.
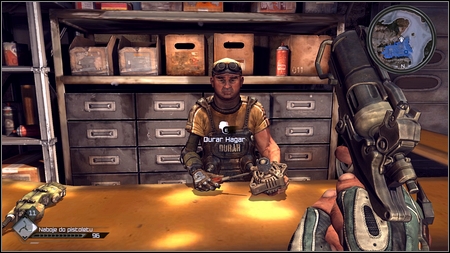
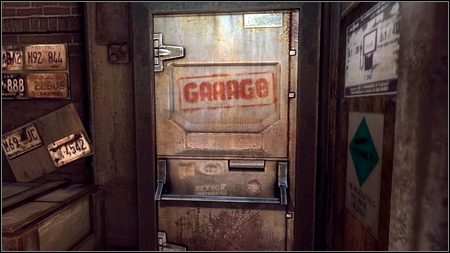
After talking to settlement leader go to the garage which can be found on the left from Halek. Its owner will give you another mission.
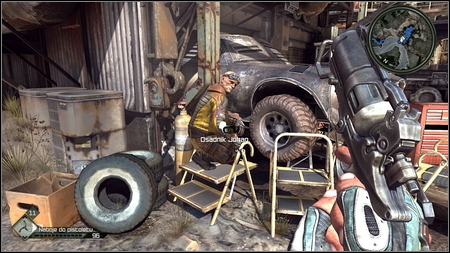
Your goal is to find parts needed to repair and old buggy. So drive to the Outrigger Settlement and talk to Johan. He can be found on the left from the entrance. He is repairing one of the old vehicles.
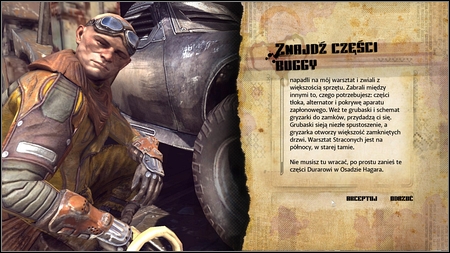
You'll learn from him that the parts were stolen by bandits from the Wasted Garage and you have to get them back. Johan will give you Fat Boys and the Lock Grinder Schematic. Fat Boy is a new ammo type for your pistol. In order to use these rounds hold CTRL and select proper ammo. The Lock Grinder is useful for destroying locks in locked doors.
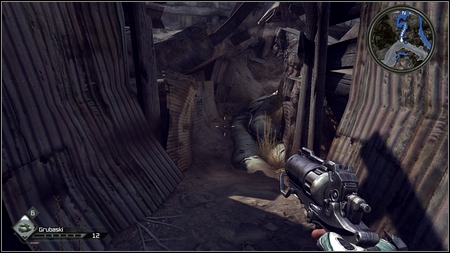
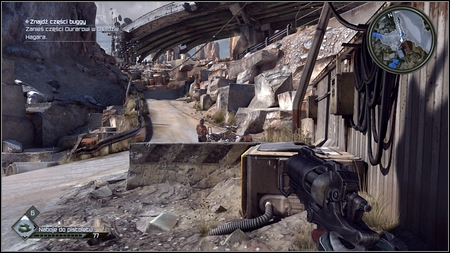
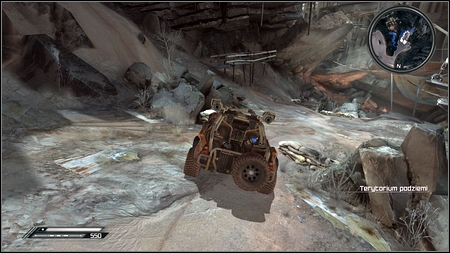
Once you get to the Wasted Territory follow the path indicated on the mini-map.
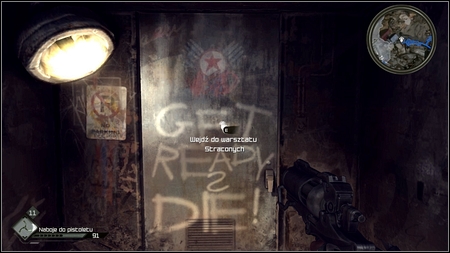
From time to time single bandits will shoot at you but you shouldn't have too much trouble with them. At the end of the path you'll find an entrance to the Wasted Garage.
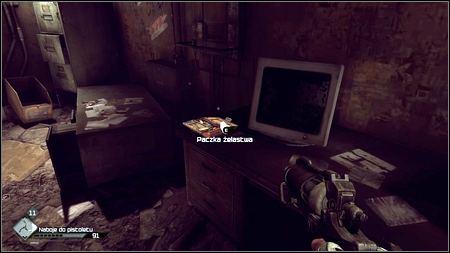
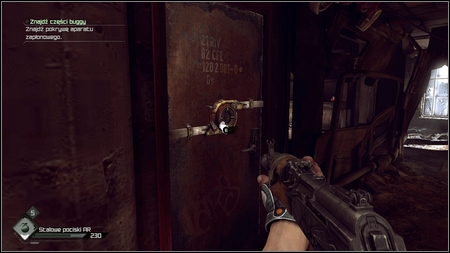
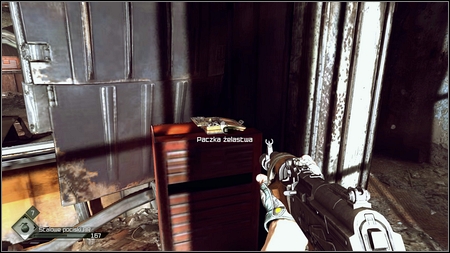
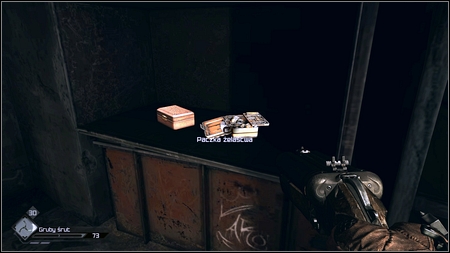
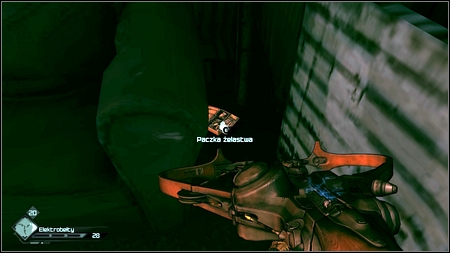
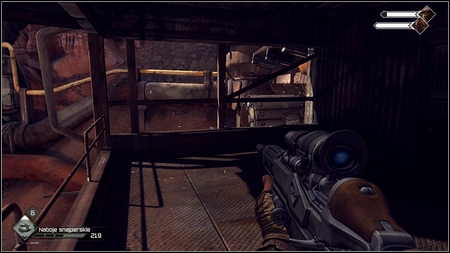
Explore first rooms very carefully. In the room to the right you'll find Hardware Packet. Small Gears can be found on a cabinet next to the entrance.
Both items will be useful to create the Lock Grinder, thanks to which you'll open locked doors.
In the next part of the garage you'll be attacked by a large group of bandits. Enemies will attack you in waves, so remember to reload your weapon often.
After you kill the last enemy, go back to the entrance and start exploring rooms carefully. You'll find Small Gears on the cabinet on the left and few empty bottles among rubble. Examine also all corpses. You'll replenish your ammo this way.

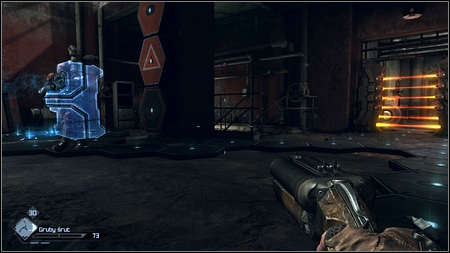
Go straight ahead and you'll reach a room with an engine block. Take the Alternator out of it. Look around and pick up an Electrical Wire Kit lying nearby.
After picking items, the door on the other side of the engine block will open.
Go downstairs and then kill a group of thugs stationing in this room. Be very careful though, because your enemies have grenades.
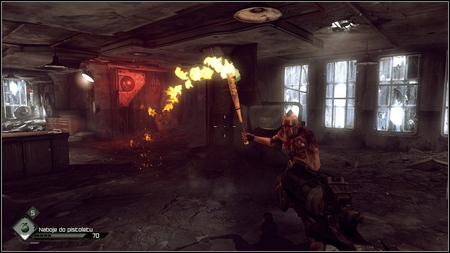
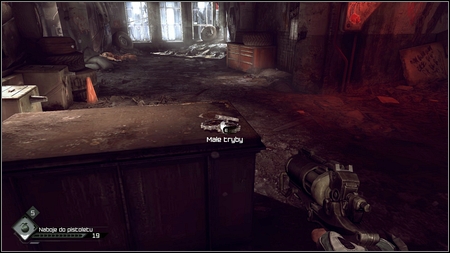
Go further to the left. You should see Small Gears lying on the cabinet.
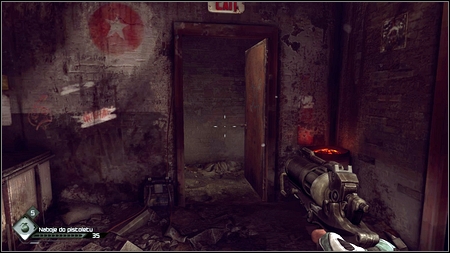
Take them, create a Lock Grinder and use it on the lock on the left.
In a small room you'll find Steel Blades, Cloth Rags and CE Grenades. Take all and keep moving to the left.
After leaving one of the rooms you'll meet a group of Wasted again. Once they all are dead, go back a little and pick up Antiseptic Formula lying to the left from the entrance. Explore also the next room and examine all corpses.

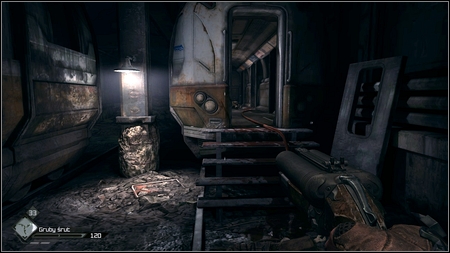
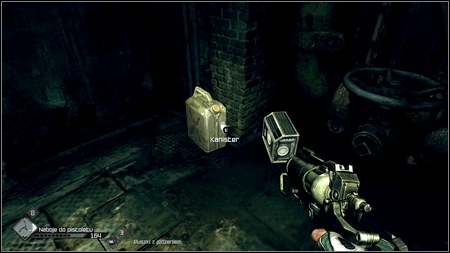
Move forward until you get to a short corridor. There are Cloth Rags on the damaged mattress and the Gas Can and the Hardware Packet on the shelf next to it.

Gather all items and then go downstairs. Once you open the door there, you'll see another pack of bandits. Get rid of them.
After elimination of enemies, start gathering items. In addition to the insignificant trash you'll find here some useful gadgets. There is ammo in one of the corners and also an Electrical Wire Kit on a small wooden table.
To the right of mentioned table you'll find a corridor leading to another part of this complex.
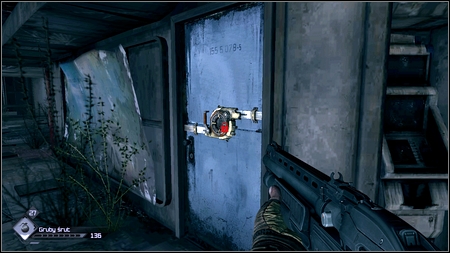
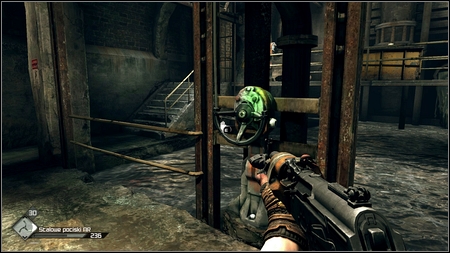
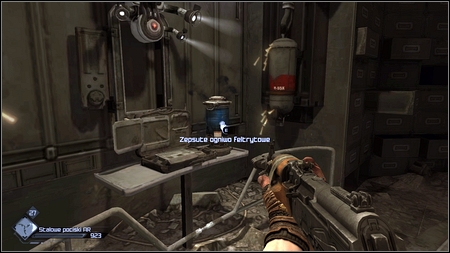
Kill bandits hiding there and then shoot yellow gas tanks next to the entrance.
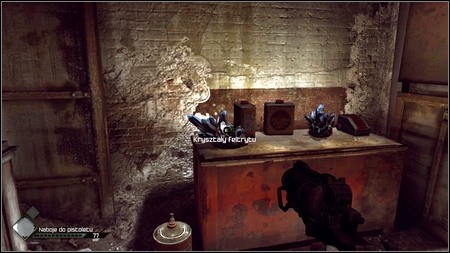
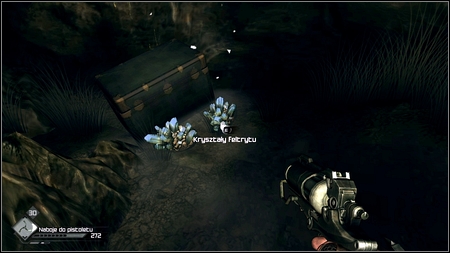
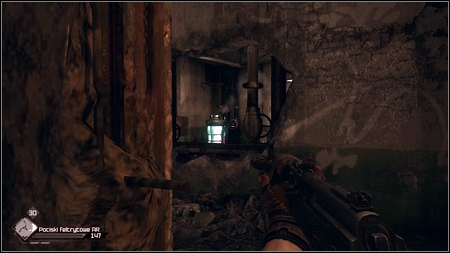
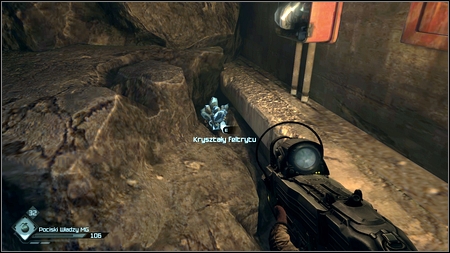
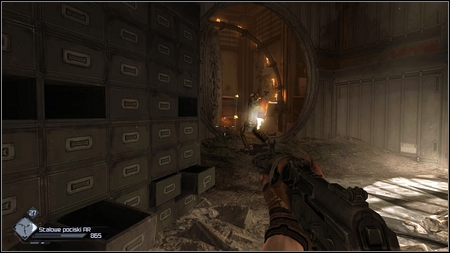
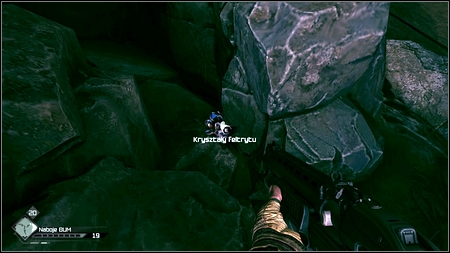
You'll blow them up this way, unlocking a small room. Go back a few steps and go inside through the destroyed door. There are Feltrite Crystals hidden inside.
After gathering them, go back to the previously mentioned corridor and move forward. Take the Distributor Cap from the car wreckage standing nearby.
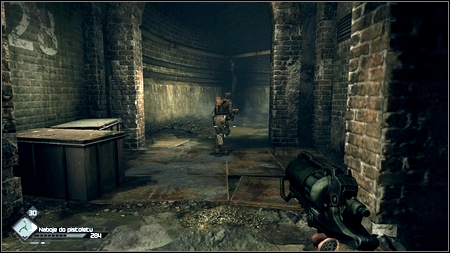
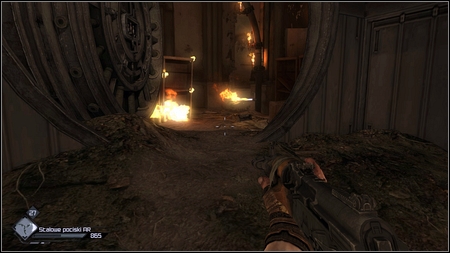
A fuel explosion will make another crossing available. Enemies who will attack you can be killed through the damaged window on the left from the car wreckage.
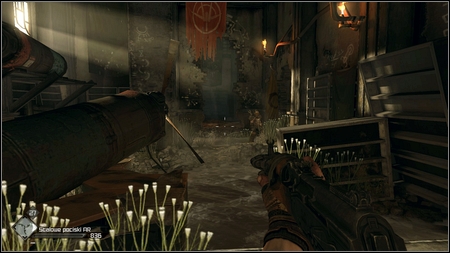
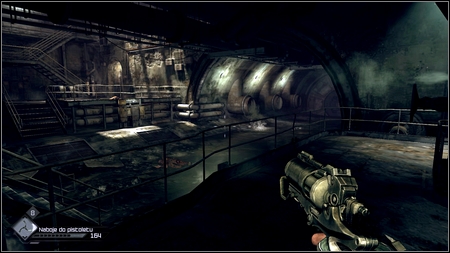
Once all are dead, take the Hardware Packet lying in the left part of the room and the go to the lower floor of the building.
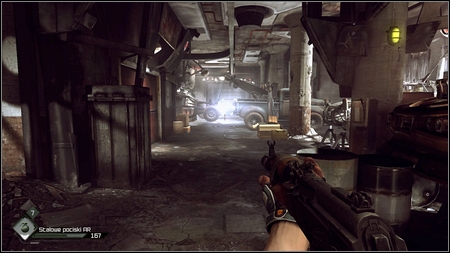
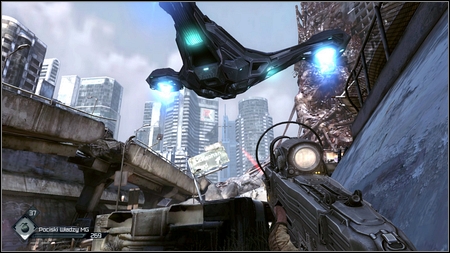
Gather ammo lying to the left and move forward. After a moment you'll see a vehicle with a machine gun mounted on the roof arriving in front of you.
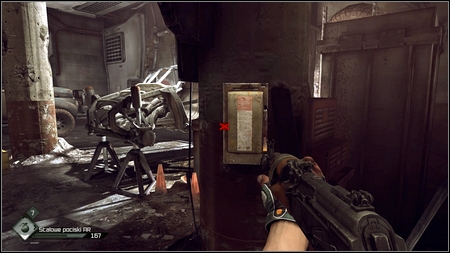
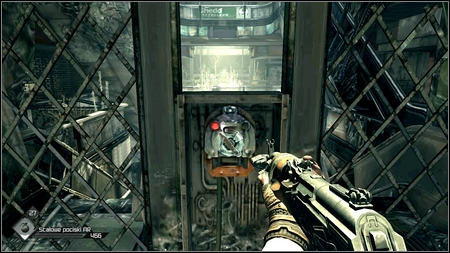
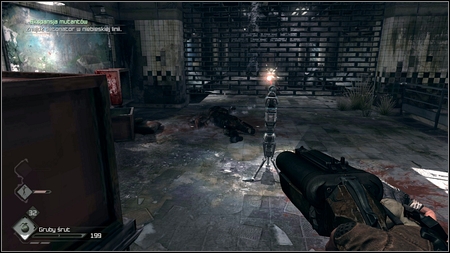
Before enemy starts shooting at you, use a switch on the right and take cover behind the closest barricade.
You'll see a gas tank moving under the ceiling. Just shoot at it when it is over your enemy and you'll finish this fight immediately.
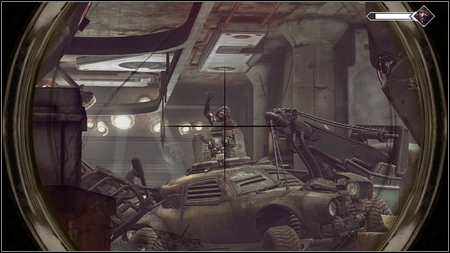
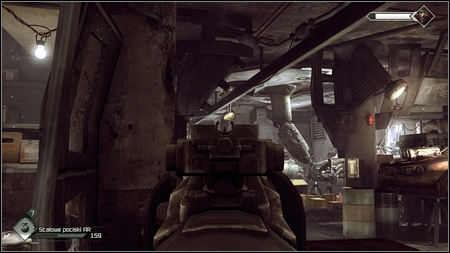
You can also use more classical approach. Being hidden behind the cover, wait until your enemy stops shooting for a moment. Then he will start screaming and waving his hands, becoming an easy target for you. But remember the new opponents will be attacking you from time to time. Shoot them first. You can check life level of your main enemy in the upper right corner of the screen.
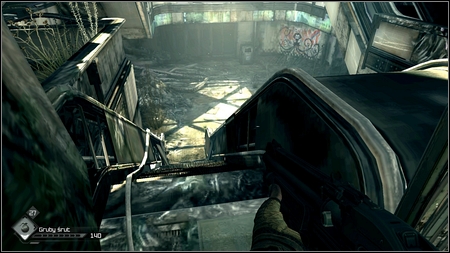
Once the fight is over, move around the car barricade choosing a crossing on the left.

On the cabinet on the other side of the room you'll find Piston Assembly which is the last element needed for fixing a buggy. Pick it and then kill an enemy charging at you.
You can now leave the building but if you have enough parts to create another Grind Locker then do it and unlock the door to the right.
There are Feltrite Crystals and other useful items hidden inside the room.
After leaving the building kill two bandits staying next to the Jetter and return to the mechanic in the Hagar Settlement
.
Talk to him and then pick up the Tow Truck Radio from the desk. Now you can drive your buggy. If it gets damaged just drive back to the garage and pay for the repair. Once you done with your trips return to Dan and talk to him.
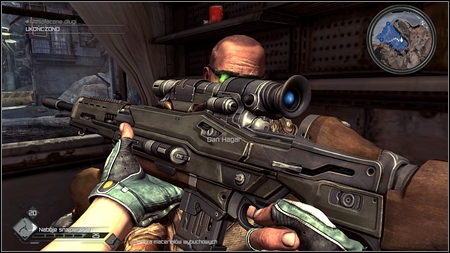
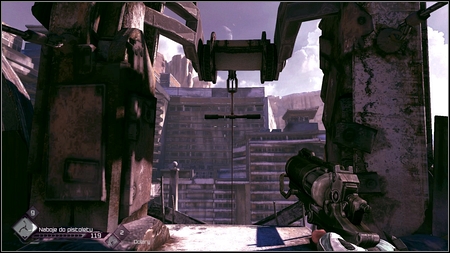
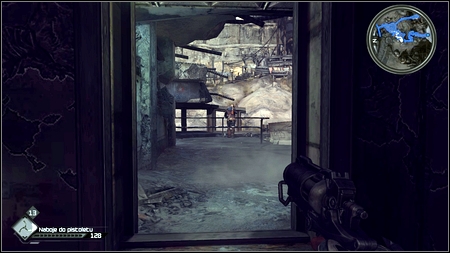
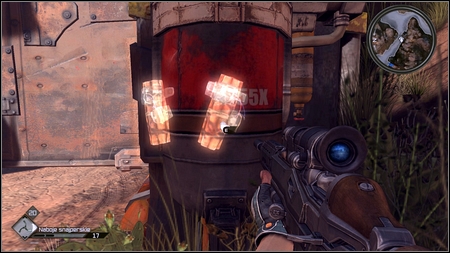
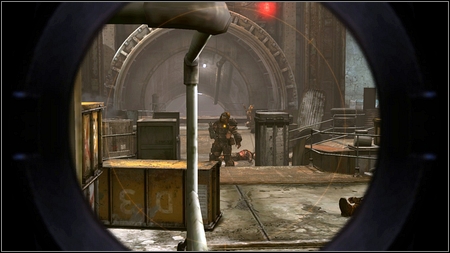
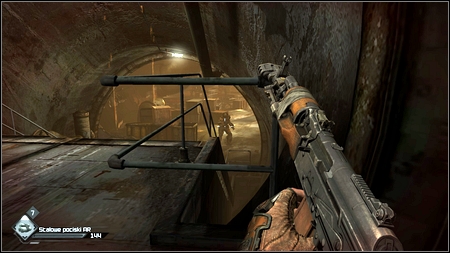
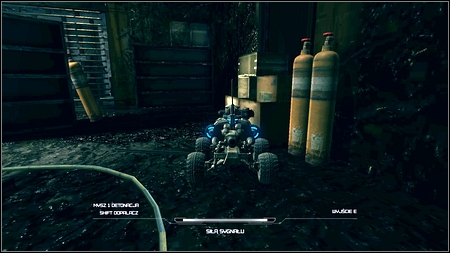
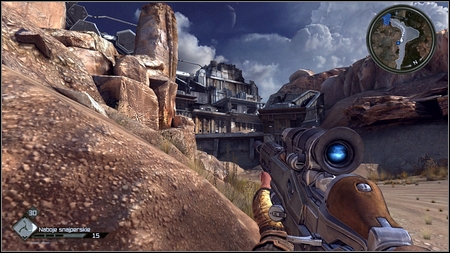
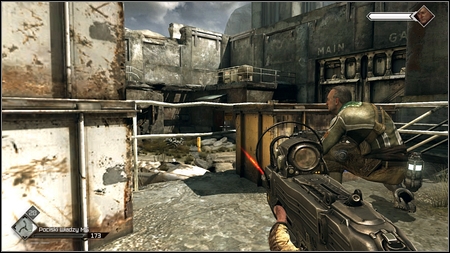
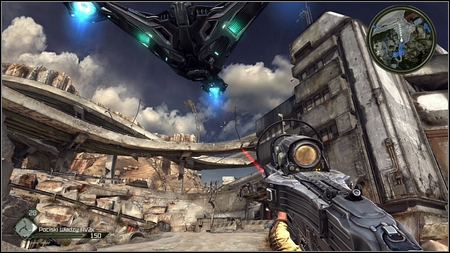
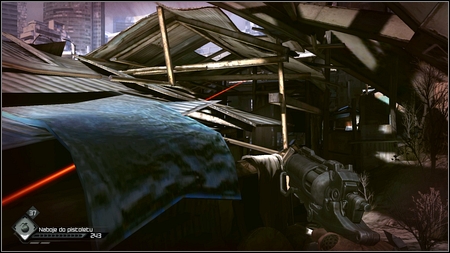
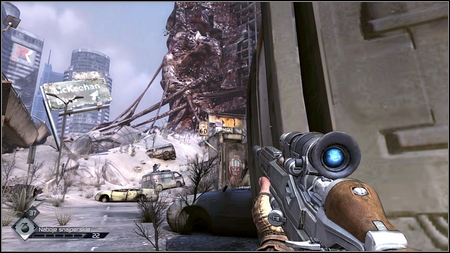
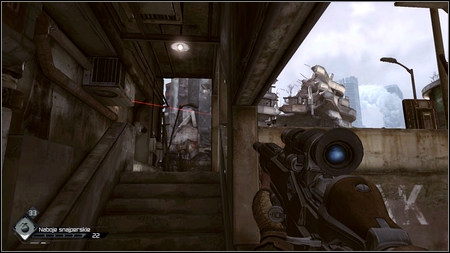
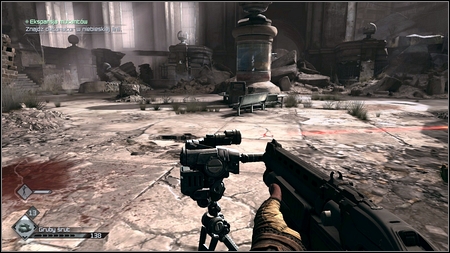
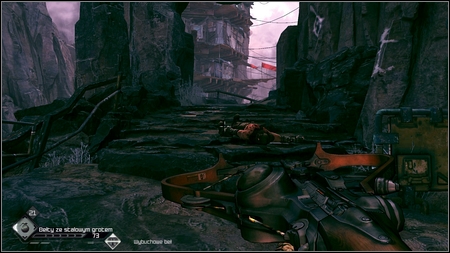
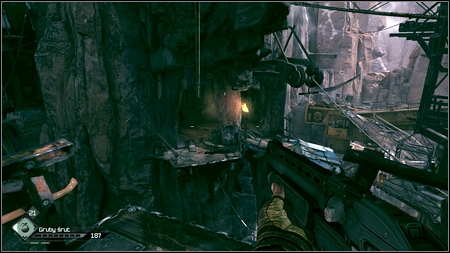
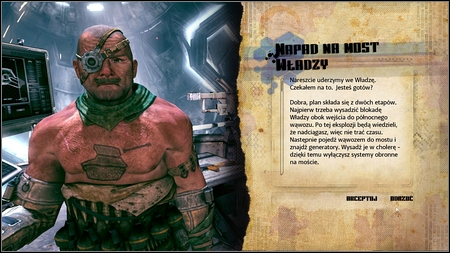
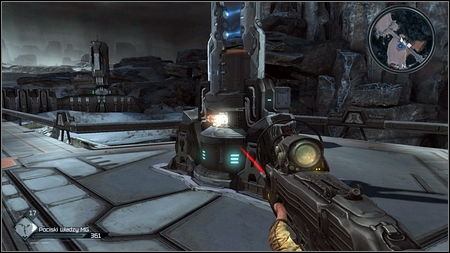
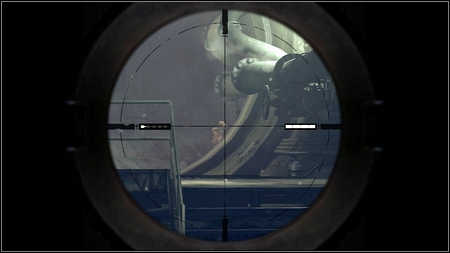
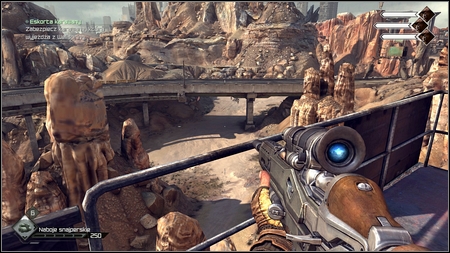
This time Dan will ask you to destroy a blockade constructed by the Shrouded Bandits. In order to do this you'll receive from him explosive charges and a Sniper Rifle that will help you to eliminate enemies. For the maximum zoom on the Sniper Rifle hold RMB and then press E. Go to the indicated direction on foot.
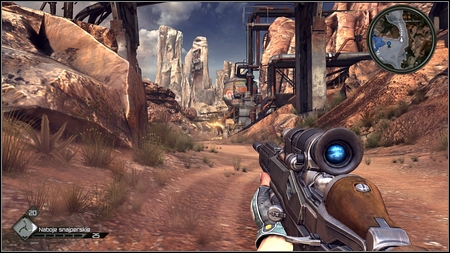
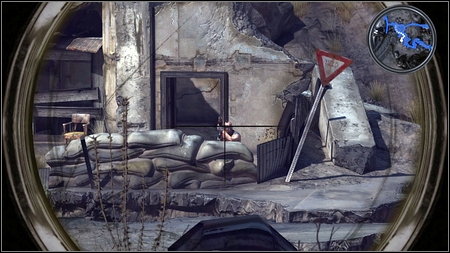
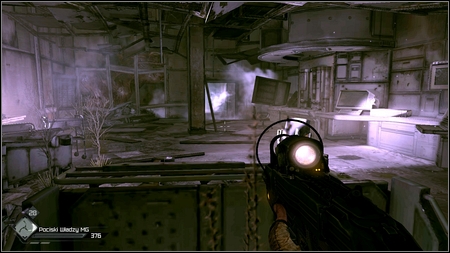
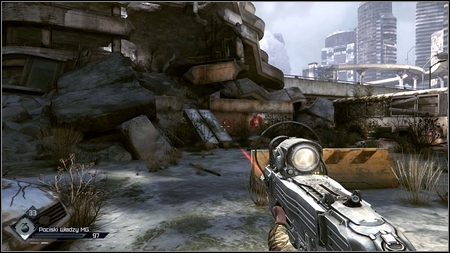
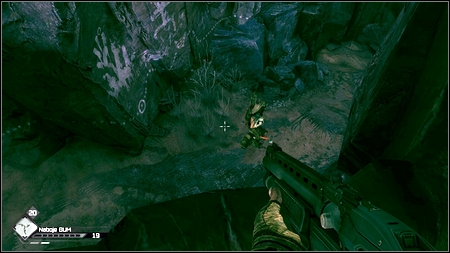
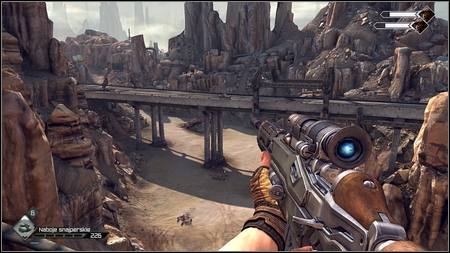
When you look out from behind the rocks and see the barricade, you'll be shot bandits.
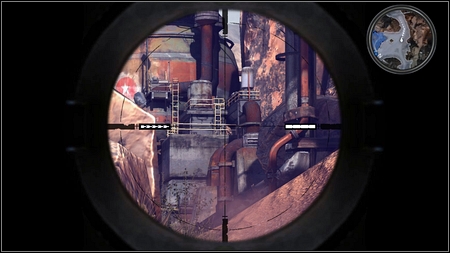
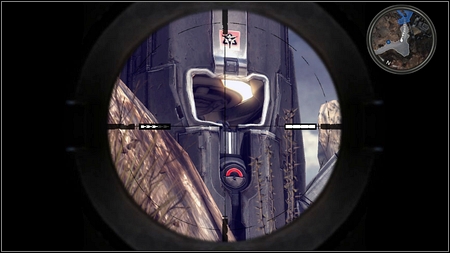
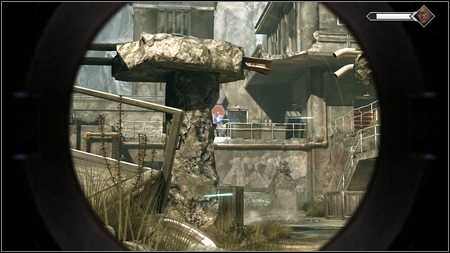
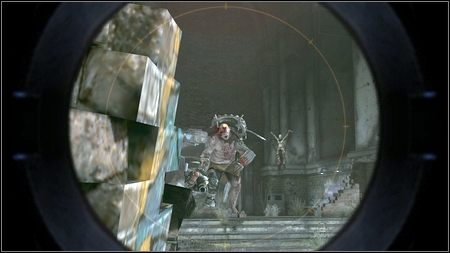
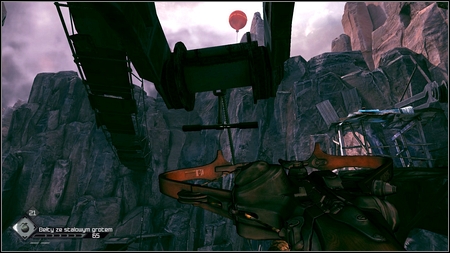
Your biggest concern is the enemy with a rocket launcher. At the beginning by hiding and looking out from behind the rocks, try to locate him. Then, shortly after he fires the rocket, zoom in and shoot him with your Sniper Rifle. You have to be fast so you can hide behind the rocks after this action (otherwise you'll be hit with the rocket). Repeat this several times until the bandit is dead and then take care of other opponents. New thugs will appear from time to time, but hidden behind the cover you should have no problems with eliminating them.
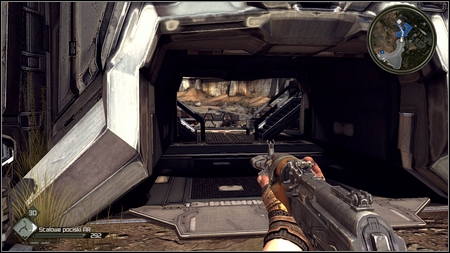
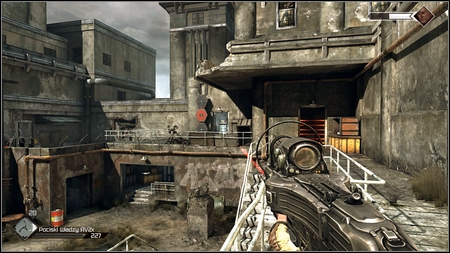
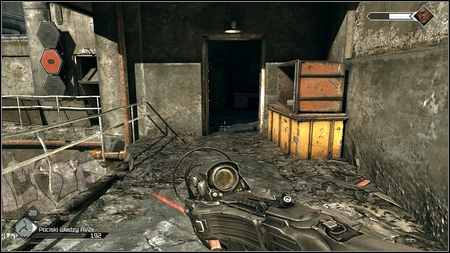
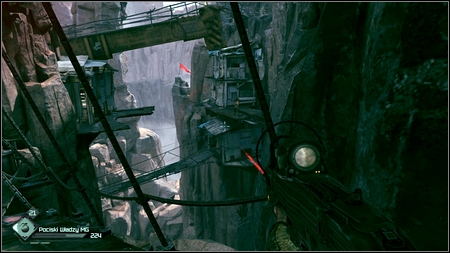
Once the area is clear, go to the barricade. There is a spot marked on the right, where you should plant the explosives. Use the bomb and then run away at the safe distance and enjoy the explosion. You can now return to Dan and finish the job.
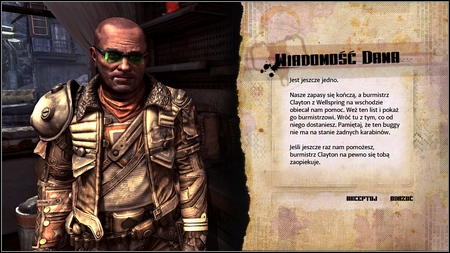
This time Dan will ask you to take his letter to the Mayor of Wellspring and bring back whatever supplies you get from him.
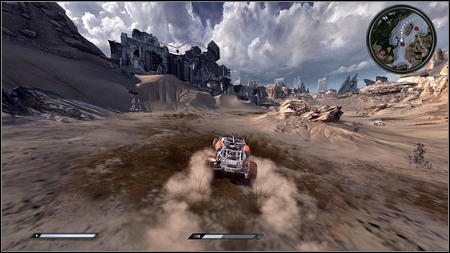
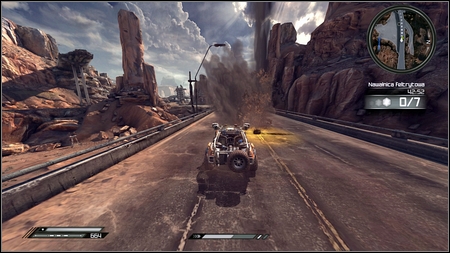
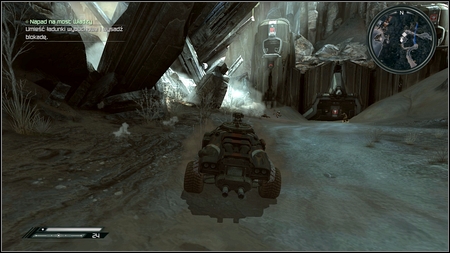
Accept the mission, get into your buggy and drive to the marked spot as fast as possible. Bandits will attack you along your way, but do not stop and drive forwards (watch out for mines set by your opponents).
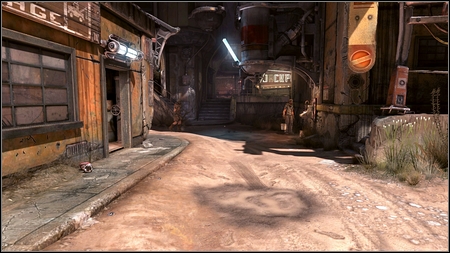
Enemies will stop chasing you as soon as you get to the area near the town. Get out from your buggy and talk to the guard. After short conversation you'll be allowed to enter the town.
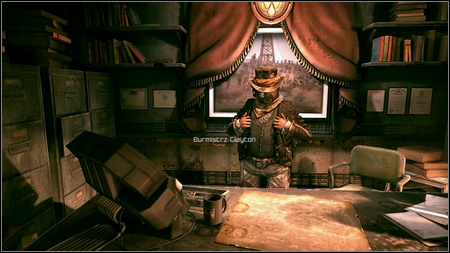
Right at the beginning head to the mayor's office, which you can find on the right.

The man will take the letter from you and then ask you to lose your Ark Suit for something more local.
Leave the office and go the left from the town entrance.
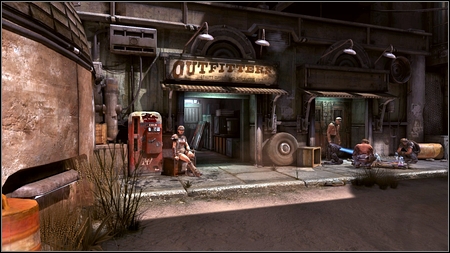
A tunnel will lead you to another part of the town, where you can find the general store on the left. You can change your clothes there.
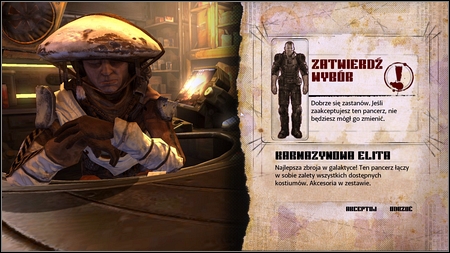
Go inside the store and then talk to Coffer. He will show you all available clothes. Your choice influences not only your appearance but also a special bonus:
Wastelander - a discount at all local traders (except car parts)
Roughneck - increase player protection against injuries (doesn't apply to vehicles)
Fabricator - enhance most of items created by your character
Crimson Elite - combines advantages of all other suits (available only in the Anarchy Edition)
Before you return to the Mayor in your new outfit, talk to the trader and replenish your supplies.
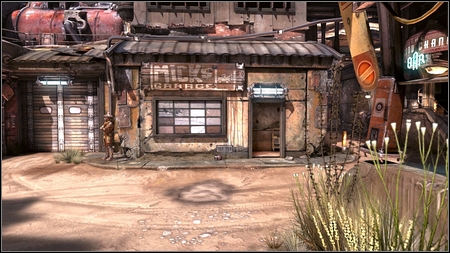
Now you have to find some parking place for your vehicle. So go to Mick, who runs a garage opposite to the Mayor's office.
It is enough to talk to the mechanic to obtain an access to the garage. The proper door can be found by the desk on the left.
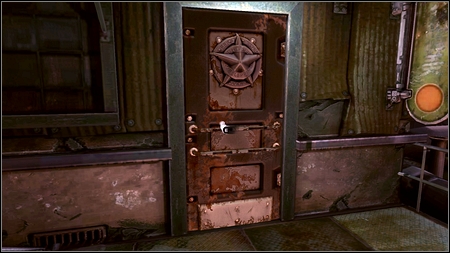
To get another mission you have to go the Sheriff's office. If can be found by the Outfitters, to the right. Just use the stairs and go to the upper floor. On the left you should see the door with the silver star on it.
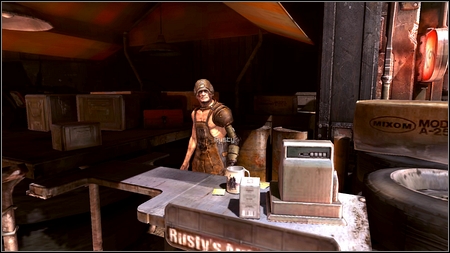
Sheriff will tell you to arm your buggy. In order to do so, move to the place to the right from the current building and talk to the mechanic named Rusty.

After short conversation with Rusty, go and talk to Jackie Weeks standing near. Then talk to Slim who is responsible for organizing races.
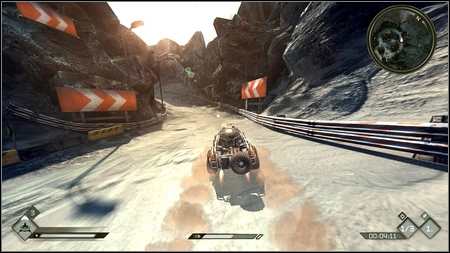
At the beginning you can access only the first chapter - Beginner's Luck. In order to unlock other chapters, you need Racing Certificates which can be obtained by winning races. There are four types of challenges in the first chapter: Time Trial, Non-Combat Race, Minigun Race and Rocket Rally. First two are available from the very beginning, since last two requires appropriate weapons installed on your buggy.

You can purchase them from Rusty for appropriate amount of previously mentioned certificates. Basic information and hints on the race will appear on your screen before it starts. Once you buy the Minigun and the Rocket Launcher, return to Sheriff.
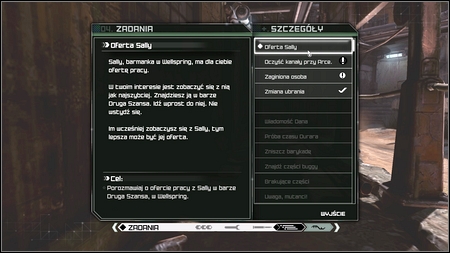
On your way back you'll get the Sally's Offer mission.
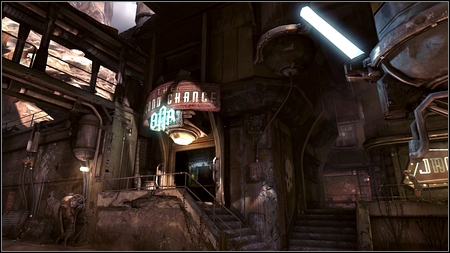
Go to the bar then (on the left from the town entrance) and talk to the barmaid.
She will offer you a reward for every destroyed enemy vehicle.
After getting weapons for your buggy you'll get supplies from Sheriff, you were sent for by Hagar. Get into your vehicle and get them to Dan. As a reward he will give you the Striker Crossbow.
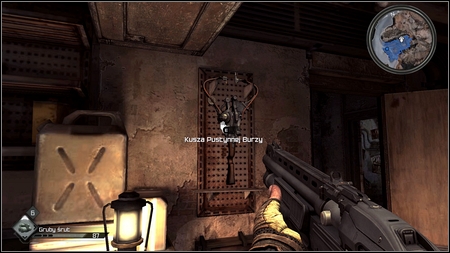
It hangs on the wall nearby. This weapon is ideal for silent elimination of enemies. Buy some ammo for the crossbow and return to Wellspring.

Sheriff will tell you that for a next mission you need a better car - Cuprino.
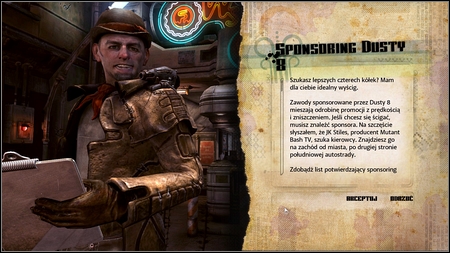
In order to get it go talk to Jackie Weeks, an organizer of races. You'll learn from him about popular races and a potential sponsor.
Before you leave Wellspring go to the trader and buy much ammo for the Combat Shotgun (more than 100 rounds) and Wingsticks. Once you ready drive to the point marked on the map. You'll find there the Mutant Bash TV arena.

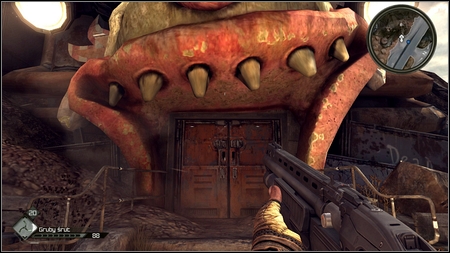
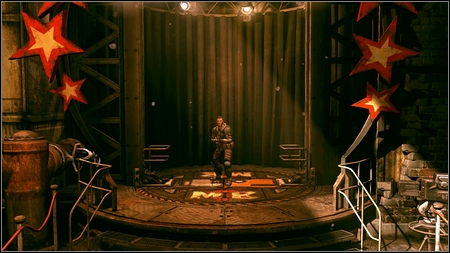
You'll meet JK Stiles, who agrees to be your sponsor if you participate in Mutant Bash TV. Once you agree you'll be moved to the arena.
Go straight ahead through gates. You'll get to the first room named Chamber of Laughs. A few waves of opponents await you here.
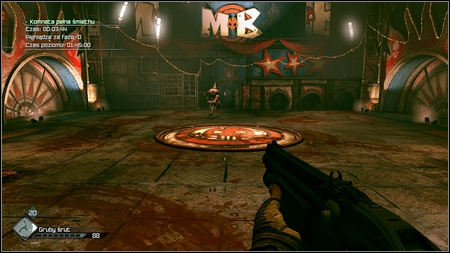
At the beginning they will be running from the opposite gate. Kill them as fast as possible using your shotgun or wingsticks.
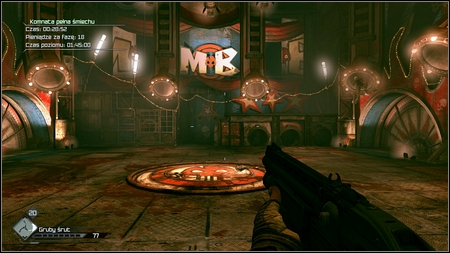
When the last mutant is dead, pipes will appear around the room and enemies will appear from inside of them. In order to defeat them try to run around the arena and shoot behind your back from time to time.
In the last phase four towers will rise from the ground. There are enemies at top of each who throws at you fire grenades. I suggest killing one of the mutants as fast as possible and then covering behind that tower. Once you're safe lean out from time to time and kill other monsters one after another. After the death of the last mutant, other enemies will come out from under the towers. Eliminate all opponents by running around arena and shooting them. This way you'll finish the first round.
Another challenge awaits you behind the gate on the left. Before you enter a red circle, collect ammo and Bandages lying on cabinets on the left and on the right.
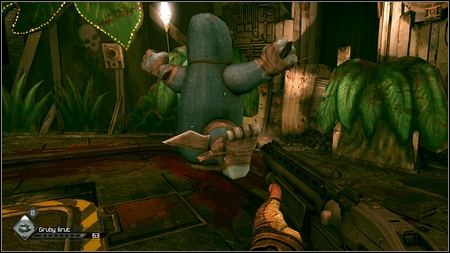
This time there are less enemies than before, but in addition there is an artificial monkey moving around the arena, which kills anyone close to him. So try to run behind him all the time or stand in the middle of the arena, away from his blades.
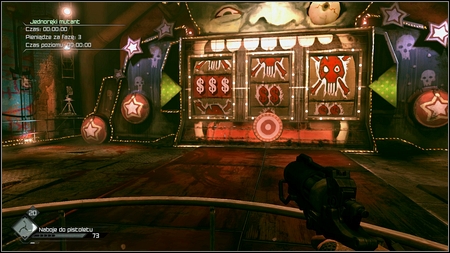
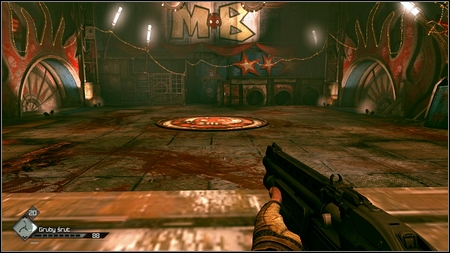
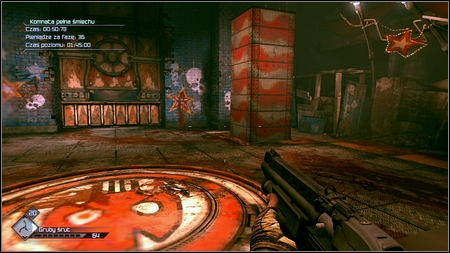
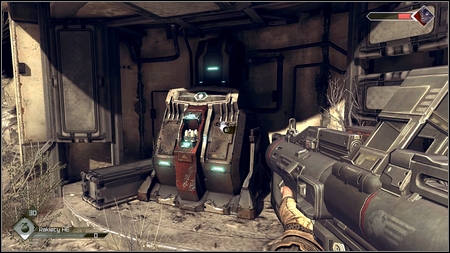
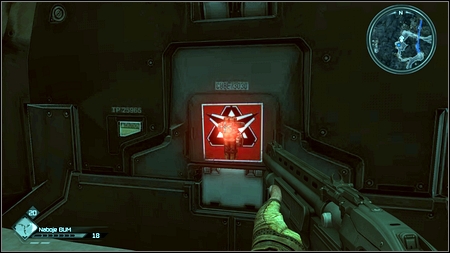
In the third room you'll encounter a machine looking like a slot machine. Your task is to shoot targets under reels in order to create a line with three dollar symbols (you'll get extra money then). There is a time limit for each column and if you shoot a skull, mutants will appear that you have to kill.
When you finish with play go back a little and follow the arrow signs. There is ammo and bandages on the right side of the corridor.
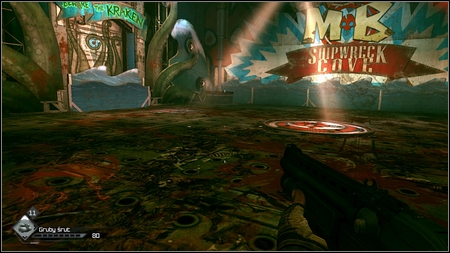
In the next room stand on the red circle in the middle and then start running around the arena. There will be spotlights from the ceiling which "summon" deadly spikes from the floor. You can avoid them by moving constantly. In addition mutants will jump out from the corners of the room from time to time. Shoot them with your Shotgun, not forgetting about moving.

Once the last mutant is dead, prepare for the final battle with the Kraken. This mighty mutant has two types of attacks. When you're away from him he will charge at you. It is enough to run to the other side to avoid his charges. Second attack is used on the short distance. It is a deafly hit with the tentacle, which inflicts huge damage, so try to keep away from him. I suggest using an Assault Rifle during this fight.
After killing the Kraken move forward and you'll finish your show and gather the reward. You can always reenter the arena but remember about replenishing ammo before you do so.
For now I suggest returning to Wellspring and talking to Jack Weeks and Slim. You'll be able then to participate in the Sponsorship Race event. Thanks to the Mutant Bash TV special powerup (Q) you should win with no problems.
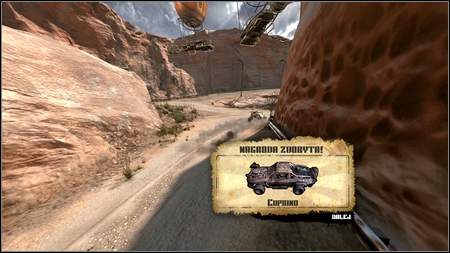
You'll get a Cuprino car as a reward. It is less maneuverable than a buggy but has much better armor. With it you can also take another job from Sheriff.
After conversation with Sheriff get into Cuprino and drive in the direction marked on the map. Remember that unlike a buggy this vehicle can be equipped both with rockets and minigun. Using the scroll wheel you can change available weapons. Both will be useful because you'll meet a few enemies along your way.
Once you get to the northern tower talk to the guard standing there.
Now you can return to Sheriff and collect your reward.
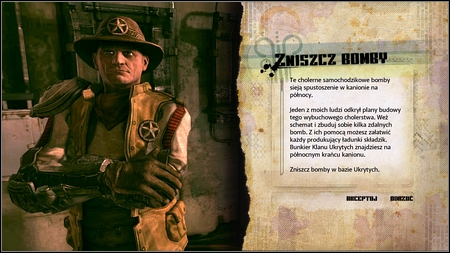
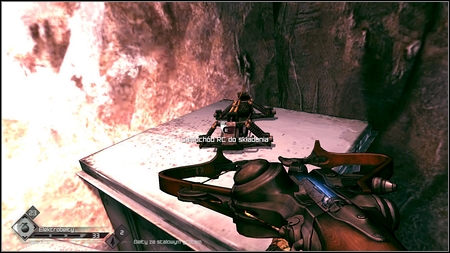
This time Sheriff will ask you to destroy the bomb caches in the Shrouded Bunker. He will give you also a RC Bomb Schematic and parts to create your own car bombs, which will be useful during this mission.
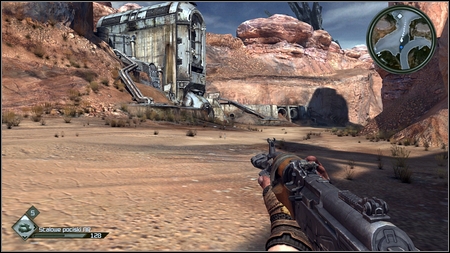
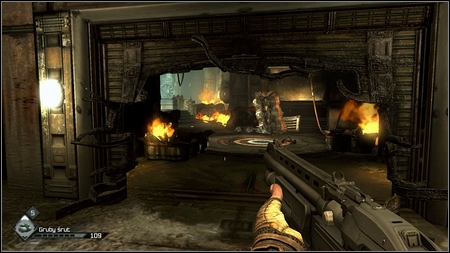
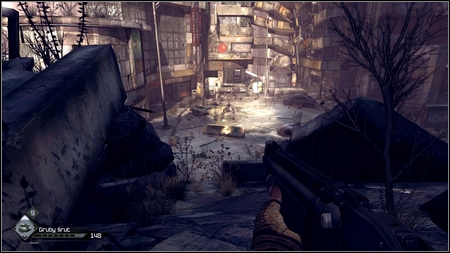
Once you get to the destination destroy an enemy robot and then get out of the car and enter the bandits' hideout.
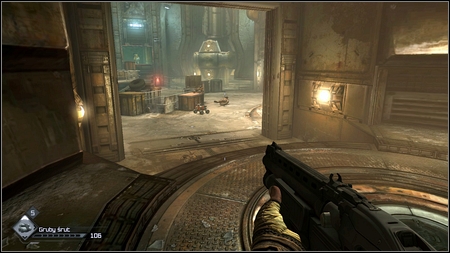
There is first opponent waiting for you on the left and another bomb car. Shoot the car first. Its explosion should also kill your enemy. After a while more Shrouded ARs will attack you as well as bomb cars. Use your Sniper Rifle to kill humans and the Shotgun to get rid of cars.
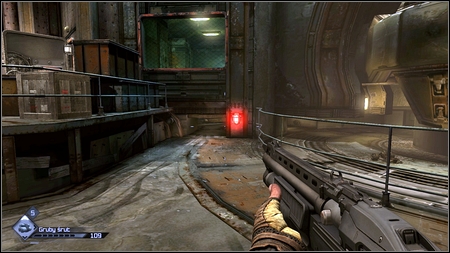
Once the area is clear, pick up cars' leftovers and the move to the right corner of the room.
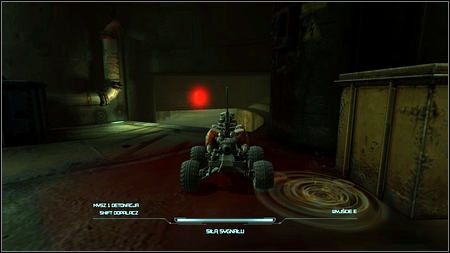
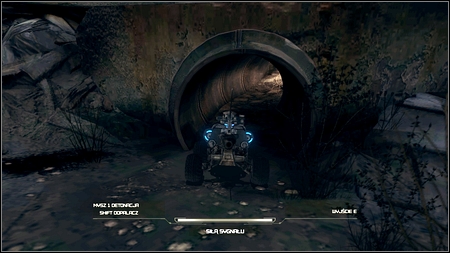
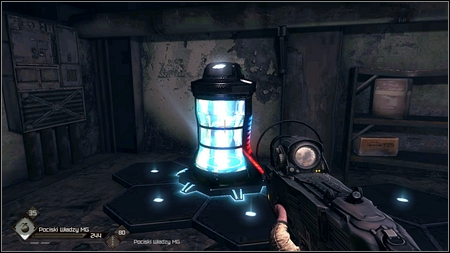
There is a narrow tunnel next to the left lamp. It leads to the warehouse with bomb caches you have to destroy.
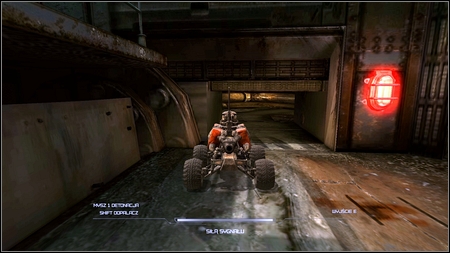
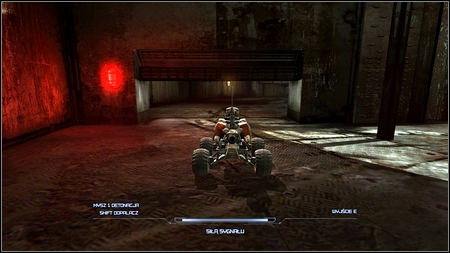
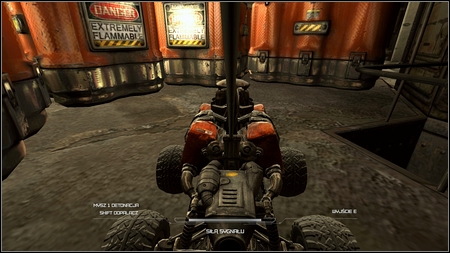
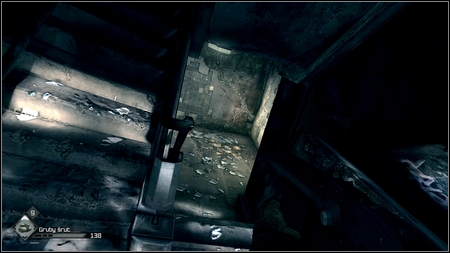
In order to do this create a bomb car (using the previously obtained schematic) and drive it to the end of the tunnel. To detonate the bomb, just press LMB.
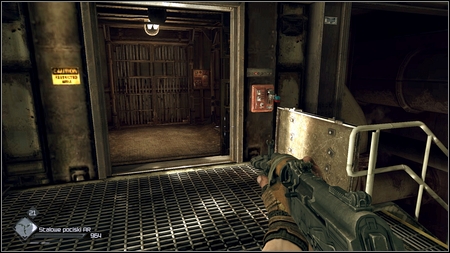
An explosion will unlock a passage leading to the elevator. Watch out because two enemies will use it to get you. Kill them and then use the elevator.
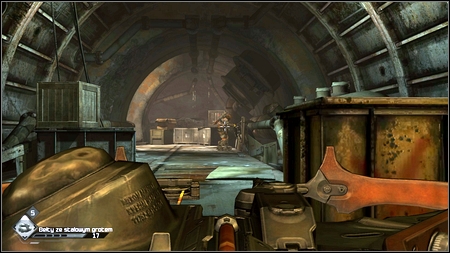
Being downstairs sneak up slowly forward until you'll see first Shrouded. Use a wingstick to kill him. Other enemies can be found in the room on the left.
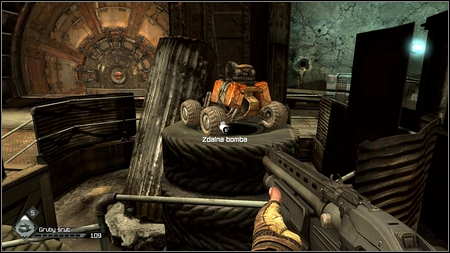
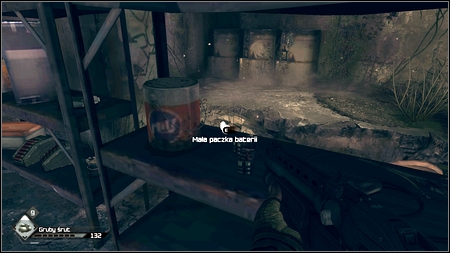
Once the area is clear, pick up the RC Bomb lying on tires and then keep going to the left.
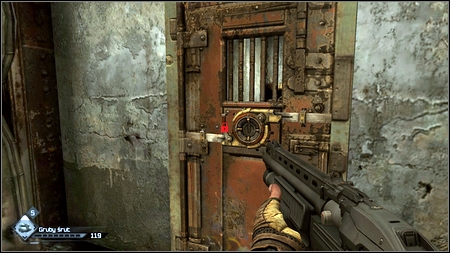
Being in the corridor you should see the locked door on the right. If you have the Lock Grinder you can open them. There is an Authority Machine Gun inside, as well as ammo, Grenades and Bandages.
Later in the corridor you'll find one more RC Bomb and more Bandages. Pick up all and then enter inside sewers at the end of the corridor.
Another group of enemies waits for you on the right. After eliminating them, carefully explore the room. You'll find many parts which can be used to create new items.
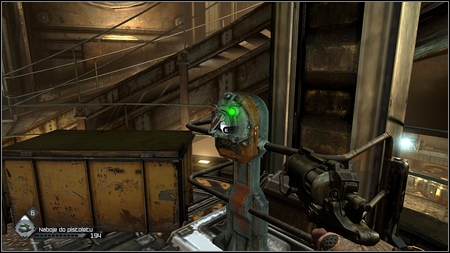
In the left side of the room you can see the door with a blue screen and the huge pipe nearby. Walk down the pipe and then explore the room on the right.
There is a keycard inside which opens previously mentioned door. Behind the door you'll find a hall full of Shrouded soldiers you have to kill.
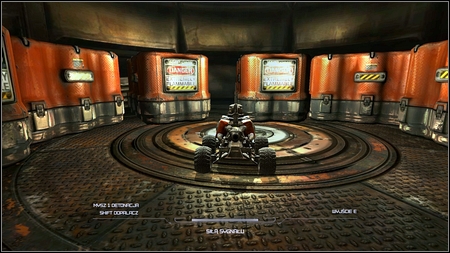
Once they all are dead do down, pick up needed items and use the RC Bomb again. This time drive the car to the tunnel under the stairs.
At the end of the tunnel you'll find more hidden explosives.
After detonation you can return to the tunnel exit and go through the previously locked door.
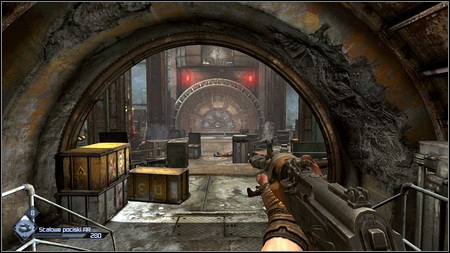
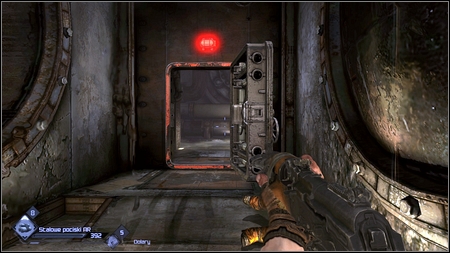
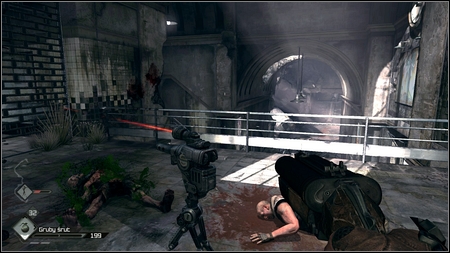
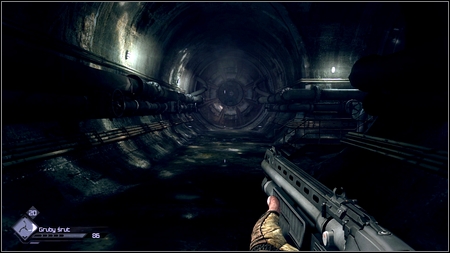
Move forward killing hordes of bandits. You'll get to the large hall with the half-round gate. A few second later a machine gun operated by one of the thugs will appear over the gate.
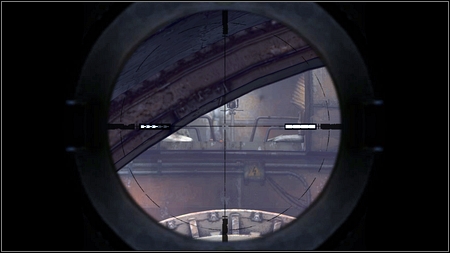
Quickly hide behind the cover and use your Sniper Rifle to kill the machine gun operator.
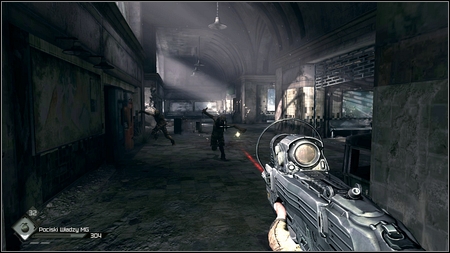
After a while a Shrouded Heavy will appear in the hall, equipped with the powerful gun. Use your machine weapon to shoot him but only when he stops shooting. Hide behind the cover during his attacks. After few bursts he should die and you can explore the room.
Another Shrouded Heavy awaits you in the corridor in front of you. Kill him in same way as previous enemy and then deal with other Shrouded ARs.
Once they all are dead, create a RC Bomb and send him to the tunnel on the right. At its end you'll find the last bomb cache with explosives.
After detonation, go to the nearby elevator.
During the ride crouch and hide behind the cover. You'll avoid hits by panicked bandits.
Once you get to the top kill two last thugs and leave the building.
You can now return to Wellspring and report back to the Sheriff about your task.
The Mayor will ask you to go to the crater to the north and bring him a sample of feltrite which is mined there. Use your car to drive there avoiding towers and destroying few enemies along your way.

Once you get to you target prepare for your first fight. There are only few opponents so you should deal with them easily.
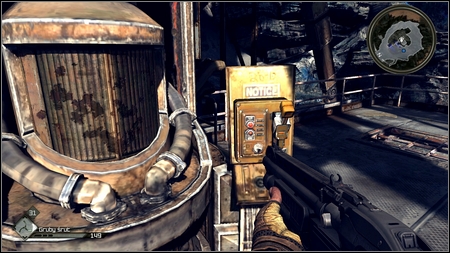
After eliminating them, use a mechanism on the left side.
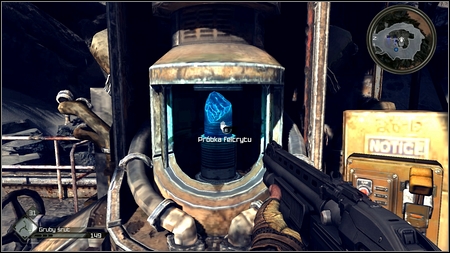
After a while you'll see the Feltrite Sample which you have to take and bring back to the Mayor.
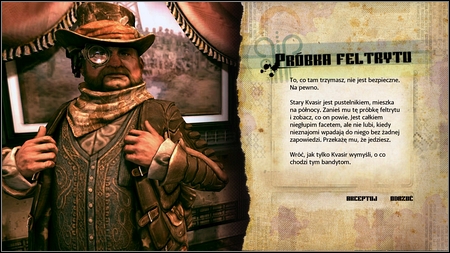
This time leader of Wellspring will ask you to bring the found Feltrite Sample to a hermit named Kvasir, who can know why bandits need feltrite for.
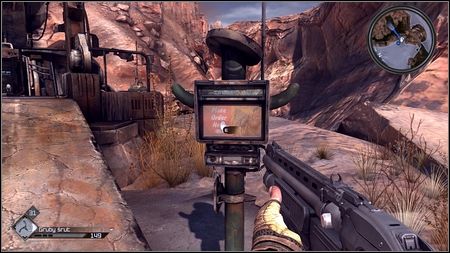
Drive your car to the marked place and then use the mechanism in front of the building.
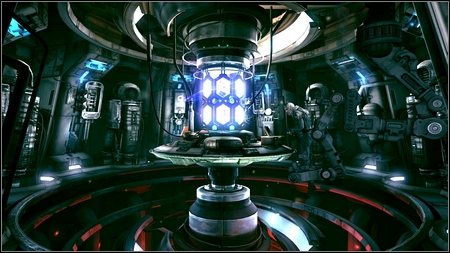
After a while a bridge appears. Walk over it and get to the elevator taking you to the Kvasir's lab.
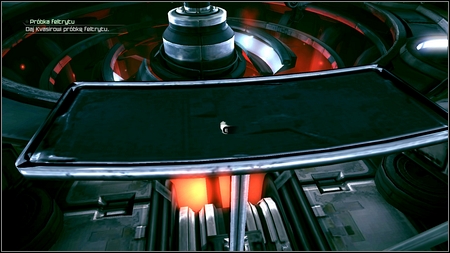
Listen to the old man and when he finishes talking place the sample on the tray. Moments later the scientist will offer you a job.
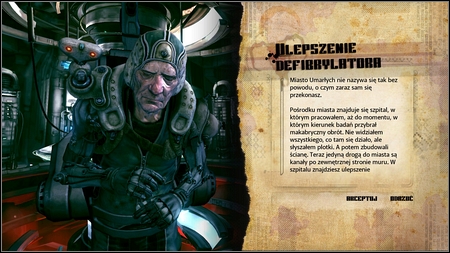
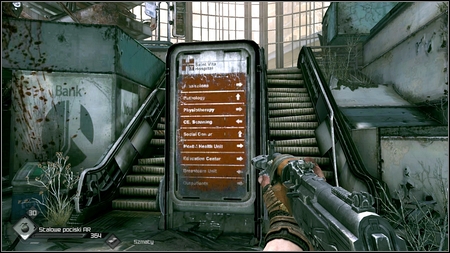
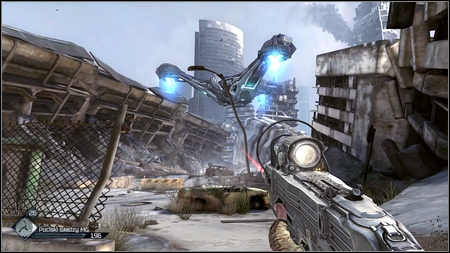
Your task is to get to the Dead City and find an upgraded model of the defibrillator hidden there. But before you drive to the marked place make sure that you have enough ammo, RC Bombs and Lock Grinders.
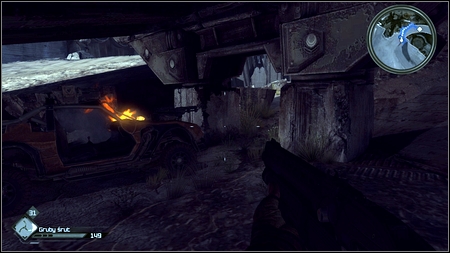
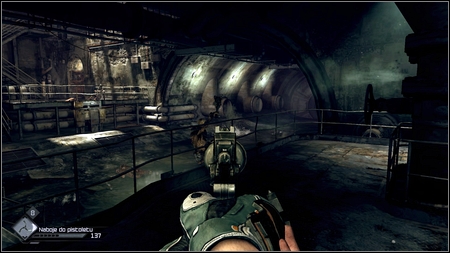
To get to the target you have to find the entrance to the sewers first. Stop your vehicle under the destroyed highway and then walk to the place marked on your map.
Move forward. You'll be attacked by bunch of Mutants. Kill them and keep going straight ahead.
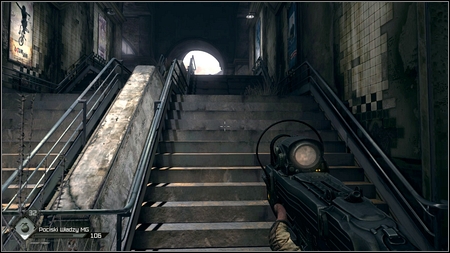
Right before the stairs leading to the upper level you'll find a lot of ammo and few grenades. Pick up everything and go up.

The path between rubble will lead you to the square where more mutants will appear.
After you kill few of them another huge mutant with rocket launcher will join the fight. In order to defeat him use your Sniper Rifle and shoot at his head, running to the side or backwards in the moment you see him shooting a rocket. In addition regular mutants appear from time to time. Try to kill them as soon as possible.
After the fight, go up the stairs on the left.
You'll get to the office where bunch of mutants will attack you after a while. Your opponents will come out from the holes all around so make sure that your back is well covered by for example a solid wall. Once the area is clear, leave the room through one of the breaches.

Being outside you'll be attacked by several opponents with fire bottles. Take them down with your Sniper Rifle and go down to the lower level
.
After fight with more mutants use the RC Bomb and drive the car through the tube, where opponents were coming out from.

This way you'll reach a room with gas tanks in the left corner. Detonate your bomb and you'll unlock the entrance to the room.
In order to get to the just unlocked room, enter the building in front of you. The stairs on the left will lead you to the place. Inside the room you'll find the collector card and many useful items.
After collecting all items return to the top and go to the square on the left.

As soon as you enter the square you'll be attacked by standard Mutants and the Kraken. The fight with this mini-boss is the same as a fight during Mutant Bash TV. Try to keep him on a distance and avoid his charges and you can end this fight quickly. Once the last monster is dead, collect ammo lying on the nearby bench. Now you can keep going.
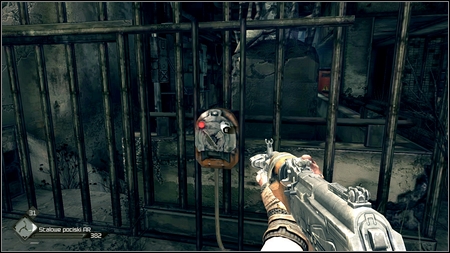
Use the stairs and you'll get to the room locked by bars with some kind of mechanism.
Use it and then look for other side of the cable lying on the floor. After using the mechanism quickly return to the exit and prepare for the fight with Mutants.
When all creatures are dead use the mechanism again. You will unlock another passage.
Get down and prepare for a confrontation with a new enemy type. There is also the door leading to the Dead City Central.

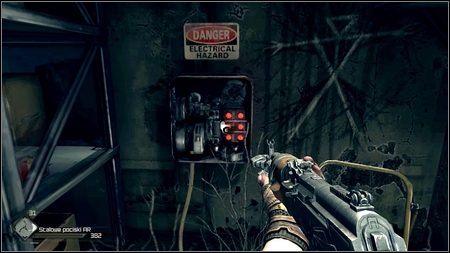
After you get to this new location, move straight ahead. On the gate which blocks the escalator entrance you'll find previously known type of switch.

A cable attached to it will lead you to the hole in the fence.
Use the RC Bomb Car and drive through the hole. Blow up gas tanks on the other side. Explosion will unlock the passage to another switch. When you use it you will be attacked by a group of Mutants. There will be not too many of them though.
After the fight use the Lock Grinder on the door to the right of the stairs. You'll find a lot of ammo and other useful items.
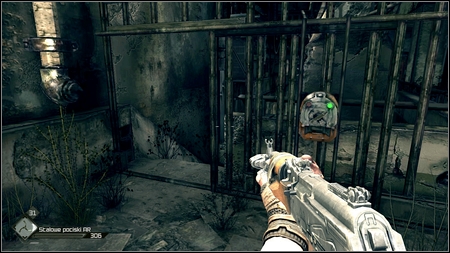
You can now use the switch which is now fully operative. In this way you'll unlock the passage but also lure more creatures.
Once the last Mutant is dead, go down the stairs to the lower floor.
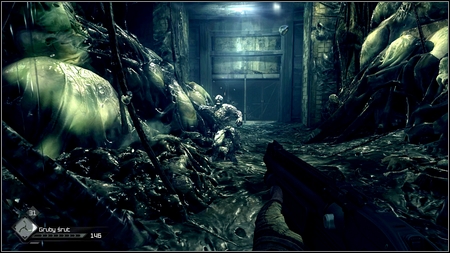
Prepare for next fights with Mutants. Kill enemies while running straight ahead all the time, keeping close to the left border of this location.
This way you'll get to the slum-like dump. At this point enemies will attack you from above so carefully watch the "buildings'" roofs.
Once the area is clear go up the stairs. On the left you can see another door which can be opened using the Lock Grinder. You'll find inside a lot of parts, ammo and 4 Feltrite Crystals.
Collect all and go to the upper floor. A straight path will lead you to the low fault. Jump down from it, turn around 180 degrees and pick up the Rocket Launcher.

A moment later you'll be attacked by the Giant Mutant.
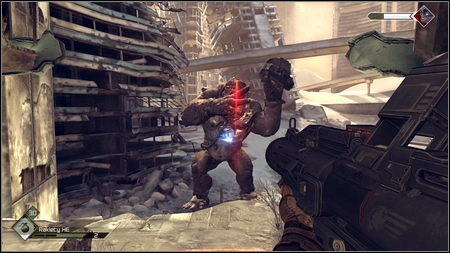
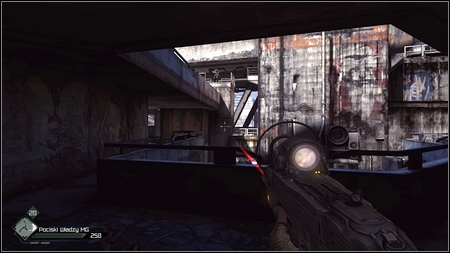
Your opponent has two types of attack, which he uses alternatively. In the first phase he rips off chunks of buildings and tosses them at you. Avoid them by moving to the sides and try to hit him with the rocket at the blue spot on his belly. It is exposed only for a moment when the creature raises his arm to throw so try to shoot a rocket a little earlier (so it can reach him).
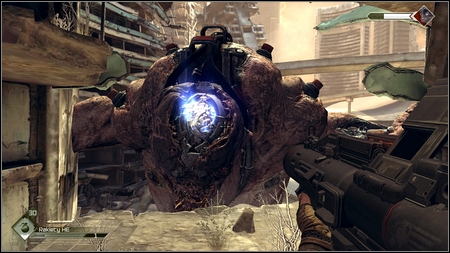
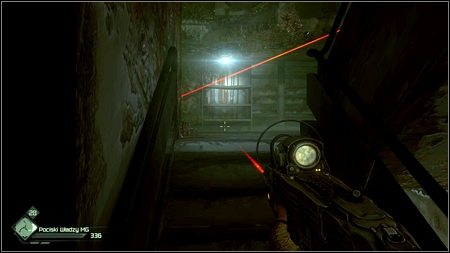
After being hit the Mutant will approach you and start pounding with his fists. A hit point is indicated by the red laser so just avoid these points. A moment later the monster will scream showing a blue point on his head. You must hit it with the rocket.
Repeat all these actions several times and you'll kill the giant. Rockets can be replenished at the same place where you found the Rocket Launcher.
When the fight is over, move to the left. Collect ammo from the cabinet and then go down the stairs to the ground floor.
Prepare for the fight with regular mutants. Move forward killing them. Eventually you'll reach an out of order escalator.
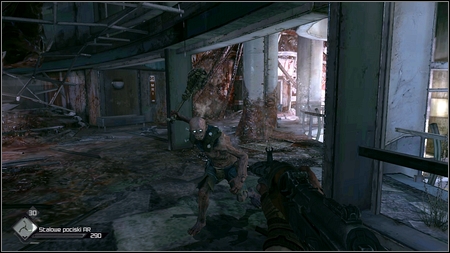
At the top of it you'll meet other creatures and one Mutant throwing fire bottles at you. I suggest going back to the lower floor, killing charging enemies and then getting rid of "thrower".
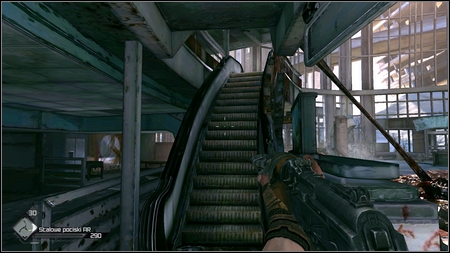
After clearing the area you can go to the upper floor using the stairs on the left.
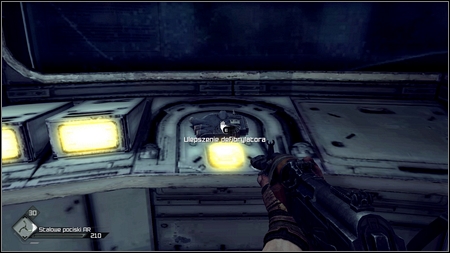
It will lead you to the hospital. Follow the corridor. At its end you'll get to the room with many useful items and the Defibrillator Upgrade you need.
Pick it up and prepare for the mutants' attack. They will charge at you from the room to the left.
After you kill all enemies go down the stairs and run straight forward until you reach the exit leading to the Wasteland.
You can now return to Kvasir who will install you the upgrade and give you back the Feltrite Sample.
Just take the sample back to the Mayor and the quest will be completed.
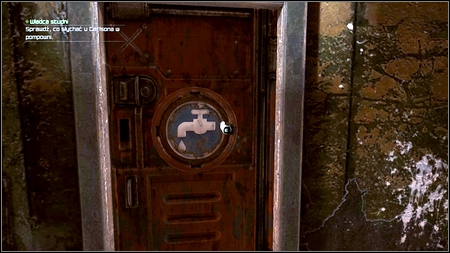
Clayton will ask you to go to the pump station and talk to Carlson. The building can be found on the right from the Mayor's office. The doors are marked with leaky faucet.
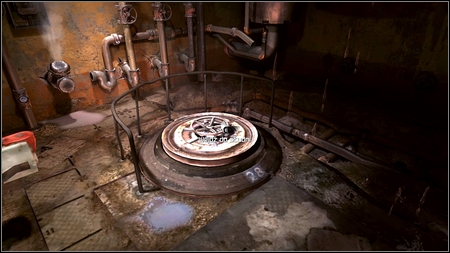
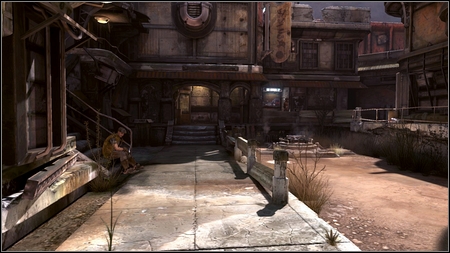
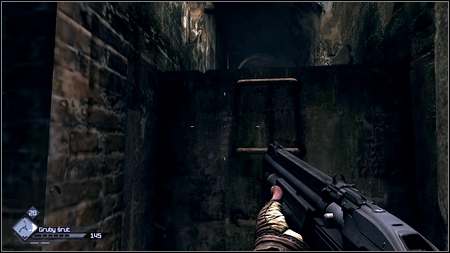
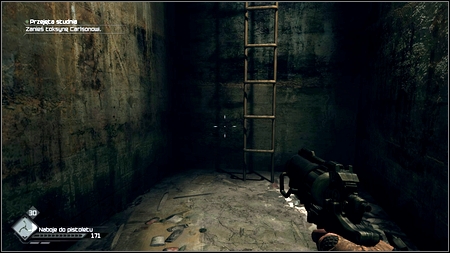
The man responsible for the sewage system will inform you that bandits broke into the Well. Your task is to clear the sewers. The hatch can be found on the left.
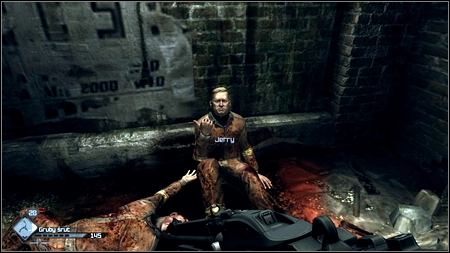
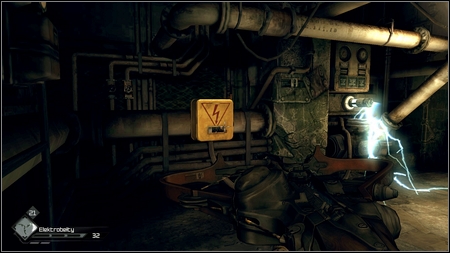
After getting down talk to the wounded guy sitting next to the wall. He will give you few Electro Bolts, which can be very useful during the fight with Ghosts waiting for you around the corner.
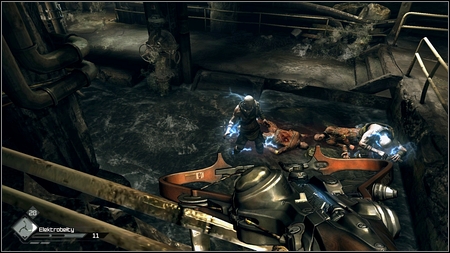
Just shoot such bolt in the water and every enemy standing there will be shocked. Kill the other in a classic manner.
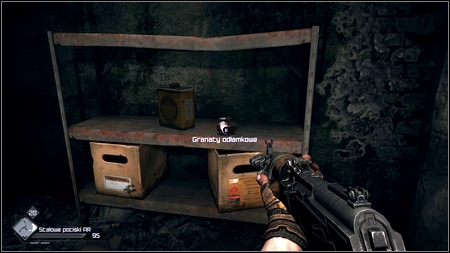
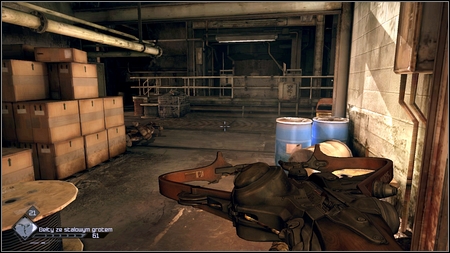
Before you go any further explore the room to the right. You'll find several parts there and also Grenades.
Follow the corridor. You'll get to the ladder leading to the upper floor. Use the ladder and then sneak up to a group of enemies. All of them stand in the water so the fight won't last long.
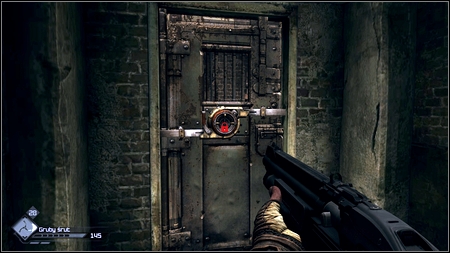
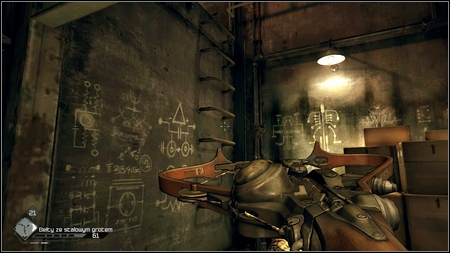
A little further you'll get to the small junction. Turn left and use the Lock Grinder on the door there. You'll find a lot of ammo.
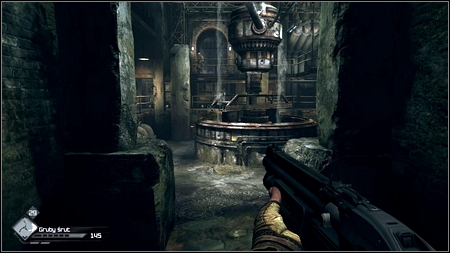
A path to the right will lead you to the large room where you'll be attacked by and army of Ghosts. Kill them all with your Combat Shotgun and then go to the room with pile of corpses.
As soon as you want to leave the room, the door will close and new bandits appear. Kill them all same as previous group. After the death of the last of them, the passage will be unlocked.

Go straight ahead and eliminate successive enemies. You'll reach a corridor with many pillars. There are few Ghosts patrolling the area - kill them silently using your Crossbow. After that deal with reinforcements.

Behind the third pillar on the left you should see the ladder. At top of it you'll find the collector card and some ammo.

Collect all, go down and move to the left. After a while you'll get to the lower sewers level, where you'll meet another group of Ghosts.
After the fight go to the room at the end of the tunnel. Once you get inside a gate behind you will close and new enemies appear. When they are dead use the switch on the right three times. Every time you use it, new wave of enemies will attack you. Kill them of course.
If you defeat all Ghosts you'll be able to safely cross the unlocked passage.
The stairs will lead you to the cave. On the left you'll find few Feltrite Crystals. Pick them up and move straight ahead.
At the end of the tunnel you'll meet some Wellspring people who are here to help you.
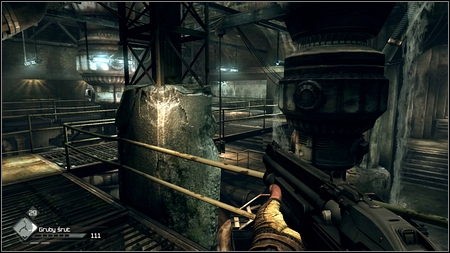
Together with them defeat horde of Ghosts charging at you and then take the Toxin out of the device in the middle of the room.
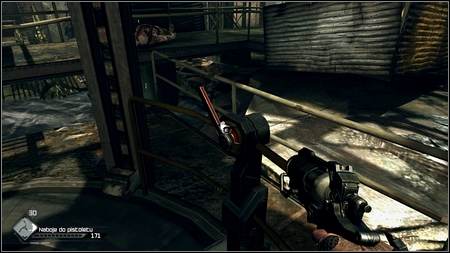
Once you get the Toxin use the switch on the right and get to the platform which goes up.
Go up the nearby stairs. You should get to the ladder leading to Wellspring. But before you leave the sewers pick up a pack of Pinkies lying down to the left in darkness.
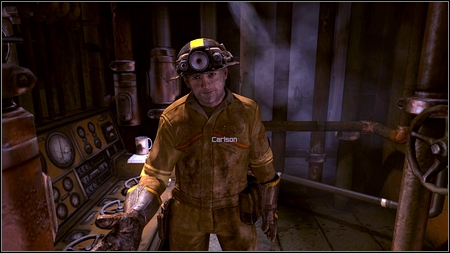
You can now return to the pump station and report back to Carlson.
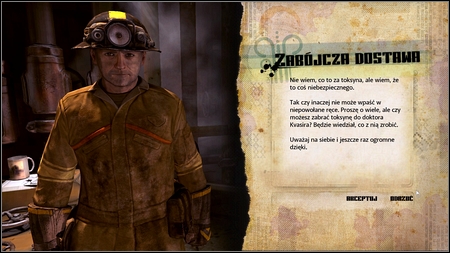
Carlson will ask you to bring the previously found Toxin to Kvasir.
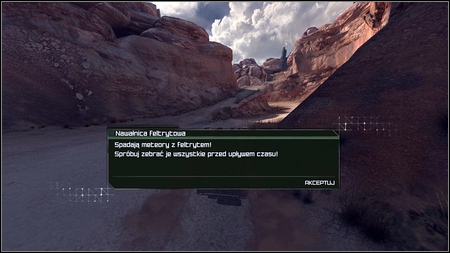
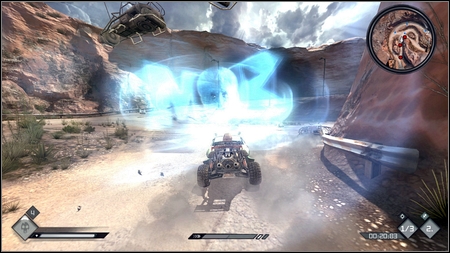
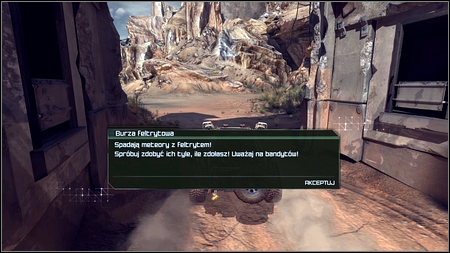
During your journey a short mini-game named a "Feltrite Tempest" begins. In order to obtain Feltrite Crystals you have to gather 7 pieces of meteorites falling down in given time. All of them are falling in front of your car so just use your boost and drive forward.
After reaching the hermit put the Toxin on the tray in front of you.
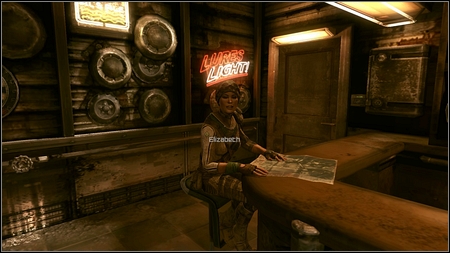
The old man will create Mind Control Darts out of the Toxin that you have to deliver to Elizabeth from the Resistance. You can find her in the bar in Wellspring.
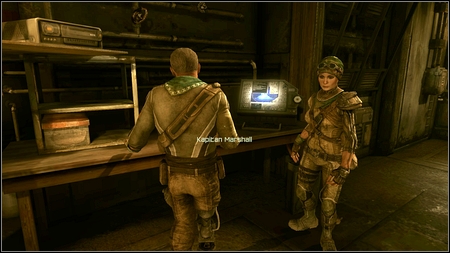
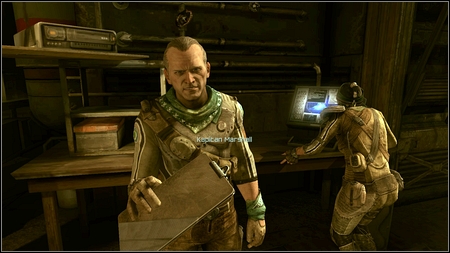
Elizabeth will take you to the back of the bar and will offer you the first job. You have to go to the prison and free Captain Marshall imprisoned there. She will give you a Security Access Card and Mind Control Darts, which can be use as ammo for a crossbow.
After leaving the town save the game. During your ride towards prison another "Feltrite Tempest" begins, so if you're not able to gather all crystals in first try, you can always load your game and try again.
The last meteorite will fall down right before your destination place. Once you get the, destroy all vehicles chasing you and then park behind the rocks and get out of your vehicle.
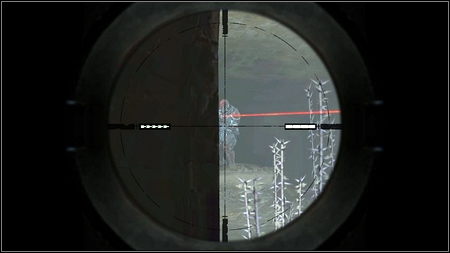
There are two guards stationing on the nearby gate. One can be found in the tower on the right, while the second guard stands above the passage. Shoot them with your Sniper Rifle.
After clearing the area open the gate and move to the other side.
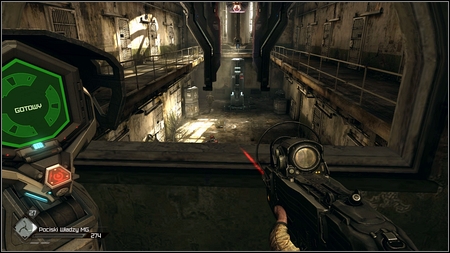
You should see a large hole in the platform on the right. Go down the ladder and then move forward until you reach the Authority Prison.
Being inside run forward carefully watching the left side of the location. N the room with valves you can use the corridor to the left. It will lead you to the room with many valuable items: ammo, parts for creating items and EMP Grenades Schematic. These powerful charges will be useful during fights with enemies encountered in prison, while they can destroy their shield and disable some Authority devices.

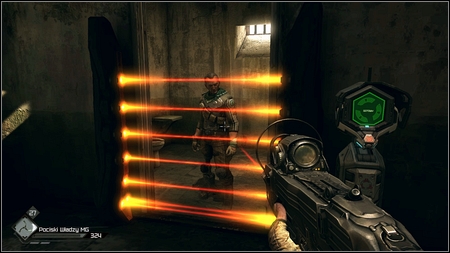
Move to the right. You should reach a place blocked by red lasers.
To deactivate them you must destroy a nearby Power Supply (you can use melee attacks). On the other side you can find some useful items on the cabinet. Prepare for your first shootout.
After a moment an Authority Guard will come out from behind red lasers. He is equipped with the blue glowing shield. Take cover, pull out the Authority Machine Gun and aim at uncovered spot. Few bursts should be enough to kill him. To destroy the shield use EMP Grenades.
After you kill him another guard will appear. This time he has no shield so defeating him shouldn't be problematic.
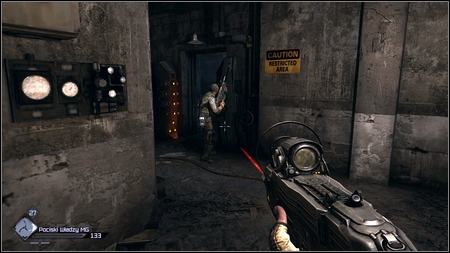
After the fight destroy another Power Supply and move forward.
A moment later another guard will jump out from behind the door. Prepare for another two after you kill him.
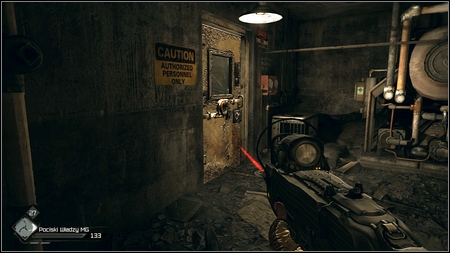
Once you clear the area explore the room on the left. You'll find some useful items inside and be able to destroy another Power Supply through the broken window.
You'll unlock another room in this way but you'll be attacked there by Authority soldiers from above. Go back to the corridor and use this spot to shoot your enemies.
If you have any problems just use the Mind Control Darts. Shoot the dart at the first enemy which appear and you'll be able to control him for a period of time. By pressing E you can blow up your puppet killing all enemies around him.
Once the area is clear, destroy the Power Supply in the left corner of the room. To the left you can find a small room with the Water Purifier inside.

Other useful items can be found behind disabled lasers.

After exploring the first room shoot through the barred window and destroy the Power Supply.

In this way you'll disable a Turret, which would shoot at you once you get inside.

Another Turret awaits you in the corridor on the other side. This time it is attached to the ceiling.
In order to disable it, run quickly to the room on the left side.
Cover behind the wall and kill the approaching guard. Move now to the other end of the niche. You'll be able to destroy the Power Supply which controls the Turret.

The next room is also guarded by the Turret. Take cover behind crates and sneak to the right corner of the room. You'll see another Power Supply from here. Destroy it and go to the adjacent room.
A moment later another group of guards appears. I suggest using the Sniper Rifle to get rid of the shielded enemy. Other soldiers can be easily killed with the Authority Machine Gun. There is plenty of ammo for latter weapon in the room.
Once the area is clear, deactivate lasers locking the passage and move forward.
Go up the stairs to the upper floor, where another group of guards will attack you. Eliminate them and then carefully explore the rooms.
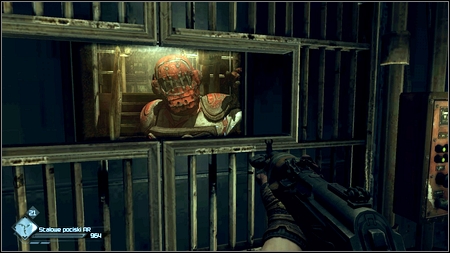
Moving ahead you will reach a place with lasers and a control panel which opens cells. Use it and you'll unleash Mutants. They will start fighting with guards.
After killing the last opponent, go down and free imprisoned Captain.

A moment later the alarm is triggered again. Take cover behind the pillar and kill all enemies running to the room. After that follow your companion.
Running after him you'll get to the lower level of the building.
Before you go further to the right, explore the left part of the room. You'll find the door there which can be open using the Lock Grinder. There are Feltrite Crystals, Wingsticks, Fat Boys and a collector card hidden inside.
After you reach the courtyard, the guards will appear again. Shoot them with the Authority Machine Gun and use covers used by the Captain.
From time to time a soldier will shoot you with the machine gun set in the left side. Use the Sniper Rifle to kill him and then continue the fight.
Once all enemies are dead, Marshall will walk towards lasers locking the passage and ask you to get rid of this obstacle. Use the stairs on the other side of the courtyard. Being on top turn around 180 degrees and you'll see the Power Supply.
After destroying it, lasers will disappear.
Go straight ahead until you reach the control panel which disables another laser blockade.
A moment later the Captain will start planting the explosives. Your job is to cover him from Authority soldiers. The best way to do so is to use the nearby machine gun.

Try to kill enemies before they land and remember not to overheat the gun, because it will become useless for some time.
When the Authority dropship flies away, walk to Marshall and then quickly run away. Few seconds later the door will explode.
Being on the other side wait until the Captain falls down to the lower floor. Listen to him and prepare for the attack from behind the door on the right.
Kill the guard and then move forward until you'll reach the prison exit.
You can now return to Wellspring and go the back of the bar. The Captain and Elizabeth await you there.
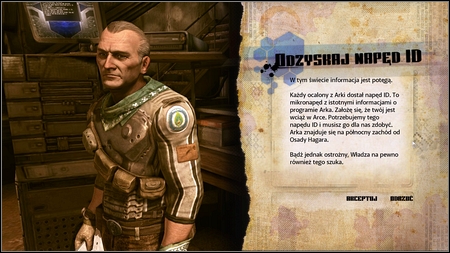
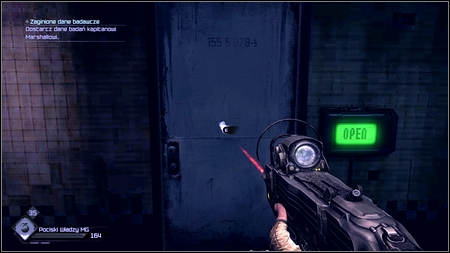
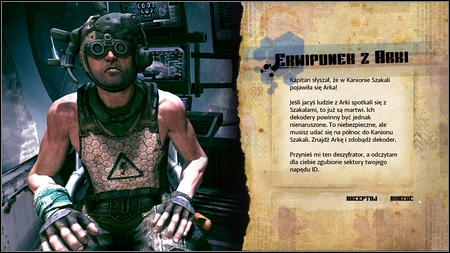
After being rescued captain Marshall will ask you to recover the ID drive, which is left on your Ark.
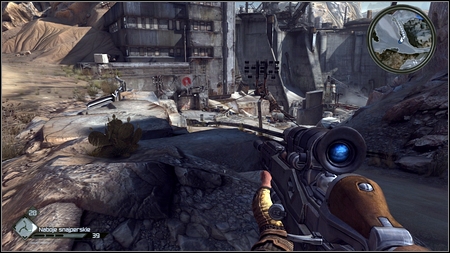
Go to the marked placed and park right before descent. Being on the hill you'll be able to shoot two Authority soldiers with the Sniper Rifle.
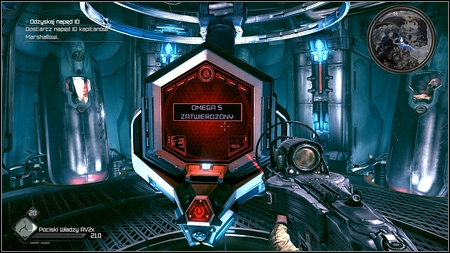
Once the way is cleared get inside the Ark and use the central control panel. You'll obtain the needed drive.
On your way to the vehicle you'll be again attacked by the Authority. Fortunately there will be not too many enemies so you should have no problems with defeating them.
During your way back to Wellspring save the game near the Hagar Settlement. The "Feltrite Storm" will begin few moments later. Your task is to gather as many as possible feltrite deposits. They will fall all the time in the same part of the canyon but unfortunately you are not the only one who wants to get them. Moments later bandits will appear and start shooting at you. They will also try to steal the Feltrite. If you fail to gather a satisfactory number of feltrite you can always load the game and start it over.
When you finally get to Wellspring, talk to the Captain and accept the next mission.
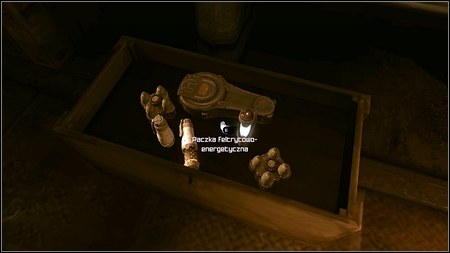
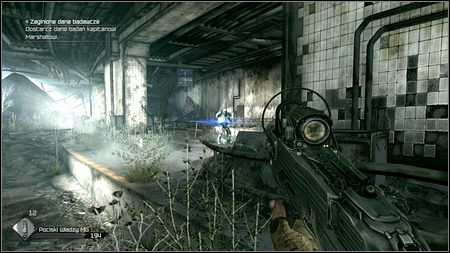
Your current target is Dead City Central. But before you go there remember about grabbing supplies lying in the box in front of Marshall.
After you get to the destination place go straight ahead. At the end you'll find a small room with plenty of ammo. Collect all and move to the right.
The light turns off in the corridor for the moment and a moment later first Mutant will attack you.
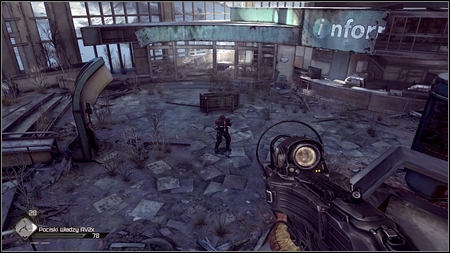
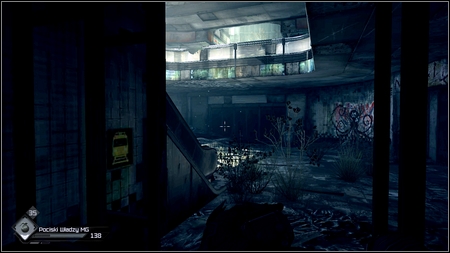
After eliminating him move forward until you reach a large, glazed courtyard. There are Authority soldiers downstairs waiting for you.
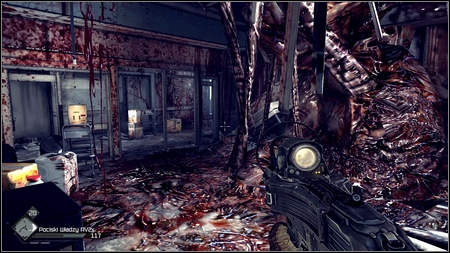
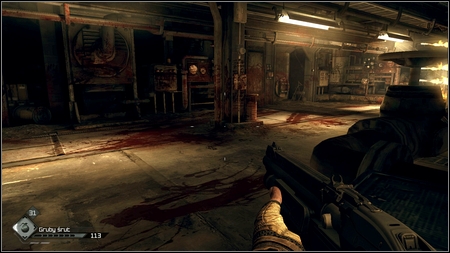
Kill them as fast as possible and then go down to the lowest level of the building. In the left corner of this location you'll find a corridor full of blood.
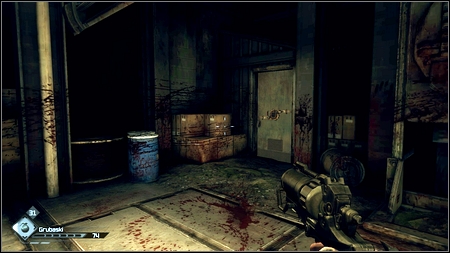
It will lead you to the room where a group of soldiers appears after a while. One of them is shielded so prepare yourself with a precise weapon.
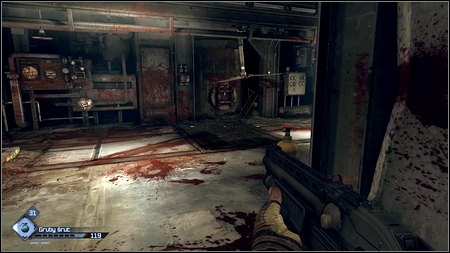
After the fight go up the stairs until you'll see a Mutant shot with the Sniper Rifle.
Sneak next to the red laser, pull out the Sniper Rifle and eliminate the enemy. The second one stands lower, throwing grenades from time to time - so be careful.
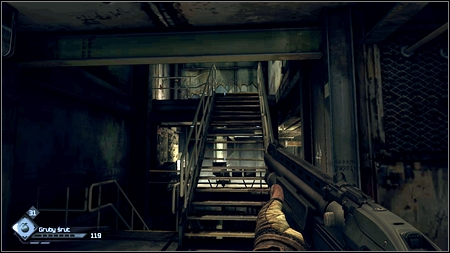
Once the area is clear, use the damaged stairs and get rid of the next sniper. A moment later reinforcements will appear on the left side.
Two pairs of stairs will lead you to the rubble where once again you'll see red lasers. Eliminate their sources and go move forward.
After getting to the very bottom, an Authority dropship will appear, dropping three soldiers. Try to hit them before they land. You'll damage their jet-packs, killing them instantly.
A bit further you will be shot with a machine gun. Wait until your enemy stops shooting and kill him with the Sniper Rifle.
Move to the right from the machine gun. You'll find the building entrance there. Being in the room with laser go to the right and destroy the Power Supply through the hole in the wall. Once the way is clear, get rid of enemies running at you.
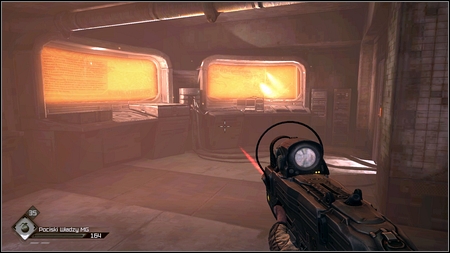
In the unlocked room you'll see large orange displays. The Research Data you need can be found next to them.
Pick it up and then use the door on the right.
In the small room you'll find ammo supplies and another Power Supply which you have to destroy. Leave the room through the right door and then continue your walk to the left.
A soldier will shoot at you from behind the railing on the first floor. Kill him as fast as possible and take care of the rest at the top. On the first floor, directly opposite to the stairs, you'll find the door leading to the Dead City Streets.
Move forward and you'll reach the stairs which will lead you to the square controlled by snipers.
Get rid of them and then go up using the concrete "walkway".
The further way is blocked by lasers beams. In order to disable them use the stairs to the right. In the warehouse you'll find ammo and the Power Supply which you must destroy.
After passing the disabled blockade go straight ahead until you'll reach a sniper fighting Mutants. Go to him from the flank and kill him with the Wingstick.
Once you get down another Authority dropship will appear. Kill approaching enemies and move forward.
You'll get to the underground passage where you'll be attacked by another squad of soldiers with the Authority Heavy among them. Kill weaker opponents first and then hiding behind the pillar kill their leader.
A tunnel on the other side will lead you to the exit.

You can now return to Wellspring and give him the Research Data you found.
Before you talk to the Captain again, I suggest settling all the things that are left in Wellspring. Collect missing cards, perform jumps, complete tasks and participate in races. You could still go back to this town but it is a good time now to catch up.
Once you are ready accept the task from the Captain and you'll be moved to the Marshall's ship.
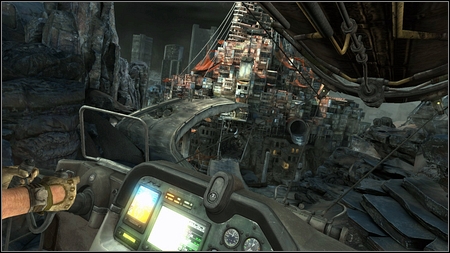
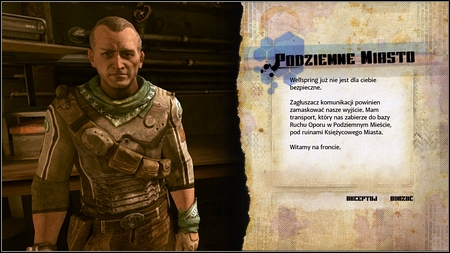
Moments later you'll reach Subway Town.
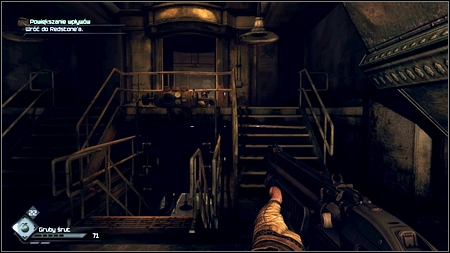
After listening to the Captain's speech talk to him again. You'll learn from him that you have to gain trust of Subway Town leader - Redstone.
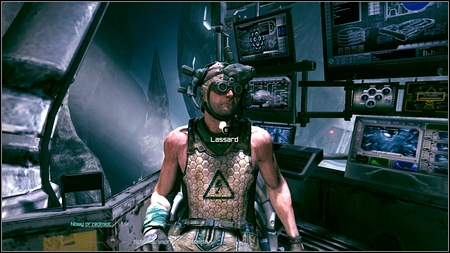
Before you go up talk to Lassard. He will give you the Authority Augmenter schematic, which temporarily increases you weapons' damage.

A tunnel on the left will lead you to the elevator. Use it to get to the Saul garage. Talk to the owner and go to the city.
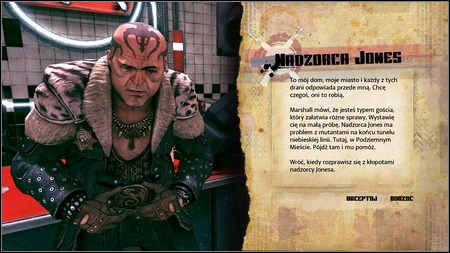
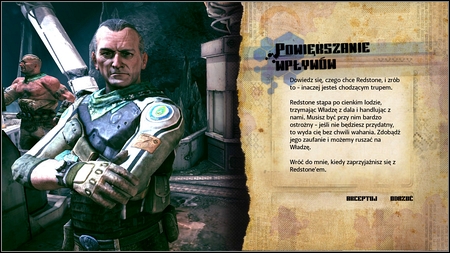
First thing you have to do is to meet Redstone. His office can be found on the first floor, just to the left of the stairs. After the first conversation you'll receive your first job from the Mayor.
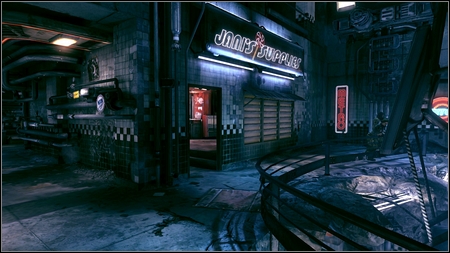
First go to the Jani's Supplies on the first floor and replenish ammo supplies. You can also buy new schematics and parts needed to create advanced turrets.
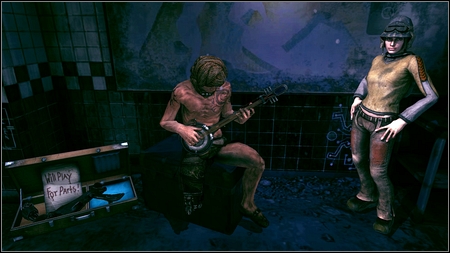
Look also for the man playing a guitar. He can be found next to the other stairs.
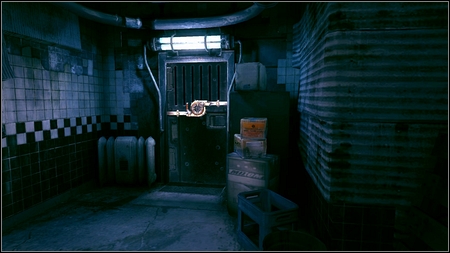
On the right from him you'll find the door which can be opened with the Lock Grinder. There are Feltrite Crystals inside, as well as Night Blossom.
You can now go downstairs and walk to the tunnel on the left from the bar.

At its end you'll find Jones, who will tell you about his problem.

Listen to him and then return to the garage and drive to the Wasteland.
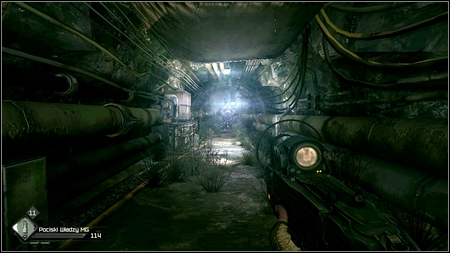
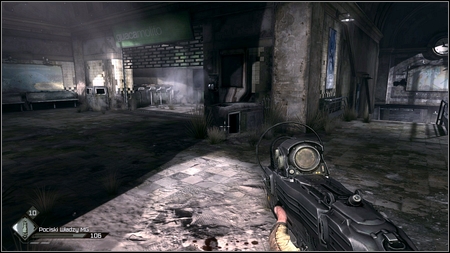
An entrance to the Blue Line Station can be found near the town.
At the beginning of this location do not worry about any enemies since they will be running away from you. Instead start exploring rooms. Particularly interesting is the room at the right end of one of corridors. There are several Feltrite Crystals inside.
When you get to the wide stairs go up. There is barred room on the right side.
In order to open it throw an EMP Grenade towards a metal case on the wall on the right (you can also use Electro Bolts). You'll destroy it in this way, raising the bars. Inside the room you'll find more Feltrite Crystals, Wingsticks and a collector card.
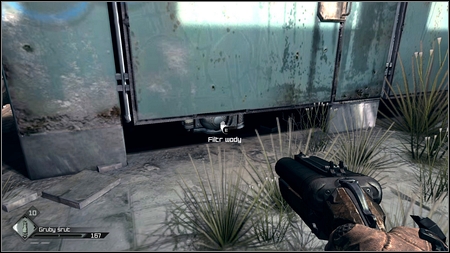
To the left from the stairs you can find a toilet. Crouch and take a closer look at the cabins. In one of them you'll find a Water Purifier which can be sold at a trader.
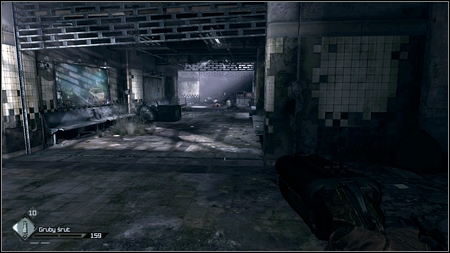
After you collect all items, leave the room and then turn right.
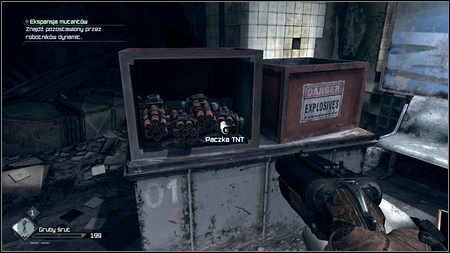
At the end of the corridor you'll find ammo and TNT, which is one of the objectives of your current mission.
After collecting the TNT you'll be attacked by the Mutants. It is worth to use an Advanced Sentry Turret/Bot here. You could have bought its schematic in Subway Town.
Just set the turret on the ground and no opponent can get close to you. It can be used up however after some time so prepare the second one if needed. If you do not have the schematic or parts needed, you would have to use your Combat Shotgun. At the beginning enemies will attack you from behind the bars in front of you and then jump over the railing to the right. When you kill them, the bars will rise and the last squad of opponents attacks you.
Now move back to the lower floor. Along your way you'll be attacked again by the Mutants. Watch out for enemies with dynamite. Kill them first because if they get close to you, you will be killed in an explosion.
Once you get to the lower floor, go inside the open room on the left.
Collect all items and then move left through the destroyed railway wagon.
On the other side more enemies await you. During the fight try to move constantly and use covers, because there are two Mutants who throws at you grenades and explosives. You can also kill them first and then take care of charging Mutants. It is up to you.
Once the area is clear, go up the stairs and turn right. Kill another enemy squad.
The tunnel will lead you to the large square, where horde of Mutants will attack you. Before you go there I suggest turning left and picking ammo.
Enemies will attack your from all directions so you might use the Advanced Sentry Turret again. But if you have only one turret save it for the next fight.
When you get close to the shaking door on the left, a Large Mutant will show up, along with standard Mutants. Place the turret then and while it kills weaker enemies take cover and take care of the Large Mutant.
After the fight go to the room where the Large Mutant came from and then turn right.
Follow the damaged railway track which will lead you to another tunnel. You'll be attacked again and since you can't retreat prepare your best weapons.

Move forward until you get to the abandoned station. Kill all enemies you find there and then go down to the rails. There are four shining spots on the left - you must plant TNT there.
After you do this, go to the other side of the station. You'll find a Detonator there, which will blow the dynamite you just planted.
Moments later two Krakens will appear in the room. The fight with them is much easier because of the pillar and benches in the area. Try to run around your enemies, shooting them continuously.
After several seconds the situation will become complicated, because a squad of weaker Mutants joins the fight. I suggest using the Advanced Sentry Turret then and focus on Krakens. The Advanced Sentry Bot can also be a good idea.
After the fight is over enter the wagon near the Detonator and move forward. You'll reach the exit this way and be able to return to Jones.
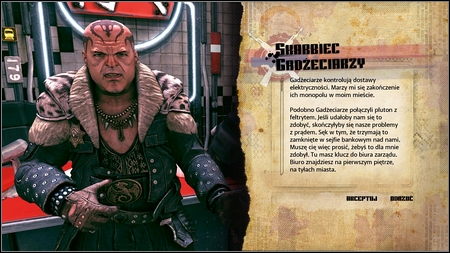
After conversation with Jones go to the Redstone for the next job. This time he will ask you to steal the Plutonium Feltrite from the Gearheads.
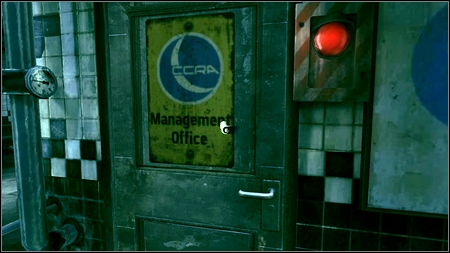
You can reach the Gearhead Vault through the Management Office, which can be found behind the Jani's Supplies (opposite to the Dietrich's room). Before you go buy some EMP Grenades which will be useful against robots and ammo effective against armored enemies.
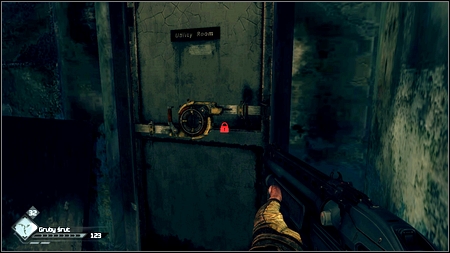
Right at the beginning you'll find locked door requiring the Lock Grinder to be opened. Behind it you'll find few parts and items for sale.
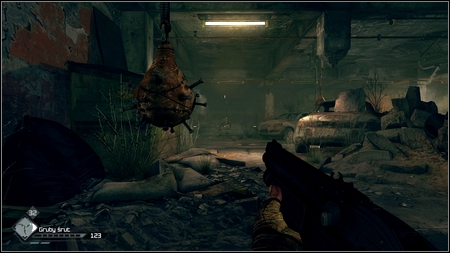
Collect all and the go up the stairs. Prepare for fight with the army of bandits. Your opponents are heavy armored so remember to use pulse ammo. In addition they will create sentry bots from time to time. Use EMP Grenades or Electro Bolts to eliminate them. Also watch out for mines hanging at the ceiling.
On the other side of the garage a heavy armored soldier will appear. Use pillars as covers and shoot him at the head with the Sniper Rifle. After several shots he should be dead.
There are few more opponents waiting for you upstairs. Kill them and then enter the bar on the left.
You'll find many useful item inside as well as ammo. After collecting then use the ladder to get to the upper floor.
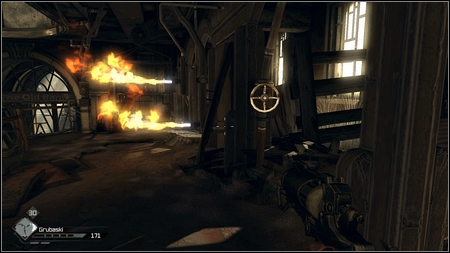
Move forward eliminating enemies until you reach flames blocking your way. In order to get rid of them use the valve on the right. In this way you'll eliminate also flames below.
Use the elevator now and go down taking care of other enemies. Watch out for a Gearhead Heavy with a machine gun among them. Kill him with the Sniper Rifle from a distance and move forward.
Once you reach the room with computer, exits will be blocked by flames and two armored enemies will join the fight.
Take cover behind the desk or the wall and after a moment start running around the room avoiding enemy fire. It is worth to use Grenades and Wingsticks here so you can finish this fight quickly.
After the shootout move through the unlocked passage. Go straight ahead killing opponents on your way until you reach the room with a spinning turbine. Wait until it stops spinning and then quickly run to the other side.
A bit further you'll find the Gearhead Vault, where the Broken Feltrite Power Cell sought by you is hidden.
After picking it up a Heavy Gearhead with a flamethrower will enter the room.
In order to defeat him shoot him in the head several time. He will then turn around exposing the flamethrower tank. Hit is and your opponent will start running around the room and explode after a moment.
Leaving the vault watch out for flames blocking the passage. A bit further you'll be attacked by bandits.
You can kill them in a "normal" way, but if you're lucky they will be chopped by the turbine.

Once you get to the other side of the room, bars will fall down blocking your way and a Gearhead with a machine gun will jump out from the wall. Kill him as fast as possible using Wingsticks or lure him to the turbine.

After his death move forward, using the hole in the wall.
Other soldiers wait for you at the bottom of the stairs. Watch out, because one of them is equipped with a Rocket Launcher. Take cover and try to kill him with the Sniper Rifle.
A bit further your way will be blocked by flames. Get rid of them by using the nearby valve.
Go straight ahead. You'll reach the square where you'll be attacked by two Gearheads with flamethrowers.
Kill them in the same manner as previous "flaming" enemy and then head to the exit. Return to Redstone for the next job. But in order to complete it you'll have to get a new car first - Monarch.

Go to the lower level of the town and talk to a man named Starky. It is easy to identify him because he wears the cowboy hat. The racer will agree to give you his vehicle, if you can win with him in one of the races. After accepting the job you'll be moved to the track.
The race is not tough. It is enough if you do not hit borders too often and collect most boost refill canisters. Then you should win this race with no problems.
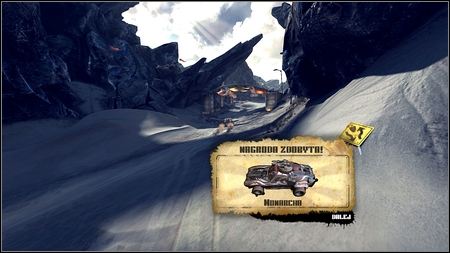
As a reward you'll get a brand new car, which in addition to better armor is equipped with a pulse weapon, so you can instantly destroy your opponents. Now you can continue with your next task.
Get inside the newly obtained vehicle and drive to the Power Plant marked on the map. On your way you'll be attacked by few enemies, but the pulse weapons should make the business.

After entering the building you'll see an unsuspecting enemy. Kill him silently and move forward.
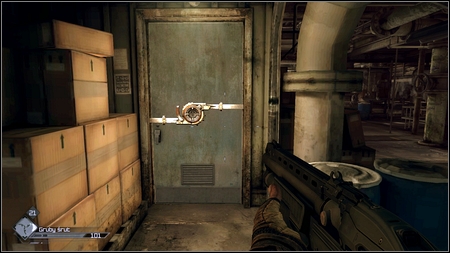
At the end of the corridor you'll see a yellow box on the wall. Destroy it using the EMP Grenades or Electro Bolts. In this way you'll get rid of electricity charges blocking the way.
Do the same with another box on the wall a bit further and then enter the room with stairs. Your way leads down. At the top you'd find some tools and a turret gun.
There are more items on the very bottom and on the middle level you'll find another yellow box.
After removing the blockade collect all items in the room and go to the room opposite to the stairs.
You'll be attacked there by a Gearhead with a machine gun and some helpers.
Once they all are dead use the Lock Grinder on the door to the left. You'll find some ammo inside, as well as Feltrite Crystal and other useful items.

A bit further you'll be again attacked by Gearheads. Most of them can be killed with the Sniper Rifle from a distance. Bots can be destroyed with Pulse Shots or Electro Bolts.
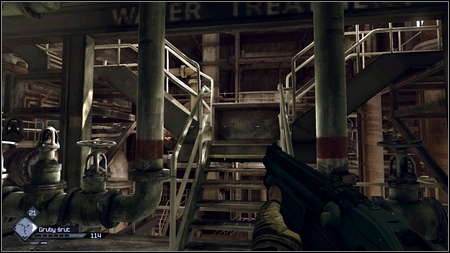
On the other side of the room you'll find the stairs which will lead you up.
There are also plenty enemies waiting for you. Watch out for Sentry Bots and a soldier with a machine gun standing on the upper floor.
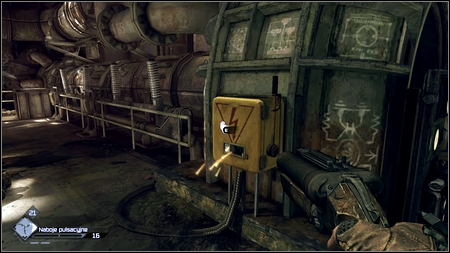
A bit further you should see a yellow box. After activating it you'll turn on the power for a moment, which electrocute nearby bandits.
Go upstairs. After using the lever there another Gearheads will show up. Kill them, enter the elevator and press the button.
Unfortunately you won't get too far. The Gearheads' Leader will stop you at the top and then shut down the power. Do not worry - you won't die.
After landing in the basement move forward killing enemies on your way.
You'll get to the ladder which will lead you to the upper floor. There are also plenty enemies waiting for you there, with many sentry bots. Use Electro Bolts to destroy them and run straight ahead.
In the room with walls spread with blood you'll be attacked by a Gearhead with a flamethrower. During the fight watch out for blades hanging from the ceiling. They may be very unpleasant.
Once you clear the area use the Lock Grinder on the nearby door. Inside you'll find a RC Bomb and plenty of ammo.
In order to bypass the blades run after them and then hide in the niche on the right.
Wait until deadly blades pass by you and move up the stairs.
At the top prepare for a really tough fight with huge number of Gearheads - it is worth to use the Advanced Sentry Bot here.
Once the last enemy is dead, look for the stairs and go up. Once again you'll have to face an army of Gearheads. A Sentry Bot or a Turret is strongly advisable.
At the end of the location you'll find an entrance to the control room. Once you get inside the door will shut.
The only thing you can do now is to go up and start the fight with the Gearhead Boss. The best way to defeat him is to use Pop Rockers. If you shoot him constantly he won't be able to counter attack.
Once he is dead pull the lever on the end of the room. Then exit the room through the door on the other side (upstairs).
Inside the tunnel you'll meet one of the Redstone's soldiers.
Keep moving forward until you get to the three switches, which control electricity, flames and rotating blades. Use them wisely so you can help your companions fighting Gearheads. You can also use conventional weapons and kill hiding enemies.
Once the last opponents is dead, turn around and leave the Power Plant. To get the next mission you have to go to the Resistance headquarters under the garage.
Talk to Marshall first and then to Lassard. In this way you'll learn about your mission goal. You have to go to the Jackal Canyon and find the Ark which has landed there. Remember to make sure that you have enough ammo (mostly for the Sniper Rifle) before you start the mission.
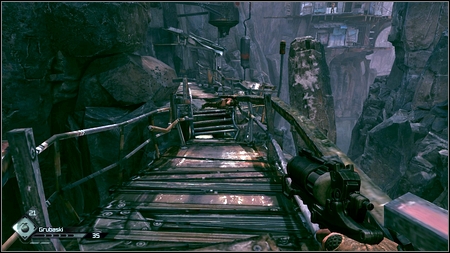
After reaching the destination run straight ahead until you'll reach the bridge. You'll be attacked by two Jackals there.
Kill them and then take care of opponents on the right. They are standing next to the building visible in the distance and shooting at you with dynamite bolts. Use the Sniper Rifle moving to sides after each shot.
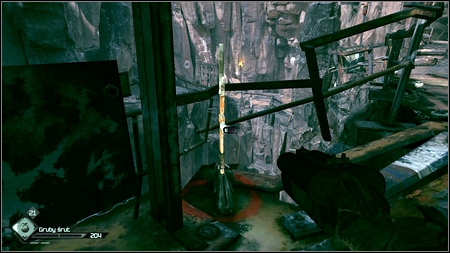
As soon as the last opponent is dead go to the other side and pull the lever there.
Other enemies will appear then on the rocks and the gate you were passing by before is now raised.
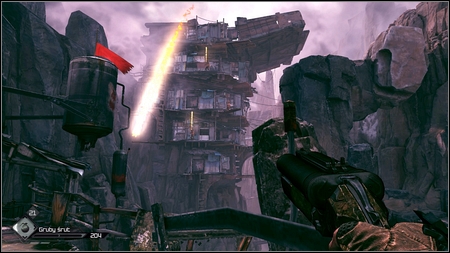
Walk on the new path. You'll be attacked with Jackals with axes. Enemies will also shoot at you from the high tower.
Watch out for explosive barrels thrown by enemies. Get away from them as soon as possible and shoot them to explode.
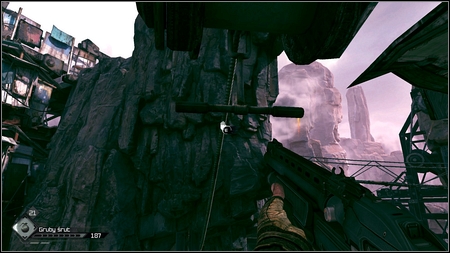
Once you get to the precipice use the zipline. It will take you to the other side of the canyon.
Right after landing take cover behind the nearby rock. One of the Jackals will start shooting at you from behind your back and another one will use the zipline.
Kill them and then use another zipline.
You'll land at the place where you have to be very careful - watch out for the enemy with a rocket launcher. Place yourself so he can't see you and get rid of Jackals charging at you. Once they are dead eliminate the guy with heavy weapon.
A path up the hill is full of charging bandits. Keep on the right and you'll find a locker with some ammo.
Being on the top examine the rocks on the left. You'll find the Night Blossom there - pick it up. After collecting the item prepare the Shotgun, use the elevator and go to the lower level.
A first bandit will wait for you just behind the rocks on the left. Kill him and move forward fighting with hordes of enemies.
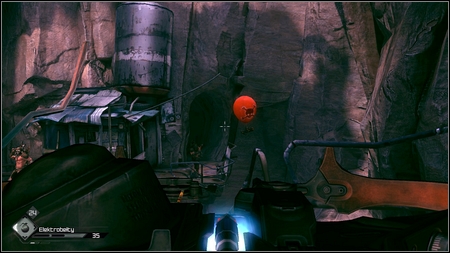
At the end of the narrow path between rocks Jackals will send at you TNT balloons. Move back and wait until they all explode. You can also get rid of the enemy who tries to attack you from behind.
A way down is not the easiest one. You'll be attacked from both up close and distance. Additionally more TNT balloons will appear. If you have problems with surviving remember about using the Advanced Sentry Bot.
During your way down examine all niches. There are many items inside as well as ammo.
At the very bottom it is worth to explore damaged huts. You'll find there interesting things too.
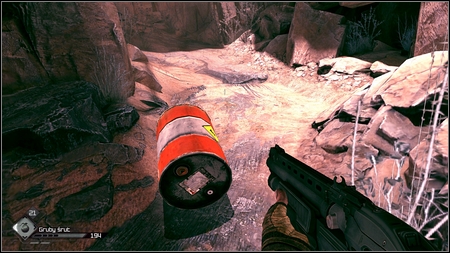
Move forward until you'll reach a tunnel with a blocked entrance. Another squad of bandits will appear. To avoid their shots crouch and hide behind the rock on the right. You can eliminate them instantly by shooting the red barrel near them.

Once the area is clear enter the Ark which is at the end of the tunnel. Being inside use the control panel on the right and take the item hidden in the locked container.
To the left from the ship you can find a platform which will take you to the exit from the canyon. Before you use it collect Feltrite Crystals from between rocks. They can be found opposite to the Ark and to the right from the Ark entrance.
After reaching the place kill two last enemies and return to Subway Town to talk to Lassard. Your next task will be offered by Portman.
After conversation with Portman get inside the car and drive to the place marked on the map.
WARNING! After destroying the bridge you'll lose an access to races and all mini-games. If you want to participate in races save your game in a new slot.
Next to the gate you'll come across a squad of mutants, which you can drive
.
Other mutants will appear after you go out of the vehicle. Get rid of them, plant an explosive in the marked spot and run away to the safe distance.
A third wave of opponents will run from behind the destroyed gate. Once they are dead drive forward, destroying an Authority vehicle on the way.
At the end of the canyon you'll find an elevator. Park your car on the platform and use the nearby control panel to get to the top.
Use your vehicle Minigun and kill the guard waiting for you. Then take care of soldiers on the right and on the left.
You can use against them Pulse Shots or EMP Grenades. Or just lure them in front of your vehicle and kill them with Minigun.
Once they all are dead plant explosives at the two Power Supplies. One can be found on the left side, another is located on the right side.

After they explode return to the platform and get down. Return to town to talk to Portman.
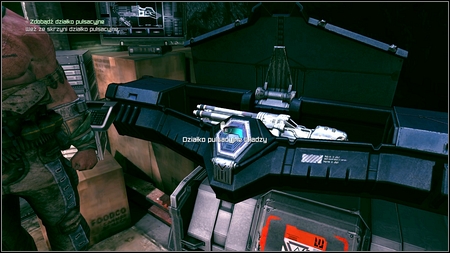
After the conversation take the Authority Pulse Cannon from the nearby container. It will be useful during the next mission, which will be offered by Marshall. Remember that this is the last main mission in the game, so you might complete outstanding side missions and find items you miss (like collector cards). Also buy a lot of ammo and parts needed to create Advanced Sentry Turrets/Bots.
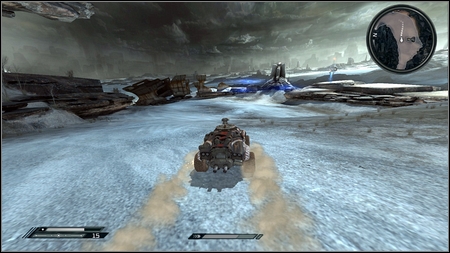
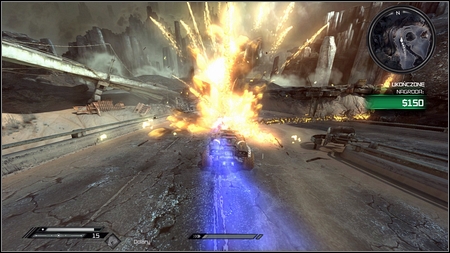
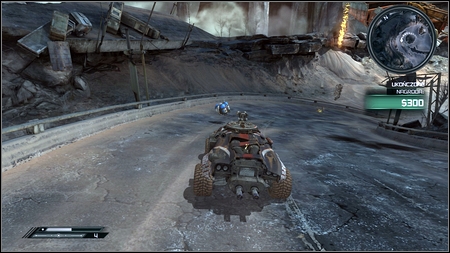
During your way towards Capital Prime you'll be attacked many times by Authority vehicles. Try to destroy them but do not turn back to do so, because destroyed vehicles will respawn.
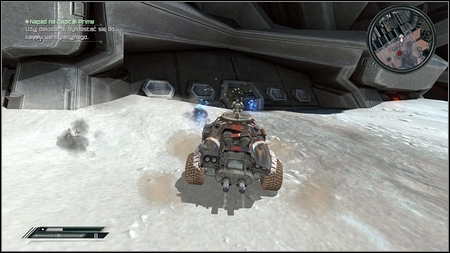
After getting to your target, park as close to the entrance as possible (it is to the right of the large gate), get out of the vehicle and quickly run inside. If you're not fast enough you can be shot by Authority vehicles.
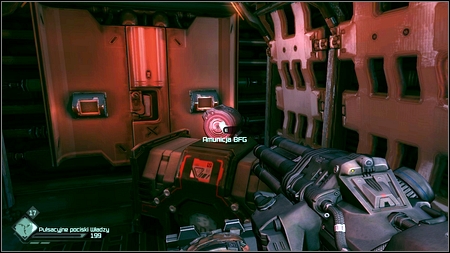
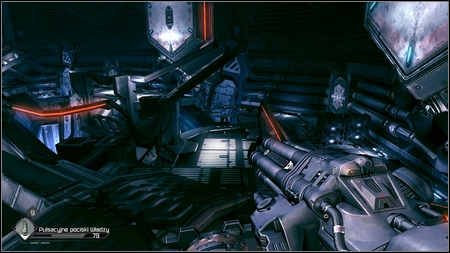
Being inside follow the narrow corridor and move forward. Along the way you can pick up BFG Rounds lying on the left (a reference to the Doom game).
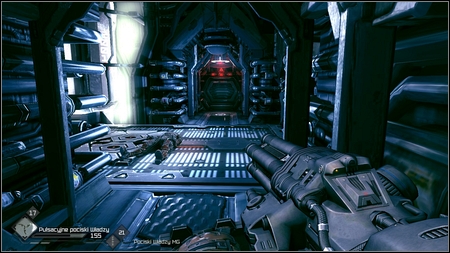
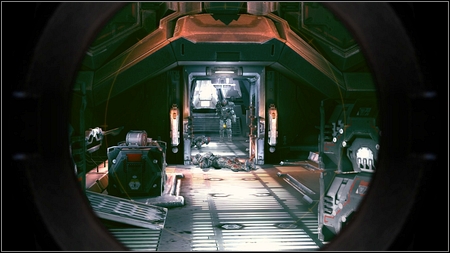
When you see first opponents kill them using the new weapon. It is very effective so the fight won't last long.
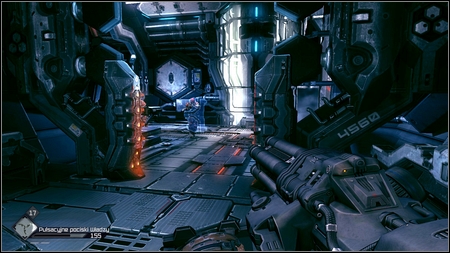
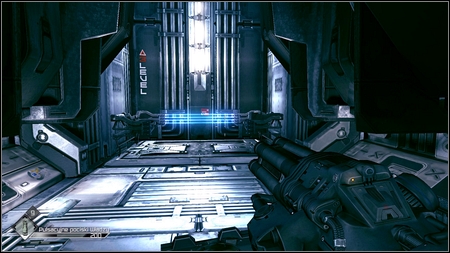
In the room a bit further opponents with shields will appear and you won't be able to run away because the way back will be blocked by lasers. I suggest using the EMP Grenades now. Thanks to them you'll get rid of shields and you do not have to waste ammo.
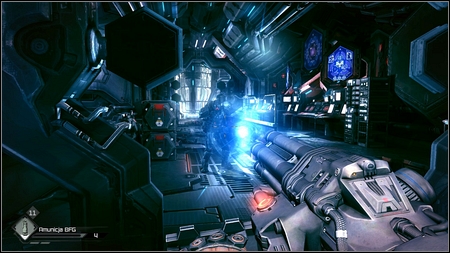
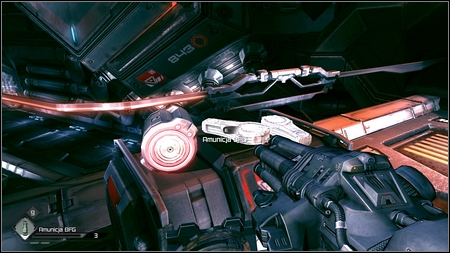
BFG ammo is the best choice against heavy armored soldier with a machine gun. In order to use it hold LMB. When the blue orb charges up, it will automatically shoot, disintegrating the enemy.
At the junction turn left - you'll find ammo there.
Now back to the corridor on the right where you'll fight more guards. You can also find Pulse Shots there.
Once the area is cleat, step on the platform at the end of the tunnel. It will take you to the upper floor of this complex.
You'll come across first squad of Mutants controlled by Authority. After you see new creatures go back to the stairs (they won't be able to attack you from behind) and start shooting at charging enemies.
After the fight use the nearby control panel and step on the large platform.
Once you get to the top, two Mutants will jump out from the rooms to the left. Kill them and then go down the left stairs and turn off lasers blocking the way. You'll also find some ammo there.
More Mutants and soldiers will appear in the corridor. Move forward killing them until you'll reach the platform which goes up. Use the control panel to the left to disable lasers blocking the entrance.
Being on the upper floor move to the blue beam and then quickly turn around and get rid of two Mutants. Other ones wait for you downstairs.
As soon as you see them go back upstairs. It is easier to hit them from that place.

A bit further stands a control panel. Use it and you'll call a large platform. Go to its other side and take care of guards running at you.
Watch out for the Authority Heavy among them - it is best to use BFG rounds to eliminate him. Before you do so, kill other Mutants attacking you.
At the junction turn left to get some ammo and then move to the right. Prepare for the fight with more Mutants and another Authority Heavy.
After elimination of all enemies walk on the platform at the end of the corridor.

It will take to the very top of the complex. Being there you need to activate two control panels in the center and after that the panels on the sides.
Each time you use such a control panel an army of Mutants appears. They will jump out from all directions so try to be in constant movement so any of them attacks you from behind. An Advanced Sentry Bot would be very useful here.
After activating both control panels use the computer in the center and you'll finish the game. Congratulations.
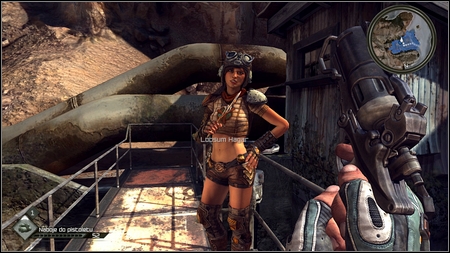
You'll obtain this mission from Loosum Hagar, who can be found on the right from the entrance to the Hagar Settlement.

The girl will give you the Wingstick and ask you to toss it at popping up targets.
On order to do this aim with your mouse and shoot with the Q key. Every low target is worth 2 points while high targets are worth 3 points each. Your task is to score 10 points in a given time. After completing the mission you'll get 4 Wingsticks and you'll be allowed to shop at Halek's.
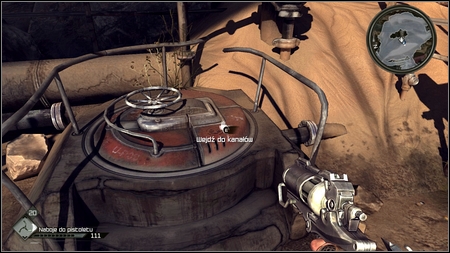
You'll find the entrance hatch halfway between the Ark and the Hagar's house.
After getting inside kill the thug in front of you and then eliminate the Mutant who will jump out from the left.
In the nearby room you'll find ammo, a Gas Tank and several small items
.
A bit further prepare for a longer fight with Mutants. Enemies will appear in pairs or threes, charging at your character all the time. If you do not have too much ammo better leave the sewers because there will be really a lot of opponents.
The best way to defeat them is to stay behind the railing and shoot Mutants when they try to go over it. He is then very easy target.
Once all creatures are dead, go to the other side and collect tools lying under the stairs. A moment later another enemy will appear from the right.
After eliminating him go up the stairs. Four more thugs will attack you from the left. Try to kill as many of them as possible before they can get you and then run away (SHIFT) shooting backwards from time to time. Remember to use Bandages to heal yourself. You might also return to the starting point and get rid of Mutants while they jump over the railings.
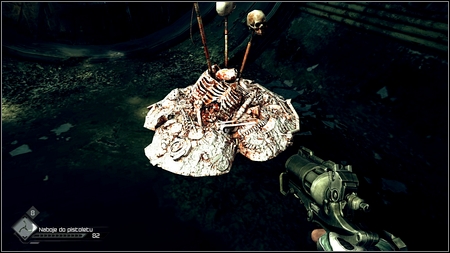
Another tunnel will lead you to the pile of items you're looking for. There are three last creatures guiding it. Kill them and then collect items. You'll find there a Small Battery Pack, a Mutant Adrenal Gland and a Nanotrite Conduit.
In addition you can also find an Oil Can lying next to the ladder leading to the surface (on the right).
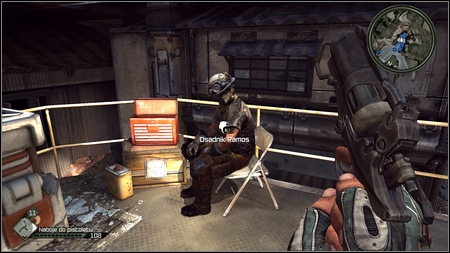
This quest is offered by Outrigger Settlement settler named Ramos. You can find him under the spot where Rikter stands. He will give you fireworks and ask to fire them using his firework launching tube. It will be marked on your mini-map.
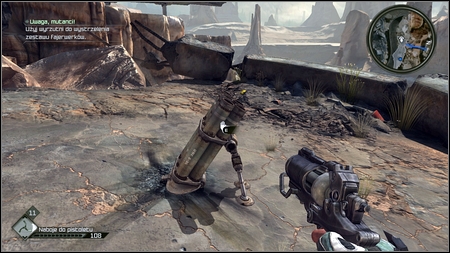
After getting to the destination use the launching tube and then quickly turn around. You'll be attacked by a group of Mutants.
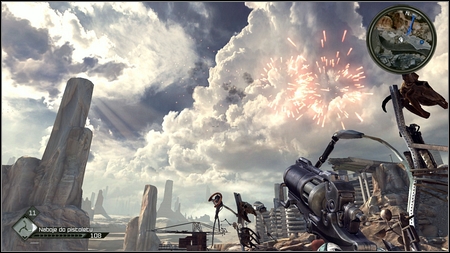
Once all creatures are dead return to the settlement and collect your reward: 100$, a Mutant Adrenal Gland, a Night Blossom and Adrenaline Overdrive schematic.
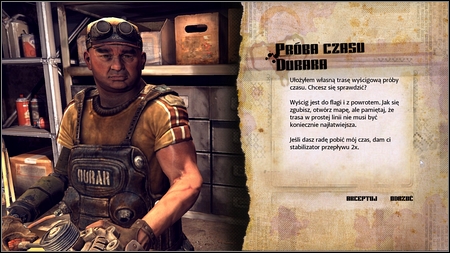
After destroying the barricade in the "Destroy the Barricade" mission, go to the garage in the Hagar Settlement and talk to the mechanic. He will challenge you to beat his race time driving a buggy.
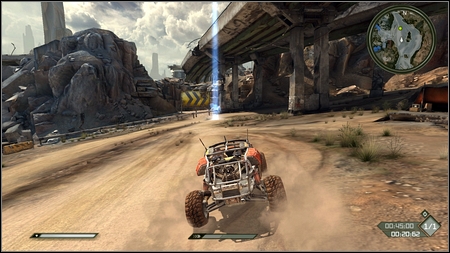
After you accept the challenge you'll be moved to the track. This mission should be easy. You have to drive to the blue flag and back within 45 seconds.
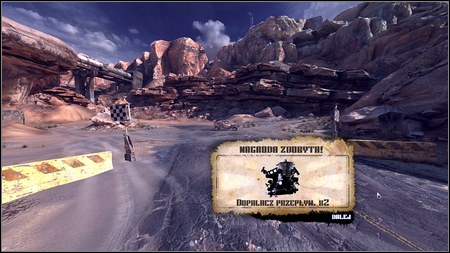
Just drive straight ahead and remember about using the boost and the mission will be over soon. As a reward you'll obtain an Evenflow Boost 2X, which will be installed in your vehicle and a collector card "Dune Buster".
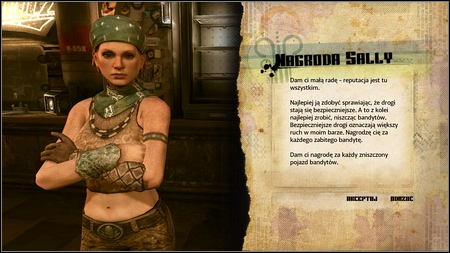
After you change your clothes and you walk to talk to the Mayor again, you'll get the "Sally's Bounty" mission. Go to the bar then (to the left from the settlement entrance) and talk to the barmaid.

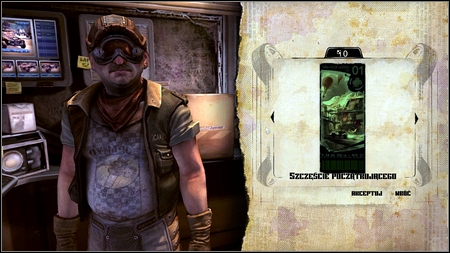
The woman will ask you to destroy bandits' vehicles driving in the area. Once you destroy three of them return to the barmaid and collect your reward: 4 Race Certificates, 40$ and a collector card. This mission is continuous. A reward may differ depending on the amount of destroyed vehicles.
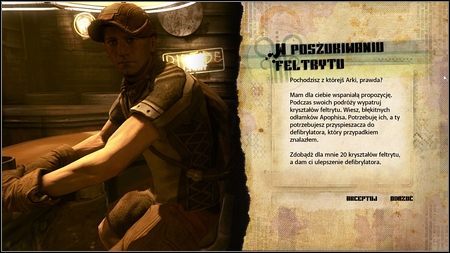
Jacob who sits at the bar in Wellspring will give you the Defibrillator Upgrade, if you bring him 20 Feltrite Crystals. Stones are hidden in different places. You should have no problems with collecting 20 of them, if you follow precisely the Walkthrough in this guide.
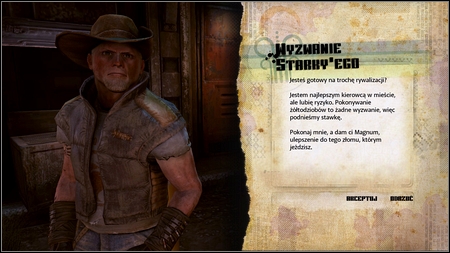
A man named Starky can be found in Wellspring near the races organizer.
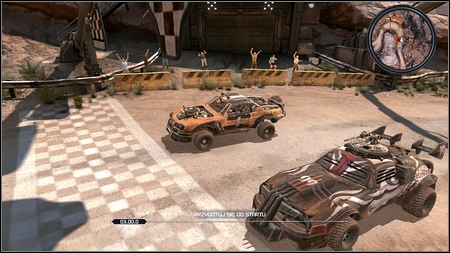
He will challenge you for a race. If you win he will give you the Magnum, an upgrade for your vehicle.
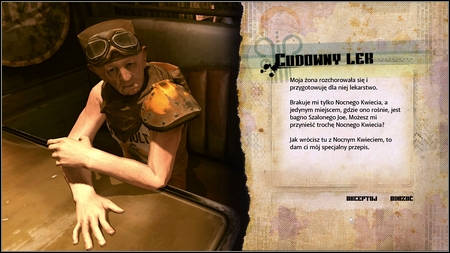
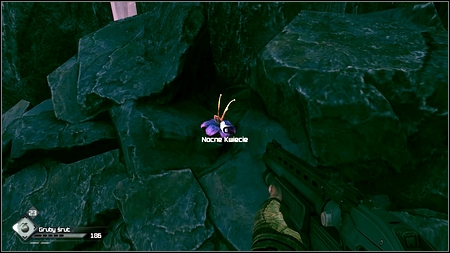
Richard who sits at the bar in Wellspring will ask you to bring him some Night Blossom, which is an ingredient of his medicine.
These flowers grow on the Crazy Joe's Swamp. Go there and explore the area carefully looking for a purple flower. As a reward Richard will give you the Apophis Infusion schematic, which permanently increases your maximum health. Both ingredients for this item can be found on the previously visited swamp.
Mission from the Job Board in Wellspring.

Your task is to find the missing person who was kidnapped by the Ghost Clan. In order to complete the mission go to the bandits' hideout.
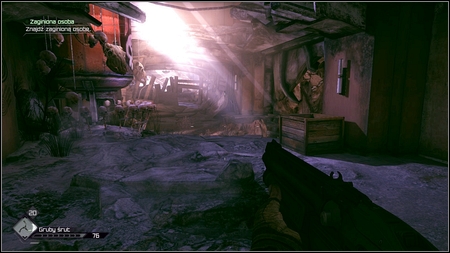
Go straight ahead the same way as in the "Quell the Bandit Threat" mission.
Once you get to the large statue the mission is over. Watch out on your way back because Ghosts called for reinforcements.
Mission from the Job Board in Wellspring.
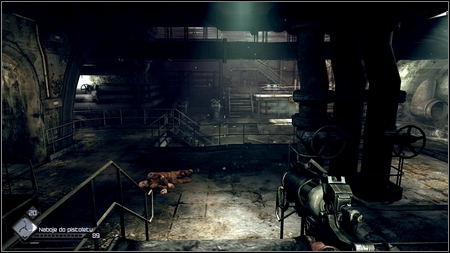
If you've completed the "Ark Area Sewers" mission already, you'll obtain the task to clean the sewers again. So go to the same place as previously and get down to the sewers.
Enemies will attack you as soon as you go the railing. Pull out the Combat Shotgun then and kill them all at close range.
Other enemies wait for you on the upper floor. I suggest using the Sniper Rifle to get rid of first three opponents.
After the third bandit is dead his companions will appear. Kill them with the shotgun ending the mission.
Mission from the Job Board in Wellspring.
After accepting the mission you'll be automatically moved to the proper place and obtain the Semi-automatic upgrade for the Sniper Rifle, so you can shoot faster. Your task it to protect workers against attacking Mutants. Mission is completed if none of the men is killed.
Enemies will rush at them from the right and the left side for keep an eye on the area.
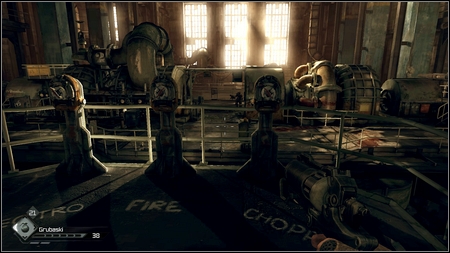
Sometimes Mutant gets also to your tower. Kill him them immediately and continue your mission. One the machines are fixed the mission ends and you'll be transported to Wellspring.
Mission from the Job Board in Wellspring.
This mission appears after completing the "Mutant Menace" mission. It is very similar to the previous one. As a sniper you have to protect a caravan against attacking bandits.

Enemies appear in waves. In the first wave there are two vehicles and thugs hidden behind them will start shooting at the caravan. I suggest shooting the groups of bandits alternately.
In the second wave one vehicle appears at the bottom and another drop several bandits on the destroyed highway above.

Once all are dead two RC Bomb Cars appear. Destroy them before they can reach their target. Mission is completed.
Mission from the Job Board in Wellspring.
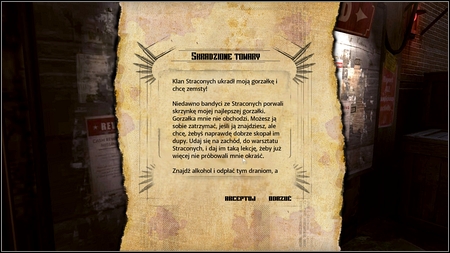
Your task is to clear the Wasted Garage out of bandits and retrieve the case of booze.
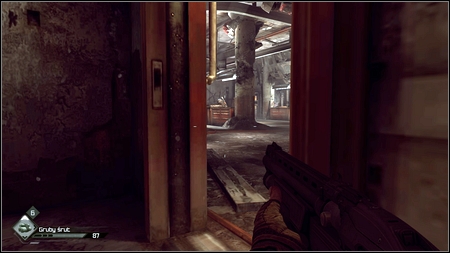
After getting inside crouch and slowly sneak into the other room.
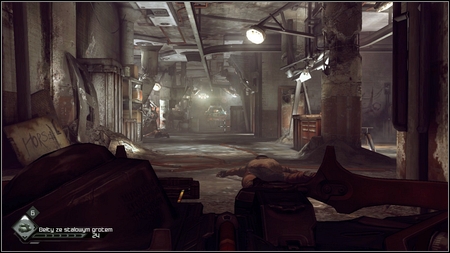
There is a squad of enemies waiting for you on the left. Quickly hide behind the nearest cover and kill them all.
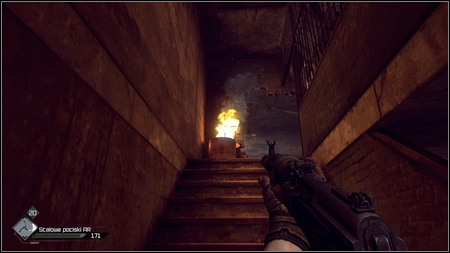
Another group is patrolling the upper floor. Practically around every corner you can expect enemies, so be careful.
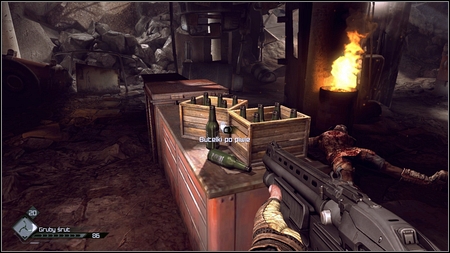
When you get to the second floor and eliminate all enemies you should see bottles lying on the table. Collect them and you'll finish the mission.
Mission from the Job Board in Wellspring.
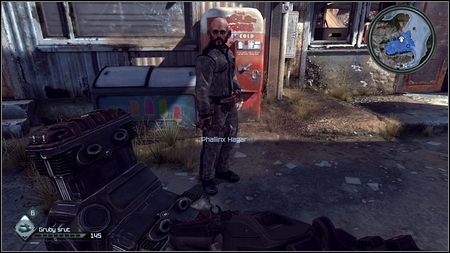
After accepting the mission go to the Hagar Settlement and talk to Phallinx standing to the right from the entrance.
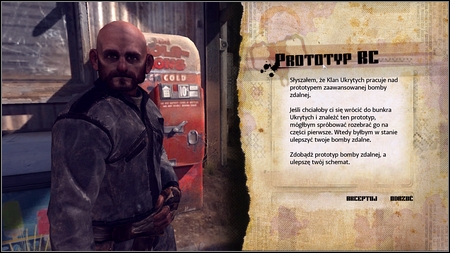
He will ask you to get a RC prototype, which is hidden inside the Shrouded Bunker.
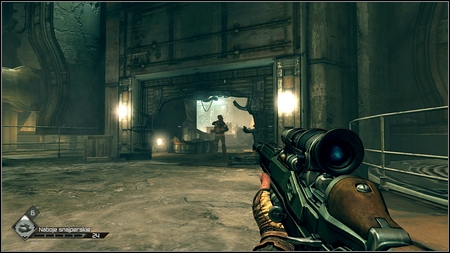
Once you get there, crouch and move slowly forward. After a while you'll see the first guard. Kill him with the Wingstick. Use Wingsticks also to kill a man with a machine gun. Three or four hits should be enough. If you attack him by a surprise he won't be even able to turn around.
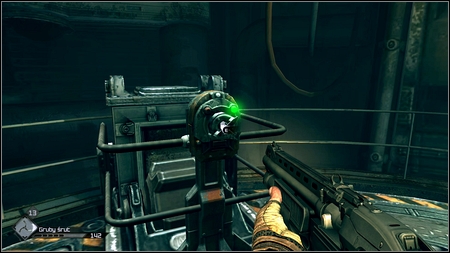
Once the area is clear, move to the platform at the end of the corridor and start the elevator.
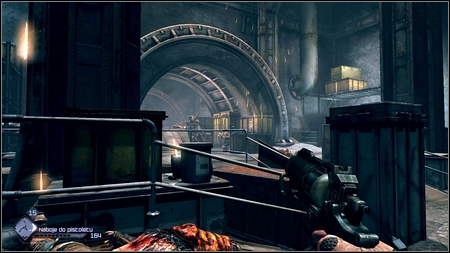
On the lower floor you'll encounter more enemies. There is another one with a machine gun among them so prepare Wingsticks.
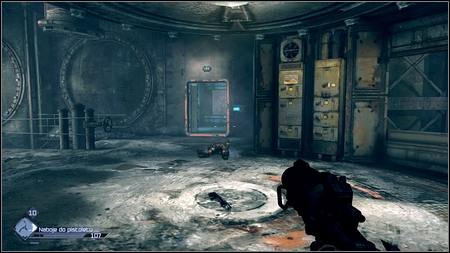
After elimination of all opponents move forward. You'll reach the hall with the door opened with the magnetic card. You do not have to look for it though. Instead of that kill two bandits on the lower floor and the third enemy will run onto you, opening the mentioned door. There are more enemies waiting for you behind the door. Kill them, go down the stairs and turn right.
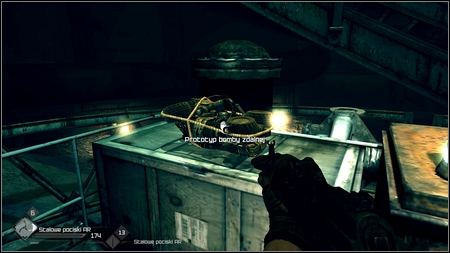
At the end of the corridor you'll find the RC prototype.
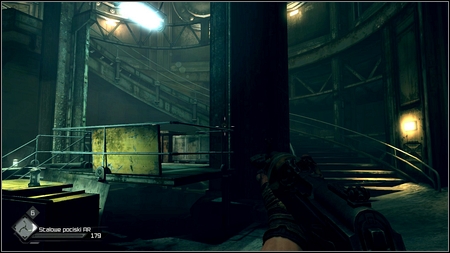
Once you get it in your back pack, go up the stairs to the right. It will lead you to the elevator which goes to the upper floor.
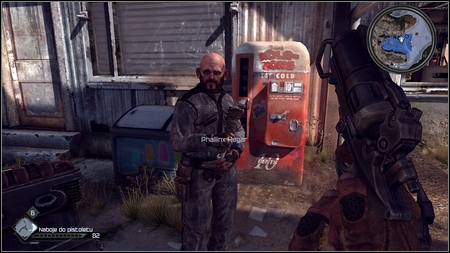
Kill thugs waiting for you and then leave the bunker and return to the Hagar Settlement. As a reward for completing the quest your RC Bombs Car schematic will be upgraded. You'll also obtain parts needed to create this item.
Mission from the Job Board in Wellspring.
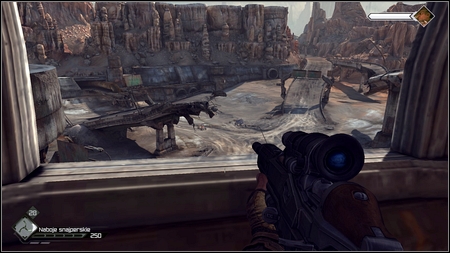
It is yet another "sniper" like mission. This time you have to cover Sheriff Black during the exchange with the Authority.
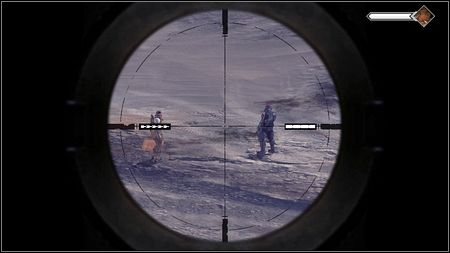
At the beginning look carefully at the protected target and as soon as red lasers appear quickly search for their source.
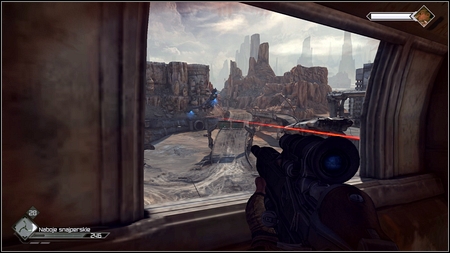
One of the snipers stands on the highway on the right. The second one can be found in front of your character, on the other side of the canyon.
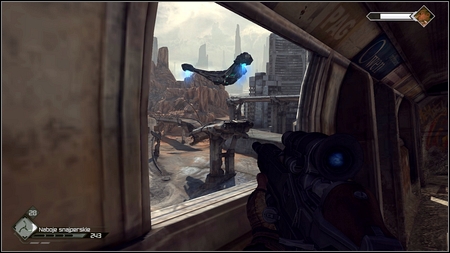
Once you kill both opponents, another two will appear on the right.
The last pair of enemies will be running on the ground towards the Sheriff. Kill them ending the mission.
After meeting Redstone you'll receive information that the bartender Brick needs help. You'll find him in the bar downstairs.
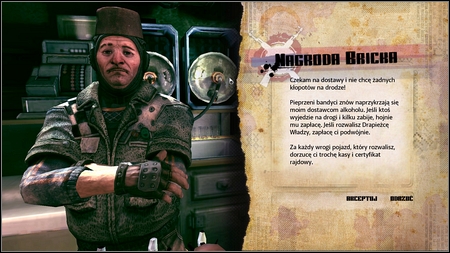
The man will offer you the job similar to mission you got from the barmaid Sally in Wellspring. Every time you destroy vehicles' group in Wasteland return to Brick, collect your reward and get another job. In this way you'll get some money and Race Certificates.

On the first floor, near the stairs, you can find a man named Norby. He will ask you to find a mysterious plant named the Comet Bloom.
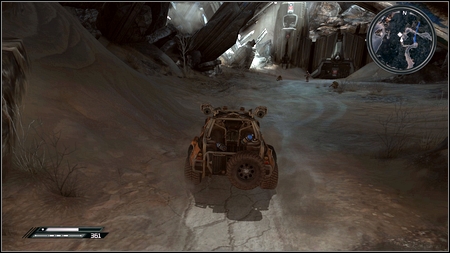
Go to the place marked on your map and drive over Mutants standing there. Once you get out of your car other creatures appear - kill them all.
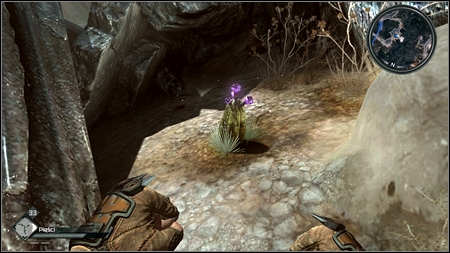
A flower can be found behind the rocks, to the left from the gate. As a reward Norby will give you 350$.
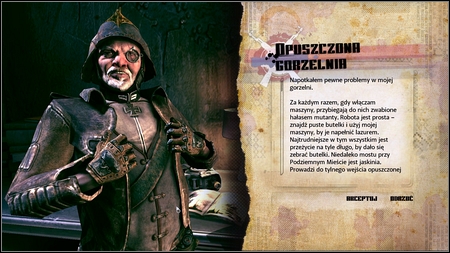
This quest will be offered by a man named Dietrich, who can be found in the room behind Jani's Supplies.

The old man will ask you to go to the Abandoned Distillery and fill two jugs with Blueshine. An entrance to the complex can be found in the cane near the exit from Subway Town.
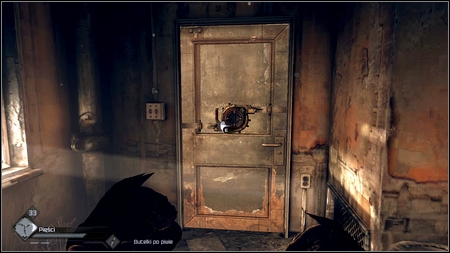
Move forward until you get to the locked door which can be opened only with the Lock Grinder. But you do not have to create this item.
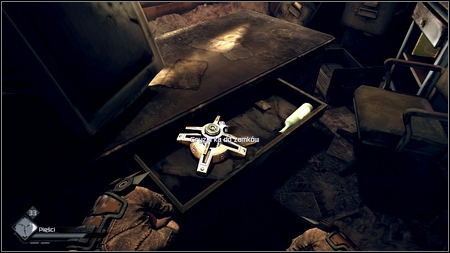
It can be found in the room to the right, in the desk drawer.
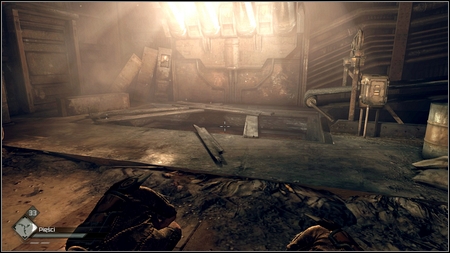
A corridor on the other side will lead you to the room with the hole in the floor.
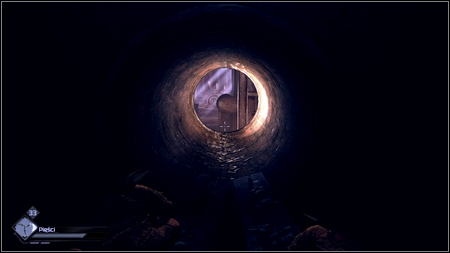
Jump down and then enter the narrow tunnel. Before you go down shoot the Mutant at the other end of the corridor.
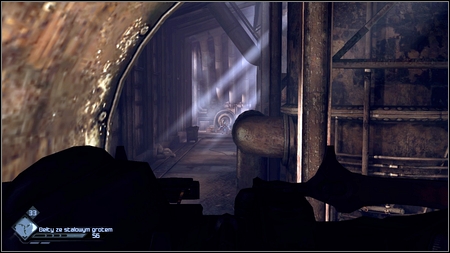
As soon as you land on the ground a squad of enemies will appear.
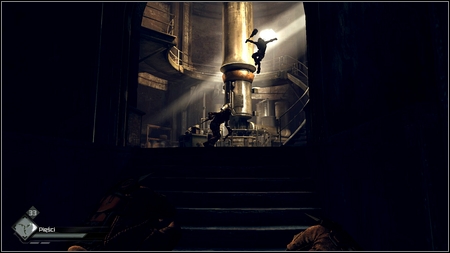
Next opponents can be encountered in the room with a steel staircase. Eliminate all creatures and then go upstairs.
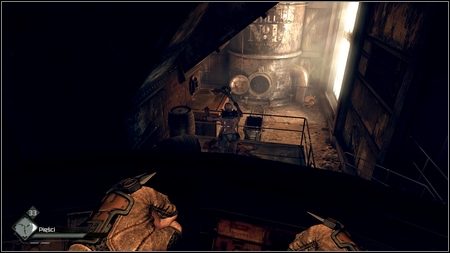
You'll reach the room where you can see eating Mutants. After killing them go down through the damaged window and move forward.
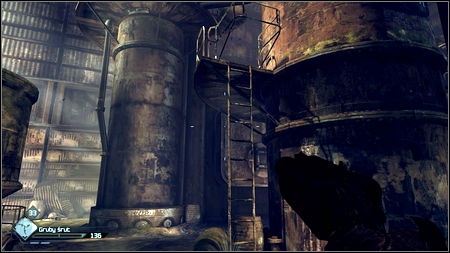
In the hall with huge, rusty tanks another creatures will attack you. Get rid of the first wave of them and then use the ladder to go up.
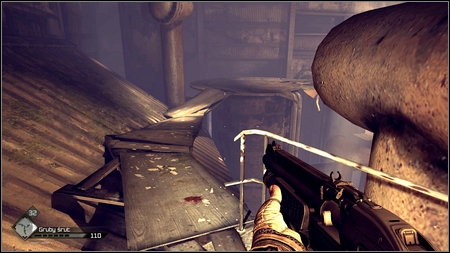
Enemies follow you so as soon as you get to the top place the Advanced Sentry Turret there. Now you should get rid of opponents much easier.
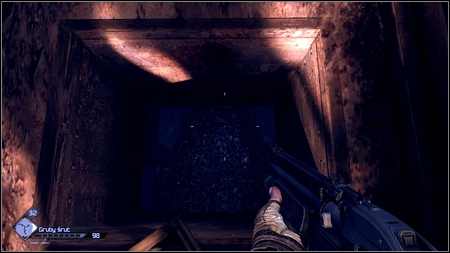
Once the last of them is dead walk on catwalks to the other side of the building. Move forward killing enemies charging at you. You should reach the hole in the floor.
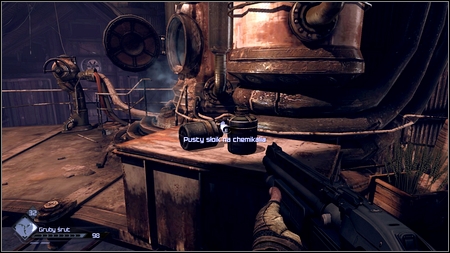
Go down and being downstairs go straight ahead. Use the stairs and go up where you'll find Empty Chemical Jugs.
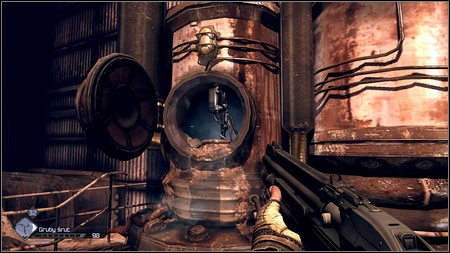
In order to fill them you have first to put a jug into the nearby distiller and then use the valve.
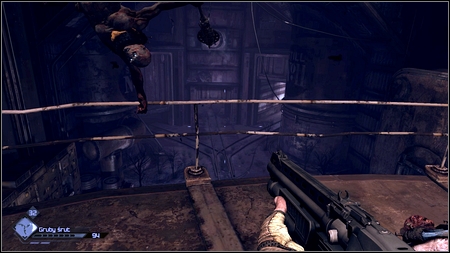
A moment later hordes of Mutants will attack you. Most of them will go up using the railing, becoming an easy target for your shotgun. If you have any problems use the Sentry Turret/Bot.
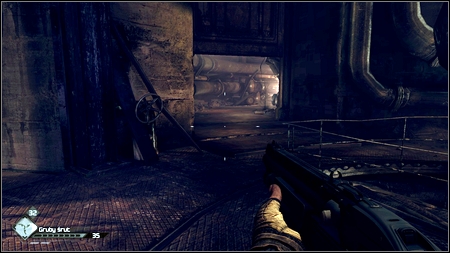
After filling the first jug repeat the entire operation with the second jug. You can now go through the gate which is now open. Several enemies will run out from the gate but you should have no problems with killing them.
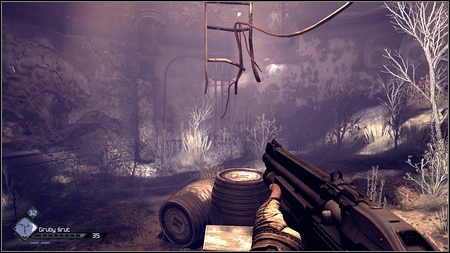
A corridor on the other side will lead you to the damaged ladder. Jump onto it from the proper side and climb up. A bit further you'll find and exit from the Abandoned Distillery.
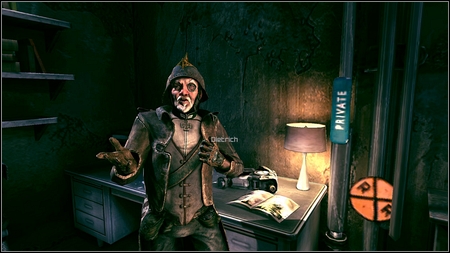
Having two jugs filled with Blueshine you can return now to Dietrich. In exchange for your help, the man will give you a recipe and items needed for Regenerative Infusion. It increases health regeneration rate for 90 seconds. It is very useful item.
Mission from the Job Board in Subway Town.
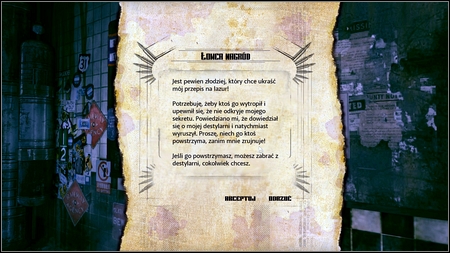
In order to complete this mission you have to return to the Abandoned Distillery and find a thief who wants to steal the Blueshine Recipe.
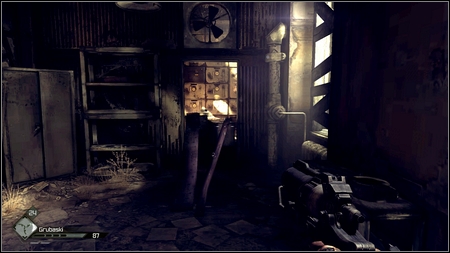
After getting inside go through the hole in the wall and then go down the ladder to the lower floor.
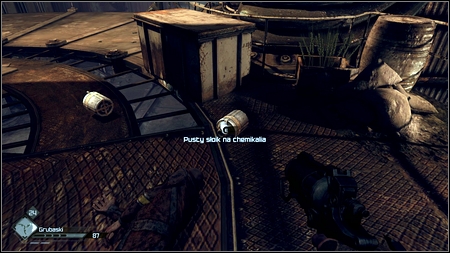
Moving forward you'll get to the room with a large container. To the left you can see the corpse of the thief and two empty Blueshine jugs.
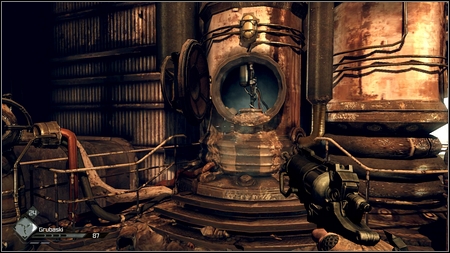
Pick them up and put one of them in the nearby Distiller.
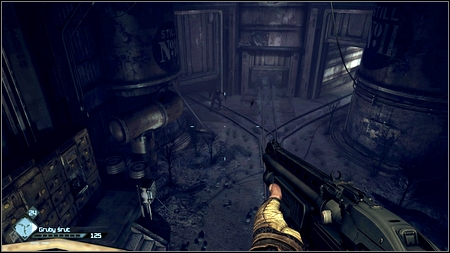
Once you use the valve on the right, the jug will be filled and you'll be attacked by an army of Mutants.
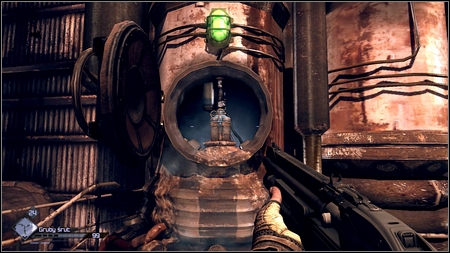
After the death of the last one you'll be able to take the full jug. Repeat this with the second jug and you'll end the mission.
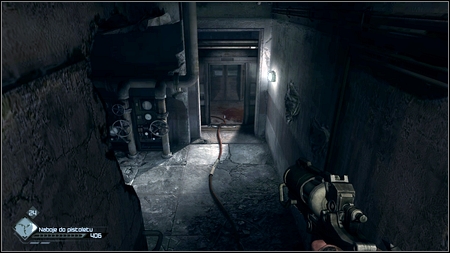
A Blue Line Station is attacked again. Your job is to kill all bandits there. After you get inside first examine all corpses lying there and move forward.
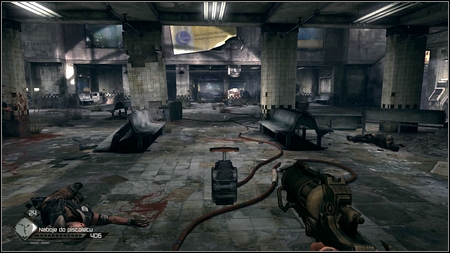
You'll get to the station where security guards are fighting with the Shrouded Bandits. Help the guards.
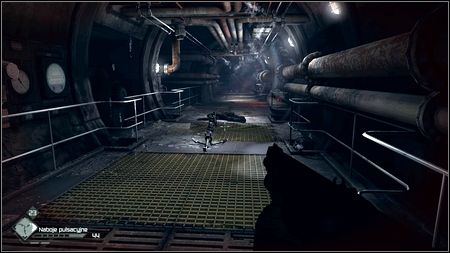
Go ahead killing enemies. You'll get to the tunnel with the defensive turret. Destroy it using the Pulse Cannon.
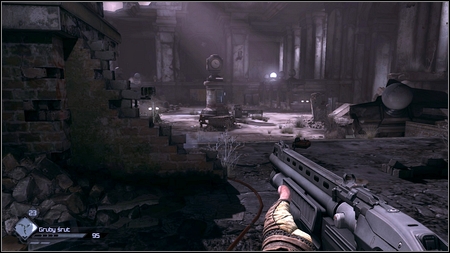
A bit further longer shootout awaits you on the courtyard.
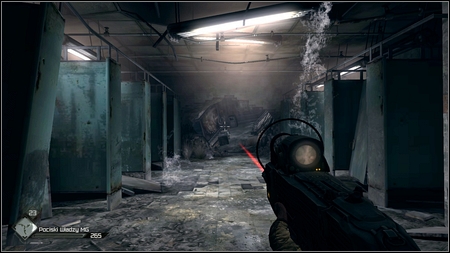
When the last opponent is dead move to the right. You'll find there another defensive turret and a squad of Shrouded attacking you.
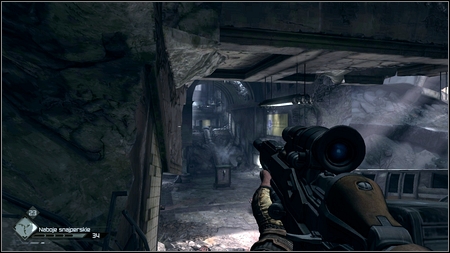
I suggest to kill the guy with a machine gun first. He can be found a little bit above on the right.
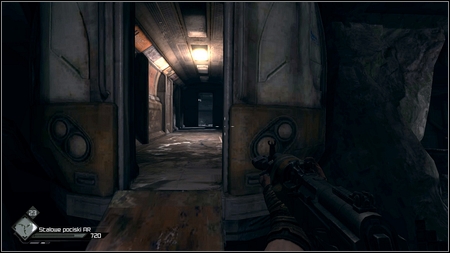
After eliminating all enemies get inside the wagon in the left corner of the location.
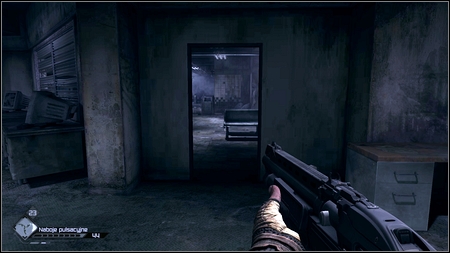
You will get into the room with two turrets nearby. Both are located on the right side of the corridor. Destroy them and then go up the stairs.
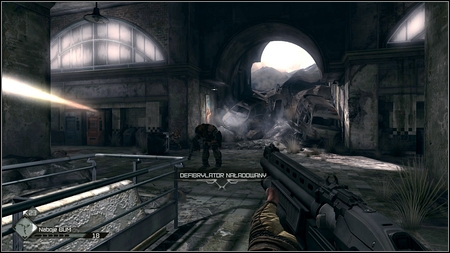
When you turn left bandits supported by a guy with a machine gun will appear. Kill the heavy armored enemy first.
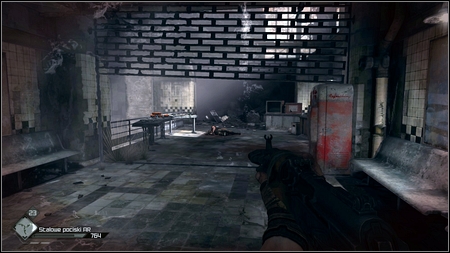
Other bandits will attack you after you cross the open gate on the left.
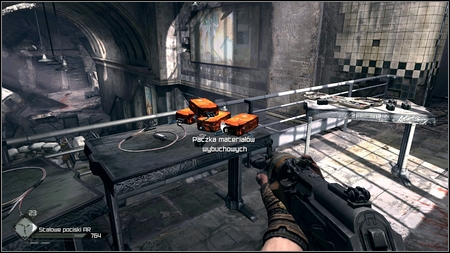
At the end of the corridor you'll find explosives and some parts. Collect all and get down.
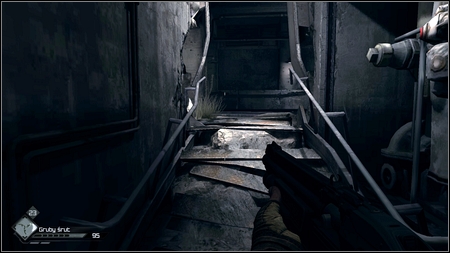
Go ahead and kill all enemies along your way. The mission is over.
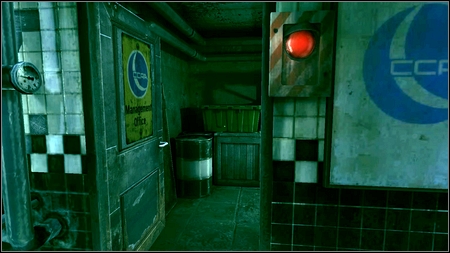
Go through the Management Office in Subway Town and head to the Gearhead Vault. Your task is to find and neutralize Authority Mobile Generators.
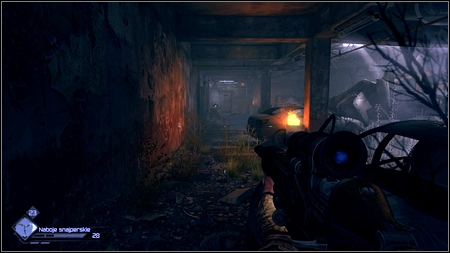
After getting inside run ahead killing all soldiers along your way.
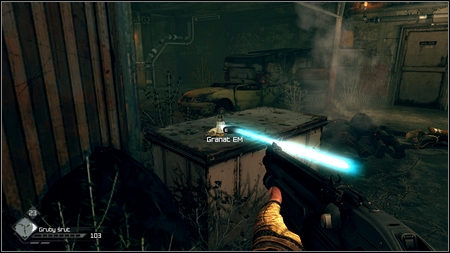
After a moment you should see a defense turret hidden around the corner. Use EMP Grenades lying on the nearby container to destroy it.
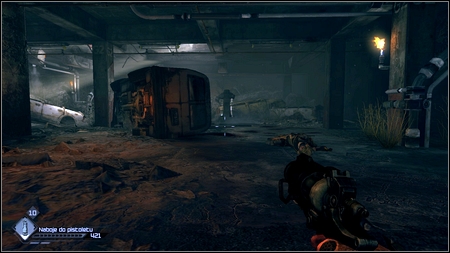
The explosion should also neutralize the first generator.
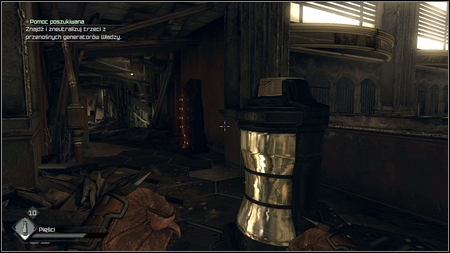
A second one can be found upstairs, on the right side of the large square. Neutralizing the generator will make nearby lasers disabled.
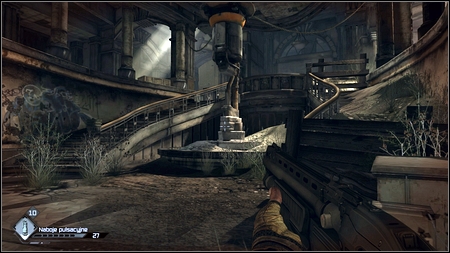
On the other side kill a group of enemies and go up the stairs to the upper floor.
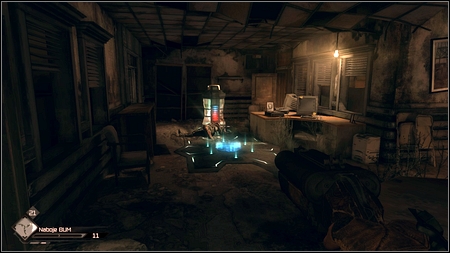
A corridor will lead you to the room with two shielded soldiers. Use Pulse Shots or Electro Belts to get rid of them and after that destroy the third generator. The mission is over now.
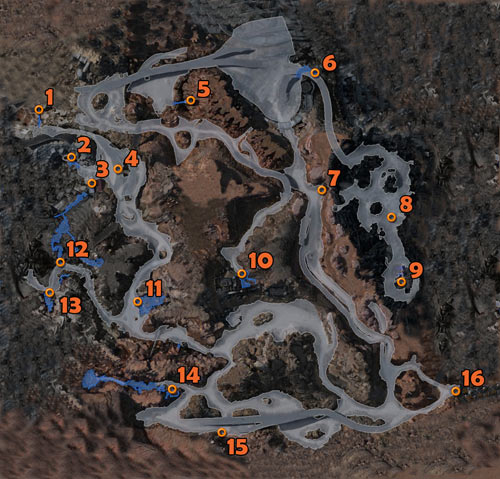
1. Ghost Hideout
2. Ark
3. Wasted Garage
4. Descend to the Sewers
5. Kvasir's Lab
6. Dead City
7. Shrouded Bunker
8. Feltrite Crater
9. Shrouded Outpost
10. Authority Prison
11. Hagar Settlement
12. Wasted Territory
13. Outrigger Settlement
14. Crazy Joe's House
15. Mutant Bash TV
16. Wellspring
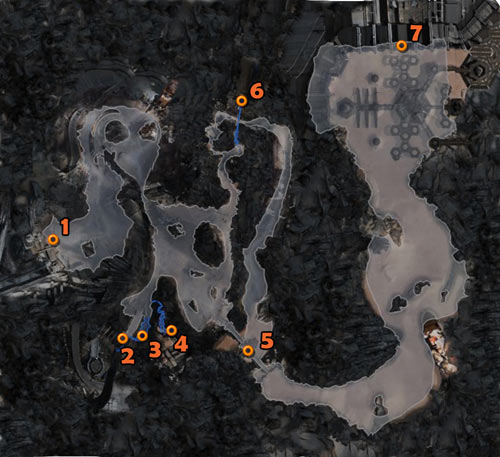
1. Power Plant
2. Subway Town
3. Blue Line Station
4. Abandoned Distillery
5. Authority Bridge
6. Jackal Canyon
7. Capital Prime
Name
Ingredients
Schematic location
Bandages
1x Antiseptic Formula
1x Cloth Rags
Reward for completing "Where's Juno?"
Adrenaline Overdrive
1x Bandages
1x Night Blossom
1x Mutant Adrenal Gland
Reward for completing "Mutant Alert"
Lock Grinder
1x Electrical Wire Kit
1x Hardware Packet
1x Small Gears
Reward for completing "The Missing Parts"
RC Bomb Car
1x Explosive Pack
1x Nanotrite Conduit
1x Small Battery Pack
1x RC Car Kit
Reward for completing "Destroy the Bomb Caches"
Mind Control Bolts
12x Steel-tipped Bolts
1x Explosive Pack
1x Ghost Toxin
2x Mutant Adrenal Gland
You'll get it after starting "Liberate Captain Marshall"
Fat Mammas
12x Fatboys
1x Explosive Pack
Can be bought at Coffer's in Wellspring
Pop Rockets
16x Buckshot
1x Explosive Pack
Can be bought at Jani's in Subway Town
Dynamite Bolts
6x Steel-tipped Bolts
1x Explosive Pack
Can be bought at Jani's in Subway Town
EMP Grenades
1x Electrical Wire Kit
1x Feltrite Power Pack
3x HE Grenades
After getting to the Authority Prison move forward until you reach a room with valves. To the left you can find a room with this schematic.
Authority Augmenter
2x Nanotrite Conduit
1x Electrical Wire Kit
1x Feltrite Coupler
1x Feltrite Power Pack
After accepting the "Gaining Influence" mission talk to Lassard who wits in the Resistance HQ. He will give you this schematic.
Wingstick
1x Steel Blades
1x Hardware Packet
1x Electrical Wire Kit
Can be bought at Halek's in Hagar Settlement.
Sentry Bot
1x Ordnance Pack
1x Nanotrite Conduit
1x Small Battery Pack
1x Electrical Wire Kit
1x Hardware Packet
Can be bought at Coffer's in Wellspring
Sentry Turret
1x Ordnance Pack
1x Nanotrite Conduit
1x Small Battery Pack
1x Electrical Wire Kit
1x Turret Barrel
Can be bought at Coffer's in Wellspring
Regenerative Infusion
1x Bandages
2x Comet Bloom
1x Vial of Blueshine
Reward for completing "Abandoned Distillery"
Apophis Infusion
1x Bandages
1x Night Blossom
1x Comet Bloom
Reward for completing "Miracle Cure"
Advanced Wingsticks
1x Steel Blades
1x Hardware Packet
1x Electrical Wire Kit
Can be bought at Jani's in Subway Town
Advanced Sentry Bot
1x Ordnance Pack
1x Nanotrite Conduit
1x Small Battery Pack
1x Electrical Wire Kit
1x Hardware Packet
Can be bought at Jani's in Subway Town
Advanced Sentry Turret
1x Ordnance Pack
1x Nanotrite Conduit
1x Small Battery Pack
1x Electrical Wire Kit
1x Turret Barrel
Can be bought at Jani's in Subway Town
Right under the sheriff's office a man named Stanley runs a company dealing with delivering various packages.
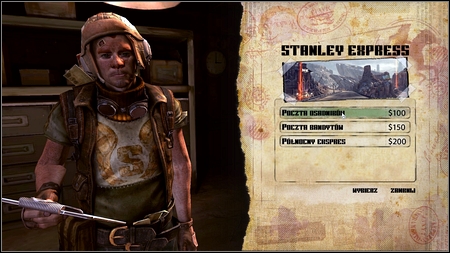
Talk to him and you'll get an access to several missions. In each of them you'll be transported to Wasteland and you'll have to deliver few packaged in a given amount of time.
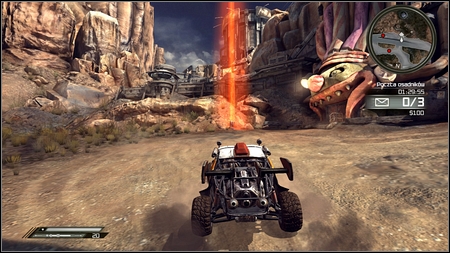
It is enough to drive close to the red mailboxes. This is a good way to earn some money and practice buggy driving.
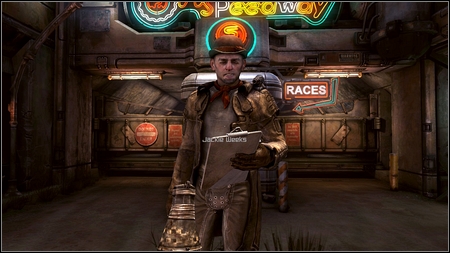
In order to participate in races in Wellspring talk to Jackie Weeks and then to Slim. At the beginning you'll be able to race only in the first chapter Beginner's Luck. In order to unlock other chapters, you need Racing Certificates which can be obtained by winning races.
WARNING! Races are available only till completing the "Assault The Authority Bridge" mission. After you blow up the bridge you won't be able to participate in any races.

There are four types of challenges in the first chapter: Time Trial, Non-Combat Race, Minigun Race and Rocket Rally. First two are available from the very beginning, since last two requires appropriate weapons installed on your buggy.
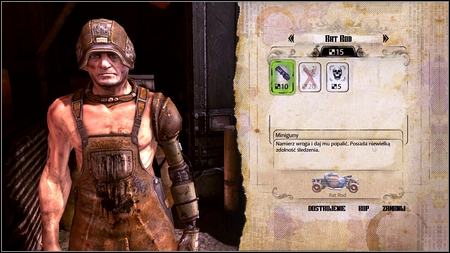
You can purchase them from Rusty for appropriate amount of previously mentioned certificates. Except weapons some of the races need particular vehicles to be driven in. These can be obtained after completing missions in the main plot.
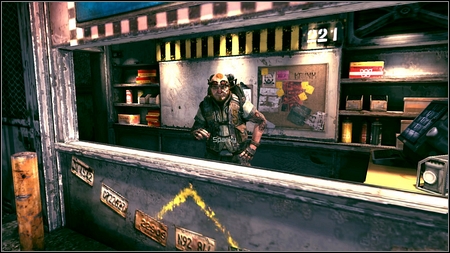
Races are also available in Subway Town. The mechanic and the race organizer can be found on the lowest level of this complex.
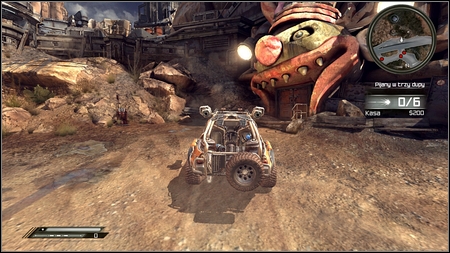
Mutant Bash TV is one of the best places to earn money. You'll visit it for the first time during completing the "Dusty 8 Sponsorship" mission.

After completing the mission return to the arena and face the mutant army again. You get money for each subsequent round but there are also two places where you can earn some extra cash.
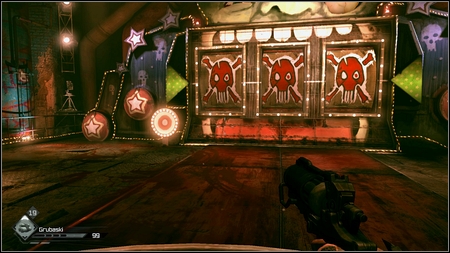
First such a place is the room with a slot machine. Your task is to shoot targets under reels in order to create a line with three dollar symbols (you'll get extra money then). There is a time limit for each column and if you shoot a skull, mutants will appear that you have to kill.
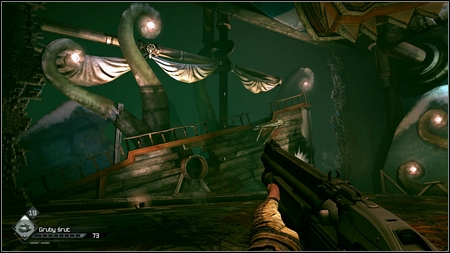
Another opportunity to make big money waits for you in the Kraken's room. Before he enters the arena place two Sentry Turrets as fast as possible and then turn towards tentacles on the ship wreckage.

Once the fight begins you have to shoot at the tentacles' ends starting from the right to the left. If you do it properly a green fish appears at the bottom, which leans out from behind the waves from time to time. Each hit is worth 200$.
Vehicle jumps are based on gathering Authority drones hidden in Wasteland with your car. These objects are hovering in the air so the only way to get them is to jump with the vehicle. The Dune Buster is the best choice for this task. For each destroyed drone you'll get Electrical Wire Kit, Hardware Packet and Feltrite Conduit. There are 18 vehicle jumps in total. 11 of them can be found in Wasteland and the rest 7 is located in Eastern Wasteland. All of them are marked on the map below and shortly described.
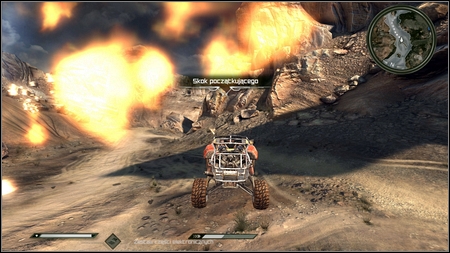
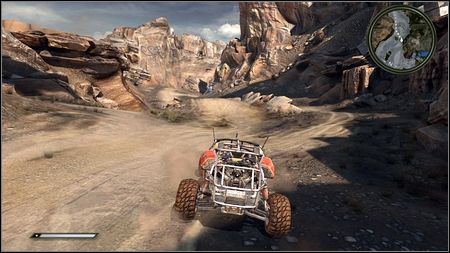
A first drone can be found on the way between Ark landing site and Hagar Settlement.
Just use the boost and your buggy will jump to it with no problems.
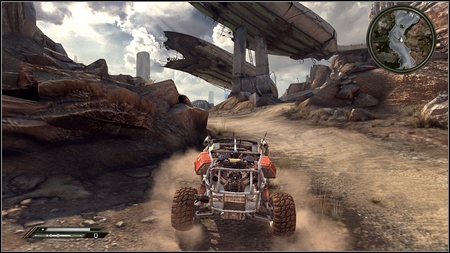
Just near the first drone you can locate the second one. But getting to it is a little bit difficult. You should drive from the other side as previously, use the boost and drive onto the rocks under the drone. Now try to rotate and hit the drone.
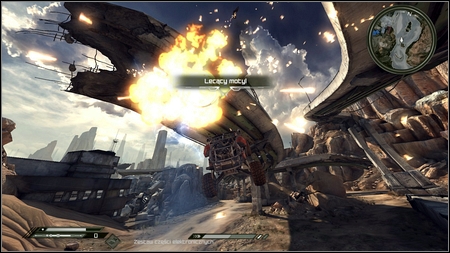
This requires some practice but after few tries you should make it.
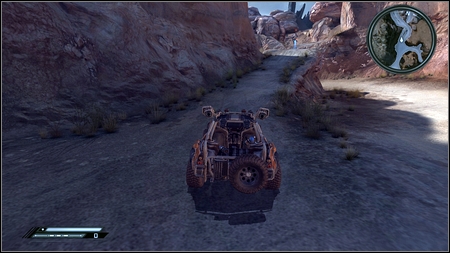
Thos drone can be found on the road from Wellspring driving towards the Shrouded Bunker entrance. When you turn to the canyon on the right, choose the upper path and drive straight ahead. You'll jump over the road then and destroy the drone.
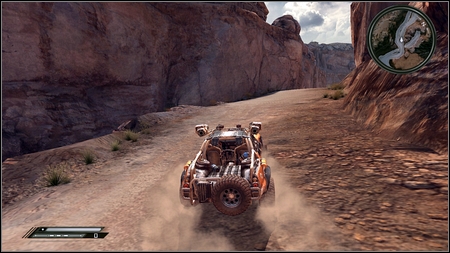
A fourth drone is located on the same road as the third one. Keep driving towards the Shrouded Bunker but stay on the right side of the canyon.
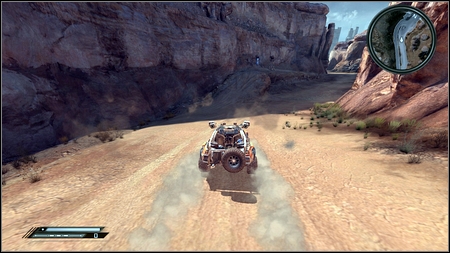
Only after you'll see the drone, drive to the left and jump from the rocky hill. The jump should be successful.

Driving from Wellspring to the Dead City you should drive under a low viaduct. Follow it and jump from a wide driveway.
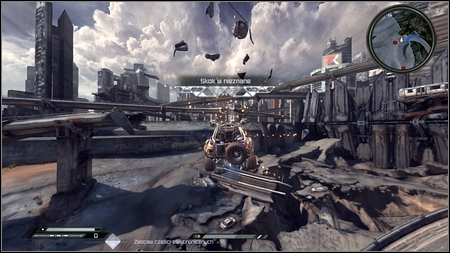
You'll get the drone but being in the air try turning to the left in order to land safely. If your vehicle explodes you'll die and the jump will fail.
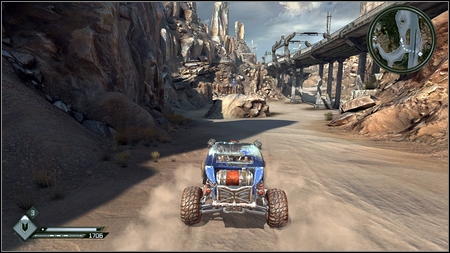
The drone hovers in the air east from the Mutant Bash TV arena.
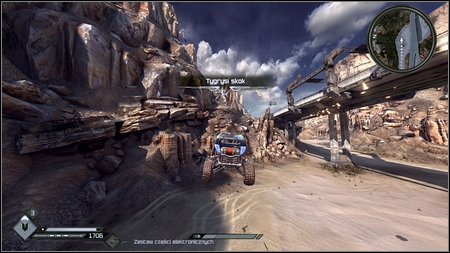
It is enough to get a maximum speed and drive on the take-off under it and you'll get the drone.
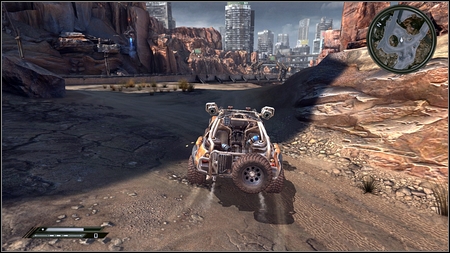
While driving towards the Authority Prison you should drive over the high highway. At its end turn left and drive around the rocks.
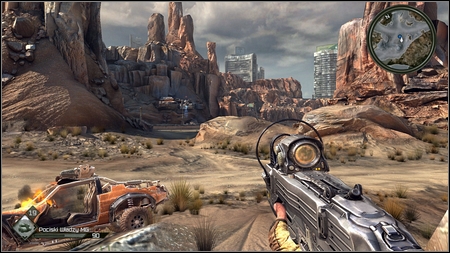
Right to the highway's edge the drone is hovering.
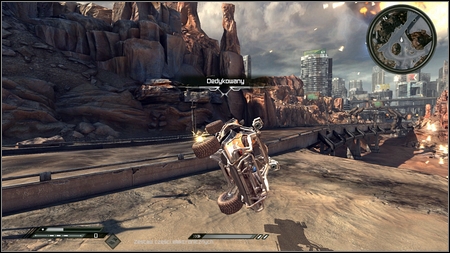
In order to get it you have to jump using the rocks on the south.
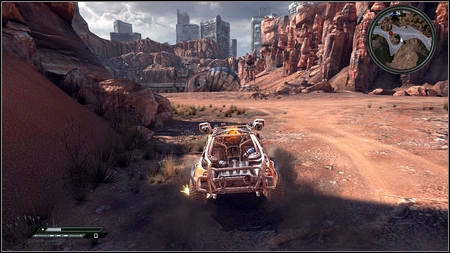
Keep driving towards the Prison. You'll encounter another rocks - drive around them.
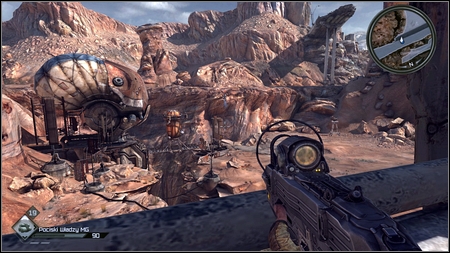
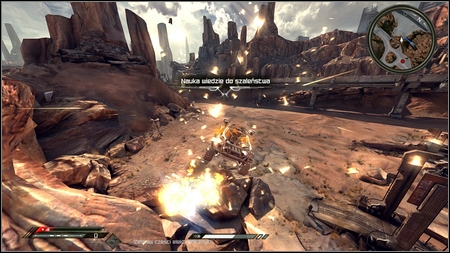
Drive to the right and then jump into the abyss aiming at the left from the Kvasir's lab.
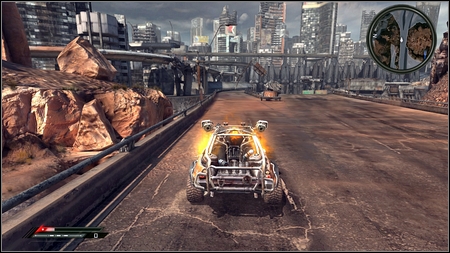
Return now to the highway leading to the Dead City and keep on the left. You should reach the small junction.
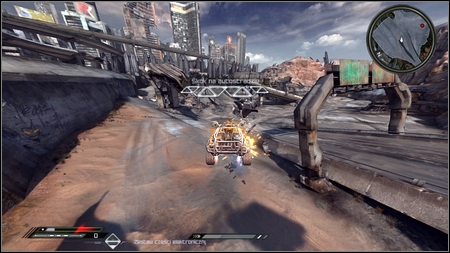
The road to the left will take you to the precipice, jumping from which you'll destroy another drone.
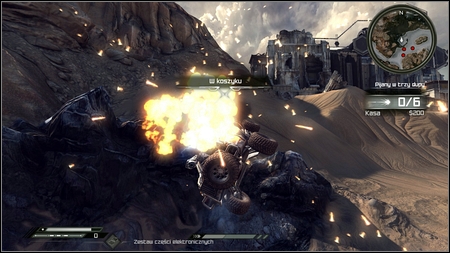
Driving from Hagar Settlement to Wellspring you'll move under the high gate. Turn then left and jump over the crater to the left. There is another Authority drone under it.
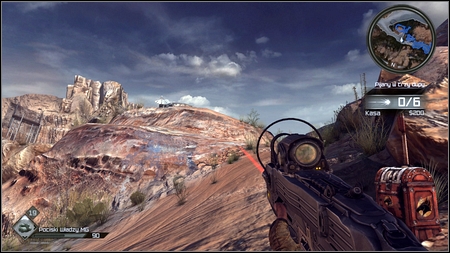
To collect the last drone in this location drive to the Crazy Joe's House.
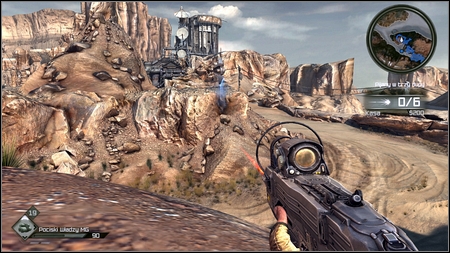

South from his house you should see the high rock. You have to jump from it to get the drone hovering in the air.
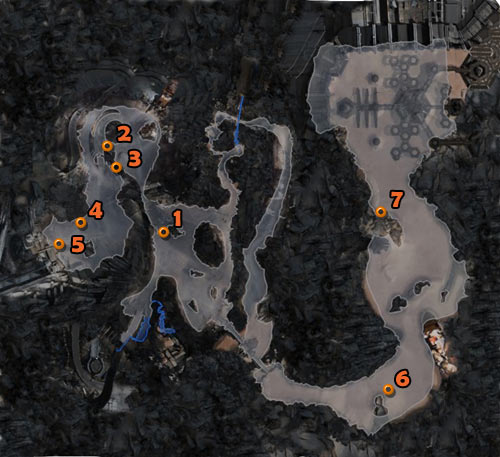
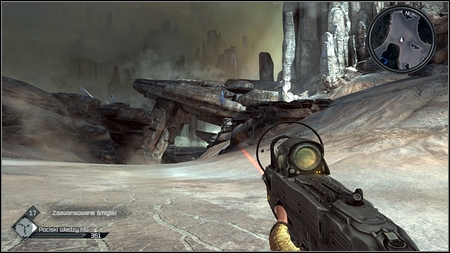
Driving from Subway Town toward the Power Plant stop at the passage under the high rocks and turn around. You should see the drone hovering in the air.
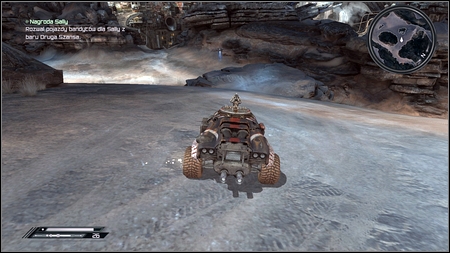
In order to get it you have to jump using the rock on the left.
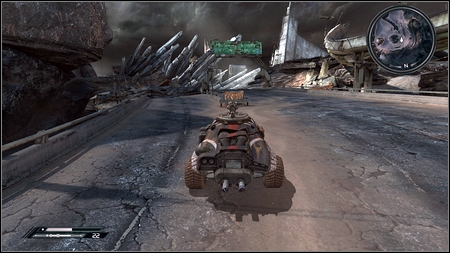
Keep driving towards the Power Plant. You'll reach the junction on the destroyed highway.
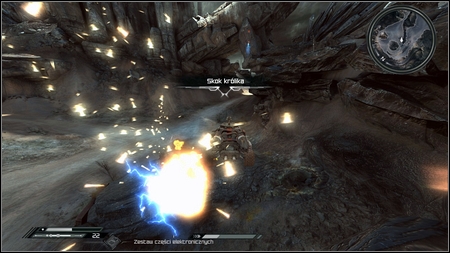
Choose the road on the left, boost and jump. You'll destroy another drone.
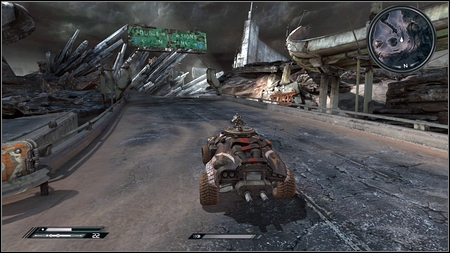
To get the next drone return to the highway and keep on the right side.
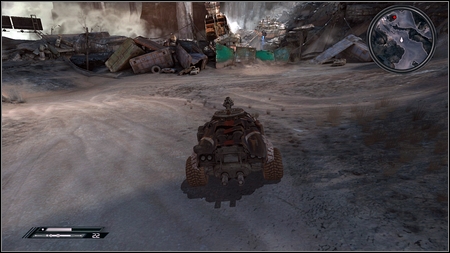
Once the highway is over, turn around and jump using the take-off on the right.
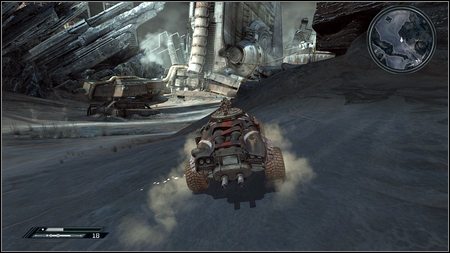
Once again drive towards the Power Plant. Right after the highway's end you'll see the turn. Take the right side and jump onto the flat rock.
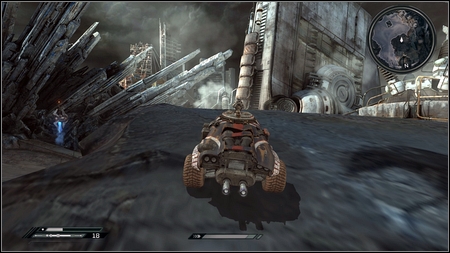
Do not drive too fast and while you're falling you'll destroy the fourth drone in this location.
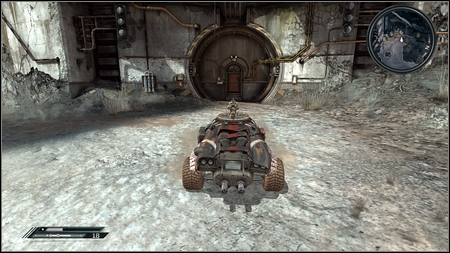
Right in front of the Power Plant entrance turn left.
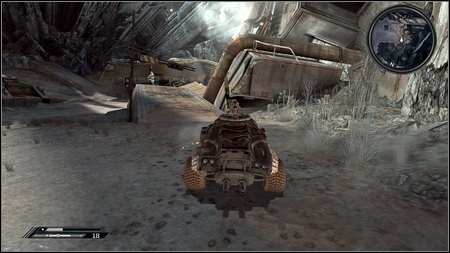
There is pile of rubble. Use it to jump and destroy yet another drone.
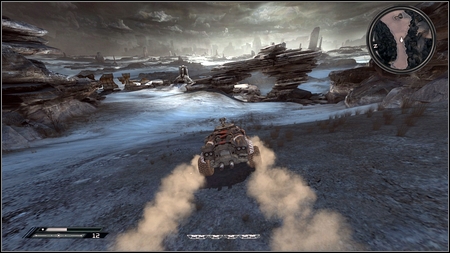
After completing the "Assault The Authority Bridge" drive to the other side of the bridge and move forward, until you'll see the gate like construction.
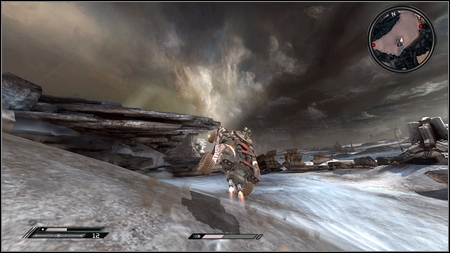
Drive below it and then using your boost jump from the dune on the left side.
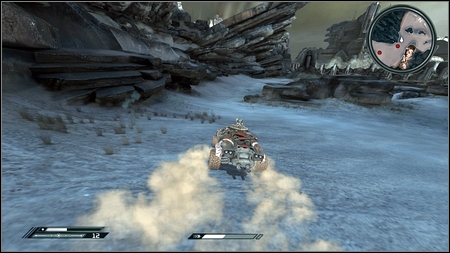
In order to get the last drone drive towards Capital Prime, keeping on the left edge of the canyon.
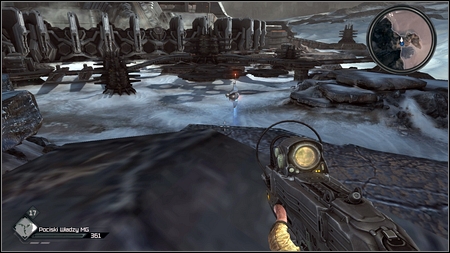
Behind one of the Authority building you'll see the rock where you can jump from and destroy the hovering drone.

In order to get the "It's Good!" achievement, you performance three Field Goals hidden in Wasteland. There is a catch though - you must be the ball! Choose a Jetter as your vehicle and drive to one of the places marked on the map.
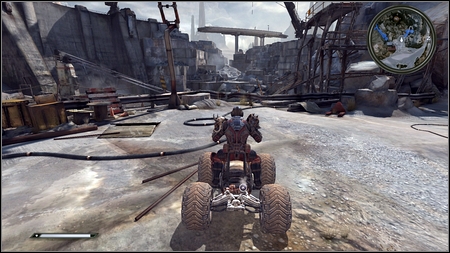
Point your vehicle towards the goal, use the boost and collide with the railing/rock in front of the goal at the high speed.
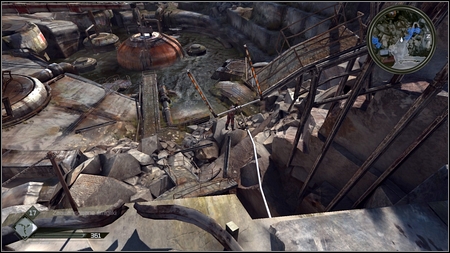
Your hero should be flung over the driving wheel, scoring a goal. A point will be counted if you can hear a characteristic sound.
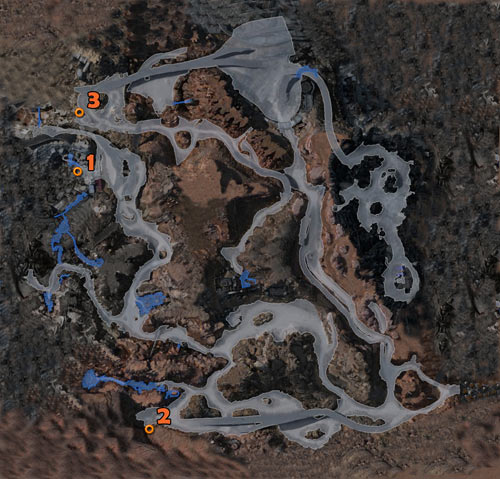
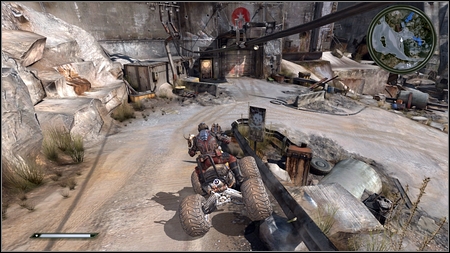
The first goal can be found near your Ark landing place.
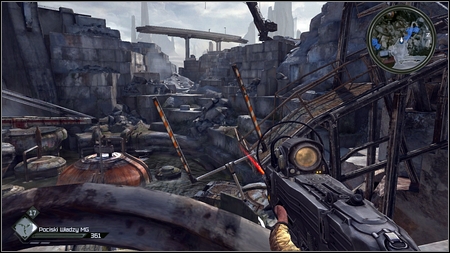
It is located behind the railing on the right from the Ghost Hideout entrance.
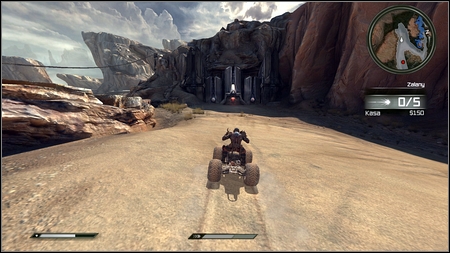
On the west from the Mutant Bash TV arena you'll find a closed Authority gate.
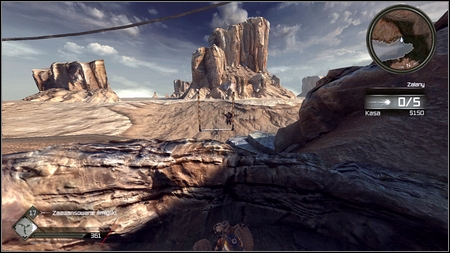
Drive towards it and turn left. You'll see the second Goal.
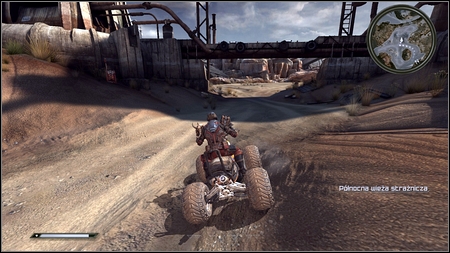
The last Goal can be found in the north-western end of Wasteland.
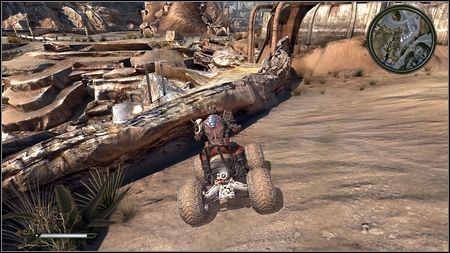
It sticks out from behind the rock on the right side of the peninsula.
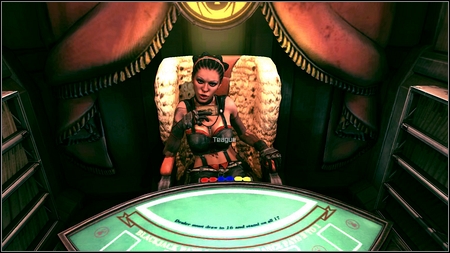
During your stay in the world of RAGE, you can often encounter Collector Cards hidden in various places. They can be used to play a mini-game described in the proper section of this guide. In order to win with opponents on higher difficulty level you need large and strong card deck. It is best to start your adventure with buying a Starter Pack at the trader in Wellspring. It consists of these cards: Mayor Clayton, Sheriff Black, City Guard Card, Jetter and Club Mutant. The rest can be obtained as rewards for completing missions or found in Wasteland. There are 54 cards in total.

Most of them can be obtained in any moment during the game, but some are available only during particular mission. If you won't collect them in that moment, the only thing you can do is to load the game or start it completely over:
- after leaving the Authority Prison and the Well in Wellspring you won't be able to return to these locations
- after completing the "Defibrillator Upgrade" mission you won't be able to collect the "Large Mutant" card
- after completing the "Recover ID Drive" mission you won't be able to get to the Outrigger Settlement and collect cards from that location
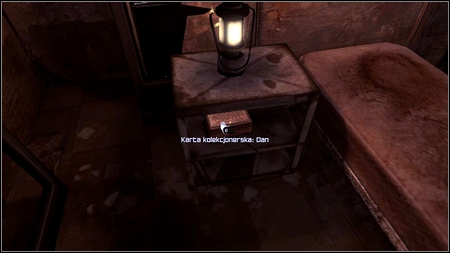
You'll find it in the Dan Hagar's house. It is lying on the night table at the owner's bed.
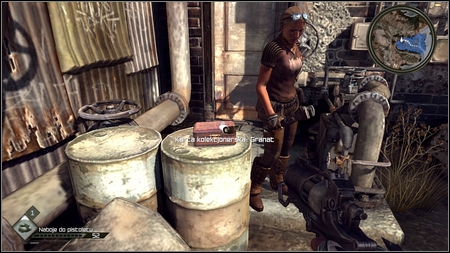
After leaving the Hagar's garage go straight forward. The card lies on the barrel, next to Becky.
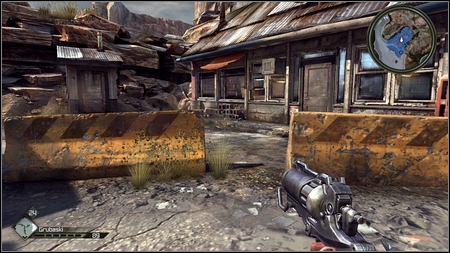
Left from the Hagar's house front door stands the barrel.
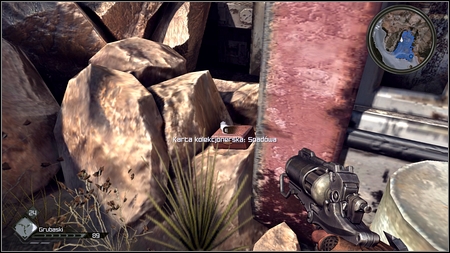
You'll find the card on the nearby rock.
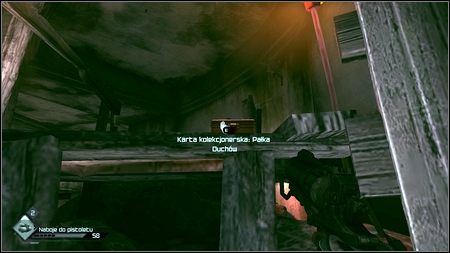
During completing you first mission you'll get to the Ghosts HQ. After killing the second enemy inside, move forward to the end. A card lies on the wooden scaffold.
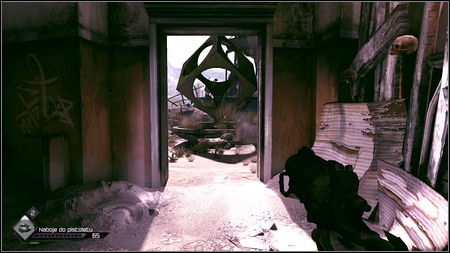
To the left from the previous card you can see the very odd sculpture.

Walk around it and you'll find yet another card.
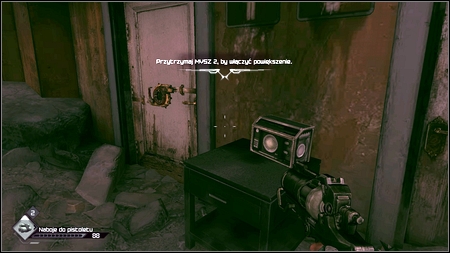
This card can be found in the Ghosts HQ. Right after breaking through two barricades turn right. You'll find locked door there - they can be opened with the Lock Grinder. If you have one, unlock the door and pick up the card lying on the cabinet.
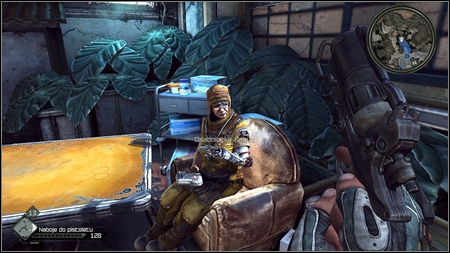
After conversation with Janus in the Outrigger Settlement, look to the left and examine the couch there.
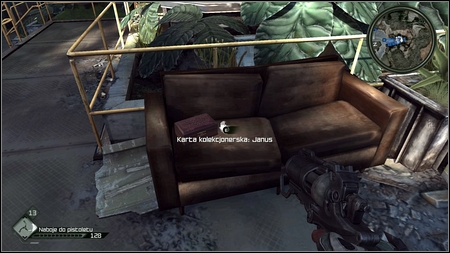
You'll find there the card you're looking for.
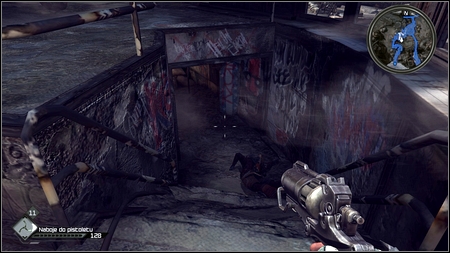
During the "Where's Juno"/"Radio Tower Repair" missions you'll get to the Wasted Territory. A narrow path between rubble will lead you to first two opponents. Kill then and the go down the stairs on the left.
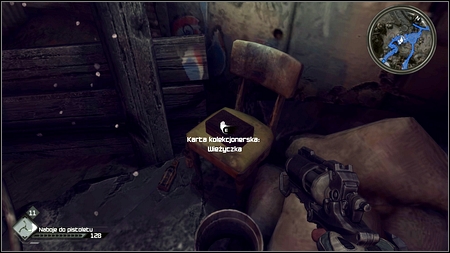
You'll find a hiding place there with the hidden card.

After you've found Juno, explore carefully the entire building. You'll find there a ladder leading to the upper floor.
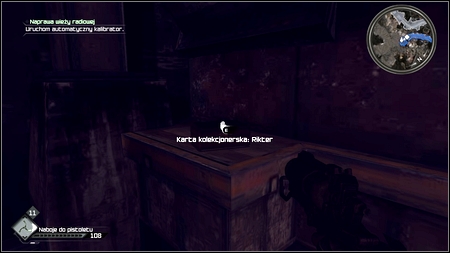
In the darkness on the left you'll find the Rikter Card.
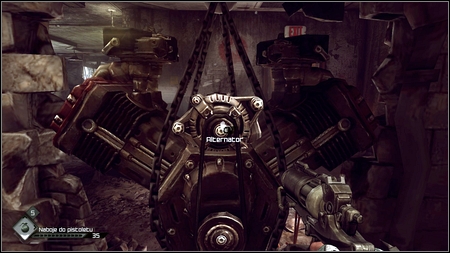
After obtaining the Alternator go through the door on the other side of the engine. The stairs will lead you to another room, full of enemies.
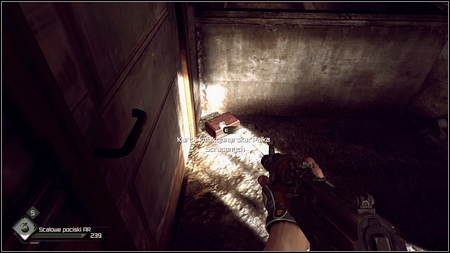
Kill them all and then go to the right. You'll find there a stairs leading to the upper floor. The collector card can be found on the right from the door.
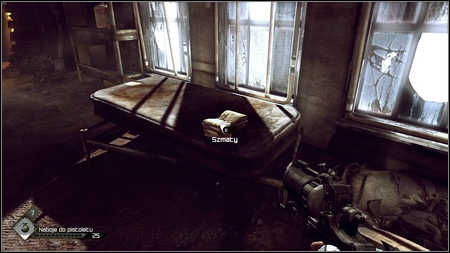
Move forward. You should pass by a short corridor with a damaged mattress with Cloth Rags on it.
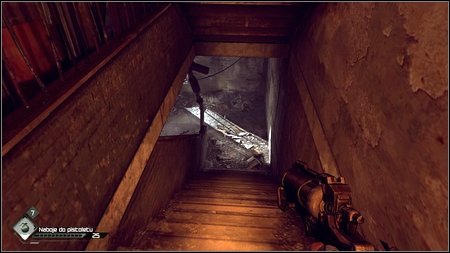
Take them and then go down the nearby stairs.
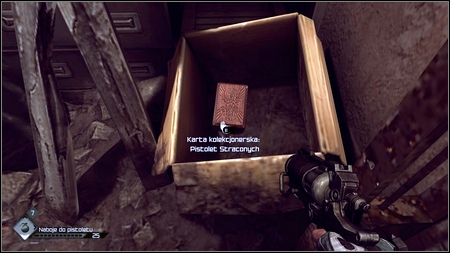
On the left from the closed door you can find a box with the card inside.
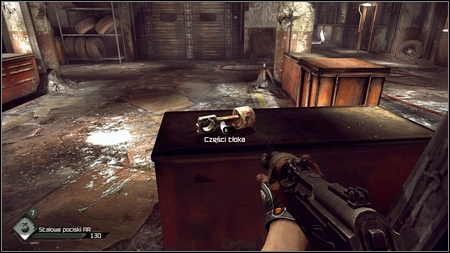
The last card in the Wasted Garage can be found to the right from the Piston Assembly.
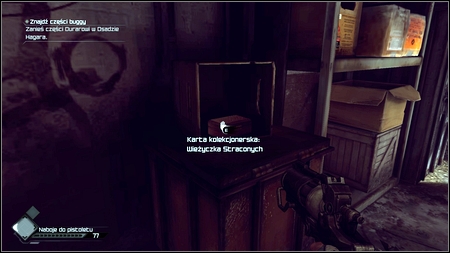
It lies on the cabinet inside the box.
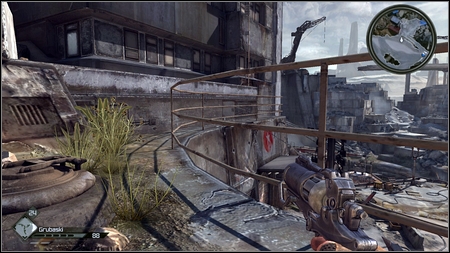
Above the exit from the Wasted Garage (close the Ark) you can find a walkway with the railing. You can get there from the main road.
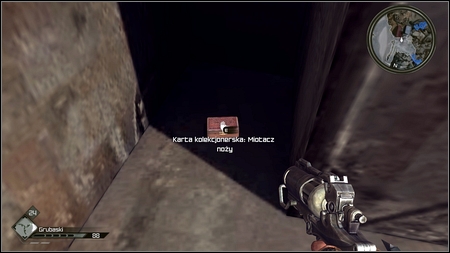
At its end lies the card you're looking for.

You'll get it as a reward for completing "Durar's Time Trial" mission.
You'll get it as a reward for completing "Sally's Offer"/"Sally's Bounty" mission.

After completing the last arena in the Mutant Bash TV go down the stairs and keep on the left corridor side.

The card lies on one of the containers.
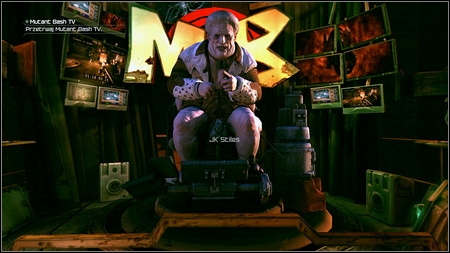
You'll get it as a reward for completing "Mutant Bash TV" mission.
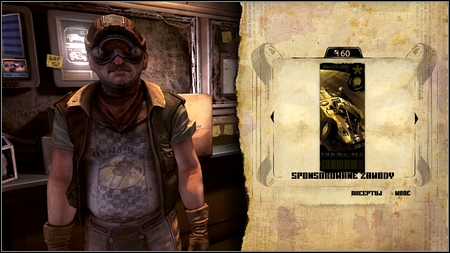
You'll get it as a winning prize in the sponsored races, during the "Dusty 8 Sponsorship"/ "Mutant Bash TV" mission. Just talk to the Sheriff after the race.
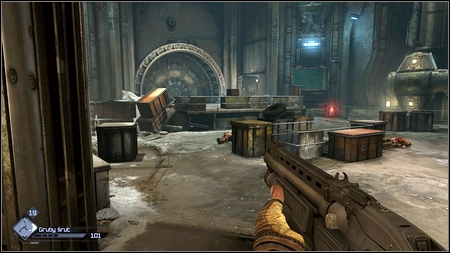
During the "Destroy the Bomb Caches" mission you'll get to the Shrouded Bunker. In the first large room kill all enemies and then explore the location's right corner.
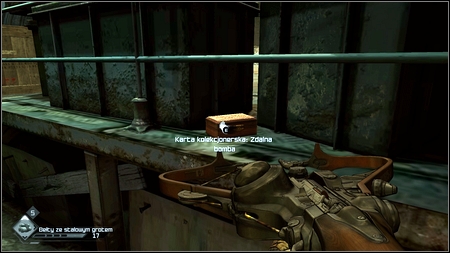
The card you need lies near the railing.
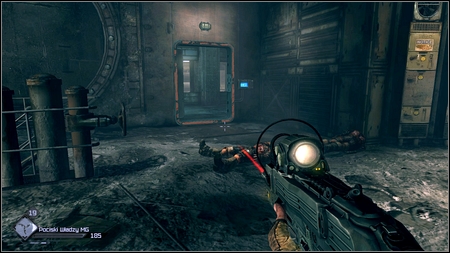
During your visit in the Shrouded Bunker you'll find the door which needs a magnetic card to be opened.
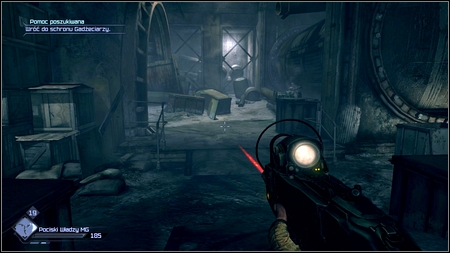
Stand in front of it, turn around 180 degrees and go straight ahead.
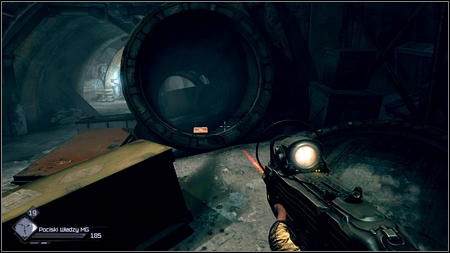
Near the wall you'll see a large pipe with the hidden card inside.
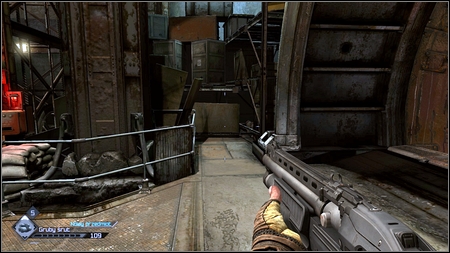
Being in the Shrouded Bunker move down with the elevator and the kill all enemies there.
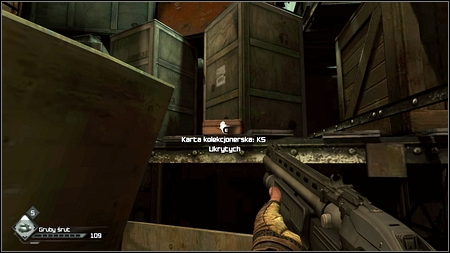
In the right corner of the larger room you'll find the card.
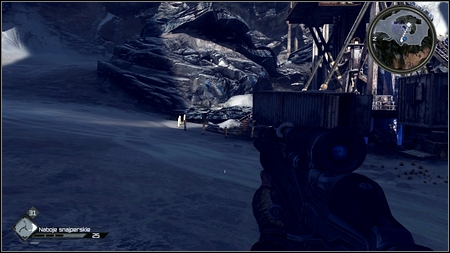
During the "The Mayor Calls"/"Feltrite Crater" mission you'll reach the Shrouded Outpost in the crater.
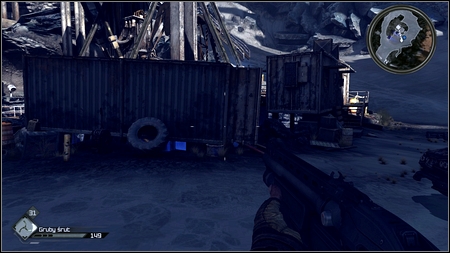
Examine the nearby containers. In one of them you'll find the card.
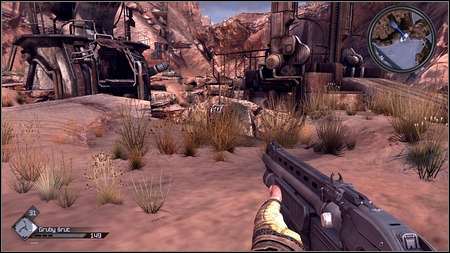
In can be found in front of the mailbox next to the Kvasir's house.
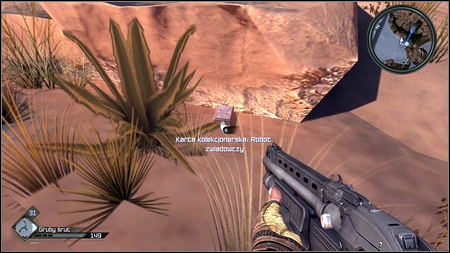
It lies in bushes.
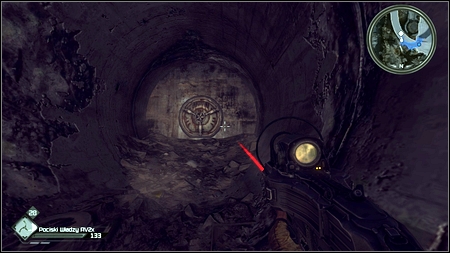
The card lies in front of the pipe leading to the Dead City. It can be found in bushes on the right.
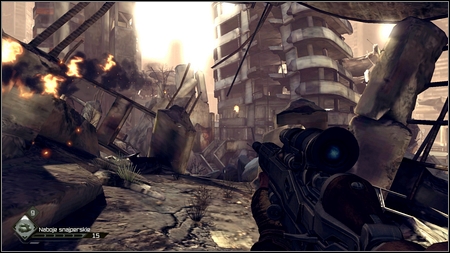
During the "Defibrillator Upgrade" mission you'll get to the Dead City, where many fight with Mutants await you. In certain place two enemies will throw burning bottles at you. Kill them with the Sniper Rifle and go down the level.

Once another charging creatures are dead, use the RC Bomb and move to the tube, where opponents where jumping out from.
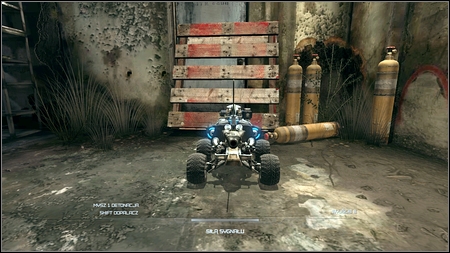
This way you'll reach a room with gas tanks in the left corner. Detonate your bomb and you'll unlock the entrance to the room.
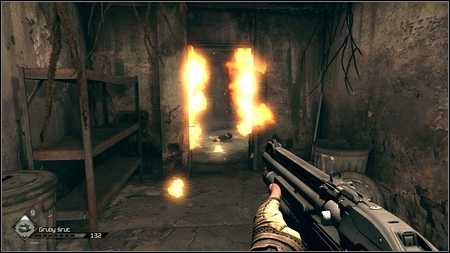
In order to get to the place you've just unlocked, enter the building in front of you. The stairs on the left will lead you to the place.
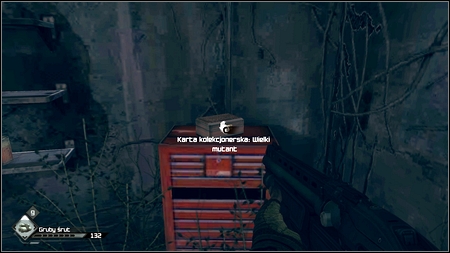
Inside the room you'll find the card you're looking for plus many other valuable items.
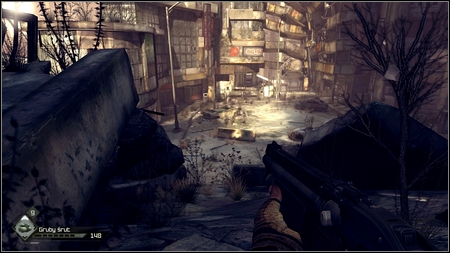
During the "Defibrillator Upgrade" mission you'll be attacked by the Kraken at some point.
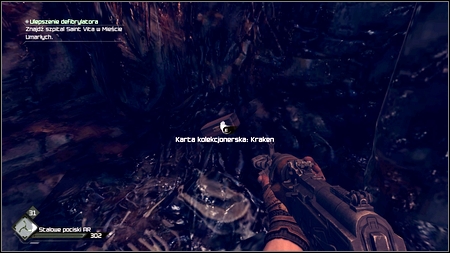
Kill him and carefully explore the room fool of blood on the right side. There is a card hidden inside.
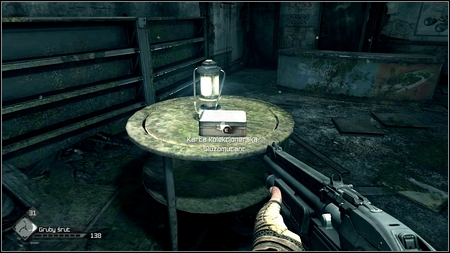
After reaching the Dead City Central, turn left and keep close to the wall. A bit further you should see a small table with the box and card inside.
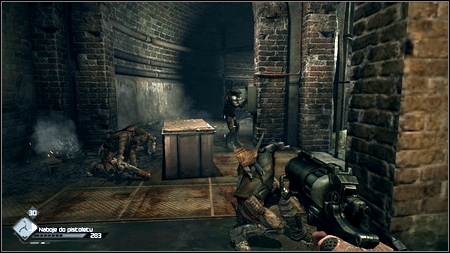
During the "The Wellmaster"/"Hijacked Well" mission you'll reach the room with many pillars.
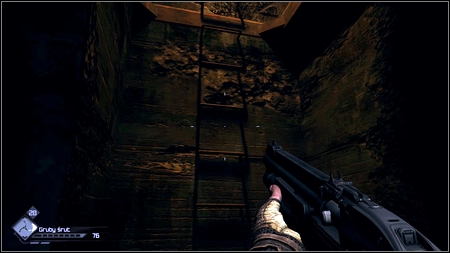
Behind the third one on the left you'll find the ladder.

Use it to go up and you'll find some ammo and the card.
During the "The Wellmaster"/"Hijacked Well" mission you'll encounter a group of Wellspring settlers fighting Ghosts.

Help them in the shootout and then explore the tunnel on the left from the gate. You'll find ammo there and a box with the card.
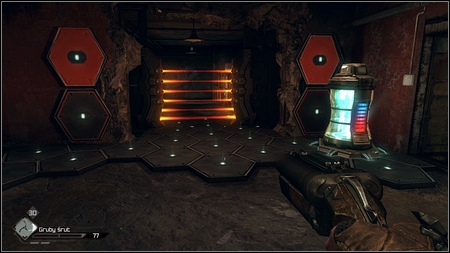
Being inside the Authority Prison you'll reach the place blocked by red lasers. To deactivate them destroy the nearby Power Supply.

On the other side you'll find the card you're looking for and a Hardware Pack.
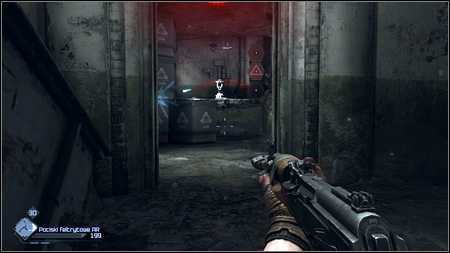
When being in the Authority Prison you find a first defensive turret, look at the wall opposite to it.
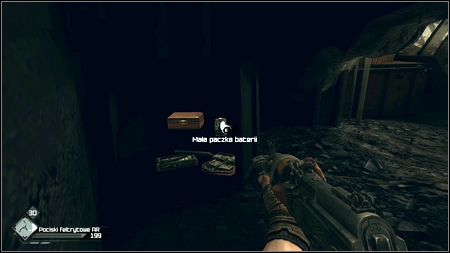
There is a hole, which you can use while crouching. Inside you'll find some useful items plus the card.

After destroying three defensive turrets in the Authority Prison you'll by attack by a group of guards. Kill them all and deactivate lasers blocking the further way.

The stairs will lead you to the upper floor, where right to the right side you'll find the card.
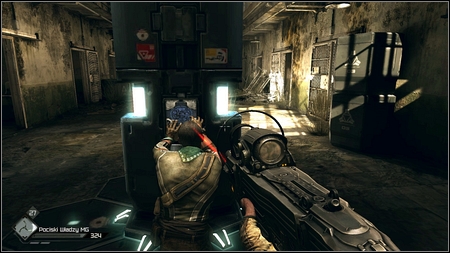
After rescuing Captain Marshall you'll be attacked by a squad of soldiers.
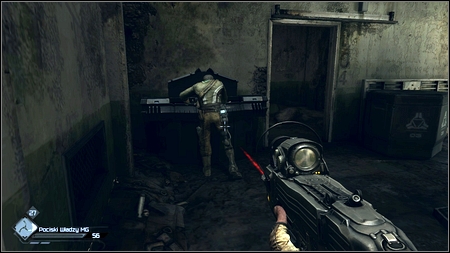
Once they all are dead your companion will open a box on the left side and pull out weapons out of it.
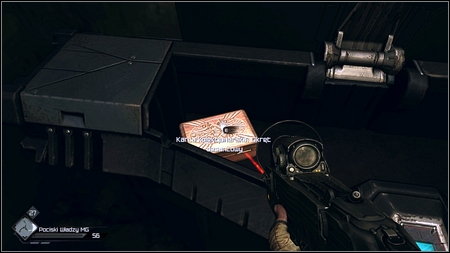
There is also the card inside.

After you collect the previous card, run after the Captain. The man will lead you to the lower level of the building.

Before you go further to the right, explore the left side of the room. There is a door there which can be opened with the Lock Grinder.
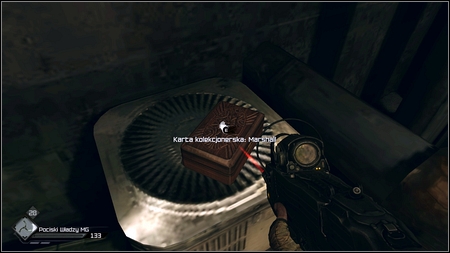
Inside the room you'll find Feltrite Crystals, Wingsticks, Fatboys and the collector card.
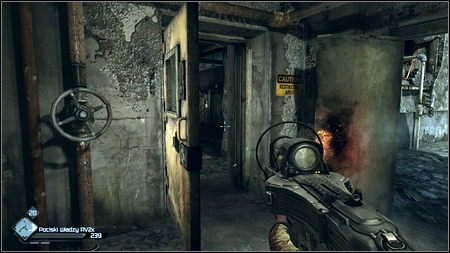
After you and Captain Marshall split up, one guard will attack you jumping out from behind the door on the right.
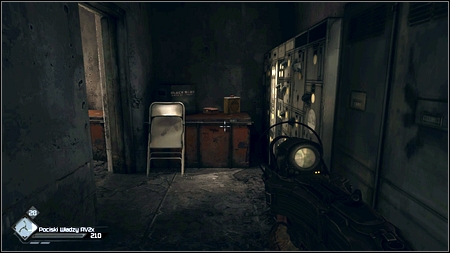
Kill him and then explore the right part of the room, where he was waiting for you.
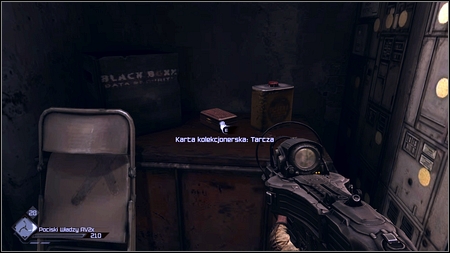
There is the card on the cabinet.
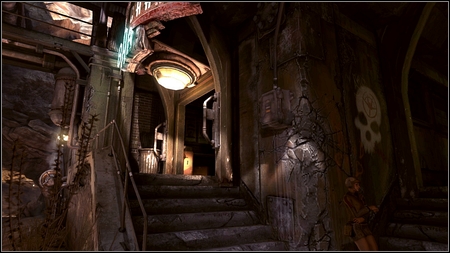
After completing the "Liberate Captain Marshall" return to Wellspring and go to the back of the bar.
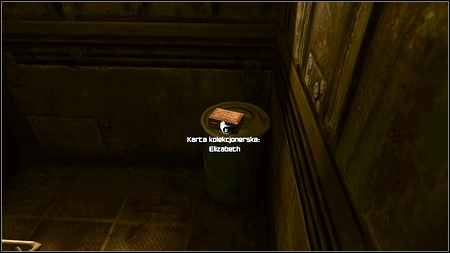
On the landing you'll find the Elizabeth Card.

During the "Lost Research Data" mission you'll be sent to the Dead City Central. When you encounter first Authority Soldiers on your way kill them all from above and then move down one floor.
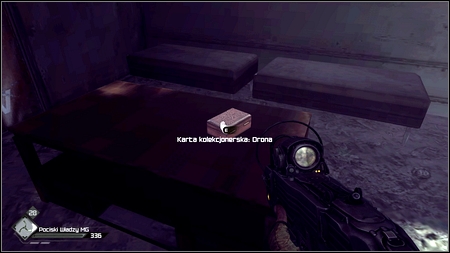
Once you get to the lower floor, turn around 180 degrees and go to the room under the stairs (to the left). There is the card lying on the low table there.
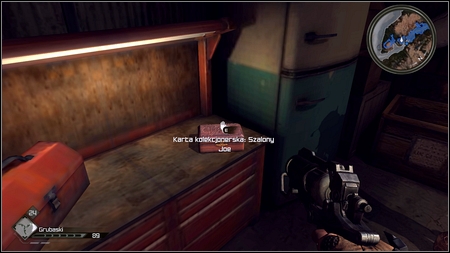
The car lies on the cabinet in the Crazy Joe house. His estate can be found up to the west from Wellspring.
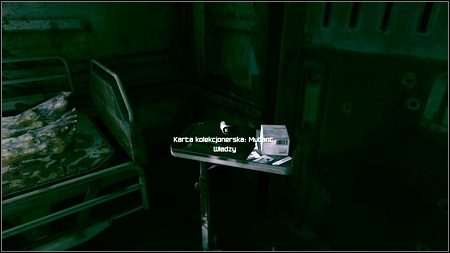
You'll find the card in the Resistance HQ (Subway Town). It lies on the table in the room with mutant corpse.
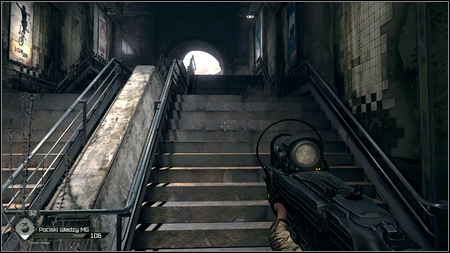
During the "Mutant Expansion" mission you'll be sent to the Blue Line Station. Once you get inside move forward until you see large, wide stairs. On its top turn right.

You should see bars blocking the access to the small room. To raise them throw the EMP Grenade at the metal box on the wall.
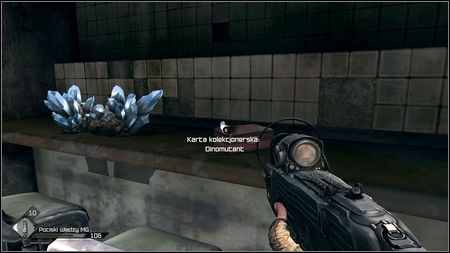
On the other side you'll find Feltrite Crystals and the card.
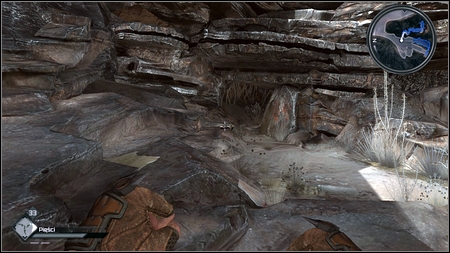
In order to get this card go to the cave on the right from the Subway Town entrance. You can get there in the "Abandoned Distillery" mission.

The card you're looking for lies on the crate at the right wall of the cave.
This card can be found in the Gearhead Vault where you will get in the "Gearhead Vault" mission. Once you get inside get to the other end of the garage killing all opponents on your way.
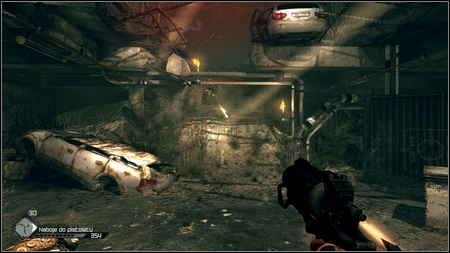
At the end you'll fight the Gearhead Heavy.
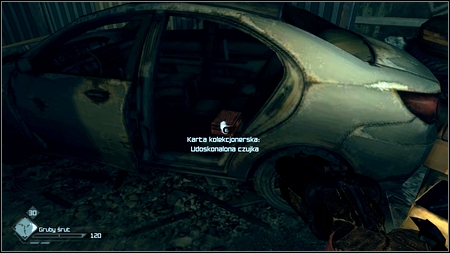
Once he is dead go to the upper floor and examine the nearby white car. On the backseat you'll find the needed card.
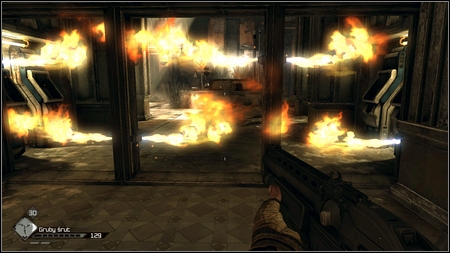
In the Gearhead Vault you'll get to the place where you'll see flames from the pipes on the walls.
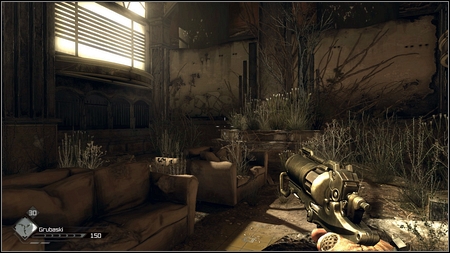
Go down with the elevator, go a bit ahead and the turn to the right.
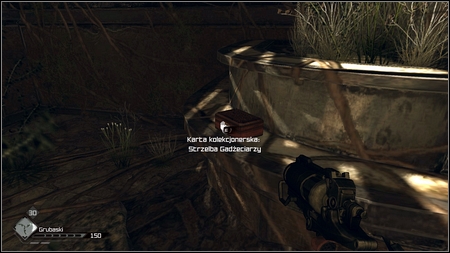
Behind the sofas there is the card lying on the stone wall.
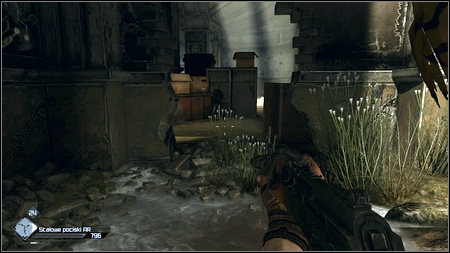
After exiting the room with the Plutonium Feltrite in the Gearhead Vault you'll be attacked by the group of bandits. Kill them and then leave the room through the hole in wall, made by an enemy with a machine gun.
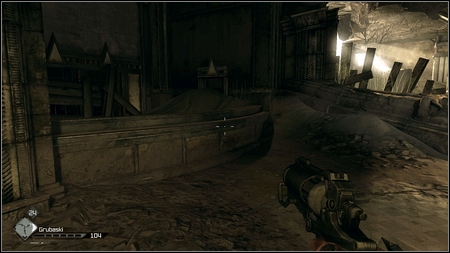
On the other side you'll fide the stair leading to the upper floor. Do not go there though but instead walk over the stone wall opposite.
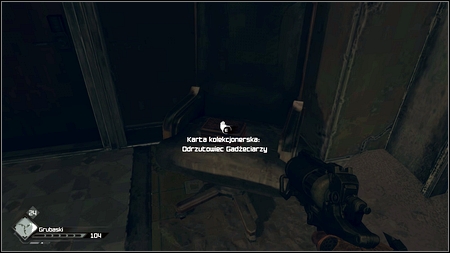
There is a chair behind with the card on it.
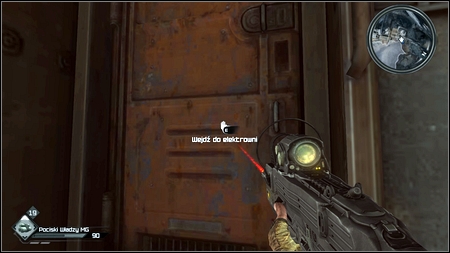
Monarch Card can be found next to the Power Plant entrance.
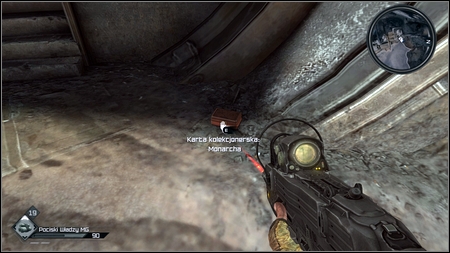
It lies on the ground to the right from the stairs.
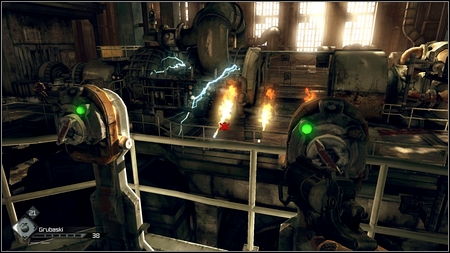
This card can be found in the Power Plant during the "The Price of Power" mission. At the end of the mission you'll get to the room with switches, which control different type of traps. You have to kill Gearheads using these.
Once the last opponent is dead, go to the room behind your back. At the end of the room you'll see the door with EXIT sign on it.
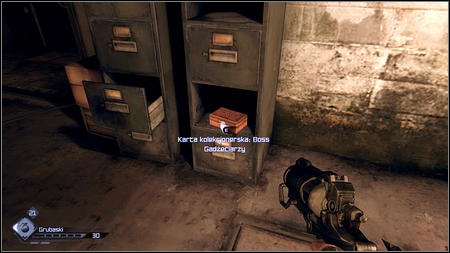
Turn then left and go up the stairs. The card lies in one of the lockers on the right.
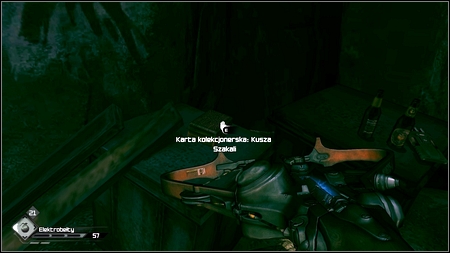
The "Ark Equipment" will lead you to the Jackal Canyon, where you have to find the damaged Ark. Right after entering the location turn left and jump over the rock. There is ammo there and the card.
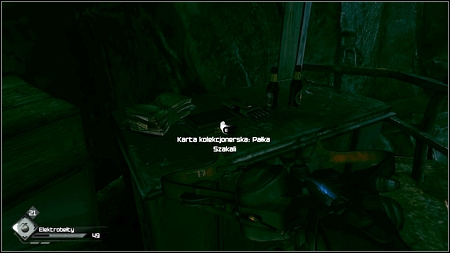
This card can be also found in the Jackal Canyon, at the end of the first bridge. It lies on the cabinet, on the left from the lever.
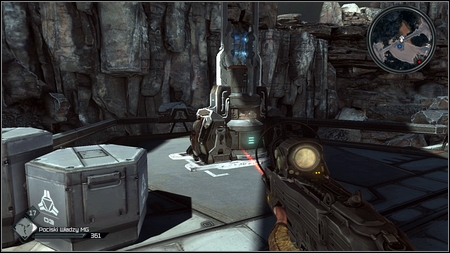
Once you get to the Authority bridge ("Assault The Authority Bridge"), look carefully at the boxes near the left Power Supply.
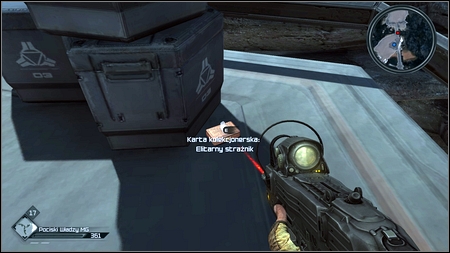
The card you're looking for lies near them.
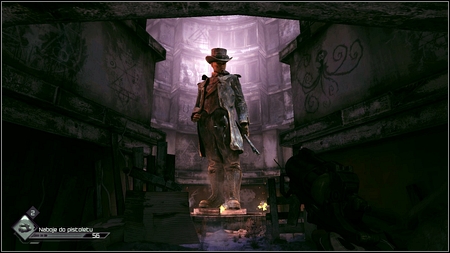
During your first mission for Dan Hagar you'll get to the Ghost Hideout, where you'll be trapped.
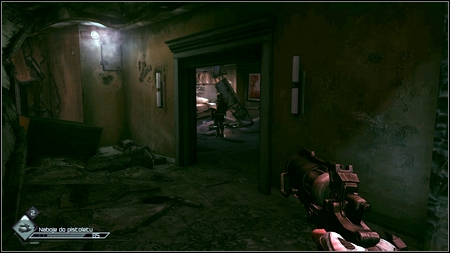
After leaving the Kill Room sneak up on your opponent, kill him and then get rid of the bandits on the left.
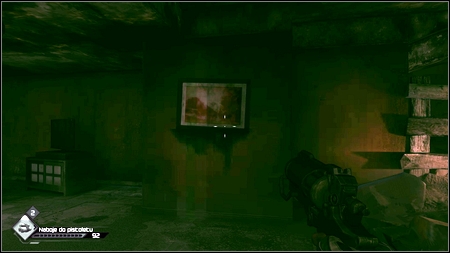
Once the area is clear, carefully examine the right part of the room. You'll find there a picture hanging on the wall.
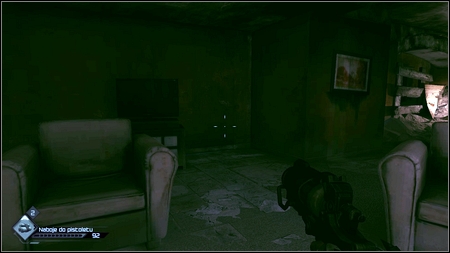
To the left from it you'll see the clean wall. Move towards it and press E.
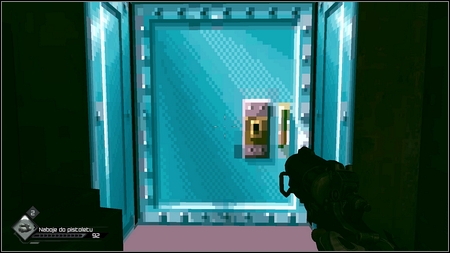
In this way you'll open the hidden passage which leads to the Wolf Goblet.
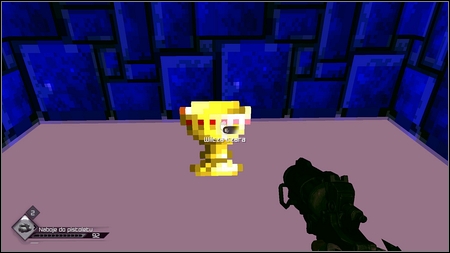
Both, the item as well as the entire room come from the RAGE creators' classis game - Wolfenstein 3D. The golden item can be sold at trader for a big amount of money.
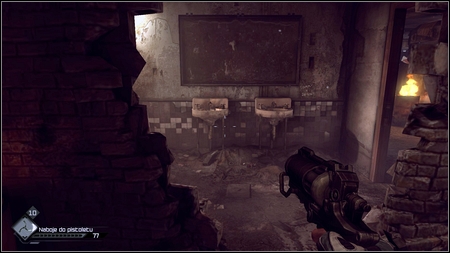
After completing the "The Missing Parts" mission, go to the Wasted Garage through the back door (the one you used to get out of there). Move forward and you'll reach the room with two destroyed sinks.
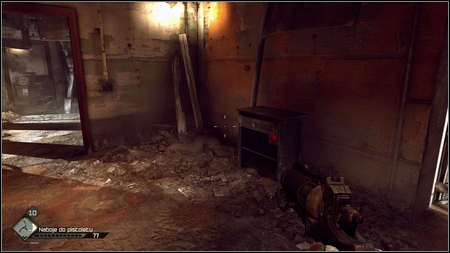
Enter the room to the right and keep at its left side. You should find a black cabinet next to one of the walls with red button under it.
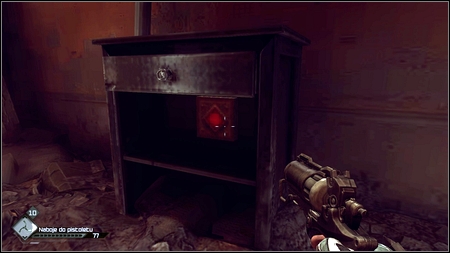
Move to it, aim and press E. You should hear the characteristic sound then. Now it is time to find two more buttons.
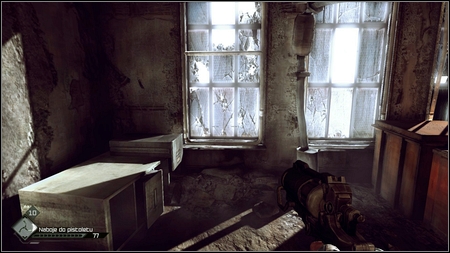
Move forward. You'll pass by the truck wreckage. There is a room with several big windows near it. Go to the closest one.
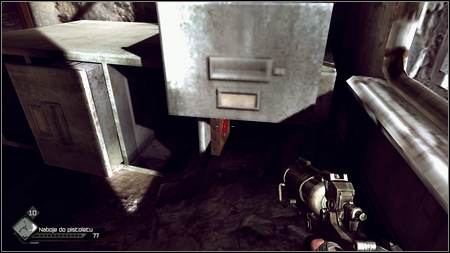
To the left you should see another cabinet and right under it (close to the wall) the second red button.
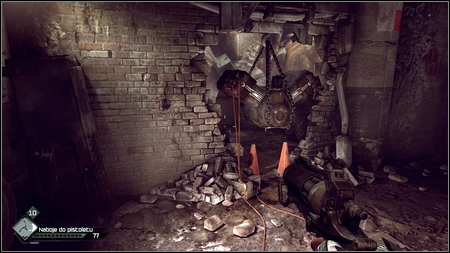
After getting up with the stairs you will see an engine in front of you. Turn then to the right.
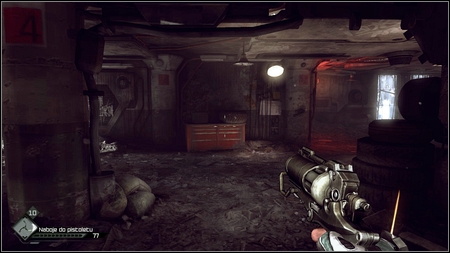
You'll get to the red cabinet with the lamp hanging over it.
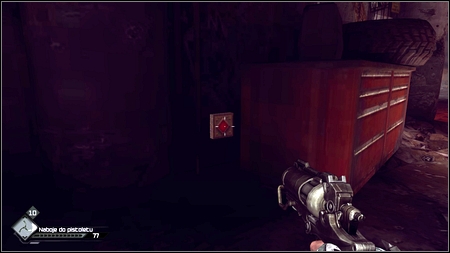
The last button can be found behind the cabinet. Press it and head to the exit.

On your way back you'll pass by the stairs with the red Quake symbol near it.
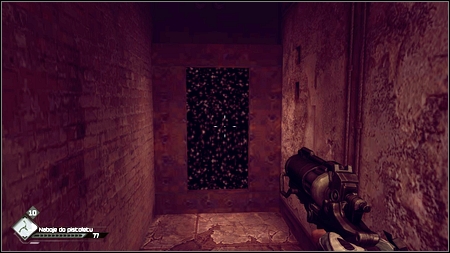
Go up the stairs and then walk through the black portal.
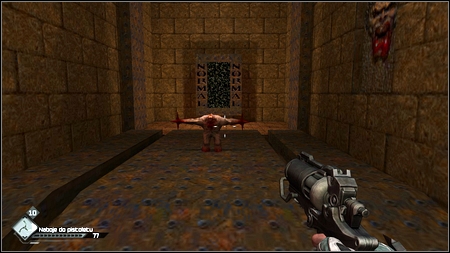
Inside the room you'll find the Shambler Plush. It is worth to take it because it very valuable.
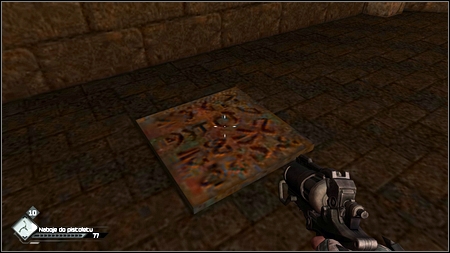
In order to leave the room walk on the square rune tile on the floor.
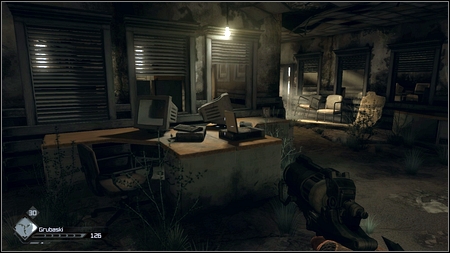
If order to reveal the room connected with Doom you have to go to the Gearhead Vault. It will be done in the mission with the same name. During this mission at certain moment you'll be trapped in the room with two Gearhead Heavy entering it after few seconds.
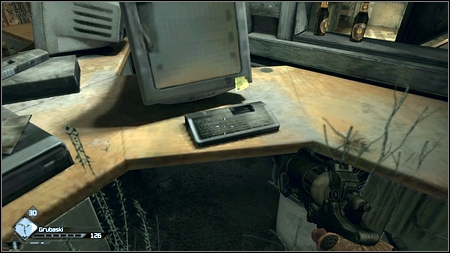
Once you kill them aim at the nearest keyboard in front of the monitor and press E. You'll hear the characteristic sound then.
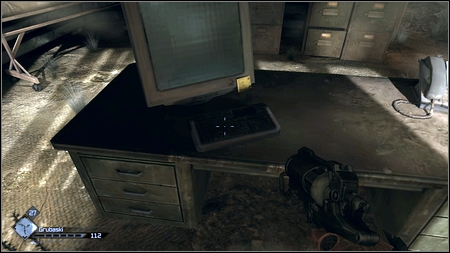
Do the same operation on all 7 similar keyboards in this room (remember - only keyboards in front of monitors) and then return to the start of the level.
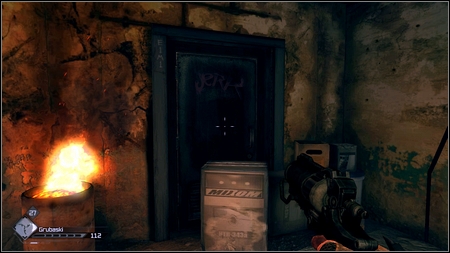
To the left from the entrance you'll see the black door. Open it.
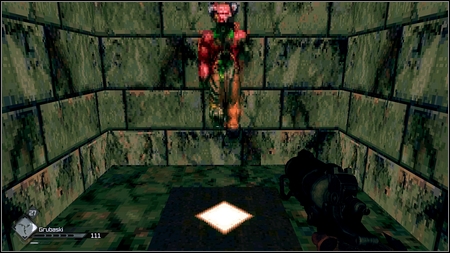
Enter the room behind the door, jumping over the boxes and stand on the platform with shining diamond.
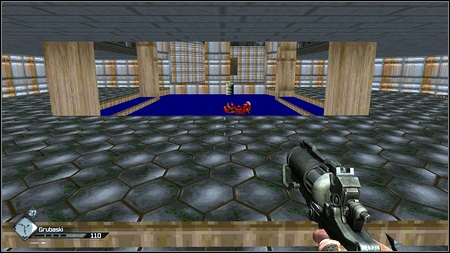
You'll be moved to the level from Doom.
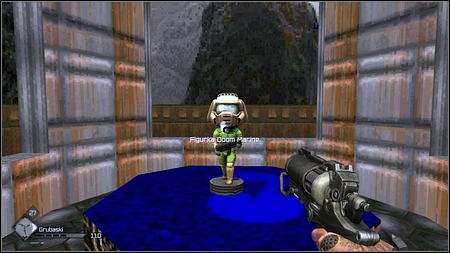
On the right you can see the stairs leading to the Doom Marine statue. It can be sold at trader for some money. You can leave the room by standing on the diamond tile once again.
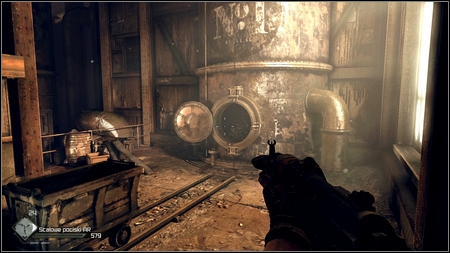
The "Abandoned Distillery" mission will take you to the distillery near Subway Town. Being inside you'll get to the large coal container, with a small wagon nearby.
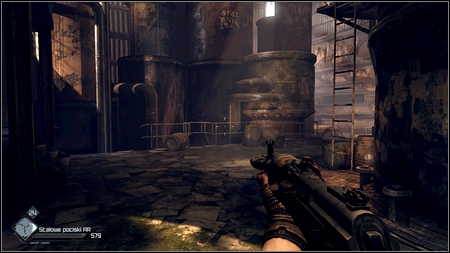
Turn left then and go to the opposite side of the room.
Near the ladder leading to the top of the second container you can see a broken railing. Use it to go to the lower level.
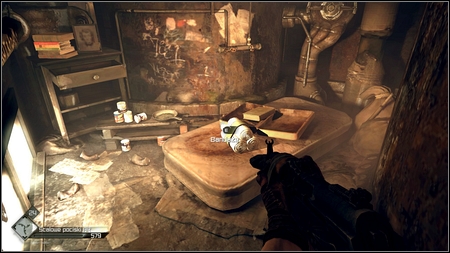
On the lower floor, on the right, you'll find the abandoned bed and several useful items.
Take them all and then use the valve over the mattress.
When you get up the ladder, turn 90 degrees to the right.
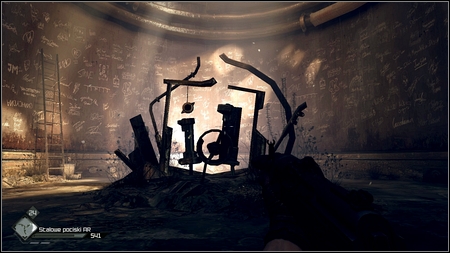
You see then a narrow hole, with the hidden room behind it. On its walls are autographs of all RAGE creators.
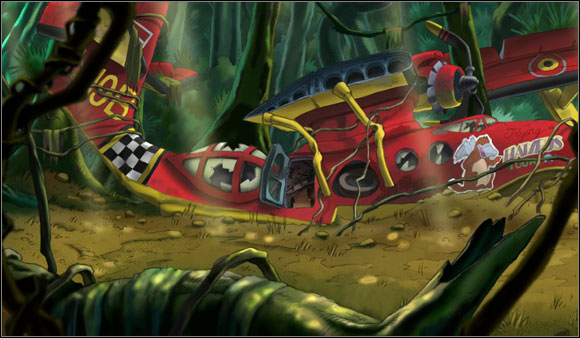


 Red Dead Redemption Game Guide & WalkthroughRise of Nations: Rise of Legends Game Guide & Walkthrough
 Rise of the Tomb Raider Game Guide & Walkthrough
 Rocket League Game Guide & Walkthrough
 Robert Ludlums The Bourne Conspiracy Game Guide & Walkthrough