
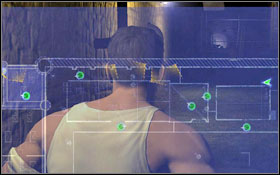
This guide to Prison Break: The Conspiracy contains a thorough walkthrough of all the chapters of the prison adventure. It has been created while playing on medium difficulty, in order to additionally mark the guards' locations on the map - it will make your playthrough on the higher setting easier. In the guide you will also find a description of each Quick Time Event appearing during the game. Achievements have also been covered, together with some minor comments.
Orange colour marks important characters and game fragments. Screen refers are marked with brown, #1 - screen on the left, #2 - screen on the right.
Artur "Arxel" Justynski
Translated to English by Jakub "cilgan" Lasota
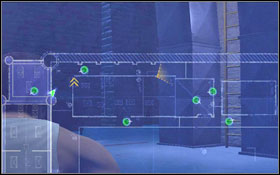
The game offers three difficult settings. The main difference between them is the enemies' stamina and the guards' perceptiveness. Additionally they aren't showed on the map while playing on the highest difficulty. The guide has been made while playing on the Fish setting, thanks to which, apart from detailed description of the guards' locations, there are also fragment of the map, which you will have to pass through at given moments. This will allow you to play on the Shark setting (thanks to which you can unlock more achievements).
The most important thing when it comes to [quick time events] is that they're always the same. Difficulty setting doesn't matter here. Thanks to this, whenever a QTE appears in the game, a detailed list of actions can be found in the guide. Below there's a legend.
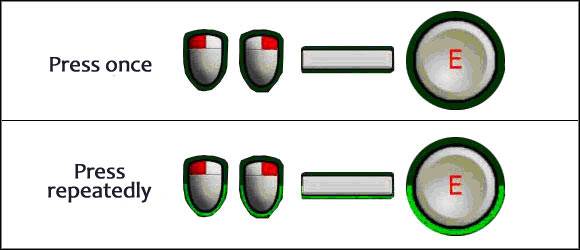
Fighting in the games isn't very complicated. The left mouse button is used to deal fast, but weak hits. The right button allows you to perform a strong attack, which however takes a while - you can get hit in the middle and the attack will be cancelled. Strong attack are good once you've knocked an enemy down and he's trying to get up (it's also good to kick him while he's on the ground). Blocking is also important, especially on higher difficulties. However if an enemy performs a heavy attack, your block will get crushed.
Counterattacking is quite difficult. First you have to press block while the enemy performs his attack. If you get your timing right, the next thing you'll have to do is to quickly press of the attack buttons (LMB, space, 'E' etc.) - you'll have just a fraction of a second.
If you get knocked down, you can get up by pressing SPACE, apart from the fights taking place underground.
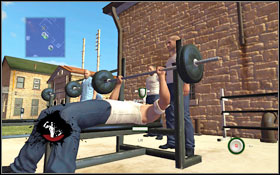
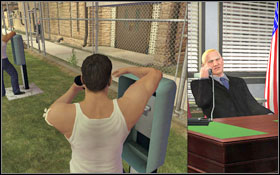
As you begin, your speed and strength will be at a very low level. You can improve it by training using one of the many boxing bags and weights found throughout the prison yard. In case of the bags, you will have to press the buttons (block, LMB, RMB) which the other person will tell you. When it comes to lifting weights, you will have to repeatedly press space and keep balance by moving the mouse left and right.
You can't improve your strength to the maximum level at the very beginning of the game, there are certain limits which change as you advance in the game. Check them out often, as training can make fighting on the highest difficulty setting easier.

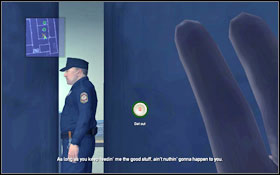
Hiding in lockers is very useful during some parts of the game, you can use them without having to worry about getting noticed. The view is very limited, but it still allows you to check out if the guard has already left.
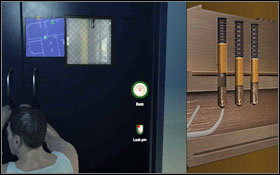
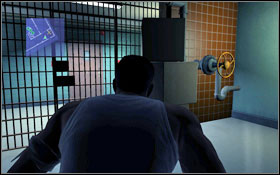
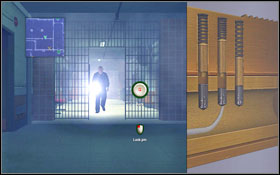
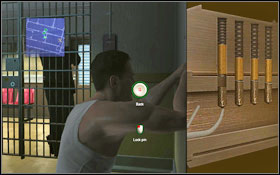
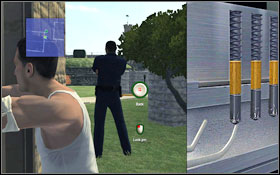
Further in the game you will come across locked doors, which you will be able to open using by lockpicking them, which isn't too hard. You have to move the mouse (up and down) so that the groups of pins (light and dark) are at the required height, so that the light pin is at the so-called shear line - once they are, you have to press LMB or keep the pins at this position of a while and they will jump into the proper position. Sometimes you will have to quick about doing it, as a guard might be coming. You can abort picking the lock, hide and return after w while - the pins that were already set will remain at their spots.
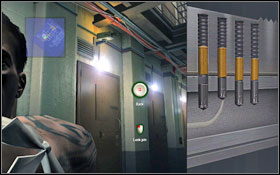
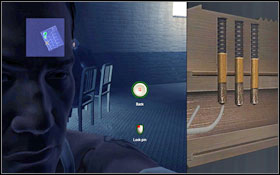
Unscrewing the screws is an easier mini-game. You just have to move the mouse clockwise or anticlockwise.
Sometimes you must perform the lockpicking or unscrewing very quietly, because of nearby guards. All it means is doing things very, very slowly.
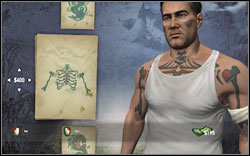
You can get some tattoos during the game. They don't influence the gameplay whatsoever, just give your character a more prison-like look. You can get one at Mr. King's, the choice includes forearms ($100 each) and shoulders ($200 each), chest ($400) and back ($500).
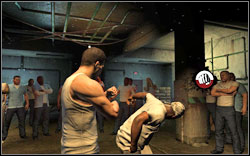
Underground fight will let you win some cash, which you can spend on, for example, getting a tattoo. Before you fight, you can choose your enemy - each has different speed and strength and prize for winning. You don't lose your money in case you get beat.

VERSUS mode allows two players to fight each other on one PC. Each player chooses one of the main characters in the game (each with different strength and speed), followed by choosing an arena. Each attack available in the game is usable - a quick and weak hit, a slower and stronger one, block, counterattack and kicking. In order to get rid of the enemy, you'll have to perform a finishing move ([space] will also appear on the screen) one his health bar drops near zero.
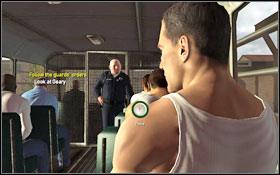
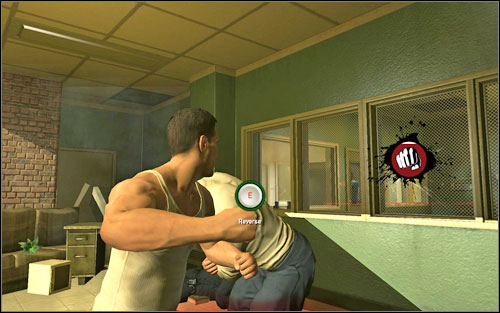
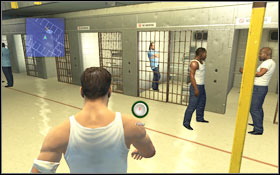
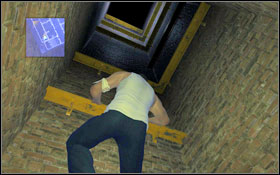
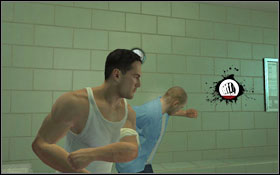
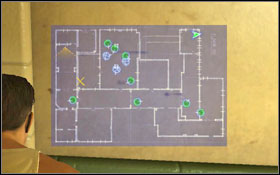
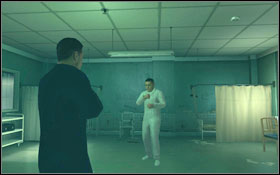
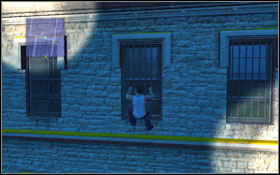
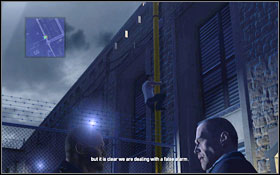
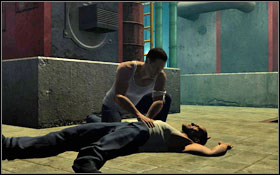
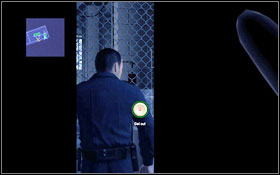
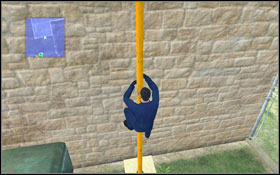
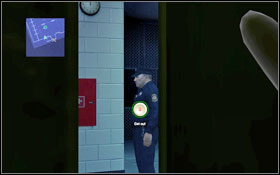
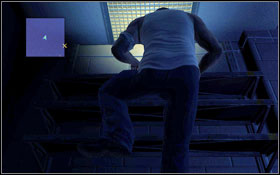
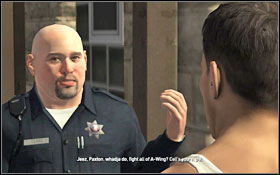
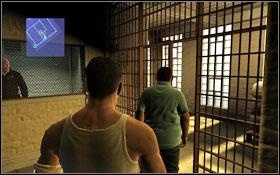
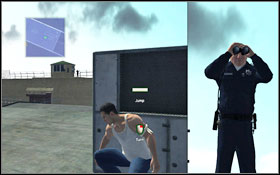
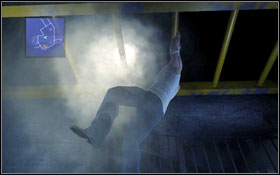
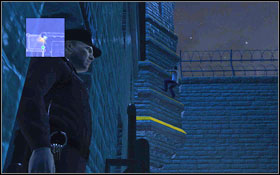
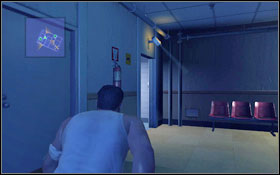
The game begins with a short cutscene, which explains your goal in the prison. During the ride you will have to focus on the guard ([F]) #1 and answer him that you understood what he told you. Once you're inside the A-Wing, you will gain full control over the character and will have to follow the orders. Go up the stairs to your cell #2. On your way there you'll get attacked by Avocado [quick time event].

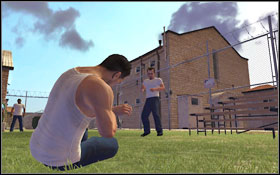
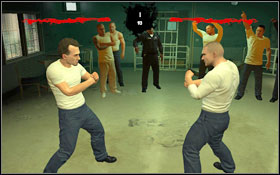
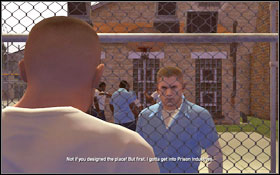
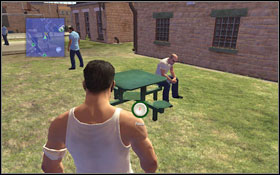
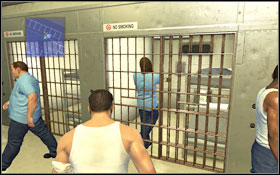
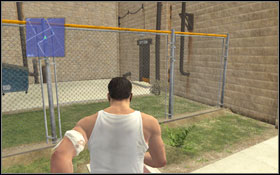
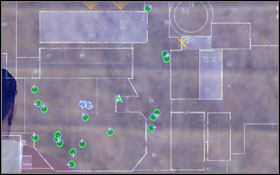
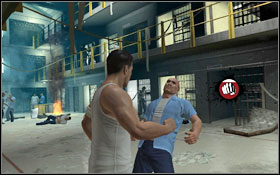
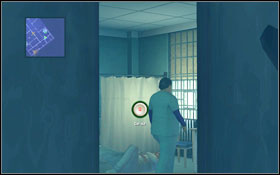
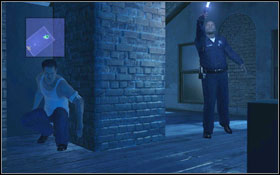
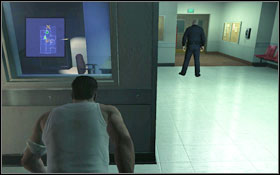
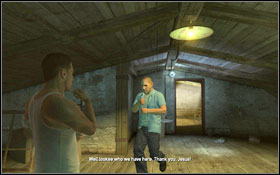
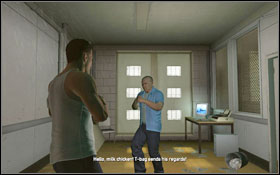
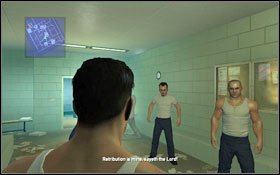
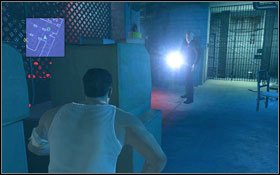
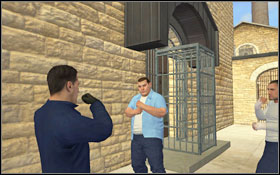
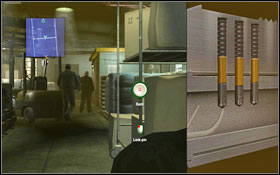
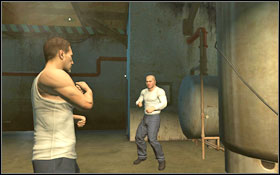
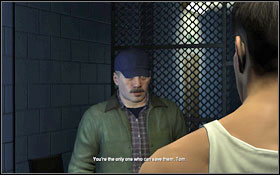
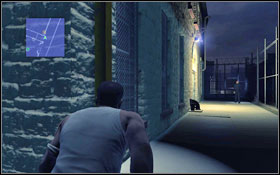
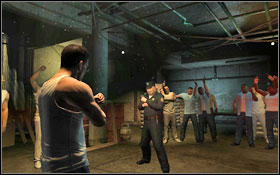
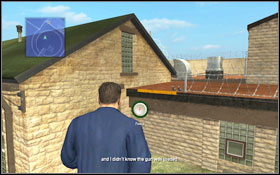
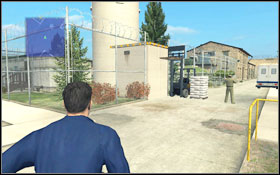
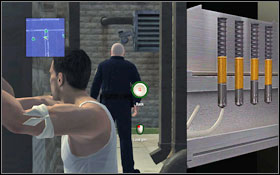
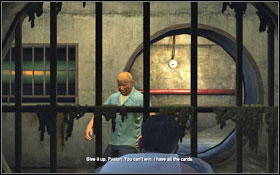
Go out of A-Wind and into the prison yard - the location in marked on your map. Don't worry about anyone on your way. Talk with the guard #1 - in return for lighter treatment, you have to send T-Bag to SHU (an area with heightened security). Approach the target and speak with him. A fight will break out #2, but the result doesn't matter. After a while you will be separated.
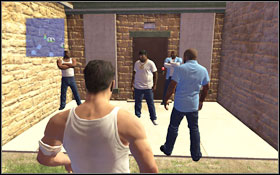
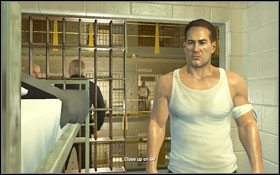
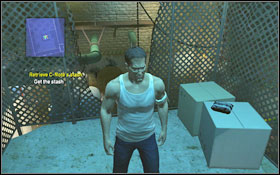
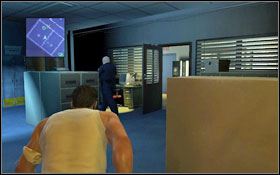
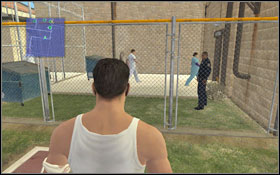
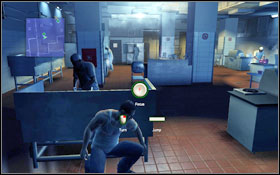
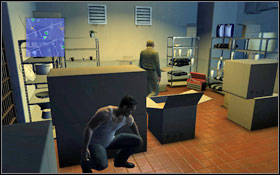
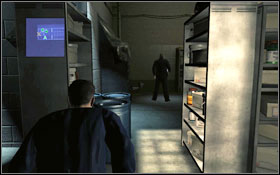
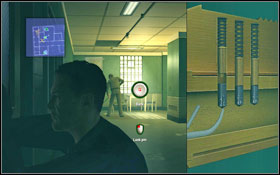
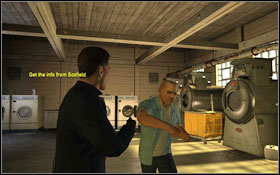
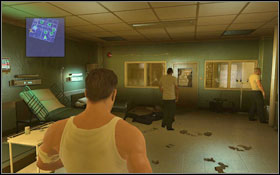
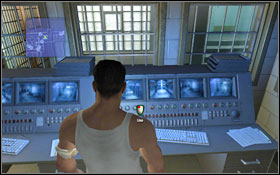
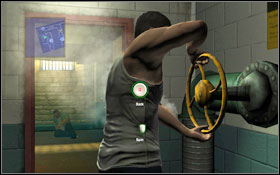
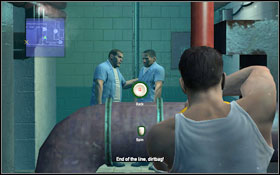
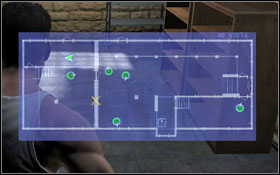
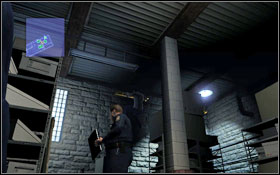
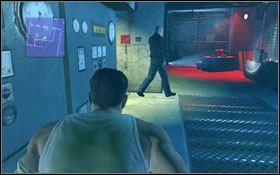
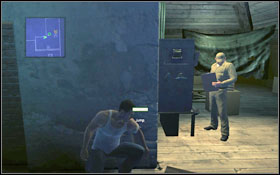
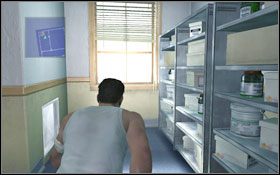
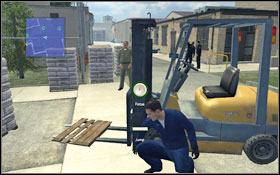
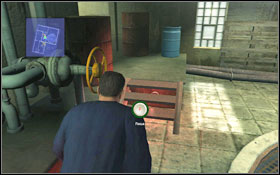
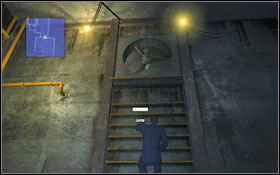
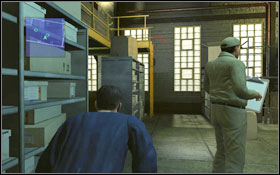
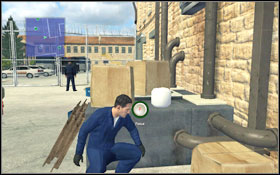
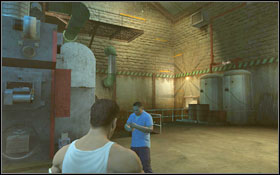
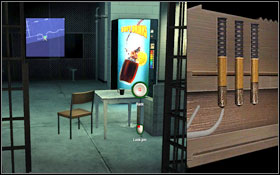
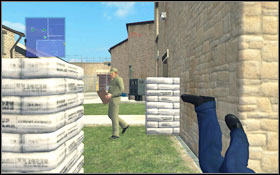
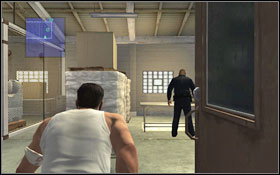
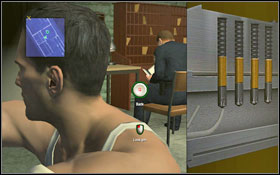
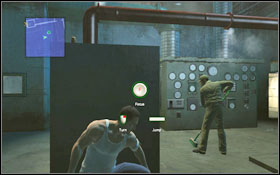
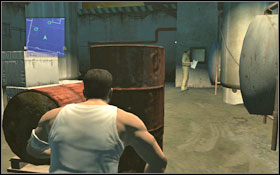
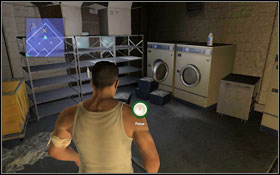
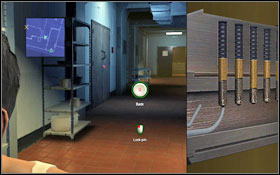
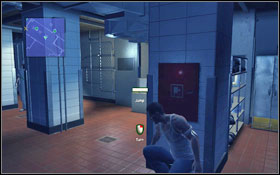
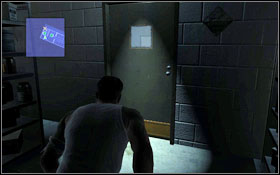
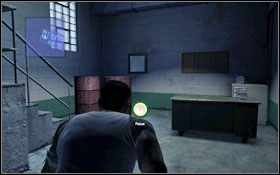
C-Note will have a proposition for you. You will get introduced to the underground fights, from which you can get some money. Mr. King is the head of it, so go talk with him #1. Before you can participate in a fight, you'll have to obtain some medicines which C-Note owns the "King" - they're in the boiler room. Go down the stairs all the way to a door. You can peep if there's someone behind them - it's clear, so can go inside freely. There are two employees inside #2.
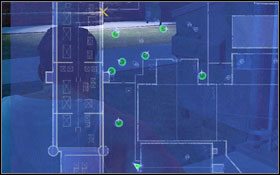
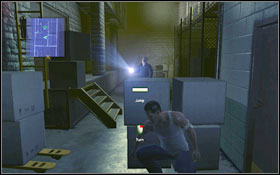
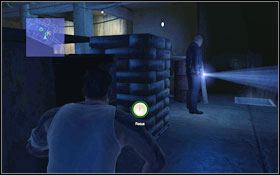
![Hide behind the nearest container ([Q]) - Walkthrough - Chapter 1 - Walkthrough - Prison Break: The Conspiracy - Game Guide and Walkthrough](https://game.lhg100.com/Article/UploadFiles/201512/2015121619012703.jpg)
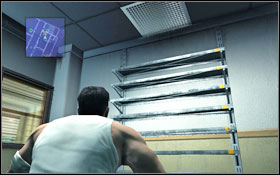
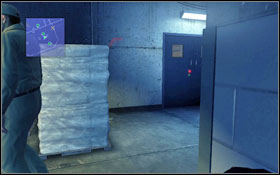
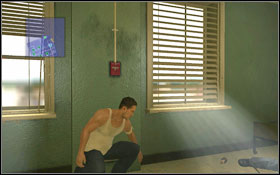
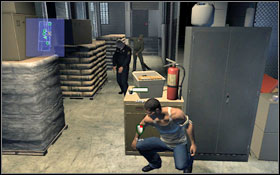
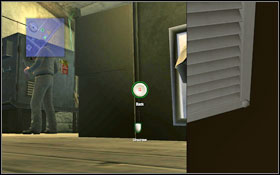
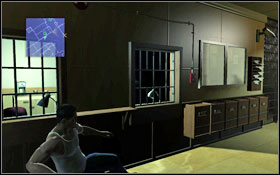
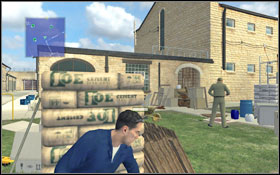
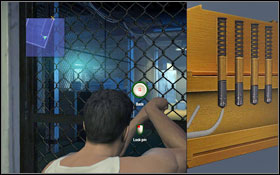
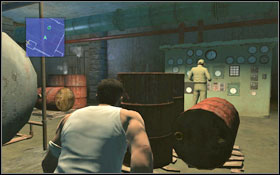
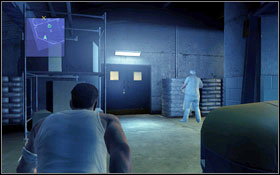
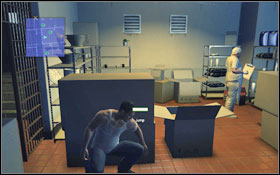
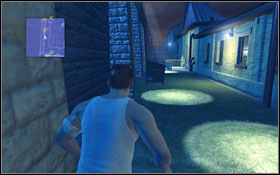
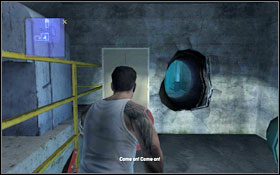
Hide behind the nearest container ([Q]). Go to its edge #1 and wait for the employee to turn around - when he does, use [SPACE] to move behind the container on the left. Slowly pass by the cleaner #2 and head to the wall on the left.
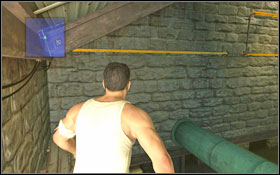
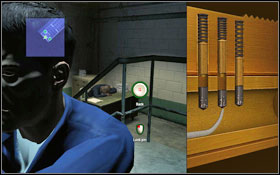
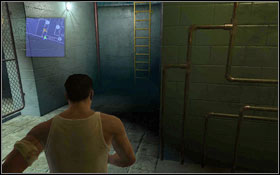
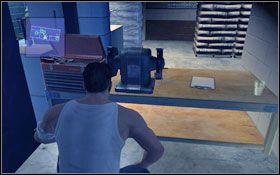
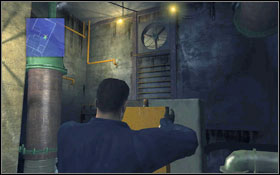
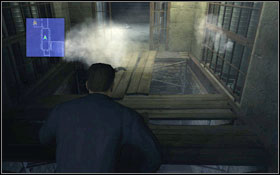
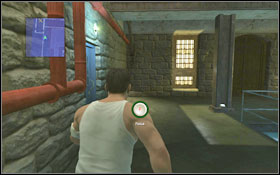
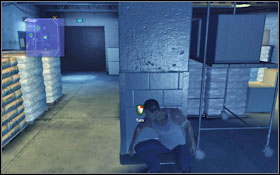
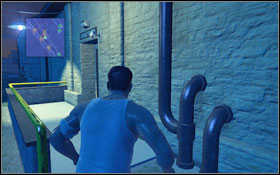
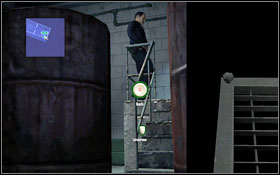
Go up the ladder and then jump onto the metal pipes in the distance #1. Jump from one to another until you reach another pipe. Raise your legs [Q] to avoid being seen. Your will find the medicine in the small room #2.
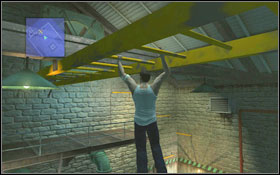
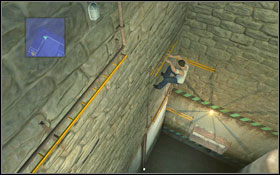
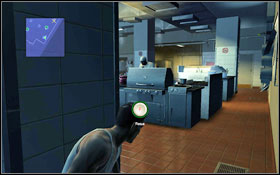
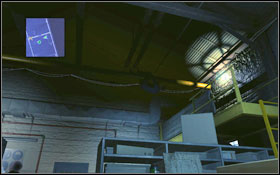
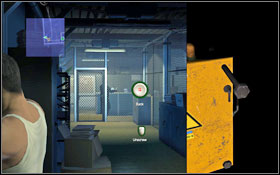
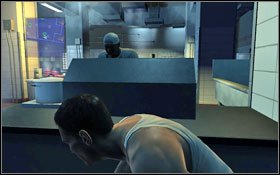
Use the horizontal ladder to cross to the other side of the room #1. On the left you will find some more yellow pipes, use them to get down to the floor #2. The first employee is gone, so there's no need to jump from one cover to another. Go outside.
Now you can participate in the underground fights, as well as make yourself a tattoo. For more info, check out the Tips section.
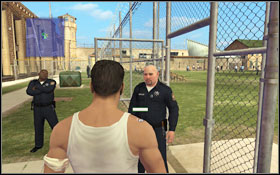
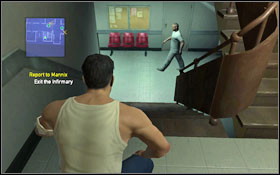
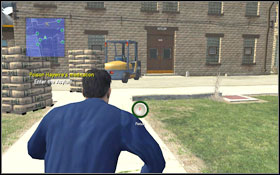
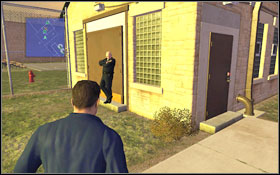
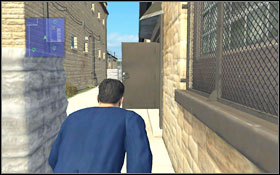
Time to find Scofield and learn about his plans #1. Head to the phone booth #2 and report to Mannix that the brothers are attempting to break out of the prison and that the PI brigade has something to do with it. Charles Westmoreland can give you some valuable tips on how to get into the brigade.
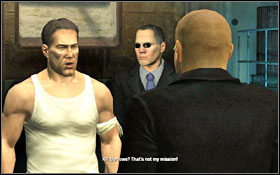
You will find him sitting on a bench just nearby #1. He'll tell you that the PI is being run by Abruzzi. Unfortunately you won't be able to talk with him, as he and Scofield will have a fight and will both leave the prison yard. Head to the cell #2. Offer your help in return for getting into the brigade.
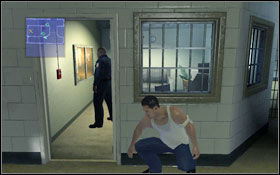
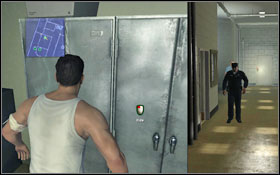
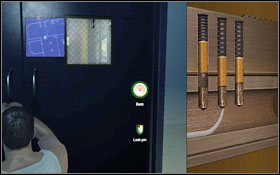
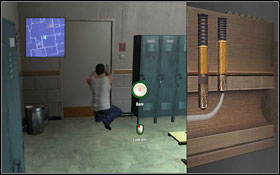
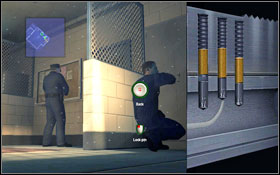
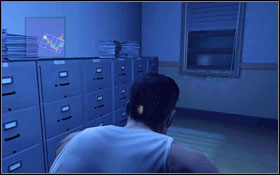
You have to find proof that Teets is conspiring against Abruzzi. Creep into the guards' changing room, while looking out for one of them on your way #1. Once you're inside, you will hear that Bellick is coming. Quickly hide inside the locker #2. Eavesdrop on the conversation. You have to get the letter from the guard.
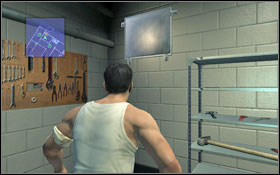
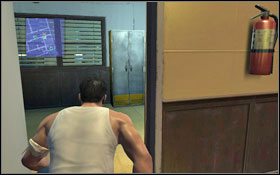
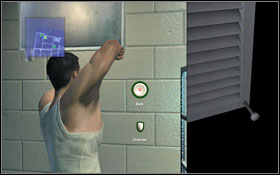
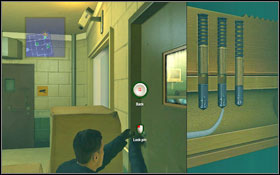
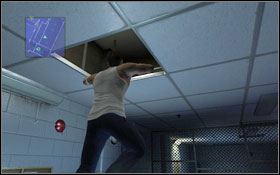
Follow Bellick (just don't get too close). He will eventually give the letter to Louis and tell him to take it to the desk. Go into the storeroom, from which you will get into the main building. Unscrew the ventilation shaft lid #1 (for more info, check out the Tips section). After getting to the hall, go upstairs. Once you approach the entrance, you'll head an approaching guard - hide inside the locker #2.
Wait for both of them to go away and get out. Once more go into the ventilation shaft #1. Eavesdrop on the conversation of the guard with the letter and Becky #2. Move forward and one of the boards will crumble [quick time event].

After getting to the room, you will see the letter right beneath you. Take it while trying not to fall into the room [quick time event].

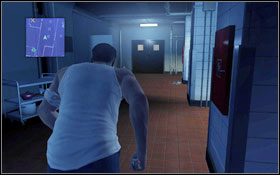
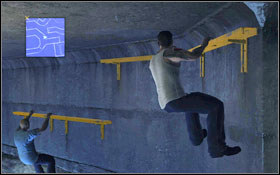
Exit at the next room. Wait for the guard to turn his back to you and the door #1 and move to the next corridor. You will come across the first camera #2. Quickly run as it turns right. Once more climb up the ledges.
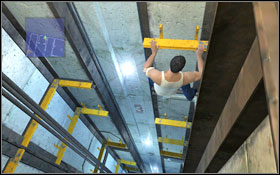
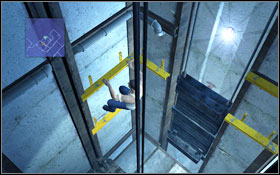
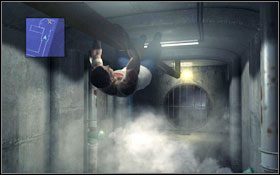
Some more climbing here #1, followed by going down the elevator shaft #2. Once you're on the second floor, the elevator will suddenly start moving [quick time event].

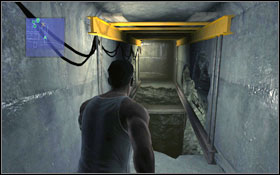
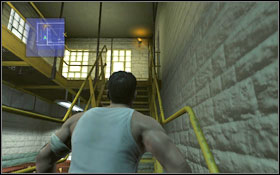
Go down to the very bottom and use the ladder to get into the cellar. There's a patrolling guard there. Hide inside a locker around half-way to the exit #1. Go to the door leading to the staircase. Use the ventilation shaft again to get into A-Wing #2.
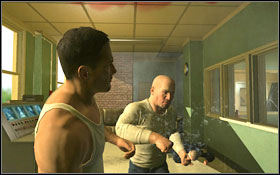
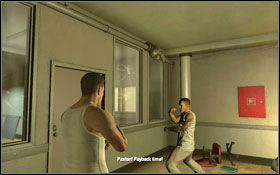
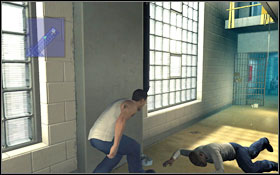
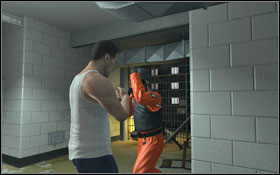
On your way you will come across one of the prisoners, who will tell you to go to the baths, where Abruzzi is waiting. Once you get there you will meet Teets, who found out that you have been spying on him. Defeat him in a hand to hand fight #1. Once you're about to leave, you'll get attacked again [quick time event]. Head to Abruzzi to report about completing the task and silencing the snitch #2.

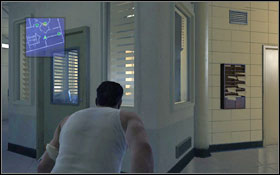
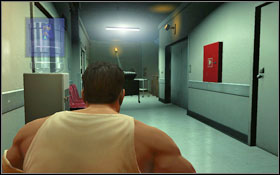
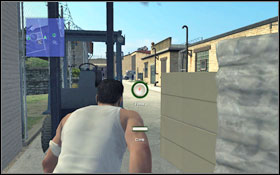
Head to the A-Wing exit. On y our way you will see a small fight between C-Note and Scofield. You'll pick up an empty box of PUGNAc. Your task is to get to the infirmary and check out Scofield's medical reports. Follow the doctors going into the cafeteria #1. Wait for the guard to move and jump over the fence. Watch out for another guard #2, sneak by him once he turns his back to you.
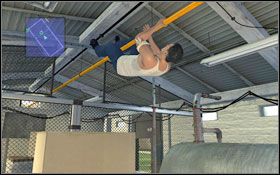
In the next room you will encounter a mechanic #1, sneak by him very slowly. Go up the ladder, use the pipe to cross to the other side and then jump over the fence #2.

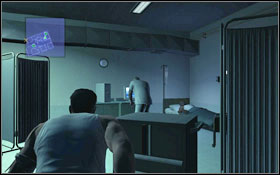
Grab the ledge, approach the open window #1 and jump inside through it. Inside there are tons of guards and doctors #2.
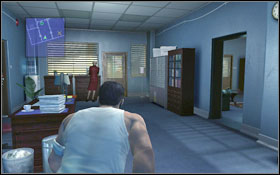
Sneak up to the double door in front of you, where you will find a doctor #1. Pass by him very, very slowly or else he'll notice you. Climb up the shelves and open the vent. Once inside, move to the next room #2 while avoiding falling down [quick time event].
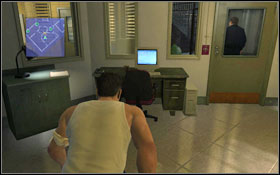
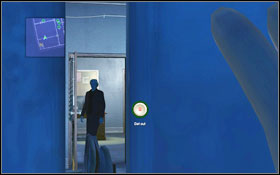
Approach the door and wait for the doctor and guard to move away. Get to the next room #1. Once Tancredi and Scofield leave the room, go inside and read Michael's medical report #2. Time to inform Mannix about the news.
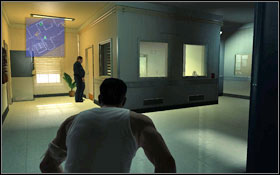
Open the door and quickly move to the staircase. Below there's a camera and a walking doctor #1. Wait a moment and go to the bars. Once the guard enters the small room #2, sneak below the windows and exit outside.

Use the phone booth and call Mannix. C-Note will once again offer his help in the potential riots. In order to get his trust, you have to obtain a medicine call PUGNAc, which can be found in the loony bin. First of all, you'll need a picklock. Head to Abruzzi. In return for the tool, you'll have to get a knife from the kitchen. Once again jump over the fence and go into the cafeteria #1. Look out for the guard, walking from one window to another. Wait for a good moment and jump forward #2.


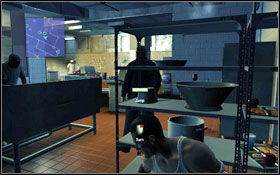
The door at the next room is locked, so use the pipe #1 to get into the kitchen. Inside there are just cooks #2.
Approach the first stand #1, from which you can easily get to the right side of the room. Your next target is the column - look out for the chef wandering nearby. The further path is just as easy, just move from one cover to another #2.
Eventually you will reach a table with the knife on top of it. Take it and head to Abruzzi. Follow the same path which you took on your way here, but this time go through the double door. The next corridor is completely empty #1. You will get the picklock, so now you can go get the medicine. The first chance to use your new tool will appear on the spot, you have to open the double door #2, no rush. For more info on opening locks, check out the Tips section.
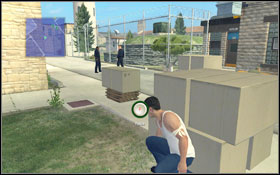
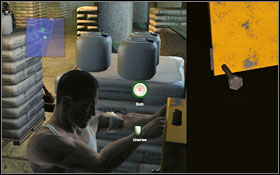
Wait for the guard to leave the room. Hide behind the boxes #1 and move forward once the warehouseman turns around. Before you are two cameras. You can avoid the first one when it's turned right or run below and hit it to disable it for a bit. As for the second one, wait for it to turn towards the door #2.
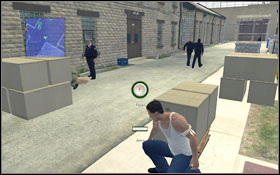
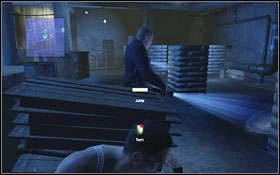
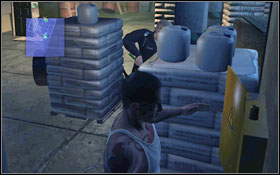
In the warehouse you will come across one guard - go around the bags in the middle, next to the column, from the left #1. A bit further there are two more warehouse-keepers, ignore the first one and go left up the stairs. Once you approach the door, the second keeper will start to move in your direction. Quickly hide between the column and the bags #2.
The road to the facility is a rather simple one, with not many guards to avoid #1. After getting outside, approach the car and underneath [LMB] and afterwards go out on its other side. Use the covers and move forward #2.
Two more guards will decide to take a walk, which will ease your task #1. Jump behind some more boxes, while keeping an eye on the guard. Inside there's a ton #2 of guards, so you'll have to make things easier by activating the alarm.
Enter the ventilation shaft #1. Move forward from the next room, while trying to look out for the talking guards #2.
Eventually you will get to a valve #1 - turn it to activate the alarm and make everyone run from the building. Once the corridors become empty, run to the room with the medicine. The door is locked, so you have to pick the lock. This time you have to be fast about it, as a guard is approaching #2. Take the medicine and head to the exit. On your way there you'll get attacked by one of the patients, who will stab you with a syringe. You have to get to the door [quick time event].

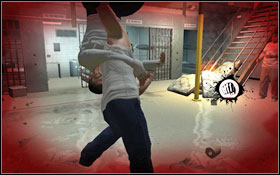
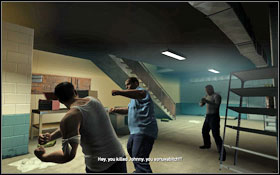
Charles will save you. You will wake up in the middle of a riot in the A-Wing. Fight two enemies #1, #2 before the room gets filled with gas and everyone pass out.
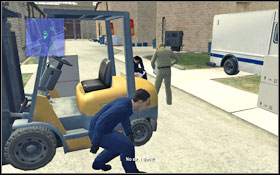
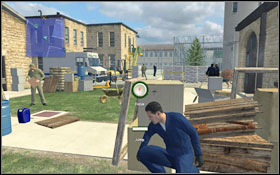
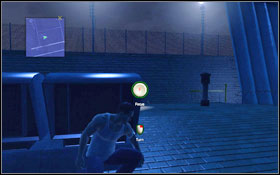
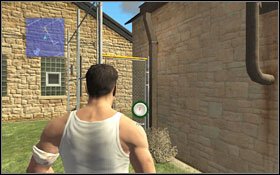
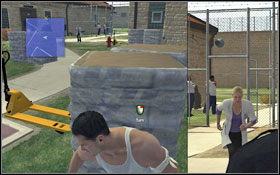
Speak with Abruzzi. He will tell you to get rid of Haywire from Scofield's cell. In return for helping him, you will demand the possibility to have a meeting with Michael. In order to lure the psycho out, you'll have to change his meds to rat poison. Firstly, get off the square on which the brigade is working. Jump onto the wall #1 and then jump down on the street side. Hide behind the forklift and quietly sneak to the other side #2. Look out for the guards and warehouseman.
Jump over the fence and use the ladder to climb up onto the building. Once there, quietly approach the vent and unscrew the lid #1 - do it very slowly, as the mechanic is very close to your position. Walk across the planks and metal sheets #2 to the other side of the room, where a ladder awaits you.

Wait for the patrolling guard to turn back and sneak to the other side #1. Go to the chemical point, only to find that the door is unfortunately locked #2. Watch out for the guard and if needed, stop the lockpicking and hide.
Take the poison form the shelf and go back the same path. The guard has changed his patrol path, ho now walks round the shelves #1. Sneak right behind him until you reach a door leading to another room, with a sleeping guard inside. Once again you have to open a closed door #2.
After getting outside, it's time to infiltrate the asylum. You can either run for it - the guard on the left might just not notice you - or use the piles of bags and the forklift to go from cover to cover #1. Right behind the first door there's a camera and another door on the right, which you have to open #2.
Inside you will find a control panel, thanks to which you will open the secured passage. To move on, you have to run while the camera is facing the opposite direction or hit it so it gets disabled for a while. You will get to the bathroom, from which the road leads into a room with a madman #1. Take care of him quickly and once you hear a nurse coming, hide inside a locker #2.
Sneak by and get to the corridor. The medicine room is locked - use the picklock #1. Keep an eye on the cleaner and try not to make too much noise. Afterwards swap the medicine for the rat poison. Leave the room, turn left and go into the vent #2.
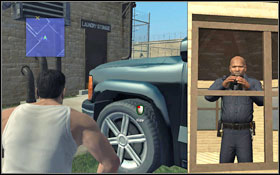
Jump onto the roof, afterwards onto the yard and head to Abruzzi to inform him about completing your part of the deal. As promised, you will find Scofield in the shed #1. Go report to Mannix about the eavesdropped conversation. A guard will take you to the laundry, where you will have to once more face Teets #2.

After the fight you will get beaten pretty hard and will end up in the infirmary. You will obtain a fragment of Haywire's sketch of Scofield's tattoo. Your task now will be to obtain the other parts. Use the picklock to open the closed door leading to the corridor #1. Hide inside the locker #2 and wait for the guard to exit from the other room - go inside.
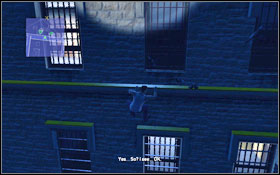
Inside you will find a vent. Unscrew the lid #1 while trying not to wake up the sleeping guard. You will get to the roof - look out for the searchlights, there's quite a bit of them. Go down the ledges #2 and get to the lower part of the building. Watch out for the lights on the windows.
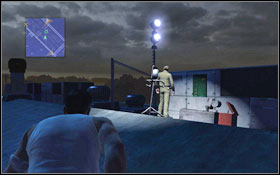
You will come across a mechanic #1 who decided to take a look around after hearing a bird flying away. If you were walking along the left side, it would be wise to quickly move to the other, as the mechanic will thoroughly check out the area. On the further part of the roof you don't have to be as careful when it comes to silent moving. It's even better to speed up and dodge the searchlights faster #2.
Eventually you will reach a pipe leading to some the windows #1. Grab onto the moulding and quickly jump to the right - you will once more be in the reach of the searchlights. Jump into the only open window at the attic. Inside there's a patrolling guard. You have two ways to get past him. You can hide behind the column #2, wait for him to return to the other part of the attic and then try to go around him (which is indeed quite hard) or try to sneak by while he's by the window - you have just enough time before he turns around again.
Whichever way you took, go down the ladder to the floor lower floor. Before you are two cameras #1. Hit the first one while it's directed towards the stairs - you will disable it for a while. Quickly go to the other one while it's not pointed in your direction. Go down the stairs and follow the doctor into a room. Hide behind the curtain and he will go to a patient. Take advantage of this, turn back and sneak by unnoticed #2.
Open the room with the sketches #1 and take them from the table. A guard will appear - hide behind the curtain. Go out to the corridor, head to the staircase and go down one floor. Wait for the camera to turn left and sneak up to the guards' room #2, thanks to which you will avoid the patrolling guard. Exit through the second door and then leave through the main one.
Now you have to return to the room in which you were lying. The yard is overflowing with guards #1. Pass by the first one, going towards the cars. Approach the nearest one #2 - the guards are turned away - and hide behind it.
Once a second one arrives, go out and hide behind it. Wait for the guard to move away and once more get out on the other side #1. Head towards the drainpipe and climb it up to your room #2.
Riots broke out in A-Wing. It's possible that Scofield will want to use them as a cover-up for escaping. Your task is to find the brothers as fast as possible. You have to get to the roof. Go through the door leading onto the corridor #1 and get into the next room - snipers will open fire. Sneak by while sticking to the wall and rolling under the windows #2.
Go through the broken window and get rid of the first enemy crossing your way #1. You will both fall out of the window. Avoid getting hit by the sniper [quick time event] by breaking a window. There's a welcoming committee waiting for you at the attic #2.
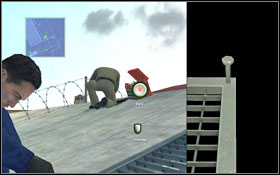
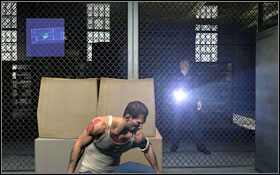
![As you reach the second part of the attic, gas grenades will be thrown in - quickly throw them back [quick time event] - Walkthrough - Chapter 4 - Walkthrough - Prison Break: The Conspiracy - Game Guide and Walkthrough](https://game.lhg100.com/Article/UploadFiles/201512/2015121619014529.jpg)
As you reach the second part of the attic, gas grenades will be thrown in - quickly throw them back [quick time event].

Go down the staircase and beat up the prisoner by the computer #1. Move on into the corridor and you will notice Scofield. Defeat another prisoner and you will reach a computer, thanks to which you will open a passage to the further part of A-Wing #2.
You'll get through the next window with a small help from the next beaten up prisoner #1. Use the vent to get to the other side of the facility. There will be some complications here, starting with T-Bag and his friend greeting you #2. You're always attacked by one enemy at a time, so don't worry about the other one.
Help C-Note with opening the door [quick time event].

Open the next door by using the control panel #1. Snipers will start firing at you once again, jump below the windows to avoid getting shot #2. There's a bigger enemy waiting for you at the end, but you shouldn't have any problems with him. You'll also meet Lincoln. Go into the sewer on the right.
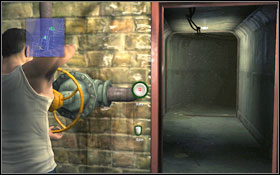
You will see Sucre and Abruzzi looking at a huge devil's head projected on a wall #1. Go further and you will come across Lincoln and Turk, who apparently has seen Scofield. Follow them. Go up the stairs and then go around to get down on the other side. Turn the gas valve #2 and take care of the enemy visible in the distance.
Go forward and climb up the ladder #1. You can defeat the two enemies with hot steam - all you have to do is turn the valve #2. Right behind the corner a [quick time event] will start, during which you'll have to electrocution.


You're close to Turk and Lincoln. Now you just have to defeat two enemies #1 and climb up onto a pipe, from which you can move onto a small platform. Afterwards jump onto the pipes once more #2 and look out, as one of them will break [quick time event].

Once more climb up onto the pipe, which will lead you onto another platform. Now just go up the ladder to will find Turk #1 and beside him a note with an order to kill Lincoln and Paxton. Now return to the main part of A-Wing, taking care of two enemies on your way #2.
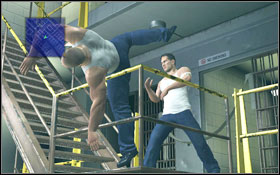
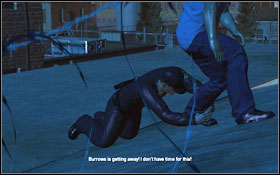
There's just one corridor left after going up the stairs, in which you will be suddenly attacked by a special forces member #1. Once you deal with the enemy, head onto the second floor, pushing down the prisoner guarding the passage on your way #2. You will see Burrows in the distance, but you'll get attacked by Teets [quick time event].

You will tell Abruzzi to find out who was behind Turk and who wanted you dead. In return you will have to gain a new weapon - grind something from a big screw to be exact. The workshop is being patrolled by a few guards #1. Use the metal pipes on the wall #2 to get behind the guard. Once he turns back, climb onto the wall with no fence.
Grab the pipe, pull up your legs and move to the grinder #1. Wait for the mechanic to start grinding himself, so that nobody hears the sound of your machine working. Make yourself a quite fancy weapon. Sneak by the guard and cleaner #2 using the piles of bags as cover.
In the next room you have to lure the guard from his post, as he's blocking your path. Turn off the radio and hide inside the locker #1. Wait for him to turn his back onto you and sneak beside him. Go inside the tunnels and cross the gap using the horizontal ladder #2.
Wait for the warden and Bellick to go away. Approach the fuse box on the right #1, very slowly unscrew the lid and then cut off the power in the room. Sneak to the door from the right, right by the guards #2, jumping from one cover to another.
Move forward. As you will realise in a moment, the guards are coming your way. Turn the valve #1 and go down the ladder. You have to look out, as one of the guards will keep on illuminating a couple spots near you. The places will change as you move on. As you're near the end, you will have to get further by jumping between pipes #2. The guard will lighten them starting from the ones on the left. Once the light moves away, jump to the right. This way you will get to the end, where you will jump into a hole. The guards won't search for you anymore.
You will get to another pipe. Climb it, and then the ladder and you will return to the yard. After reporting everything to Mannix, Bellick will take you to the changing room, so that you can change into a worker uniform. You will get the chance to make a false order of repairing the pipe which Scofield wants to use to break out. Open the door on the left #1. There are two guards standing in the corridor. Be quiet and they won't notice you. Take the stairs down #2.
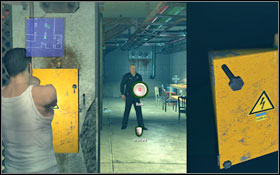
Follow the guard and you will get to another fuse box #1. Very slowly unscrew the lid and shut down the electricity. Hide behind the boxes #2.
Follow the guard, stop by the pipes #1 and then move on as he walks away. Wait a bit behind the machines #2 and then head towards the ladder.
You'll find yourself in an elevator shaft. Start climbing up #1. After getting to the floor with the warden's office, open the elevator door [quick time event]. Quickly approach the door in the front, before the secretary manages to notice you #1.

Go up the ladder and into the attic. Roll right next to the mechanic #1 and then quietly unscrew the vent's lid #2.
Approach the door, open it slightly and wait for the secretary goes make some coffee #1. Sneak to the warden's office and fill in a false pipe repair order. The coffee is ready and your only hiding spot is the locker #2, which luckily the secretary won't check out.
Exit to corridor and turn right. Enter the next room and from there take the vent to the changing room's level #1. Wait for the guard with coffee to leave and then move below the window #2. Hit the camera and enter the changing room.
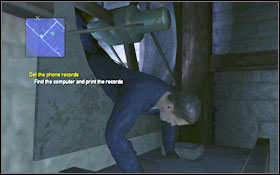
Upon returning to the yard, you will learn that there's no new information regarding Turk. In order to get to know more, you'll have to gain the telephone billings from the last couple weeks. The computer can be found in the warehouse. Run to the market spot to fall into a trap - you'll have to face two prisoners #1. Move between the boxes to avoid the warehouse keeper #2.
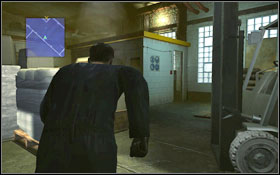
Hide below the car and get out from the other side. Jump forward from behind the forklift #1 once the warehouse keeper turns away. Go up the stairs and into the building. Jump down the room and turn the two valves #2.
Once the water level drops completely, go down into the sewers. Move forward all the time. After getting to another little bigger room, go down the ladder and cut off the power from the big fan #1, unscrewing all the screws beforehand. Now return up and move right after climbing the ladder, where you will find some pipes on the wall - use them to move on #2.
By following the pipes, you will get to the fan #1. Move across the planks and then to the exit using the pipes. Go through the corridor with hot steam coming from both sides #2. At the end you will find a ladder, which will lead you to the warehouse.
Take a peek inside through the door - after a while the guard will turn around and you'll be able to enter. Your target is the fuse box, which will cut off the power supply. Stick to the left side and you will find a ladder there #1. Climb up and quietly unscrew the lid from the fuse box. Once the power is cut, go back down #2.
Jump to the other side, climb up the second ladder and then onto the pipe by the ceiling #1. Look out for the guard lighting the whole pipe, beginning from the right. Start walking after the light moves to the left once. After you get to the other side, quickly go through the turned-off fan #2.
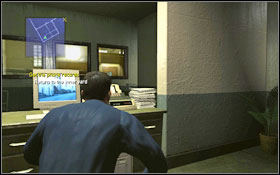
The further part of the warehouse is empty at the moment, so you can run through it with no worries. Jump onto the roof of the small room #1 and you will find a hole, through which you can jump and cut off the electricity in the door leading to the other room. Exit through the same hole you used a second ago and approach the second room. Inside you will find a computer, use it to print the telephone billings #2.

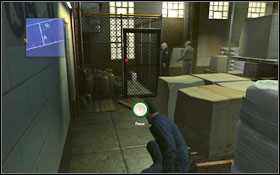
Guards will show up. Go out through the second door #1. Wait for the warehouse keeper and the second guard to move deeper into the room and follow them #2.
Once they move away, open the double door by using the picklock #1. Once you're in the other part of the warehouse, go to its end while looking out for the cleaner #2. Go through another double red door.
Firstly sneak by the gardener #1 and then go between the busses. Jump behind the black one, while looking out for the warehouse keeper. Right next to the patrol cars there's another gardener #2. Move to the ladder on the right.

Once you're on the roof, look out for the guard with binoculars #1. As he puts them away for a while, jump behind the next cover. Gradually move towards the other end of the roof. As a car drives through the gate and stops, wait for the guard to face the driver. Slide down the drainpipe to the ground#2.
Go round the car while avoiding being spotted by the guard #1, afterwards you will have to sneak by the warehouse keeper once more #2. Eventually you will meet with Abruzzi.
You'll be called to Abruzzi #1. It turns the fact that you're a cop has been exposed. After a while you'll get attacked by two enemies [quick time event] and you'll lose your PI brigade ID as you fall down #2.

Head towards the exit. You'll have to face one enemy for starters #1 and then two more #2 (they never attack at the same time, so you can fight them one by one).
Two agents will arrive #1 and won't leave you much choice - you either kill Burrows or end up in a plastic bag yourself. Return to the cell only to be called to a visiting. The mysterious guest turns out to the Scofield and Lincoln's father - Aldo Burrows #2.
You will learn that your death sentence issued has been issued. Aldo will offer his help in clearing all information regarding you from the Company, in return for helping his sons escape. The prison plans which you will steal using the fact that you're in the visiting room will come in handy. Climb to the attic #1 and you will get out at the other part of the room, right behind the fence. Approach the door #2.

Head left towards the stairs, passing by a camera on our way. Below you will come across Bellick - use the columns to get to the door #2.
Before you begin lockpicking the door #2, hide inside the locker #1 and wait for the guard to walk away.
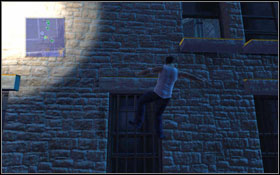
After getting outside, climb onto the roof using the nearby ladder, while keeping an eye on the guard #1. Upstairs there won't be any patrols, however you have to look out for the searchlights. Stick to the right side and hide behind covers so that the light doesn't reach you #2. After getting to the end, you will find yourself in a chapel.

Wait for the guard to turn around, jump down and hide behind the curtain. Afterwards go behind the benches and eventually quickly move to the door leading outside. Turn left and climb up the drainpipe on the nearby building #2.
You will finally find the plan's location - all that's left is to open the door #1 and take the plans from the desk. Two guards will enter the room and one of them will go take care of his needs. Hide in the locker and wait for the guard to stop looking in your direction. Approach the fuse box, unscrew the screws slowly #2 and turn off the power.
Hide inside the locker once again. As the guard begins to patrol the room, head towards the stairs. After getting there, the light will switched on again - look out not to be noticed. On the floor below there's a camera and one guard #1. You can use either the room opposite to the camera and exit from the other side or the little alcove (more risky). Outside you will have to pass by a series of cameras #2.
Cross the fence using the drainpipe #1 and then use the containers to hide from the guard #2. The door leading to the visiting room is opened, so you don't have to worry about them.
Wait a bit to make sure Bellick doesn't surprise you and then return upstairs following the same path you used before - around, while hiding behind the pillars #1. You can also use the locker if you need some more time. Upstairs look out for the camera. Use the shelves to climb up to the vent #2, through which you will return to the room with the visitor.
You will learn that the place in Scofield's cell is for sale. Go speak with Geary for more info. The price is considerably high - $500. Head over to Mr. King so that he can arrange you a fight for this amount. The only enemy priced so high is Bellick. If you've built up your character to the maximum, the fight shouldn't be hard #1. Unfortunately you won't get your payment, so the only way is to sneak into the office and take what's yours. Firstly head to the Brigade's garden #2.
Open the door to the warehouse #1 while making sure the guard doesn't spot you. Change your clothes and sneak out of the yard #2.
Jump down and go past the warehouse keeper #1. Wait for the guard and the warehouse keeper to finish talking and go into the guards' room #2.
Once inside, break into Bellick's locker #1 and take the money he owes you. Return to the garden, turn right and then go into a narrow path. You will reach a warehouse keeper standing by a forklift #2. As he goes away, use the forklift to climb onto the wall.
Jump down and head to the warehouse to return the clothes. Get out through the rear exit right behind the guard and jump through the fence onto the yard. Get to Geary and give him the money #1. Having access to Scofield's cell, all that's left now it to steal a guard's uniform from the laundry. Head towards it #2.
Since you've lost the ID card, you have to get yourself a false one in order to get into the laundry. Sneak behind one of the guards #1 and leave through the other side of the room. Open the back door leading to the laundry #2 and take the ID from the board.
Jump over the fence. You have to stay cautious, as one of the guards is searching the terrain using binoculars. While he's taking a break, slide under the car #1 and then get in through the door. Use the pipe by the ceiling #2 to get behind the fence.

Turn off the radio to draw the guard's attention and sneak by to the yard. Now you have to obtain a photo. Head to the post office, wait hidden near the door until the guard approaches and turns back and then open the lock #1. Go up the stairs while keeping an eye on the camera #2. Quickly go through the door while it's directed towards the other side.
Around the middle of the passage you will find a pipe by the ceiling - use it to cross to the other side. Go down the ladder, open the door leading to the empty room #1 and enter it to find a fuse box. Once the lights are out and the guard moves, exit the room. Jump to the other side from behind the boxes #2 and climb up the ladder.
Return to the other side using the pipe. You have to get to the large fan - keep an eye on the guard who lightens our only path #1. Once in the second part of the warehouse, jump down onto a platform and then use the pipe to get to the other side. Go down the stairs and through the gate. Jump from cover to cover to get past the warehouse keepers unnoticed #2.

Jump onto the roof #1 and exit through the window. Move onto the second building. Once more you have to keep an eye on a guard watching the terrain with binoculars #2.
Slide down the pipe to the ground and jump over the fence, behind which you will find the entrance to the boiler room #1. Once inside turn right and don't climb anywhere. Pass by the cleaner #2 and turn the valve to stop the steam.
Slowly go pass the mechanic #1. Eventually you will reach your ID #2.
Go back following the same path. Watch out for a mechanic lurking around past the first turn. Wait until he asks another one about the numbers of a machine and then sneak past them #1. Once more go pass the cleaner, this time climbing onto the higher level. Go through the door and exit outside #2.
Sneak beneath the car and come out on its other side. Use the forklift #1 to climb onto the wall and jump down to the Brigade's yard. You will be noticed by Charles, who will decide to help you and lure the guards' attention. Hide from doctor Tancredi and return to the prison yard as she passes by #2.

Head to the laundry - now you can enter it freely. Take the clothes #1 and leave the building. Take the laundry to the kitchen, where a guard will take it from you. Follow him to regain the guard's uniform. Open the closed door #2.
Go forward all the time and you will come across one of the cooks #1 walking amongst the pallets. After going through the door, you can choose one of two paths - I'd recommend going left. Wait for the camera to turn and disable it. Go through the next door, into the kitchen. Very slowly sneak by the cooks' posts #2.

There's an additional guard by the laundry, but luckily he's just staring in one direction. Once the cook walks away from your position, get behind the guard #1. Wait for the cook to return to his position and take the uniform. You can now exit through the double door to the left of the guard #2.
Turn left in the corridor and open the door visible at the end #1. The lock has numerous pins and additionally there's a guard approaching, so you must be fast about it. If you can't make it in time, hide inside a locker and then follow the guard. In the next room he will sit down on a chair, with his back turned towards you. Drop the uniform into the sewer. Return to the main hall - this time a cleaner is there. Sneak by him by moving between the columns and constantly staying hidden #2.
Wait for one of the cooks to leave the kitchen. Use the boxes #1 to sneak by another worker undetected. There are two cameras before you. You can pass by the first one while it's turned right or just run towards it disable it. As for the second one, wait until it's not facing the door. In the warehouse you will come across a cook. Follow him as he goes to the other side and go through the door #2.
Leave the cell, jump down and then use the pipe #1. Wait for the guard to take a look around before going through the gate. Move on and use the pipes on the wall to pass above the guard #2.
Cut off the power to avoid getting electrocuted. Unscrew the screws slowly so that you don't alarm the guard. Go through the door, turn right and go down the stairs. You will reach a hole in the wall covered with a locker #1. Push it aside and go through. Go forward all the time until you reach a dead end - turn the valve and use the pipe to get through the small window #2.

Look out for the steam while hanging from the next horizontal ladder #1. Jump onto the platform and then take the ladder outside. Pass by the guard and searchlights onto the drainpipe in the corner #2.
Climb to the roof and approach the windows. Take the further, covered ones. Climb up the mouldings and then move right, to the next covered window #1. Keep an eye on the searchlights. After getting to the top, run across to the other side and climb down. Once again look out for the searchlights and which window you choose - take only the covered ones #2.
You have to get to the other side. Running is probably wiser than sneaking, as you have to avoid the searchlights. You can run along the middle #1. After getting to the rower climb it and go down to the ground on the other side #2. Watch out for Bellick.
Hide behind the containers and once the guards turns, head towards the next building while avoiding the searchlights #1. The door to the administration is guarded by a camera #2.

Unfortunately the door is locked; you have to open it in time before the guard arrives #1. Inside there are two cameras and two guards to pass by #2.
Sneak right below the first camera #1, meanwhile one of the guards will go down into the room and sit of the chair. Once the camera is facing the opposite direction, jump by the entrance or pass beneath the camera. Either way, you'll end up in the archive room #2.
Go out to the corridor and turn right towards the exit. You have a large section to pass. First of all, look out for the searchlights. Follow the guards and jump over the fence #1. Move on and hide behind the container on the left #2. Once the guard passes by, go behind the small building on the left.
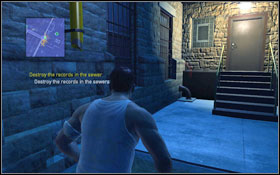
You will find a drainpipe right by the door #1, use it to the other side. Approach the drain, where you will destroy all the evidence that the prison had against you #2.

Charles will tell you that Aldo has cleared your records. Abruzzi and Mannix will both return to the prison. Follow the second one #1 to the cafeteria and jump over the fence as the guards walk away. Once inside, wait for the guard to take Mannix to the next room. Slowly approach the door and pick the lock, while keeping an eye on the cleaner #2.
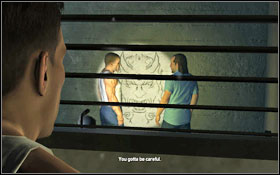
You will eavesdrop on a conversation - it turns out that Mannix blackmailed the guard so that he lets him get to Burrows. Follow the guard through the gate. Turn right and hide behind the boxes #1. Once the guard moves away, jump to the right. Stay right behind him and get to the door #2 - you have to open it quickly without making too much noise, before the guard returns.
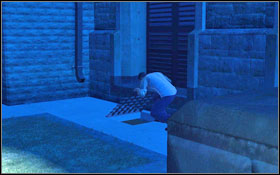
Behind the barrels you will find a sewer entrance #1. Look out for the guard on the stairs and unscrew all the screws very carefully #2.
Go straight and jump onto the lower level. Get up the ladder into the new room. Once Bellick and the company leave the place, sneak up to the fuse box #1. Carefully unscrew the lid and switch off the power. Stick to the right side and get to the other end of the room, while jumping from one cover to another. Some more unscrewing here #2. If the guard gets close, hide in the shadows and wait for him to leave.

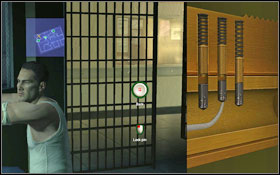
Go straight, jump down and climb up the pipe #1. The ladder will lead you to the SHU. You have to go pass two cameras. After entering the room, quickly hit the first camera and then do the same with the second one. You don't have much time - the next door is locked and you have to pick the lock before the camera resets #2. If you won't make it, you can hide in the small room and then continue to do the job bit by bit.
Go up the stairs. Wait for both guards to go watch the match #1. One of them will decide to take a small walk before he finally sits - step away so that he doesn't see you. One more closed door waiting to be opened #2. Try not to draw the guards' attention. Go talk with Lincoln. You will bump into Mannix and a fight will break out [quick time event].

You have to quickly leave the SHU - enter the sewers. Run forward and you will get to Bellick, who's slowly beginning to wake up - knock him out again [quick time event].

Head to Scofield's cell, from which you will be able to escape the prison. You will come across Trumpet, who'll attack you with a sink [quick time event].


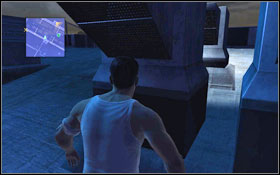
Go through the hole and down the corridor. Use the pipe #1 to cross the first obstacle. Open the door and cross to the other side using the horizontal ladders. Turn right and head down, where you will find a hole #2. Continue down the tunnels, there are no dead ends so you shouldn't get lost. The plank will break once you step onto it, look out not to fall down [quick time event].
You have to get Mannix #1 before he manages to kill Lincoln. Once more there are no dead ends here and additionally you will constantly see where Mannix is running. Go through the hole using the metal ledges #2. Eventually you will catch him. A fight begin, but a after a while you will be knocked down [quick time event].
After climbing back up continue to go straight. Before you can change into a guard's uniform, you have to go through the steam coming from both sides #1. Use the pipe by the ceiling. Once dressed as a guard, you will catch Mannix on the roof #2 [quick time event].

You will have to fight your enemy. Once his health bar is almost drained, another [quick time event] will be launched.

You have to give Mannix some more beating.

After this sequence, it's time to finish the business once and for all. A chopper will show up. The sniper will try to get rid of the prisoner, but he won't be able to get a clear shot. Hit Mannix some more.

This way you've finished your adventure in Fox River, ultimately helping the brothers in their escape. As for you, you now have a clear record and a chance to begin a new life. Congratulation on finishing the game!
Name
Requirements
Comment
Guacamole with Lard
Escape Avocado's stranglehold.
Achievement commented with the plot.
Blood Red Tiles
Defeat the snitch in the shower room.
Achievement connected with the plot.
The Rat Hunt is On
Secure the letter of testimony.
Achievement connected with the plot.
Metal Twister
Make it out of the elevator shaft unscathed.
Achievement connected with the plot.
Massive Overdose
Escape from the asylum after being injected with drugs.
Achievement connected with the plot.
Shock and Awe
Jump away from the water before getting electrocuted.
Achievement connected with the plot.
Brutally Chained
Hang Teets with his own chain.
Achievement connected with the plot.
Hard Boiled
Escape from the boiler room ambush.
Achievement connected with the plot.
Guardian Angel
Stop Mannix from killing Linc.
Achievement connected with the plot.
Tunnel Rat
Knock out Bellick in the sewers.
Achievement connected with the plot.
Everything and the Sink
Dispatch Trumpets with the sink.
Achievement connected with the plot.
Unfinished Business
Relentlessly pursue Mannix over the rooftops.
Achievement connected with the plot.
Early Retirement
Terminate Mannix.
Achievement connected with the plot.
Stalker
Complete the stealth tutorial.
Achievement connected with the plot.
Burglar
Complete the lock picking tutorial.
Achievement connected with the plot.
Monkey
First time climbing completed!
Achievement connected with the plot.
Fighter
Complete the fighting tutorial.
Achievement connected with the plot.
Ninja
Complete chapter one without getting spotted.
Load the previous checkpoint in case you get noticed.
Locksmith
Successfully lock pick or unscrew five doors or grates without being spotted.
Achievement connected with the plot.
Pugilist
Don't get knocked out in five consecutive fights.
Above all - fight against "Soda Pop", he's the slowest and weakest opponent. It's really hard to get knocked out.
Initiation
Arrive in Fox River.
Achievement connected with the plot.
Quid Pro Quo
Complete the first quest to retrieve C-Note's drugs.
Achievement connected with the plot.
Birds of a Feather
Realize the brothers are breaking out.
Achievement connected with the plot.
Enabler
Get the PUGNAc.
Achievement connected with the plot.
In the Crazed Mind's Eye
Steal Haywire's sketches.
Achievement connected with the plot.
Built for the Rough and Tumble
Survive the riot.
Achievement connected with the plot.
Inside Job
Find out that Turk works for the Company.
Achievement connected with the plot.
Man with the Plans
Get the prison blueprints.
Achievement connected with the plot.
Matador
Beat Bellick in the underground fight.
Achievement connected with the plot.
Company Policy
Mannix arrives at Fox River.
Achievement connected with the plot.
First Blood
Beat your first opponent in underground fights.
Fight against "Soda Pop", he's the slowest and weakest opponent.
Unbruised
Win a match flawlessly in underground fights.
Fight against "Soda Pop", he's the slowest and weakest opponent. You can also lower the difficulty level to make things easier.
Ringer
Defeat 50 enemies in underground fights.
Fight against "Soda Pop", he's the slowest and weakest opponent. You can also lower the difficulty level to make things easier.
All Inked Up
Get tattoos for all six locations on your body.
You need $1500 in total, you will earn it by participating in the underground fights.
Swole
Lift the weights for at least 10 minutes (accumulated).
Check out the Tips section for some info about lifting weights. You can complete this during one go, or come back between the quests.
Bloody Knuckles
Punch the heavy bag for at least 10 minutes (accumulated).
Check out the Tips section for some info about punching the bag. You can complete this during one go, or come back between the quests.
Doesn't Play Well with Others
Beat up more than 100 people on Shark.
You will beat up several people during the game, the rest you'll have to defeat during the underground fights. Fight against "Soda Pop", he's the slowest and weakest opponent.
Untouchable
Win a match flawlessly in underground fights on Shark.
Fight against "Soda Pop", he's the slowest and weakest opponent. Just keep on pressing the attack button.
Mogul
Earn $5000.
You'll get it while completing "Doesn't Play Well with Others"
Indefinite Furlough
Finish the game at any difficulty.
Achievement connected with the plot.
The Great White
Finish the game on Shark.
Completing the game on the highest difficulty setting can be quiet problematic, because of the guards' quicker reactions and more durable enemies.
Invisible
Complete every chapter without being seen.
By far the hardest achievement in the game. It's best to start the game on the lowest difficulty setting. If you get spotted, you have to start over.
Lightning Reflexes
Successfully perform 50 reversal moves in fights.
For more info on reversal moves, check out the Tips section. Fight against "Soda Pop", he's the slowest and weakest opponent.
The Best Defense
Win a fight without blocking.
An easy achievement - just keep on pressing the attack button.
Insult to Injury
Win a fight using only reversal moves and finishing moves.
For more info on reversal moves, checkout the Tips section. Fight against "Soda Pop", he's the slowest and weakest opponent.


 Pillars of Eternity Game Guide & Walkthrough
 Prototype 2 Game Guide & Walkthrough
 Prototype Game Guide & Walkthrough
 Prince of Persia Game Guide & Walkthrough
 Pokemon X/Y Game Guide & Walkthrough