Castlevania: Symphony of the Night Walkthrough Reverse Keep + Reverse Chapel
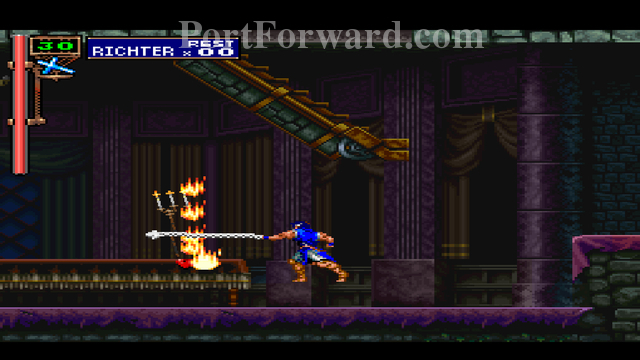
Break candles, pots, etc. for hearts to use in the upcoming battle against Dracula.
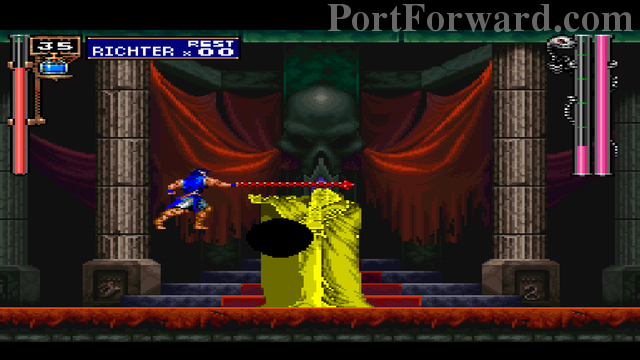
Try to grab the Holy Water from the candles on the left side of the screen.
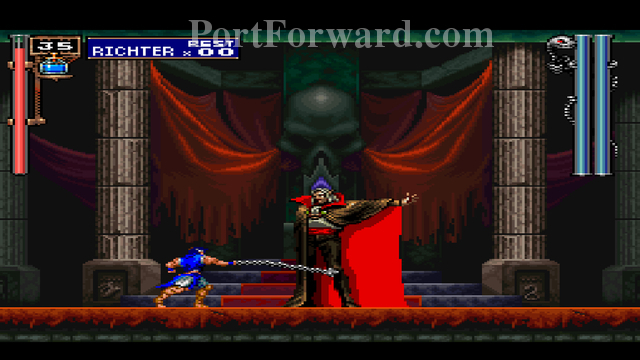
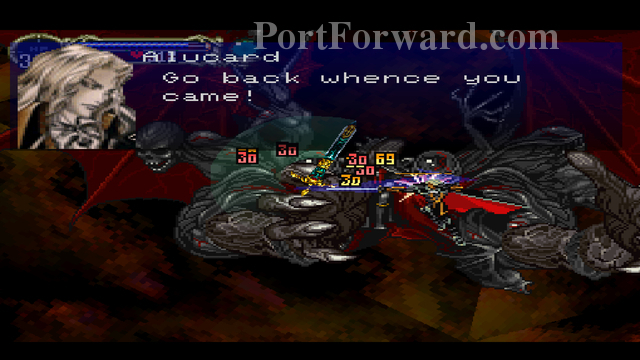
Dracula has two attacks. If he stands like this, he's going to shoot three fireballs in a column at you. These can be destroyed with a whip.
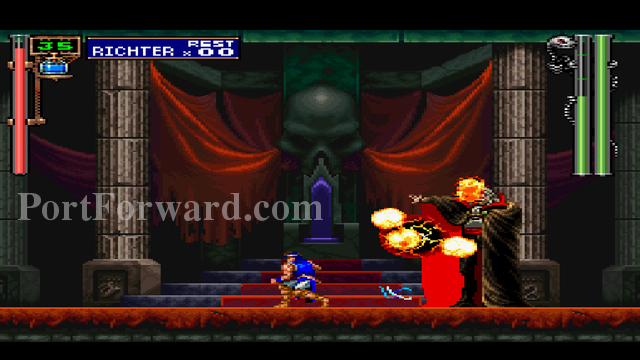
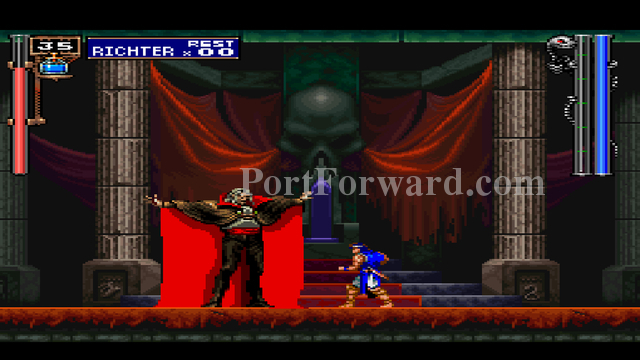
If he stands like this, he will shoot two dark fireballs. These can't be destroyed with the whip; you must duck and then jump to dodge them.
Attack Dracula's head before and after attacks. It's the only point you can damage him at.
After you do enough damage to Dracula, he'll turn into a monster. At this time, you can hit damage Dracula anywhere on his body.
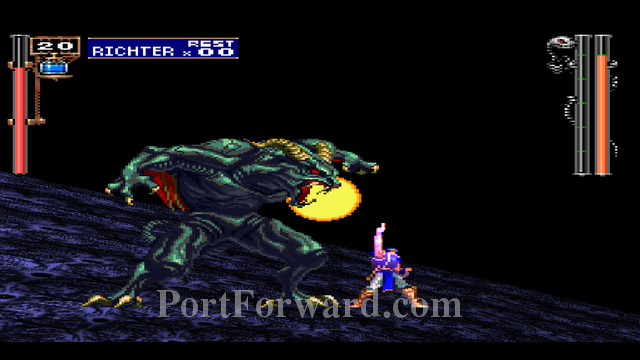
Sometimes, he'll shoot fireballs. Do your best to dodge them.
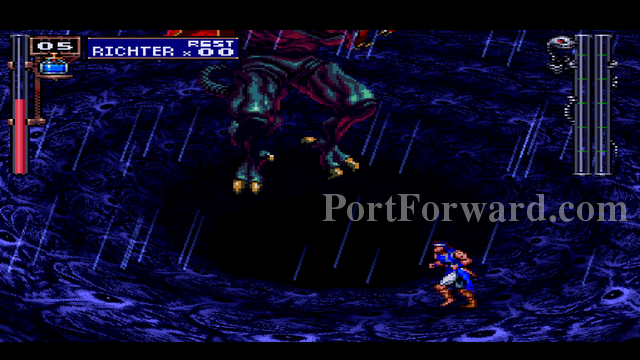
You might also need to slide under him if he jumps in the air.
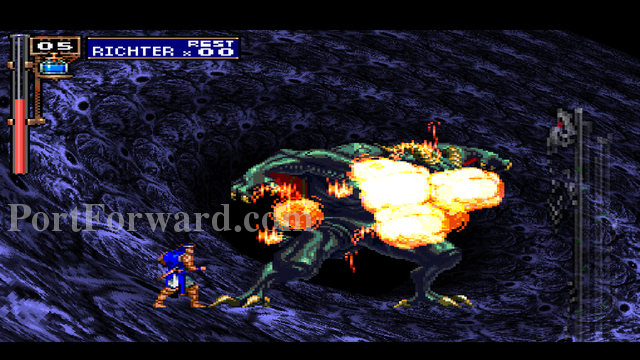
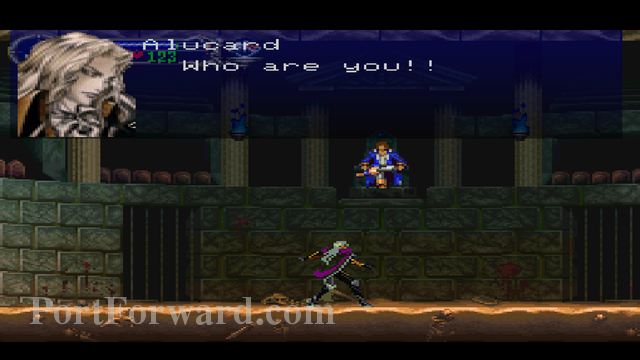
Once you've taken down Dracula's second form, You'll start playing as Alucard.
Castlevania: Symphony of the Night Walkthrough Castle Entrance
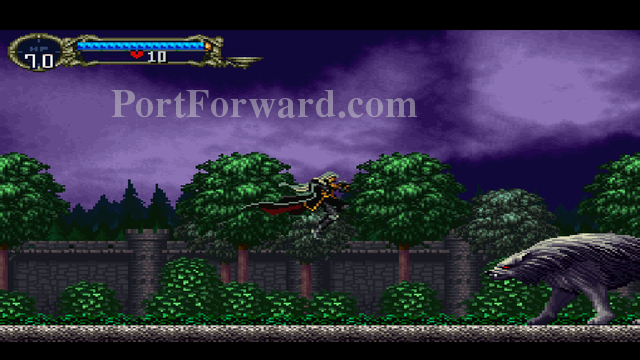
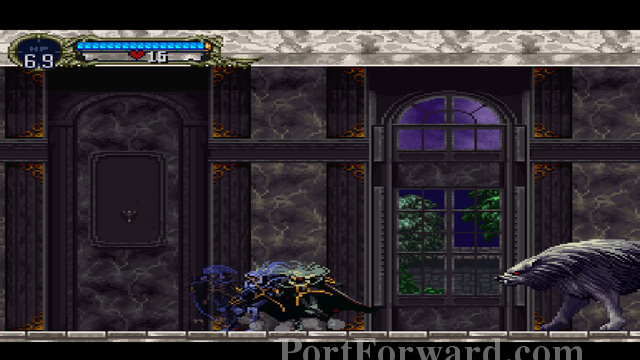
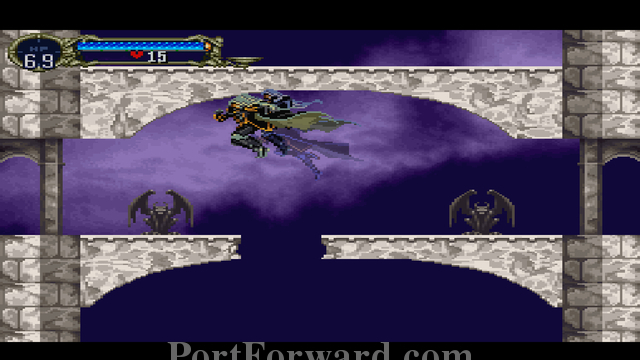
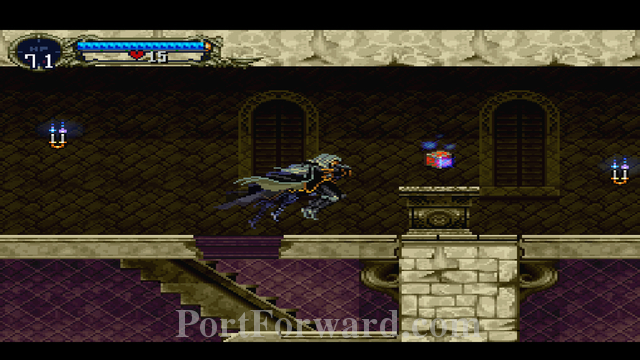
You take control as Alucard, from here until the remainder of the game. Move right, and kill the Wargs. They're easy to kill.
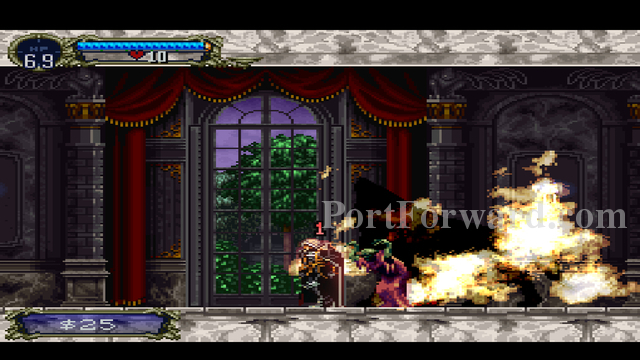
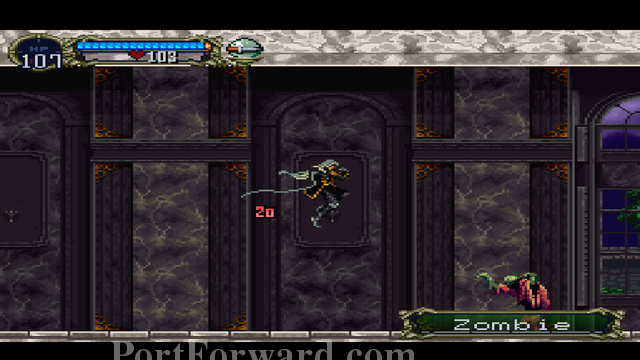
When the room lights up, zombies will appear out of nowhere from the ground. Be careful to not let them hit you.
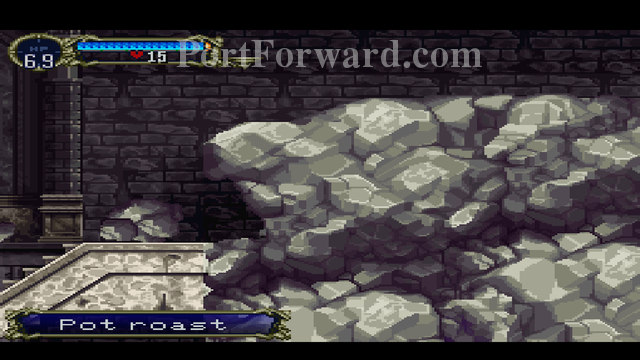
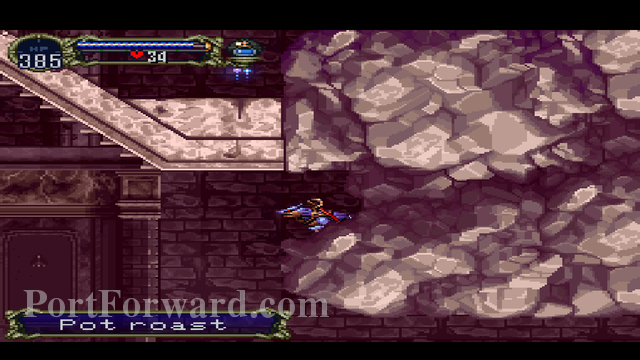
The next room you enter, kill the bats, and break the rock to get a pot roast. Continue right.
More wargs. Clear out this room.
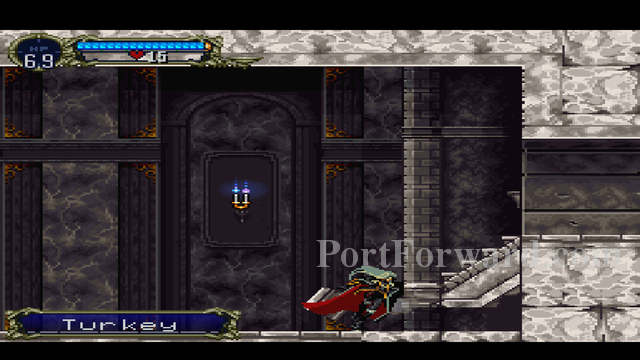
Break the ledge at the bottom of the stairs to get Turkey.
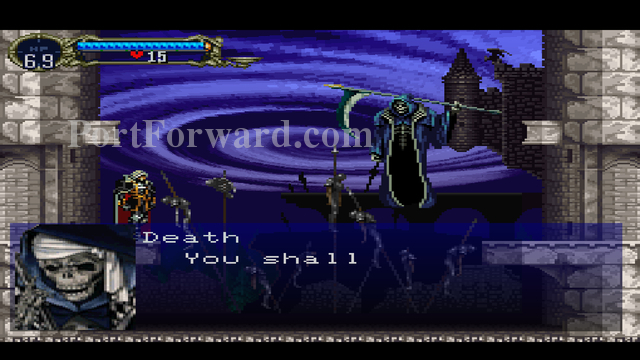
In the next room, there's a cutscene in which Death takes all of your items, leaving you with only your bare fists to attack with. Continue right.
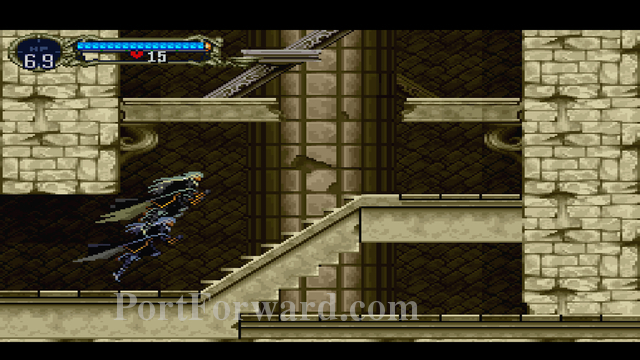
Go up this room and to the left.
Jump over this ledge. If you fall down, you'll land in the room where your items were taken away.
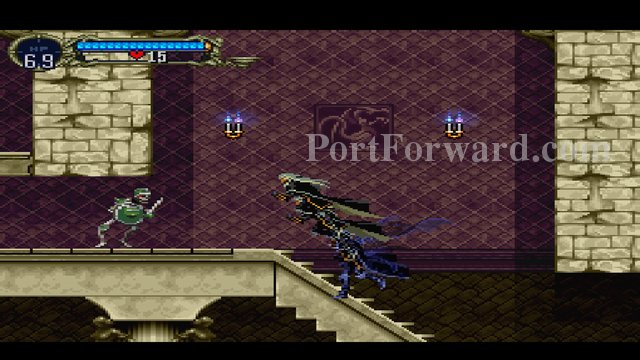
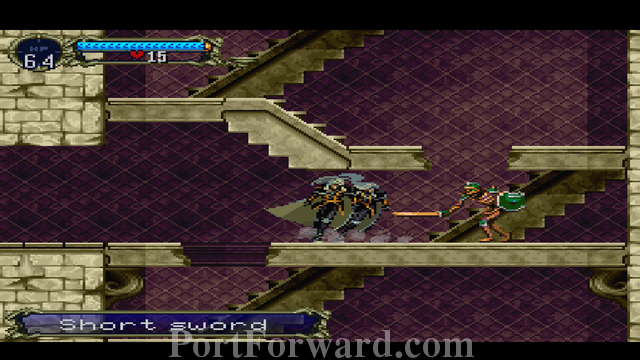
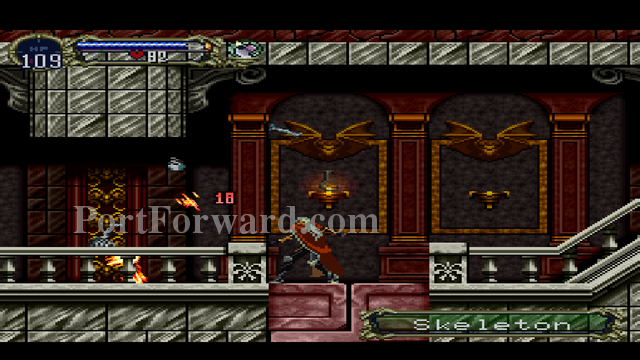
Head left and punch this skeleton for a short sword. Equip it.
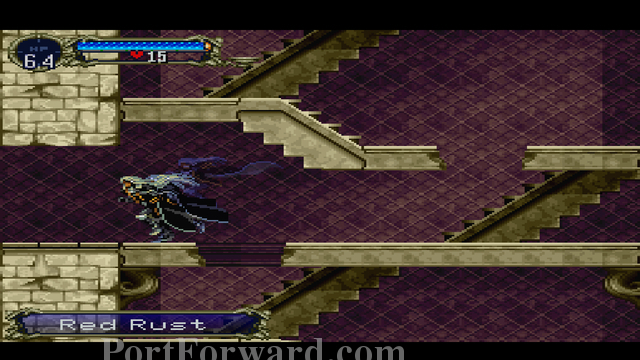
This skeleton drops a Red Rust. It's slightly more powerful than the Short Sword, but it's two handed and sometimes won't swing.
Head in this room to get access to a save point.
Save points allow you to save your progress and fill up on health. If you press select to view your map, they are represented as red squares.
Get the Cube of Zoe. Now you can hit candles to obtain hearts, items, and money. Head left afterwards to move onto the next section.
Castlevania: Symphony of the Night Walkthrough Alchemy Laboratory
Head to the left side of the room. Jump on the switch, which will lower the spikes. Break the globe to recieve a hide cuirass. Equip it and head up.
There's a save point here.
Drop down from this area, and head right before moving onto the next area.
Break this blueish stream to get a leather sheild. Equip it.and head onto the next room (left and up).
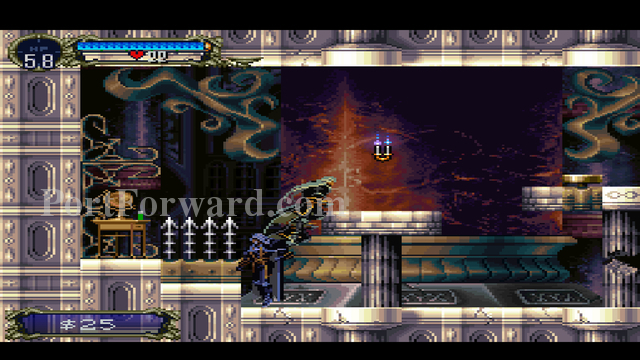
When you enter this room, attack the letmost wall for a heart-up and the ground here for a life-up. Go up into the next room.
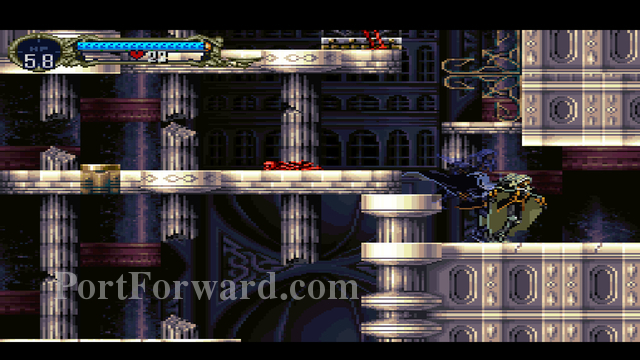
Manipulate the box and spike switches to create a raised platform. Follow the path (up and right) to eventually reach a cloth cape. Equip it.
Head back to this room, and go up and left instead. Fight the Axe Lords, and head to the left room.

Drop down from this ledge, and circle back up on the left side of the room.
There's a save point here. Continue on up.
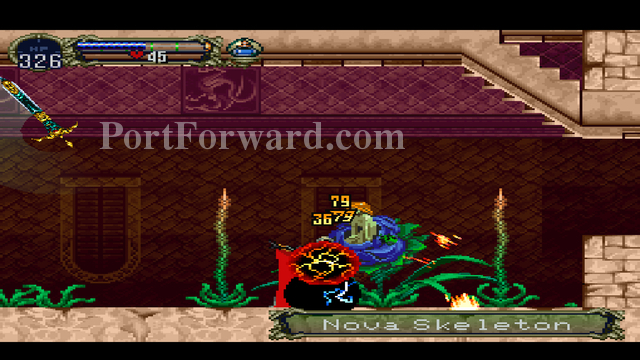
Break this candle for an axe item. This will make the fight against Slogra and Gaibon much easier.

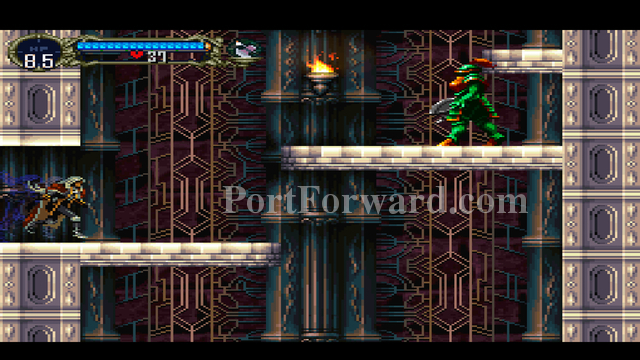
Attack Slogra (Green Guy) with your sword to make Gaibon pick him up. While they're airborne, use your axes to try to hit both of them.
Once you've killed Slogra, it's time to focus on Gaibon. Gaibon has a tendency to shoot fireballs. You can block these with your shield.
Do enough damage to Gaibon, and he'll turn red and shoot giant fireballs. These can also be blocked with the shield.
If Slogra lands on the ground, he's about to shoot a huge succession of fireballs. Crouch right next to him and slash away with your sword. You won't get hit.
After you kill Gaibon, you'll get a life-up. Head right.
Go through this room. You'll eventually reach an elevator. Ride the elevator down.

The middle stop is a room that contains Sunglasses. Equip them and continue going down.
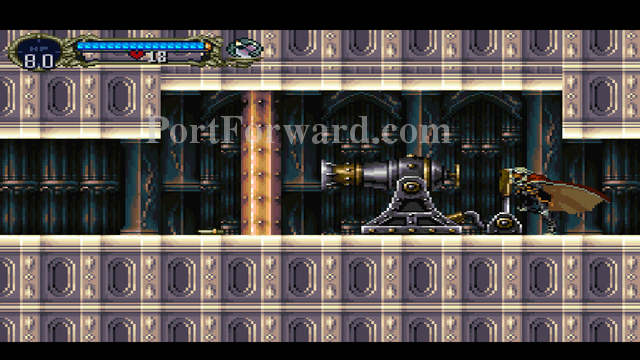
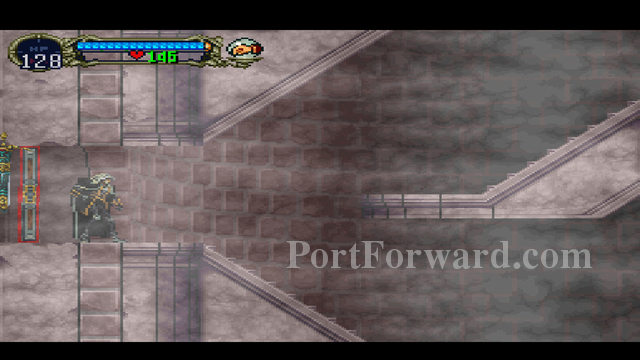
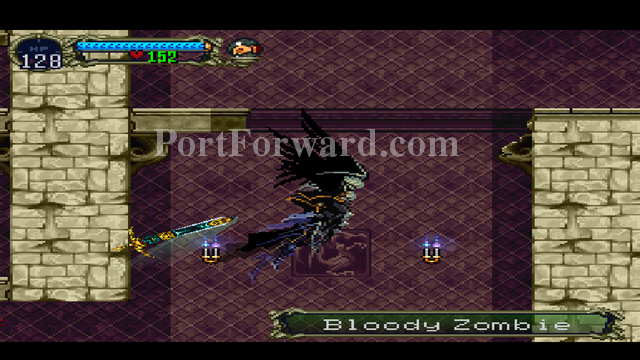
The bottom stop contains a room with a cannon. Attack the lever, which will break the wall and allow you to pick up the Basilard. I don't recommend using it, it's attack range is very poor. Go all the way back up the elevator and into the room with the bloody zombie.
This room contains a save point. Keep going up until you get to the highest doorway.
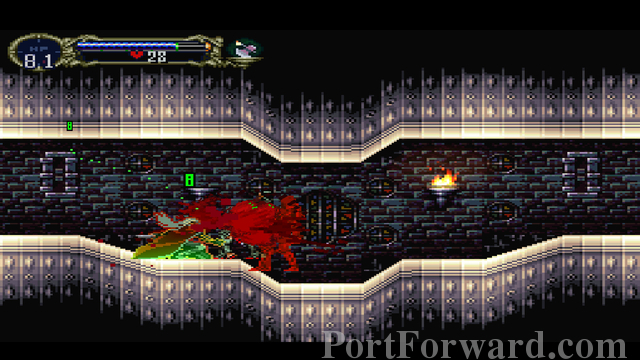
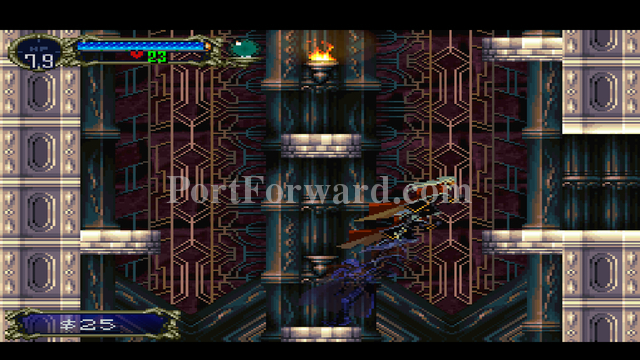
"This hallway is a good place to learn your first spell: Dark Metamorphosis.
Drop down in this room.
You'll find a globe. Break it to recieve a potion. Head right and up until you see a door.
This door leads to the Marble Gallery. Go through it.
Castlevania: Symphony of the Night Walkthrough Marble Gallery
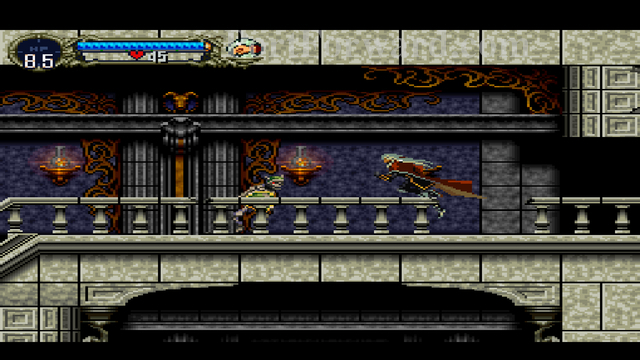
Head right and destroy the Axe Lords. When you come to a pit, drop down into it.
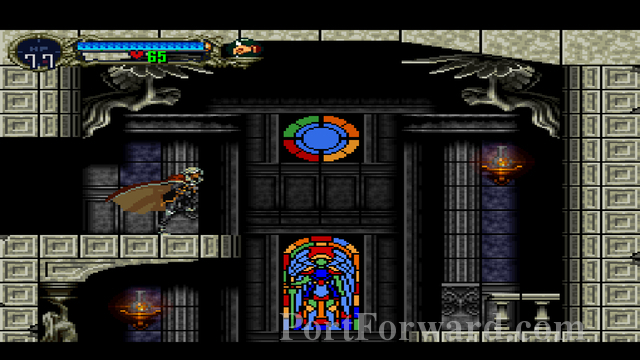
This door is a save point. Continue down.
Work your way through this room until you come to a crossroads. Head left.
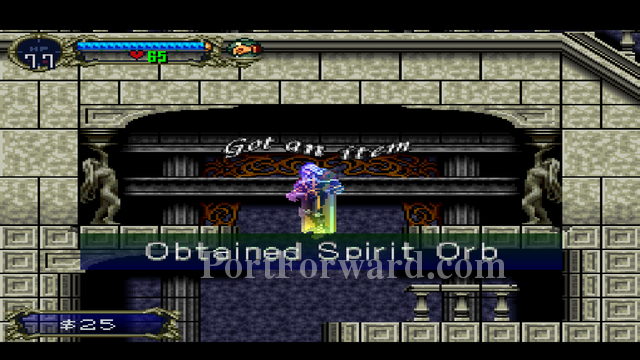
Here, you'll find the Spirit Orb. This item allows you to see how much damage you do to enemies. Head right after you get it.
Fall all the way down, and head left.
"You'll run into a plate lord. He's pretty easy to take down, but watch out, he throws his Iron Ball at you.
In this portion of the room, ghosts will infinitely spawn near you. Don't worry about the candles too much, most of them only contain $1. There's a $250 bag near the middle in one candle. Finish this segment, and drop down.
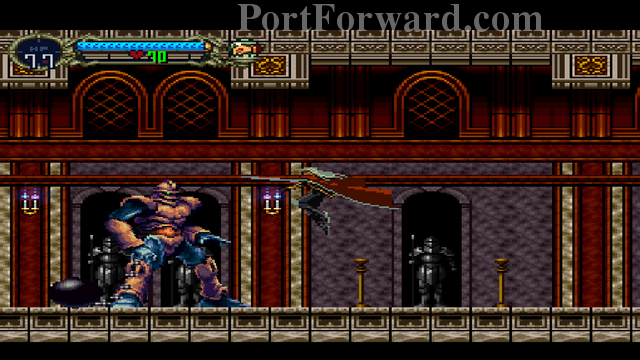
"Near the end of this room, you'll run into Cthulu. Cthulu does insane amounts of damage, so you're going to want to run away or dodge it's attacks. I reccommend picking up the throwing knife item and using that at range.
Step on this switch to raise the wall. Heal if you need to, and get ready to backtrack. If you want to face Cthulu again, backtrack through the Marble Gallery, or you can complete the Alchemy Lab again.
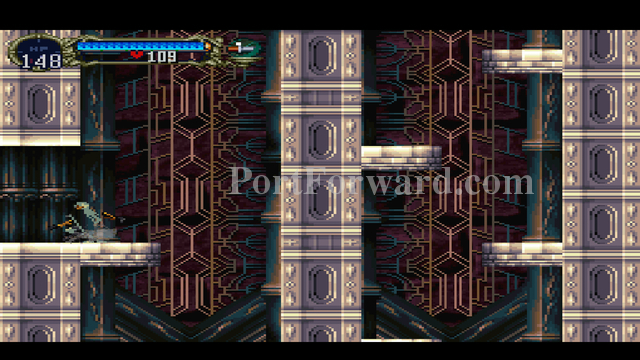
Backtrack to the first crossroads where you dropped down into the pit, or the save point next to the Ouija Table enemy. Climb up the stairs and head right, into the clock tower.
After going right, you'll have a cutscene with Maria, one of the protagonists from the previous game. After this cutscene finishes, continue right.Work your way through the room sequence until you get to another crossroad.

"Drop down, and head left, kill a Ouija Table, and then head right. We can't do anything at the upper right area yet.
If you get turned into stone by the Stone Rose, wiggle the Joystick/D-Pad left or right repeatedly to break free. If anything hits you while you're petrified, it'll do massive damage.
Head through the door on your right, and move onto the Outer Wall.
Castlevania: Symphony of the Night Walkthrough Outer Wall
Break the pot for a Zircon, and head down.
"You'll see an Armor Lord. Armor Lords are very resistant against physical attacks, so if you have Holy Water, I'd recommend using it.
"I wasn't having a lot of luck with the spirit spell, so I eventually decided to use the Fireball spell.
Hit the wall on the left, get a pot roast, and stand there. Don't hold anything.
You'll eventually be dropped down into a room with a mirror cuirass and jewel knuckles. Equip the mirror cuirass. Head back up to where the Armor Lord was, and explore the bottom area. Be careful of Medusa Heads. Backtrack up.
This is a save point. Get ready for a boss fight. Head up and right. to fight against Doppleganger 10.
"Doppleganger 10 is a tricky boss fight. It reacts the same way Alucard does to damage (knockback + a few invincibility frames), so it's hard to get a good combo going on him.
Doppleganger 10's Wing Smash
Downward Air Slashes
It's a pretty easy boss fight, once you get a feel for how to play it.
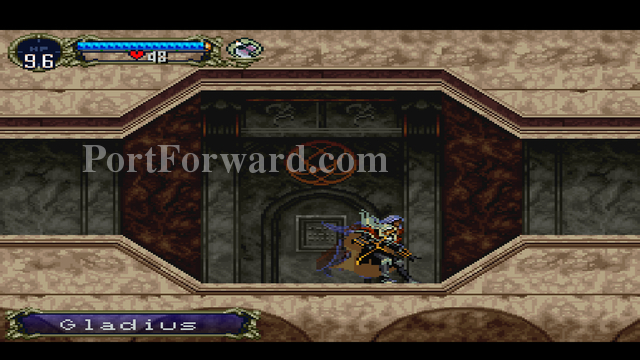
Pick up the Gladius in the next room, and equip it.
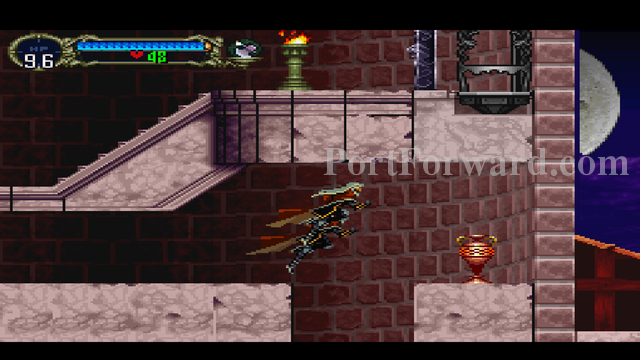
Smash this pot for a Life Up. Go all the way up this room.
This room is a save point. Drop back down.
"Hit this switch. It will activate the elevator you saw on the right hand side of the screen.
As you're going back down, you'll see this door. Go through it to access a warp room. Warp rooms are denoted by a yellow dot on the map. Go ahead and warp to the room with a horse in the background. Exit the room.
You will now be at the Castle Entrance. Pick up the Heart Up and step on the switch. You can now access this warp room at any time. Head back to the Outer Wall (the warp room background looks like a worm or caterpillar).
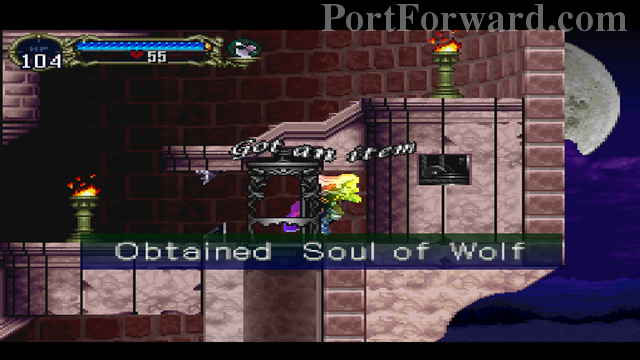
Keep dropping down until you get to the elevator. Grab the Soul of Wolf; this will allow you to turn into a Wolf by pressing R2. Take the elevator down to the middle stop. Walk down the staircase and into the door to get to the next destination.
Castlevania: Symphony of the Night Walkthrough Long Library

Head left. Be way of Dhurons, their sword packs a punch, If you can't avoid being hit, duck when they swing. Don't get hit by that sword.
Keep going left until you reach a dead end. Pick up the bronze cuirass, and start backtracking until you reach a staircase.
Go up the stairs.
"Be careful when fighting these ectoplasms. If they hit you, you won't be able to use your sword for a few seconds. You can still use items, though.
"New Spell Time:
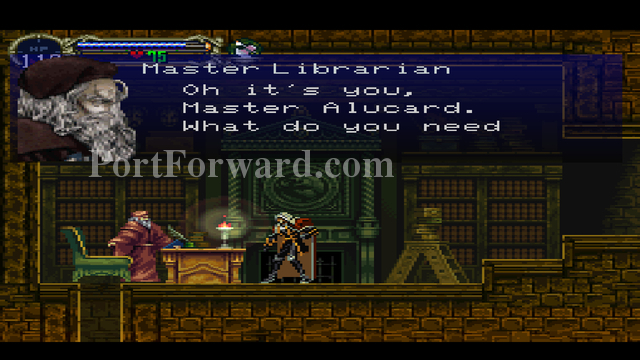
"A cutscene will play. Afterwards, you can buy items from the Librarian.
Head back to the Outer Wall.
Head back to the Marble Gallery.
Take note of the floor here. It's about to become a hole.
When you get here, take the upper right path.

You can now go through this door, since you posess the Jewel of Open.
Step on the switch, and go back to the crossroads. Take the lower right path. Drop through the hole in the floor.

Pick up the Library Card and Attack Potion. Go back to the crossroads, and take the upper left path.
Drop through the new hole, and head right. Take the door, and prepare to visit the Underground Caverns.
Castlevania: Symphony of the Night Walkthrough Underground Caverns

"The room on the right is a save point.
Keep going left through this room. Don't go down just yet.
Grab the heart up, and slash away at the leftmost wall.
Grab and equip the bandana. Backtrack and drop down where the spear guard and bone archer are.

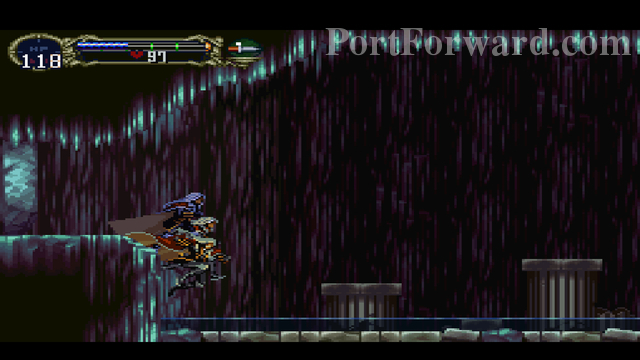
Gradually fight your way down this tower. There's a doorway on the left about halfway down. Explore that area for a Life Up.

Once you reach the bottom, head right.
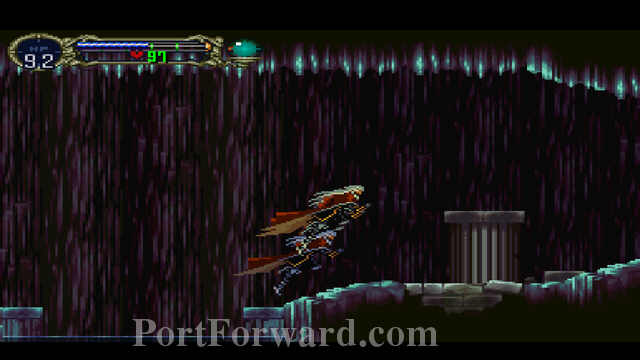
This is a save point. Drop down and enter the doorway on the right.
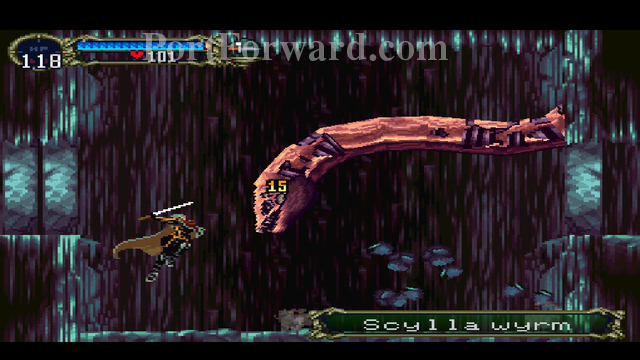
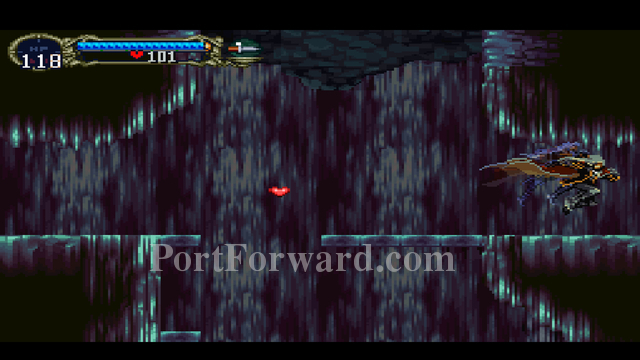
"Boss fight with a Scylla Wyrm.
Once you start moving in this room, the water will rise. This is bad, because Alucard will start taking damage if he is under the water for too long. Hop from column to column until you're safe into the room above.
Head right for a pot roast, then turn around and go left to fight with Scylla.
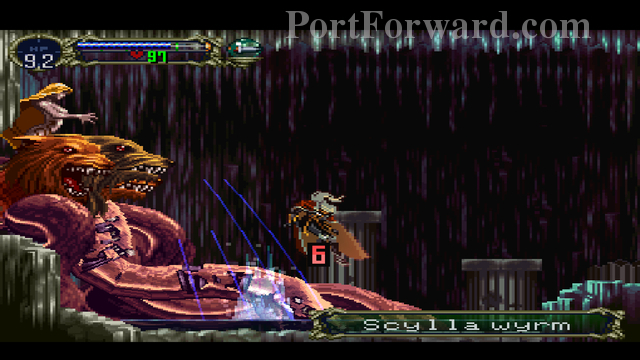
"Scylla is also a fairly easy boss, if you've gotten good at magic casting.
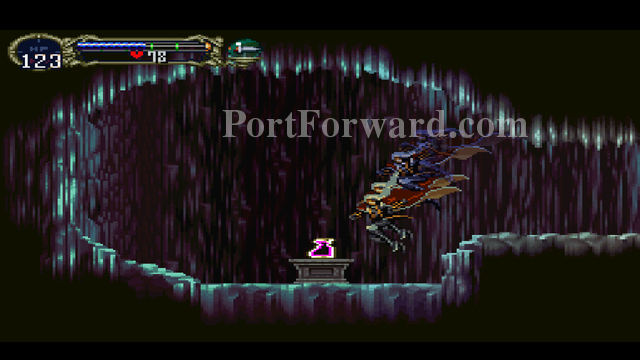
"Once Scylla is down, head into the room she was blocking, and grab and equip your reward: a crystal cloak.
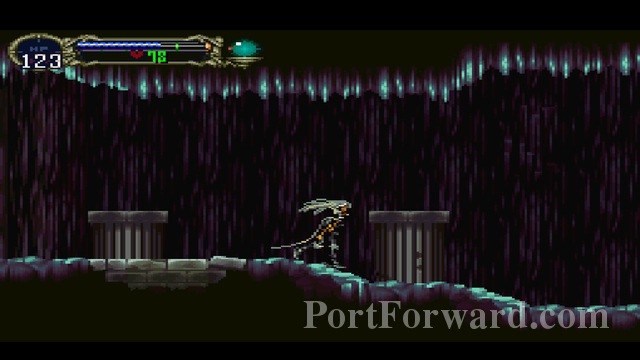
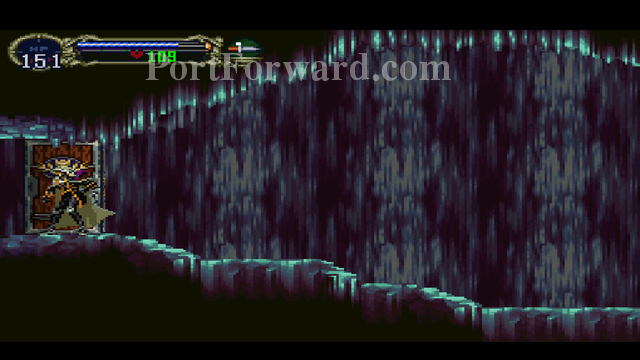
Push this wooden box onto the left wall, and watch the spear guards drown. The level is fairly linear from here. Keep heading left until you reach a waterfall.

Jump!
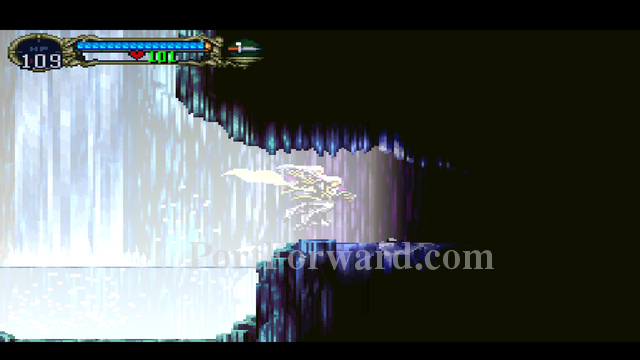
Check out the area behind the waterfall, to the right. You'll find a life up.
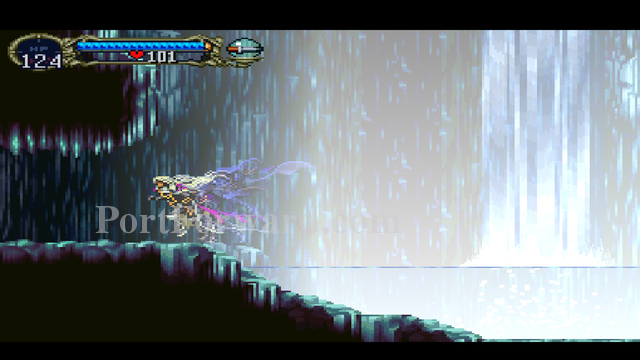
After you grab the life up, go left until you reach the ferryman.
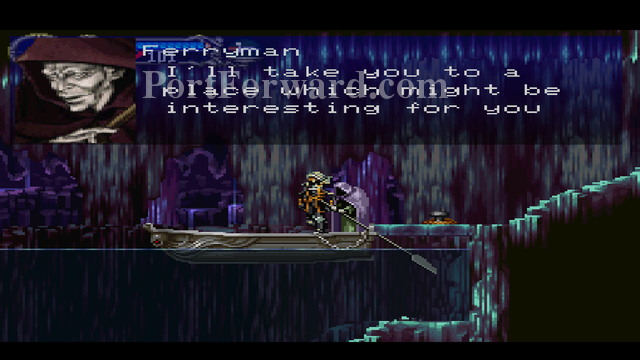
Try your best to stay on the boat while the ferryman rows you over to the other side of the lake.
Once the ferryman finishes crossing the lake, you'll find a Merman statue. This item makes the Ferryman spawn in a secret location. Cross the lake again.
Go up on this crossroad, and enter the door on the left.
This will put you underneath the giant boulder at the Castle Entrance.
Head to the warp room. Warp to the Outer Wall (Worm/Caterpillar).
Head back to the Marble Gallery.
Re-Enter the Underground Caverns.
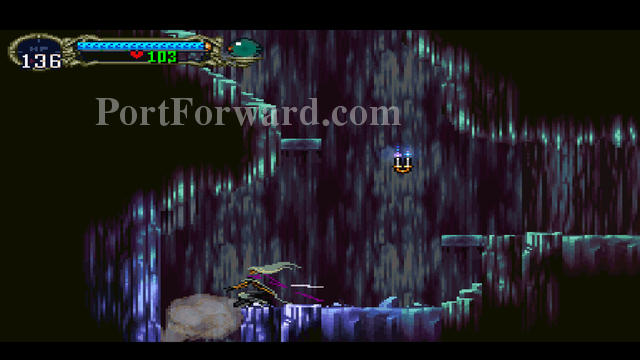
Instead of going left, head down.
Freefall your way down to where the Scylla Wyrm was fought.
Hack away at this area of the floor to reveal a secret passage.
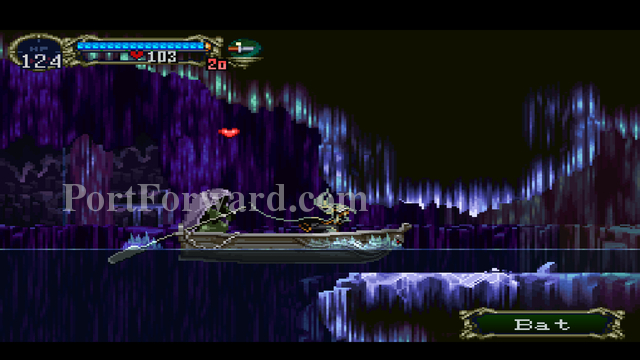
Ride the ferryman's boat across the lake. Watch out for narrow places and bats.
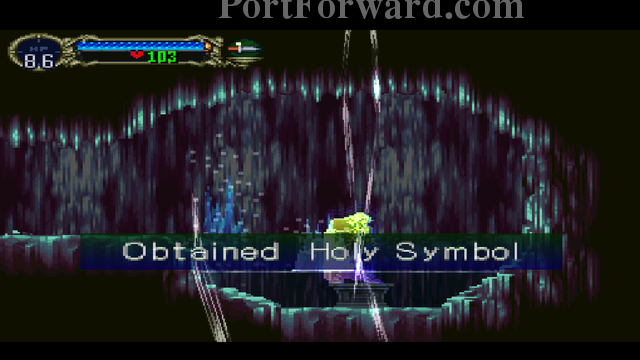
The Holy Symbol allows Alucard to not take damage from water. Instead of riding the boat back, search the water for potions, weapons, and more.
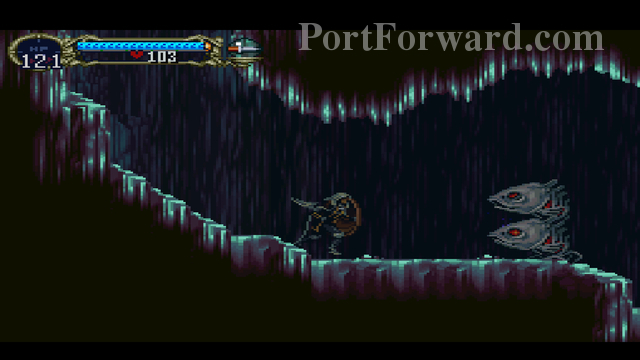
Go through the level again, this time exploring the areas underneath the water. Fishheads are tough enemies, but they provide a lot of experience. If your health gets low, use Soul Steal.
Go to the Castle Entrance.

Go to the Alchemy Laboratory.
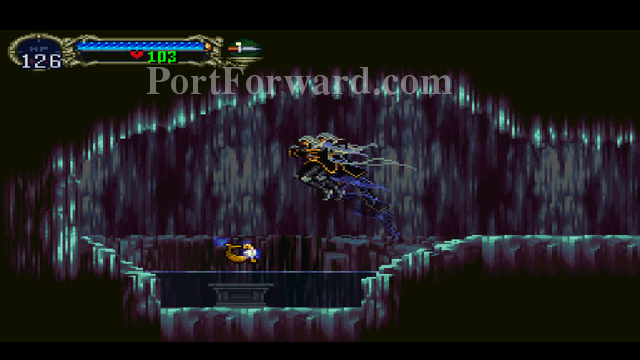
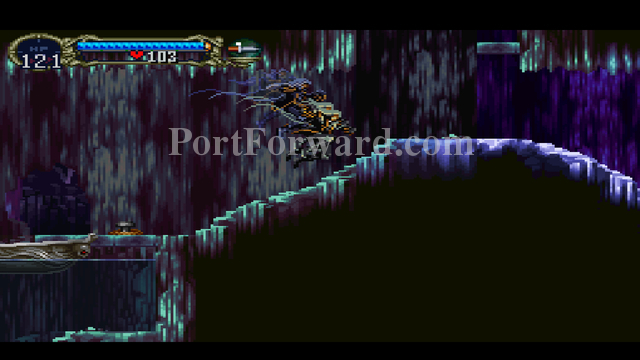
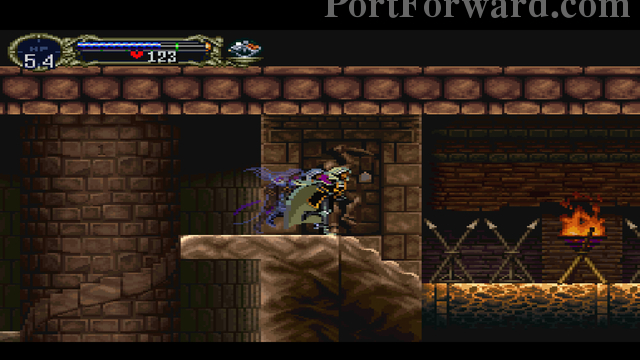
Go the area right outside where the boss battle between Slogra and Gaibon took place. Jump to the left and fall down onto the first ledge.
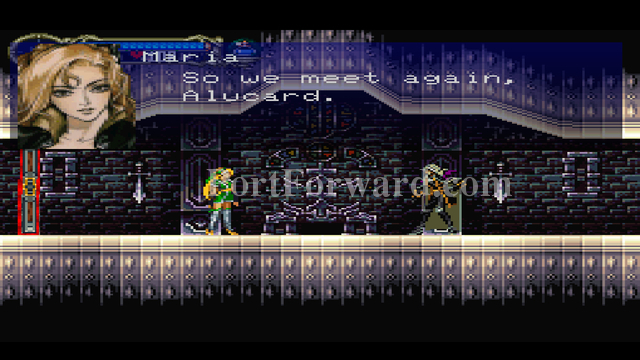
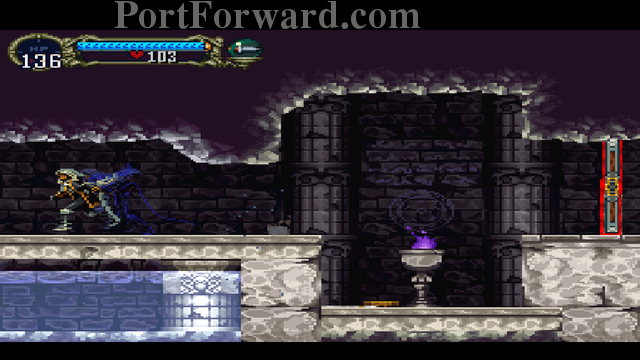
Go through the door and into the next room. A cutscene with Maria takes place. After the cutscene, walk left to gain entrance to the Royal Chapel.
Castlevania: Symphony of the Night Walkthrough Royal Chapel
This is a save point. Jump up. To the left is a pot with an aquamarine. Go up the stairs to the right.
Keep going right.
"Jump up the left side of the chapel room. There's a pair of goggles you can get with a well-timed jump. in the room you were just in.

If you keep walking right into this room, you can interact with ghostly spirits. Some will try to kill you, others will tell you their story. Sometimes you can get grape juice out of it, but it's a rare drop and not really worth your time.
Instead, climb all the way up to the very top of the bell tower. You'll find a Life Max-Up, Str. Potion, and Iron Cuirass. Afterwards, go through the room on the upper right of the tower.
Climb this shorter tower. There's a zircon at the top. Continue right and get ready to fight the Hippogryph.
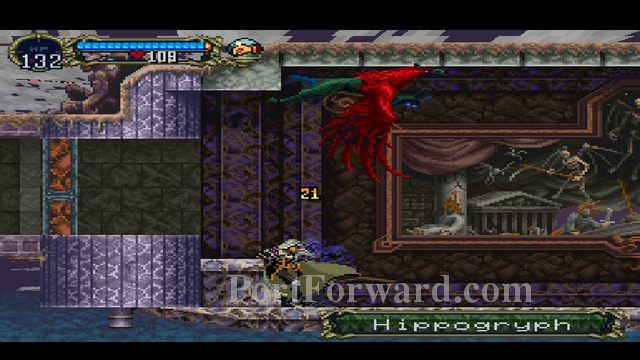
The Hippogryph mainly flies around the room, swooping at you, and generally being a pain to hit. However, there are some other attack sequences you need to look out for.
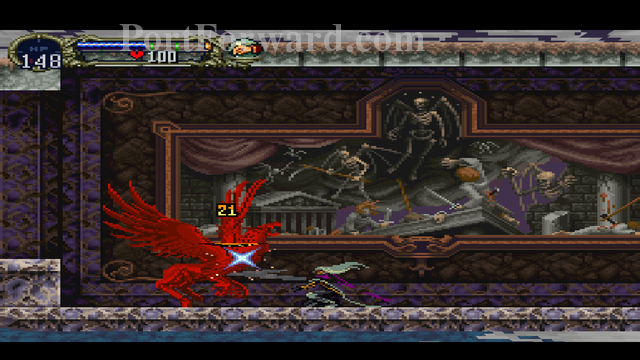
If the Hippogyph perches and blows fire, you can crouch beneath the fire and slash away.
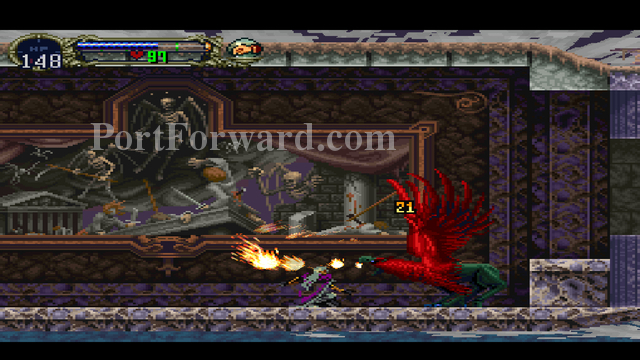
If the Hippogryph lays an egg, slash it away before baby Hippogryphs are formed.
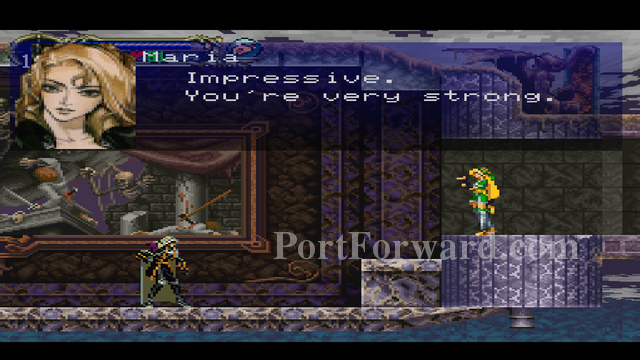
After you defeat the Hippogryph, there's another cutscene with Maria. After the cutscene, go right.
This is a save point.
Climb up to the top of the bell tower, and grab the goodies up above. Then, drop to the right and enter Castle Keep.
Castlevania: Symphony of the Night Walkthrough Castle Keep to Orlox's Quarters

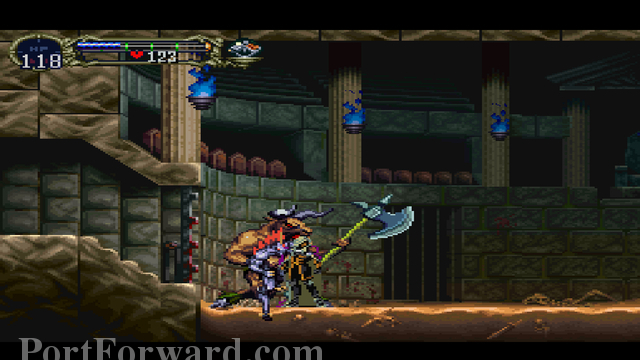
Go right and slash the Axe Knights up.
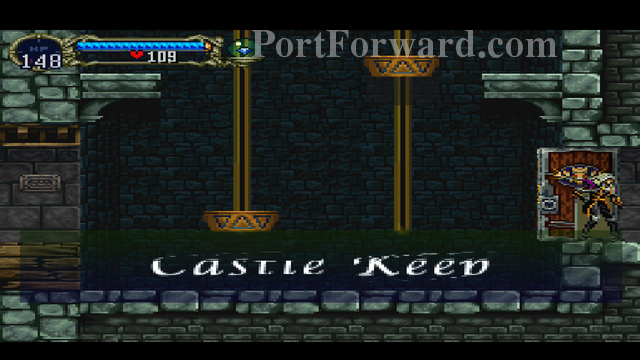
The door on the right when you officially enter Castle Keep leads to Castle Keep's warp room. This warp room is denoted by a lion.
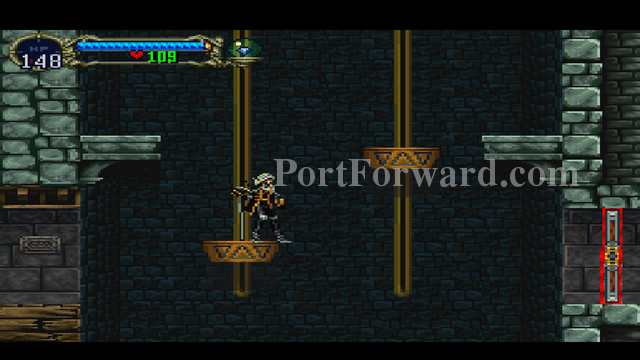
Ride the platforms up and enter the right doorway. Inside, you'll find the Tyrfing. Exit that room, and go to the left room.
You'll find yourself outside. Head all the way to right wall.
"Grab the Leap Stone and the Turquoise from the wall.
Make sure to slash this wall to get a Turkey.
Go to the warp room and warp to Castle Entrance (Horse).
Head to the Marble Gallery, and make your way to the Outer Wall.

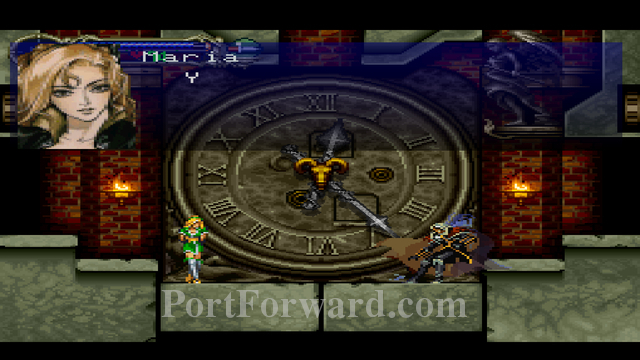
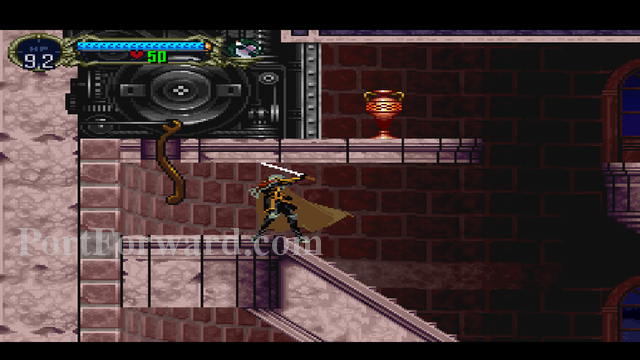
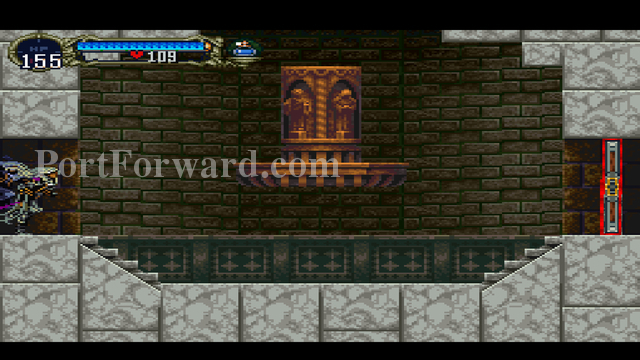
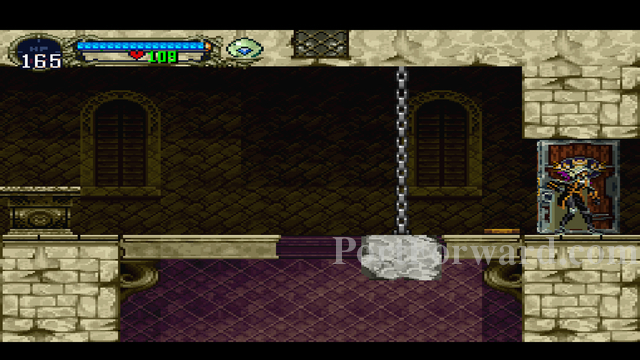
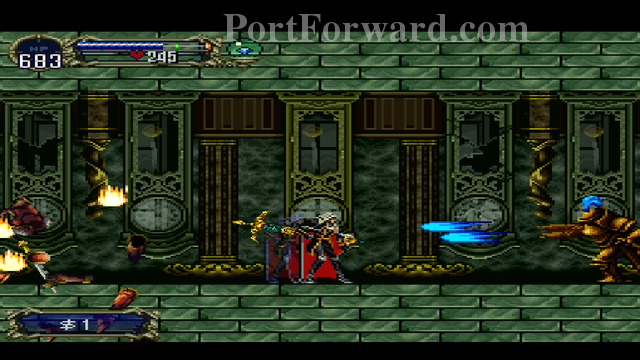
"Search all of the candles on the way to the Outer Wall. Search for a clock item in one of the candles (pictured here).
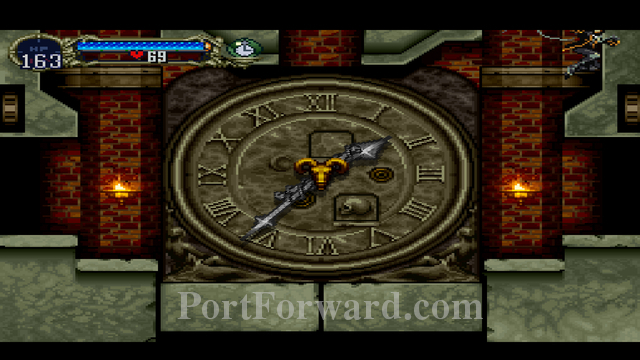
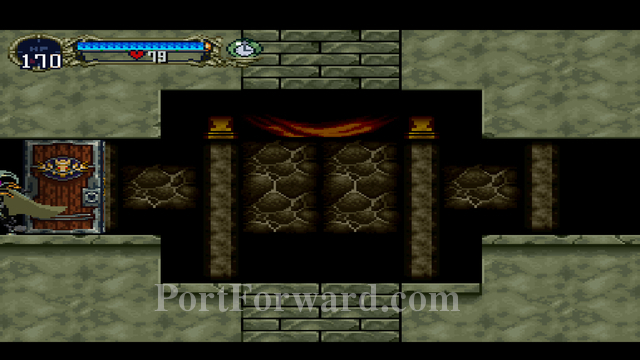
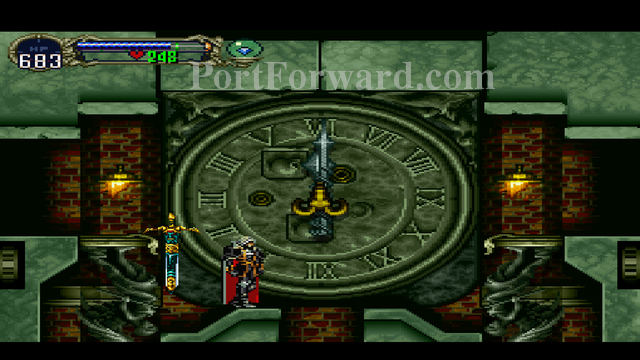
Use the clock item in the clock tower. The right statue will pull back. Jump in the gap created and head right.
Grab the Alucart items and the heart max up. While these items are similar to appearence to the Alucard items, they aren't. Backtrack to the clock tower.
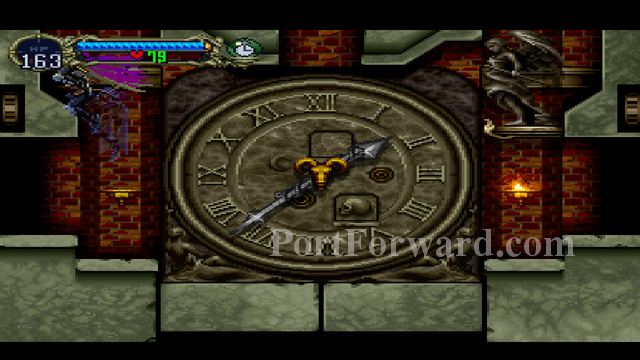
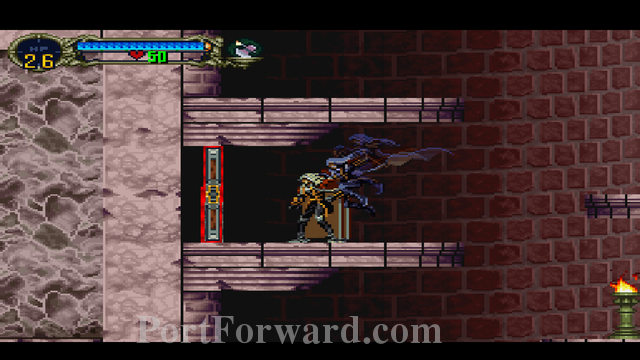
Jump up the gap to the left. If there is a statue instead of a hole, wait a minute. The statue protrudes and recedes every minute of in-game time.
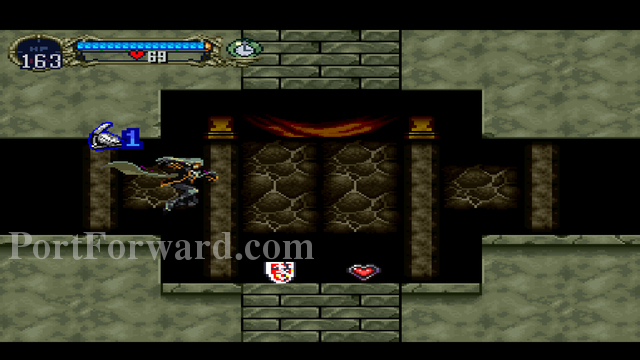
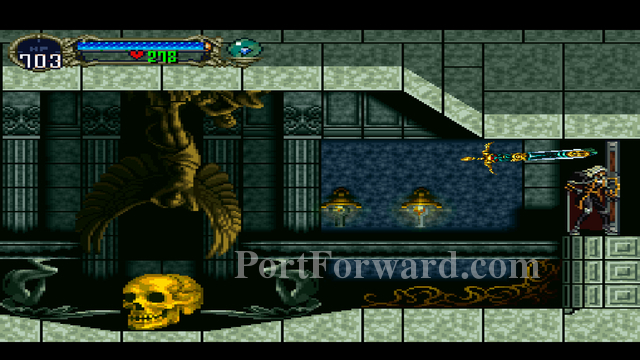
Pick up the Life Up and head through the door to Orlox's Quarters.
Castlevania: Symphony of the Night Walkthrough Orlox's Quarters
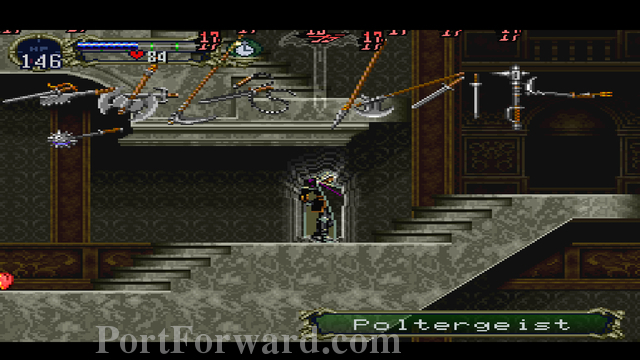
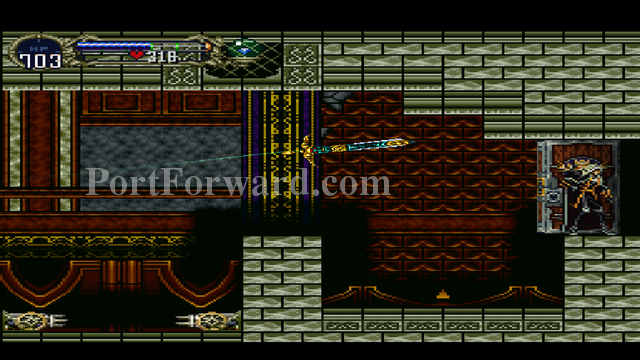
Go into the main chamber and destroy the Poltergeist. Head to the lower right side of the room.
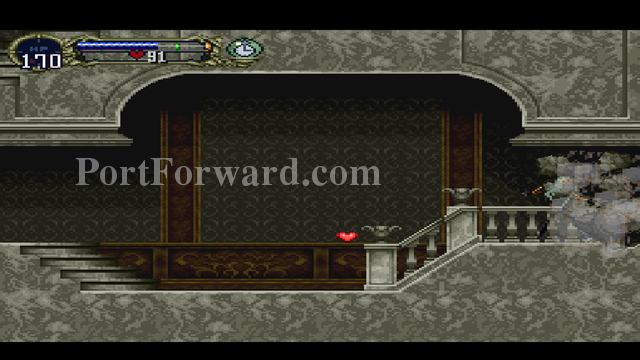
Slash the wall and collect the goodies within. Return to the main chamber afterwards and head to the upper right area of the room.
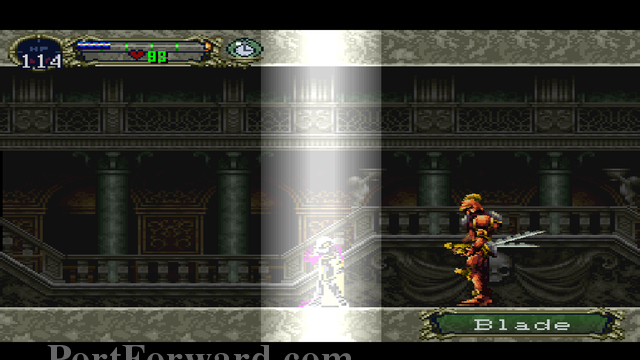
Keep going right. If you have trouble killing the Hammer and Blade, use your fireball spell and teleport past them. Keep heading right until you reach a door.
Enter the door. The warp room for Orlox's Quarters has a goat in the background. Backtrack to the main chamber.
When you get there, enter the door on the lower left path to gain entrance to the Colosseum.
Castlevania: Symphony of the Night Walkthrough Colosseum
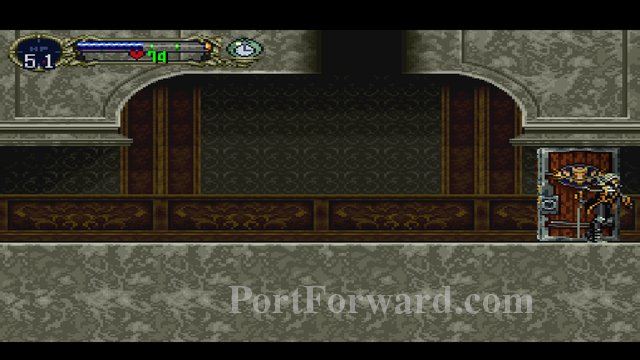
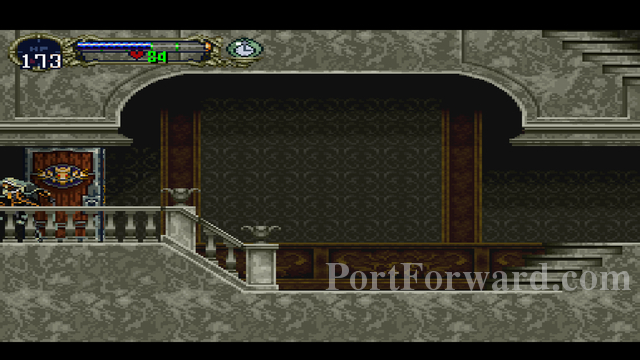
Head left until you reach a gas-only gate. Go up.
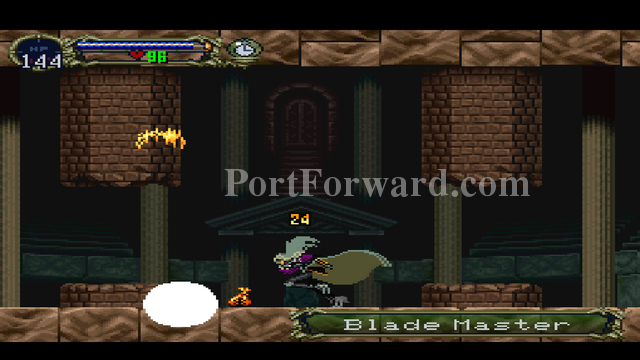
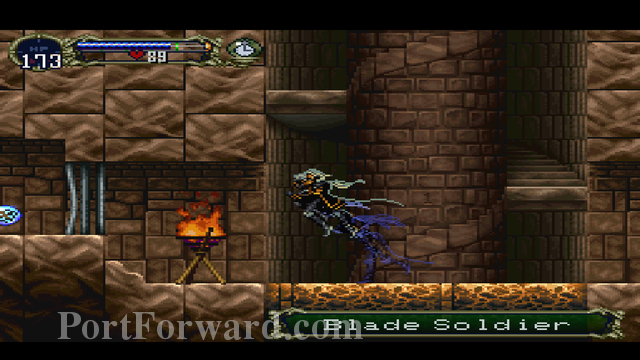
Head left and kill the Blade Soldiers and Blade Master. Drop down and keep heading left, until you hit a switch.
hit the switch, and drop the wall. Grab the Knight Shield and equip it. Drop down in the hole afterwards.
This is a save point. Head right.

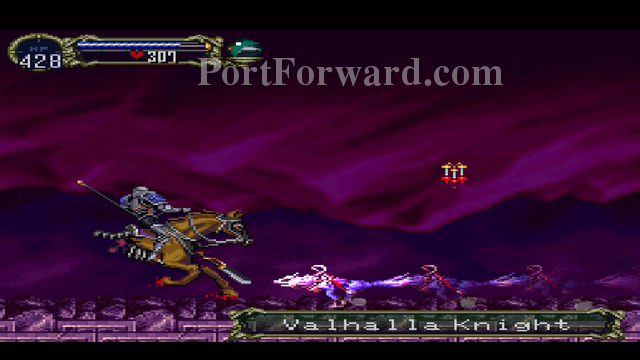
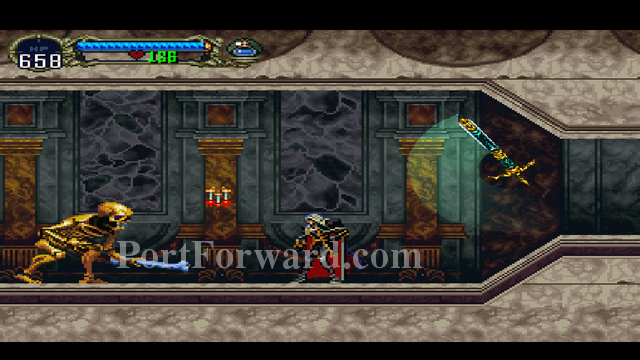
When you reach the room with the Axe Lords and Valhalla Knights, use Soul Steal + Dark Fireball to take them down. Don't get hit by the Knights' Blades, they do massive damage and will kill you if you're not careful. Keep heading right.
This is a save point. Drop down and then head right.
Kill all the Blade Soldiers for a Heart Up at the end. Turn around and head left.
Pick up the Blood Cloak. Go back to the room with the Valhalla Knights, and clear it out. Once you've destroyed them, head left and drop down.
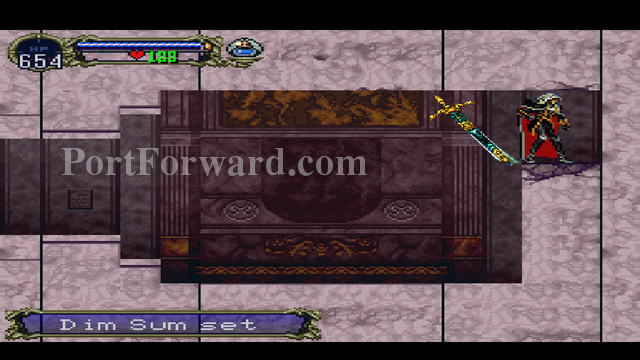
Head right to pick up a Green Tea.
Afterwards, head all the way left. You'll run into a room with Armor Lords, Bone Muskets, and Blade Soldiers. Use a combination of Soul Steal spells and Fireball spells to clear this room out.
Pick up the Shield Rod. Head back up the spiral column.
Head right after you reach the top of the column. Enter the doorway and prepare for a boss battle.
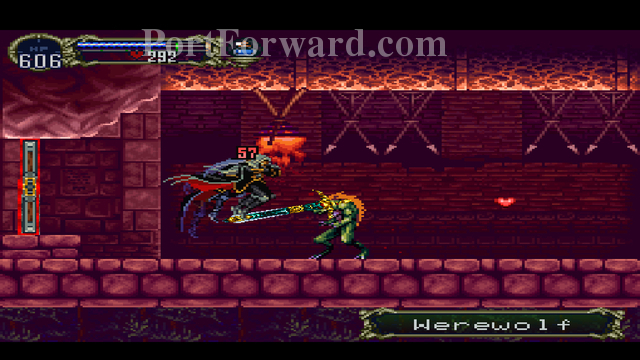
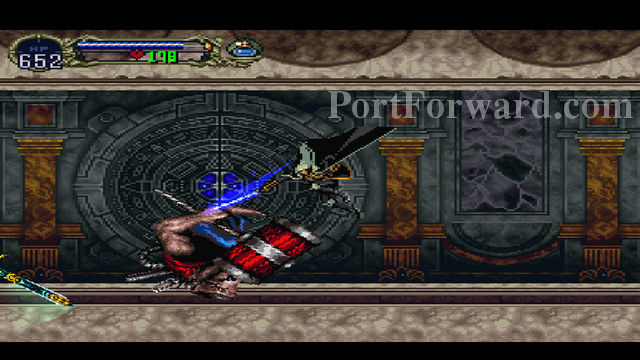
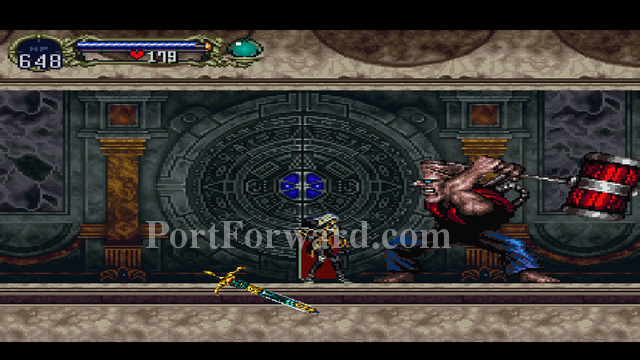
Watch the cutscene. Minotaurus and Werewolf will spawn in immediately after.
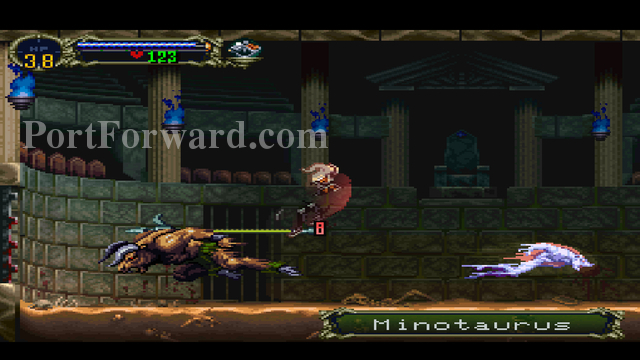
"Minotaurus and Werewolf like to charge around the arena. Minotaurus will sometimes also use its axe to fling Werewolf around the arena, or try to chop you.

"The easiest way to take down these enemies is to use Soul Steal and Black Fireballs (Fireball + Hold UP while casting).
To 118 HP. After you defeat Minotaurus and Werewolf, head right. Step on the switch (opening the elevator) and pick up From of Mist.
Use a Library Card to be teleported back to the Library.
Castlevania: Symphony of the Night Walkthrough Long Library Revisited
Start going up the large staircase. Instead of reaching the top, however, jump onto this ledge. Kill the corpseweed. Be careful of its poison spit. Head left until you reach a save point.
After going through the save point, continue heading left.
When you reach the study, head all the way to the left, and circle on above. Enter the doorway to the right.
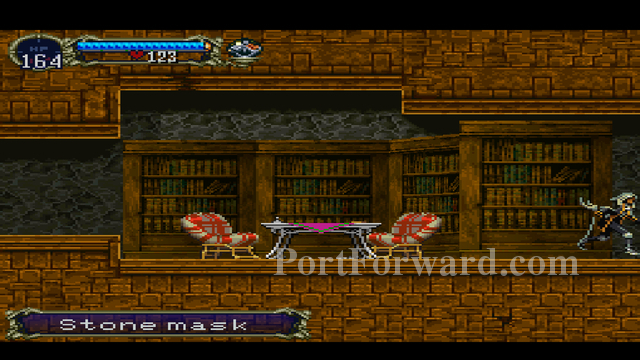
Hit the flame to get a stone mask. Run into the bookcase. Eventually, it will swivel and allow you to pick up a topaz circlet and a holy rod. Exit this room and explore the bottom of the study. Boss fight ahead.
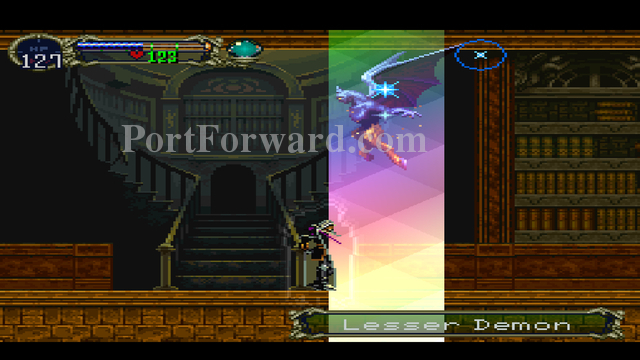
The Lesser Demon is an easy boss fight. Slash it while it's not summoning an enemy. Kill any enemies it spawns. Done. Continue to the left, circle down right, and reach the mist gate.
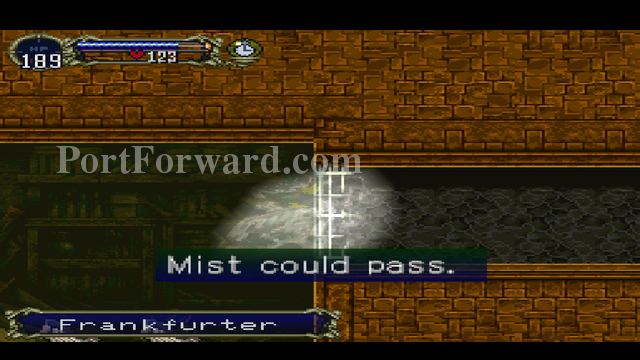
Turn into Mist by pressing L1. This will let you phase through the great and pick up the Soul of Bat on the other side.
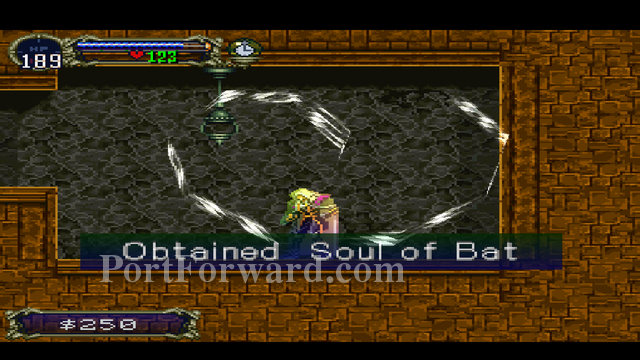
The Soul of Bat allows you to turn into a bat by pressing R1. Head back to the large staircase.
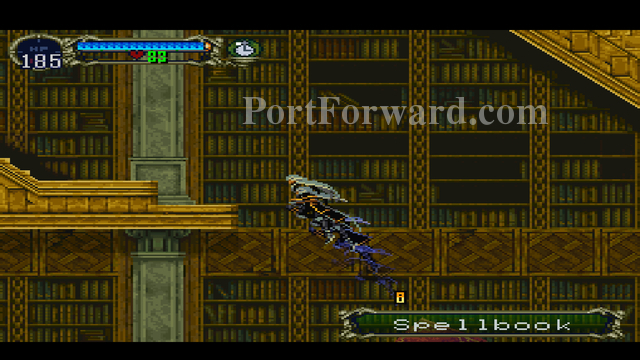
There's another ledge above the ledge leading to the study. Turn into a bat or jump-kick on a spellbook to reach it.
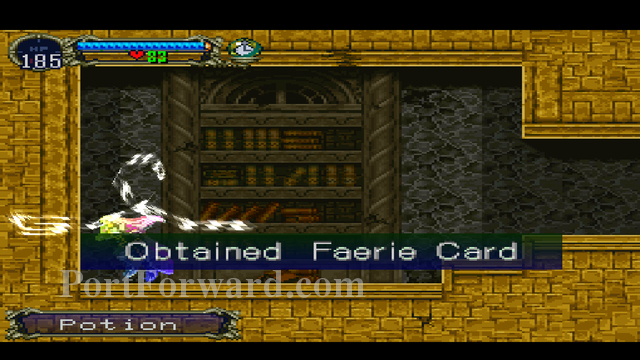
Pick up the Faerie Card. The Faerie Card allows you to summon a Faerie familiar by going to Relics > Faerie Card. The Faerie will automatically heal you and fix your status ailments, provded you have the item needed in your inventory.
Head to the Outer Wall. Take the elevator up and enter the warp room.
Warp back to Orlox's Quarters. (Goat Background)
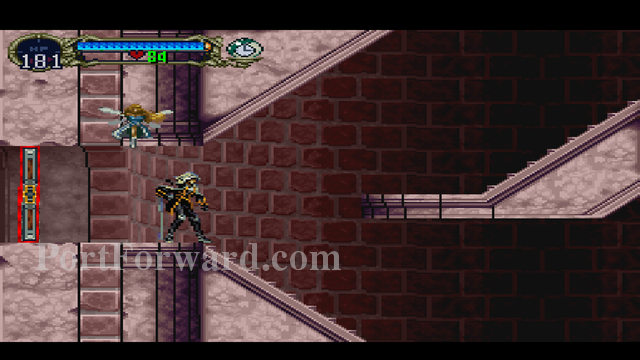
Fly up through the hole in the ceiling, smashing the pots along the way up for items.
Fight your way through the next room. Avoid the spikes on the ceiling.
"When you enter the next room, drop down and explore the right side of the courtyard. You'll find two passages; one contains a garnet, and the other contains a save point.
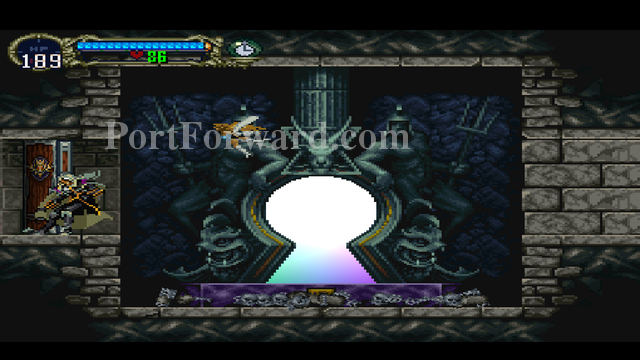
Pick up the Heart Up, and enter the next section of this room. Slash at the ceiling, pictured below.
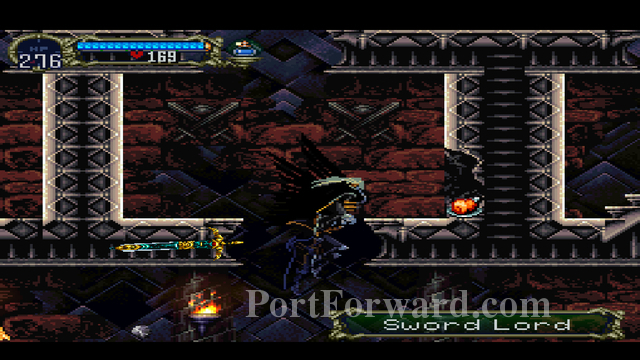
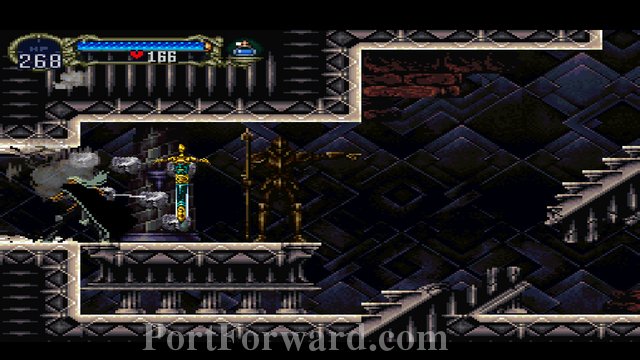
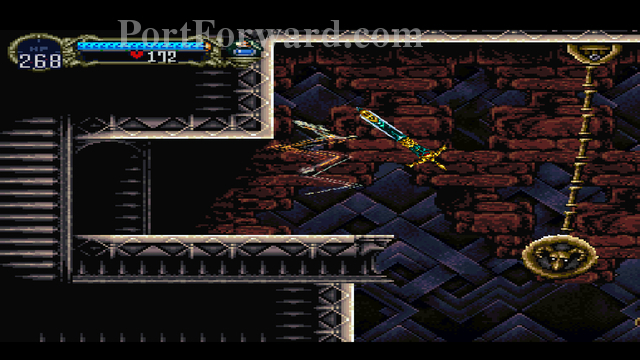
Enter through this hole. Pick up the Sword Card. The Sword Card lets you summon a sword familiar. Head back to the courtyard, and fly up to the upper portion. Go through the door on the lefthand side.

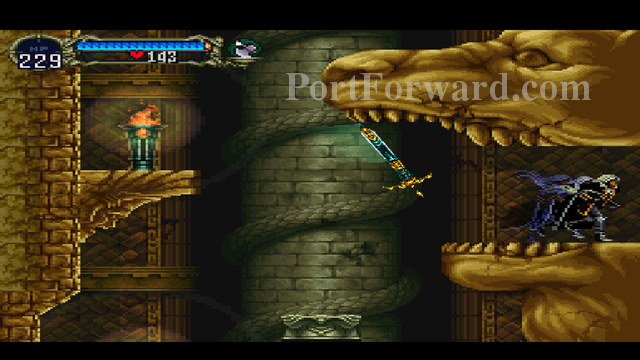
Turn into a wolf or a bat to get through this small gap. Go through the wooden door at the end of the hallway to fight Orlox.
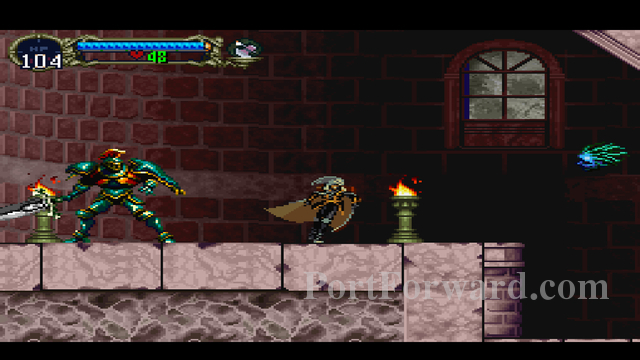
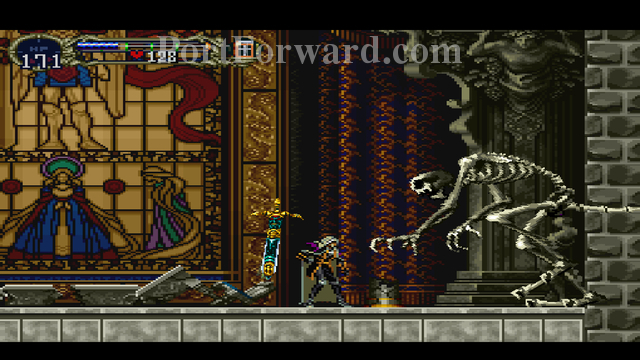
Orlox has several attacks. His first and second attack pattern summon bats or skulls (both pictured above) that will chase you around the battlefield. You can chop these or kill them with a Soul Steal for health.
If the ground glows red, Orlox is about to make purple energy columns shoot up from the ground to damage you. You can stand in between them pretty comfortably.
Orlox will also fold his hands into his his sides, then shoot a blue wave horizontally. Duck or jump over this, it really packs a punch.
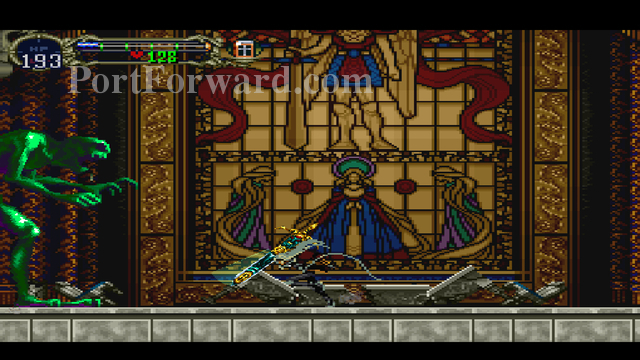
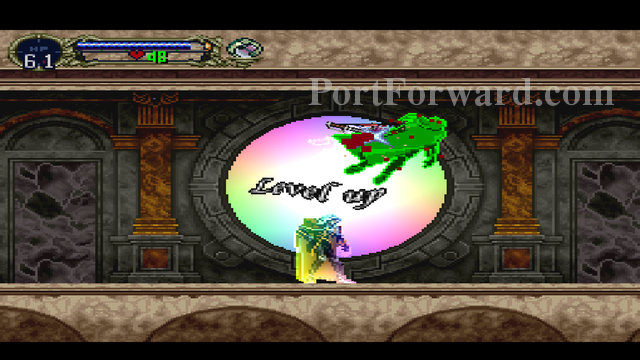
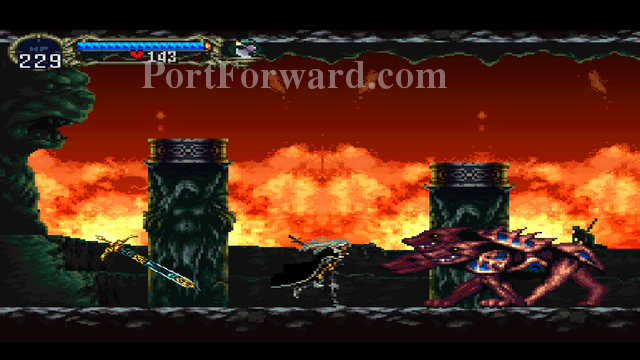
Once you damage Orlox enough, you'll fight his second form: a giant green mutant lizard.
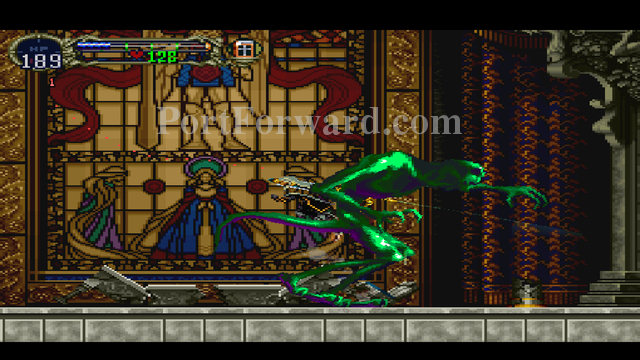
This second form has a reaching attack..

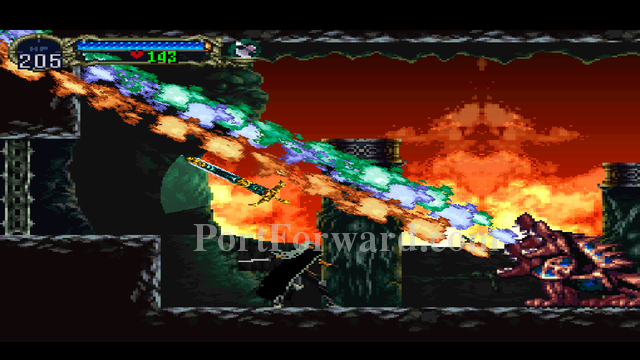
A fireball attack...
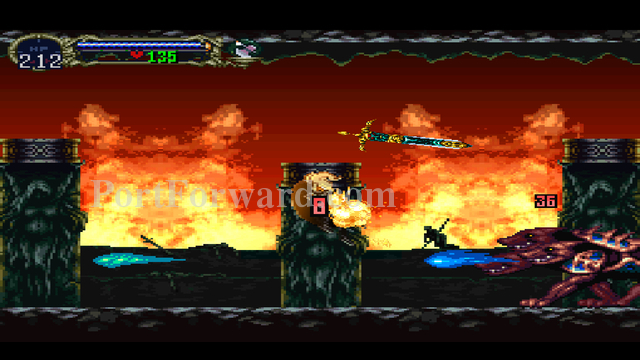
And an attack where he beams the ground. After beaming the ground, it leaves a stationary fire column for a few seconds, so be careful.
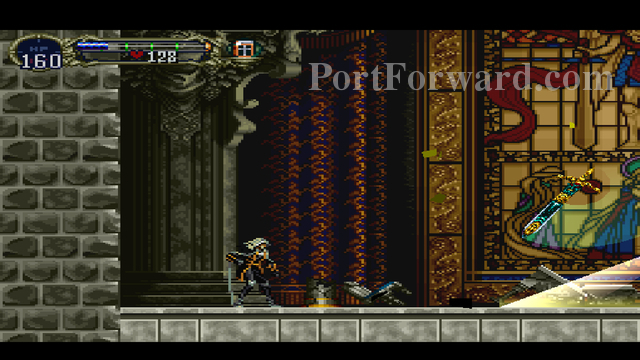
After you destroy Orlox, fly up into the left hand side of the room.
"You'll recieve the Echo of Bat. This allows Alucard to shine a yellow light in bat form by pressing Triangle.

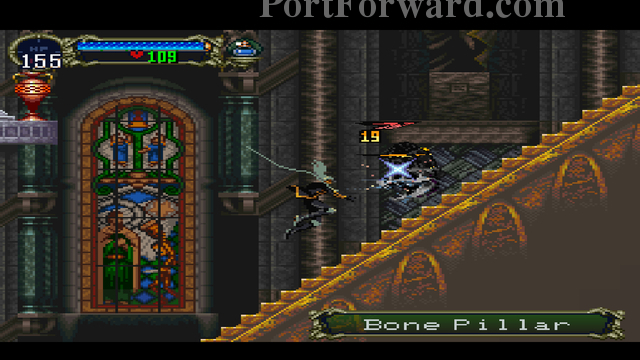
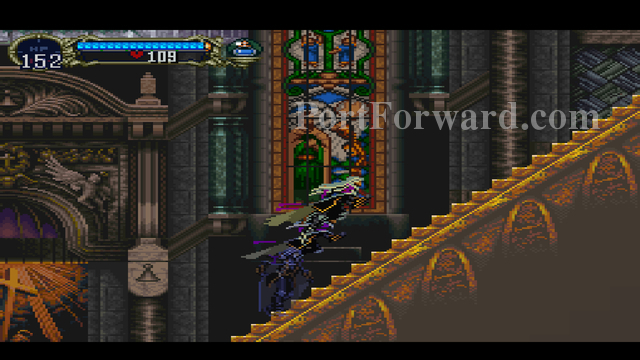
Destroy the yellow statue, and head left to the giant staircase (Where the Bone Pillars and Damascus Knights are) in the Holy Chapel.
Scan the upper half of this room for pottery to break. There's a lot of goodies up here.
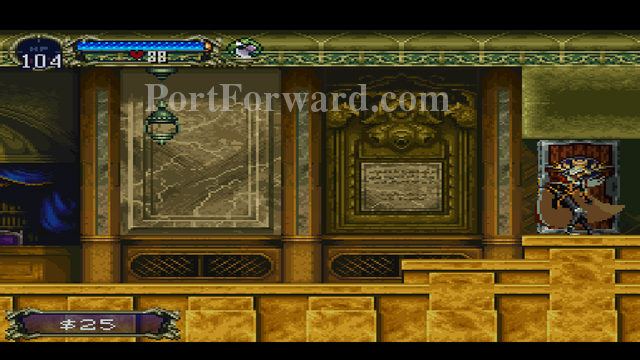
Castlevania: Symphony of the Night Walkthrough Library Visit! (Use a Library Card)
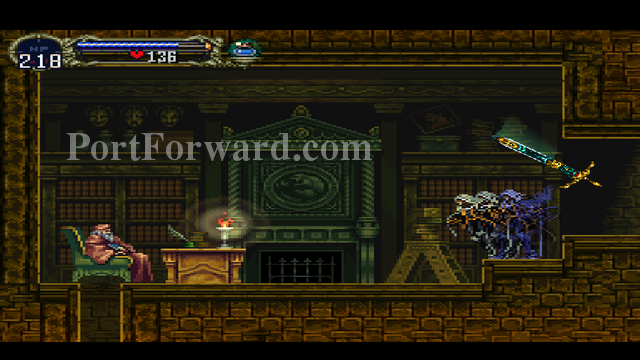
"Enter the librarian's office. Equip the sword familiar, for this spell requires it.
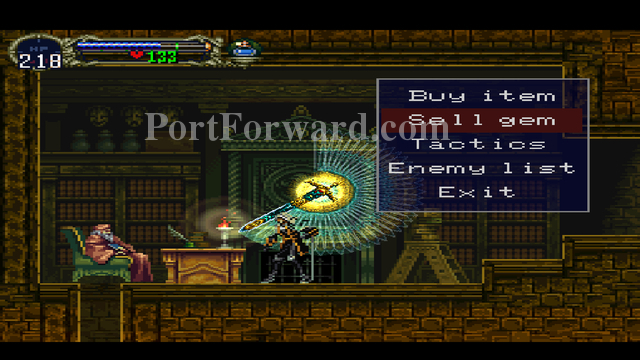
"Click Sell Gem. Don't sell any gems just yet.
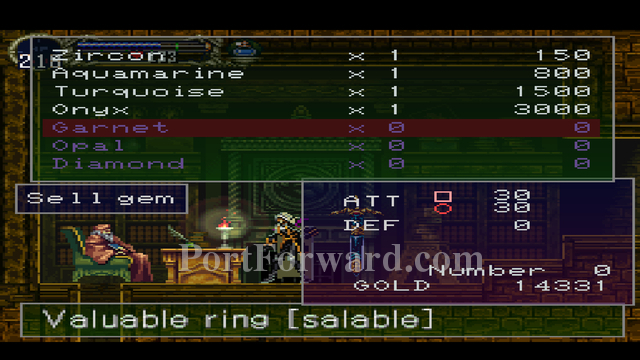
Now, sell that ringt. Stop talking to the librarian, and talk to him again. Re-open the sell gems dialogue.
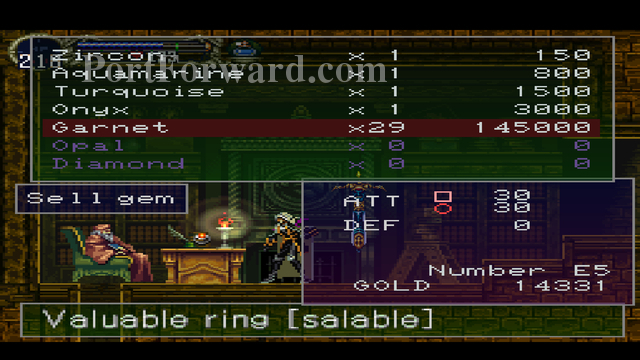
You should now have E5 of the ring that you sold. Sell as many rings as you like. Now, it's time to stock up on some powerful items.Things you should get:
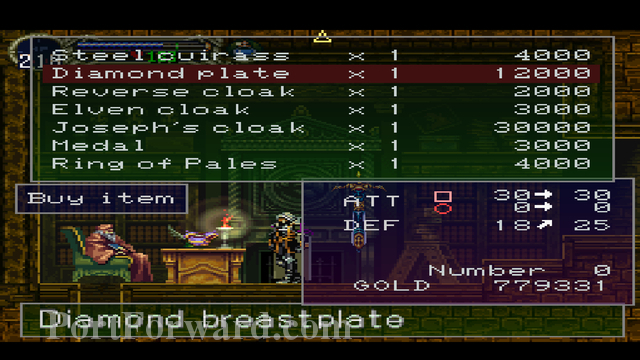
Diamond Plate
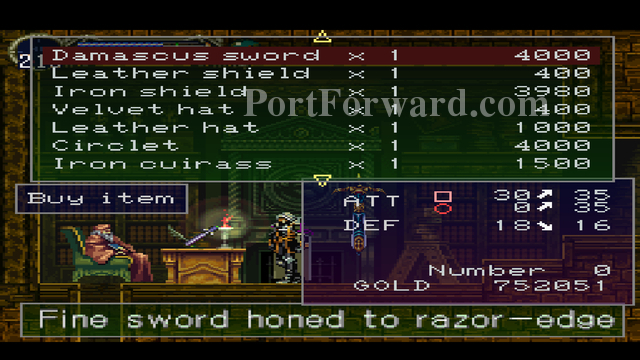
Damascus Sword
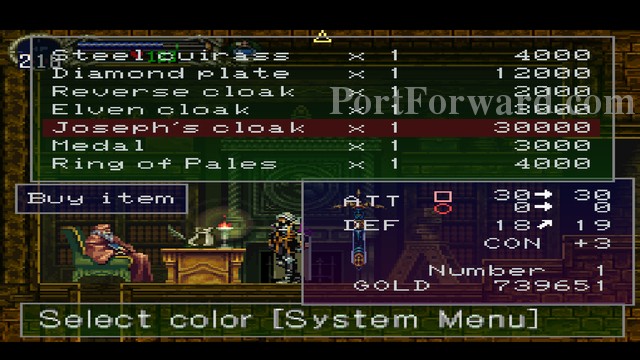
Joseph's Cloak
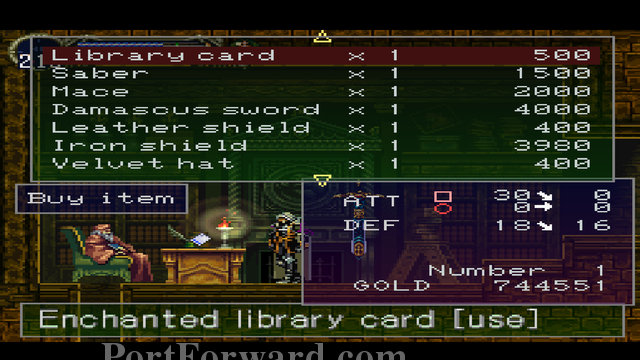
A few more library cards
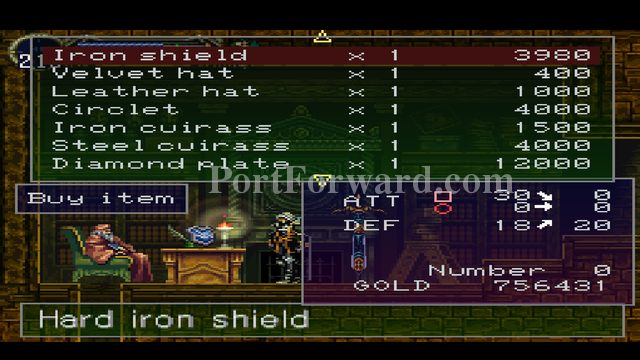
Iron Shield
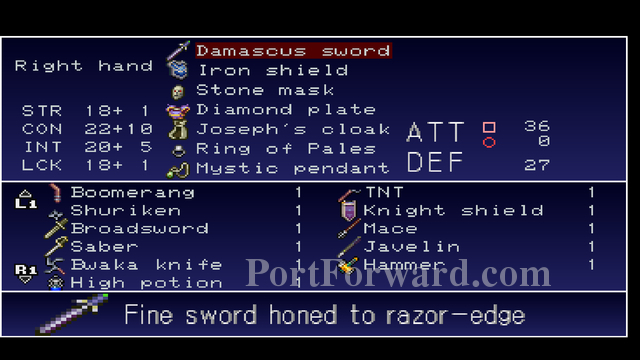
Equip all your new items!
Head to the Outer Wall.
Then, go to the Marble Gallery.
Finally, drop down into the Underground Caverns. It's time for a revisit.
Castlevania: Symphony of the Night Walkthrough Underground Caverns (Revisited)
When you get to the large hole, turn into a bat and fly to the other side. Enter the passageway. Eventually, you'll reach a crossroads, each with a save point.
Head to the left to save the game.
Head right, and enter the corrupted save point.

Watch the cutscene, and get ready to fight Succubus.
"Succubus has two main attacks. The first of her attacks involve Succubus folding up her wings. She then fires spikes out of the bumps of the wings.
Once Succubus is defeated, she drops a Gold Ring. Pick it up, then head to the waterfall.
Head to the left, and push the button in the next room.
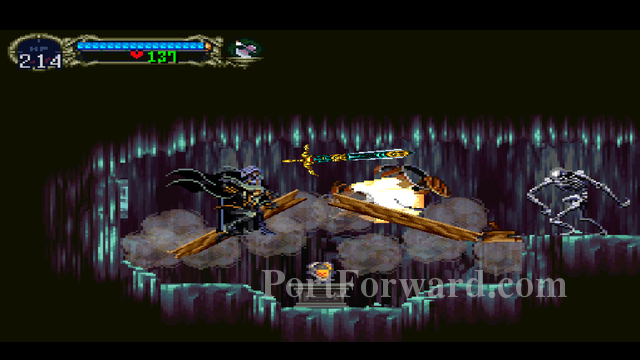
A Skeleton Ape will drop down and throw a flaming barrel. This will break the bridge. Head back to the other wooden bridge earlier in the level to the right.
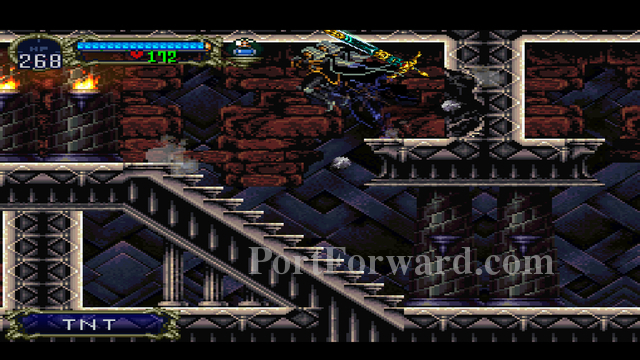
Bait the Skeleton Ape to throw the barrel at the wooden bridge. Pick up the goodies, and drop down into the pit. Enter the door into the Abandoned Mine.
Castlevania: Symphony of the Night Walkthrough Abandoned Mine
Drop all the way down the chamber, and enter the right room for a save point.
Enter the dinosaur's mouth. Keep heading right and prepare for a boss battle with Cerberus.
Cerberus has three attacks. The first is a single fireball. You can't block this fireball, so make sure to jump over it or duck underneath it. He telegraphs his attack by closing his eyes on one head.
When cerberus sits down, he's going to shoot a stream of fire diagonally. Make sure not to get hit by it.
Cerberus can also rapidly shoot fireballs, so be careful.
Once Cerberus is defeated, head all the way down this passageway.

When you come to the crossroads, head right and open the door. There's a Warp Room located here, marked by a Sanke Head. Explore the area left of the crossroads.
There will be a Demon Card located at the end of this tunnel. Pick it up, turn on the Demon Familiar, and go all the way back up to the top of the cavern.
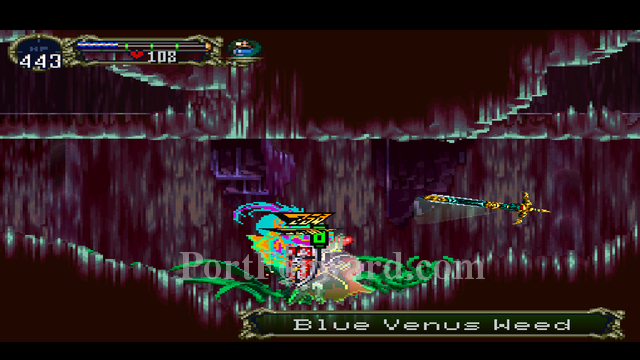
The Demon will muse about the switch, then press it. Head inside and kill the various weed monsters.
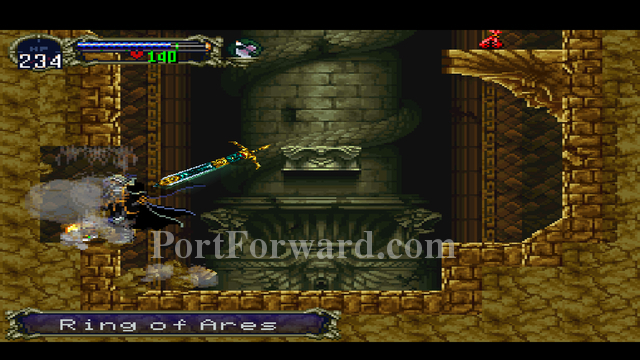
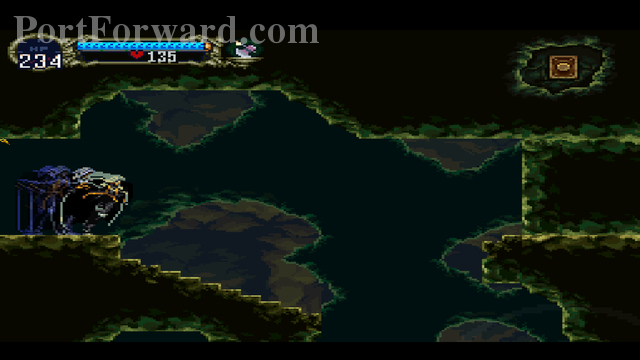
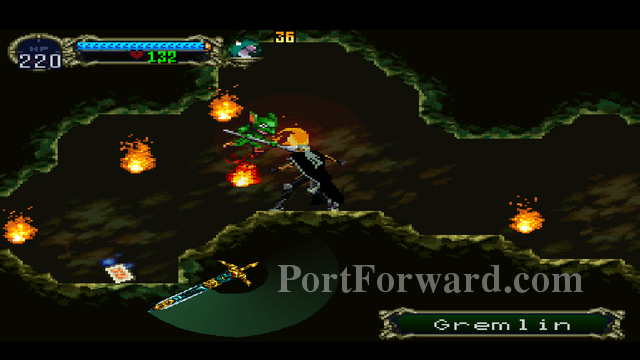
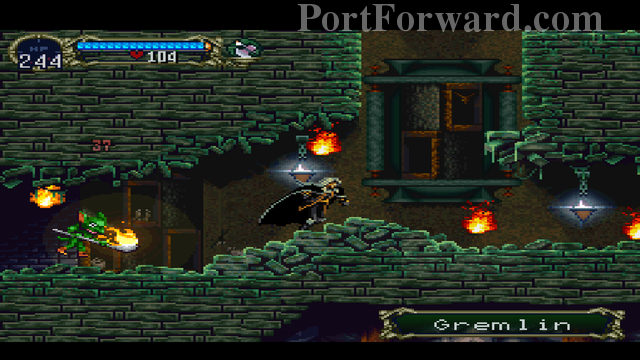
When you come to a golden room, drop down and collect the Ring of Ares. Then, slash the wall on the left. Pick up the goodies inside, then return back to the crossroads with the Gremlins. Drop down.
Go down at the crossroads. Make your way down the cavern, then head left. Pick up the goodies, and then go right.
Enter through the door at the bottom of the tunnel. Prepare to enter the Catacombs.
Castlevania: Symphony of the Night Walkthrough Catacombs
Head down and left. Walk through the save point.
At the end of this area, you'll find a Bloodstone.
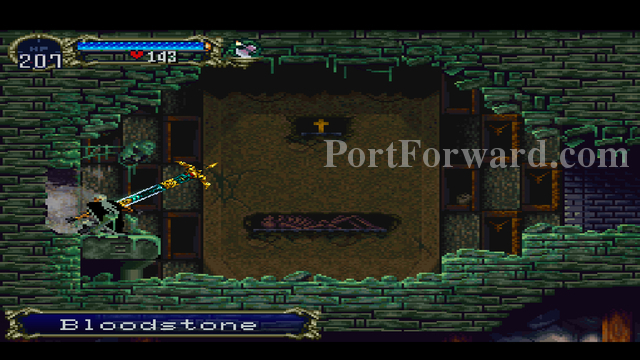
Slash the wall to the left of the Bloodstone. You'll find a cat-eye circlet. Walk right until you reach a large room with three Gremlins.
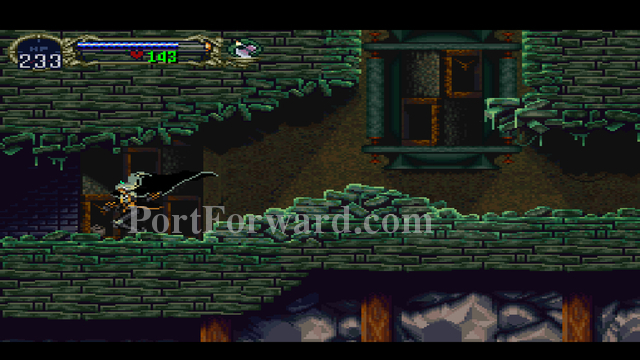
When you get to this room, drop down and go left.
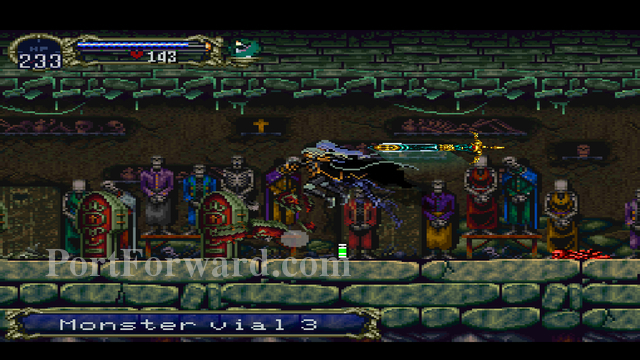
Break open the coffins to reveal Blood Skeletons and Monster Vial 3s. Keep walking left.
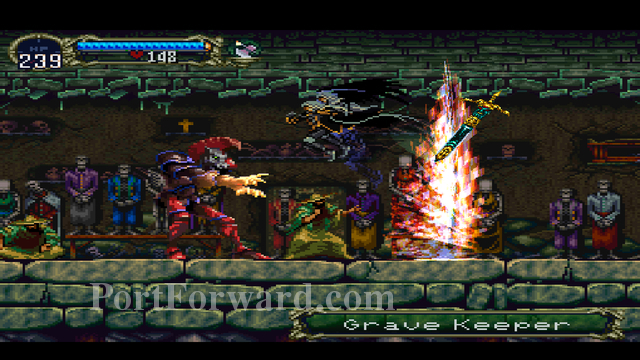
Kill the Grave Keepers and Hellfire Beast. Keep going left.
When you get to the Discus Lord, use the Black Fireball spell to make short work of him. Fly up as a bat, smash the pots to the right.
Also make sure to smash the wall on the left side of this upper area to get an Icebrand. Return to the Discus Lord, destroy him, and keep walking left.
When you get to the vertical passageway with the Gremlins and Thornweeds, head left. There's nothing of interest in this room, so head up and to the right.
Pass through the save point to get Walk Armor. Head out this room and go to the upper left room. Prepare yourself for a bossfight with Granfaloon.
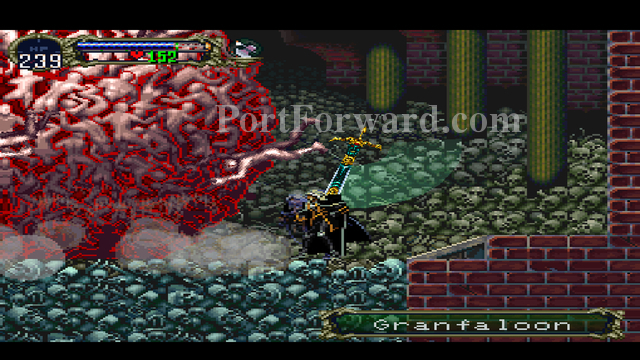
Granfaloon is a giant mass of undead bodies. At first, all Granfaloon can do is drop these bodies on top of you. Slash away at these bodies and at Granfaloon.
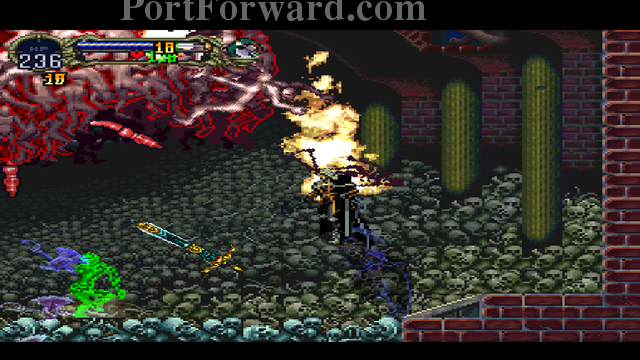
Eventually, Granfaloon's tendrils will be exposed. Keep hacking away at the middle portion of Granfaloon until his center is vulnerable.
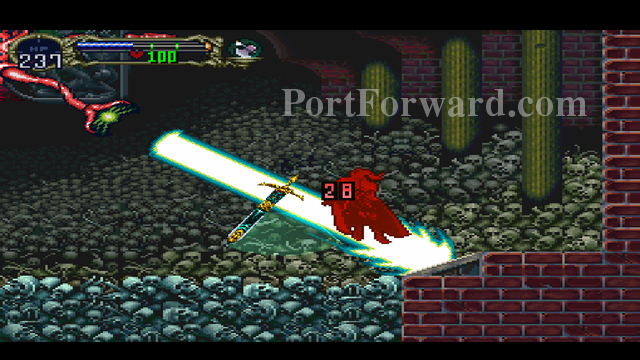
Granfaloon can shoot laser beams out of his tendrils. Be careful.
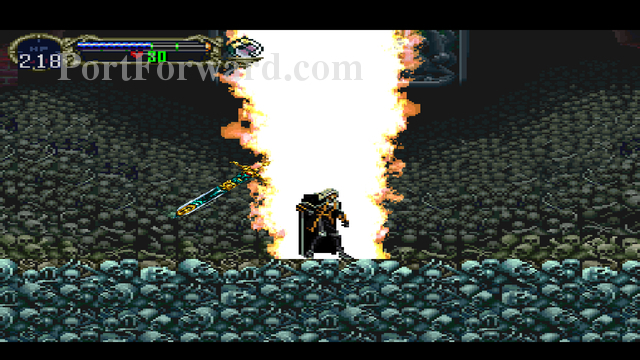
Once Granfaloon is defeated, head left.
Eventually, you will recieve the Mormegil. Backtrack right until you reach the large room with three Gremlins.
Once you arrive, start heading right.

"Slimes (both Green and Red) can't be hurt with "cut" weapons. However, you can use the powder item in one of the candles in this room to damage them. You can also use a double-jump-kick (as pictured) or a spell to damage them.
When you reach a really dark room, turn Alucard into a bat, and use Echolocation by pressing Triangle. Carefully navigate your way through the spike maze.
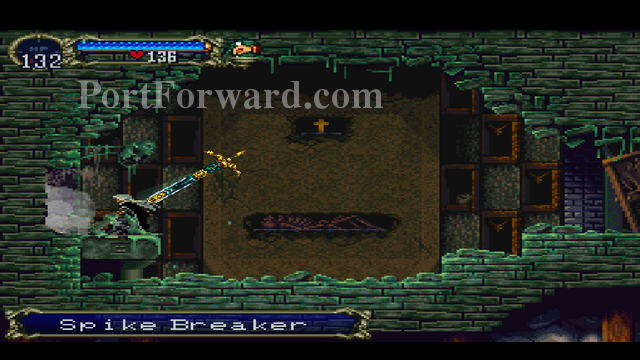
Continue exploring the area until you reach a dead end with the Spike Breaker armor. Slash the wall to the immediate left to recieve a library card. Use the library card to go to the Library.
Exit the Library and go to the Outer Wall. Go to the teleport room. Teleport to the Horse (Castle Entrance).
Castlevania: Symphony of the Night Walkthrough Wrapping Up (Missed Secrets & Advancing the Plot)
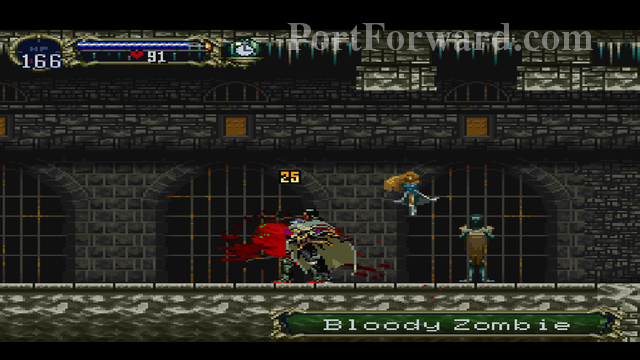
Head right. When you get to the area with the bloody zombies, double jump. Look for a platform on the right side of the room (it's a bit high up). Change into a bat to enter this room and grab a Life Up. Drop down, and head right.
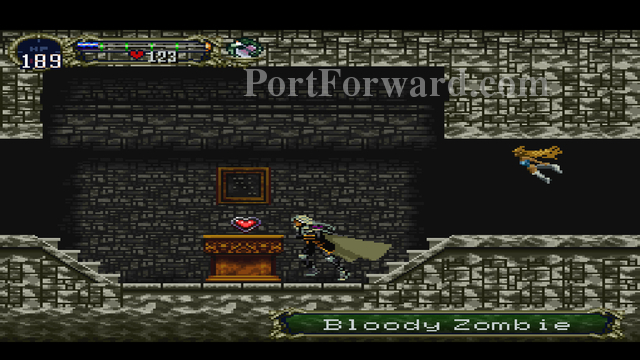
Drop down through the gap, and hug the left wall. Enter this room for a Heart Up. Continue dropping down and head left until you reach the room with the big boulder.
Enter the right side as a wolf and walk through.
Change into a bat on the left side, and fly through. Head back to the left side of the room, drop down where the Mermen are, and you'll see a new room. Enter it for a Jewel Sword and a Life Apple.
Turn into a bat and enter the area overhead. You'll find a save point, a Ghurka and Blade enemy, and Holy Armor. Drop back down and head outside the castle.
Fly up and you'll find the "Power of Wolf" item. This doesn't do much right now, but it'll be useful later. Head back to the warp room.
Warp to Castle Keep (Lion), and head left to the Royal Chapel.
Fight your way left until you reach the really long bell tower. Enter the left door.
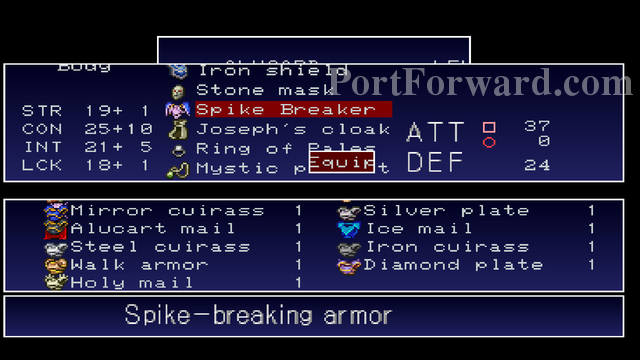
Equip your Spike Breaker Armor, and head through this passage.
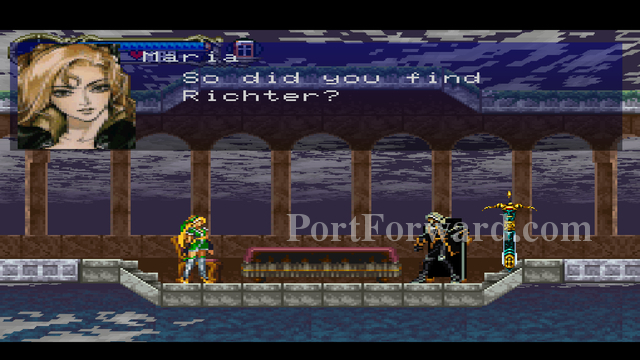
There will be a cutscene with Maria.
After the cutscene with Maria, head left and pick up the Silver Ring. Backtrack to the Castle Keep warp room.
Warp to the Castle Entrance room (Horse).
Enter the Alchemy Laboratory. When you find the first Axe Lord, jump up through the gap in the ceiling. You'll find several different item power ups and a Skill of Wolf.
Head into the boss room where you fought Slogra and Gaibon. Turn into a bat,then perform a wing smash (HOLD X, DOWN, DOWNLEFT, LEFT, LEFTUP, UP, UPRIGHT, RIGHT, RELEASE X) to get to the upper right corner of the map.
Head to the Royal Chapel.
Enter the Colosseum.
Head up and to the right.
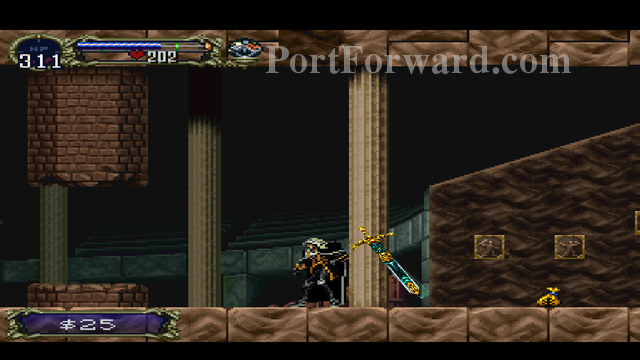
There's a secret hole hidden overhead. Use Soul Steal to search for it. It's pictured above. You'll find a holy sword hidden in here. Once you grab it, make your way back to the clock room located in the Marble Gallery.
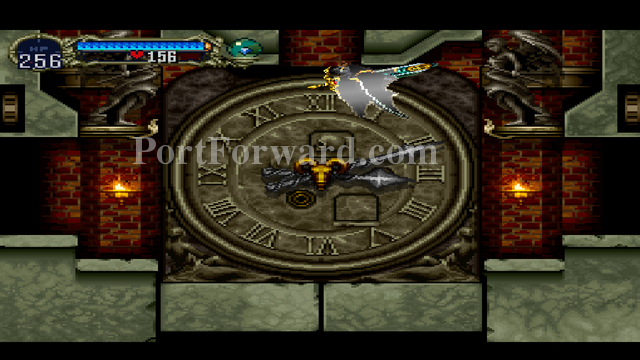
Once you reach the clock room, turn into a bat and fly up the hole in the middle. Head left to pick up a Potion, Life Apple, and Hammer.
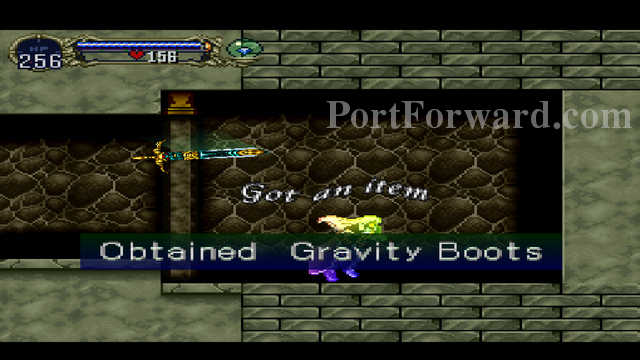
Head right to pick up Gravity Boots. You can use Gravity Boots at any time by pressing DOWN, UP, X to do an insanely high jump. Fall back down into the clock room.

Equip the Gold and Silver Rings. The floor of the room will open up. Drop down into the floor.
To the left is a save point. The right contains a Life Up and Heart Up. Once you explore both of these rooms, head down via the elevator.
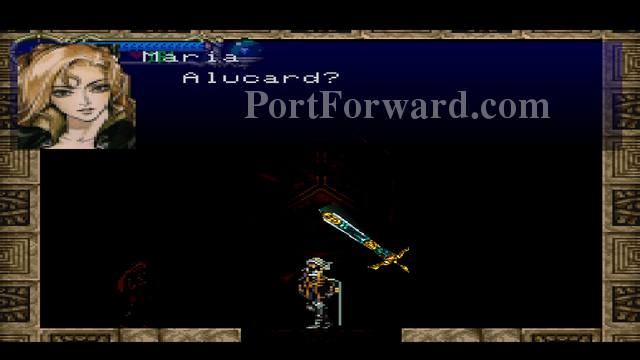
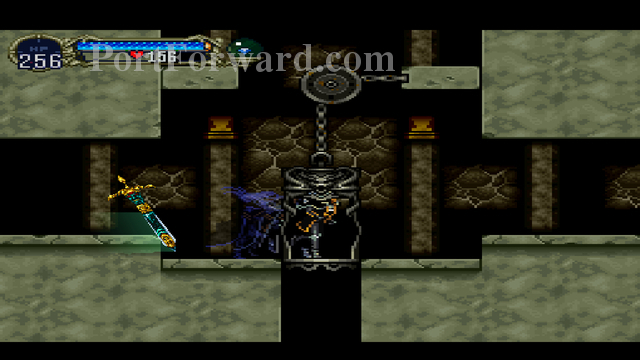
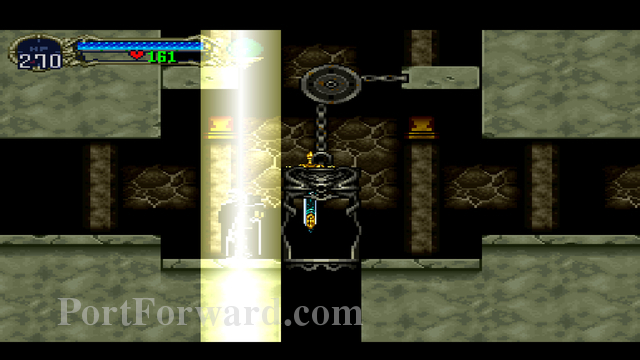
Drop down, then circle to the bottom of this room. When you stand on the golden platform, another cutscene with Maria takes place.
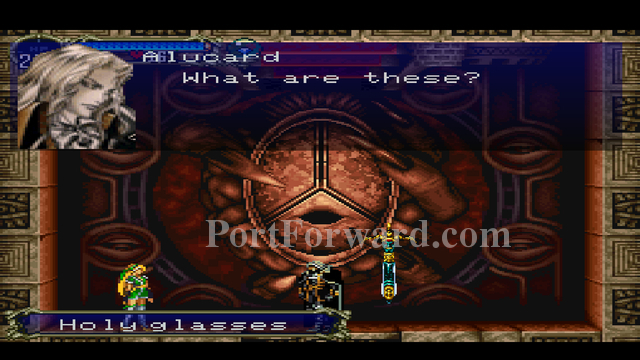
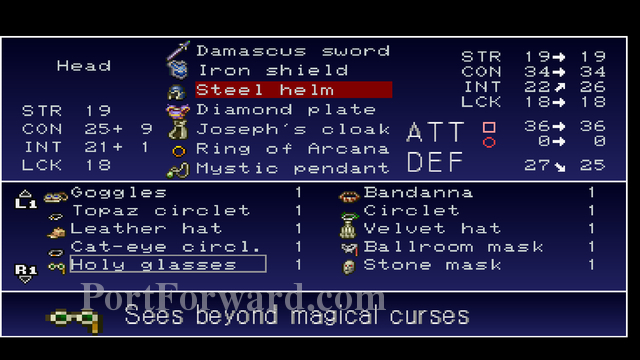
She will give you the Holy Glasses.
After the cutscene, use a library card. Head to the room directly underneath the Librarian.
"Start using the Gravity Boots jump (DOWN, UP, X) repeatedly under the Librarian. He will give you a Life Up, Ring of Arcana, Axe Lord Armor, and the Dracula's Tunic at 1, 5, 30, and 100 jumps. respectively. I recommend getting to at least the Ring of Arcana. The other two items aren't very useful.

Once you're at the Outer Wall, head all the way up to the room that's underneath the save point. Enter the door, this is the last area in the castle!
Castlevania: Symphony of the Night Walkthrough Clock Tower

Start off by dropping down and exploring the bottom left area. Once you clear out the Skull Lords, head up and circle around to the right.
Make sure to grab these items resting on the pedstal...
And the items hiding under the collapsing bridge. Head all the way to the right of this room. Once you do, turn into a bat and fly up.
You'll find a secret room containing the Fire of Bat powerup. You can now summon fireballs by pressing circle as a bat. Head to the right side of the room, and enter the lower doorway.
Fight your way up the first clock passage, and head left.
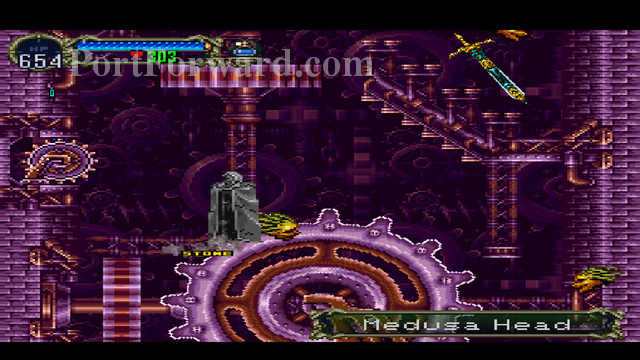
As you're making your way down the passageway, look out for two cogs embedded in the wall. Keep attacking them until they make a clicking noise. Head left into the next room when you're done.
Hit the other two cogs located in this room unitl they click, Drop back down, and enter the room on the left. Pick up the goodies, and head back up.
Climb back up this passage, and slash the wall to the right.

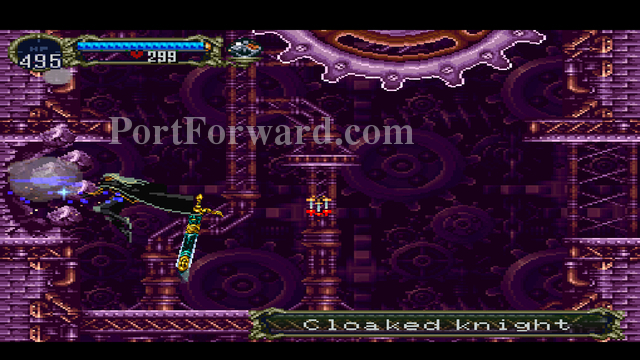
Eventually, you'll reach an area with a Cloaked Knight, Life Up, and Heart Up. Return to the passage with the cogs and head left.
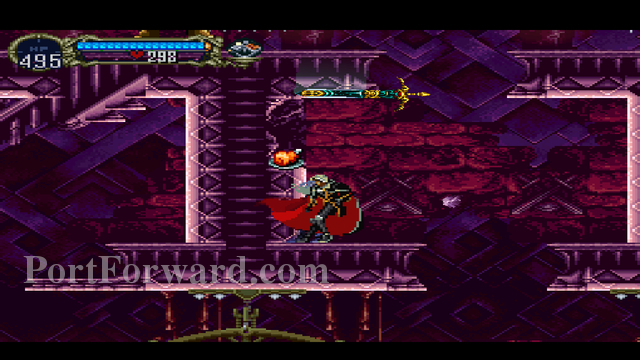
There are several secrets in this area. Slash this wall to reveal a Pot Roast.
Head all the way to the bottom left corner of the room, and slash that wall. This exposes the Healing Mail.
Fly to the upper left corner, and pass through the doorway.
As you're making your way through this hallway, slash the lefthand side of all the mini columns. They contain items. Make your way left, and get ready to fight Karasuman.
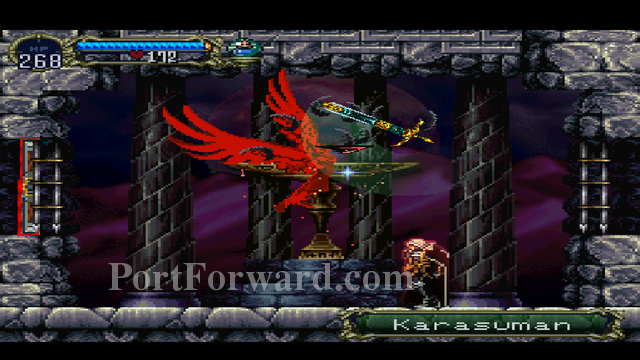
"Karasuman is a simple boss fight. He should have been fought earlier, so taking him out will be a breeze.
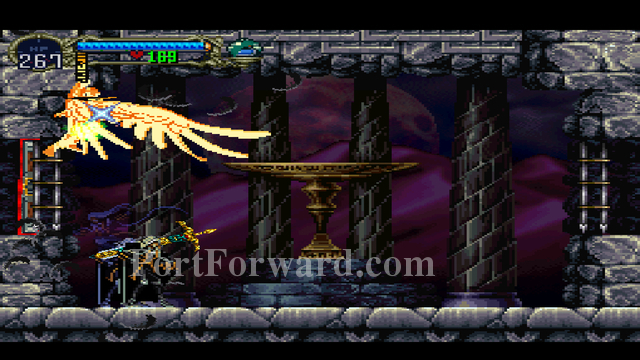
Krausman stuck in the corner, taking damage from Holy Water.
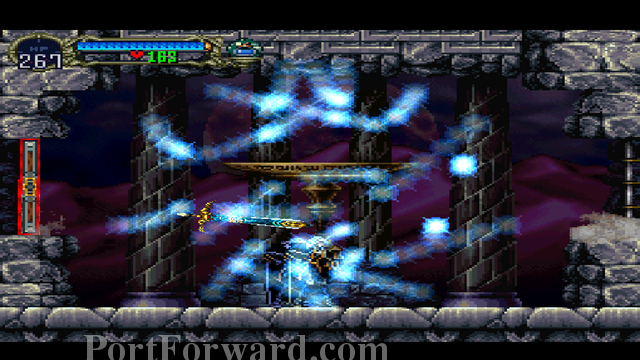
Once Karasuman is defeated, head left.
Castlevania: Symphony of the Night Walkthrough Confronting Richter
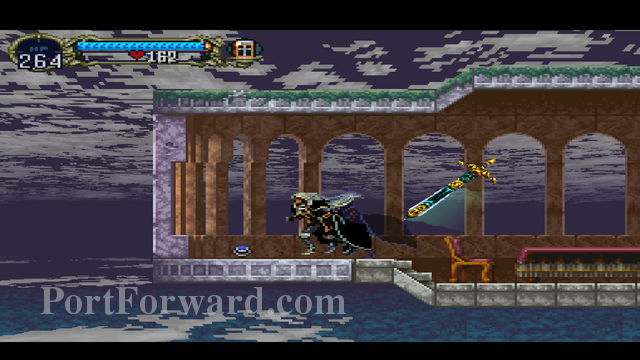
"Using the platform, make your way up this room. To the right is a save point. Above you is a passage that contains a Falchion.
Fly through the gap of the staircase. Hug the ceiling of the staircase while flying left.

"Eventually, you'll find the Power of Mist. This item will allow you to stay in Mist form as long as you have enough Mana.
Slash the wall to the left of the Power of Mist to grab Fire Mail.
Gravity Jump to the upper right hand corner of this room.
"Inside, you'll find a few Life Ups, Heart Ups, and a Ghost Card. This lets you use the Ghost Familiar.
There's a switch hidden in one of the bricks (pictured above). Slash the wall, slash the switch, and then head up the folding staircase that swings out.
Explore this area for a bunch of hidden goodies. Drop back down, and head right.
Smash the pot for a Heart Up.
Open up your inventory, and equip the Holy Glasses. This is important, otherwise you will kill Richter and get a bad end.
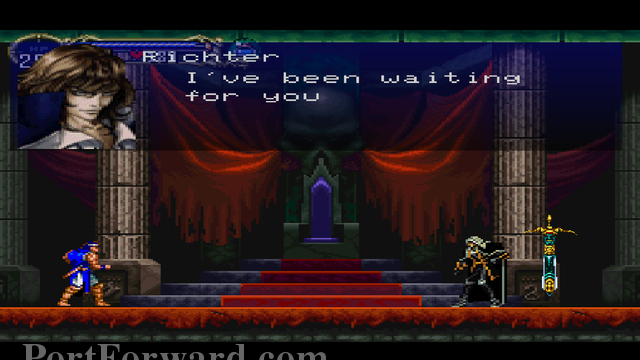
Watch the cutscene with Richter.
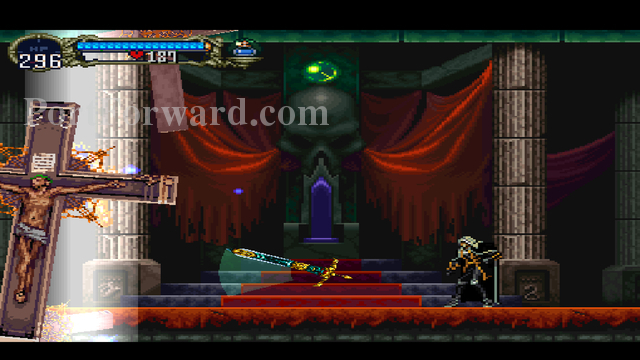
Immediately after this cutscene, Richter will use the Holy Cross super. Turn into mist to avoid it.
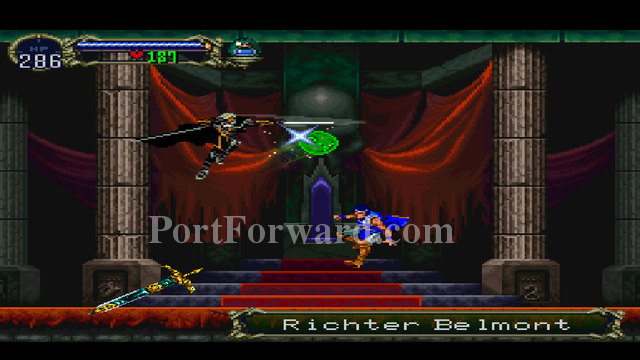
"Richter will attack you, but he is not the focus of this fight.
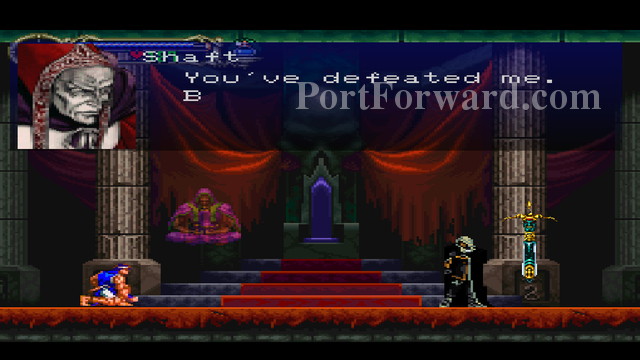
Two cutscenes will play.
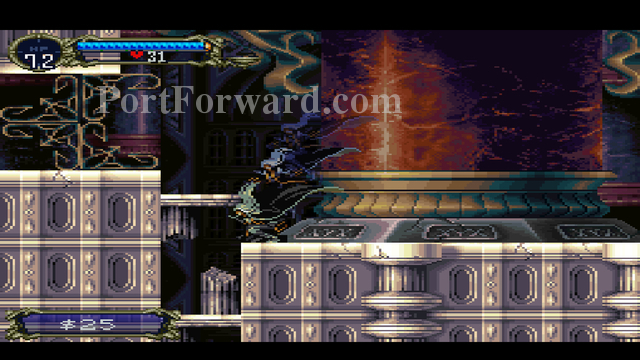
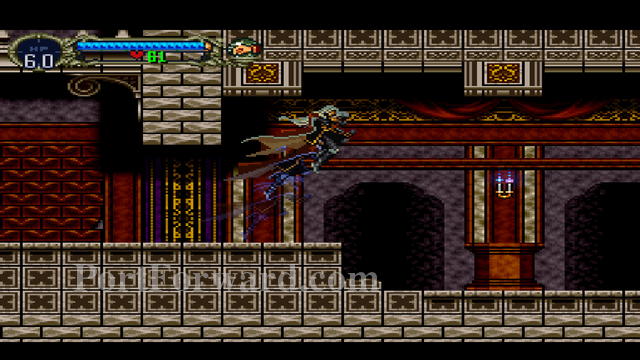
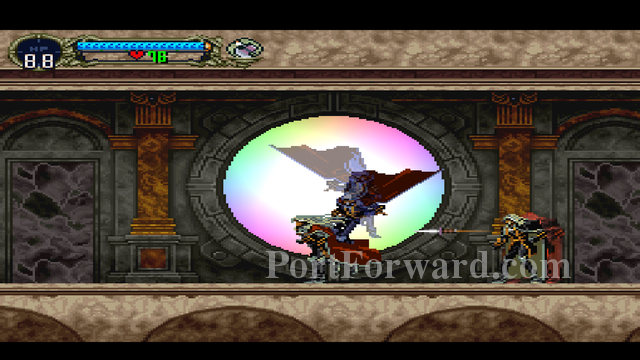
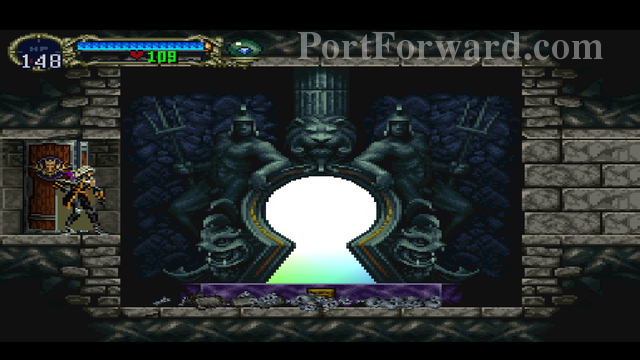
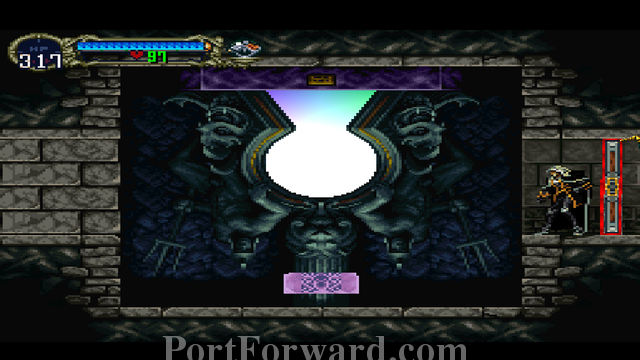
Afterwards, Alucard will run to the lefthand side of the room, and beam into the reverse castle.
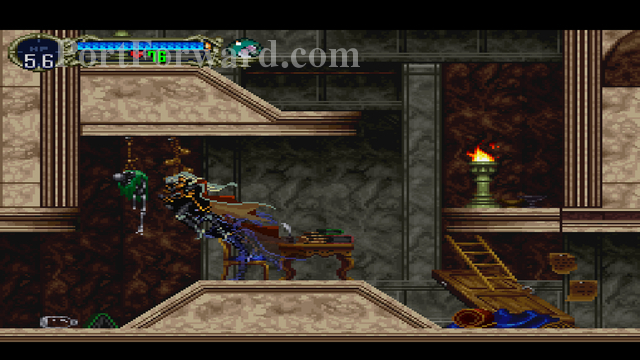
Castlevania: Symphony of the Night Walkthrough Reverse Castle Intro + Reverse Keep
"This portion of the walkthrough is going to be different from the normal castle. In the normal castle, you were restricted by movement abilities (e.g. needing to double jump to climb to certain areas).
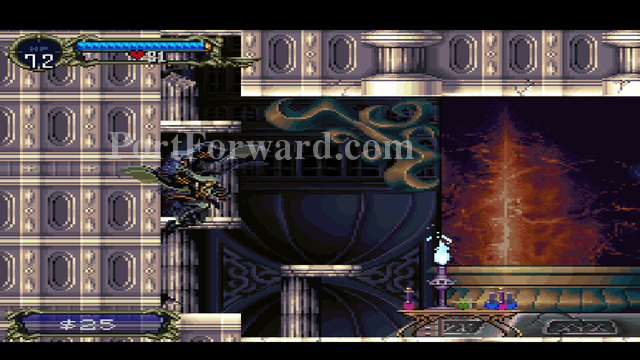
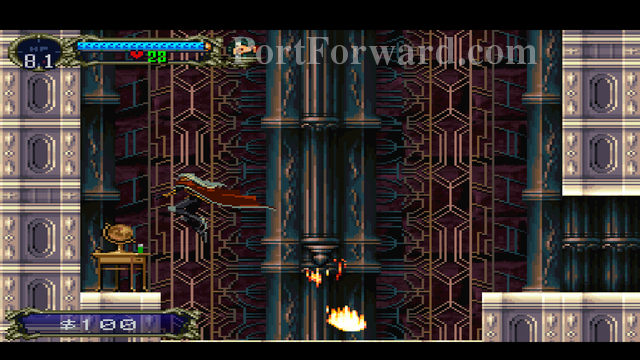
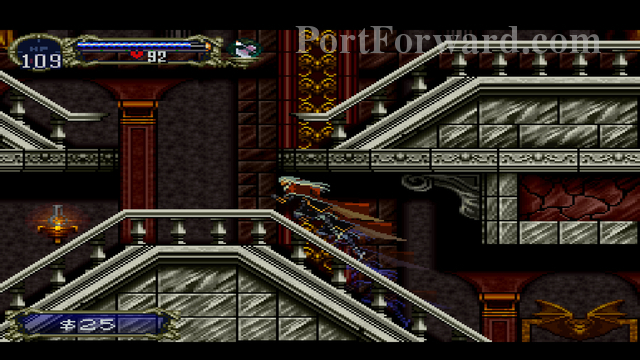
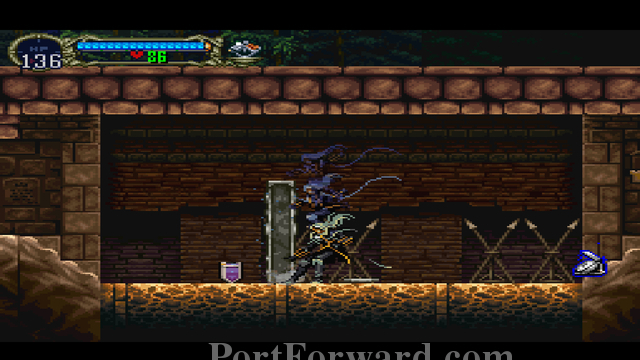
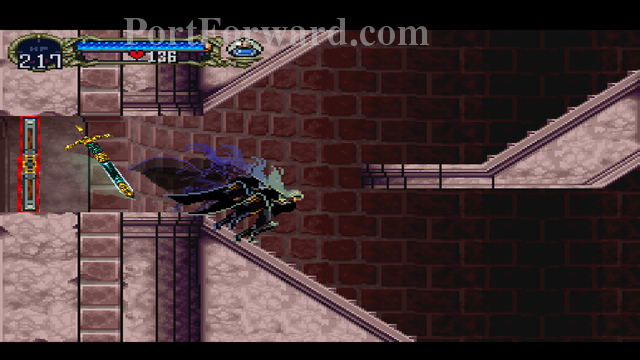
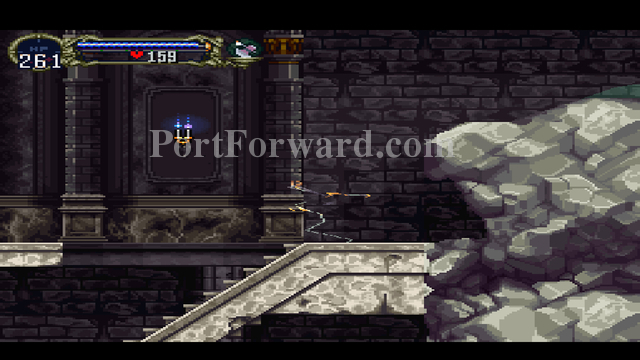
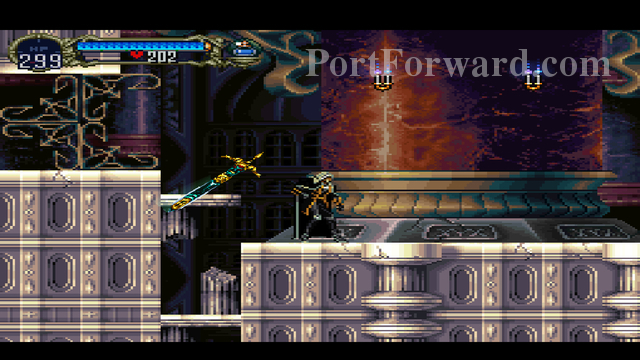
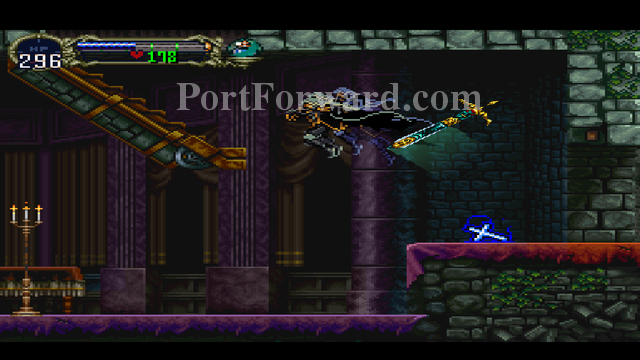
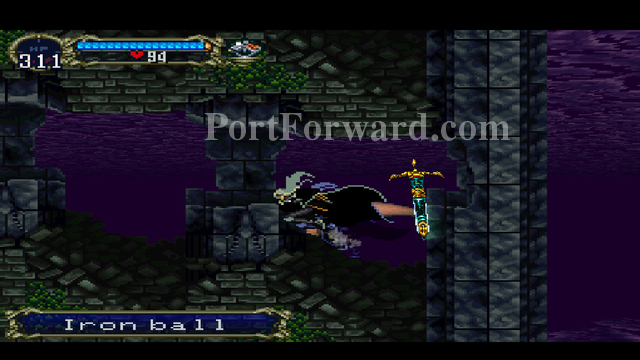
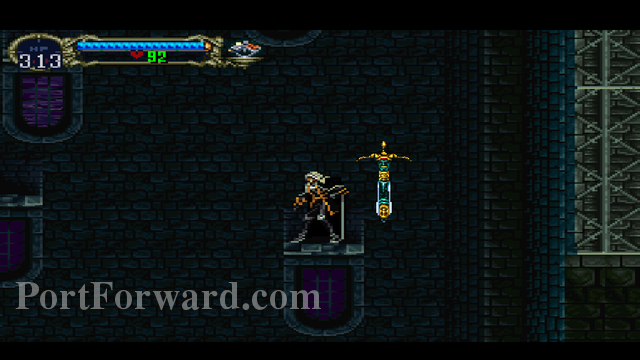
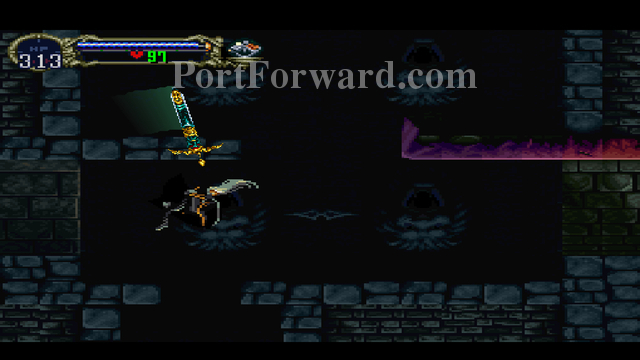
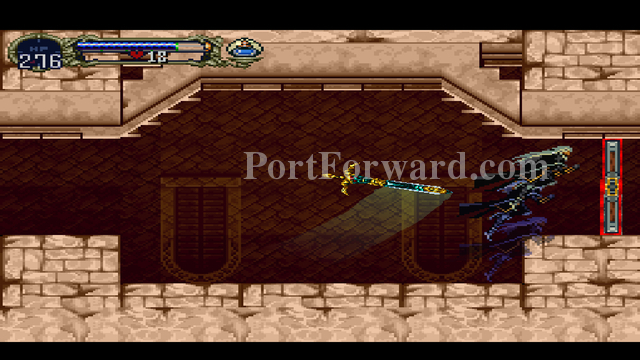
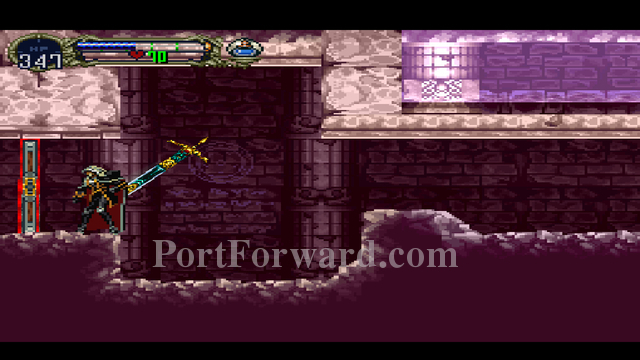
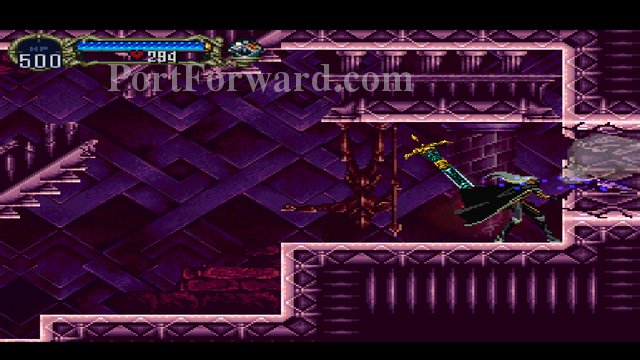
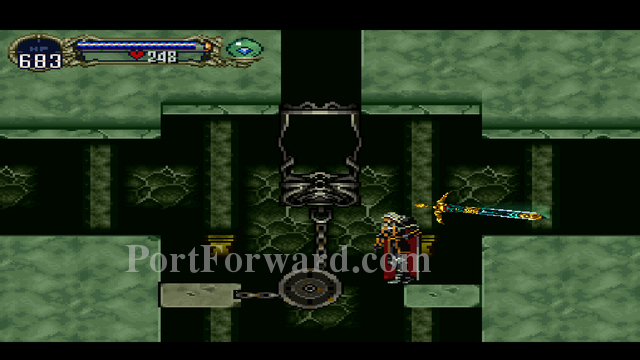
Break the wall where you found the Power of Mist to get an Iron Ball.

Break the wall in the upper right corner to get the Sword of Dawn.
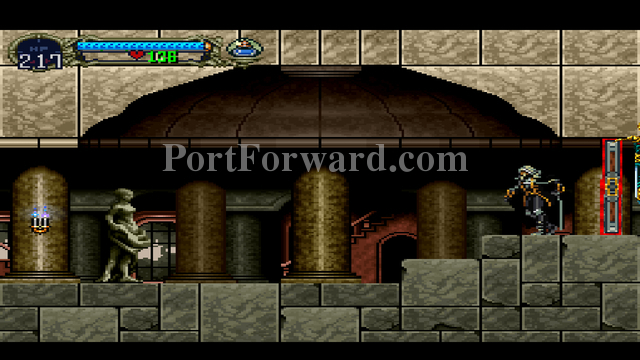
Visit the lower left-hand corner for some Resist Items.
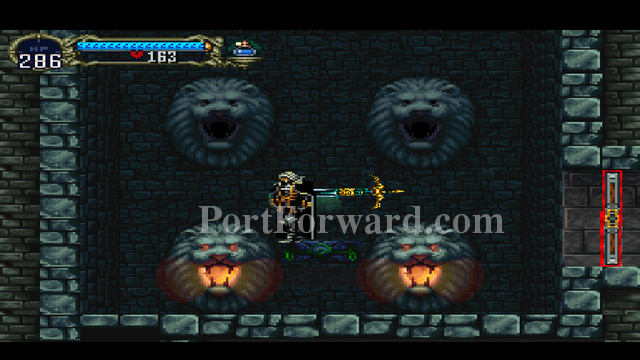
Drop down in the room with the lion heads to get a Library Card.
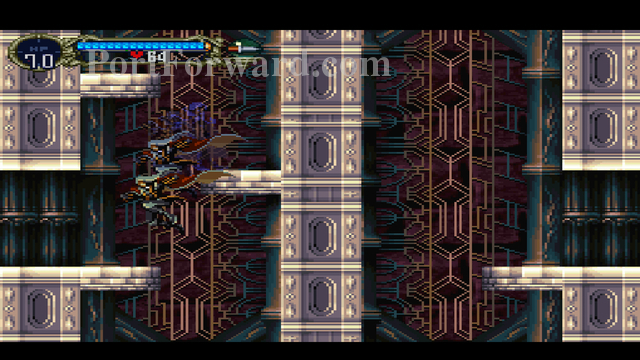
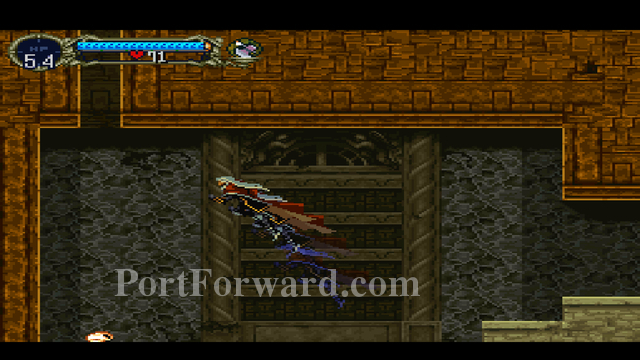
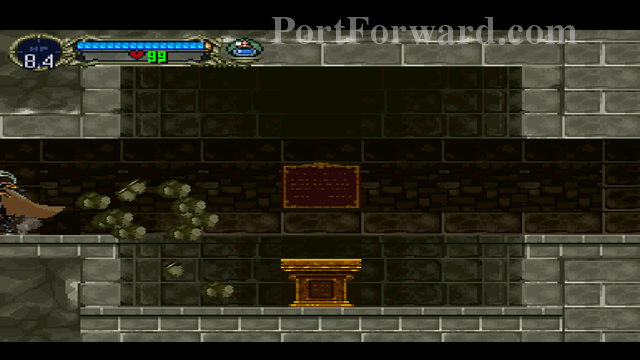
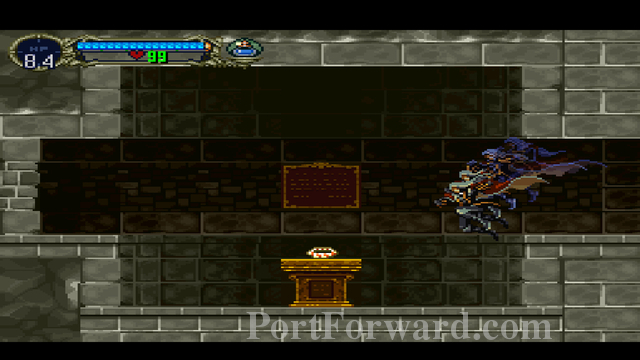
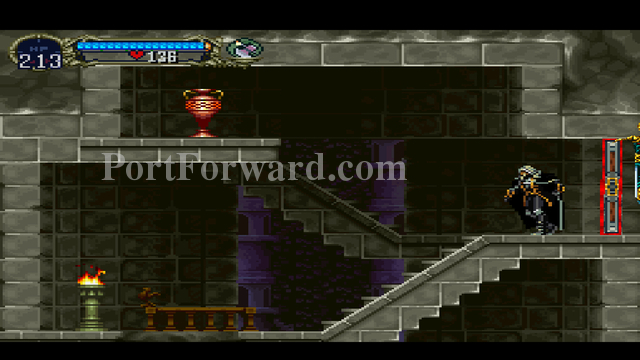
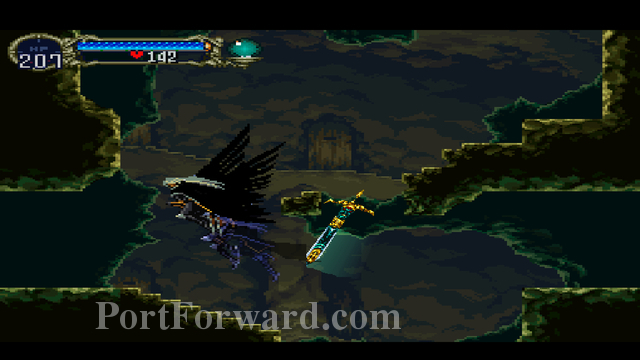
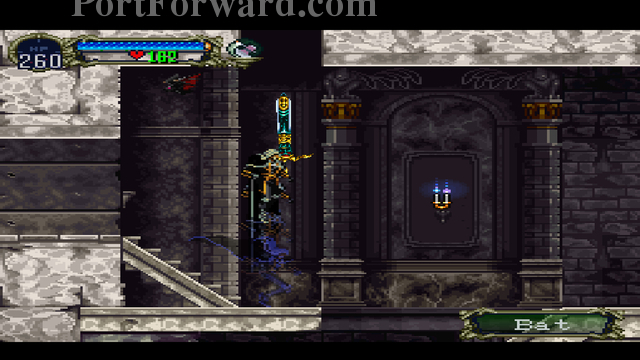
Make sure to visit the warp room before you leave. Exit towards the Reverse Chapel (right).
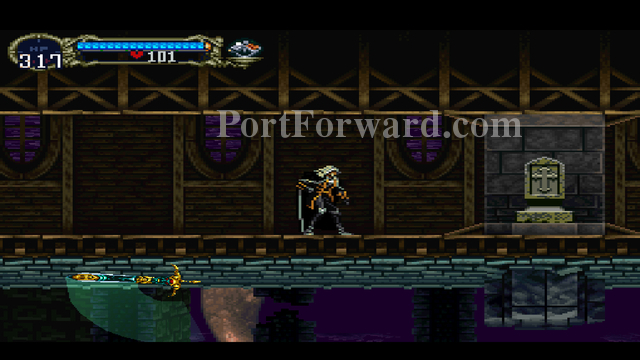
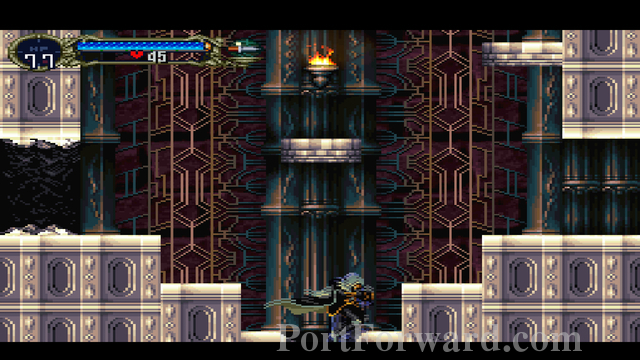
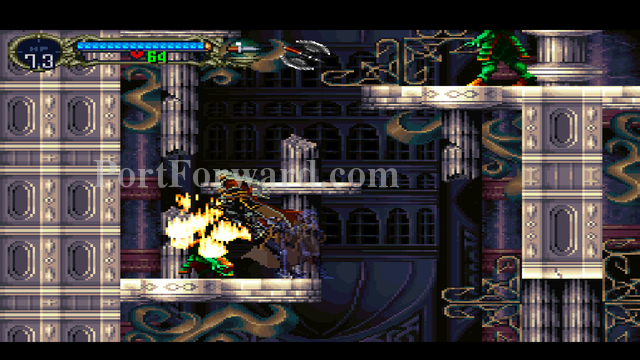
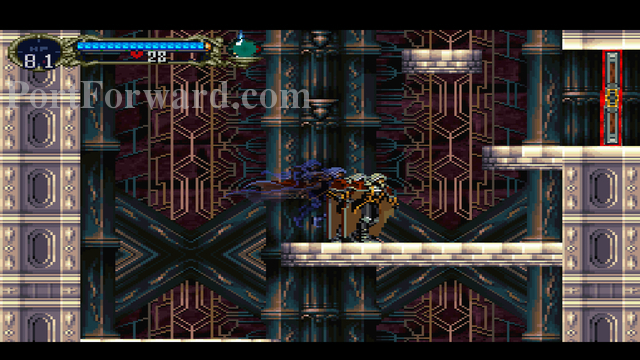
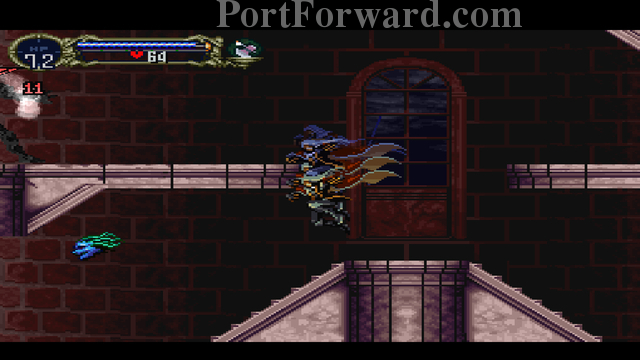
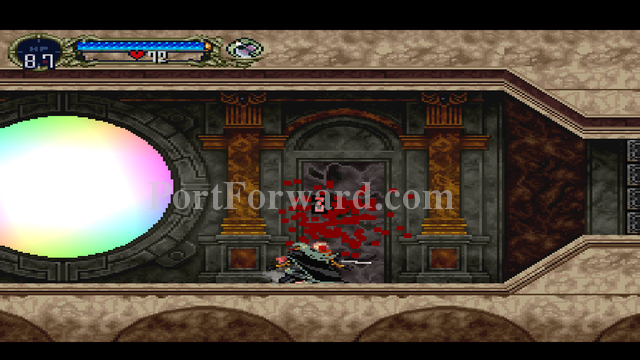
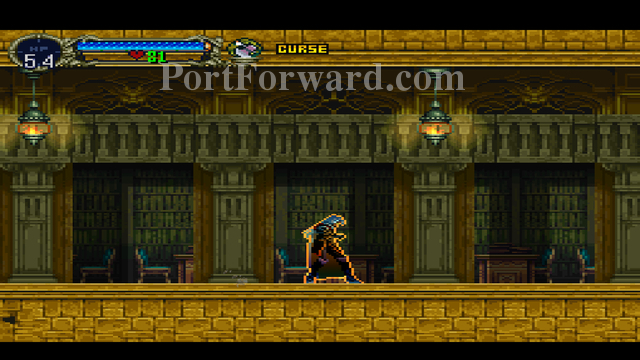
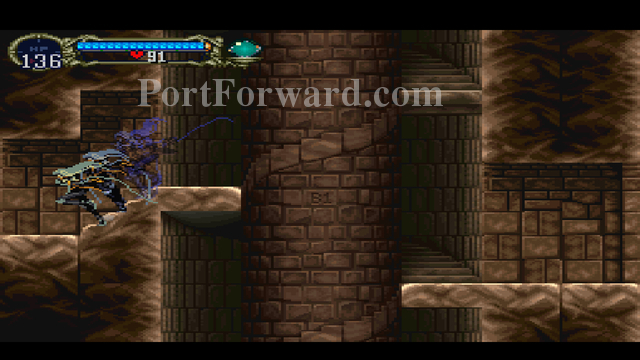
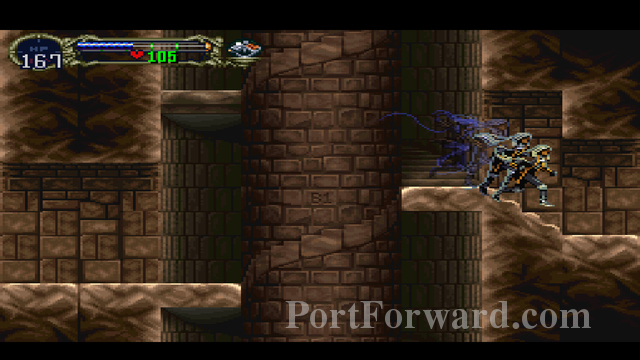
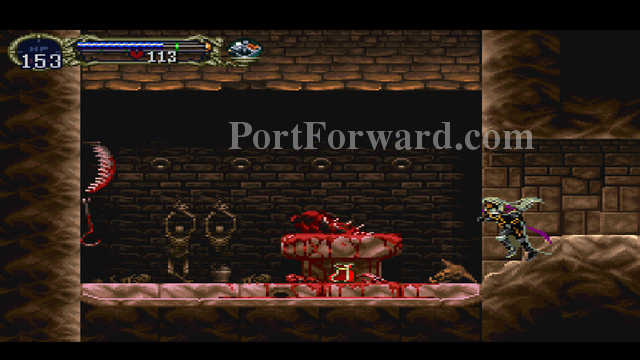
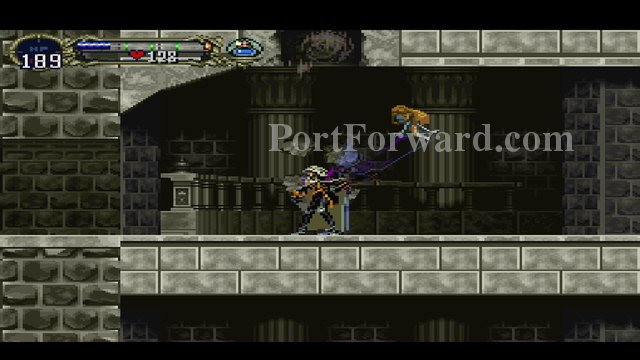
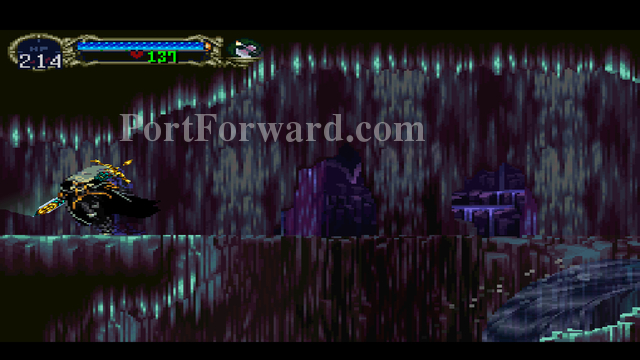
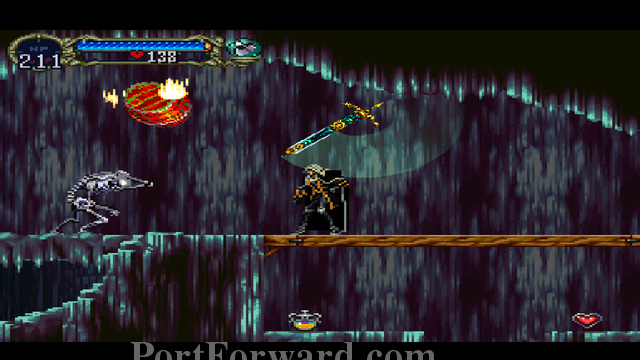
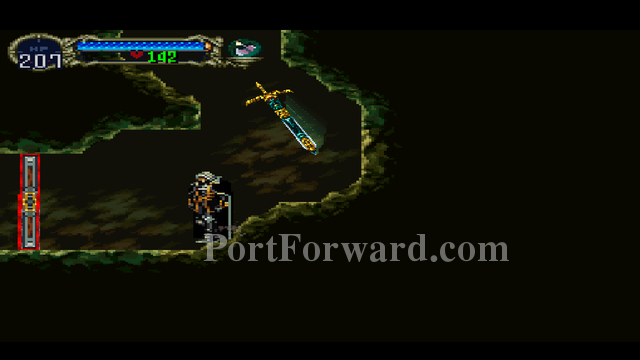
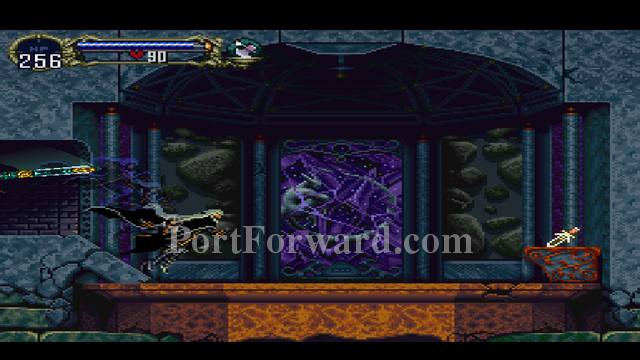
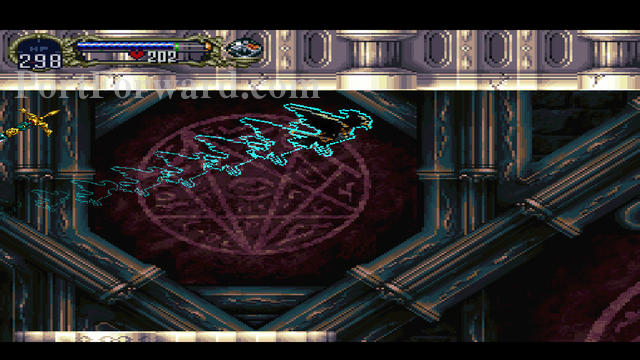
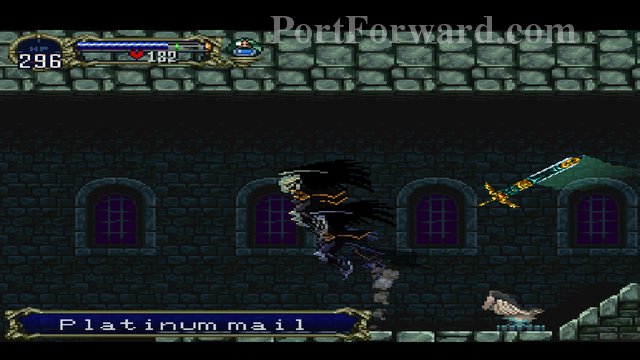
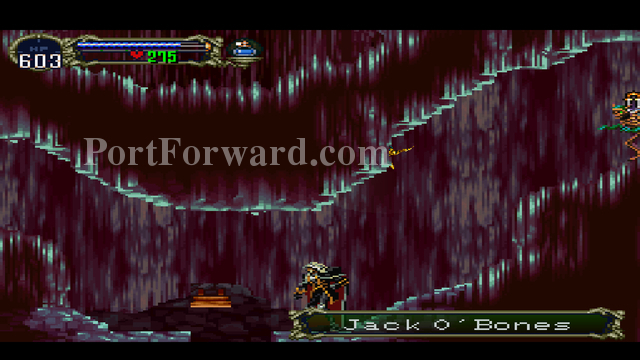
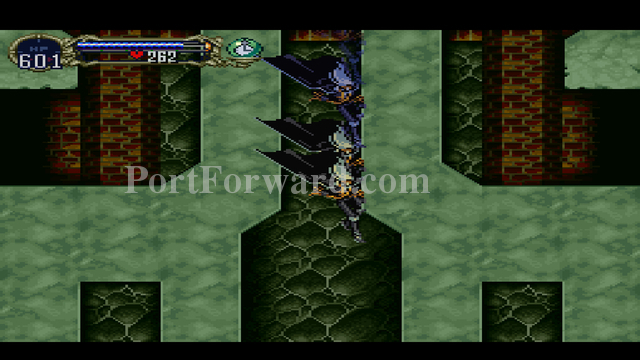
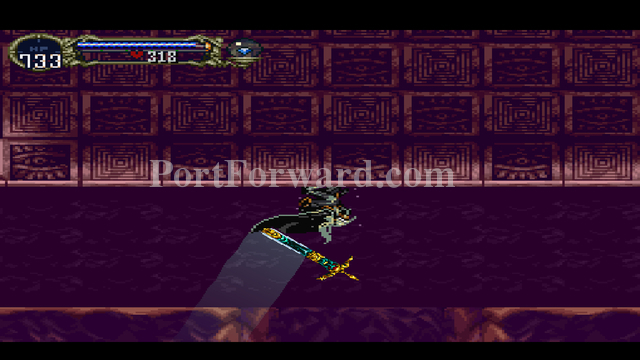
Be wary of these tombstones. They will curse you if they touch you.
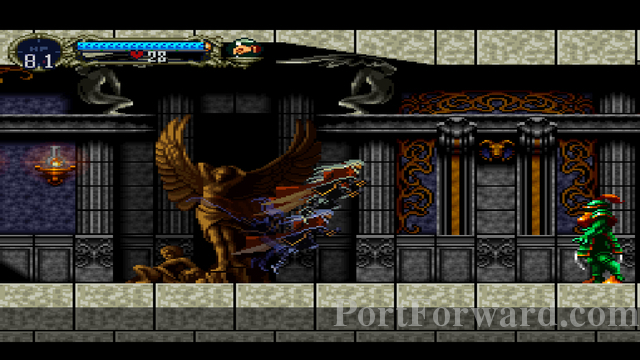
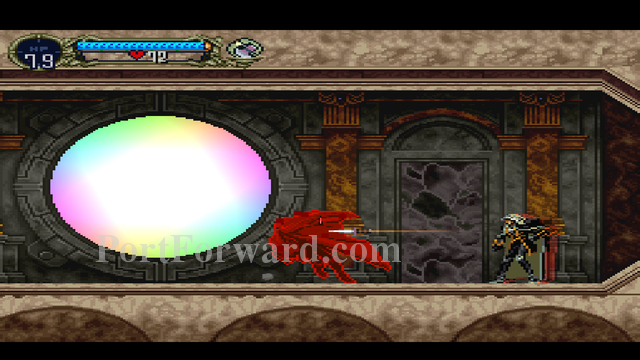
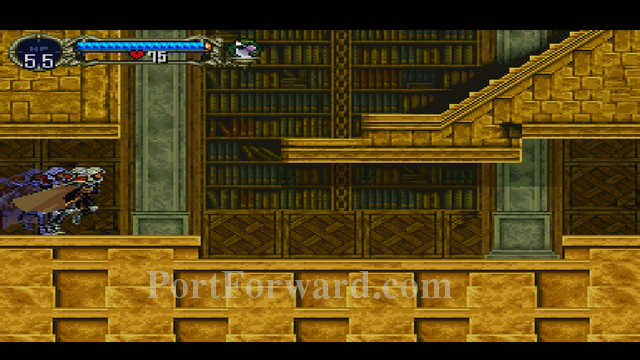
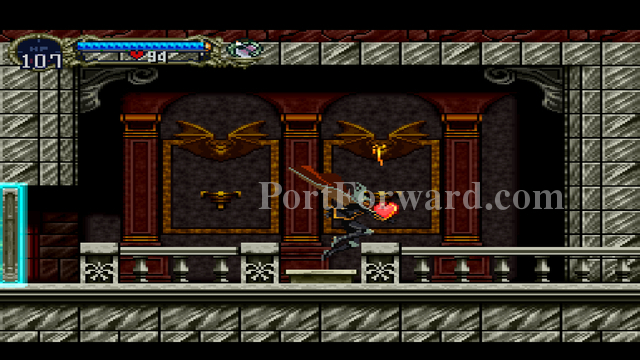
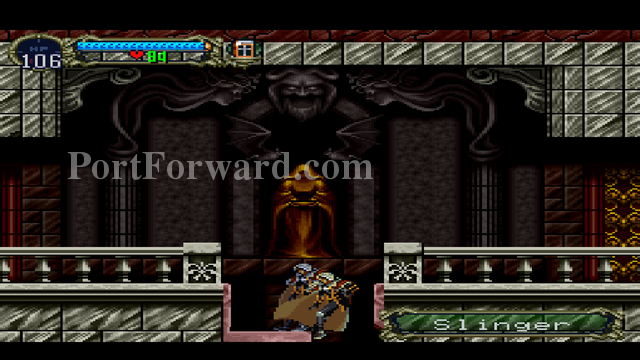
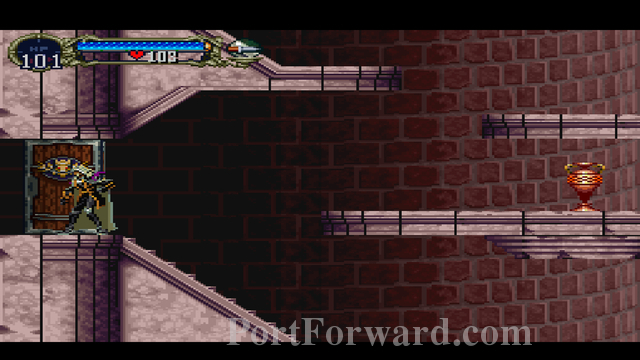
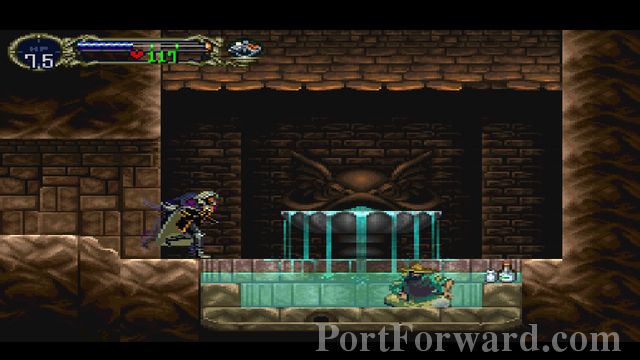
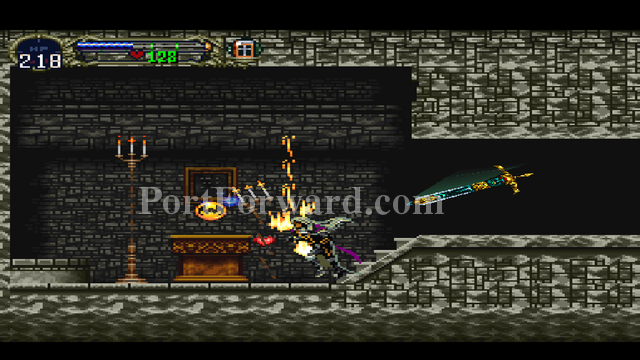
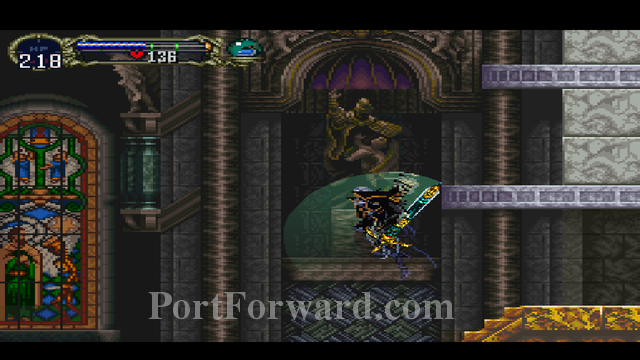
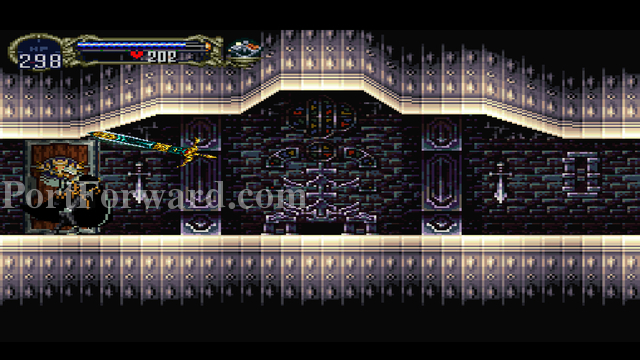
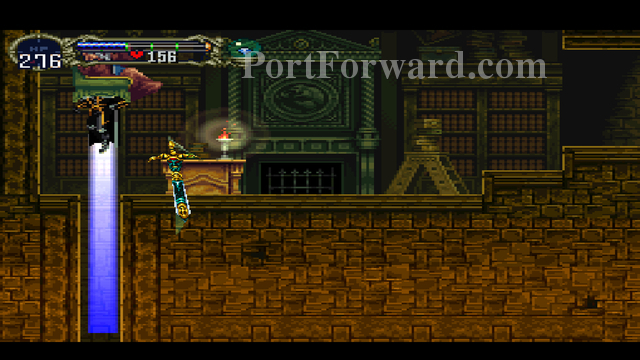
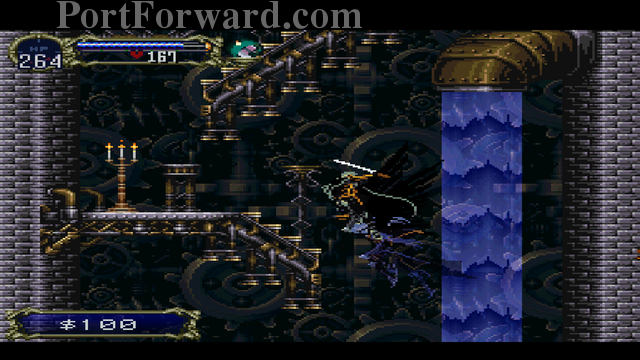
Castlevania: Symphony of the Night Walkthrough Reverse Chapel
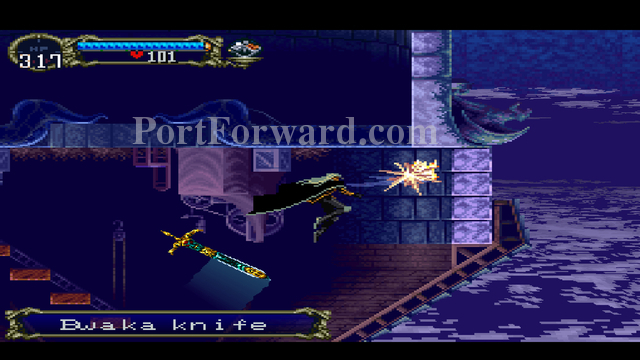
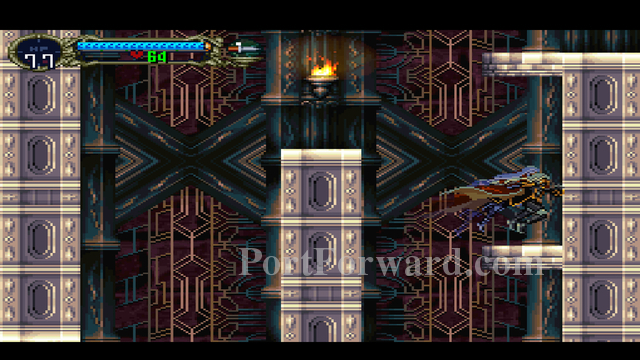
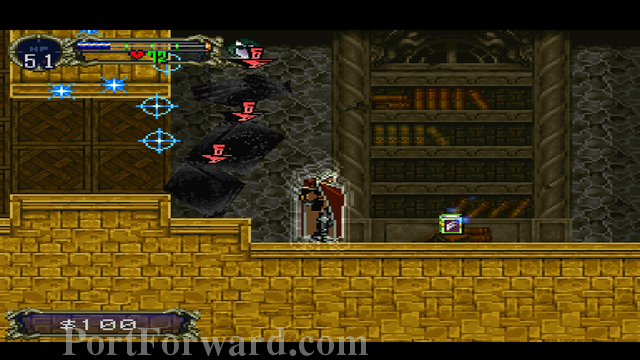
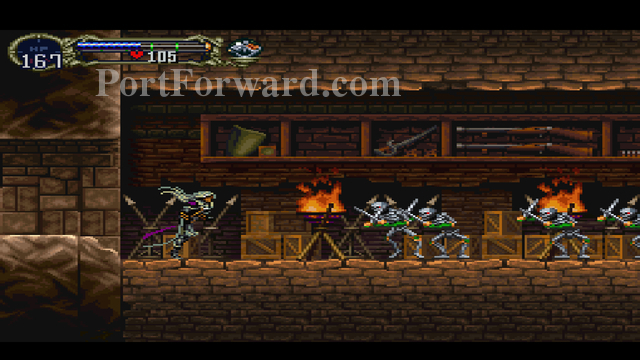
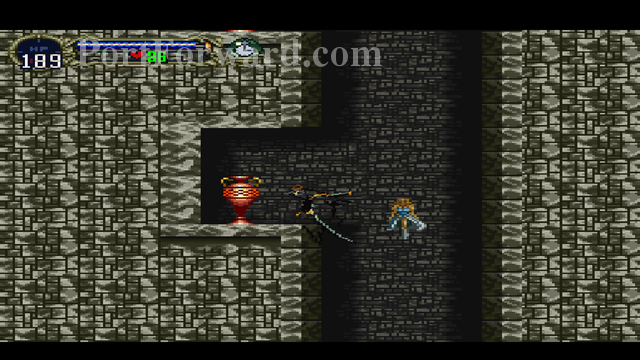
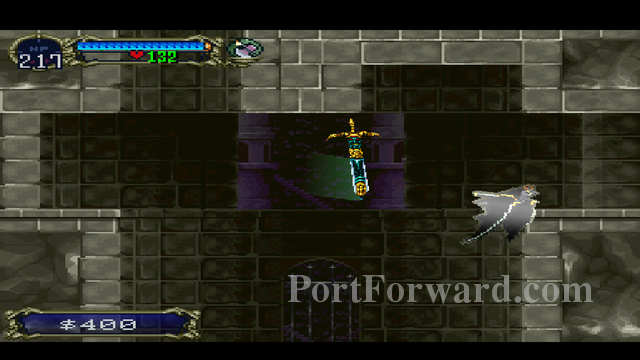
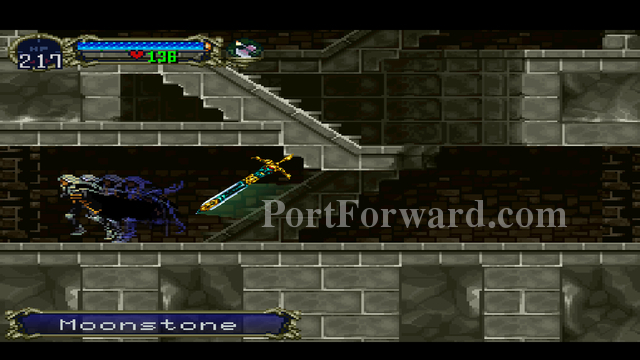
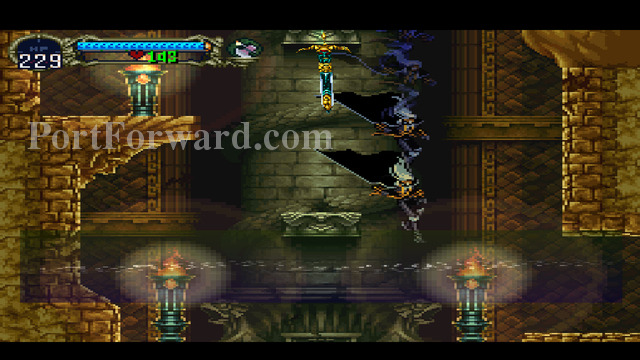
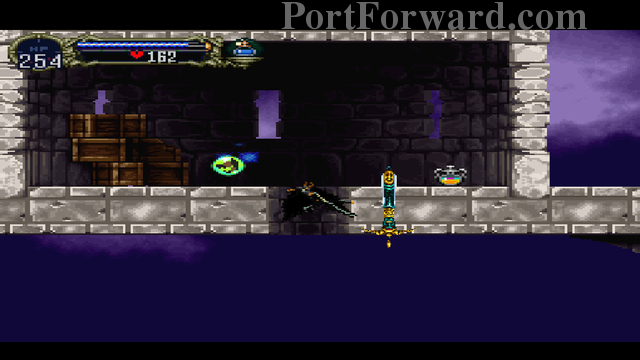
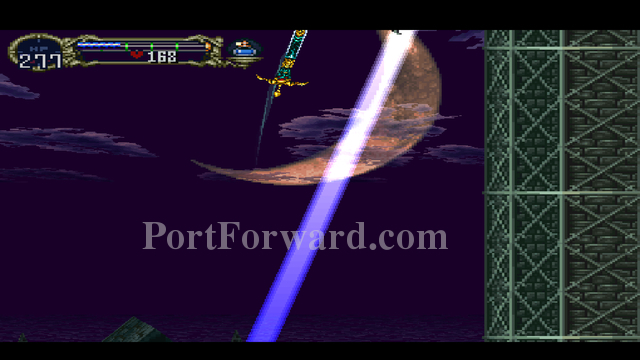
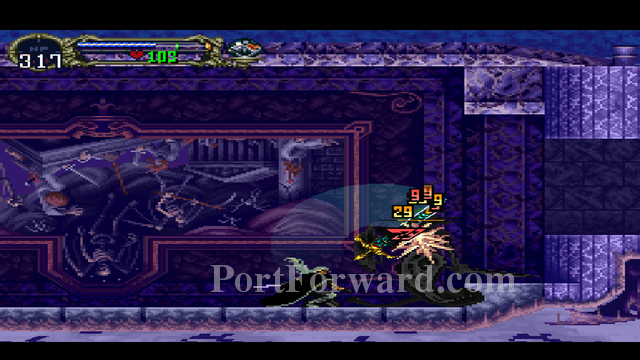
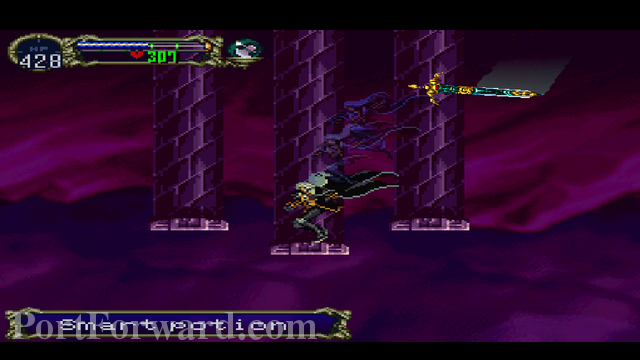
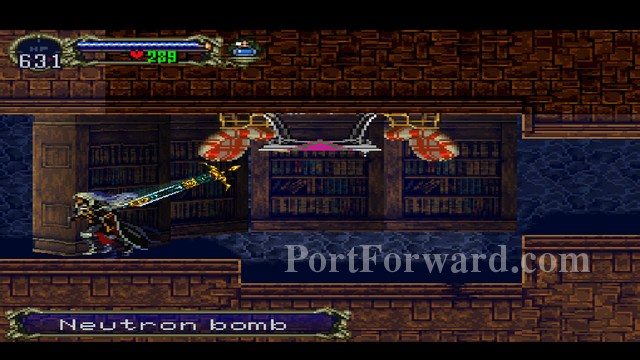
Magic Missile and Bwaka Knife at the bottom of the first tower.
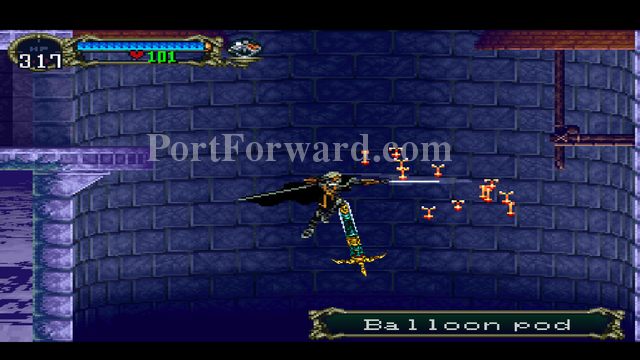
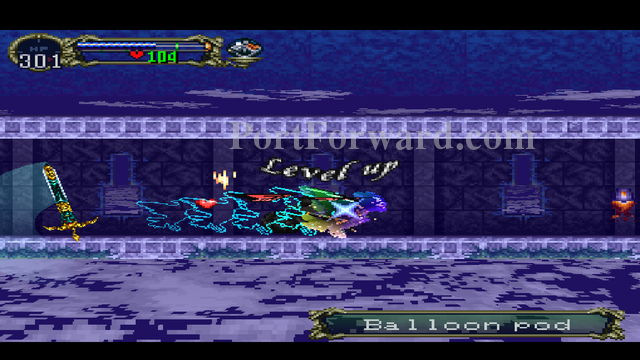
Balloon pods explode into a bunch of poison spores. Equip the Topaz Circlet if you want to gain immunity to the spores.
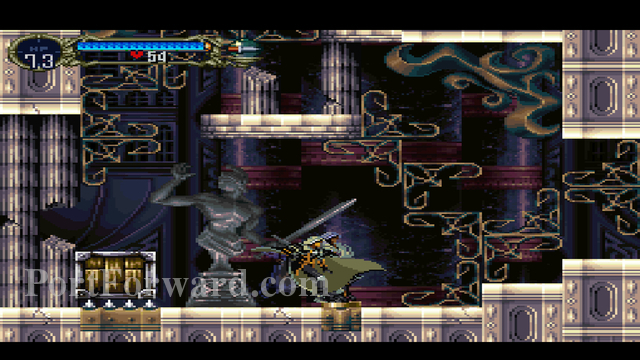
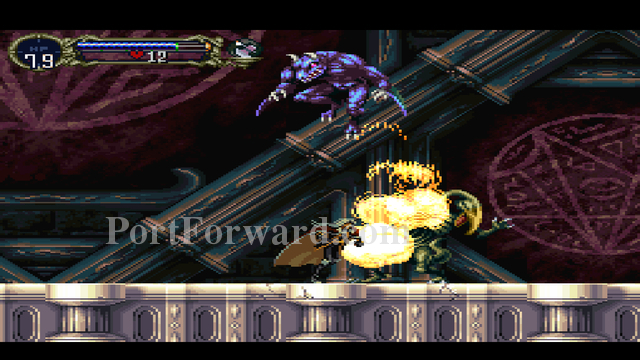
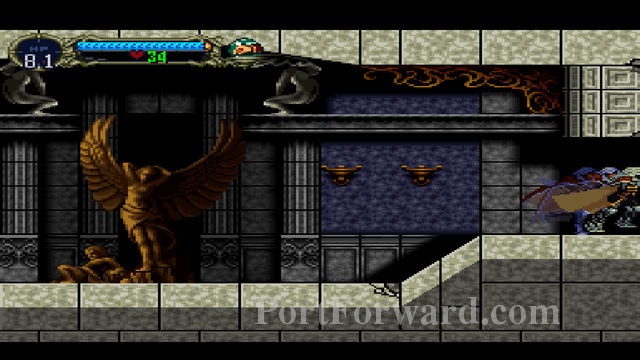
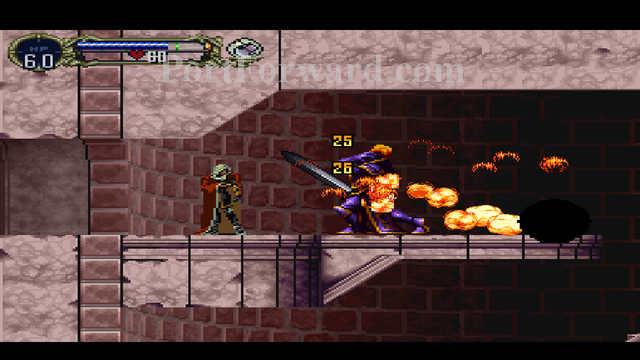
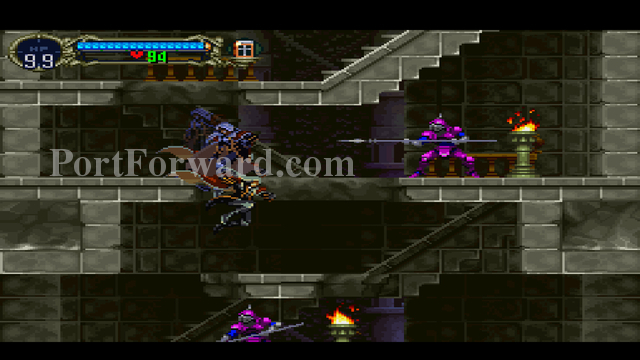
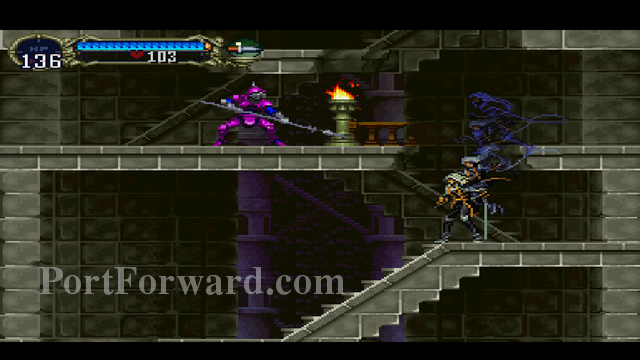
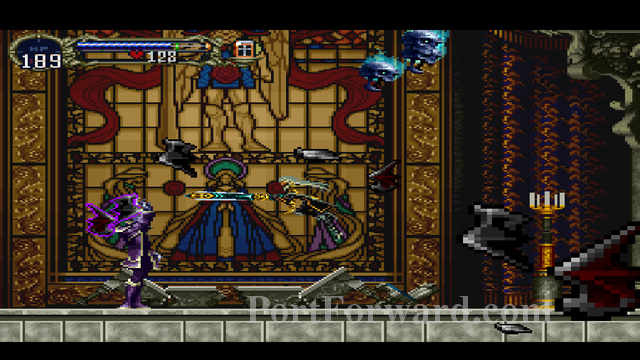
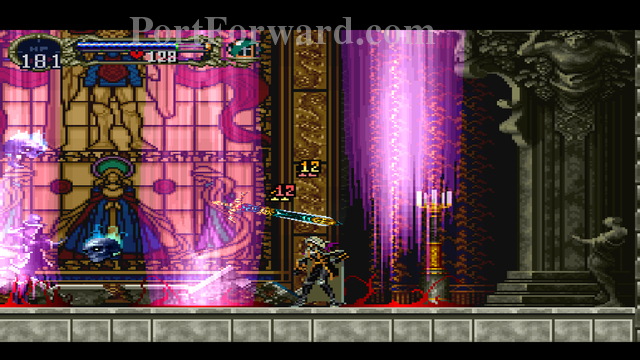
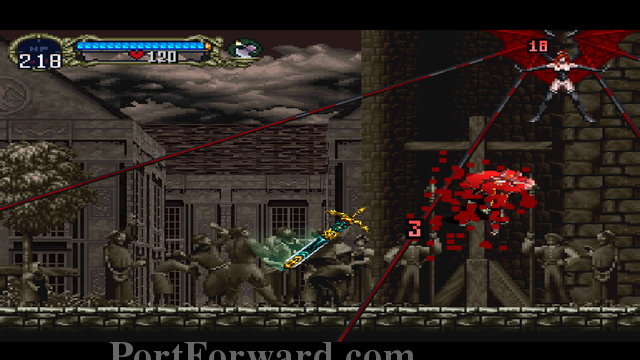
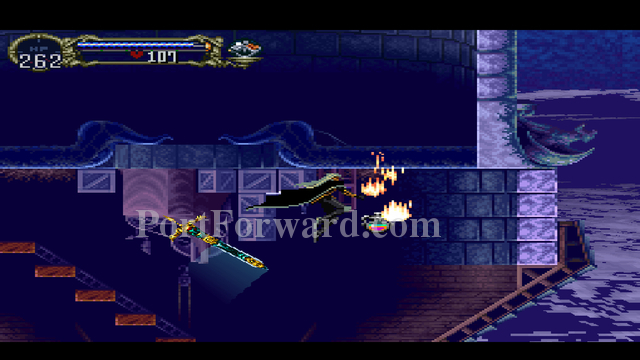
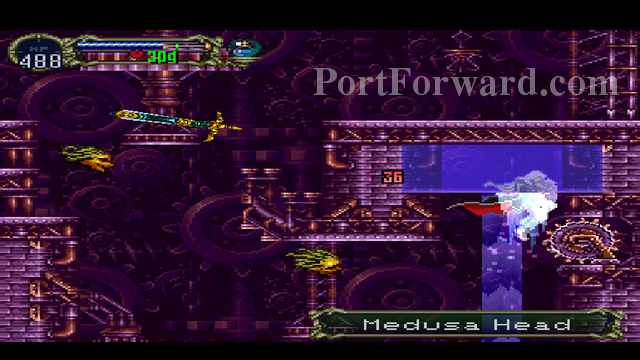
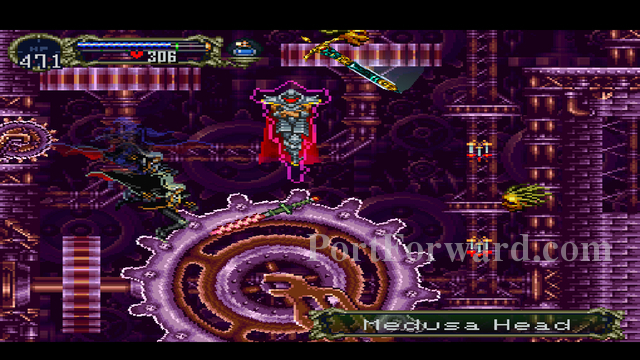
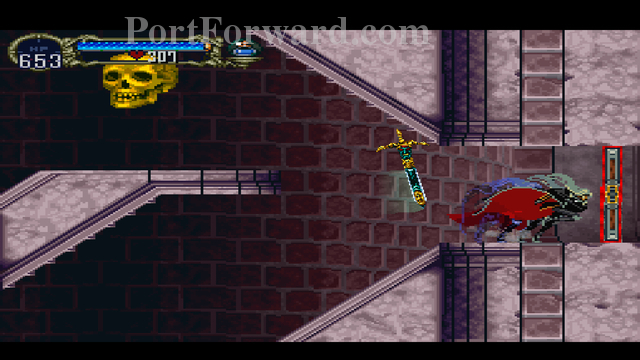
When fighting Medusa, avoid her petrification beams, and make her back up into the corner. When she's cornered, duck and slash away at her. If you position yourself closely enough, you'll completely dodge her petrification beam, and it'll be an easy win.
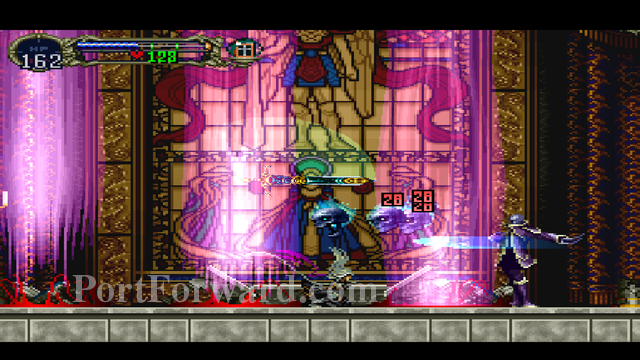
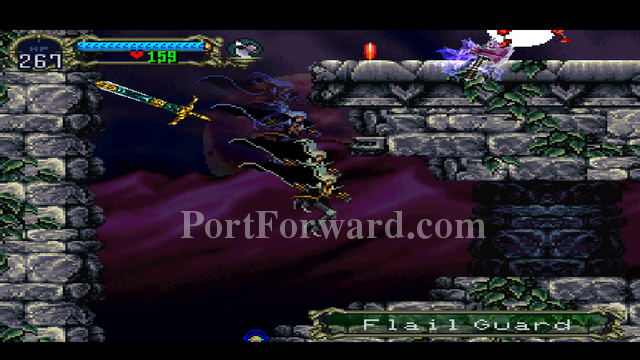
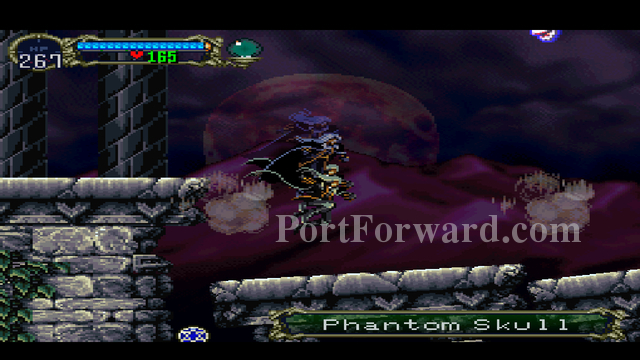
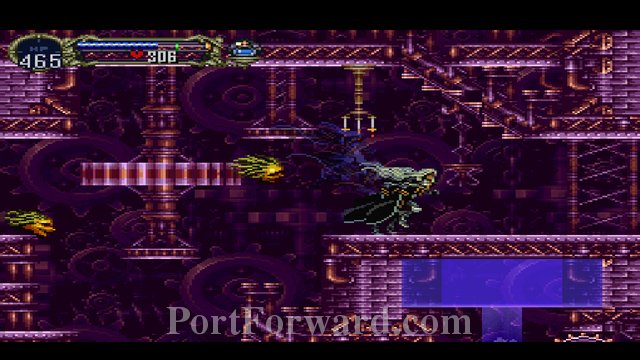
If you're having difficulty with the Black Panthers, wing smash into them.
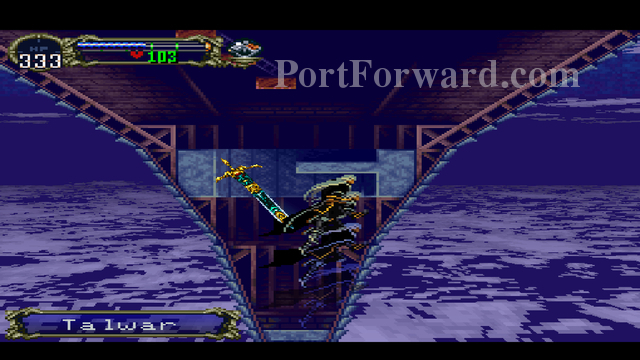
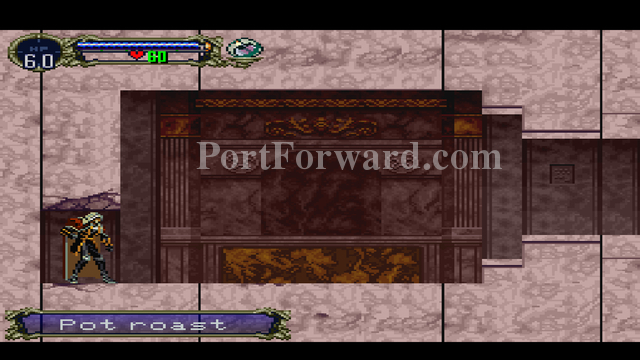
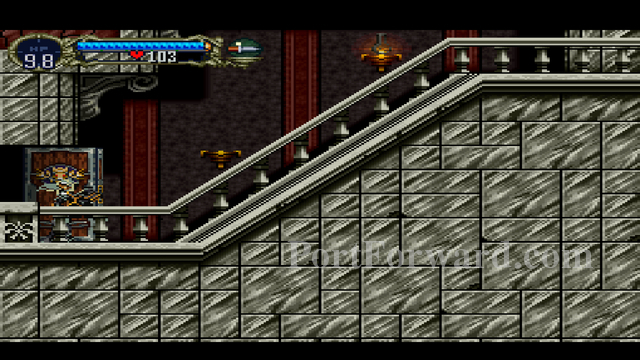
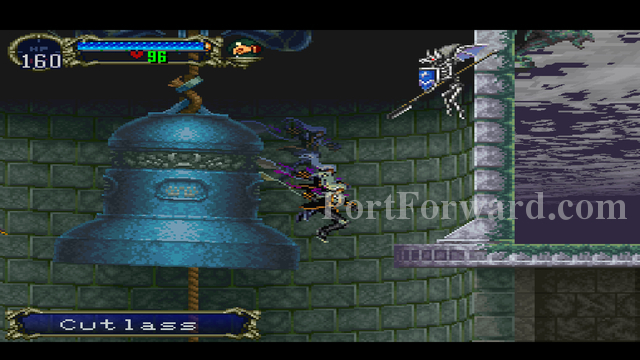
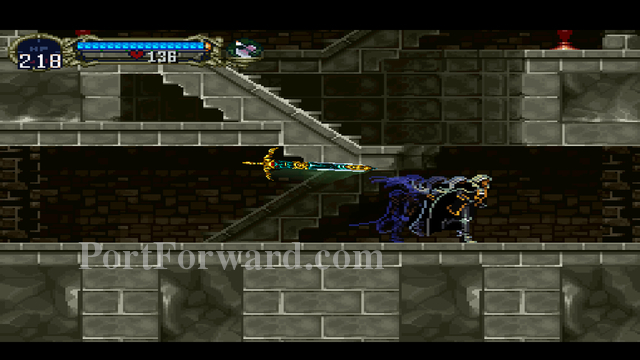
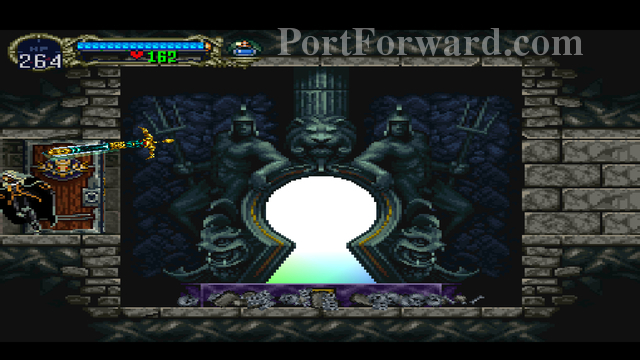
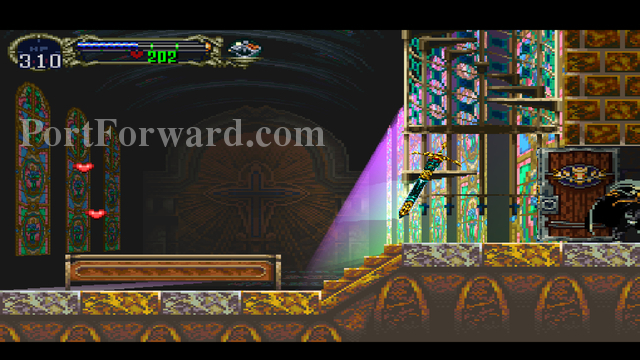
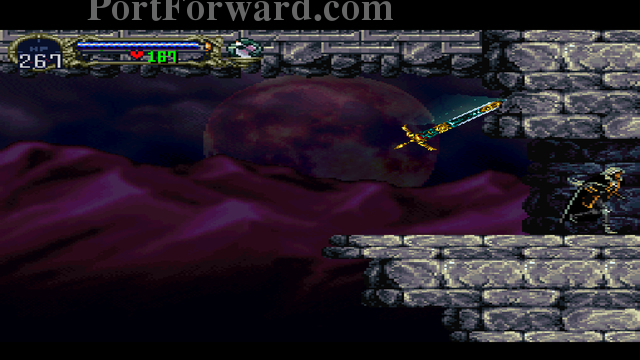
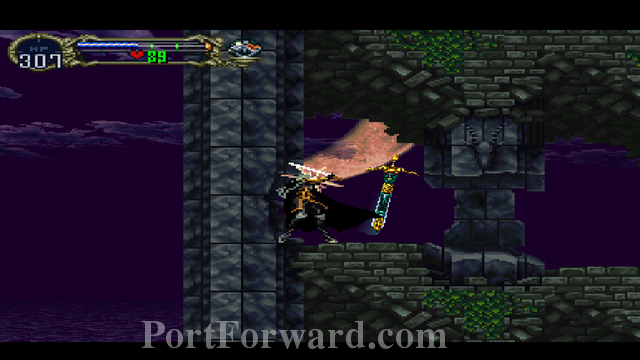
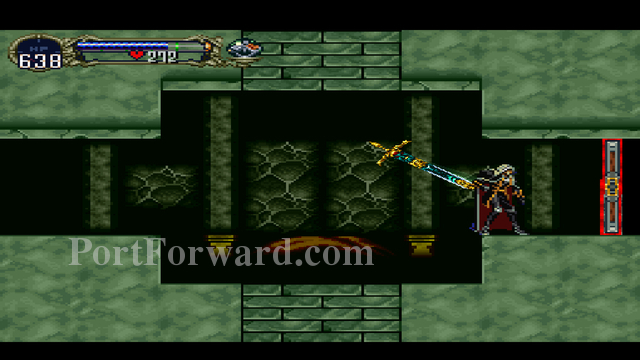
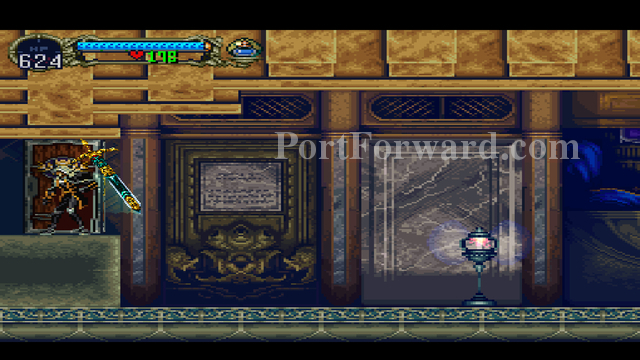
Grab the Talwar at the bottom of the next tower.
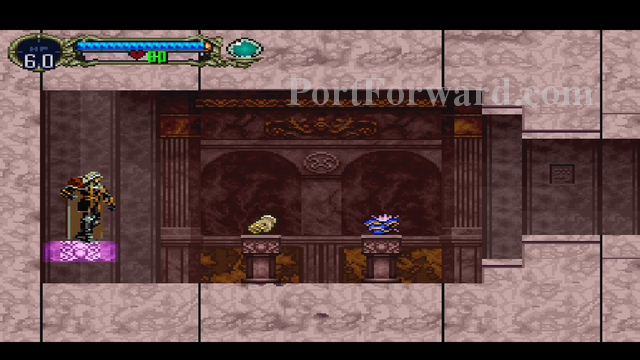
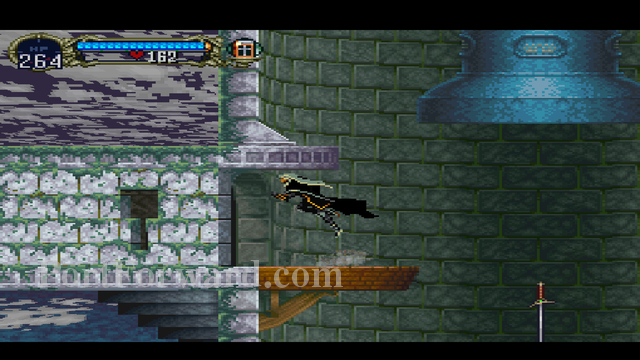
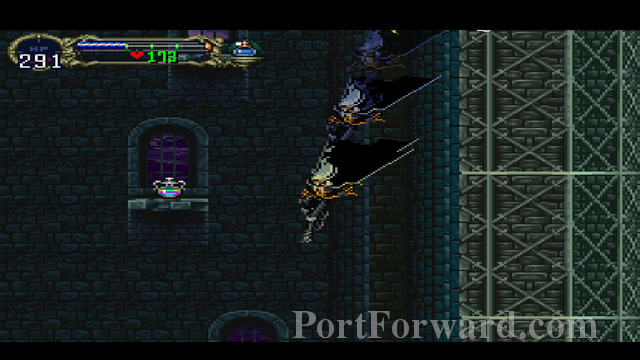
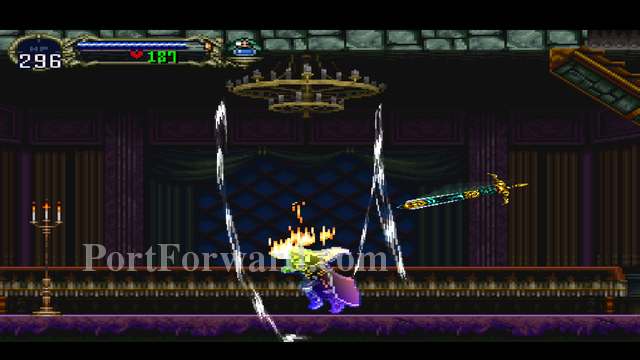
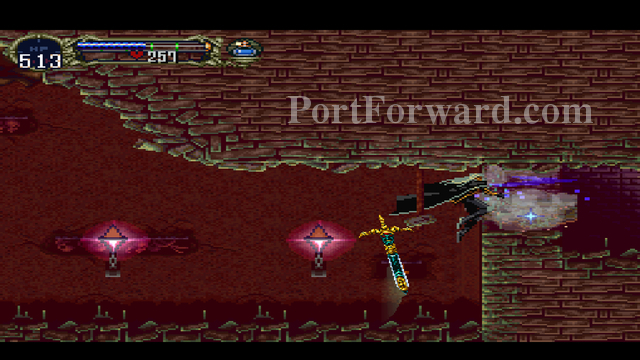
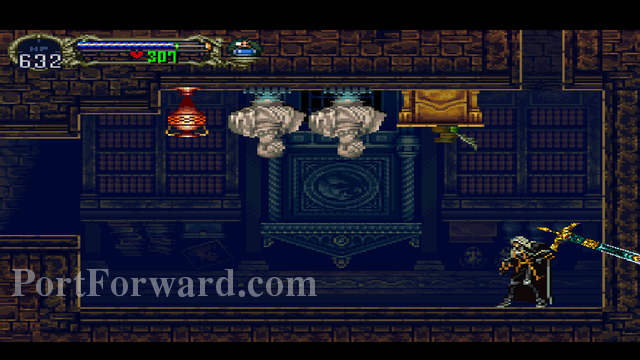
Grab the goodies at the bottom of the third tower. Equip the Spike Breaker armor and head into the spiked room.
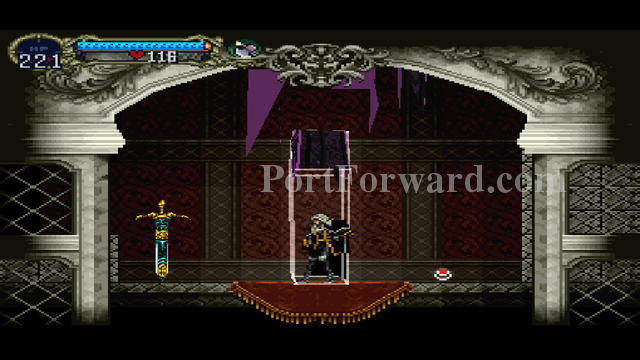
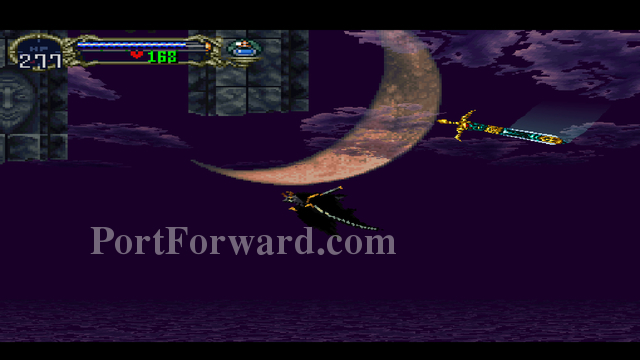
Grab and equip the Twilight Cloak. It's the best cloak in the game. Keep heading up.
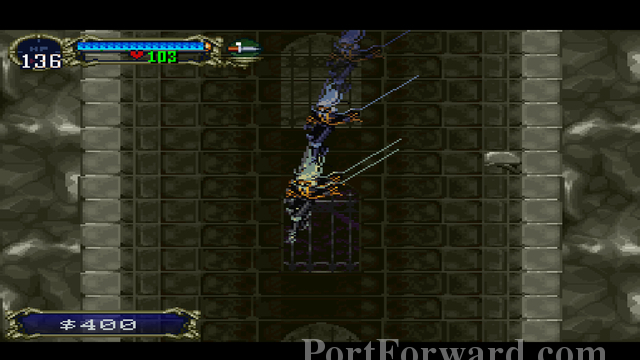
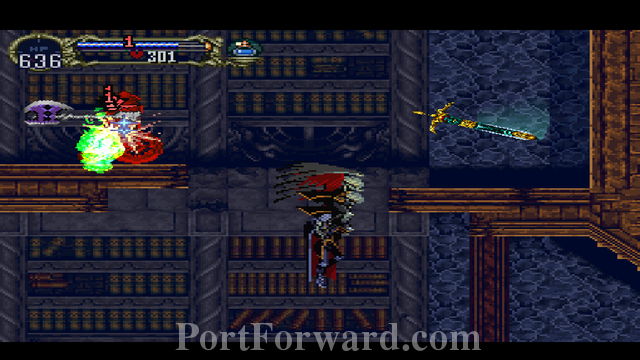
Defeat the Spectral Sword. Continue right.
Fight your way up the stairwell. Grab the items hidden in the pots. Head to the Reverse Laboratory.
Castlevania: Symphony of the Night Walkthrough Reverse Laboratory
Beelzebub is a difficult boss fight. Before you do anything, equip the Topaz Circlet. The larvae that crawl on the ground will poison you otherwise.
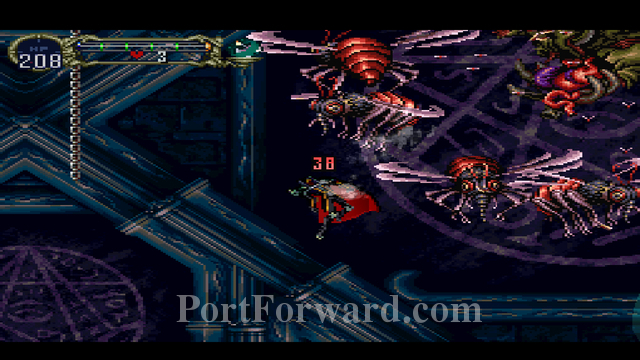
Beezelbub doesn't attack you, he just sends hordes of flies after you. Do your best to dodge them. Getting hit by one hurts.
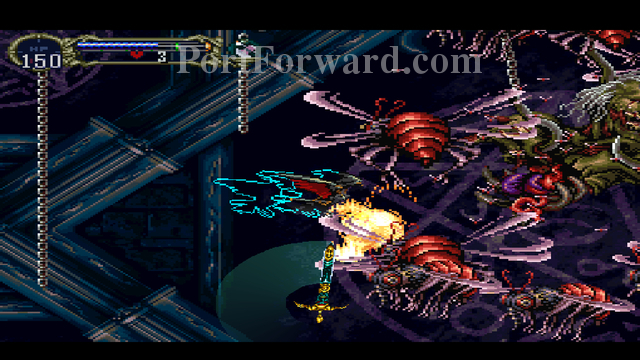
As the boss fight rages on, Beelzebub loses his limbs. At the end of the battle, use wing smashes or Gravity Jumps to attack his torso.
After the boss fight, check out the lower left corner of the room. Equip both Rings of Arcana, these items will be tremendously helpful later on to get stronger weapons.

Stand still to see where Bitterflies are.

Fully explore the Reverse Laboratory. When you run into Lesser Demons, do your best to attack them as quickly as possible. They will spawn more and more clones, making it a tougher fight overall if you don't dispose of them.
Don't forget about the two hidden areas right outside of the area with the Lesser Demons.

After filling out the Reverse Laboratory on your map. head to the Reverse Entrance.
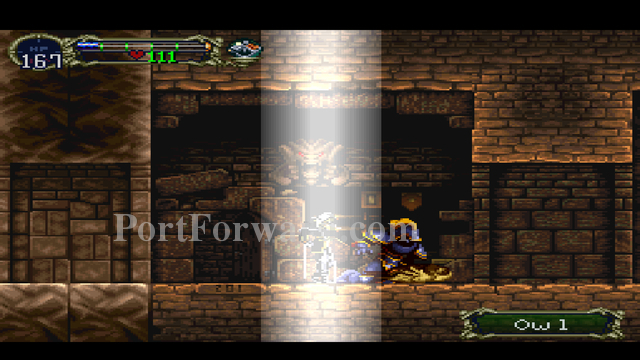
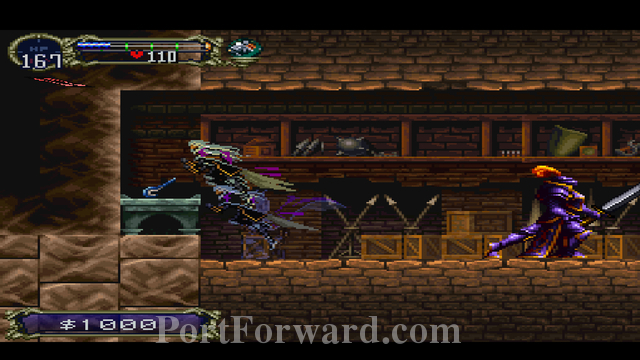
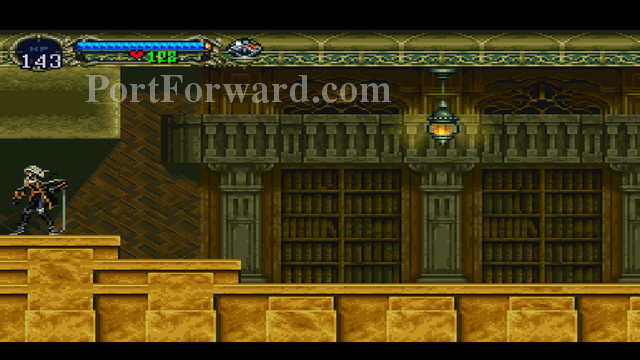
Castlevania: Symphony of the Night Walkthrough Reverse Entrance
Make sure to visit the warp room.
Make sure to break open the rocks, and pass through as a Wolf, then a Bat to open up the secret room in the upper right.
It's extremely important you visit the secret room. One of these items will help out in an upcoming boss fight.
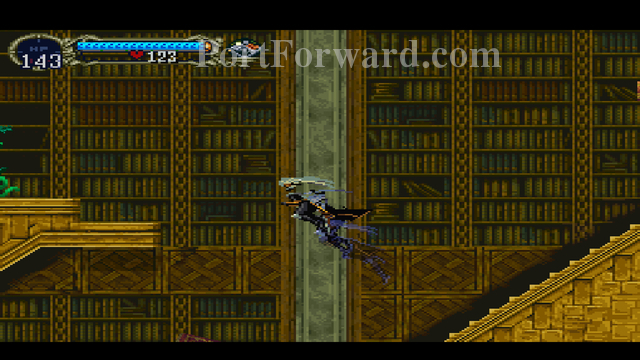
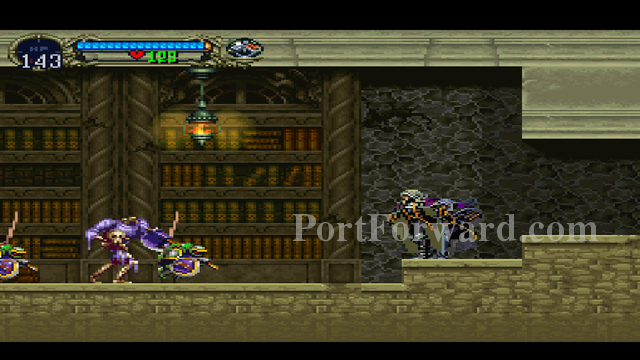
If you're having trouble in the area below, use your dark fireball and Wolf Charge spells (DOWN, DOWN + RIGHT, RIGHT, SQAURE/CIRCLE in wolf form) to clear out the enemies.

Alternatively, you could turn into mist and fly over adversity.

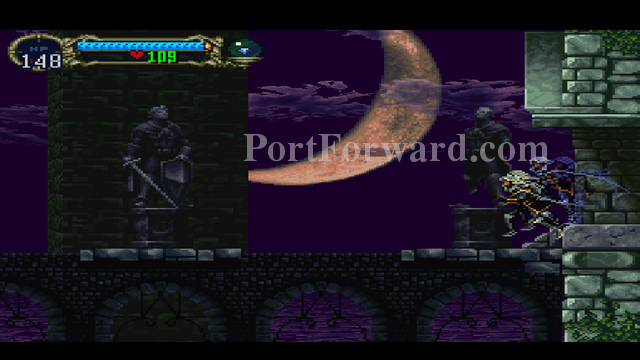
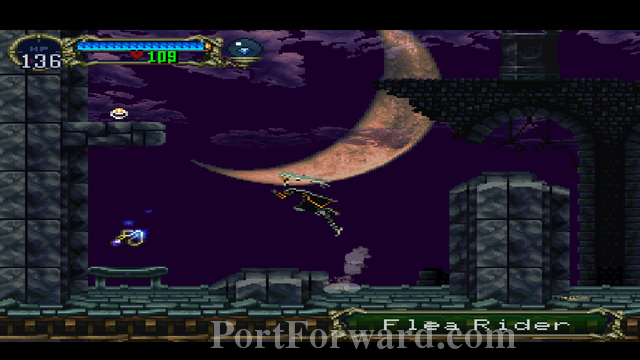
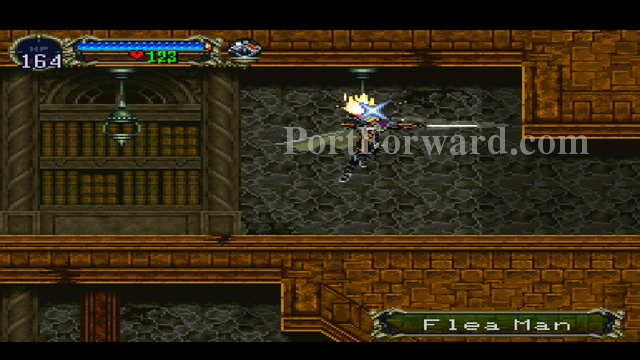
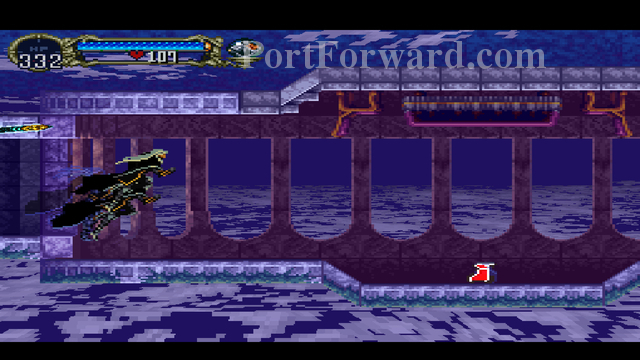
When you're facing the Oruburos, try to attack the Flea Man riding it. If you successfully kill the Flea Man, you'll gain a powerful ally to help you clear out the rest of the Hallway.
Once you're done exploring, head into the Reverse Caverns.
Castlevania: Symphony of the Night Walkthrough Reverse Caverns
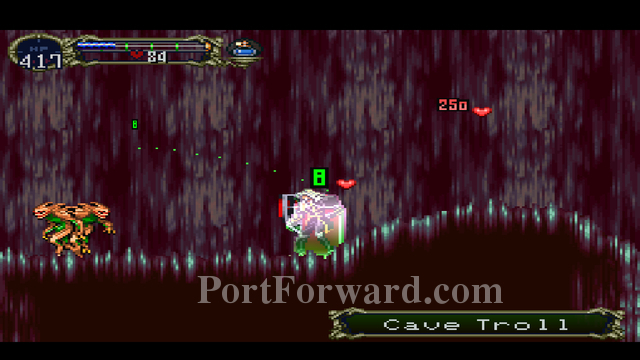
Head right, fighting off Cave Trolls along the way.
If you're having a hard time filling up the map near the ceiling, use your Wolf Form to hug the upper portion of the room.
Once you've reached the end of the room, you'll find the Alucard Shield. Equip it, it's the best shield in the game.
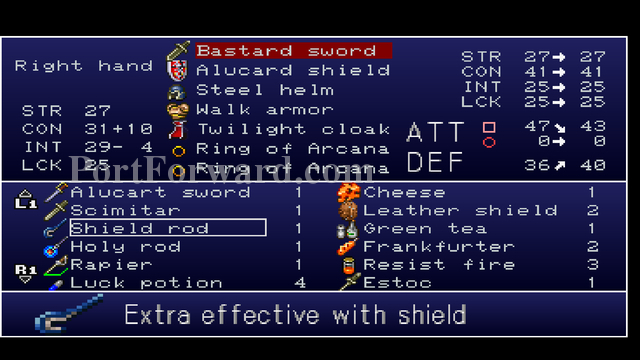
Equip the Shield Rod. Attack and block at the same time to gain access to a new powerful ability.
"Anything that touches your shield will be subjected to ~250 damage. You will gain 8 health and a heart.
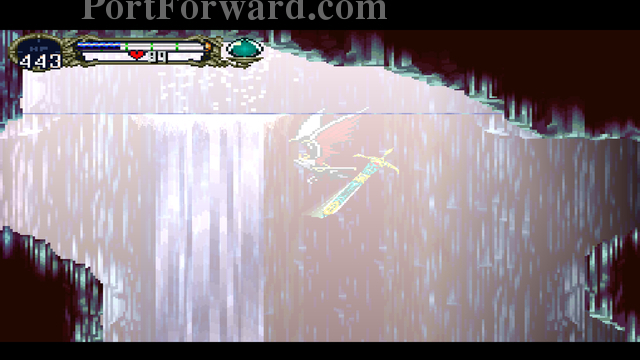
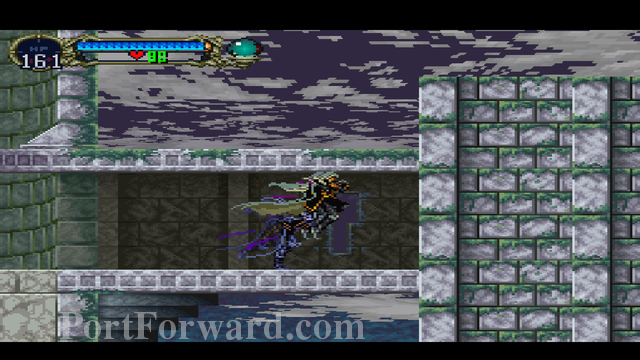
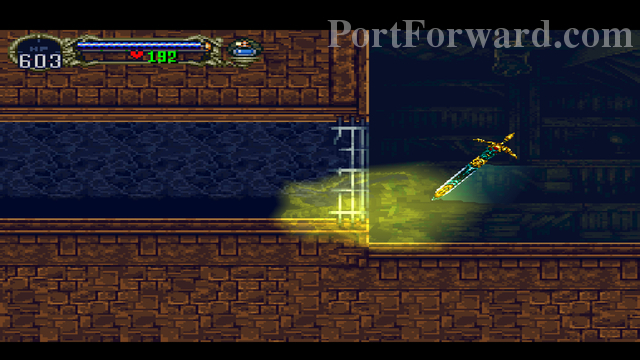
"Use a wing smash to get through the waterfall, into the secret room.
Use your shield to get through tougher areas of the cavern, if needed.
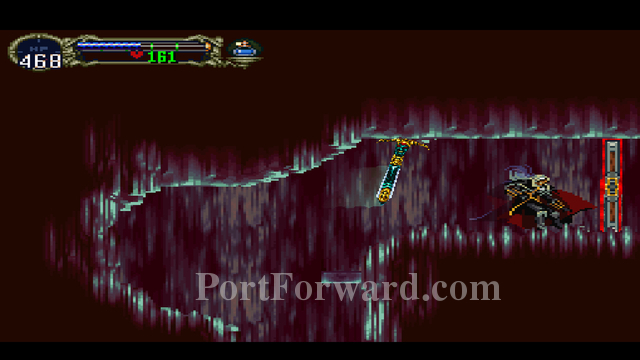
Once you see the area that leads into the Reverse Mines (where you fought Cerberus), jump up. We'll revisit the Reverse Caverns afterwards.
Castlevania: Symphony of the Night Walkthrough Reverse Mines
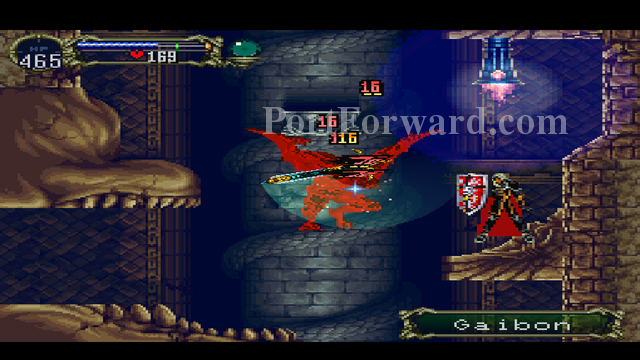
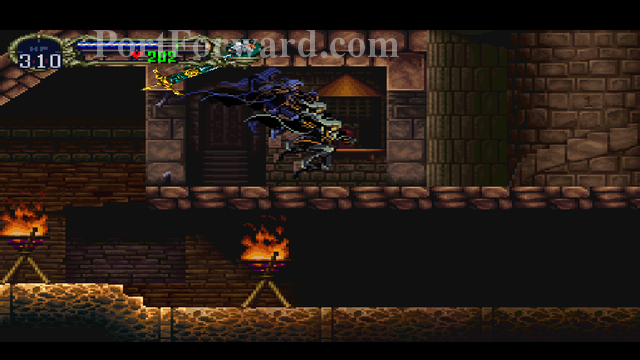
While you're making your way up, you'll encounter some familiar faces.
Where would Gaibon be without his old pal Slogra?
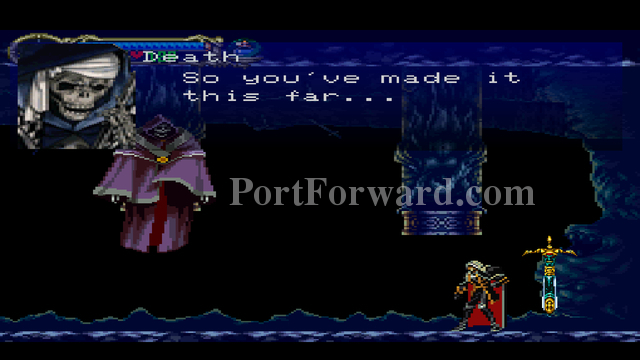
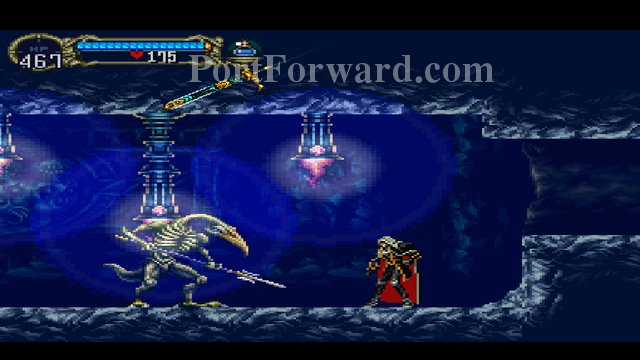
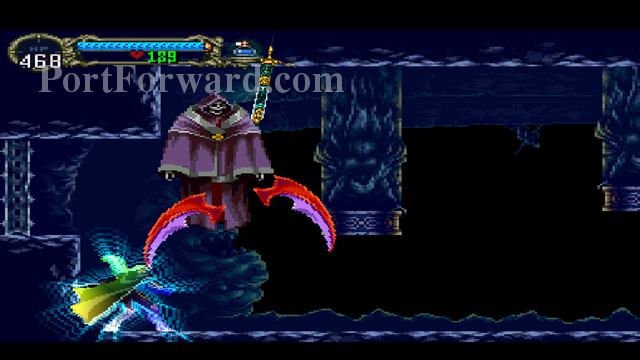
When you enter the boss room, there will be a cutscene with Death.
There are two ways you can take down Death. You can use the Alucard Shield's ability, or you can fight him legitimately. Since fighting him legitimately is more difficult, that is the strategy I'm going to cover.
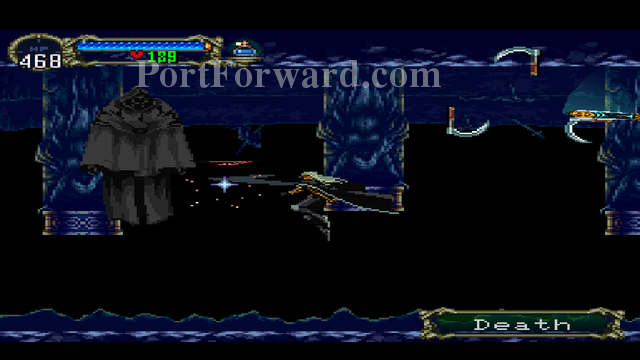
Death will first zoom around the battlefield, throwing sickles at you. They're pretty easy to avoid.
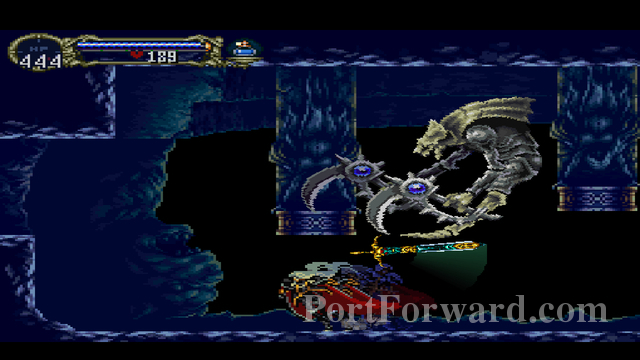
After you damage him enough, Death will summon two slow homing energy orbs to chase you down, as well as spawn sickles.
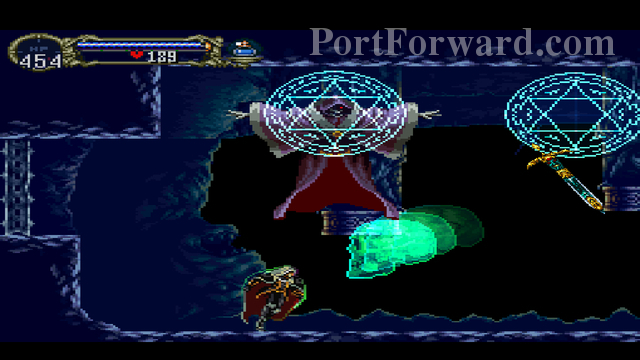
Once you attack him enough, Death will start shooting Green skulls in a U-pattern. Jump over them, and attack him. Turning into mist to avoid these skulls will waste your time and magic, because you have to hit Death enough times for him to stop summoning them.
Lastly, Death will use two giant blades to swipe at you.
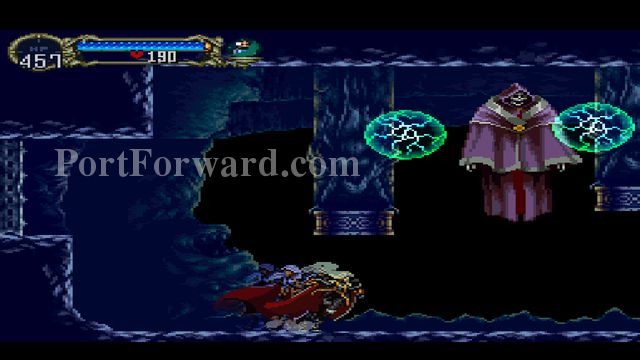
Death's next form is a weird skeletal being with two scythes.
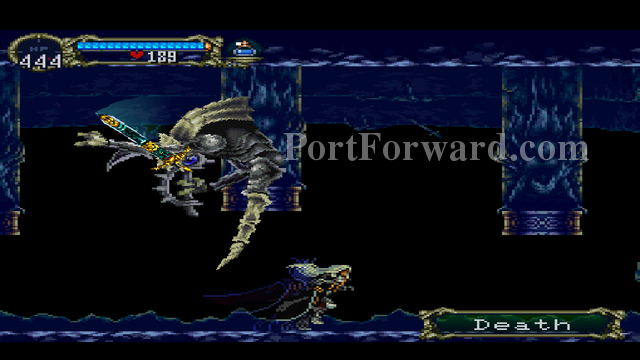
He can swing them down at you...
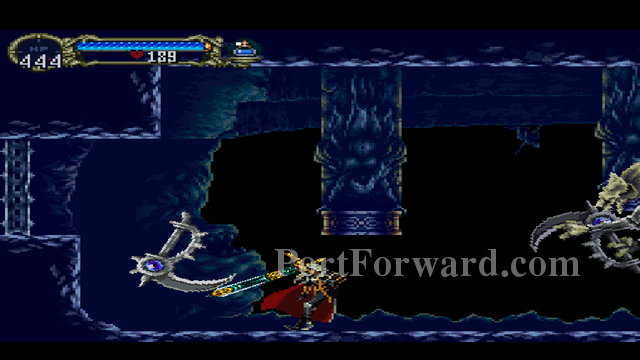
Or he can throw one at you.
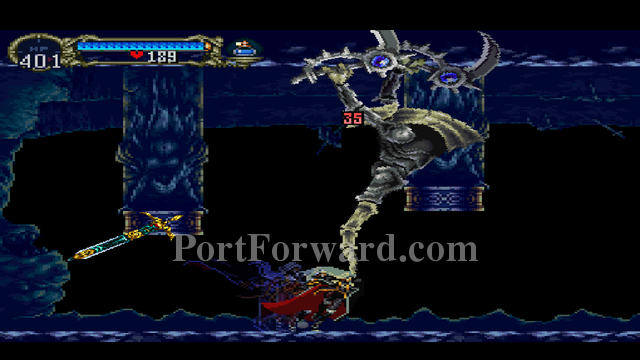
Death's hitbox doesn't include his bony tail, so you can pass through it without incurring any damage as well. This is useful for avoiding some of his boomerange scythe attacks.

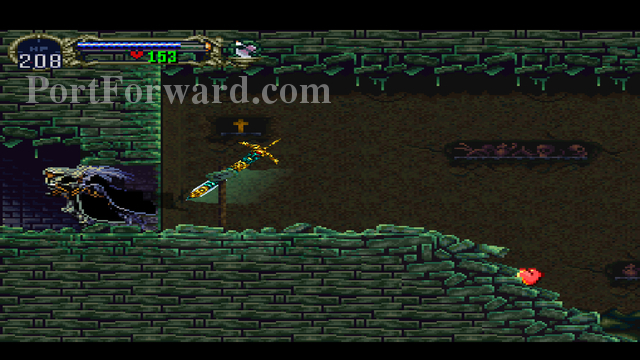
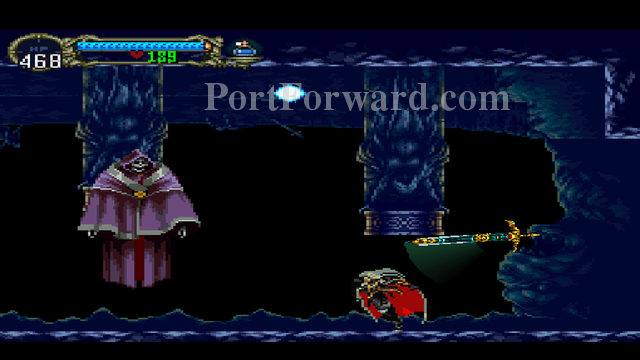
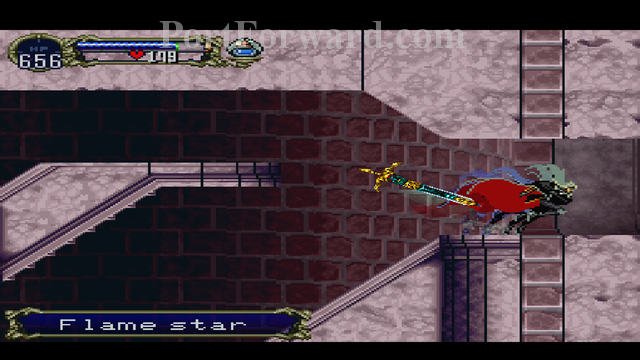
Once you defeat Death, grab the Eye, and head left.

Summon the Demon Familiar in order to open the switch.
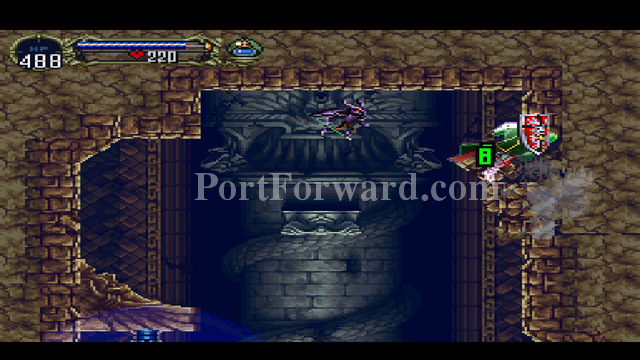
"Remember to break through the wall up here for some items.
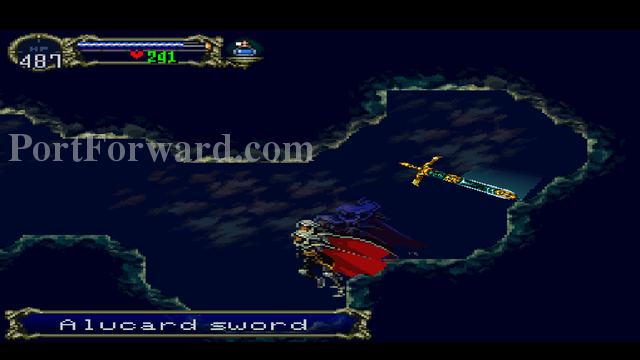
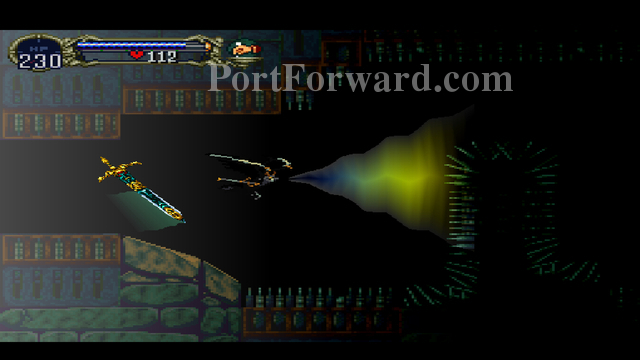
"Grab the Alucard Sword on the right-hand side of the crossraods.
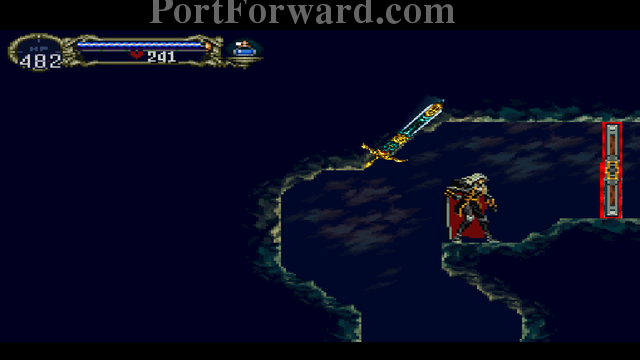
Climb all the way up to the very top. Pick up the goods on the right side of the passage, then head left and go through the door.
Castlevania: Symphony of the Night Walkthrough Reverse Catacombs
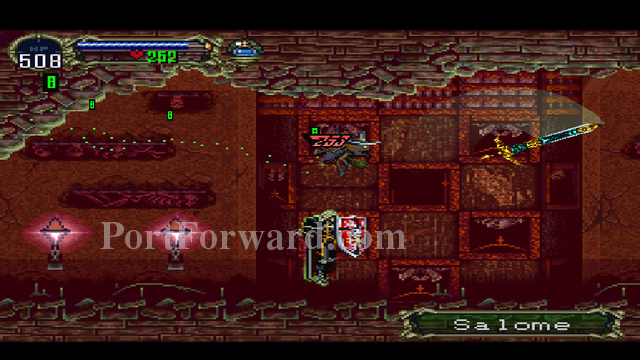
The easiest way to defeat Salomes is to jump at them with your shield ability on. After you pass through their forcefield, turn around to hit them.
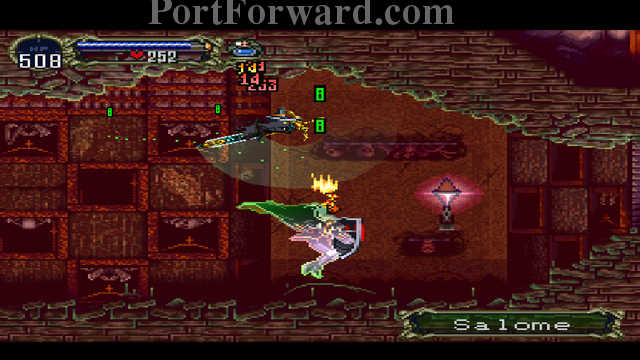
It takes a little bit of practice, but you'll eventually get the hang of it.
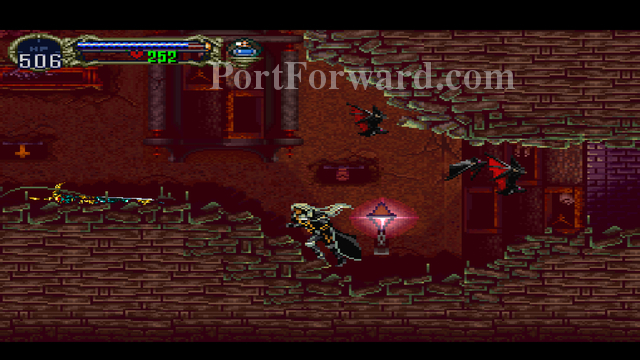
When you get to the large room with the bats, head in the upper-right hand corner.
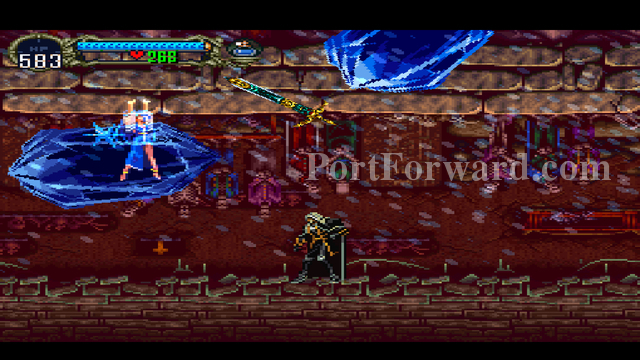
Be careful when you're fighting Frozen Halves. They have an attack where they make large ice crystals rain from the sky, and it packs a punch.
Don't forget you can break the wall that blocks off this room.
"Before you enter the boss chamber, do these three things:
2) Activate your Shield Ability
3) Enter the boss room.
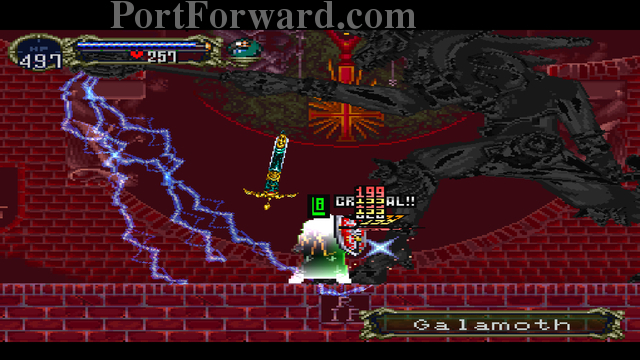
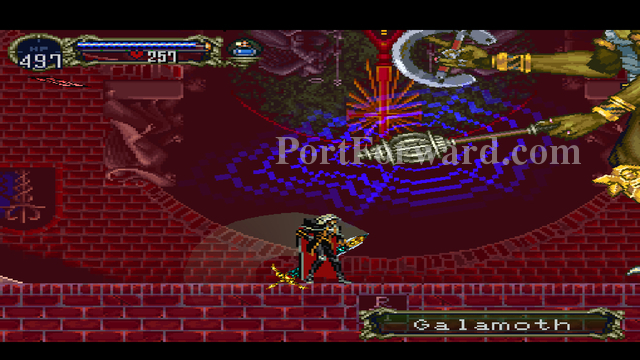
"Hold out your shield and kill Galamoth with your shield ability. The amount of health this big guy has is listed at ???? in his Librarian Entry, so we can only assume it's at around 10,000.
Watch out for the dark balls of electricity he shoots out, however. These don't count as lightning damage, and you will get hurt.
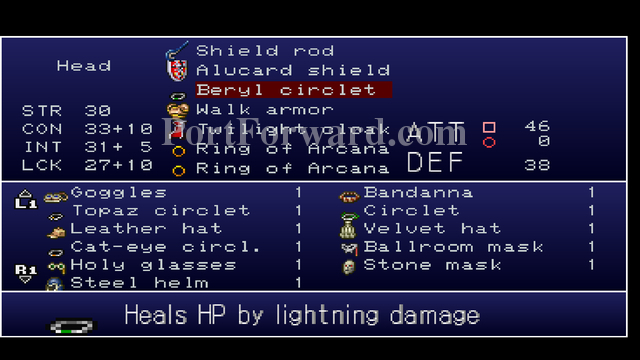
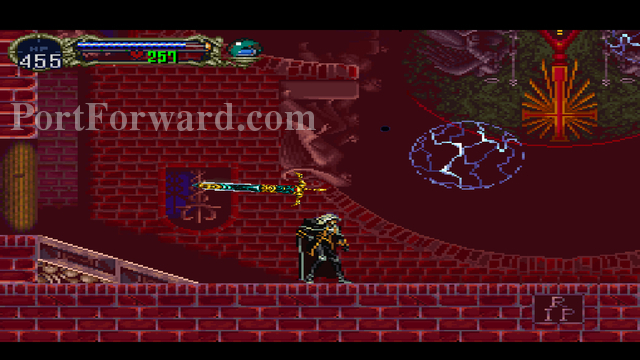
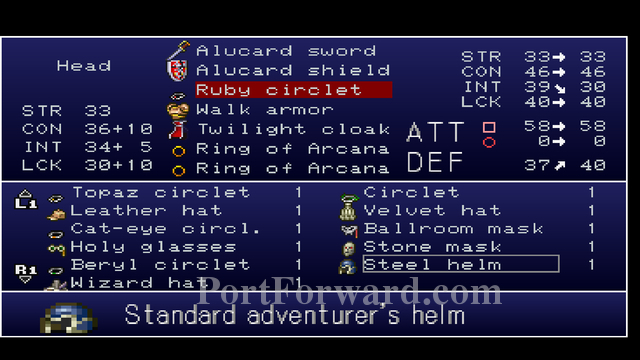
"After you defeat Galamoth, grab the Ruby Circlet + Poison Gas upgrade. Your mist is now yellowish and deals poison damage.

Don't forget to equip your Spike Breaker armor when you're in the room with the spikes.
Grab the Elixir and the Library Card (hidden in the walls), and return to the Reverse Mines.

Backtrack to the Reverse Caverns.
Castlevania: Symphony of the Night Walkthrough Reverse Caverns (Revisited)
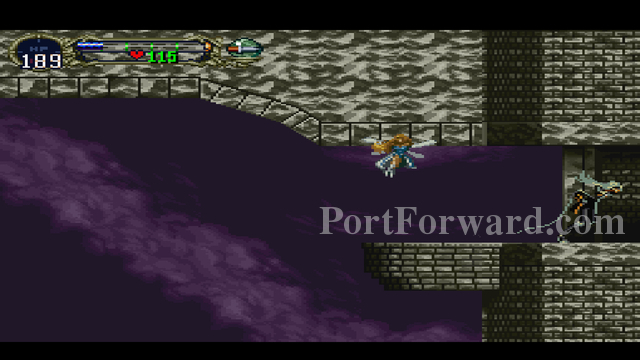
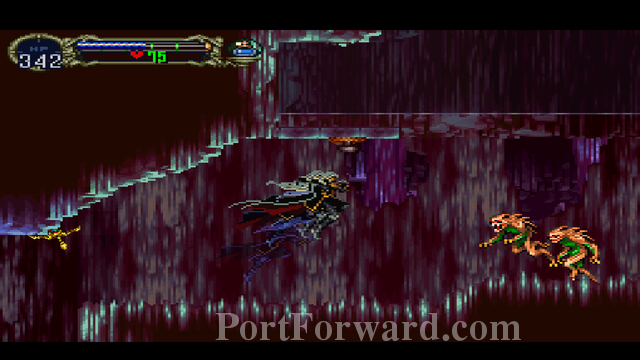
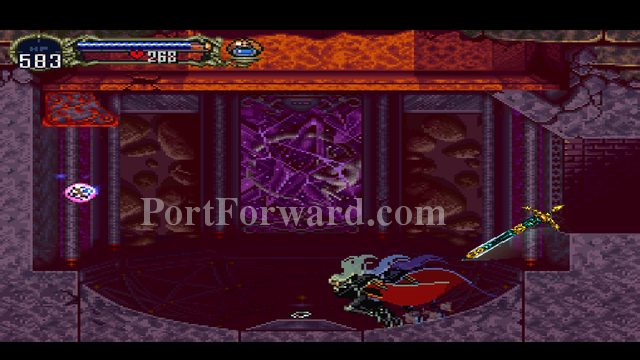
Continue heading left, and exploring the underwater areas. Use Moon Jump, Double Jump, and Wolf Form transformations to get higher up.
Drop down underneath the wooden platform when you get to it. Fully explore the castle-ish portion of the Caverns.
Remember you can break the wall on the right side of the room that contains a Life Up for a Diamond.
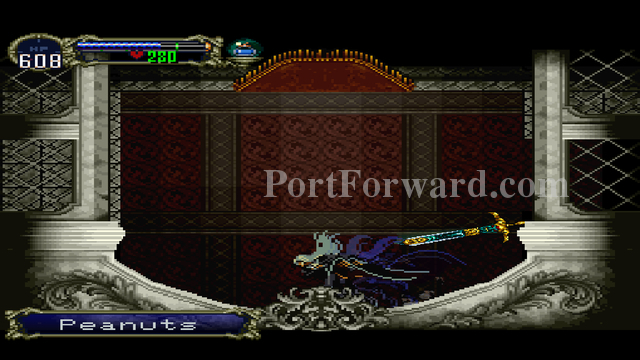
The room in which you fought Succubus has an infinite supply of Peanuts.
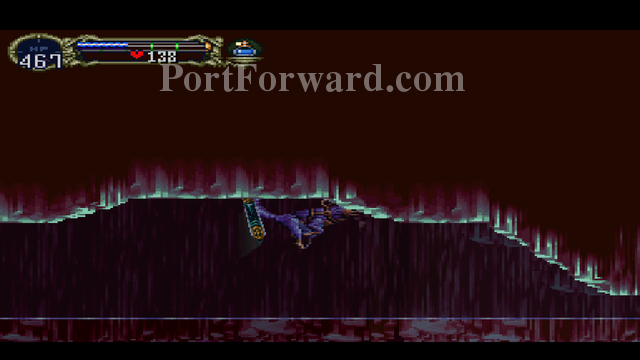
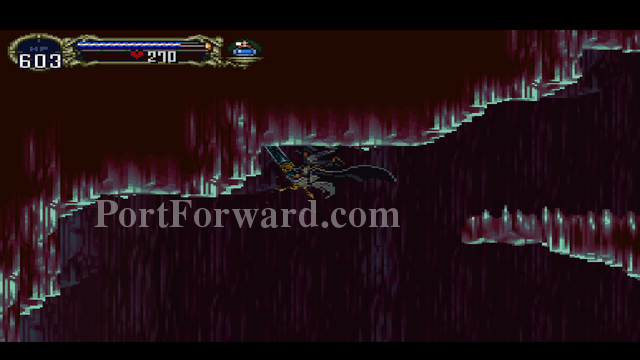
Once you're done, jump up the long fall and back into the caves.
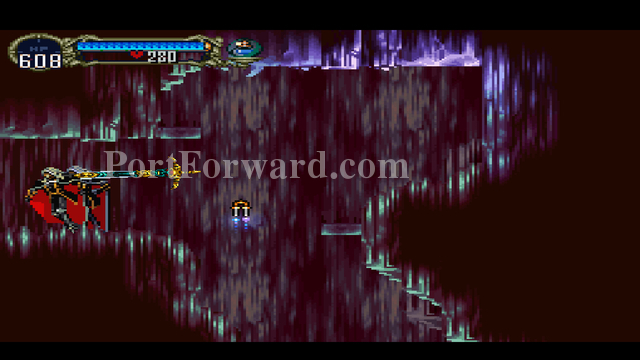
Before heading into the next boss fight, bring up your inventory screen.
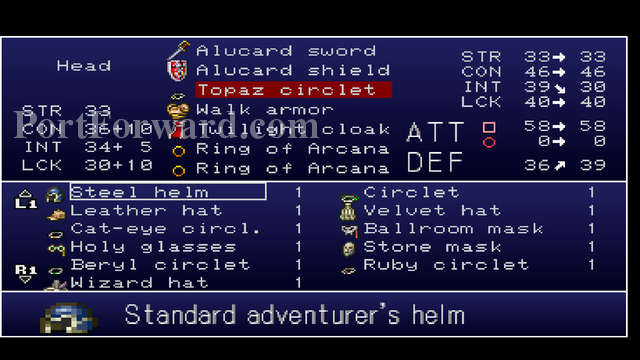
Equip the Topaz Circlet.
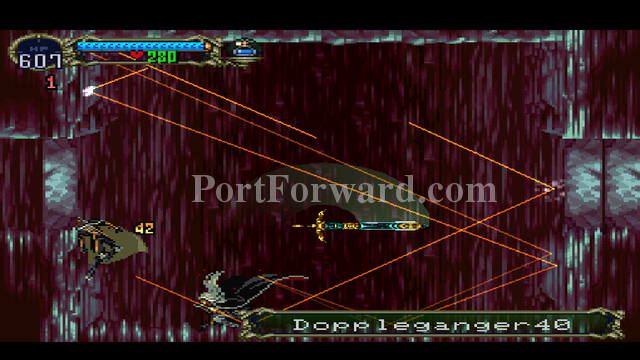
Doppleganger40 is a clone of Alucard who is set at level 40.

Wing Smash attack,
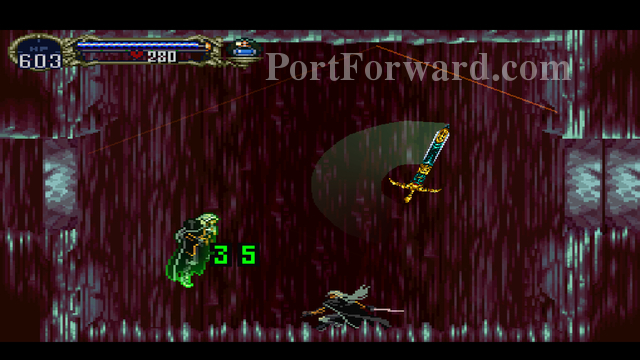
Using a poison sword (If you equipped the Topaz Circlet, this will heal you for 35 health),
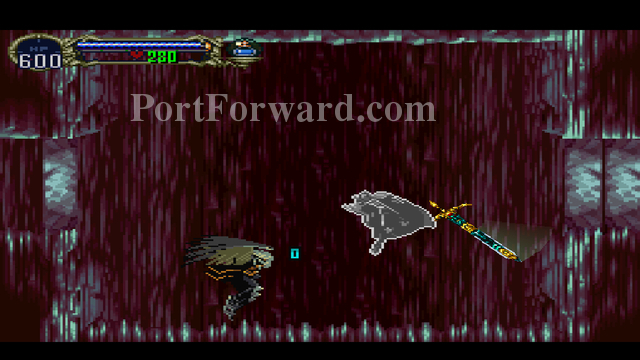
Using a stone sword
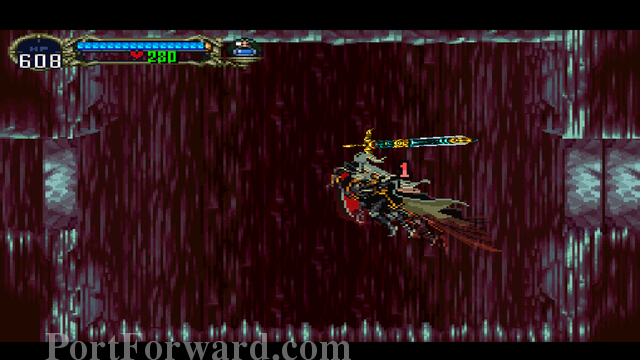
"And using a short sword.
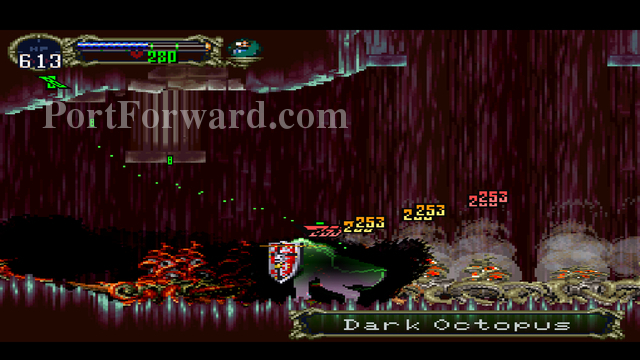
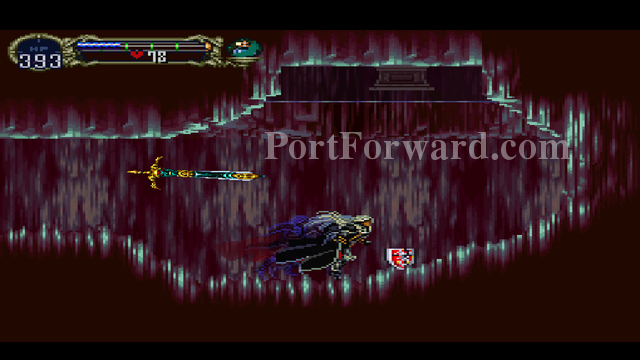
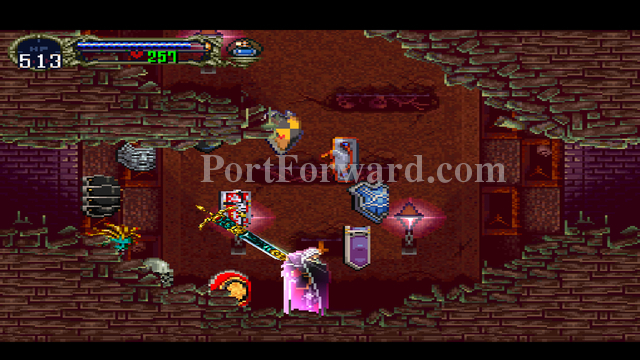
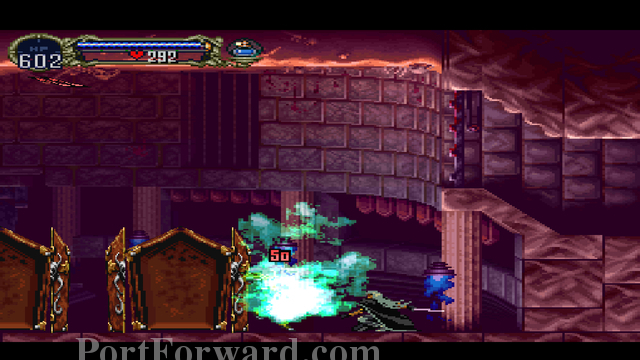
You'll find lots of Dark Ocotpi in the chamber where Scylla was. Use your shield's ability to dispatch all of them.
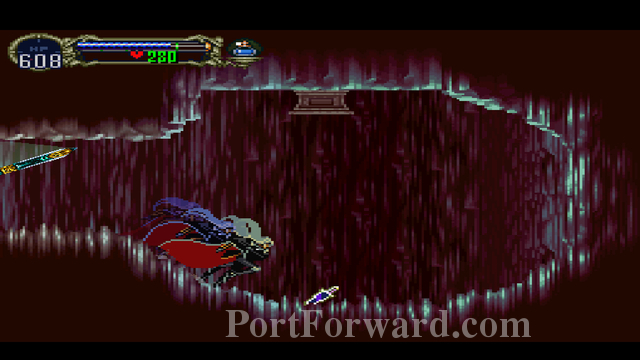
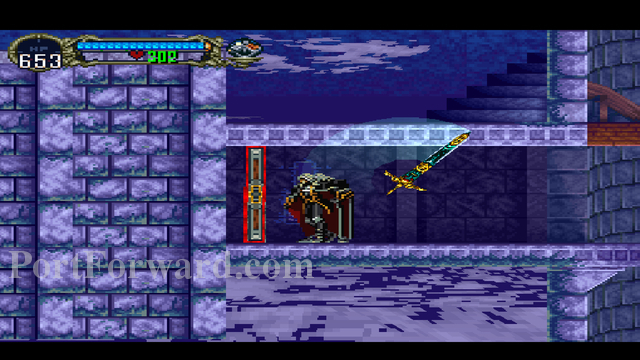
You'll find a Dark Blade to your right. Backtrack to the room that you originally jumped in from the long fall in the tower.
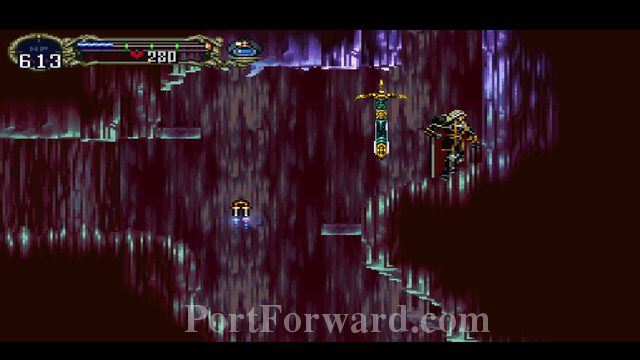
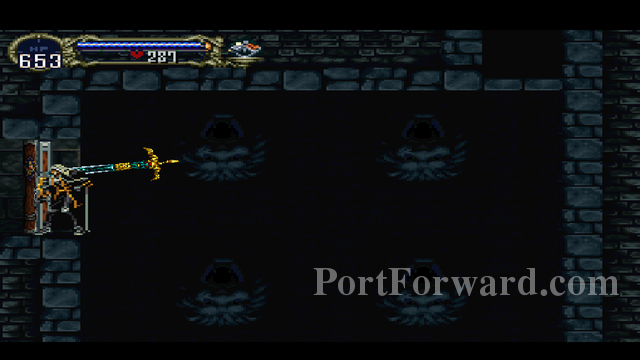
Slash the ceiling on the right side to reveal a passage. Traverse it. Make sure you use Wolf Form to fill in those rough patches in your map.
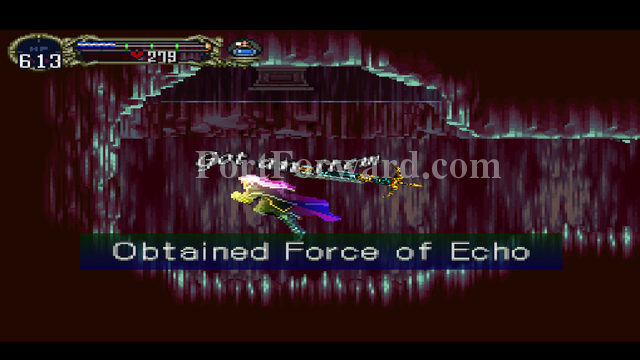
At the very end, you'll find the Force of Echo relic. It allows you to attack enemies with your Bat Form's Echo (TRIANGLE). Head all the way down to the bottom of the tower.
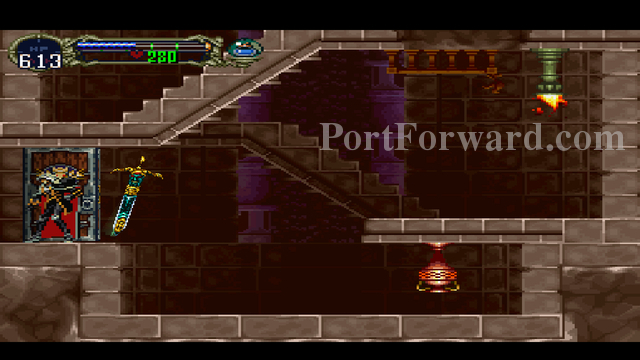
Enter the door, into the Black Marble Gallery.
Castlevania: Symphony of the Night Walkthrough Black Marble Gallery
When you first drop down, watch out. Enemies are everywhere along with
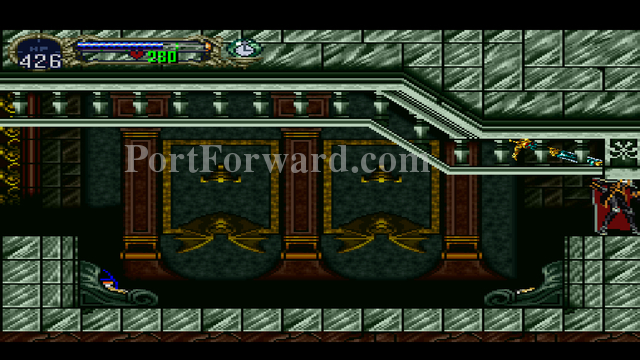
Keep heading right. Make sure to pick up the clock item in the candles.
Make sure to equip the Ruby Circlet before entering the room with the clocks. This is super important.
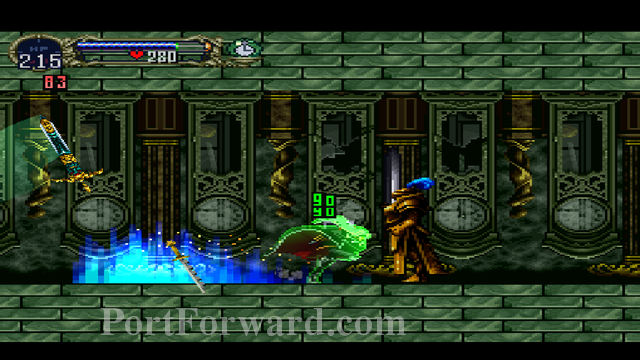
"Do not try to kill the Guardians with your sword. Use your shield ability. They will destroy you if you try to kill them any other way.
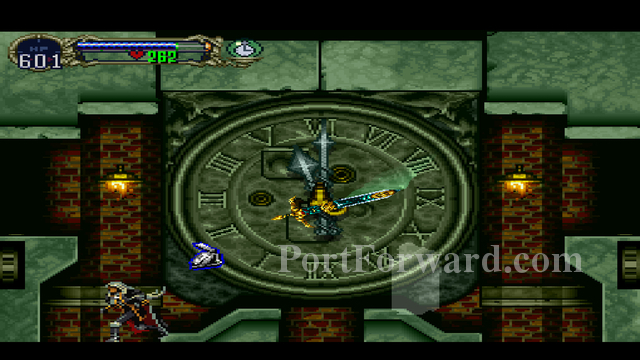
Use the Clock item to open up the left statue hole.
Explore the area in the middle. Pick up any sub item you want.

After you're done, head into the right hole. If it's blocked, wait a minute for the statue to go back into the wall.
Head into Reverse Orlox's Quarters.
Castlevania: Symphony of the Night Walkthrough Reverse Quarters
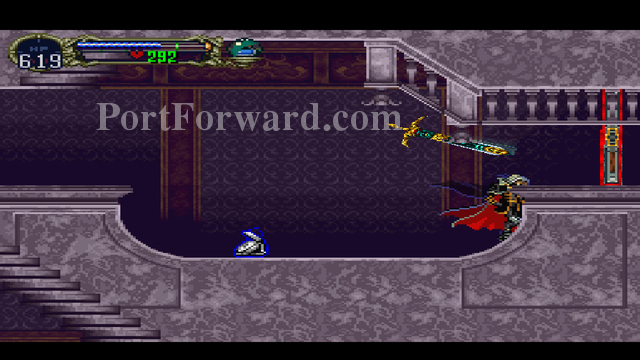
Don't forget about the hidden room on the left side of the large room with Azghal.
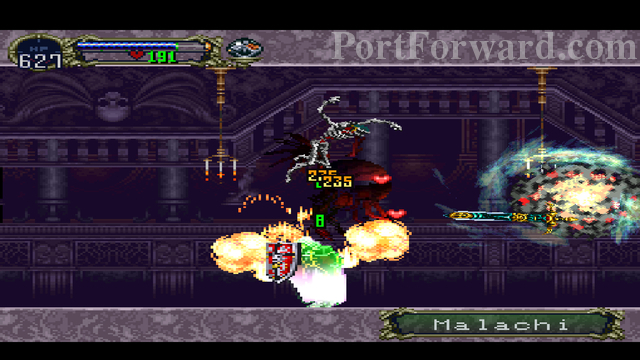
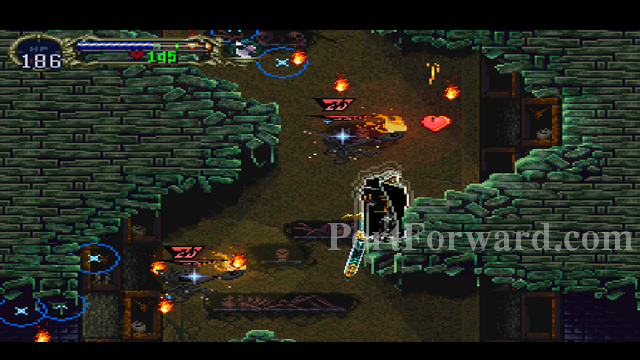
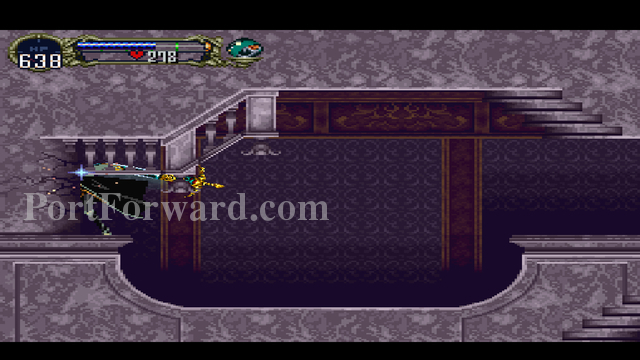
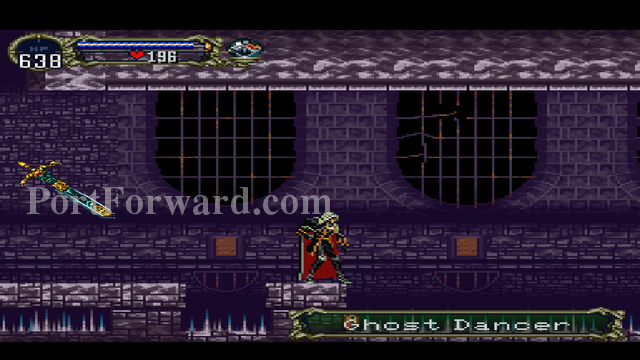
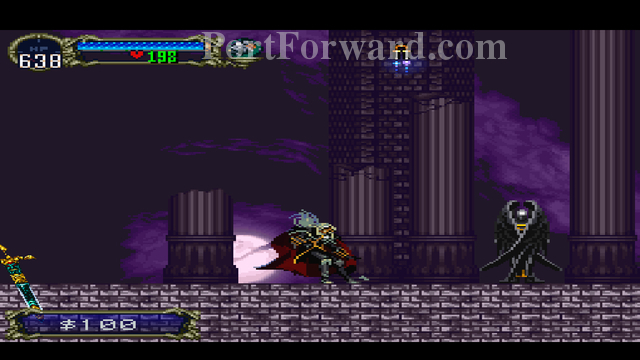
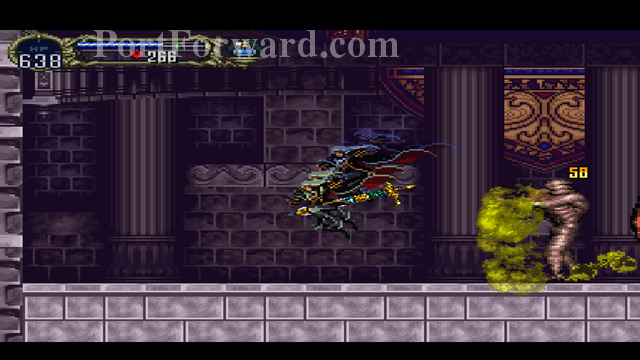
Enther the lower left corner of the room, and fight your way through the Malachis and Ghost Dancers.
"There's a Warp Room here.
Make sure to Equip Spike Breaker here.
Head out into the large open courtroom. Explore the left wall first.
You'll find the Alucard Mail.
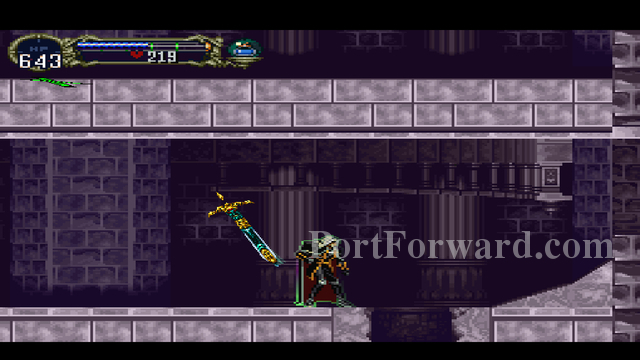
Remember you can break the floor here.

When you're heading down the boss chamber, make sure to equip the Topaz Circlet.
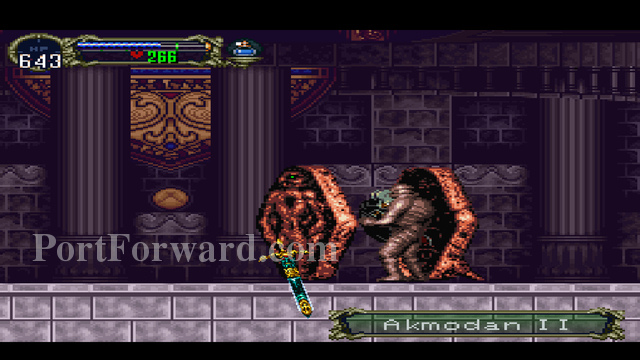
Amkoadan II only has two attacks. The first attack he has is to throw you against a wall. You can avoid this by ducking underneath his extending arm.
"He'll also spew Poison Gas clouds at you upon taking damage. Topaz Circlet lets you navigate them harmlessly.
After you're finished filling out this area on the map, head out to the Reverse Colosseum.
Castlevania: Symphony of the Night Walkthrough Reverse Colosseum
"There isn't a lot of strategy to the Colosseum. Casually fill out all the rooms. Avoid the Giant Cow Skulls in the room, they're immune to damage.
"Secret area in the floor here.
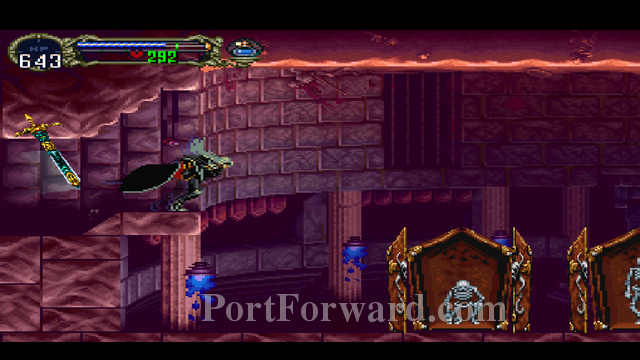
Fighting Fake Grant, Trevor, and Sypha.
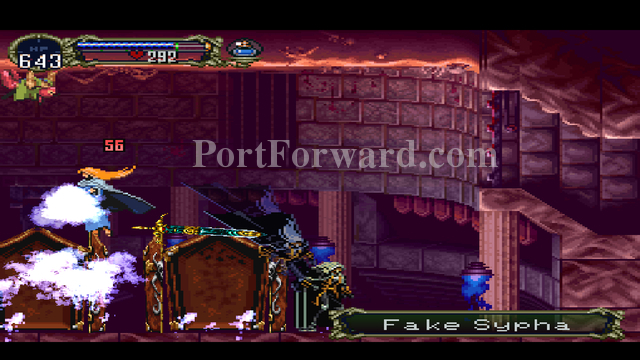
The first boss you want to attack in this room is Fake Sypha. She is a very easy target, but she has an annoying ice-spell that fills out a relatively large area of the battlefield (shown here).
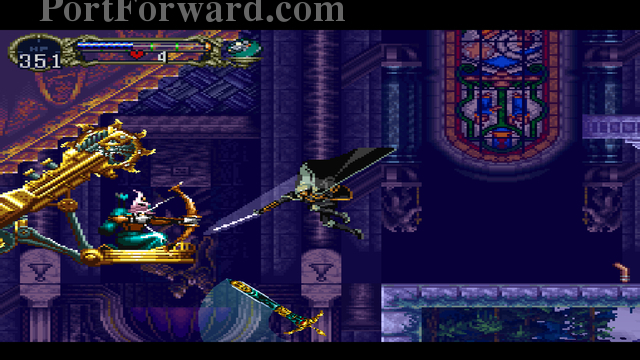
After Fake Sypha has been killed, you want to attack Fake Trevor. He usually stays on the ceiling, and he will try to drop daggers from overhead. He'll also try to drop down on you from time to time.
The last boss you have to deal with is Fake Grant. He controls like Richter. He has a whip attack...
A boomerang cross attack...
"And an attack where he throws a quick succession of daggers at you.
After Fake Grant has been killed, finish exploring the rest of the Colosseum area.

After the Colosseum is fully explored, head out to the Anti-Chapel (right side of the Colosseum).
Make your way to the Reverse Keep (Reverse Castle where you fought Richter).
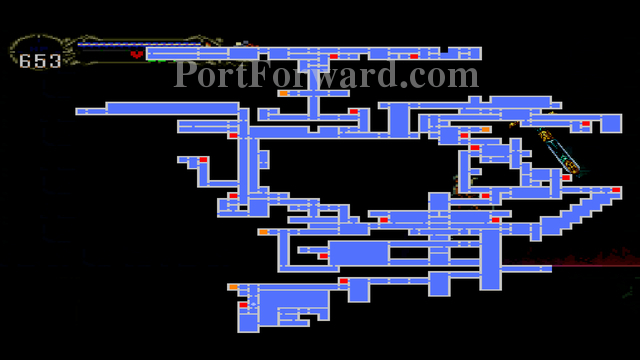
Your map should look something like this by this point.
Head into the Reverse Clock Tower.
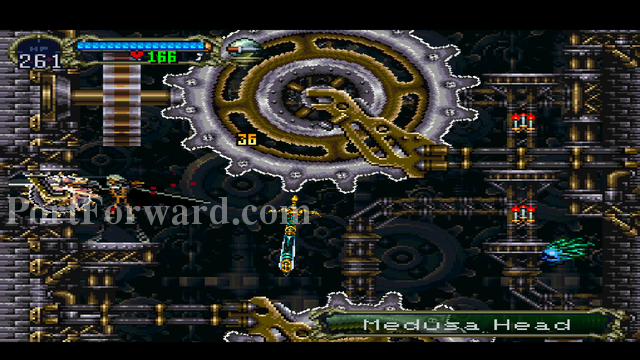
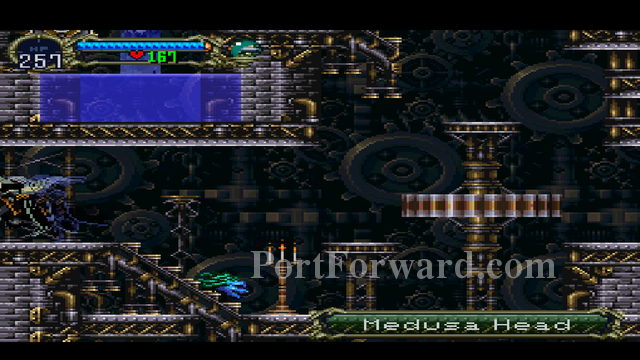
Castlevania: Symphony of the Night Walkthrough Reverse Clock Tower
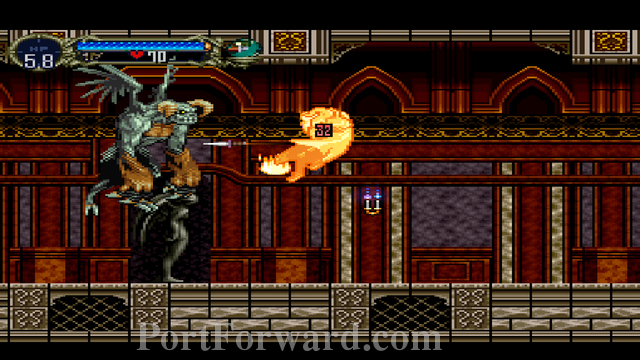
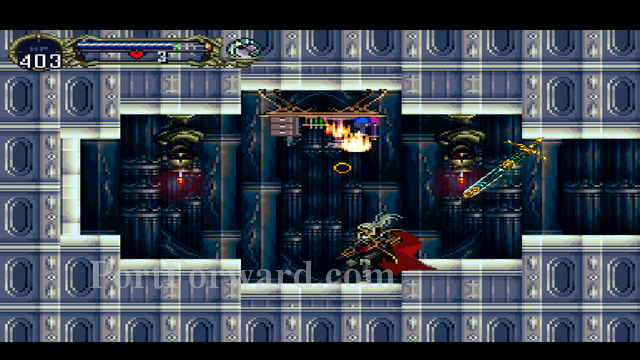
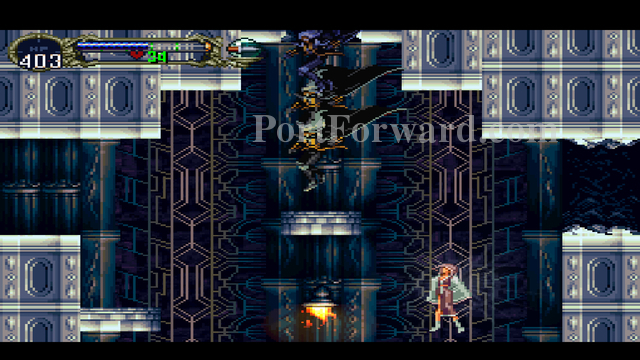
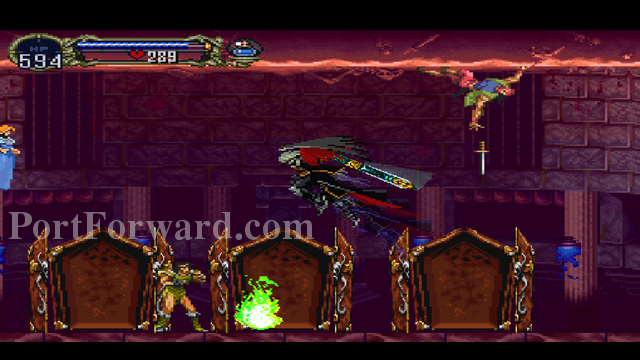
As soon as you enter the Tower, you will find yourself fighting the Darkwing Bat. He has three main attacks, the first of which consists of the Bat swooping at you.
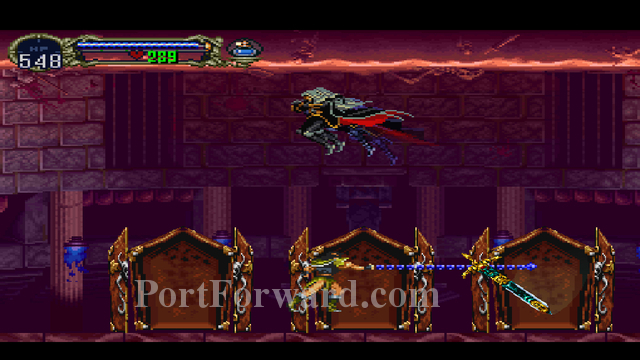
The Darkwing Bat will also try to charge the ground in a drill-like motion.
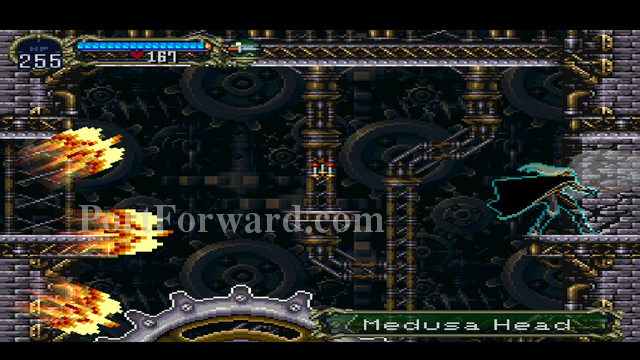
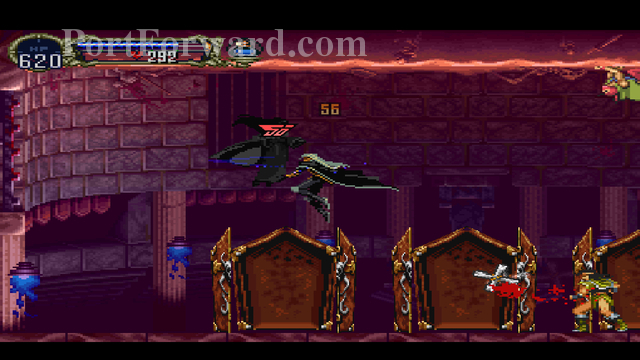
The last attack the Darkwing Bat has is to flap its wings. If you become airborne by jumping while this attack is taking place, you'll be thrown against the wall.
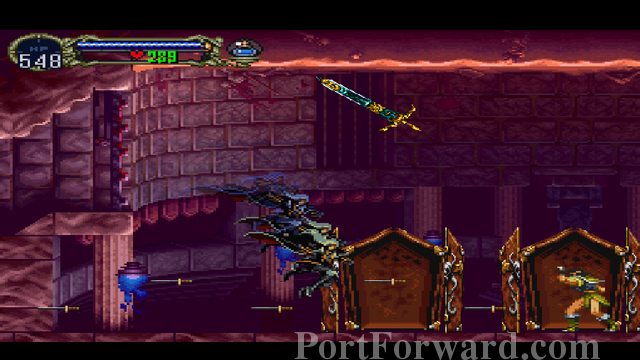
After you kill the bat, make sure to attack the half-columns to get some secret items.
In the upper-right hand corner, you'll find a breakable wall, leading to a hidden room.
There's also some hidden wall meat in the large room.
Don't forget about the hidden passage at the bottom of the first gear area-- it's in the bottom left corner.
Hit the four cogs in the wall until they click instead of clang.
Cog #2 is located below the pool.
Cog #3 is located in the room to the left, on the left wall.

Cog #4 is on the right side of the wall a little lower down. Once all four cogs click...
The room above the pool will open for you to explore.
Dash over to the bottom left corner in the huge room to get the Dragon Helm.
Don't forget about the goodies hanging on the pedstals of the bridge, as well as the ones underneath the bridge.
Castlevania: Symphony of the Night Walkthrough Reverse Wall + Reverse Library

Traverse the outer wall upwards. Make sure to check out the warp room.
Once you find the door that leads to the Reverse Library, enter it.
Stay the upper route and head right, until you enter the librarian's quarters through a hole in the ground. Head left, and make your way into the study in the Reverse Library (where the save point is)
If you're having trouble with the Tin-Men, Holy Water is a good subweapon to use against them. It stops them in their tracks, and does a fair amount of damage.
Don't forget about the revolving bookcase.
Explore the entire study, even down to the gas grate.
Finish exploring the rest of the Long Library, and head back out to the Outer Wall.
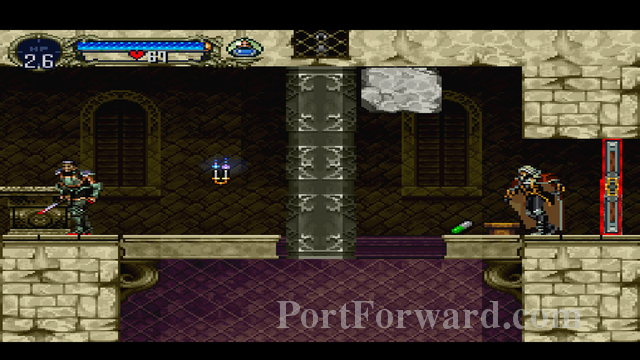
Keep climbing to the top. Once you get there, head right, and get ready to fight The Creature.
The Creature has two main attacks. If you're far away from him, he'll start rolling around the Battlefield. Jump over him, and slash like so.
The easiest method to use to defeat The Creature is to exploit his other attack Cycle. If you stand near him, he'll raise his hammer and try to smash it on you. Stand next to The Creature, attack him, then dash away from him (TRIANGLE) before he can smash you. Repeat until he's dead.
If you're in for a grind, you can keep killing the Paranthropus until it drops an item called "The Ring of Varda". It's an extremely powerful stat-booster, and if you get two, you'll become a force to be reckoned with.
"Finish traversing the entire Reverse Wall area. Don't forget about the secret wall you can smash here.
Castlevania: Symphony of the Night Walkthrough Black Marble Gallery (Revisited)
Fight your way back to the clock tower area. You're in for a long haul.
When you enter the master clock room, the hands should point up, and the clock will strike thirteen times. You can go up to save, but don't take the elevator just yet-- we have to explore the rest of the level.
Make sure you explore the transition areas that are attatched to the Reverse Laboratory...
As well as the connecting area to the Reverse Entrance.
After you reach both areas, make sure to save in the save point (located to the right in this picture).
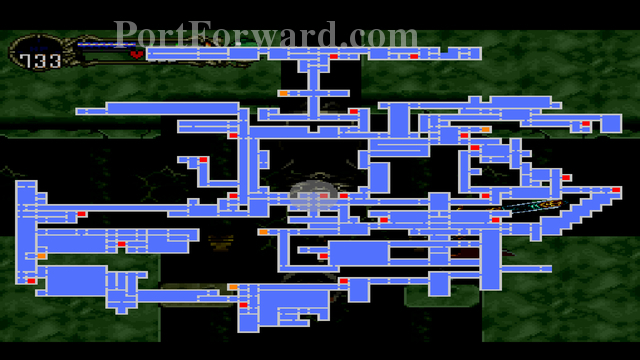
"Take a hard look at this map, and compare it to your own. This is the fully filled out Reverse Castle Map (minus a few blocks in the Reverse Catacombs and Anti-Chapel).
Alternatively, if you save and exit the game, you will see a percentage in your save file. If it's over or at 196%, you'll get the best ending.
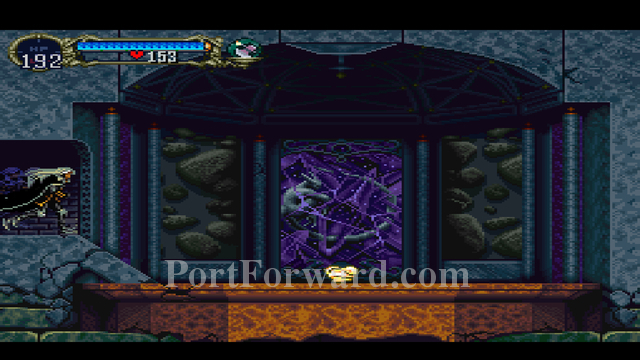
Head all the way up, and then drop down into the main chamber.
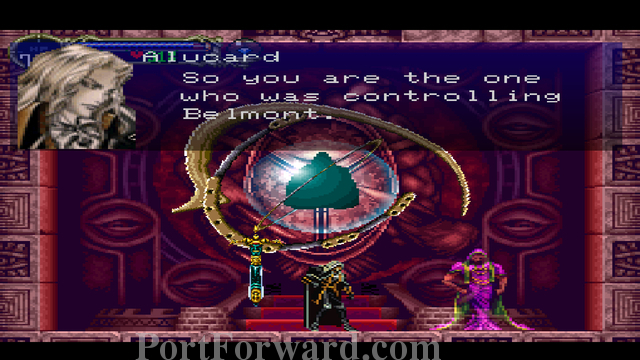
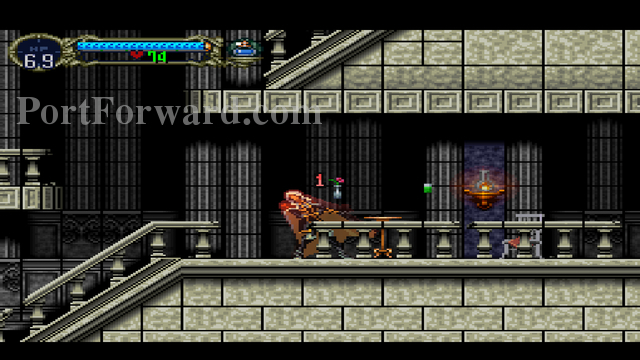
Watch the cutscene with Shaft.
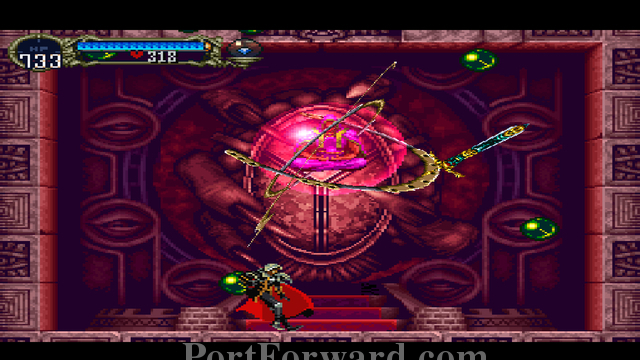
Shaft flies around the battlefield, attacking with his elemental orbs.
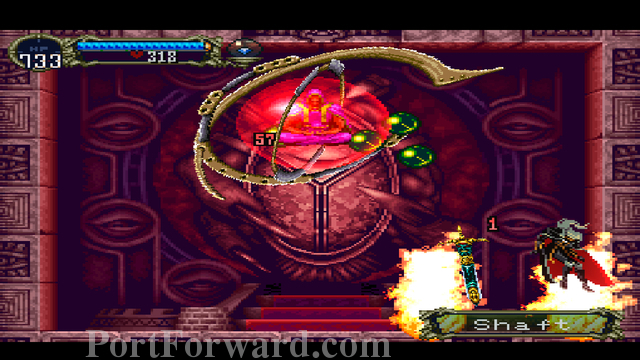
He can summon vertical/horizontal fire pillars,
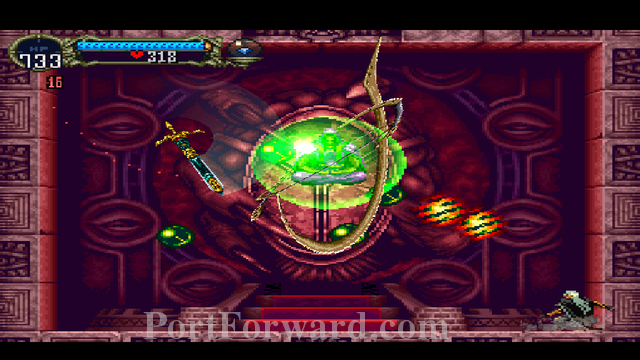
Make his orbs bounce around the room,

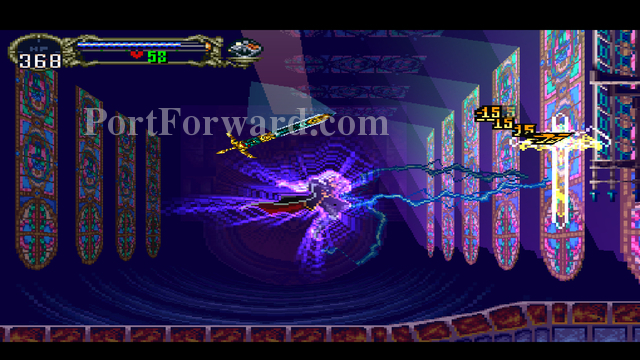
And use eletrical beam attacks.
Attack Shaft's safety orb to damage him and eventually defeat him.
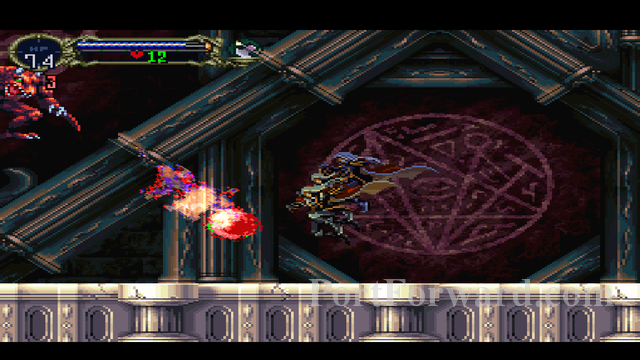
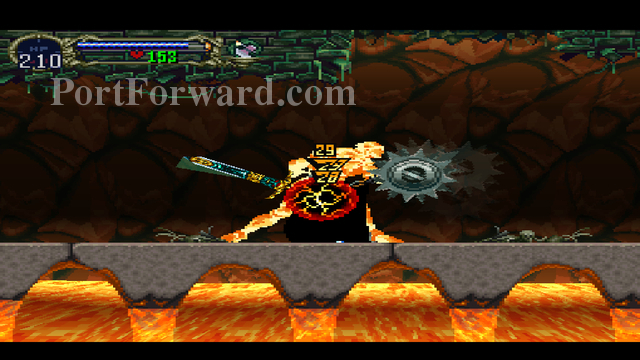
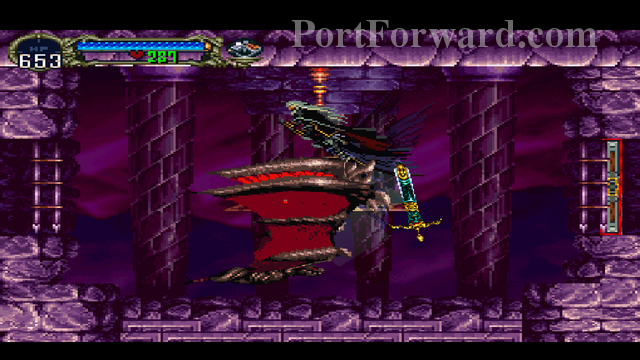
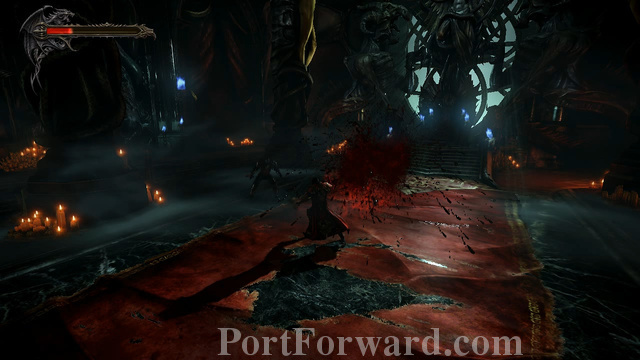
Castlevania: Symphony of the Night Walkthrough Final Fight with Dracula

Dracula follows an attack pattern.
First, he'll swing his claws at you. You can bait his swipes, then run to the other side of the screen to dodge it fully.
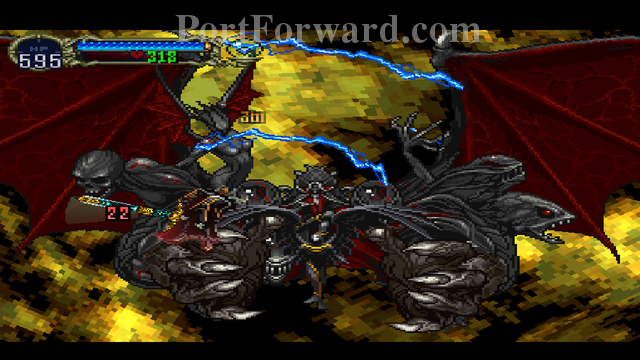
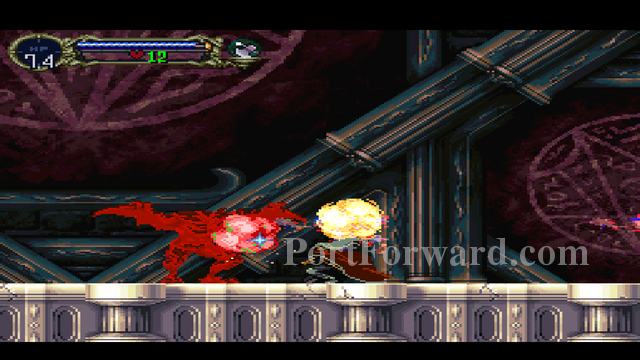
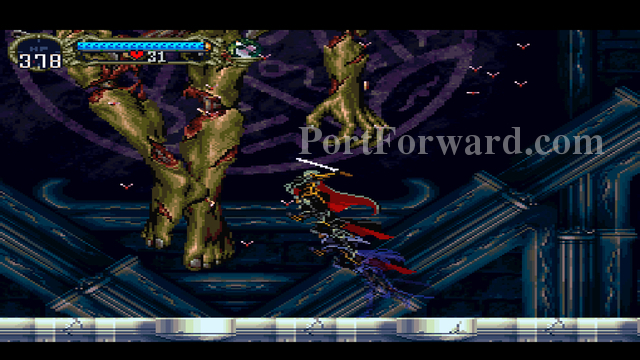
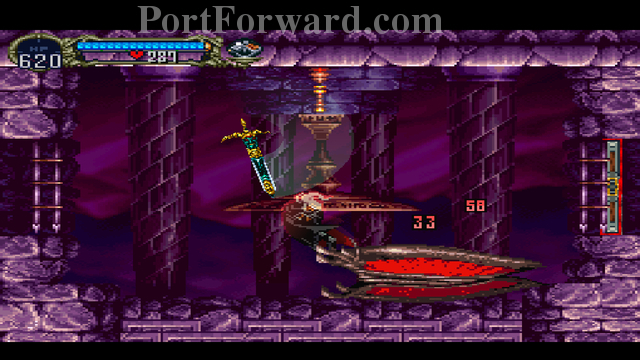
Dracula will then spawn a monster, and smash it together with both of his claws. Jump up to avoid this attack.
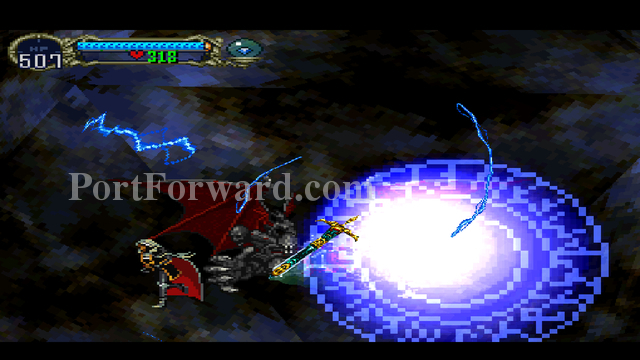
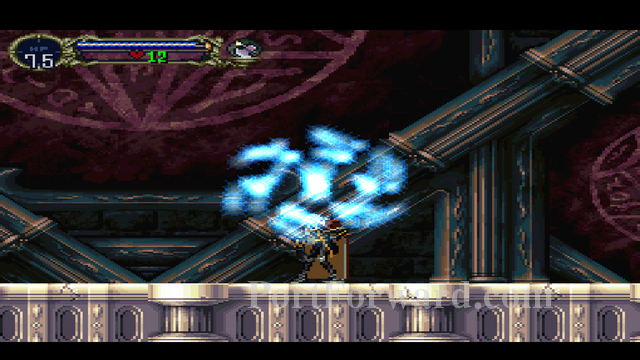
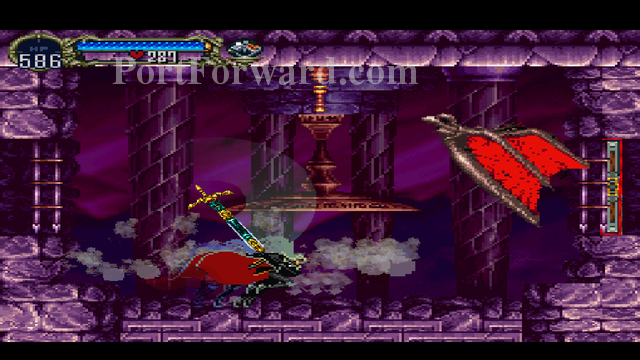
After that attack, Dracula will fly into the distance and fire a homing blue orb. As long as you keep moving away from the orb, it's an easy attack to dodge. Dracula can't be damaged while he's in the background.
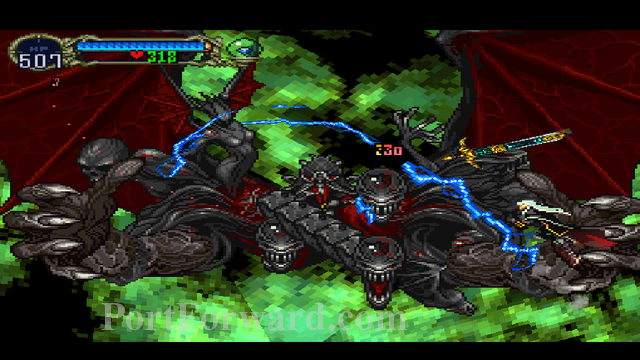
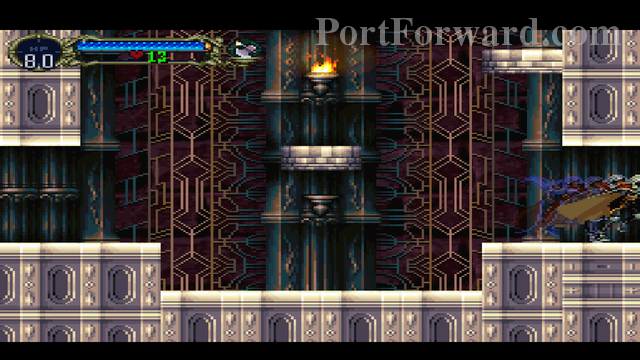
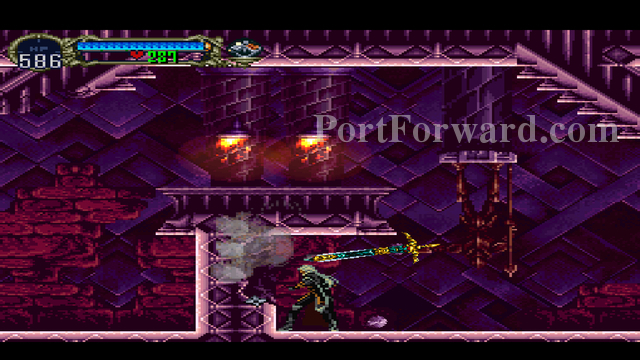
When Dracula flies back into the foreground, he'll attack you with his three heads in a lunging attack. His heads will attack in the following order: Left -> Middle -> Right
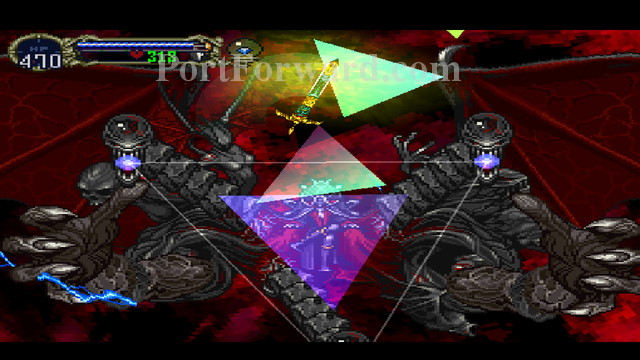
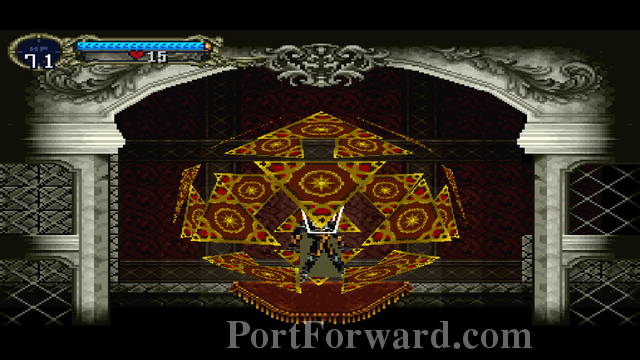
After the lunging attack, the three heads will extend to form a triangle. Turn into mist to avoid this triangular attack.
After the triangle attack, the attack cycle will start over.
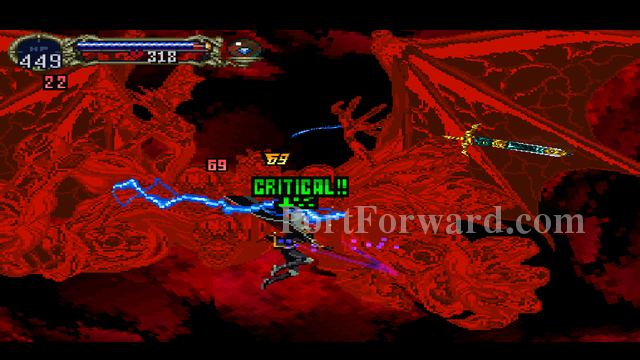
Keep slashing away at Dracula. If you want to, you can use your Alucard Shield ability to make this an easy final fight.
Once you defeat Dracula, lean back and enjoy the ending of Castlevania SotN.
If you start a new game, you can enter special modes by using the following names:
RICHTER: Play as Richter
X-X!V"Q: Luck Mode (99 Luck + Lapis Lazuli, -HP, -STR)
X-XIV: Play Magician Mode (+INT, -ATK) You need to have a RICHTER save to play Magician Mode.
I would like to thank PortForward.com for hosting my walkthrough, and a very special thank you to YOU for using my walkthrough. I hope I was able to assist you through any rough patches!

 Castlevania: Lords of Shadow 2 Walkthrough Prologue
 Bionic Commando Walkthrough Bionic Commando
 Blocks That Matter Walkthrough Main
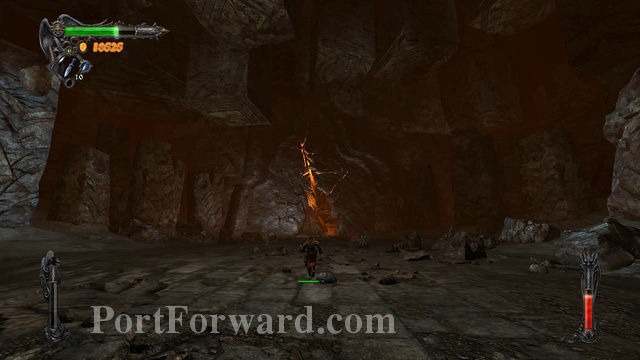 Castlevania: Lords of Shadows - Resurrection DLC Walkthrough Dimensional Prison