Borderlands 2 Walkthrough Beginning

You need to click on new game to start, then you have to watch the game Intro which you cannot skip unfortunately.
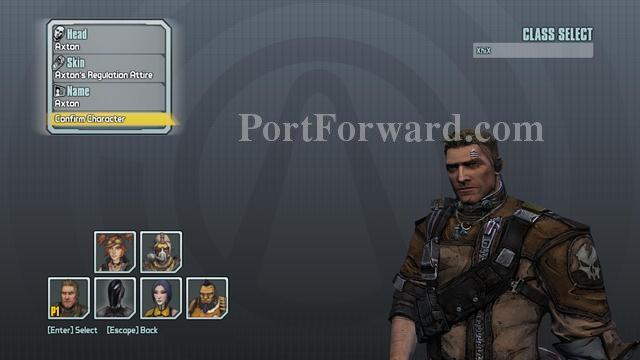
"This is where you create and customise your characters:
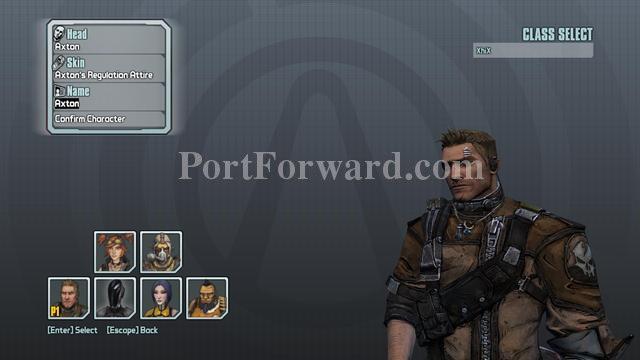
Now click "Name" and name your character.Then click on "Confirm Character" to begin your game.
Borderlands 2 Walkthrough My First Gun

"This is your hud in the beginning.
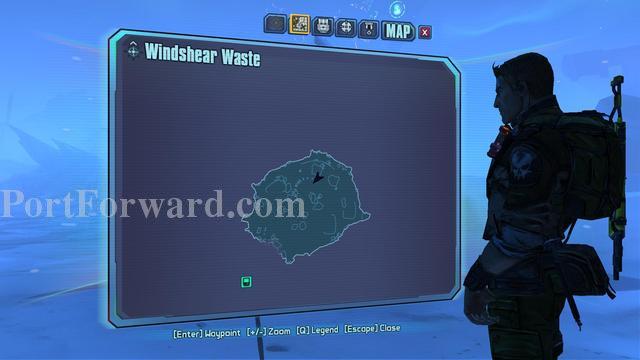
""Now press "TAB" to open up your quick menu.
"Press on the next icon next to Map.
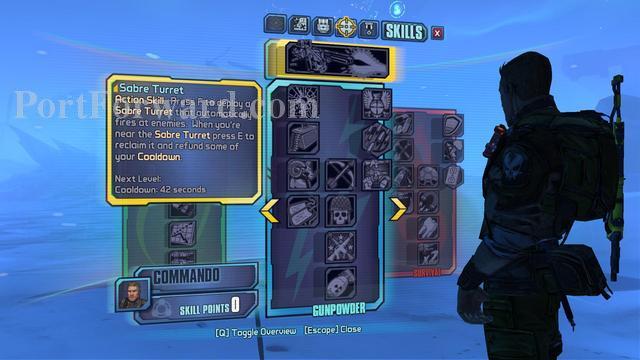
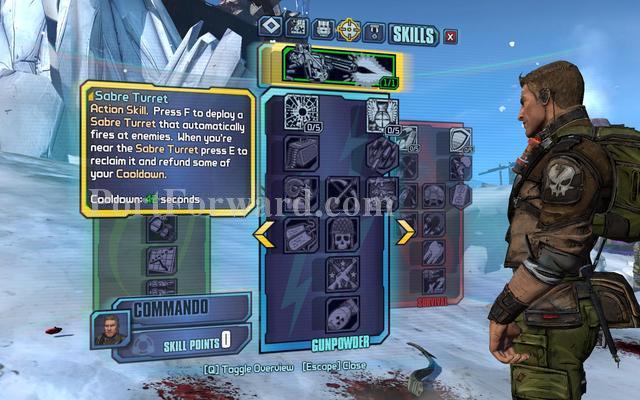
""NOTE'This is only the one character's skills each character has a different skill set.
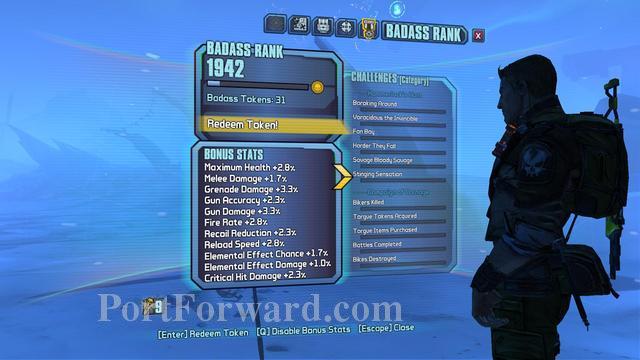
These are your Badass Ranks and Skills you have Mini missions that give badass ranks, as you get badass ranks the bar progresses and each time it completes you get one badass token which you can improve your abilities.

You can ether follow claptrap or run to that light off in the distance.
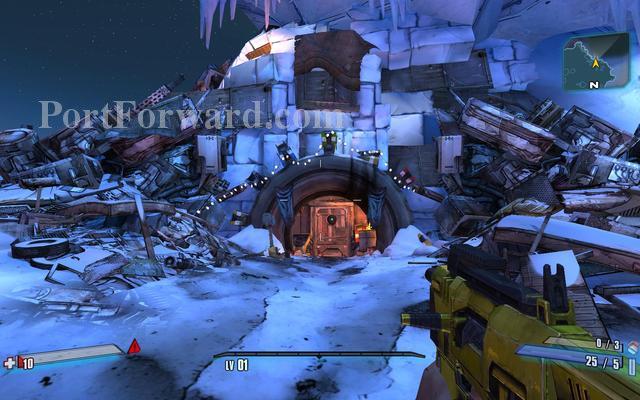
Now if you just ran you must wait for claptrap.
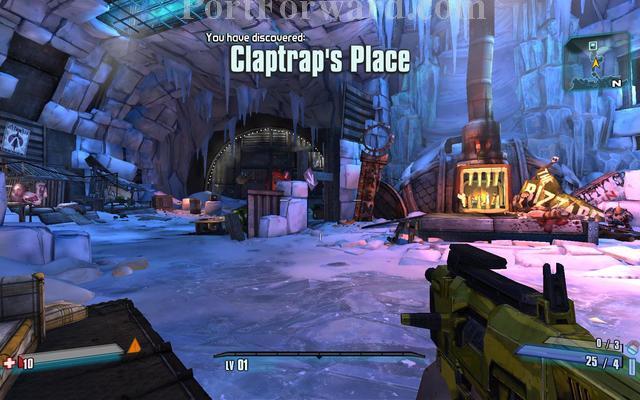
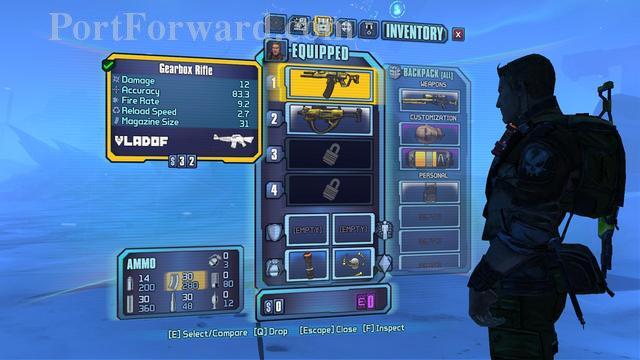
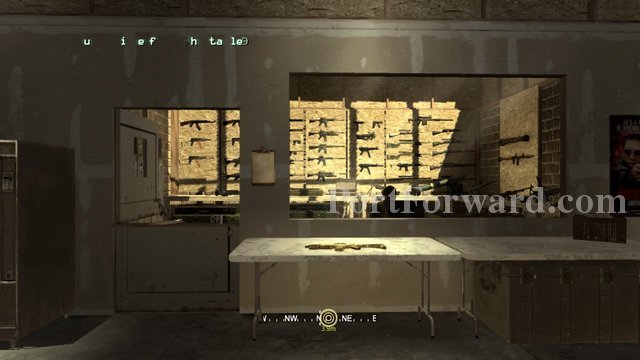
This is where claptrap lives and after he talks to you he will point you out to get a pistol which is in a cabinet.
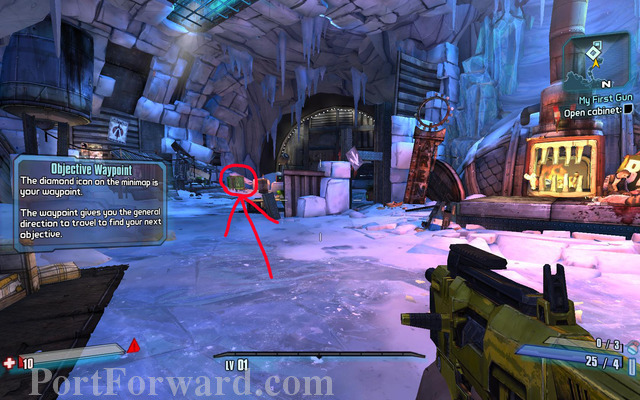
The cabinet is in the Red Circle.

"TIP" USE YOUR SNIPER AND PISTOL IN THE BEGINNING"
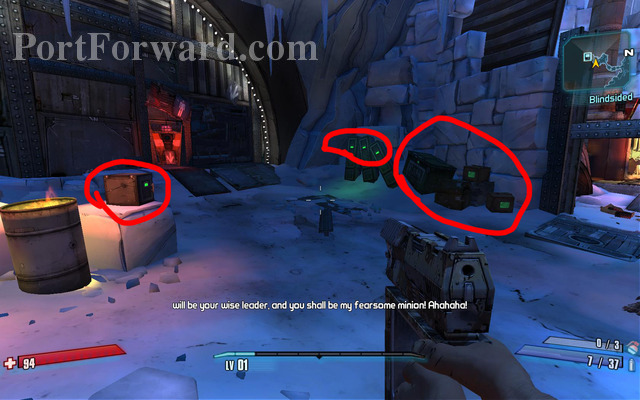
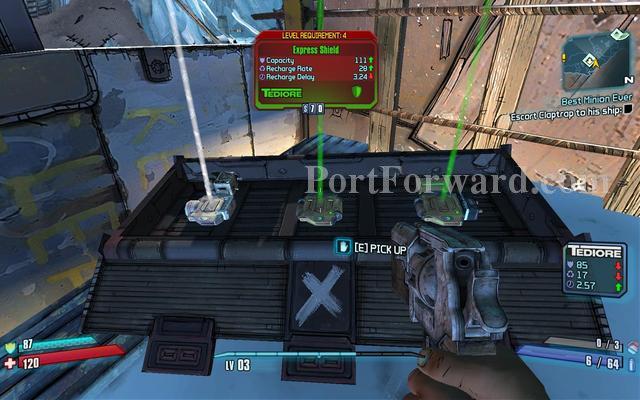
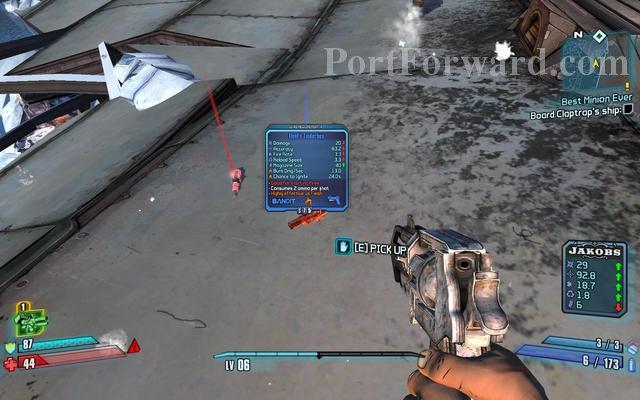
All these lockers and yellow boxes and dumpsters with those green lights on them are Ammo,Weapon,Item and money loots.

once you open one you can hold E to pick them all up in one go to save time.
use pistols ,assault rifles,shotguns,smg's for close up fire. "AND aim for the head for criticals."
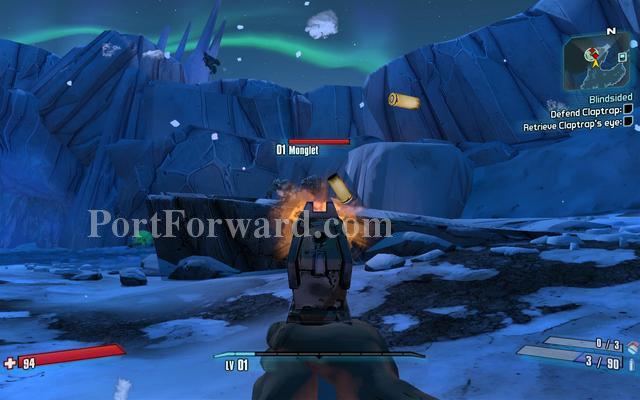
When you get here switch to your sniper and snipe the bullymongs in their heads from afar.
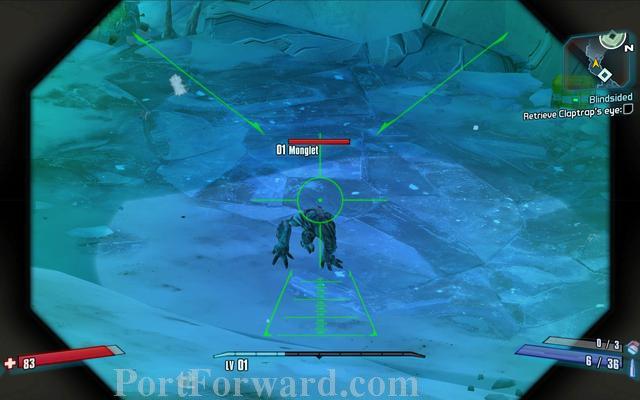
"TIP" Dahl snipers are all burst fire when you zoom in and the rest are normal shots which come in automatic or bolt action."
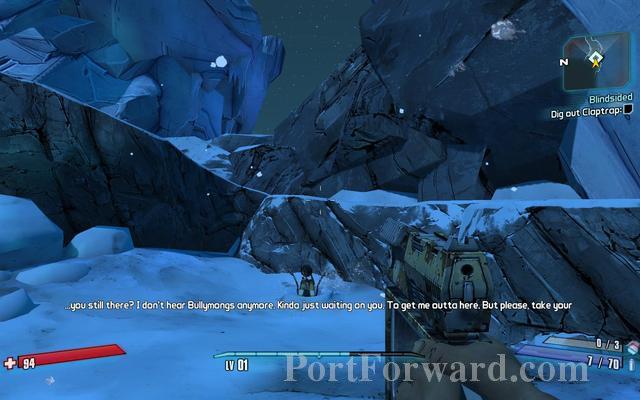
Jump down to help claptrap up.
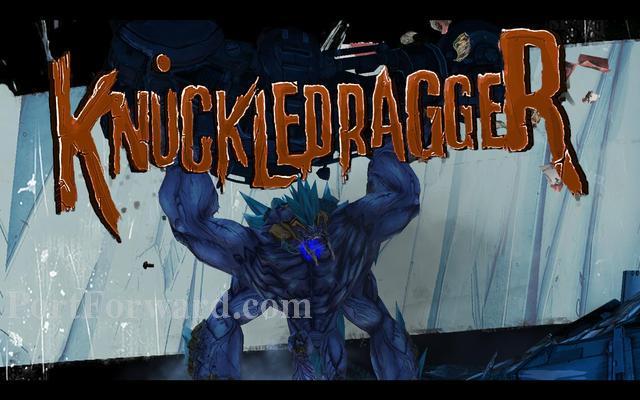
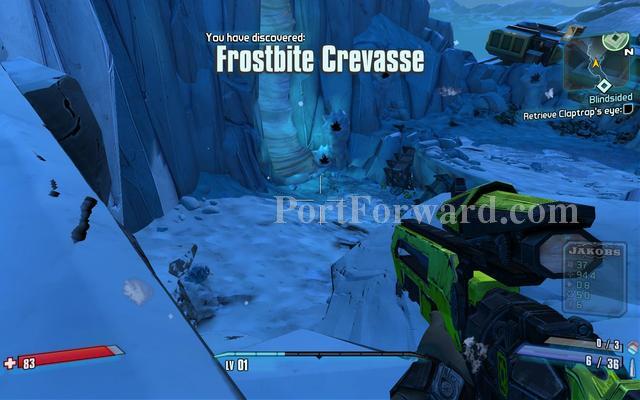
"This is the first Mini-Boss.
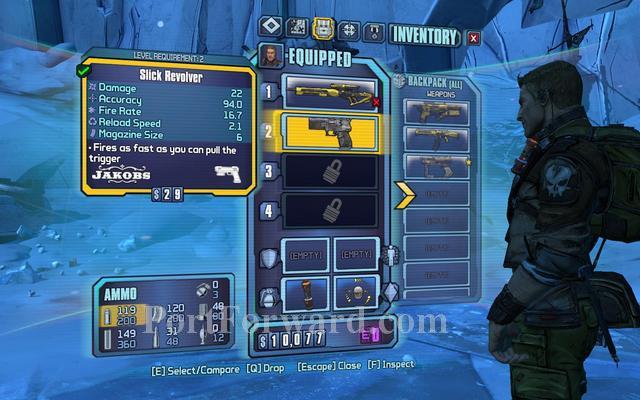
"Knuckledragger usually drops a Jakobs pistol which you can basically use till you get a better weapon.
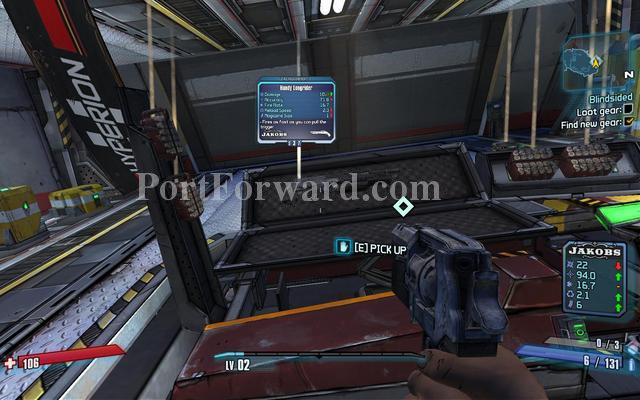
"Take the shotgun but don't use it yet
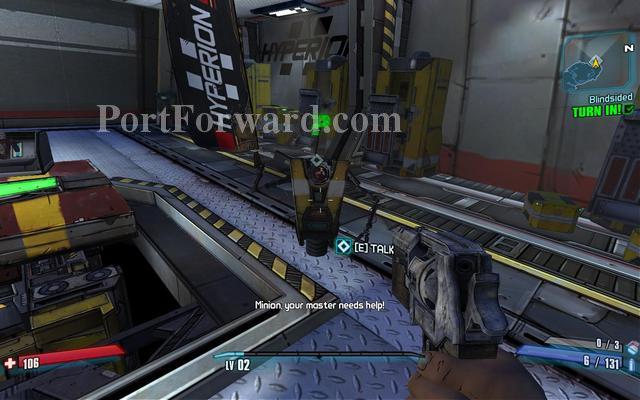
Now turn in the quest by claptrap.
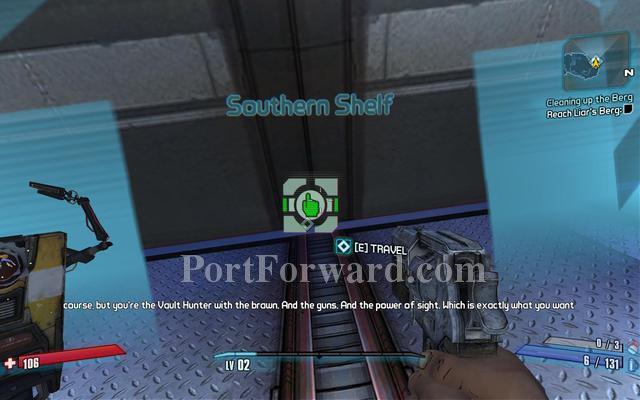
Then follow claptrap to go to Southern Shelf.
"Switch to the sniper when you get to the cliff and stay on top to snipe.
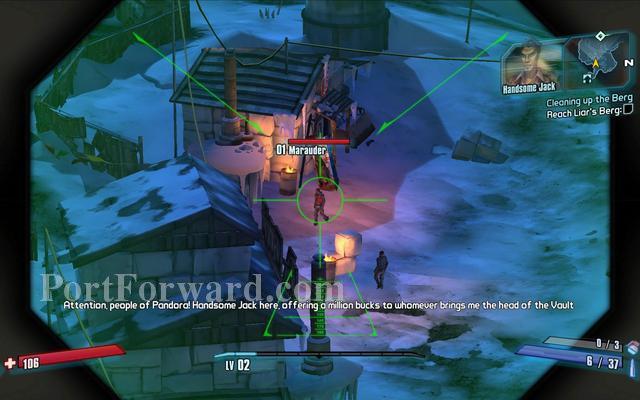
Watch out for these MARAUDERS they take you down fast and in Second Wind they run away from you.
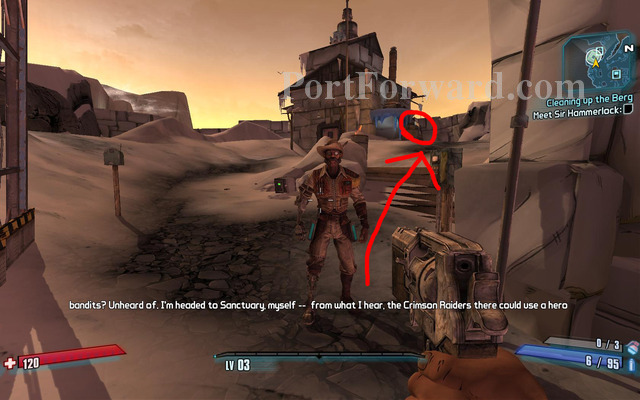
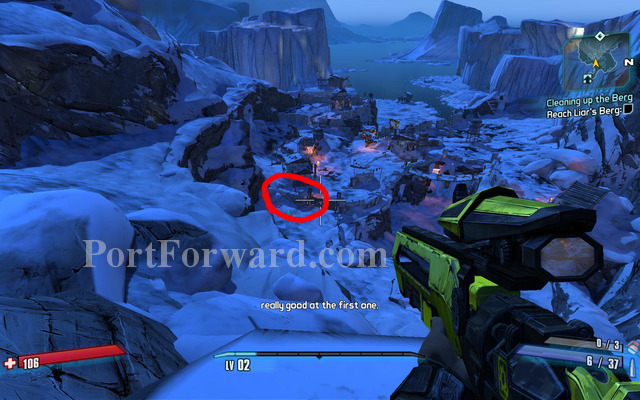
After you killed them all go to Claptrap.After sir Hammerlock askes you to give claptrap's eye go to the Gun shop located in the red circle and if there is a fire weapon buy it if you can and use it.
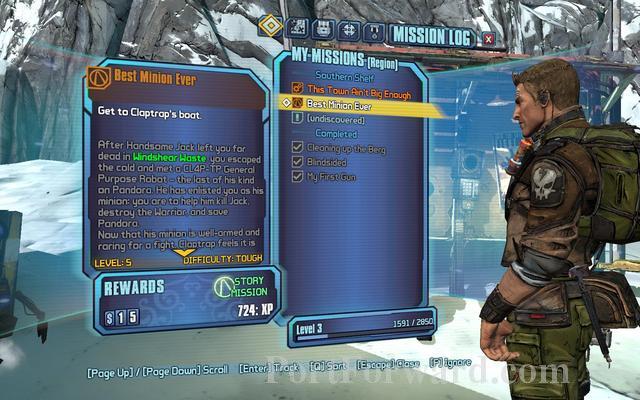
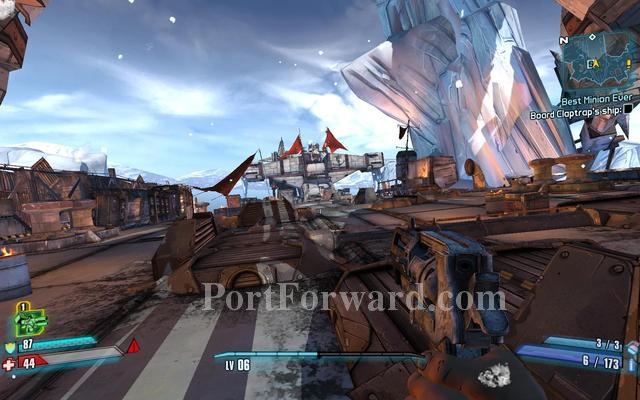
You should check that you are selected on the quests that have the VAULT ICON like the one that says "Best Minion Ever" those are the main quests.
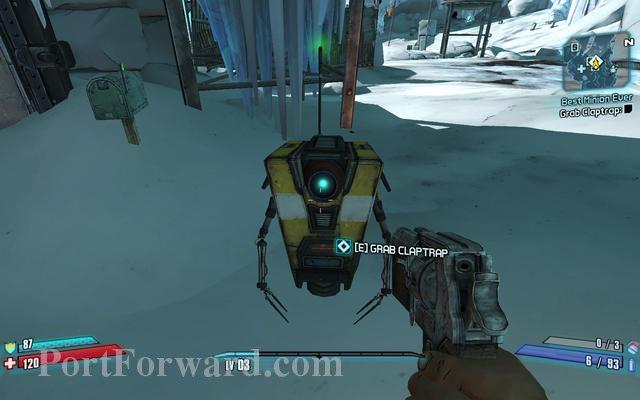
"Now after you made sure about the quests go and get Claptrap and FOLLOW Claptrap until you are directed to go another way.
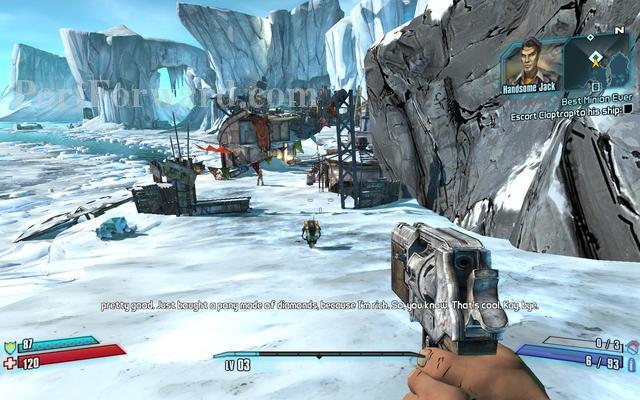
Now just follow these paths along with Claptrap and kill the bandits.
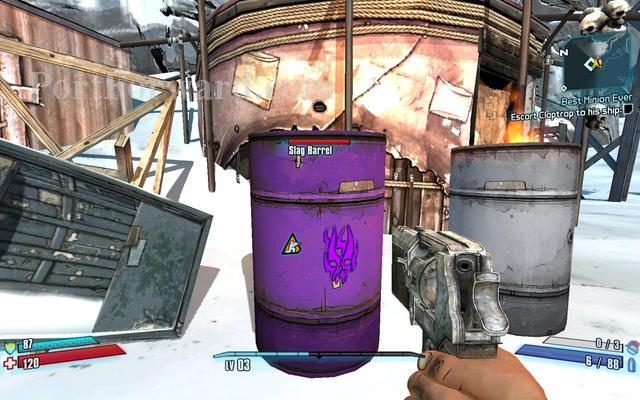
These are "SLAG" barrels and they SLAG the enemies.When the enmies are slagged they take much more Damage.
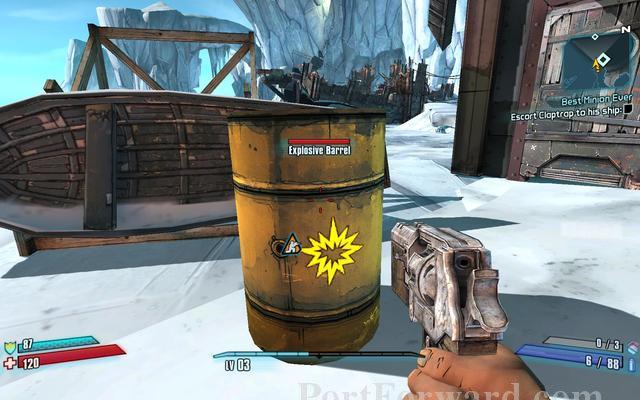
These are "EXPLOSIVE" barrels and they do alot of area explosive damage once you shoot them.
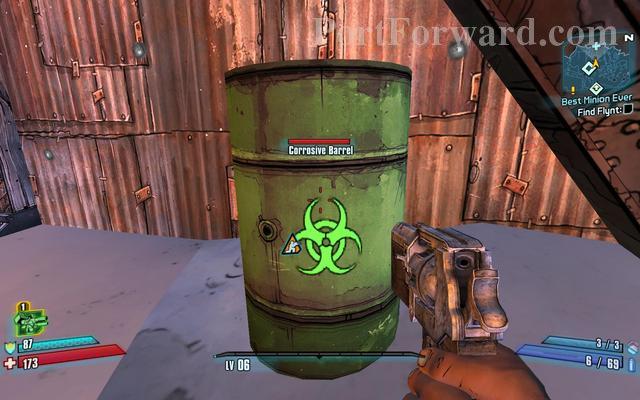
These are "CORROSIVE" barrels and they do alot of melting damage to any type of ROBOTS.
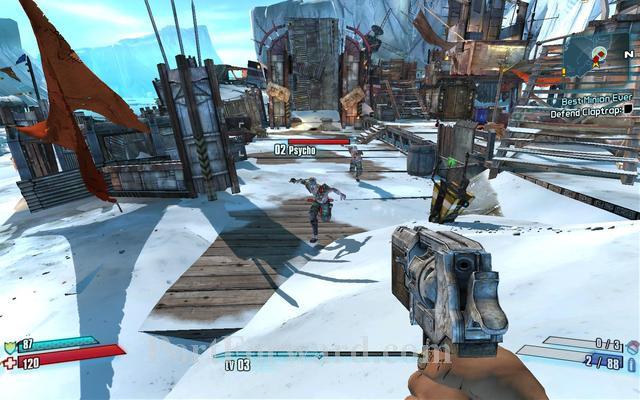
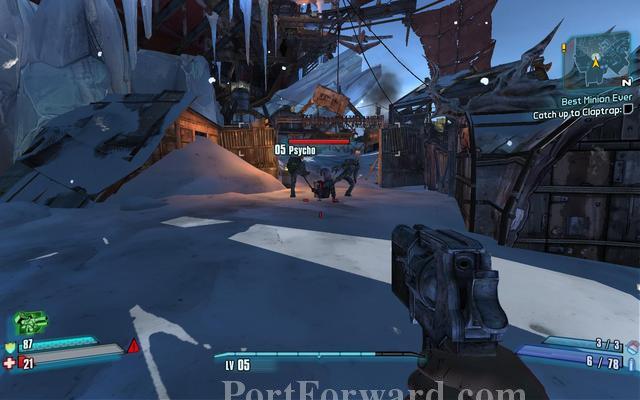
Watch out for phyco's they run you down and Melee.
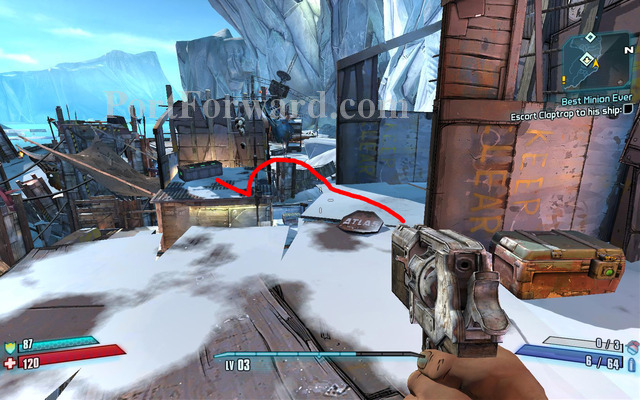
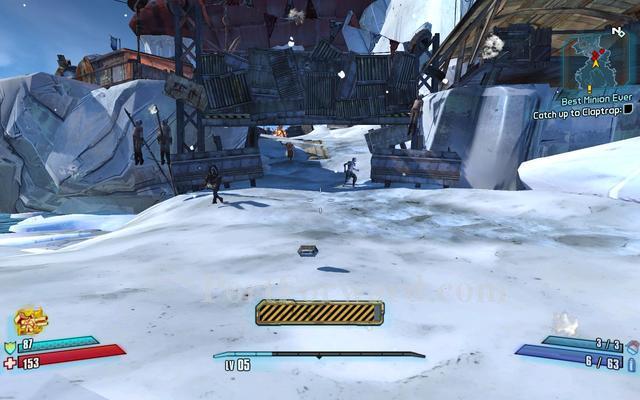
After you are done ,Climb on the ladder and Sprint and jump over to the LOOT Chest.
These chest are hidden everywhere and you should be able to see most of them.
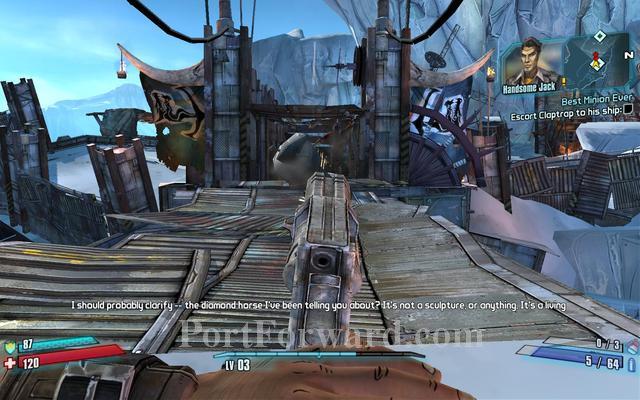
Watch out for the Suicide Psycho's when the bridge drops.
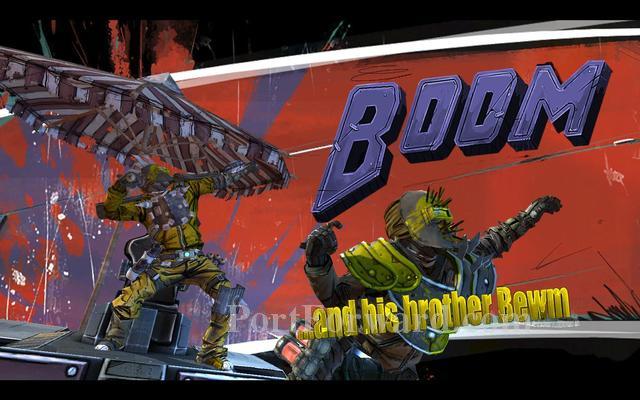
"This is Boom and Bewm.

"When you killed Boom and Bewm get go to claptrap then get on Boom's cannon and shoot open the gates and the coming enemies.
Use your skillpoint you recieved after lvl 5 and press F to use it.
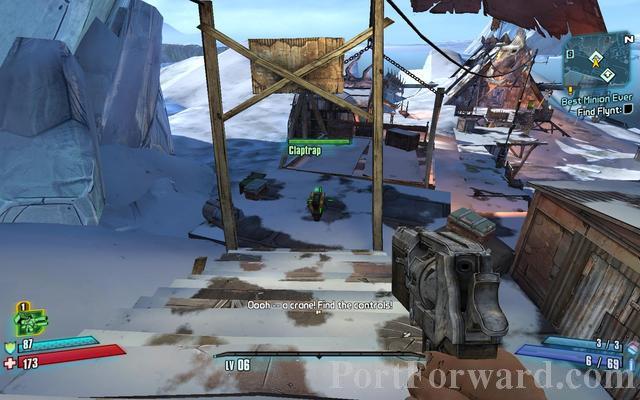
Claptrap is captured!Enter this path and follow it.
Here is claptrap after that last path.just kill the enemies kicking his brass and continue with him.
He can't go up any stairs.so he is going on that platform and wait for you to go on.
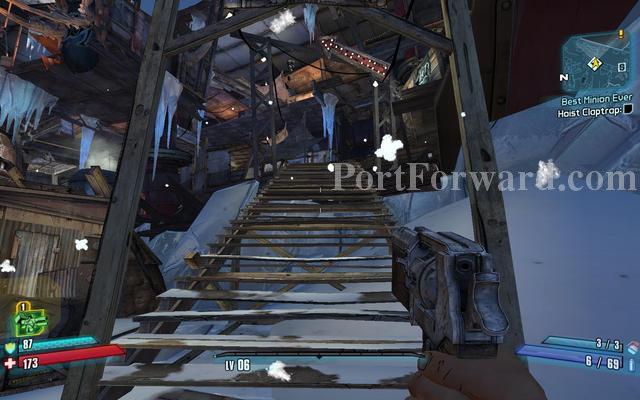
Go up these stairs and fight your way up.
Claptrap will Rise straight ahead up that ramp after you pull the lever when you run up there.
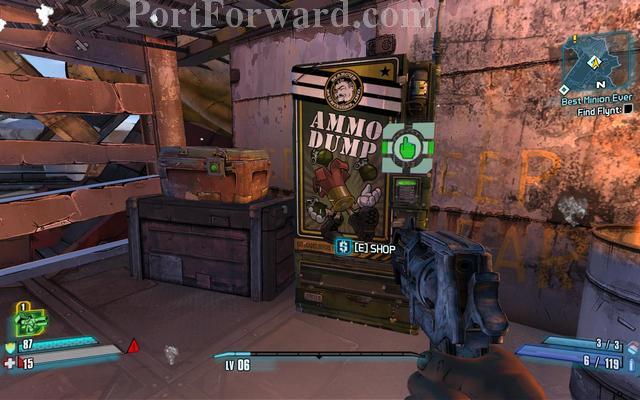
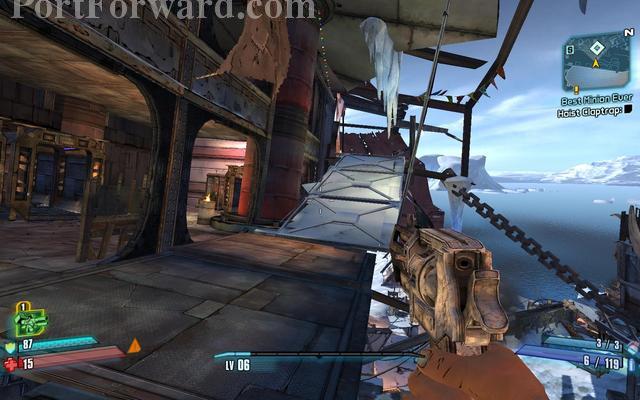
after he leads you to this place. You should restock your ammo at this ammo shop here.

"This is the fourth Mini-Boss.
Run to the back to stay safe and shoot them from here.
He usually drops a Fire pistol which is very useful so take it.
Borderlands 2 Walkthrough The Road to Sanctuary
"After you have continued along the path and went to the catch-a-ride you will be said to get something.

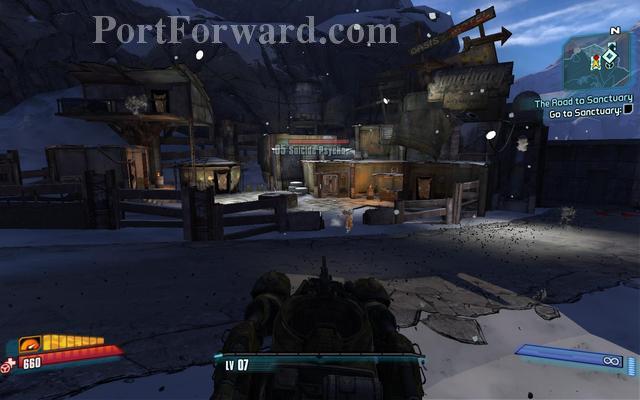
After you got your ride continue along the road to sanctuary.
If you get to the gate don't get out just use the vehicle to fight the enemies off.
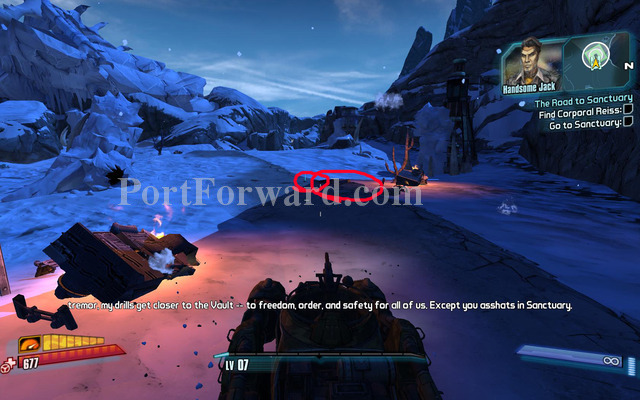
When you have to find the item , drive up and get out it is near that wreckage.
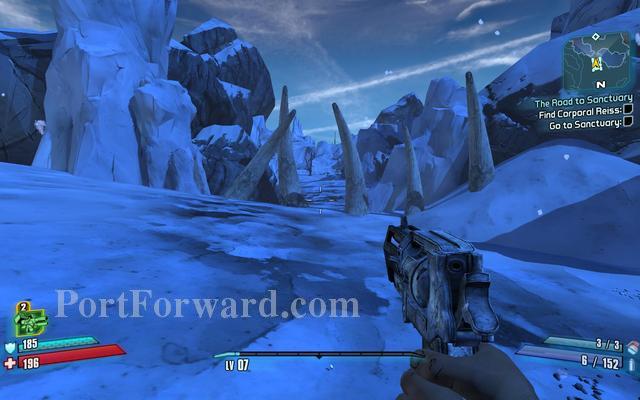
Now when you got that item,you go left to what looks like a path you cannot drive so get out and continyou along the path.
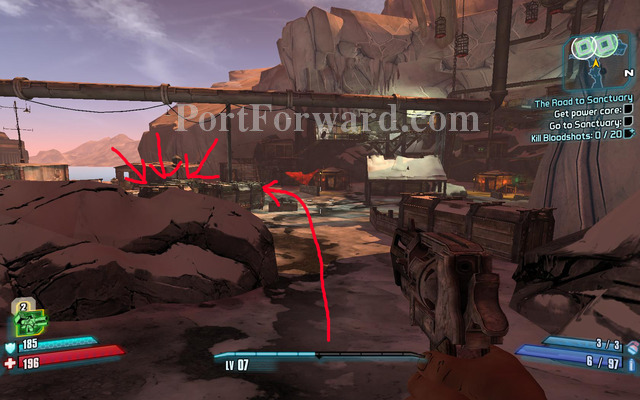
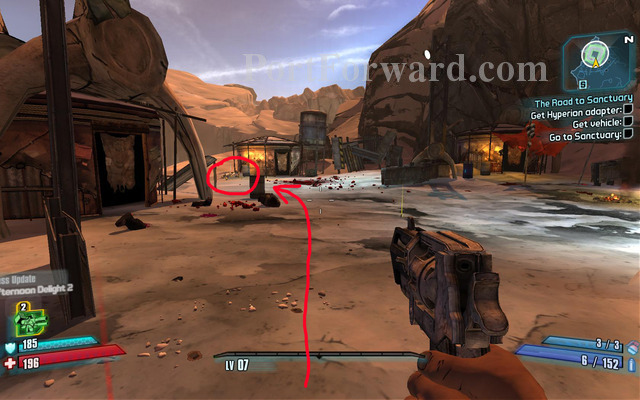
The power core is located in the left green circle on the map just between the two houses.
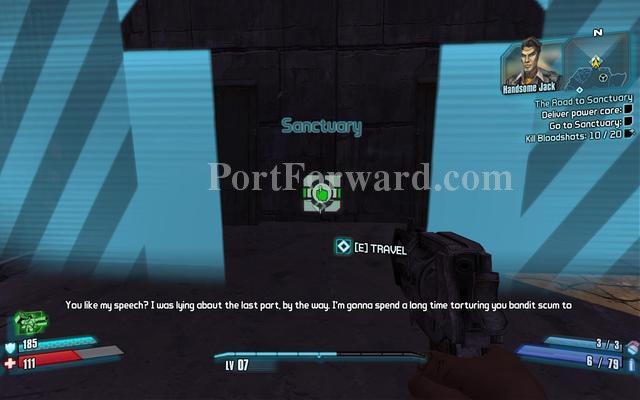
When you have the power core you can return to the gate.
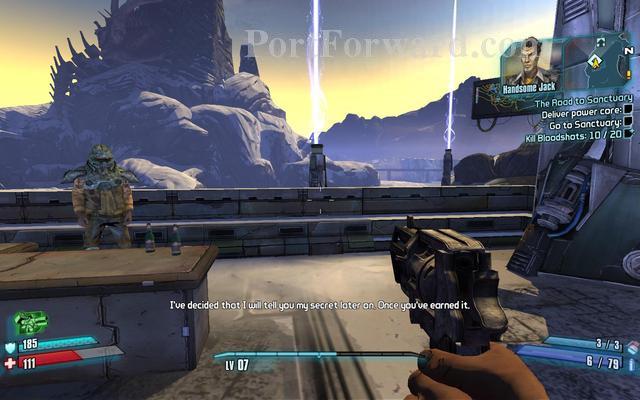
Talk to Reise and insert the power core.
Borderlands 2 Walkthrough Plan B
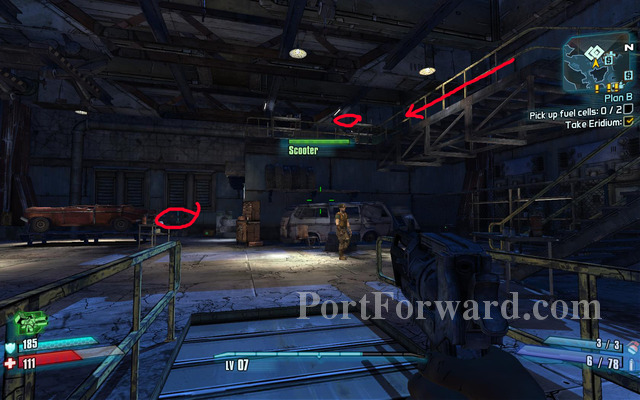
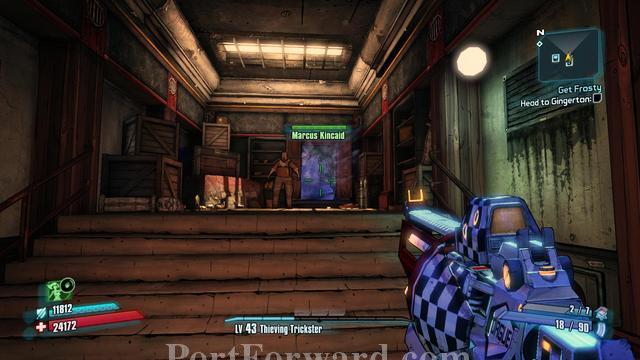
Talk to scooter and the two cores are located in the red circles.
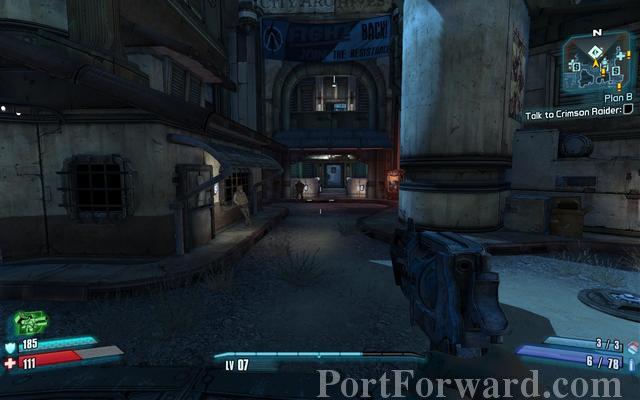
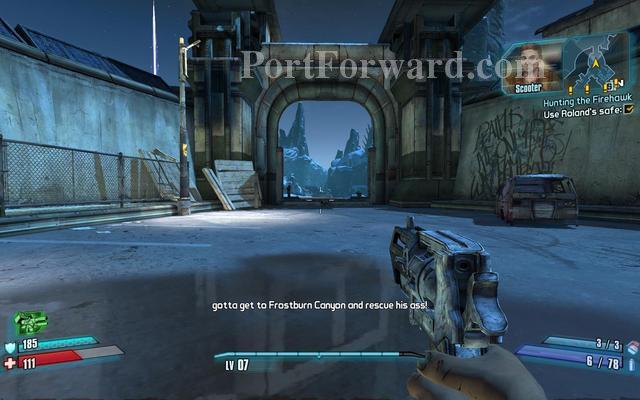
After inserting the cores there is a guy standing infront of the building in the middle there.talk to him,get the quest,run up to the safe.
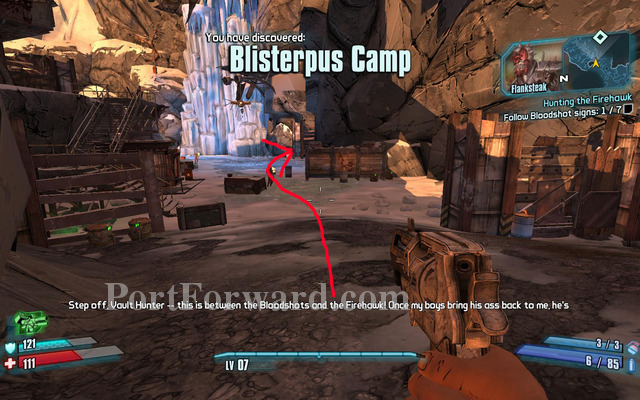
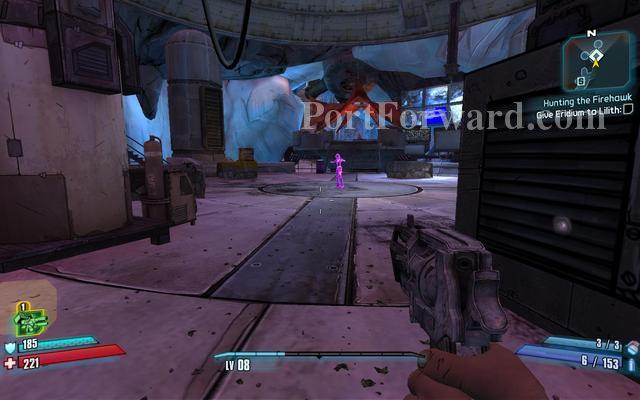
Borderlands 2 Walkthrough Hunting The Firehawk
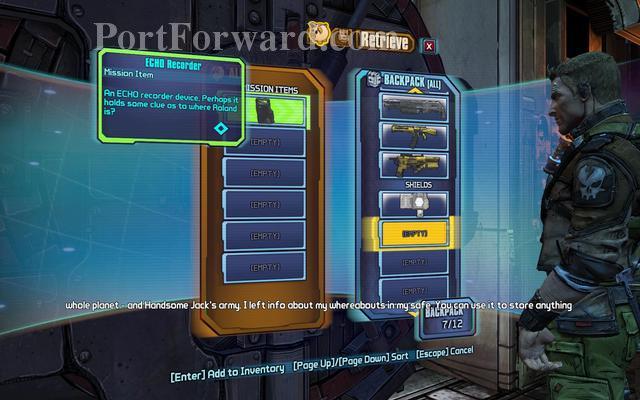
Just put the ECHO into your inventory.
Now run back to the gate and get a vehicle.
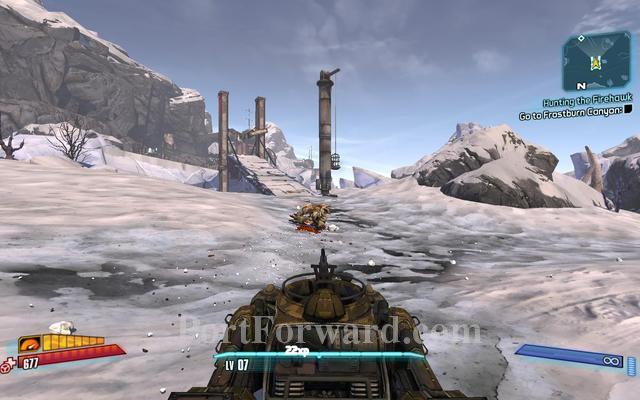
Its close where you got the first core,now just drive over the ramp there.
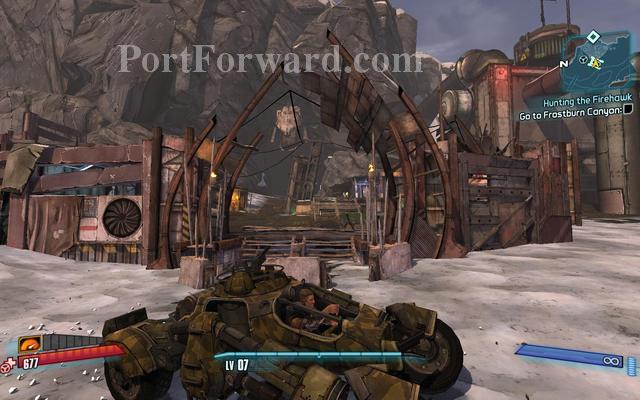
Fight them off and continue on that path to a new location.
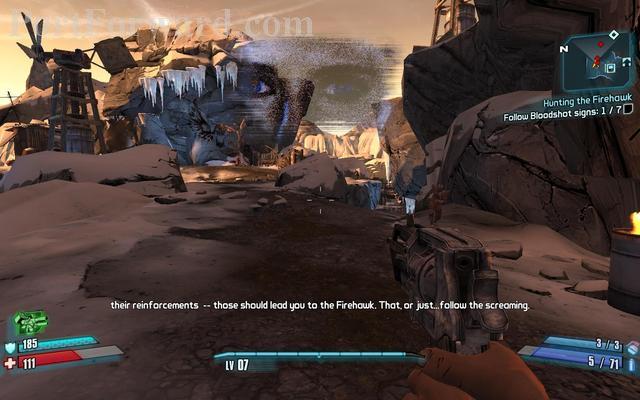
Run off to the right.
Then go into the mountain on the right.
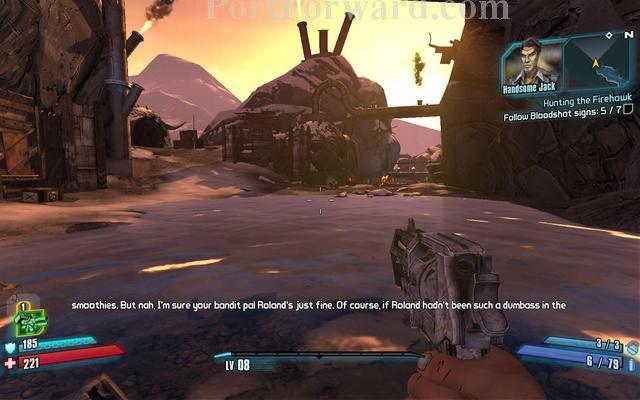
Then run off to the right.
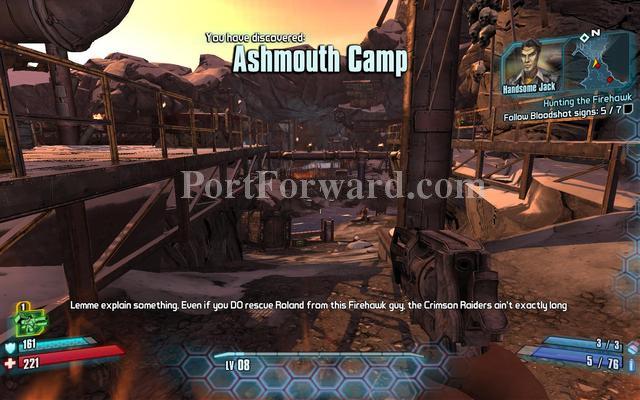
continue through the fight and through the midde of that mountain.
Restock your ammo here BIG fight coming.
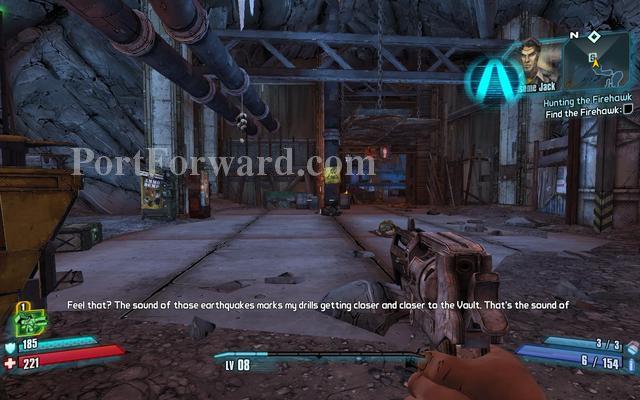
After you revived and helped her run back to the stairs to get good aim.
Borderlands 2 Walkthrough A Dam Fine Rescue
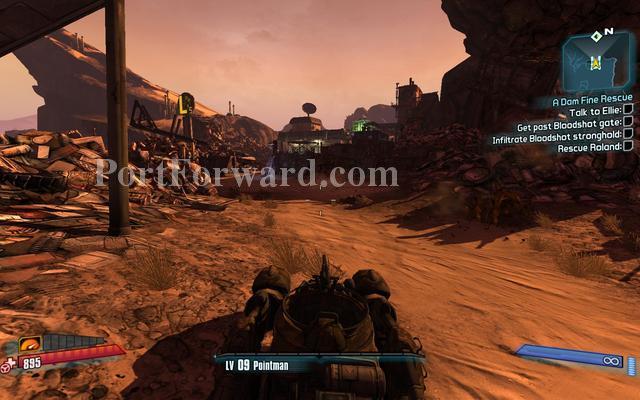
"After she phased you just don't jump down to the right, just continue straight.
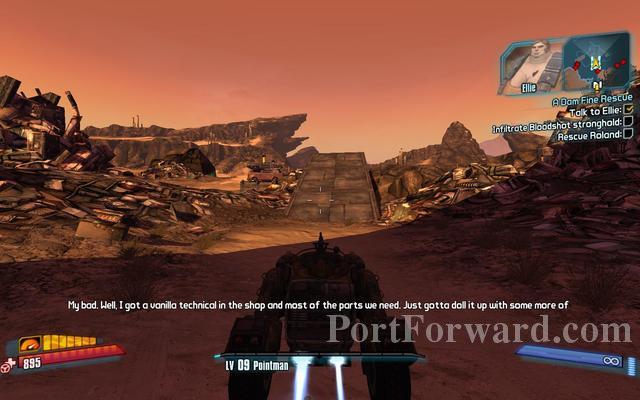
After you spoke to Ellie go drive around the area and look for enemies that drive around.

Kill them and take the parts.Then return to Ellie.
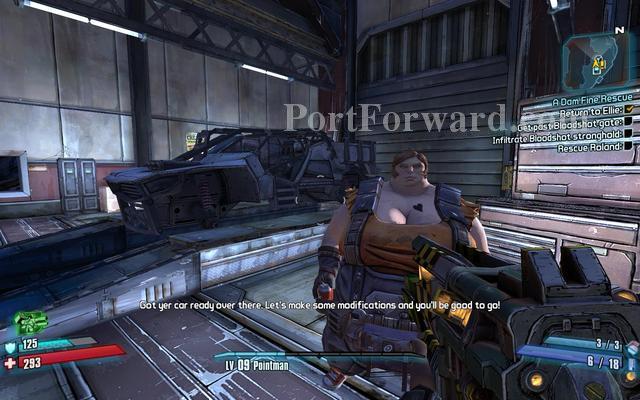
Talk to Ellie and repair the bandit vehicle and go to the Catch-A-Ride.
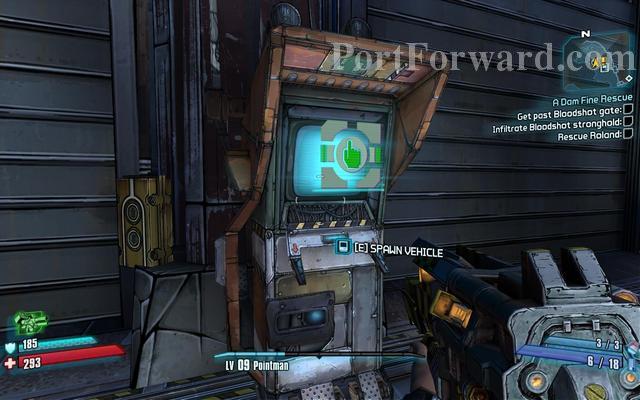
Choose the bandit vehicle with the explosive barreld and return to the Bloodshot place and honk again.
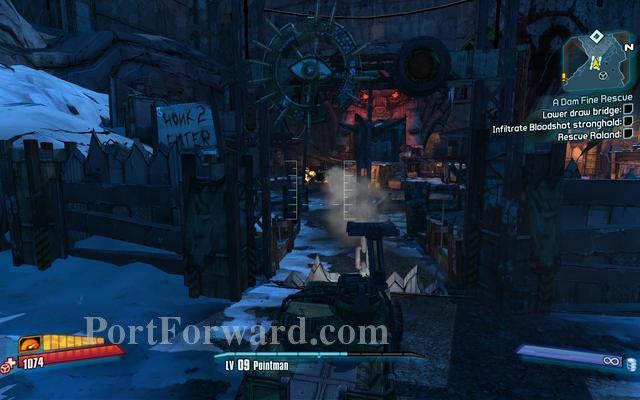
Fight off the Enemies and try to LURE Bad Maw by shooting him and running back but not very far,repeat untill he comes closer,then climb in the car and shoot him up!
Restock on ammo here.
After the first area cleared,there is a turret in the middle a far , take it out.Continue to Mad Mike.
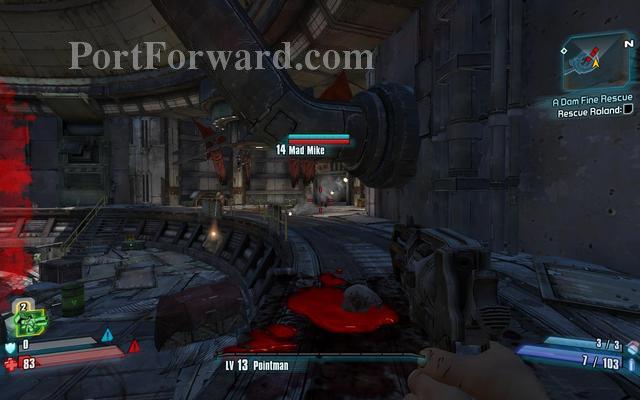
Watch out he has a rocket shotgun.
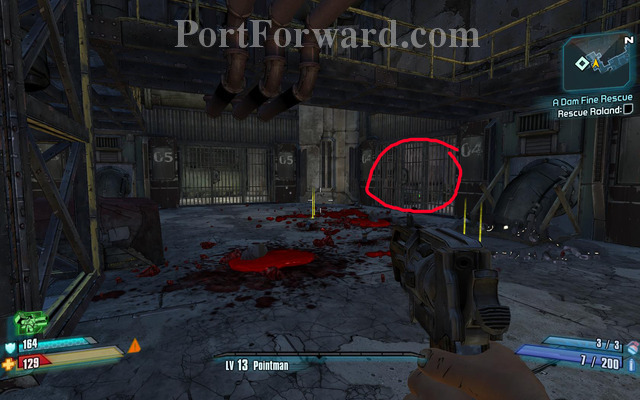
After Mad Mike.You will see a shock barrier,inside these things are BIG Chest loots.
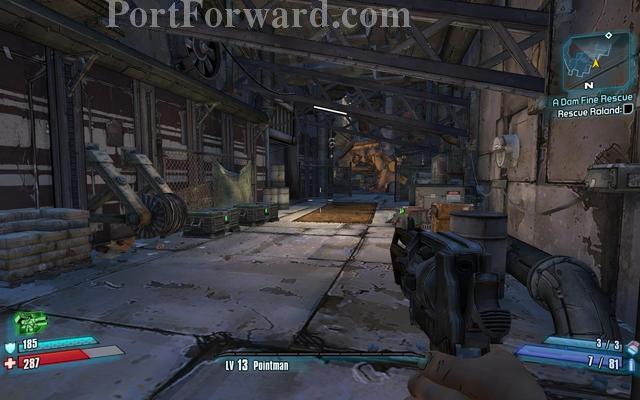
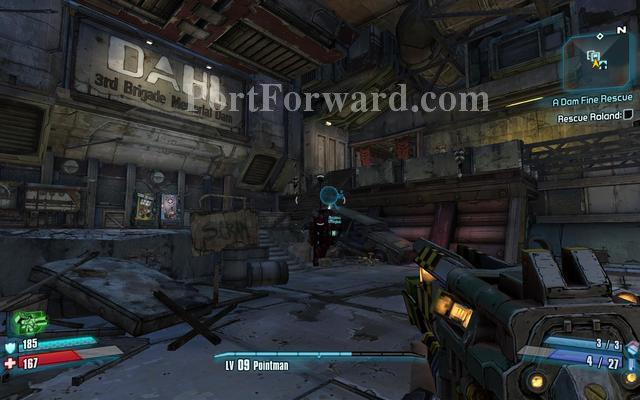
Continue on the path around the corner is a room on the left enter it.

Run up the starirs and fight the badass.
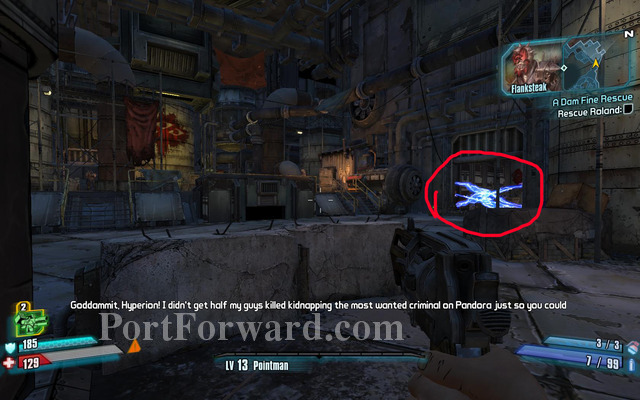
There is the switch that will turn off the shock barrier.,continue along the path but don't yet open the green door.
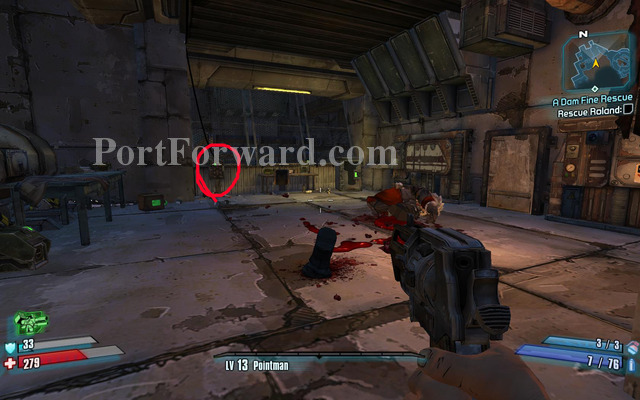
There is another Big Loot chest,run around the corner.
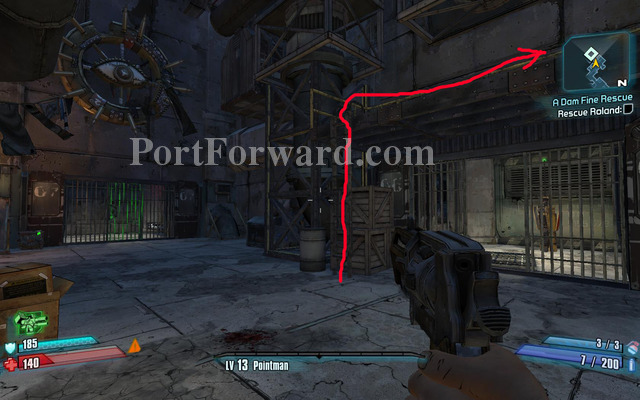
Climb up the ladder.
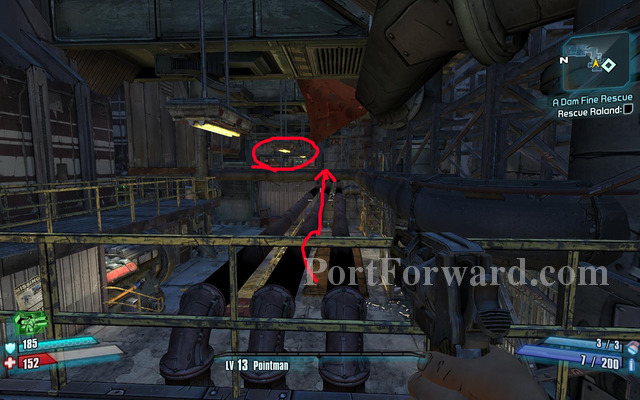
Jump on the pipes and run to that room.
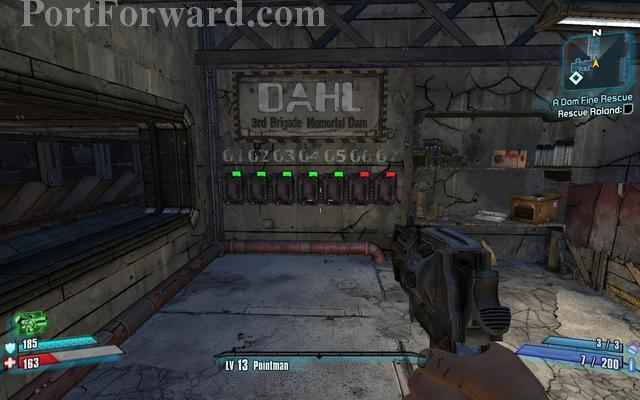
Just flip all switches and the door will open.Now continue to the green glowing door.
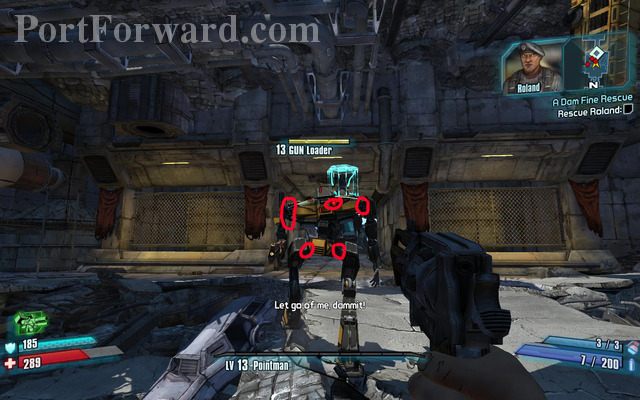
Those are the criticals of the gun loaders.
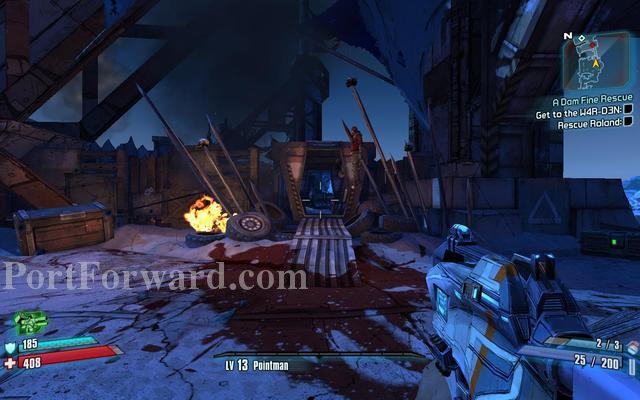
Continue through the passage.
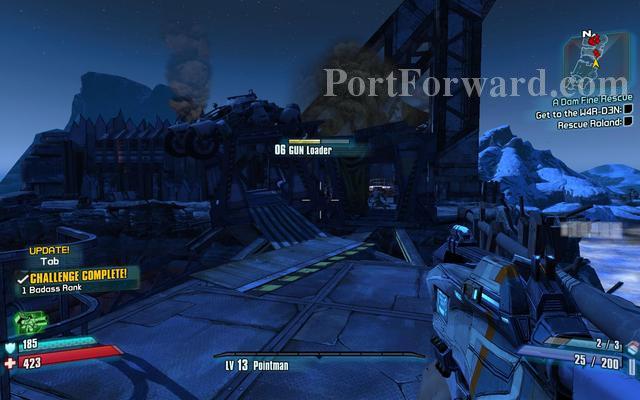
When you are here just run through the right.
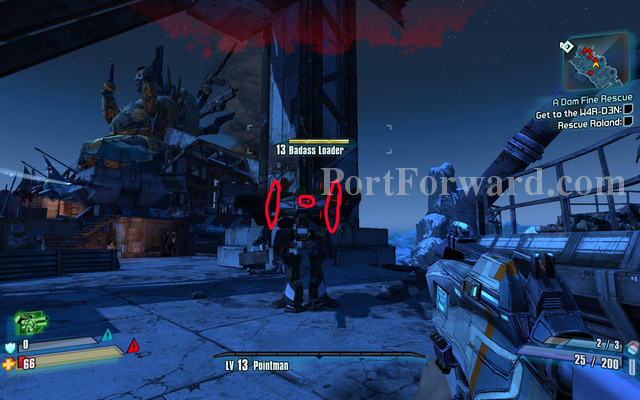
"Those are the badass loader's criticals.
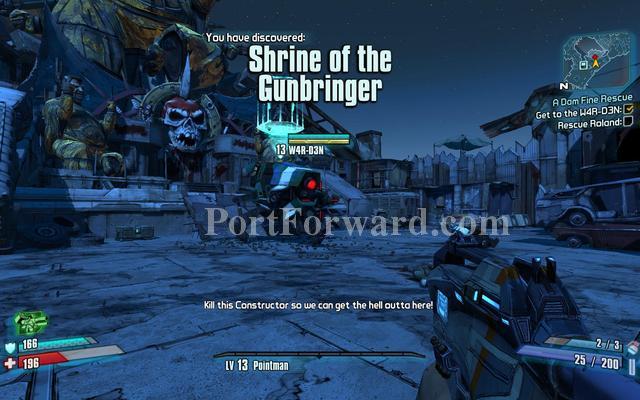
"Shoot the Constructor in the red Eye close up.USE everything on that eye close up.
Borderlands 2 Walkthrough A Train To Catch
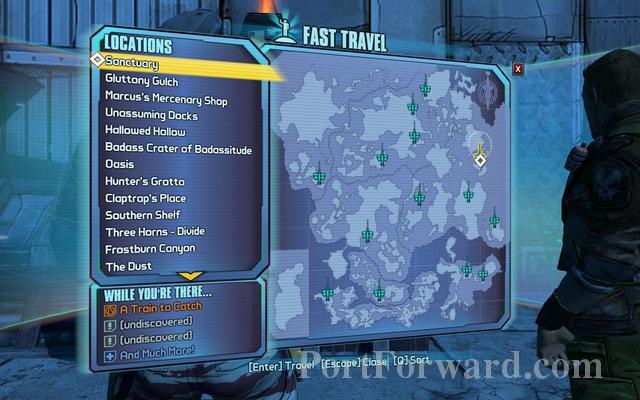
Run back around the corner to the fast travel station and go to sanctuary.
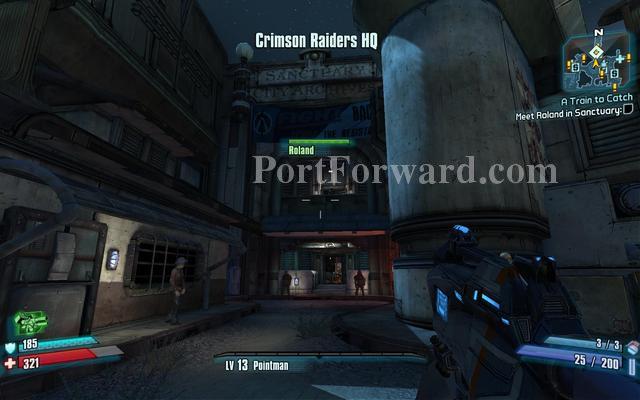
Go up to roland and speak to him.
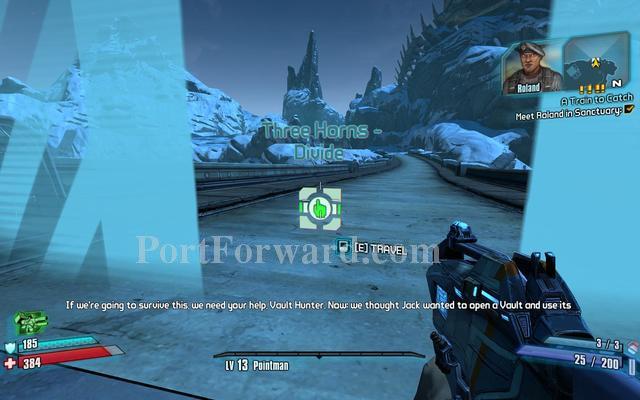
After you spoke to him go to the gate and not the travel station.
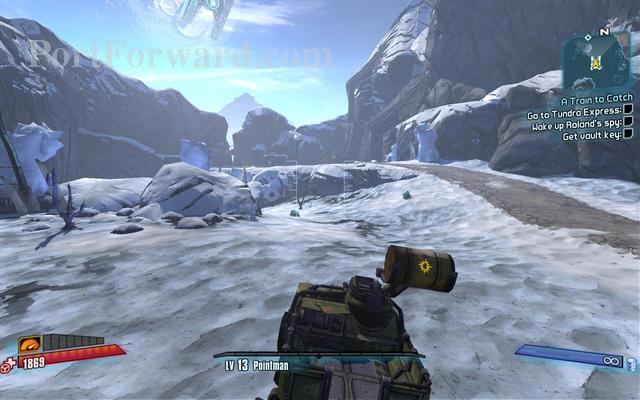
Get a vehicle and drive to the travel point of Tundra Express.
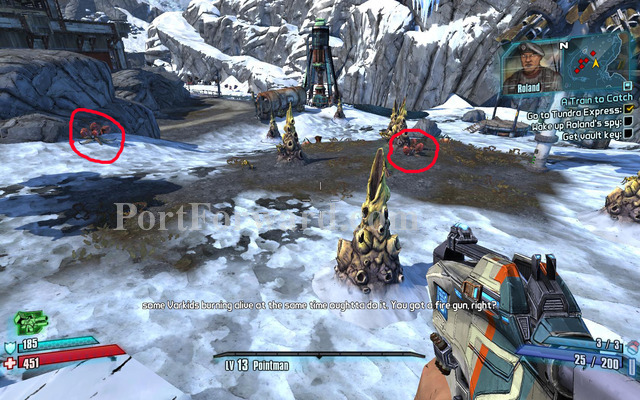
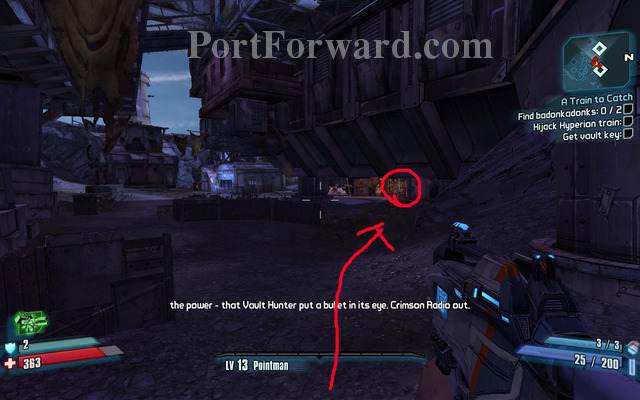
You have to set 3 varkids on fire.LURE 3 varkids close to those fire pods in the circles, and shoot them on fire.
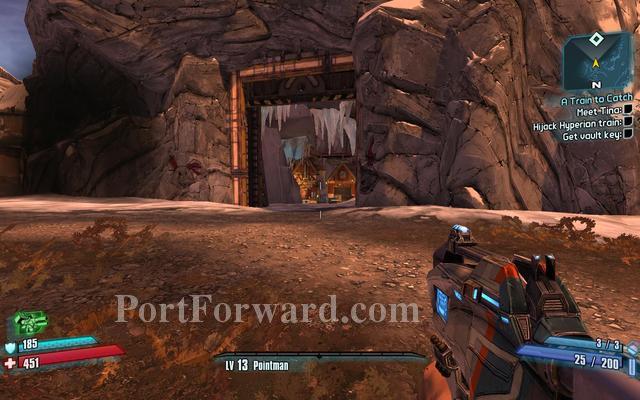
Then run around the big mountain to Tiny Tina.

Her one Badankadonk is located just above the edge just right of the entrance.
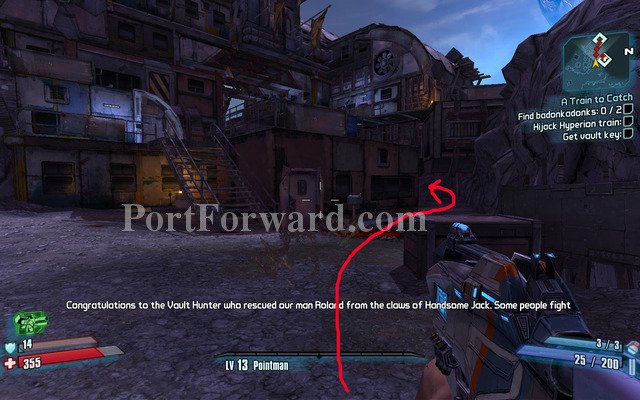
The second one is located around the corner at the back.
There is the second one at the back.
Bring them back to her and wait a moment.
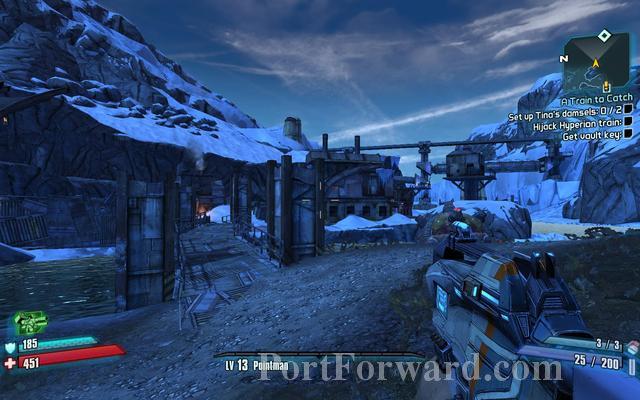
Go through this path just outside of her cave and run up the ladder at the back.
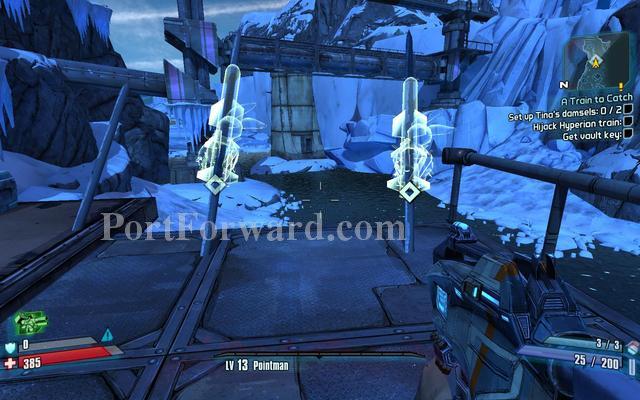
Place and arm them and wait for them to blow up the train.
Just fight the paths to the boss.
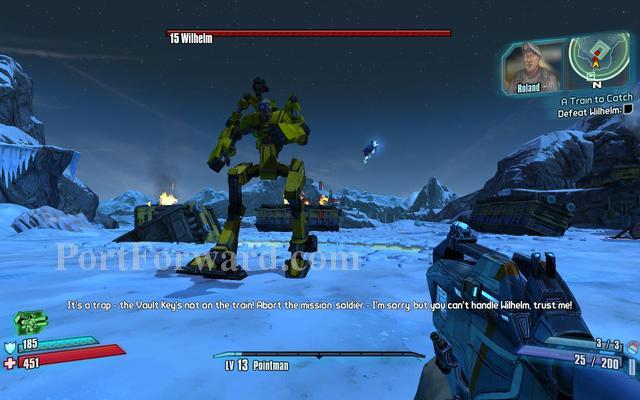
"WillHelm BOSS he has only one critical point,his head.Just run around him and hit his head.He drops a power core which you can take back to sanctuary.
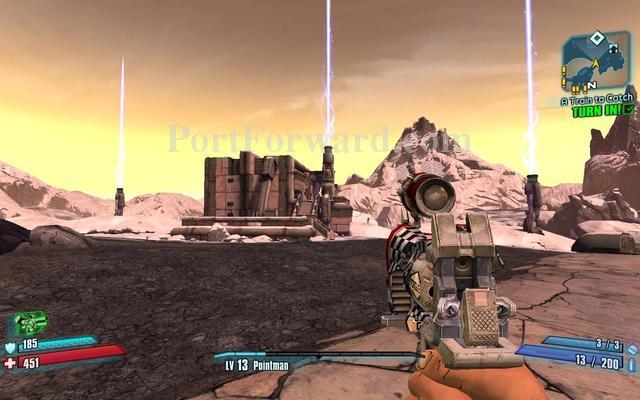
After you come back to sanctuary you go back to the Gate to Corporal Reise and replace the power core again.
Borderlands 2 Walkthrough Rising Action
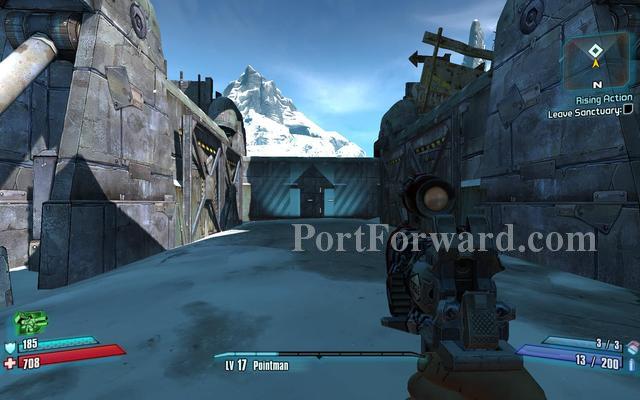
Go out and get a vehicle.Drive on the the next quest mark.
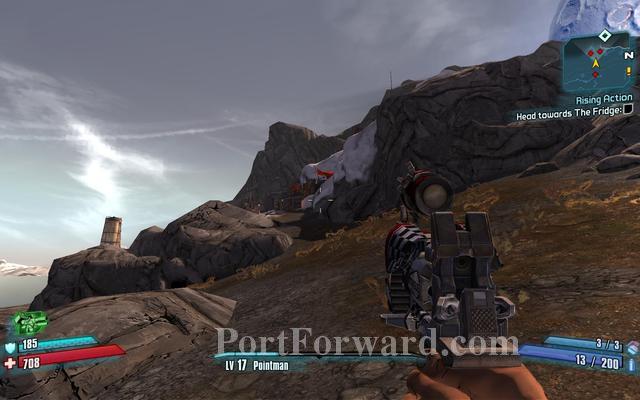
Run up all until you get here then run up.
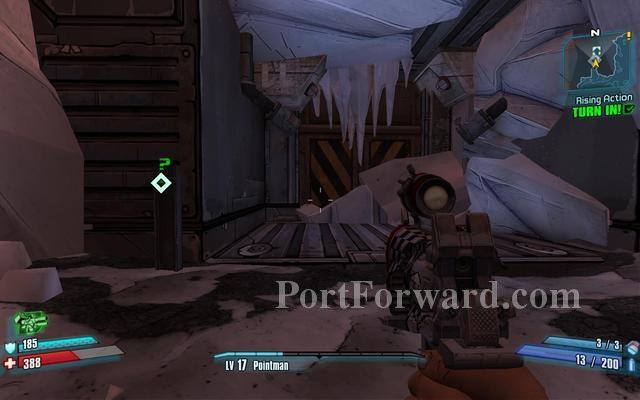
Turn in the quest and go through.
Borderlands 2 Walkthrough Bright Lights Flying City

Restock your ammo.
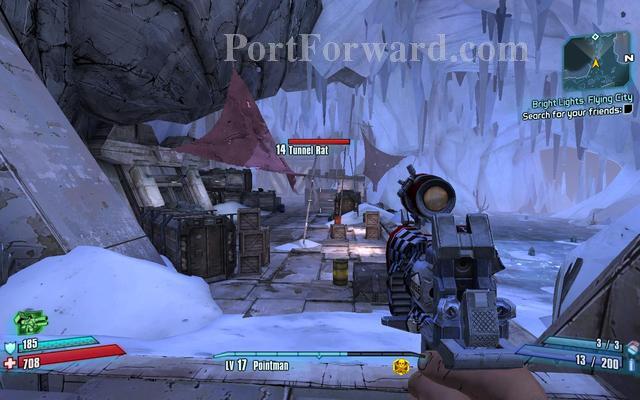
Fight through the crazy waves of Rats until you get to the Door.
When you get to the lift just jump down to save some time
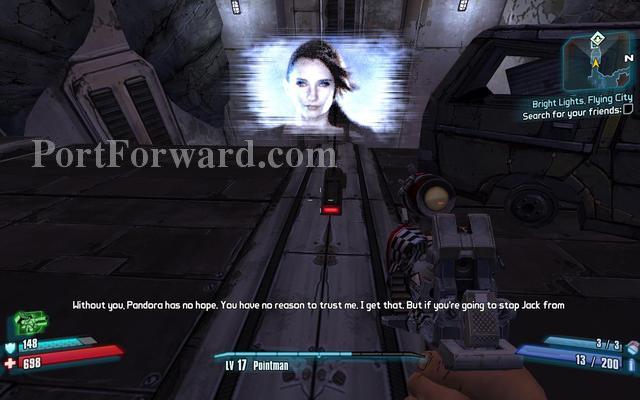
These Stalkers go invisible so remember to have an electric weapon this time.follow the quest mark and go over the river with that lift in the middle.
Destroy the constructor,after you did this the is a Very large Thresher after this shoot it in its glowing parts near its head.
Progress onto the next map after you defeated the thresher.
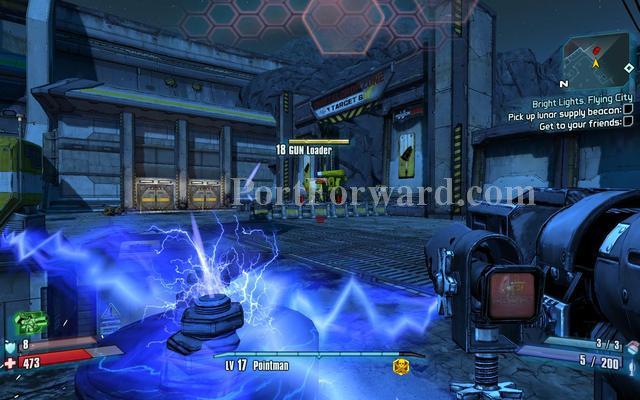
Run up to this place on the right side of the new map,Watch out there are two turrets just next to the flags.
Just after you destroy the two turrets , you will encounter two Badass loaders so be stocked up!
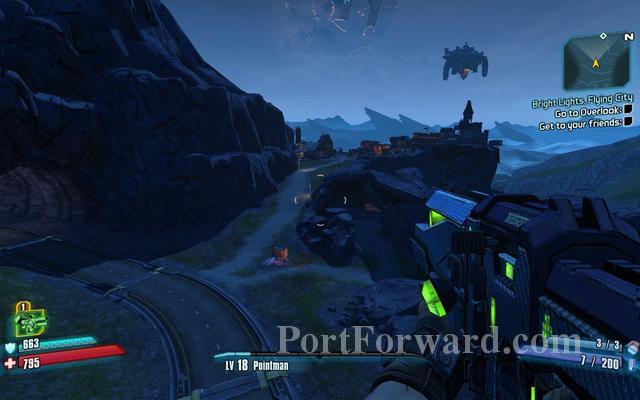
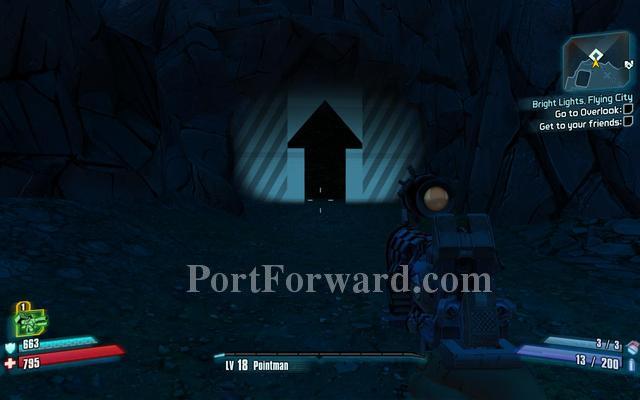
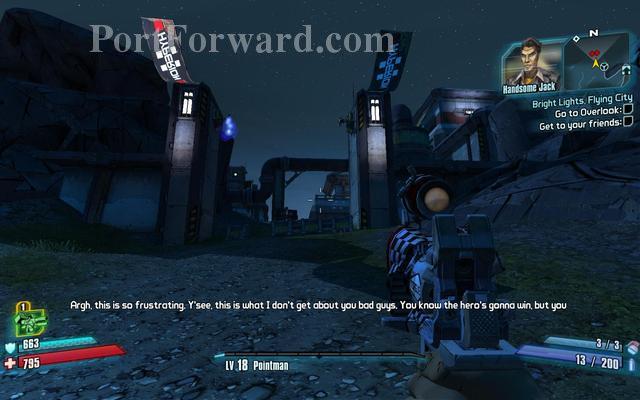
Just jump down the ledge and continue to that town.
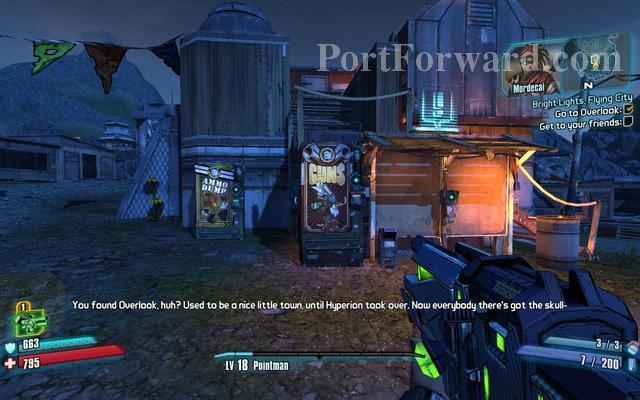
Restock and check out the Gun Shop.
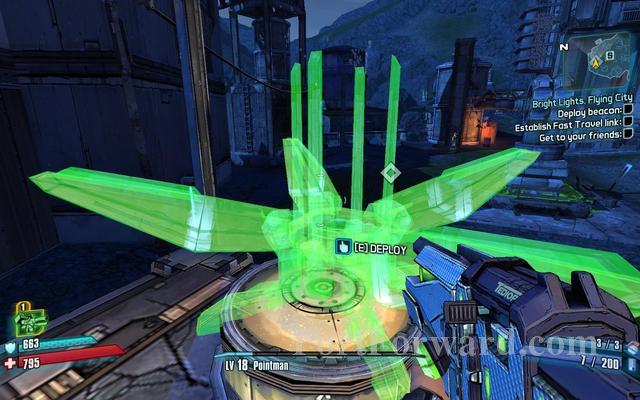
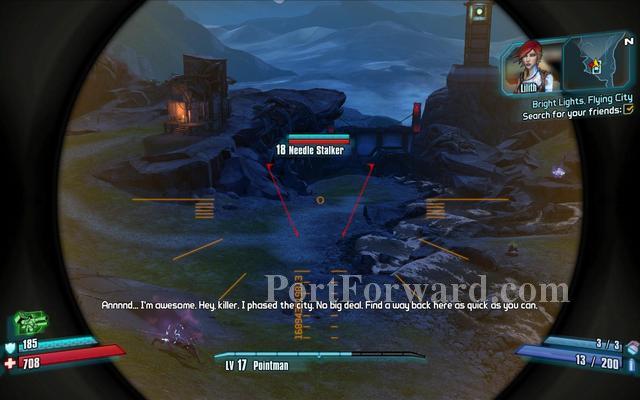
Deploy the beacon and run to the ladder as seen behind the beacon on the pic.
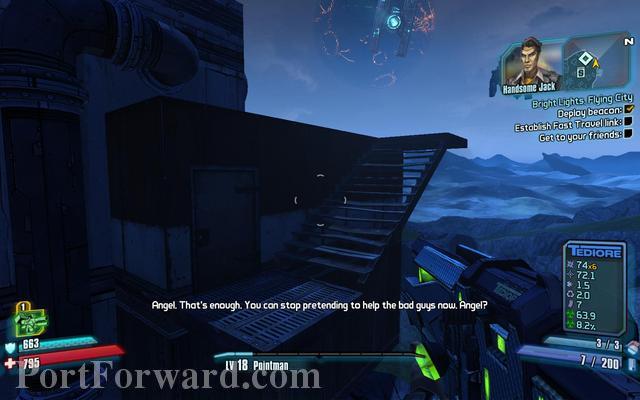
Above the ladder, turn around and jump over the ledge and climb another ladder.
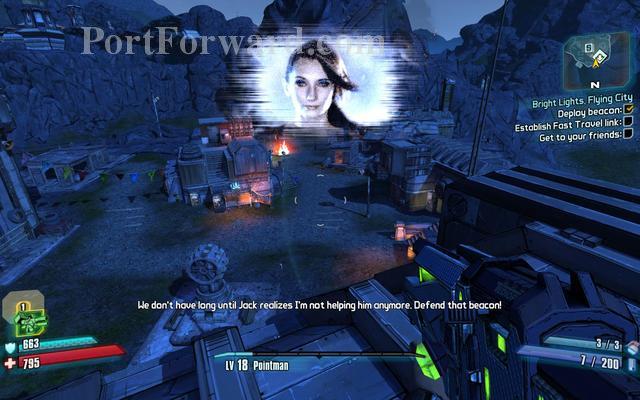
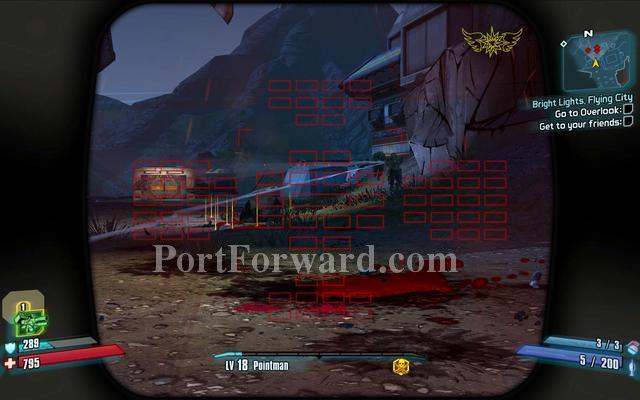
Fight through the waves and PROTECT the beacon at all costs until the Fast Travel Station has landed.
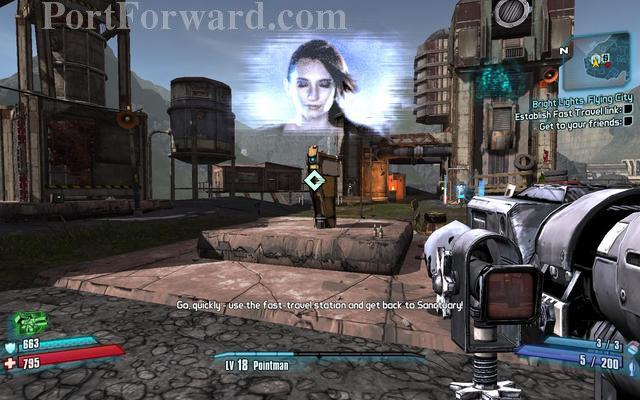
Returm to sanctuary and turn in the quest.
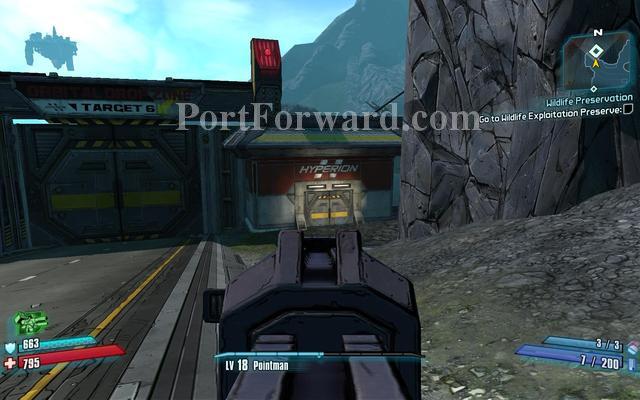
Borderlands 2 Walkthrough Wildlife Preservation
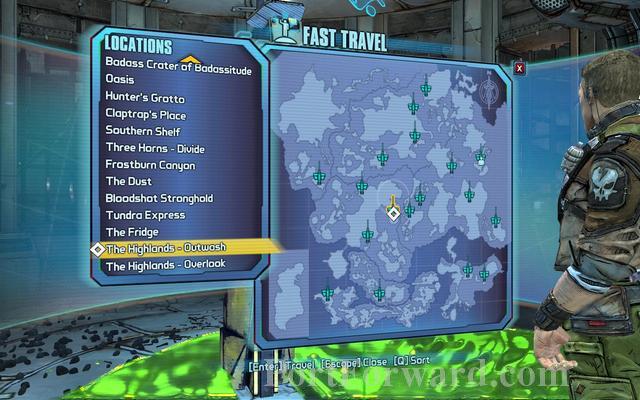
Travel to The Highlands-Outwash and continue the same way.
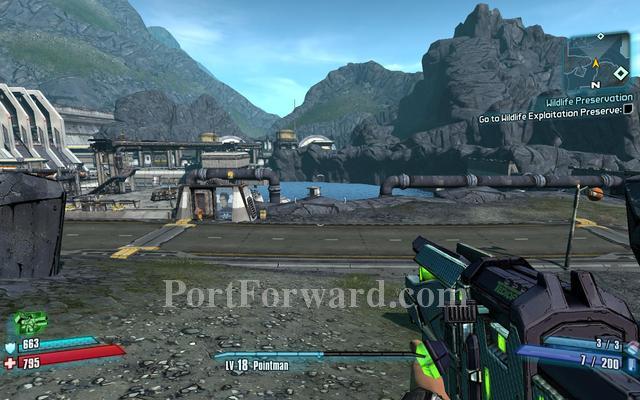
Now stop here and just run around to the right.
There is the next map travel point.
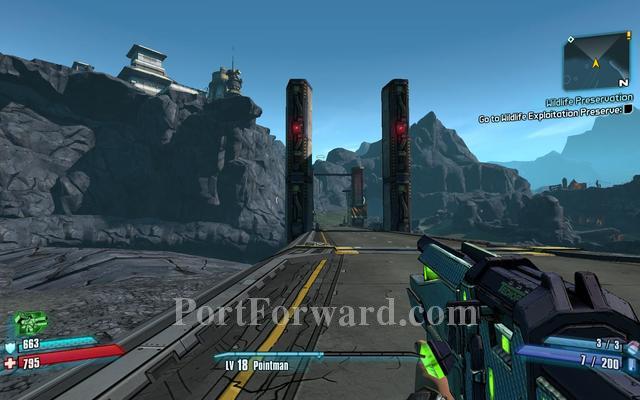
Continue over the bridge.
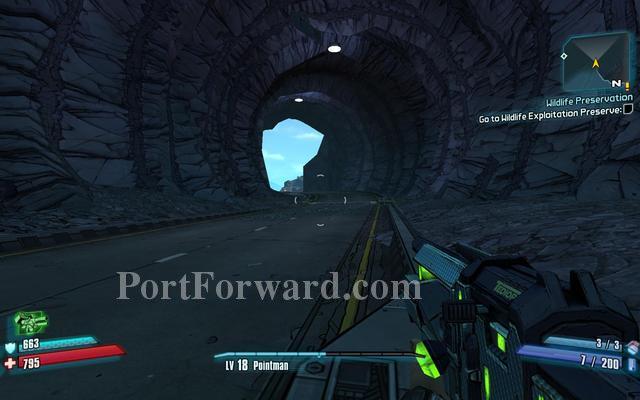
Continue through the tunnel.
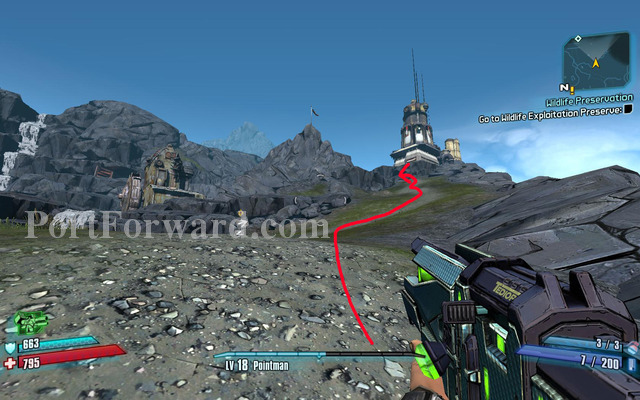
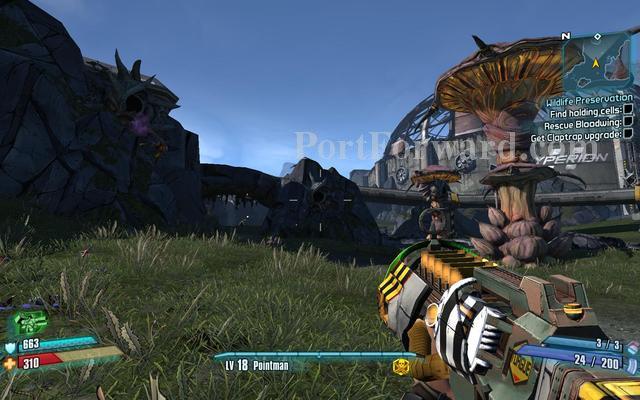
Walk up the path and continue to the Preserve.
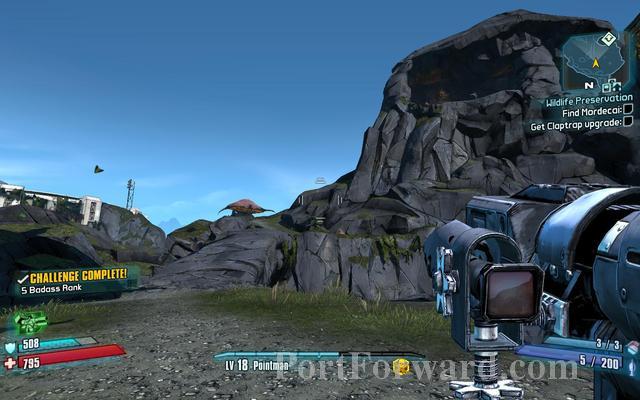
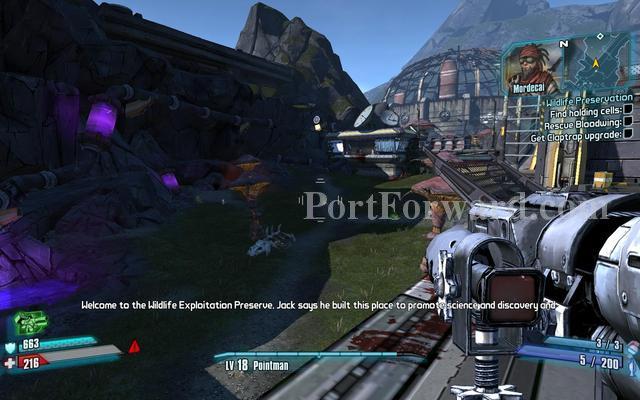
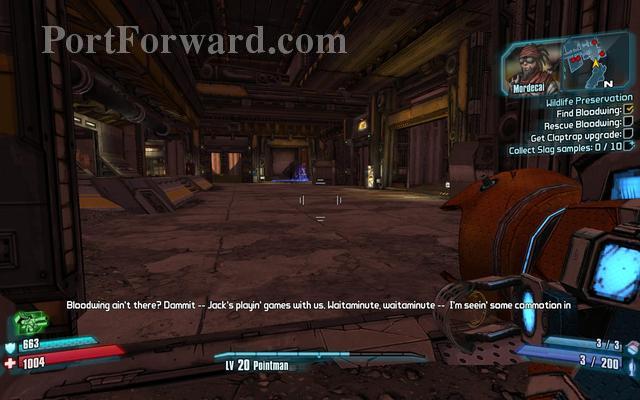
Walk over the rock-bridge and go talk to Mordecai.Then follow the quest path down.

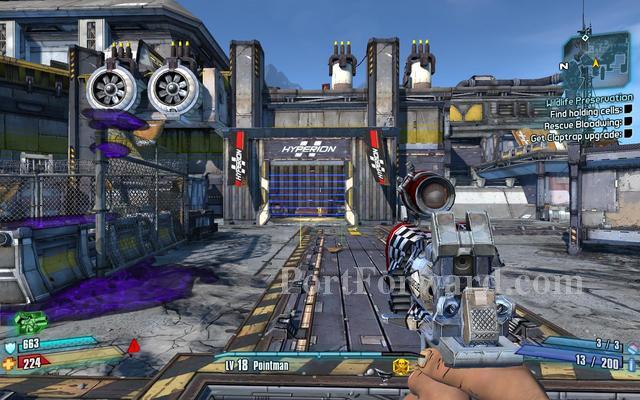
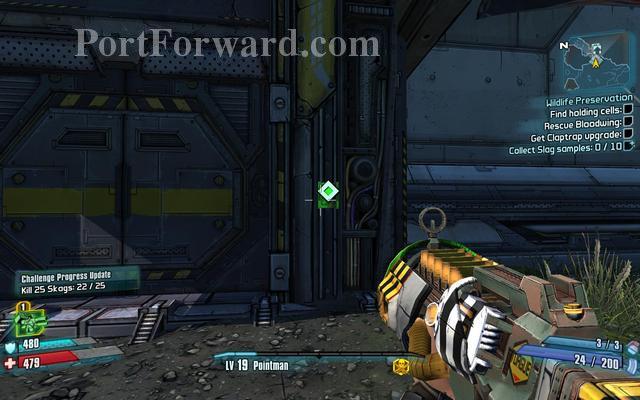
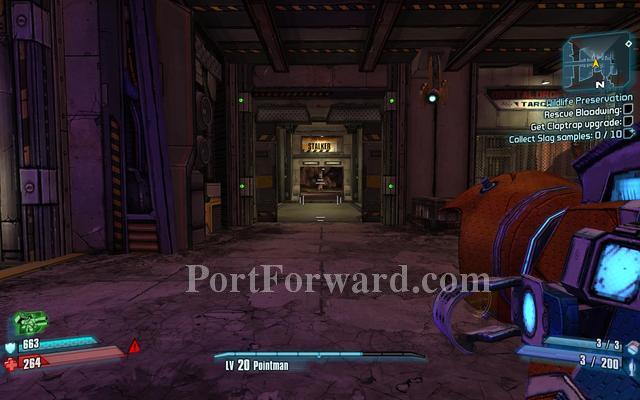
Go and try to open the door.Then you must only DAMAGE 3 loaders,Just shoot them till a repair holograph displays above them.Then continue the path.
There is another Big Chest.Just aim up above the room.
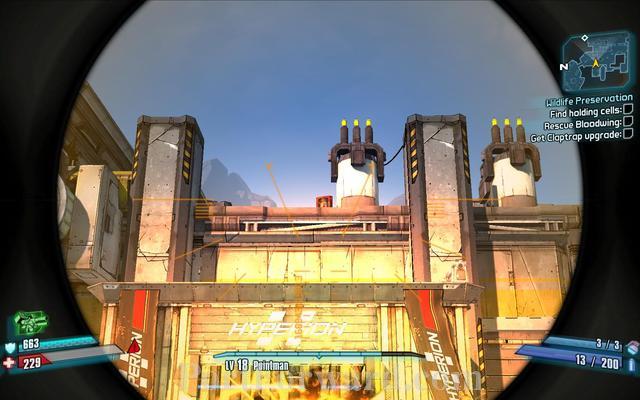
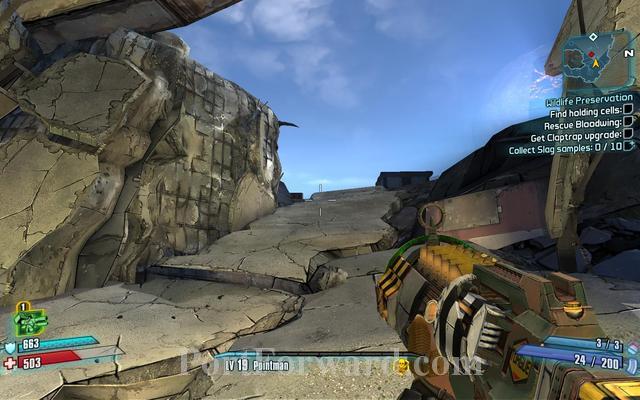
And shoot that red barrel over there and loot..Then continue on through some enemies until you get a bridge.
If you jump you will encounter a badass elemental skag!
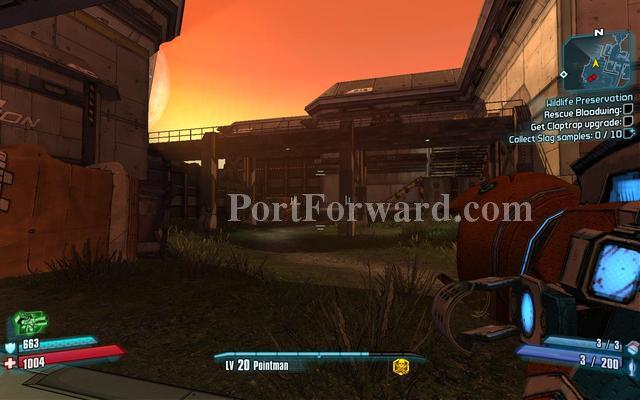
Continue along through these paths until you find a doorway.
Open the door and destroy the enemies and progress.
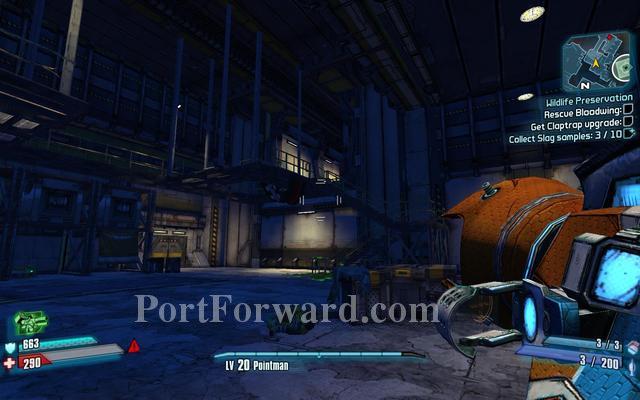
Run up here and be stocked up you are gonna encounter a few enemies and then a Super Badass Loader.
Continue down and look for bloodwing.
When you get back you wil encounter 2 Badass elemental skags!
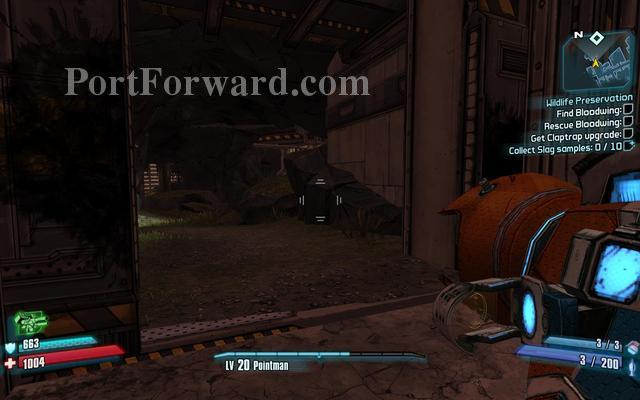
Return close to the door and go through a passway that says STALKER.and progress to the stairs.
Run up the stairs and fight the waves of skags and robots the move through to a friendly loader through the door.
Then you go straight up the stairs and fight Loaders until you get a dropdown lift.
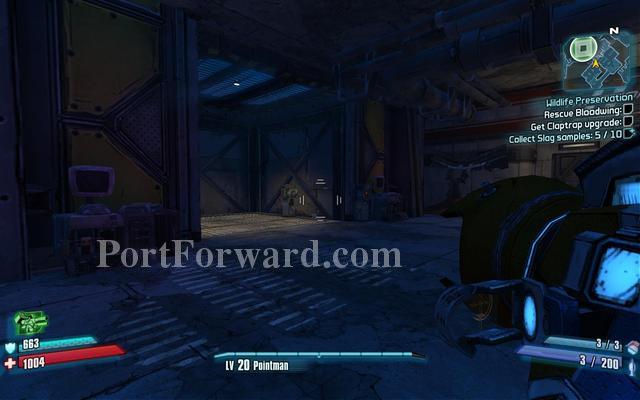
Enter the lift and be Stocked Up!
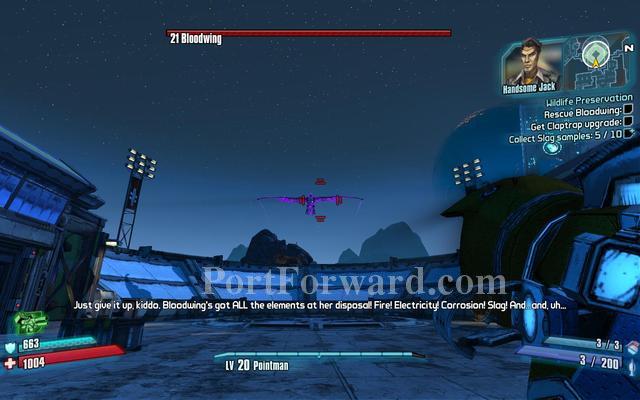
Aim for the head and don't use a weapon the same elemental that bloodwing is.
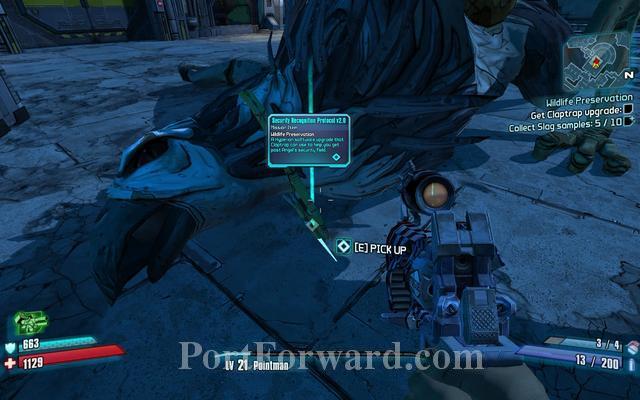
After you defeated bloodwing take the upgare from its neck.
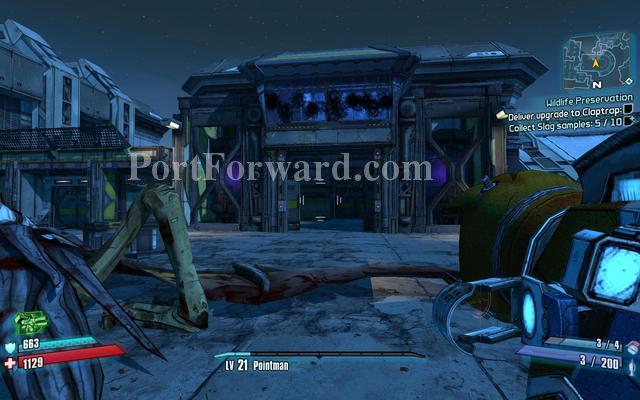
Progress through the door and run back to the travel station.
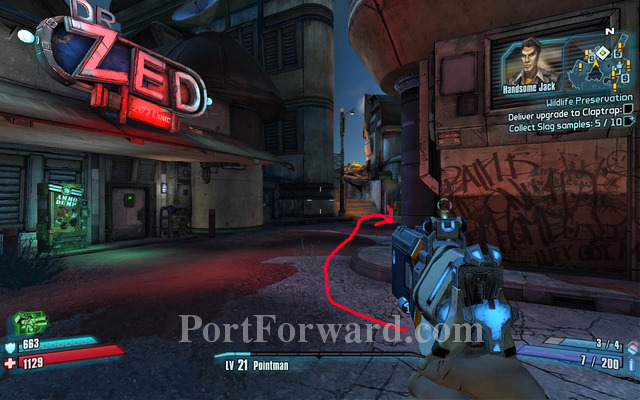
Run up to DR.ZED's place and go right then you will find claptrap's place.give him the upgrade and then turn in the quest.
Borderlands 2 Walkthrough The Once And Future Slab
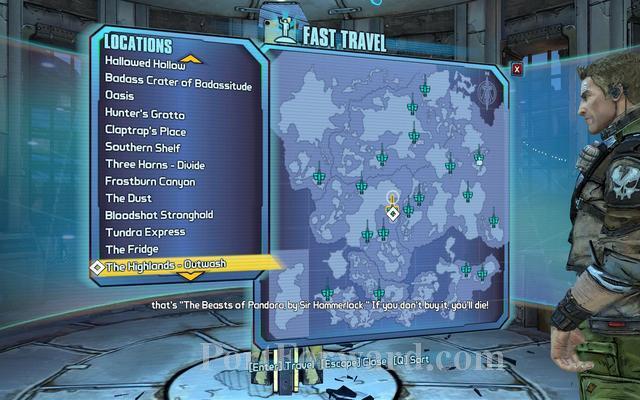
Travel to The Highlands - Outwash.
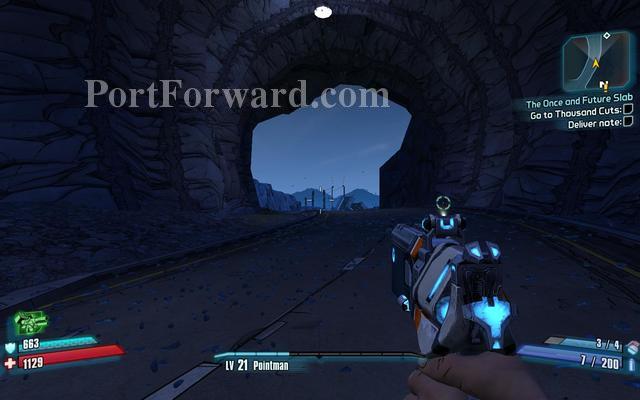
Continue through the tunnel.

Then when you find a Catch-A-Ride run up the hill and go to Thousand Cuts.

Run to the right and fight the waves of enemies until you get close to your waypoint.
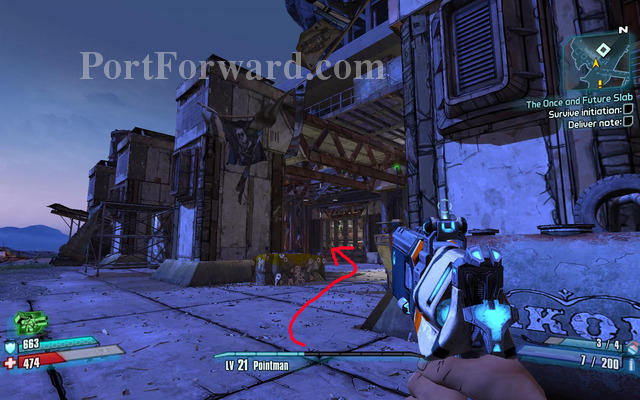
Run through to the left and go up the stairs and jump down.
Don't worry he won't fight you.
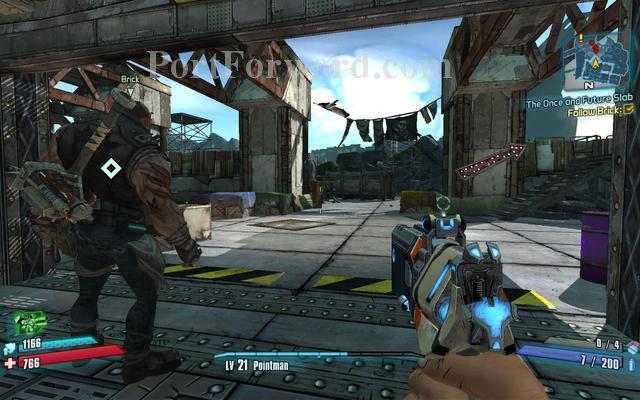
Follow Brick and help him destroy the beacons.
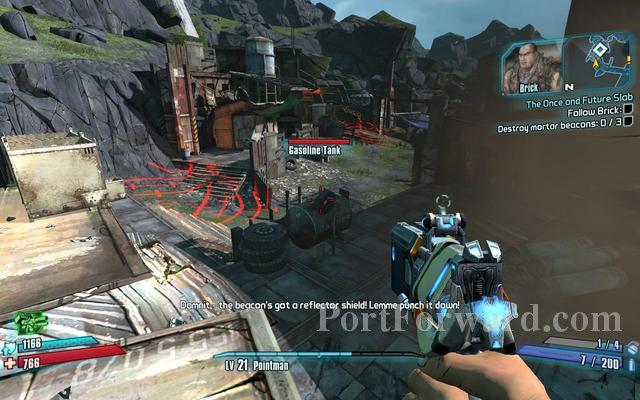
Watch out for these redmarks, stay close to the buildings.
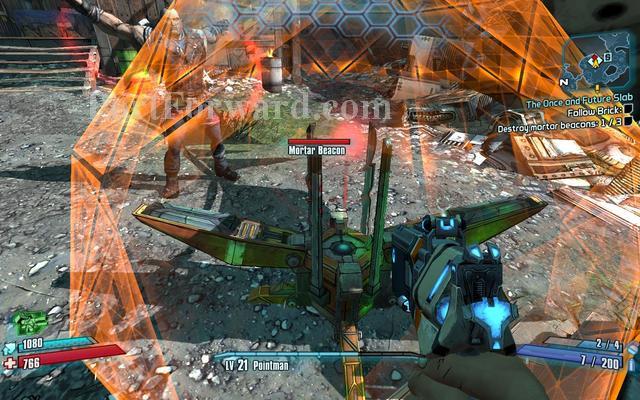
Brick will smash the shields of the beacons and you help him destroy it.
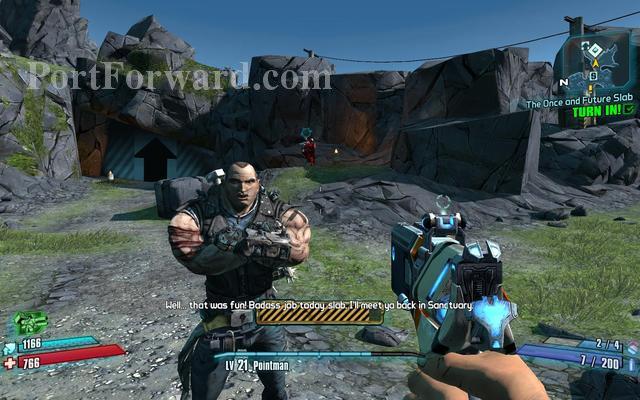
After you helped him, return to sanctuary and turn in the quest at Roland.
Borderlands 2 Walkthrough The Man Who Would Be Jack
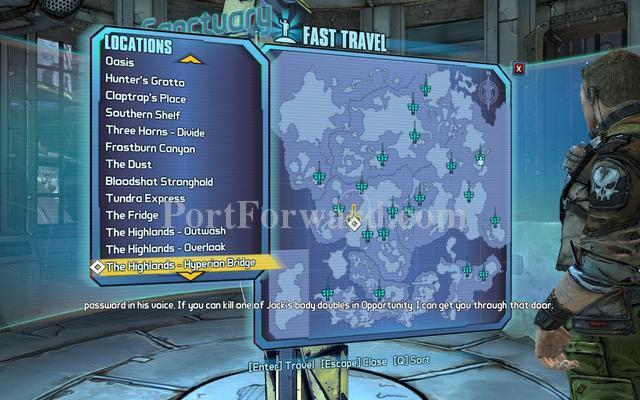
Travel to The Highlands - Hyperion Bridge.
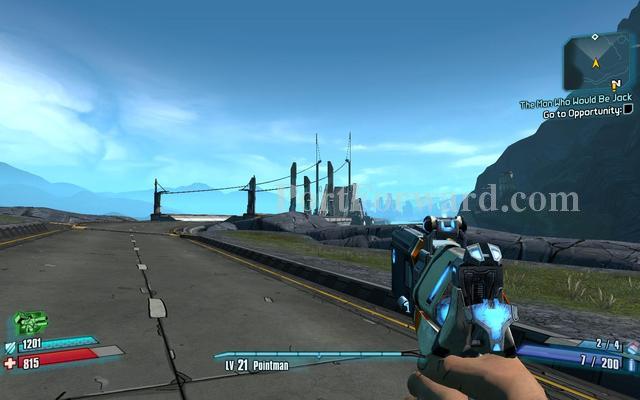
There is the bridge,go and travel to Opportunity.
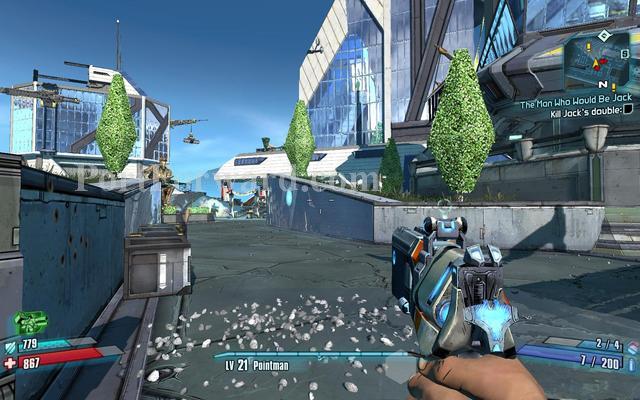
Once you are here look for the biggest building.
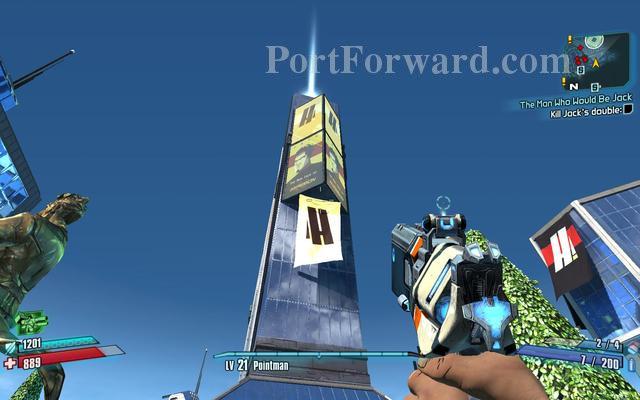
The double is just under the building.
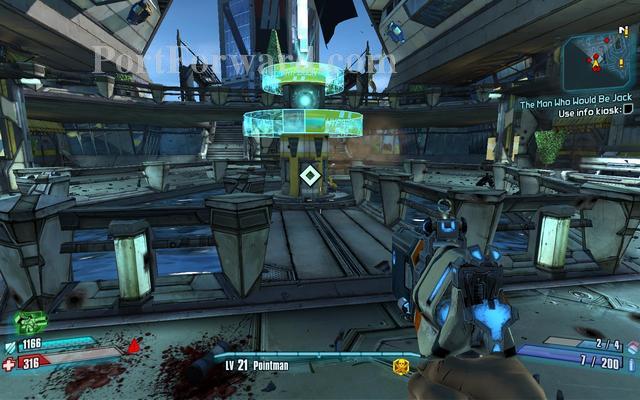
After you have killed the double you must use that kiosk.

There will be a few more but they are easy to find.
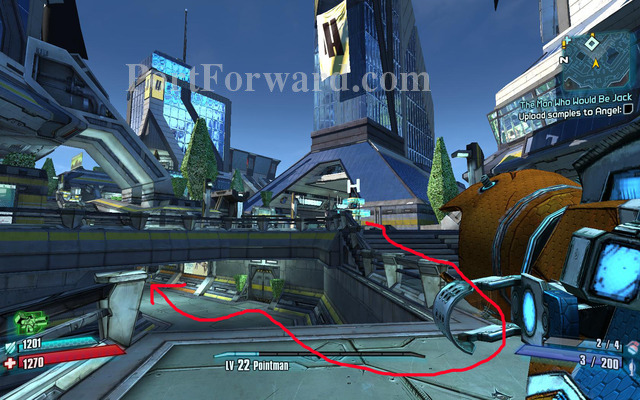
Look for this spot just outside the biggest building and go under to upload the files to Angel.
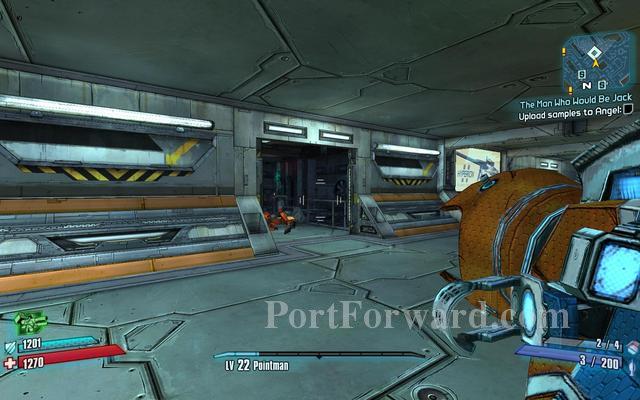
Upload the files inside this room.
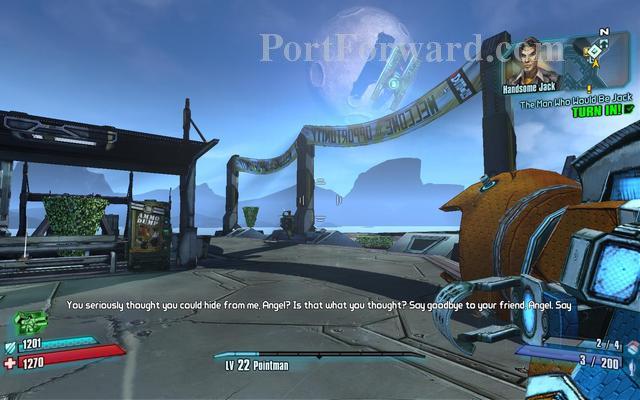
Then return back to sanctuary and turn in the quest.
Borderlands 2 Walkthrough Where Angels Fear To Tread
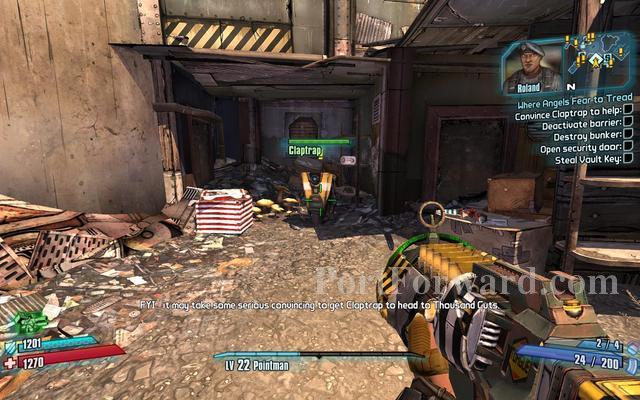
Go to Claptrap's place and talk to him.
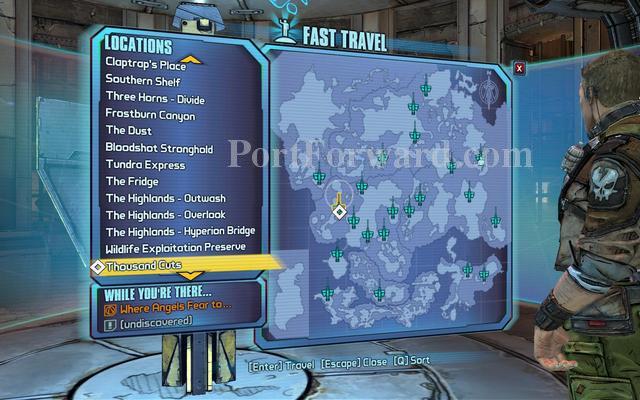
The Travel to Thousand Cuts.
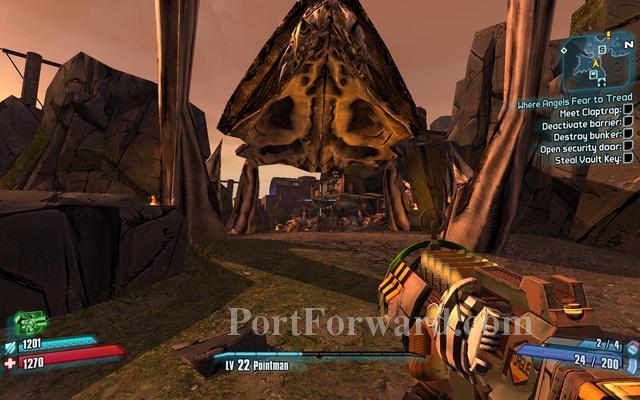
This time you Go left from here and continue to the wall.
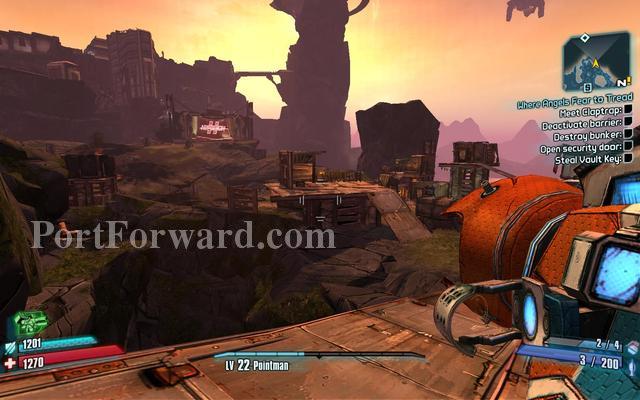
There is the Hyperion wall of death battle the path's waves and get to claptrap.
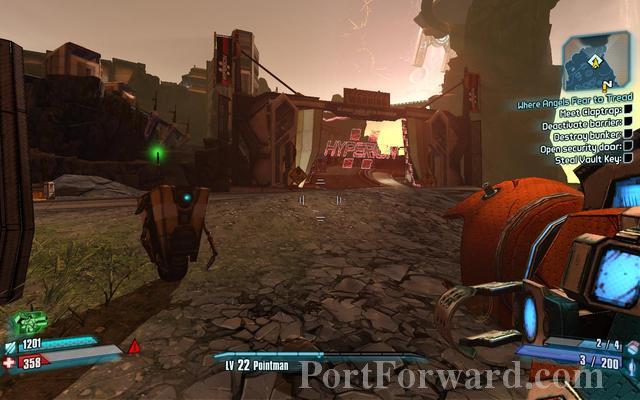
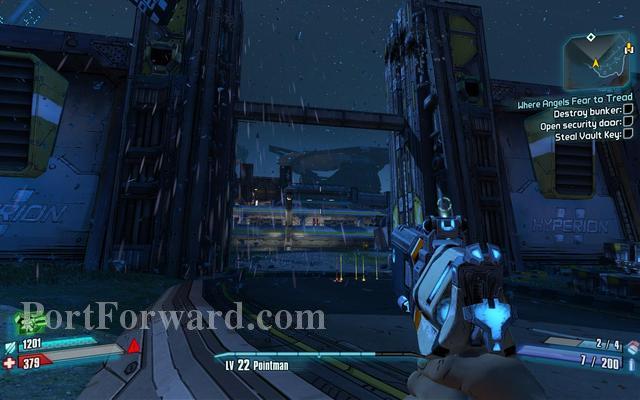
Talk to Claptrap and let him unlock the gate.There are turrets to the left side so take cover and shoot them.When you go further there is another constructor so stock up.
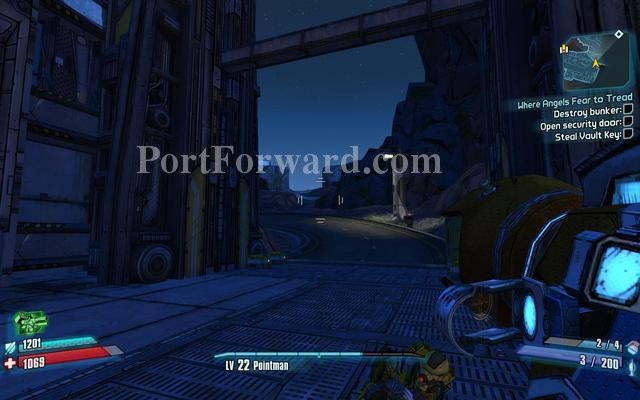
When you advance through the gate you are going to encounter more red zone missiles so run fast.
There are two turrets at the top and a Badass loader.
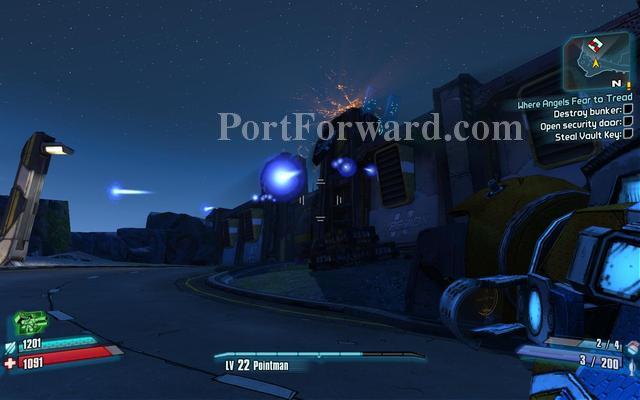
Run up to the first stairs and look for a Badass Constructor.
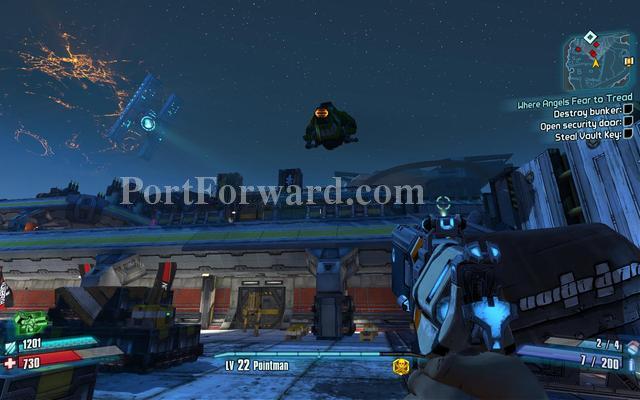
After it flies over run back to the containers behind the gate where the turrets where.

Snipe it from here with all your might! Dodge to the left for the missiles it fires!
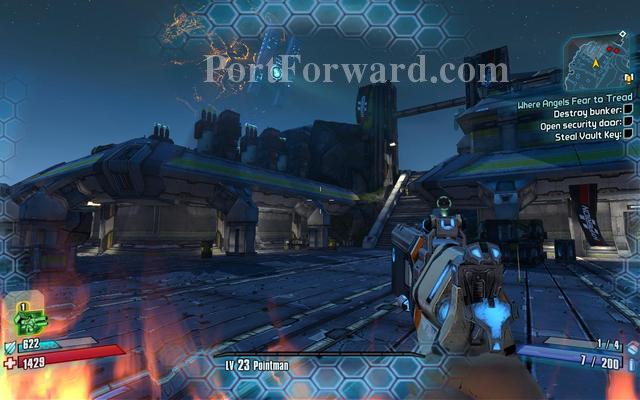
After you Destroyed the Constructor you run up the stairs where it was.

Then you go to the Bunker.
Restock up here!
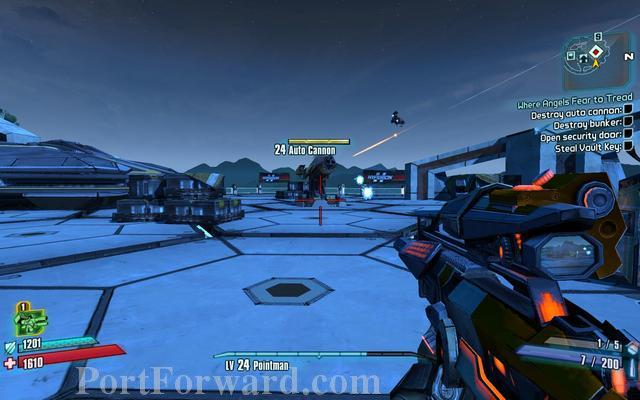
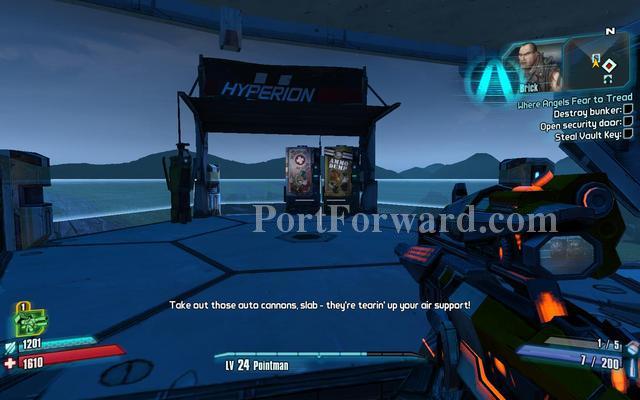
Defeat all the auto cannons they are even at the back of the building.
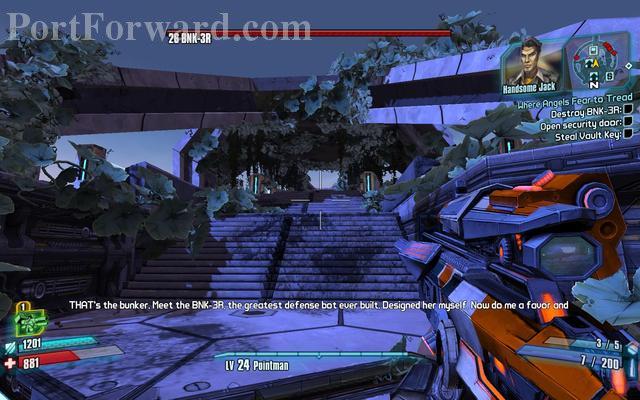
BNK3R BOSS "TIP" Shoot him with Weapons that are very accurate because of its rapid movement,Dogde and stay behind cover he fires large shock missiles."
After the BNK3R has lifted run up here first.And get a better weapon from that chest."TIP" You can also stay up there, there is good cover.
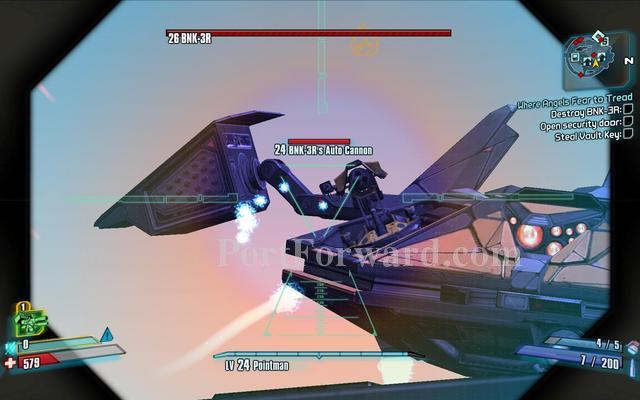
First shoot out its Auto Cannons.
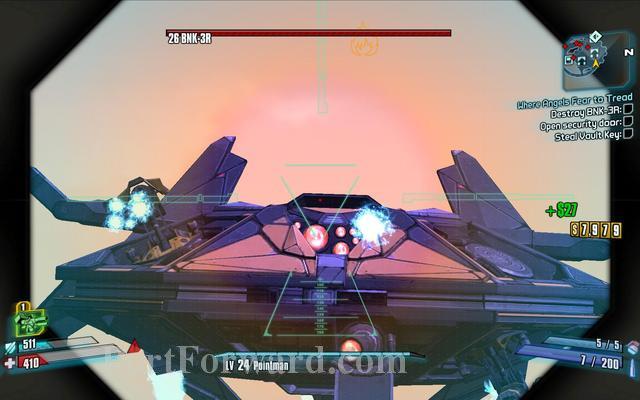
Then you Take On that red eye's of it to do criticals.
After you destroyed The BNK3R, it will crash and drop a badass arsenal of weapons.
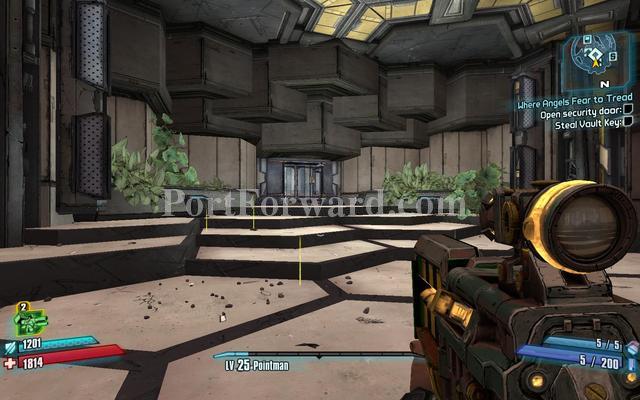
Return down the path you can to where it was blocked,It is now open and you can enter.
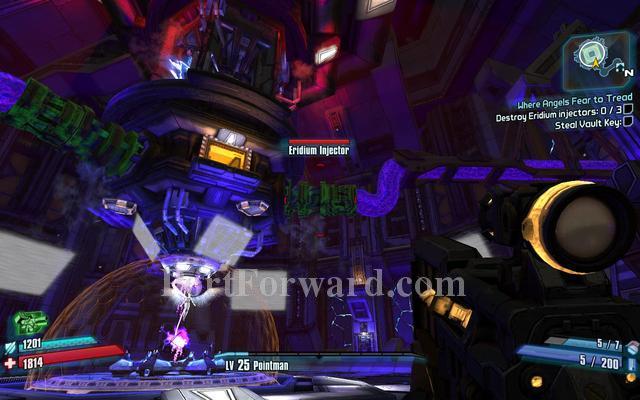
Head down to the core.
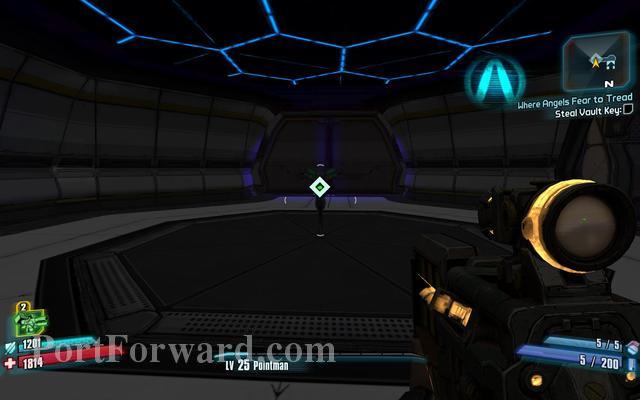
Open up the Control Core.
Shoot the Eridium injector in the middel of the Core.
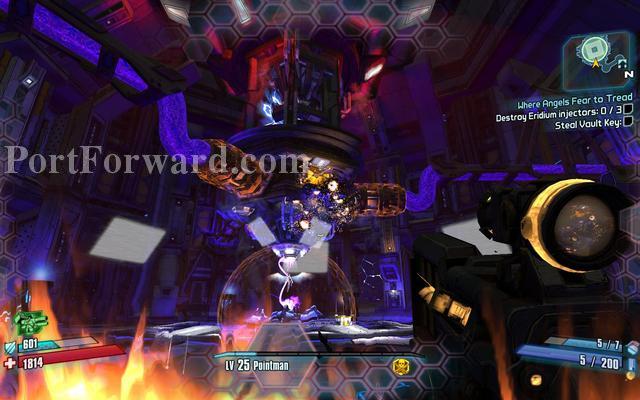
Watch frequently for turrets that spawn there.
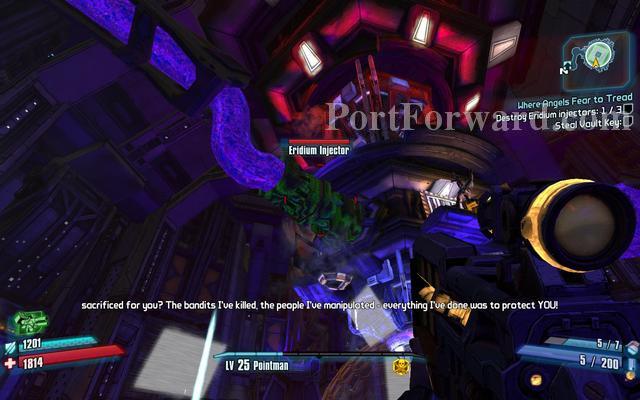
After Roland lowered the shields shoot down the injectors.
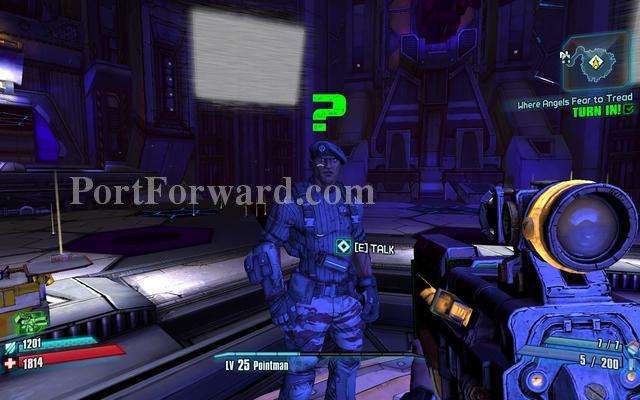
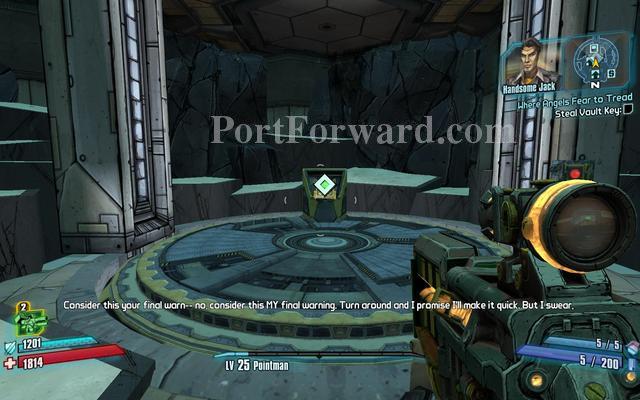
Turn in the quest
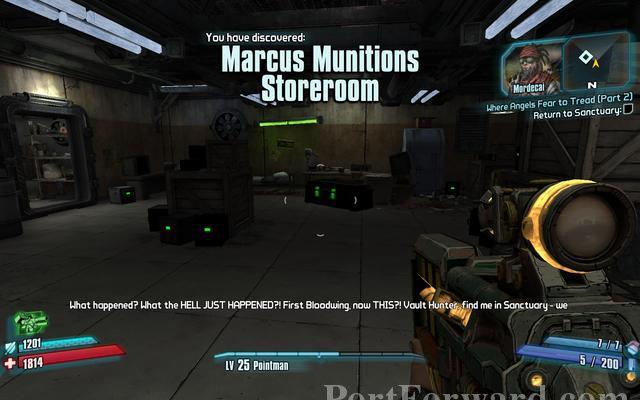
Restock Here and open the Big loot chests.
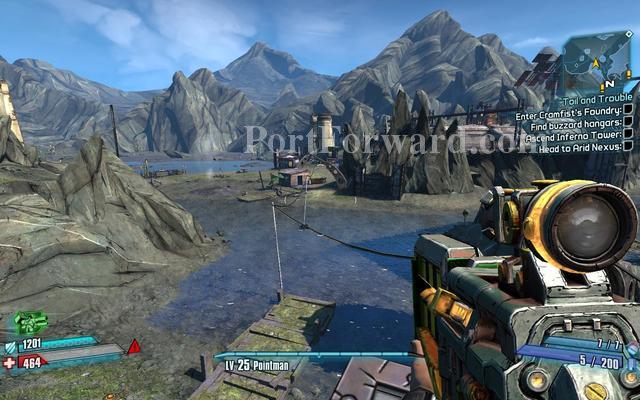
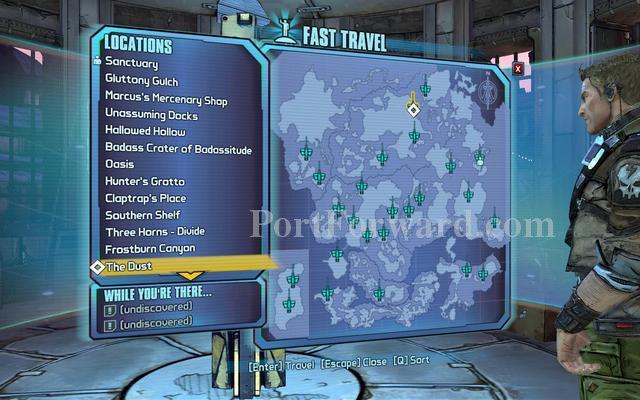
Borderlands 2 Walkthrough Toil And Trouble
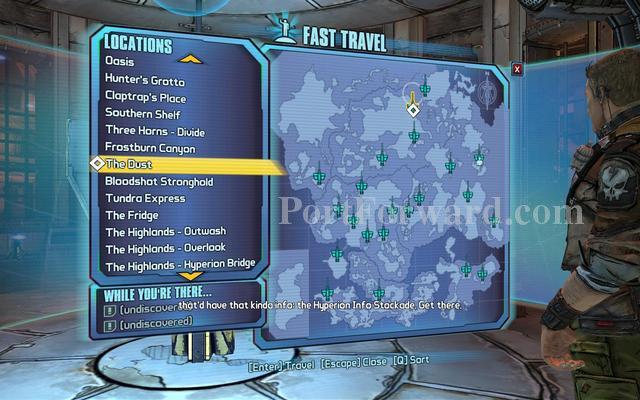
Travel to The Dust
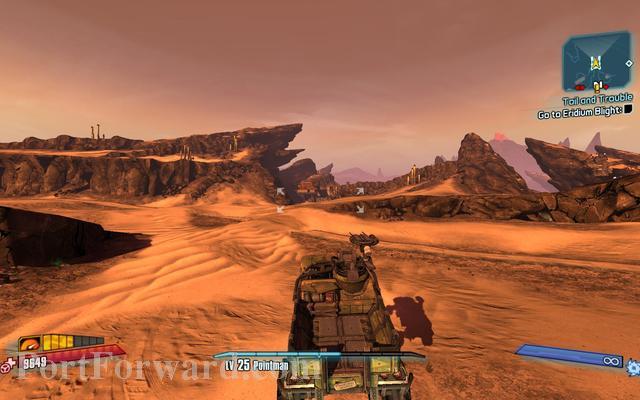
Get a vehicle and head on to very very back of the map

You should see a gateway that leads to Eridium Blight.
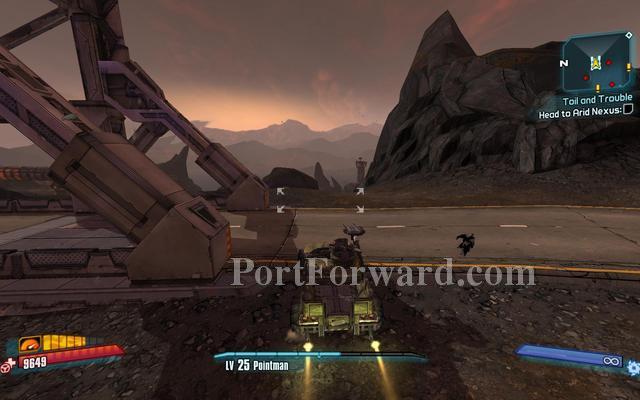
Drive past the bridge and take a right under the pipe.
Drive over to the bridge.
Take out that turret and drive over to the bridge.

Turn around and drive past that pipe you drove under take a left and drive up the Eridium path until you can take another left.
Drive over the bridge.
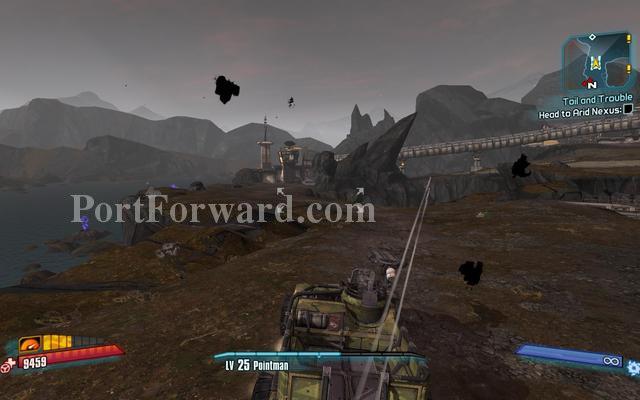
And up the hill and travel to Arid Nexus.
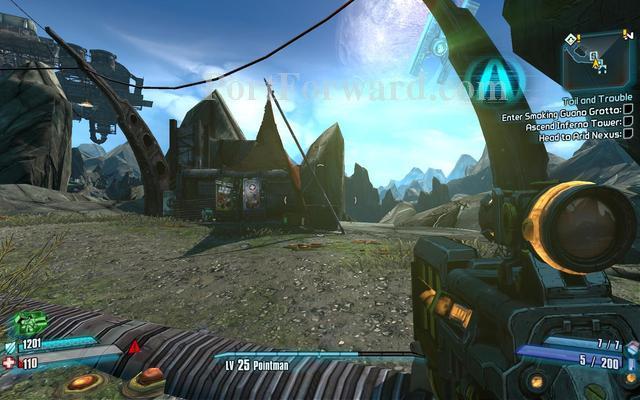
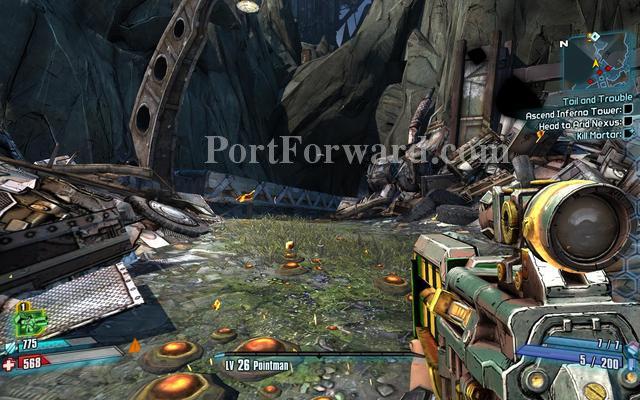
Go right and jump off the edge straight to the waypoint.
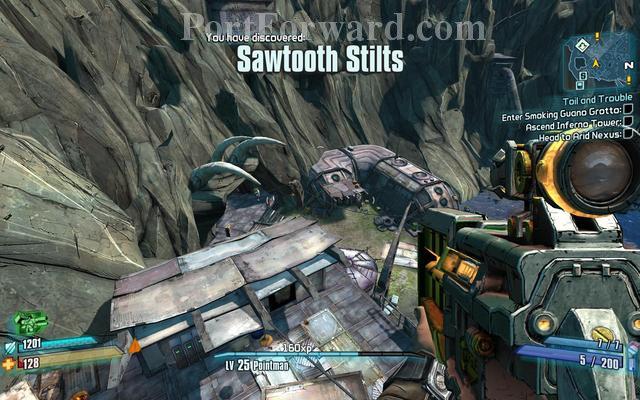
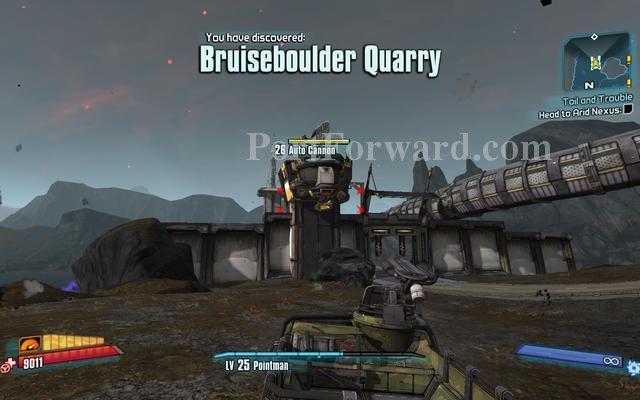
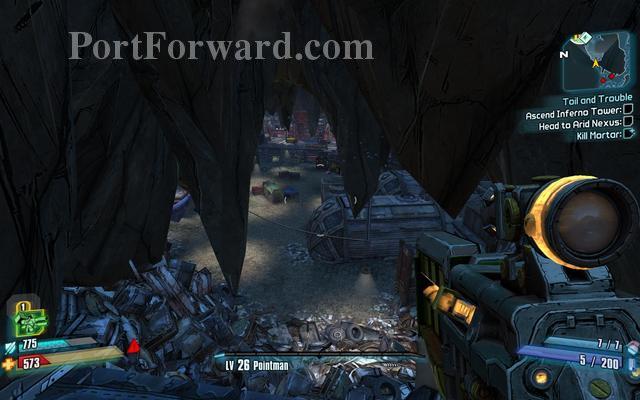
You should see claws coming out of the mountain there is your entry point.
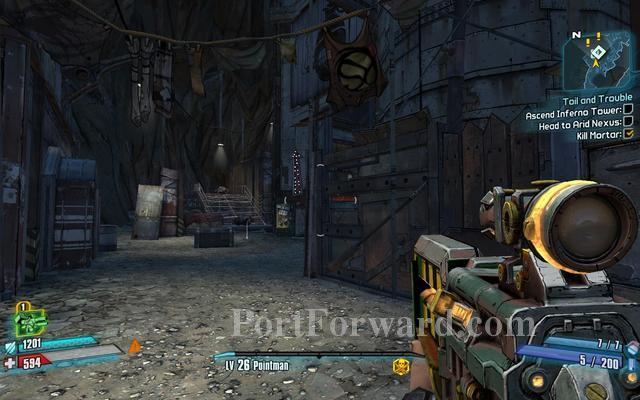
Head Right when you enter all the way to the waypoint.
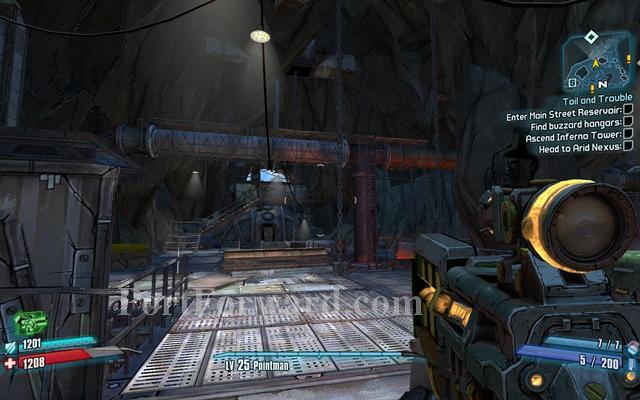
Restock before you press the button.
After you fought the enemies Head back but not outside, but now take a right again and go to the other open door.
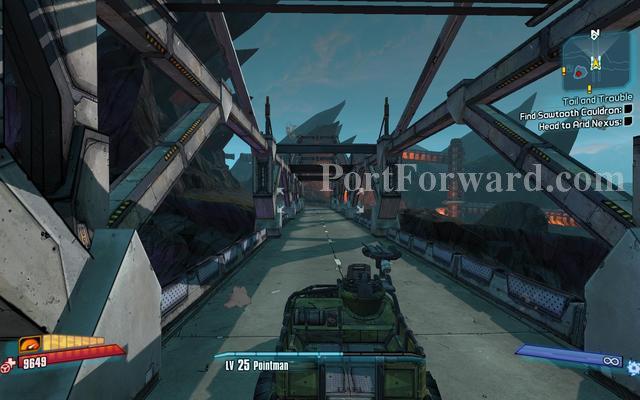
Now go over the river and fight a Thresher then continue on the path.

Head up to thos buildings but watch out for Gun Turrets with lazers.
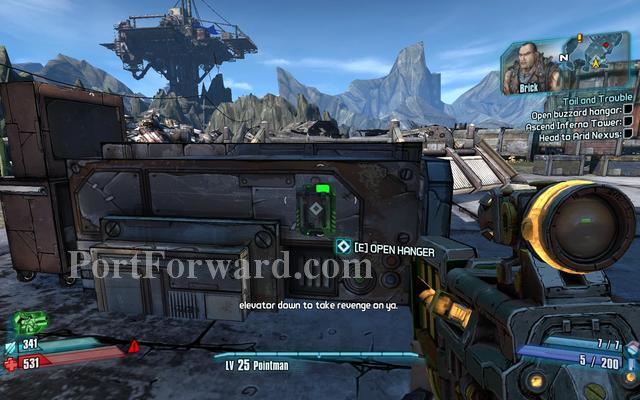
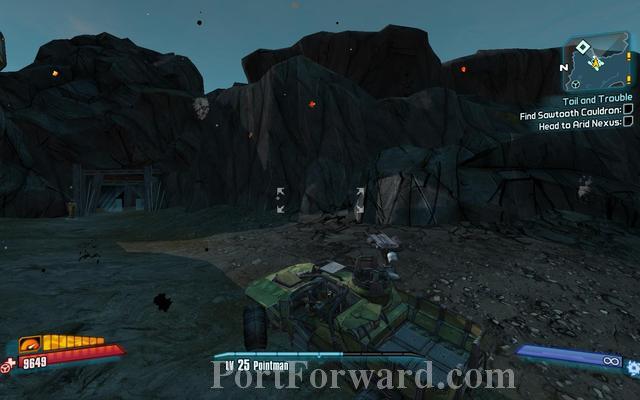
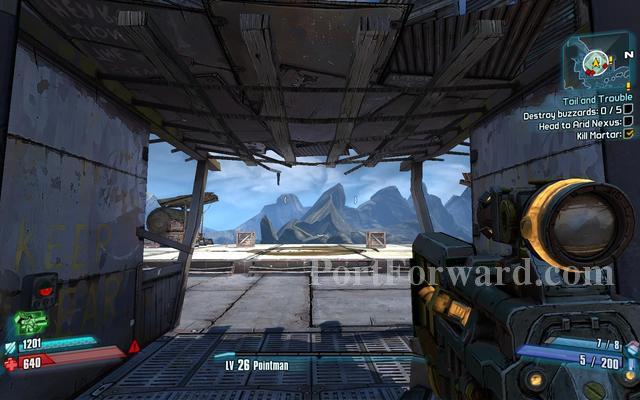
Open the Hanger and destroy the buzzard.
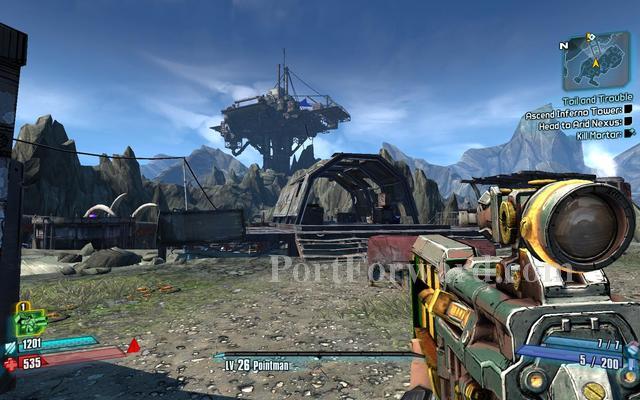
Return down and look for a conveyor just in line with that building.
The conveyor belt is just straight down.
There it is jump on it and go down.
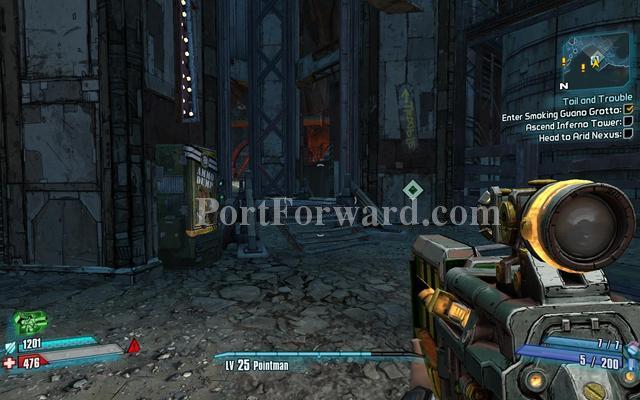
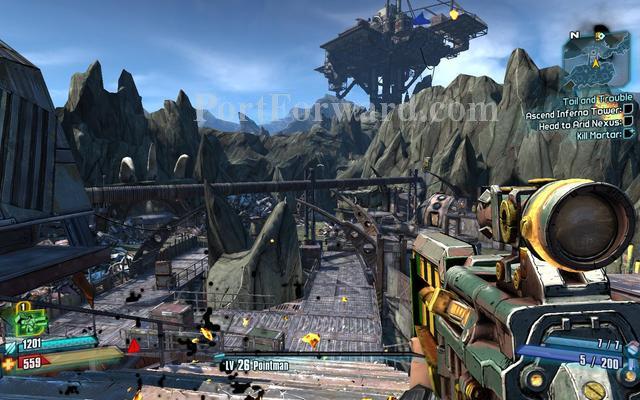
Continue left all the way.
But watch out for Mortar in the lift next to the Ammo Shop.Then go up in the lift.
You can stand under the cover above you just right infront of the lift and shoot the buzzards.
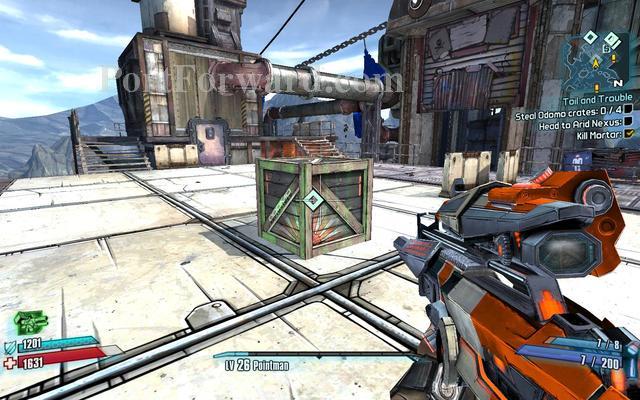
After you shot them all down you must put beacons on the crates around the area for the friendly buzzards to come pick up.
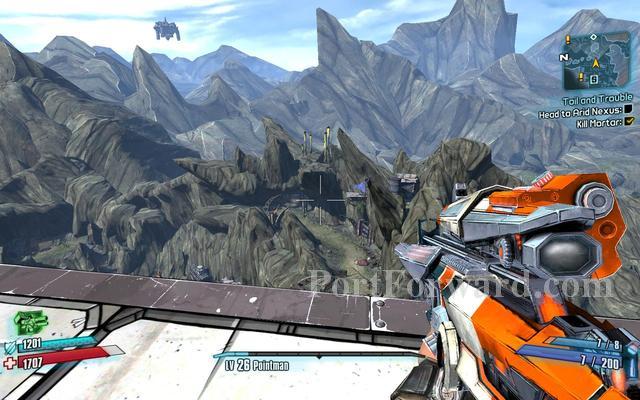
Just jump off the ledge in the same line where you came in the map, and head back to Eridium Blight.
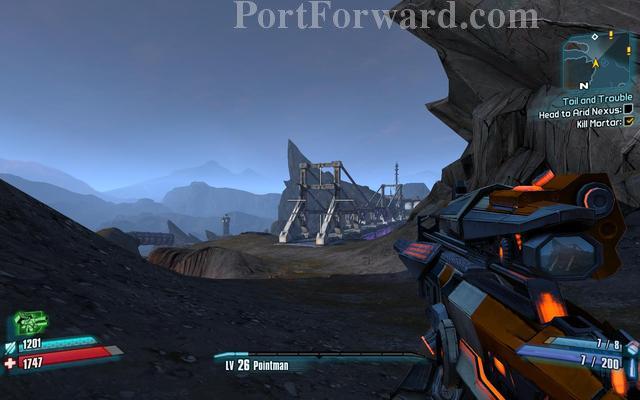
Then go back to that same bridge that you went to first and go to Arid Nexus Boneyard.
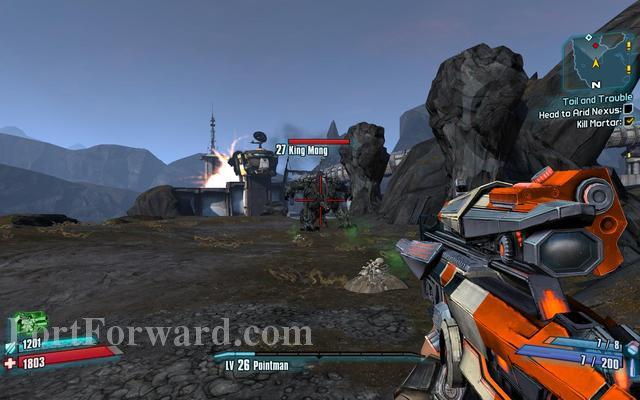
Kill King Mong and go over to the bridge.
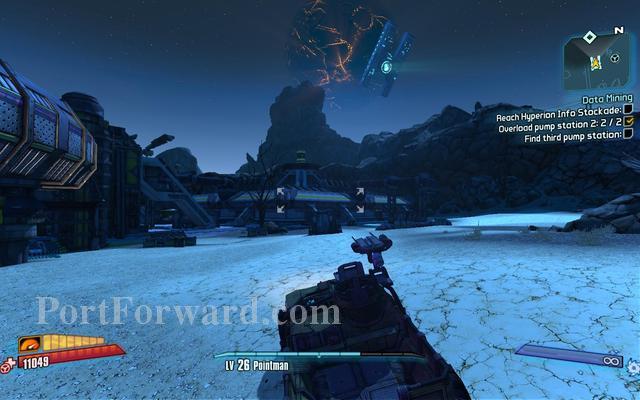
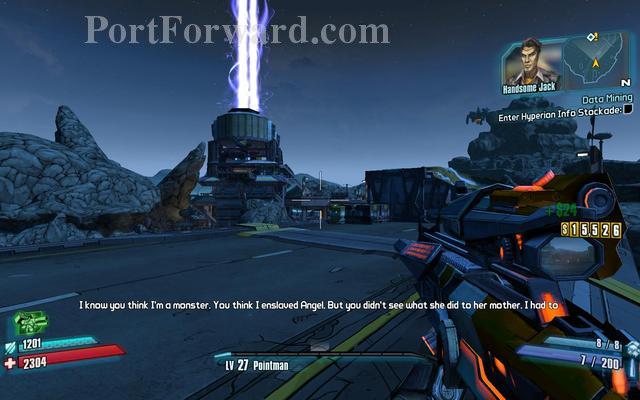
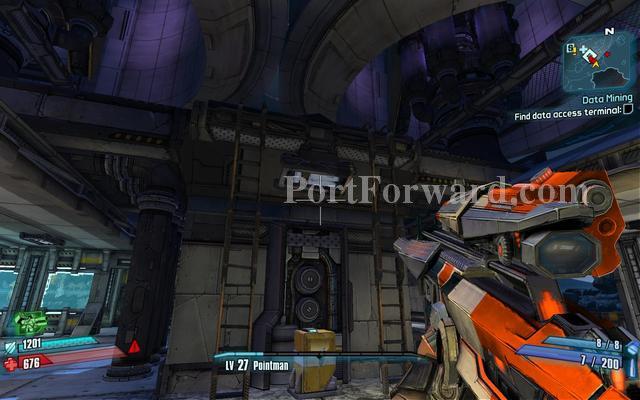
Borderlands 2 Walkthrough Data Mining
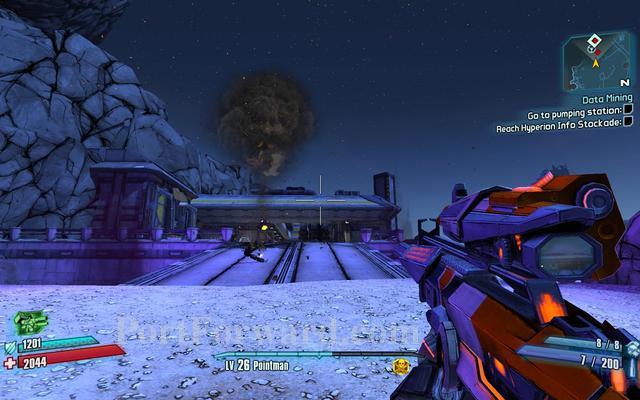
Take a vehicle and go to the pipe after the ladder breaks head up to that pumping station and overload the pipes.
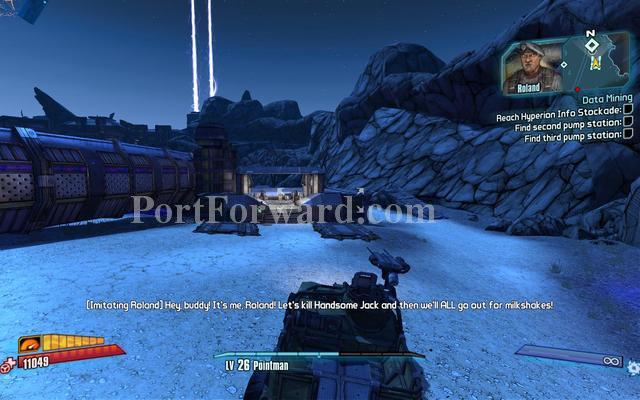
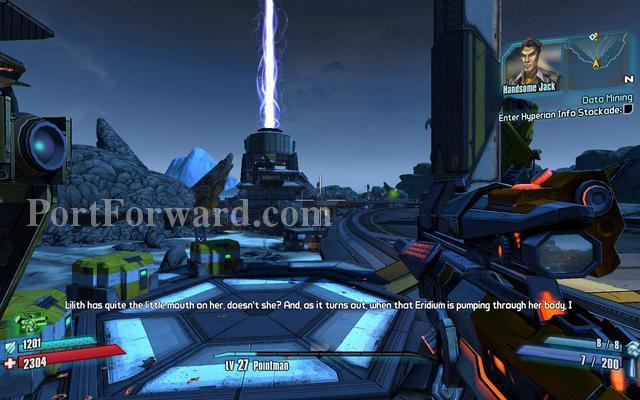
After that one head to the other pump station just coss-over the first one and go down.
Take the pathway to the end and overload the pipes.
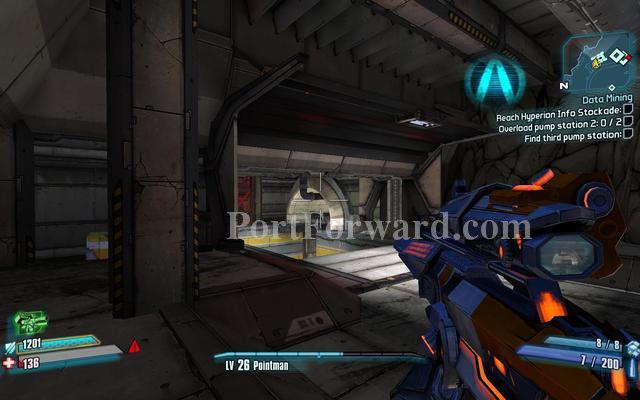
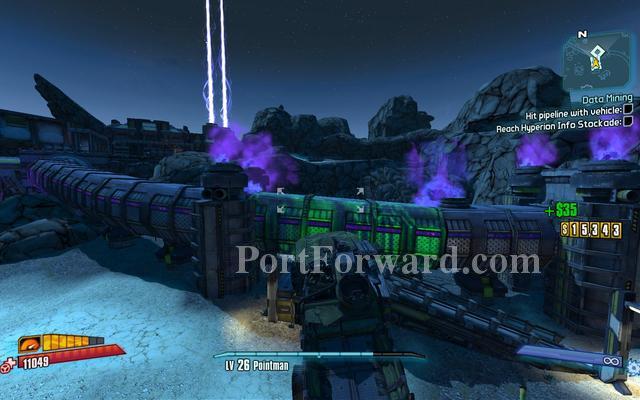
Head over the ramp and to the other pump station and overload the pipes.
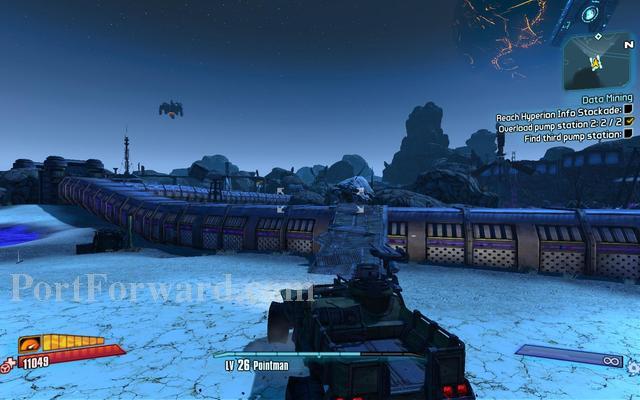
There is the station take a vehicle after you are done.
Jump over the ramp and fly into the pipe.
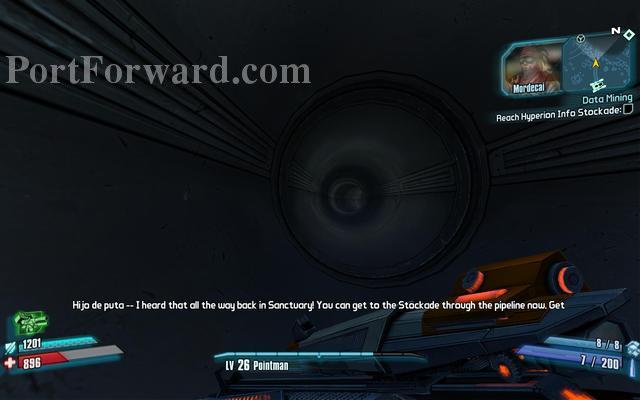
Follow the pipeway and go up the ladder.
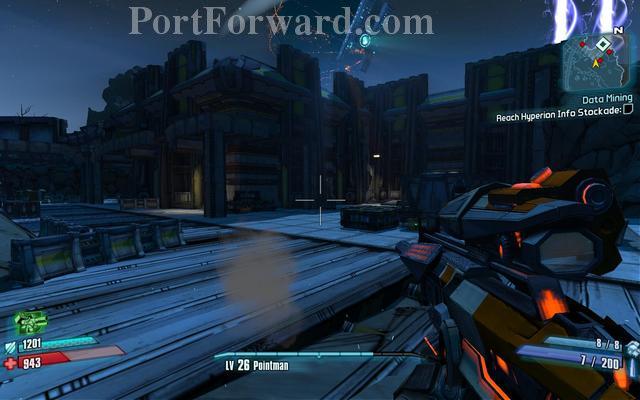
Run two lefts around the corners and go to the next map.
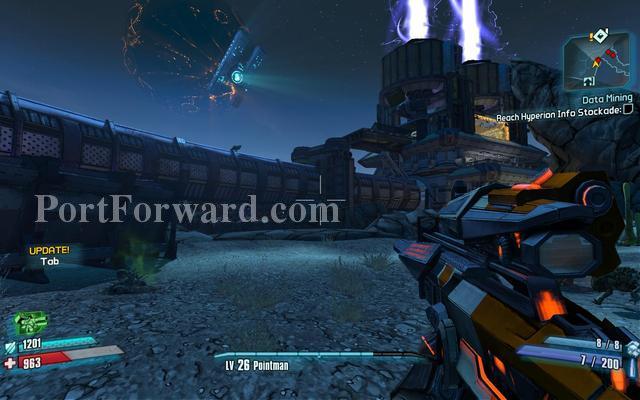
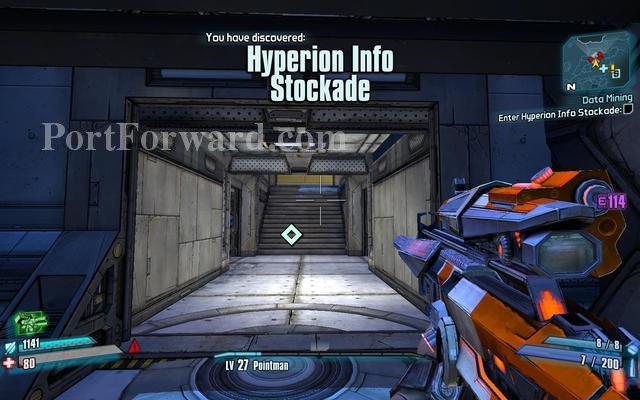
Run over to the gate.
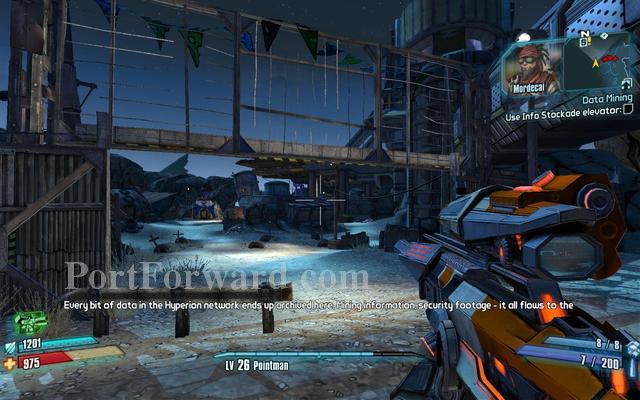
Enter here and be stocked up!
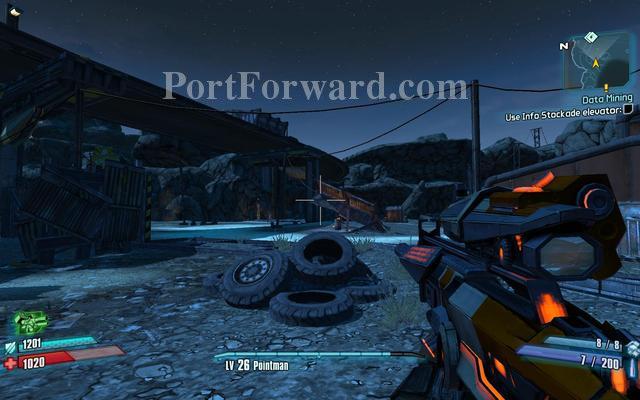
Be stocked up before you progress pass these tires.Then go all the way forward.
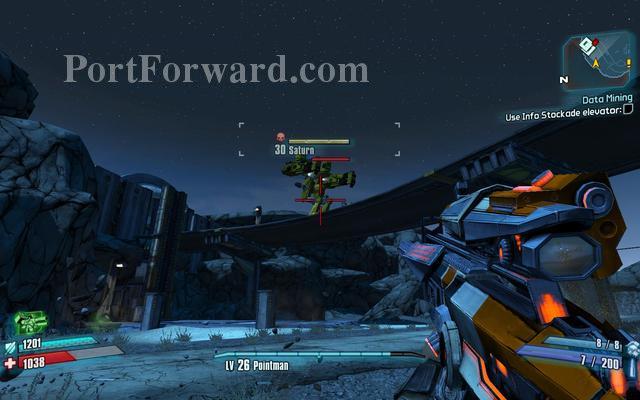
There is a little house in the middle to the right go in it and keep shooting Saturn.
Head up the lift where Saturn landed and run the road till the Constructor lands then run all the way back to snipe.
Take aim here to take out the constructor.
Head back after you took out the constructor and go up all the stairs.
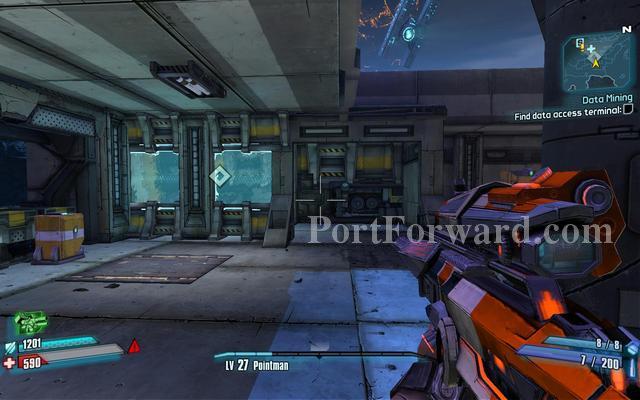
Go access the terminal inside this room.
"OPTIONAL" If you want to fight the two constructors just head up these ladders.
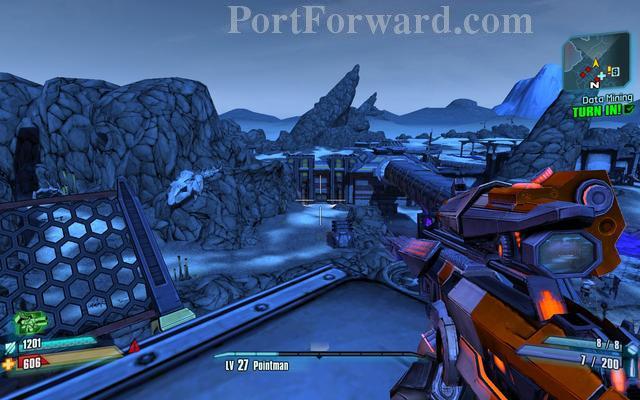
Then run back to where you came in and there will be a Fast Travel Station.
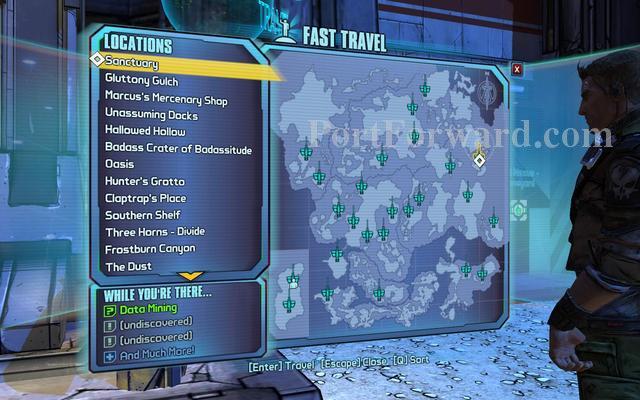
Head back to Sanctuary.And turn in the quest.
Borderlands 2 Walkthrough The Talon Of God
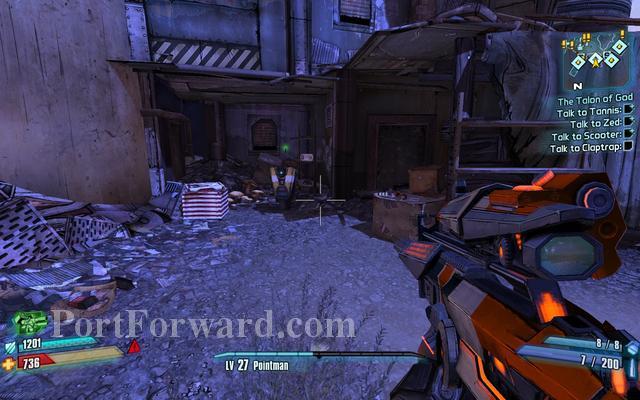
"Head to Claptrap's Place and speak to him.
Travel to The Dust.And head back to Eridium Blight.
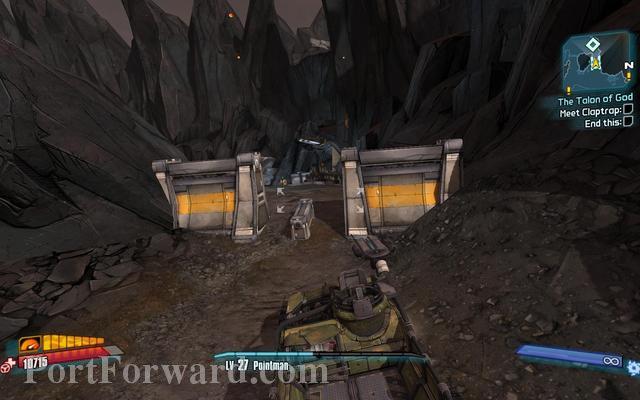
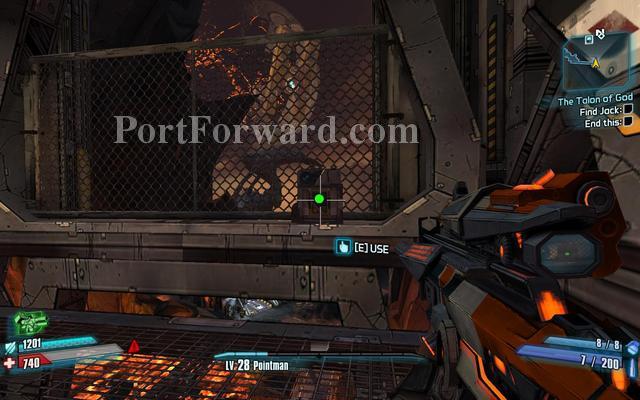
Just outside the tunnel ther is this Door on the right,go through it.
Head right up that passage.
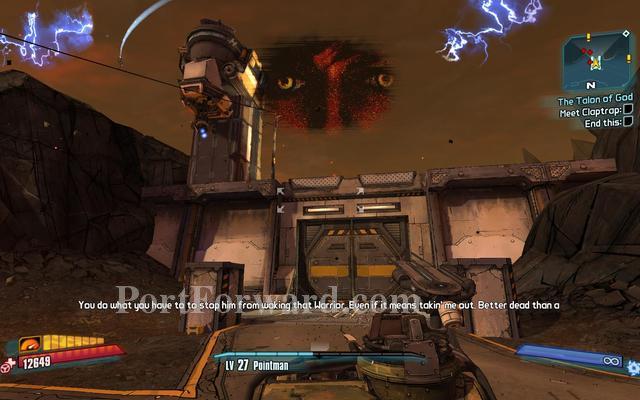
Get out and go talk to to Claptrap.
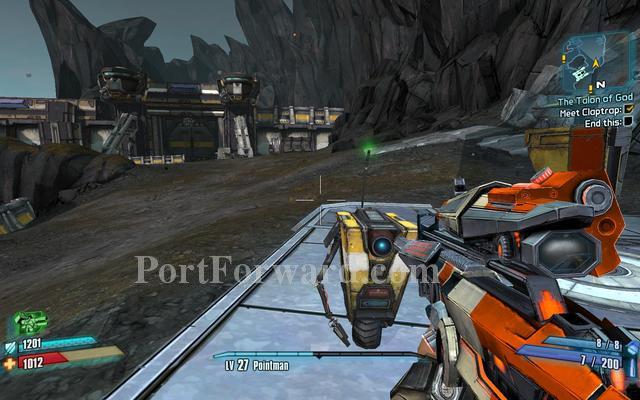
He will try to open the doors and you take out the enemies.
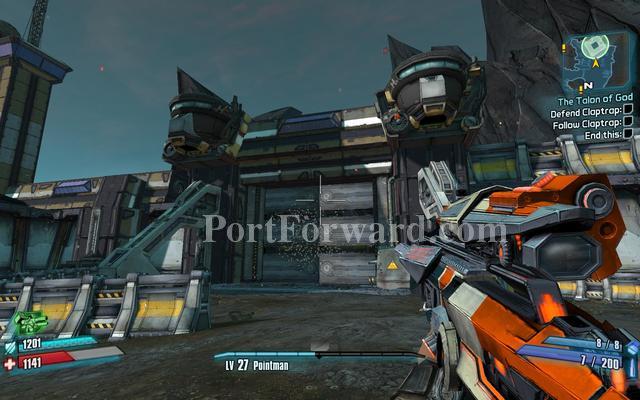
Look out for these two turrets.
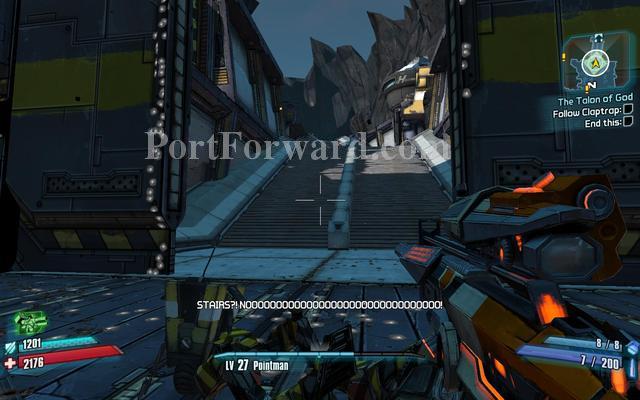
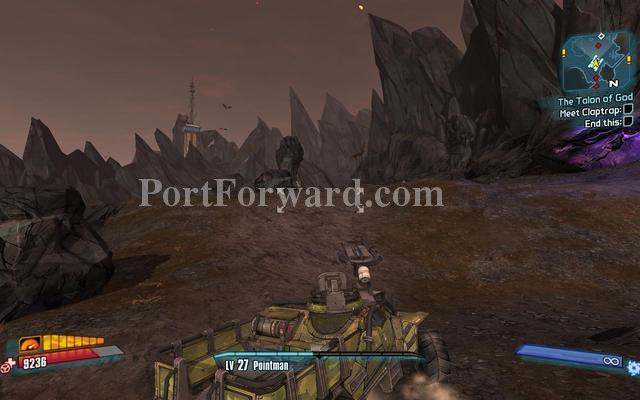
After he opens the doors he can't go on so progress up and go to Hero's Pass.
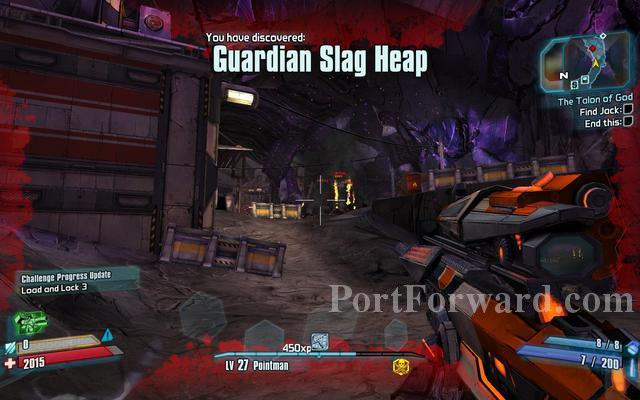
Head up the path and fight you way to the gate.
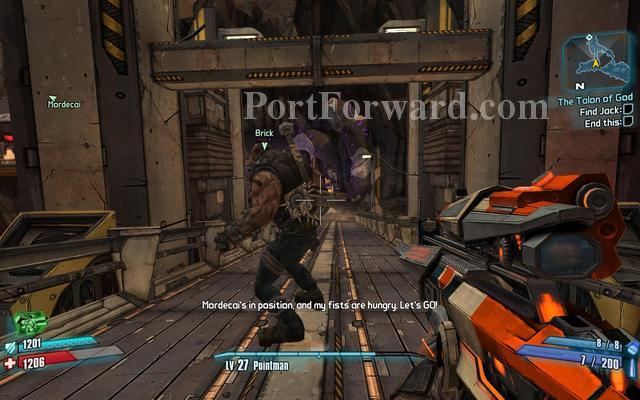
At the gate you can follow brick again till he leaves.Then you fight the path till you get a badass constructor,Run back and take it out from a distance.Then go to the Vault of the Warrior.
Run down and take the lift down.
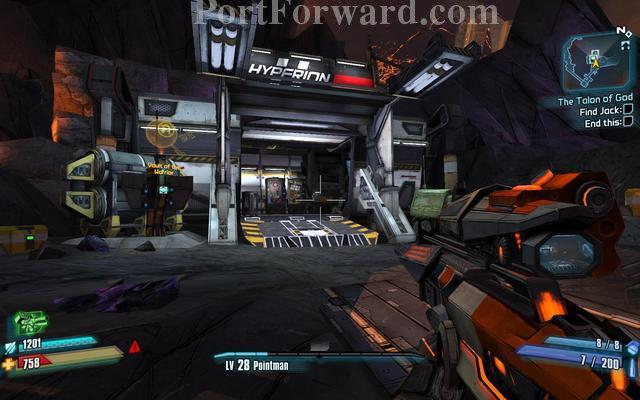
Stock up here.
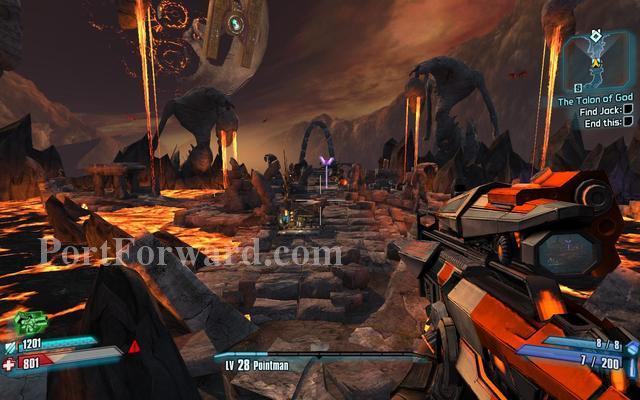
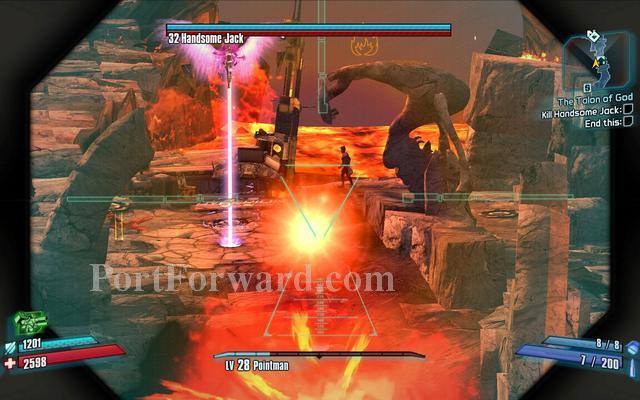
Run down to Jack and when you can start so fight him go jump in the lava and die, JUST do it you will see why.
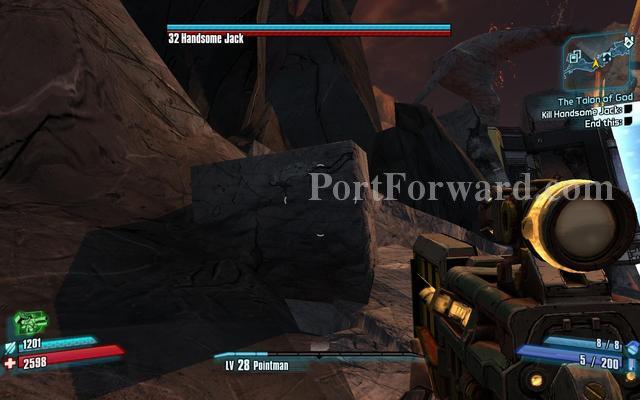
Don't jump down this time,Just jump on that rock.

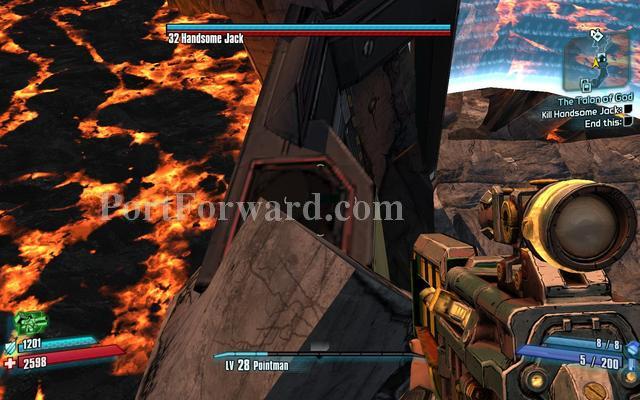
Then jump on that one.
Slightly just manouver backwards don't fall off,then sprintjump onto the next one.
Now manouver slightly backwards.
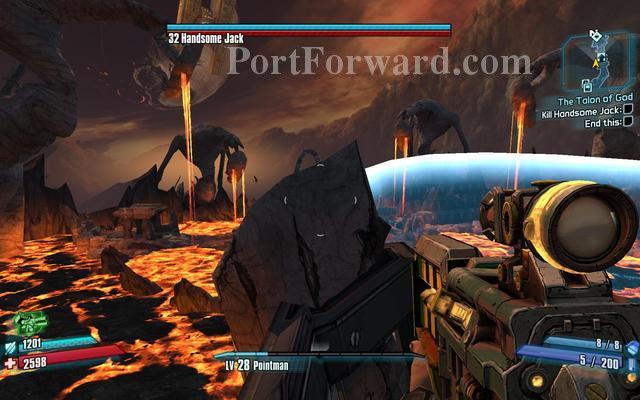
And sprintjump over to the next one.
You can snipe and shoot from here... just watch out for the Volcanic Raks flying around.
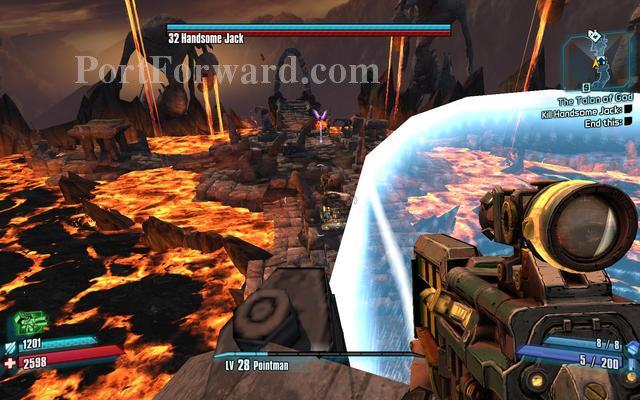
Take out Jack even from close or at the snipe spot.
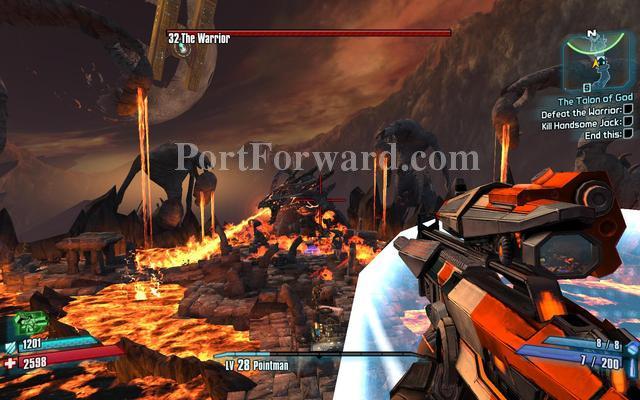
Its highly reccomended to shoot the warrior from the snipe spot.
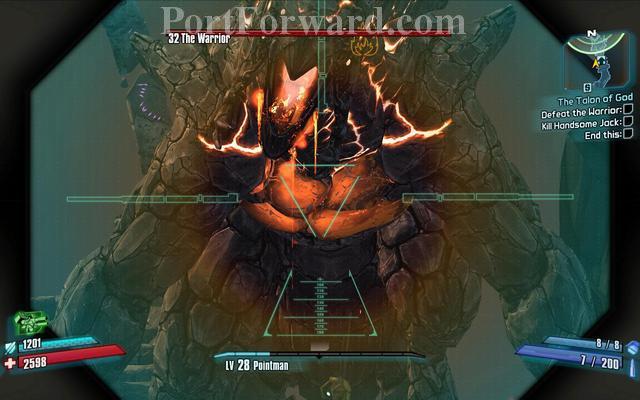
No matter what spot just shoot the warrior in those Glowing Parts."TIP" when he goes down the lava goes up.
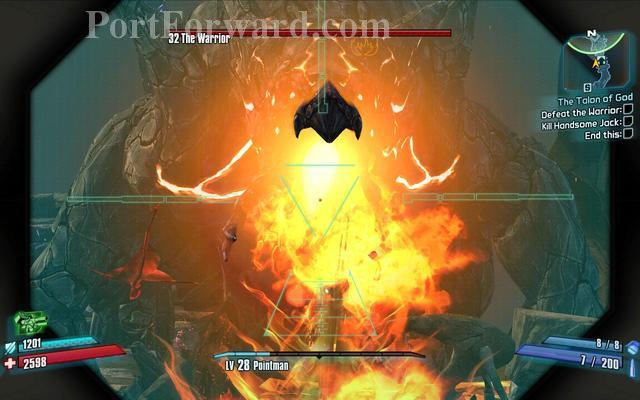
Shoot him in the mouth too.
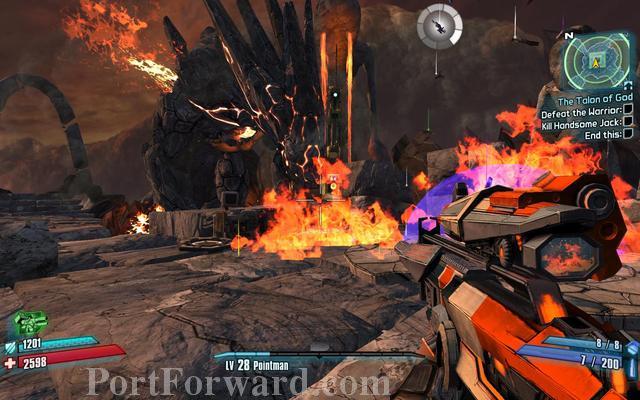
After you took out the Warrior he will fall down and take the loot.
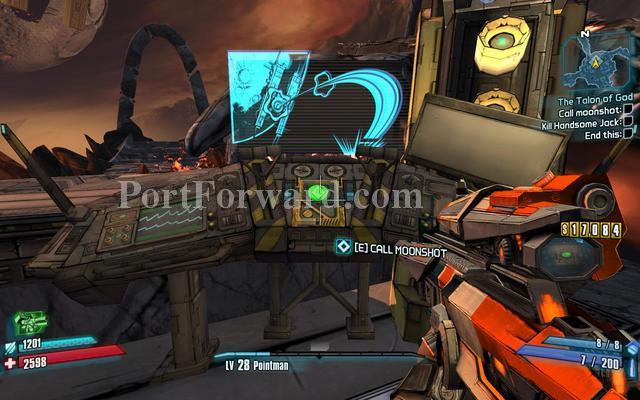
Call the moonshot to kill it GOOD!
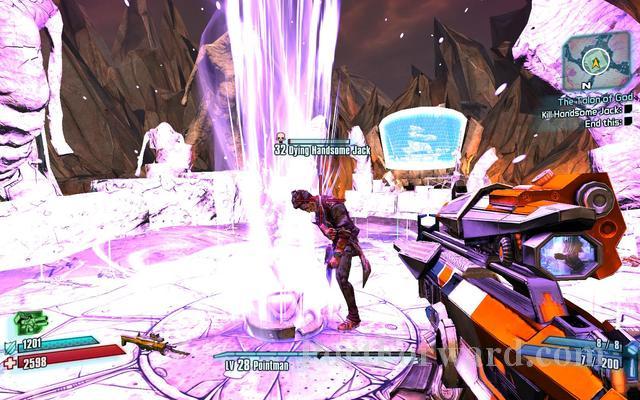
Kill Handsome Jack and loot him GOOD!
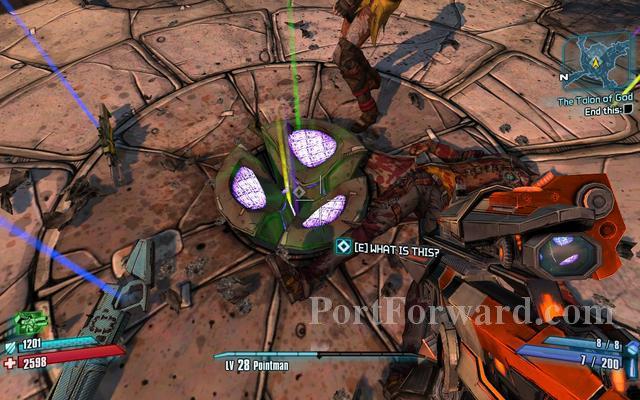
Press E and find out..................After the mystery,just go out and you will have a new mode "True Vault Hunter Mode" Same level, same skills, same weapons you will not lose them.There will be harder Enemies but with much better loot and there is also
 Braid Walkthrough Introduction
 Chaser Walkthrough Majestic Station
 Batman: Arkham Origins - Cold, Cold Heart DLC Walkthrough Wayne Mansion
 Blade Kitten Walkthrough War On Terra
 Castlevania: Lords of Shadows Walkthrough Chapter I: Besieged Village