Blade Kitten Walkthrough War On Terra

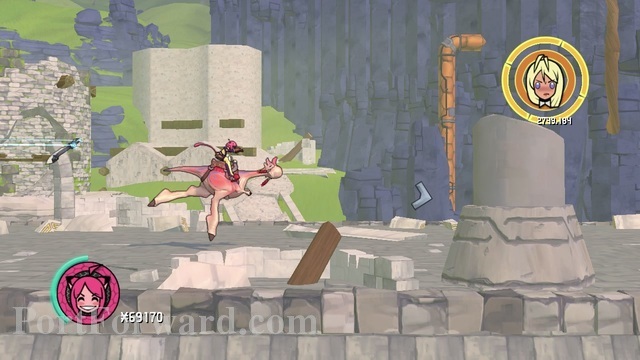
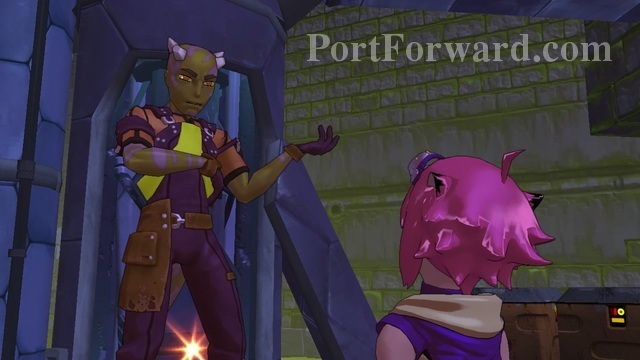
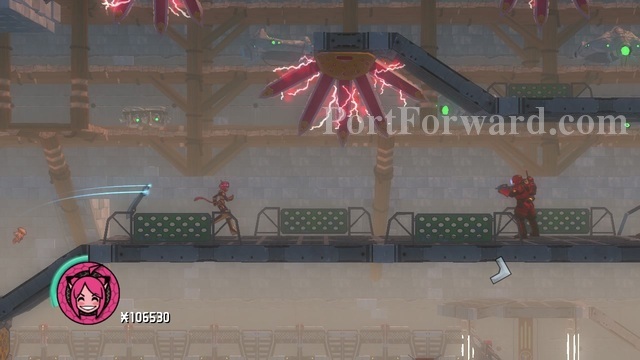
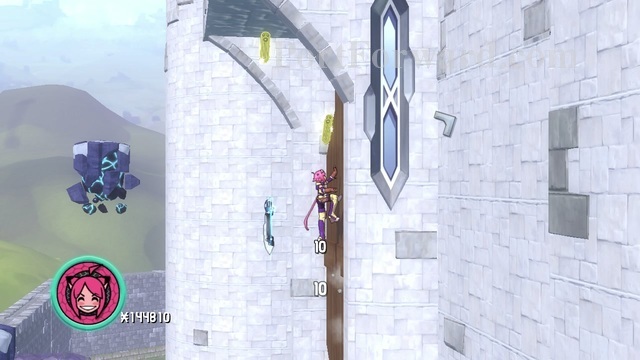
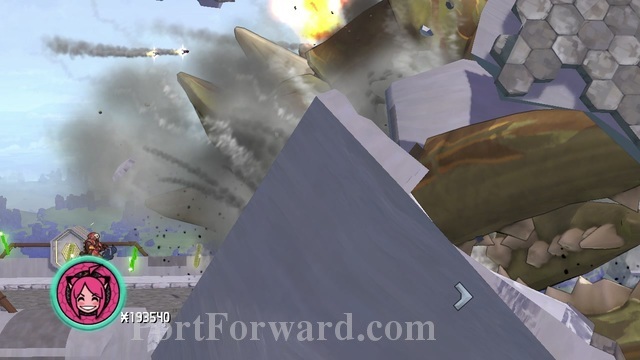
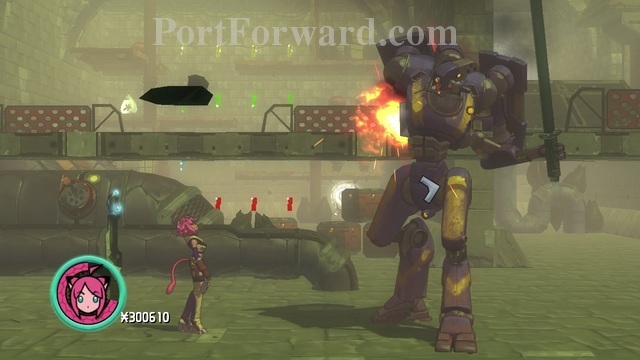
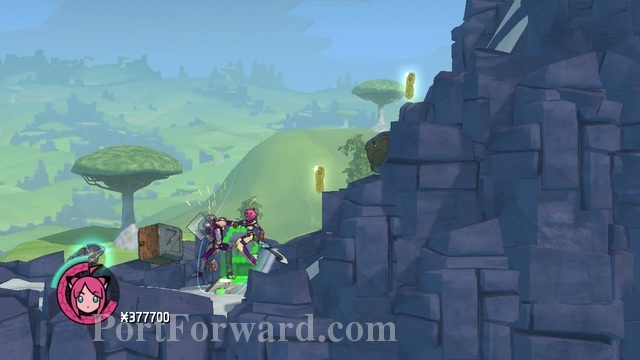
"After watching the opening cutscene, you'll take your first steps in the world of Blade Kitten. The circles to your bottom left on the HUD symbolizes your HP and stamina. Start off by going to the right and fighting some baddies.
Once you passed the pushover baddies by using (M1), jump up against the wall using (SPACE) to make Kit Ballard (The character) attach herself to the surface and start climbing.
Continue up until you reach solid ground and go right.
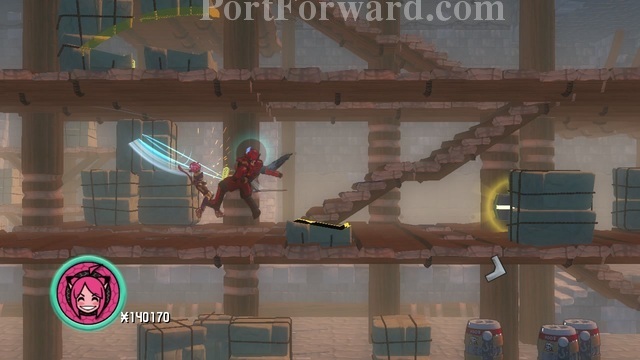
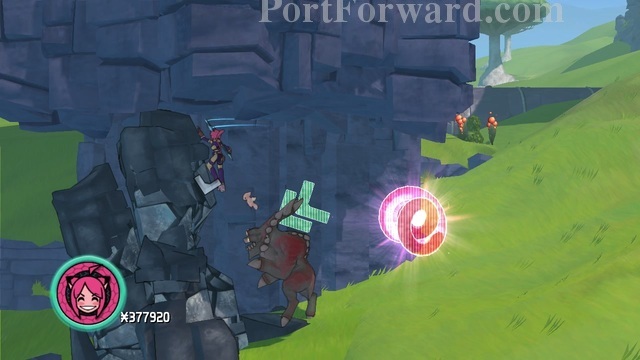
At this point, you should familiarize yourself with the double jump feature. Head onwards until you reach a cliff. Jump up to where the men in the red armor are shooting you.
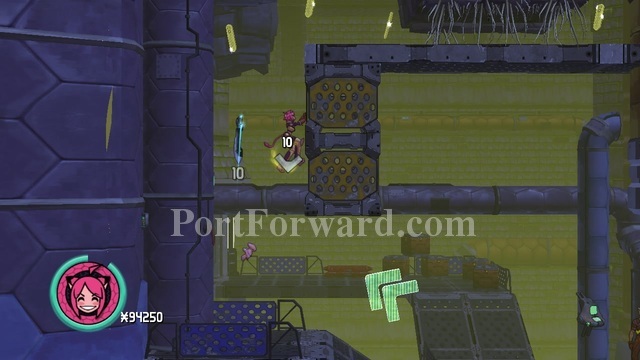
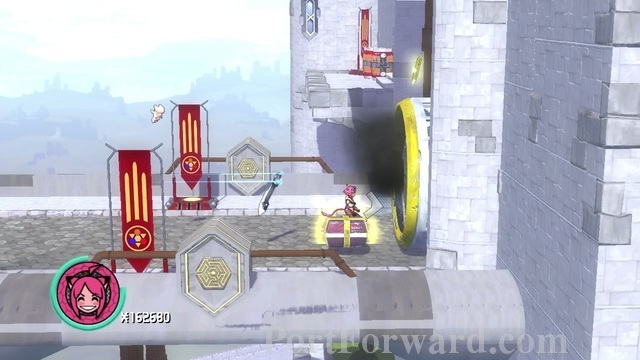
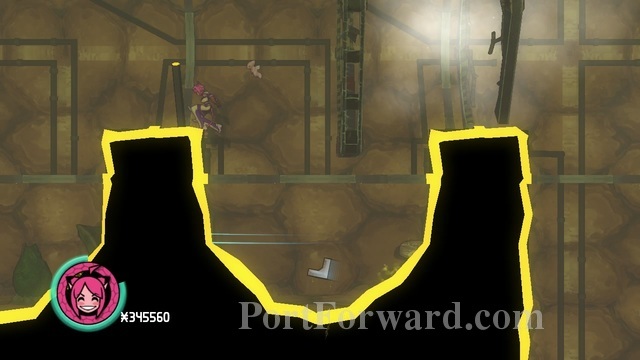
Once they are dealt with, go left and get on the jumping pad.
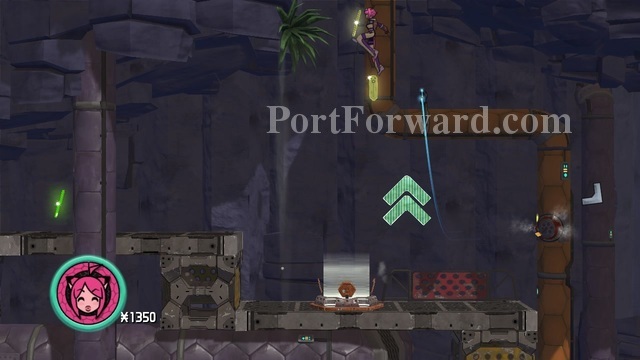
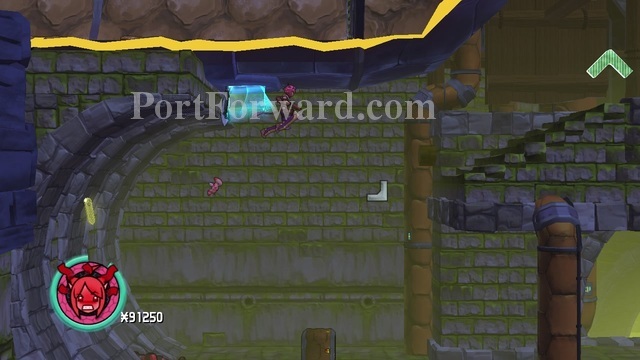
It will violently propel you upwards.
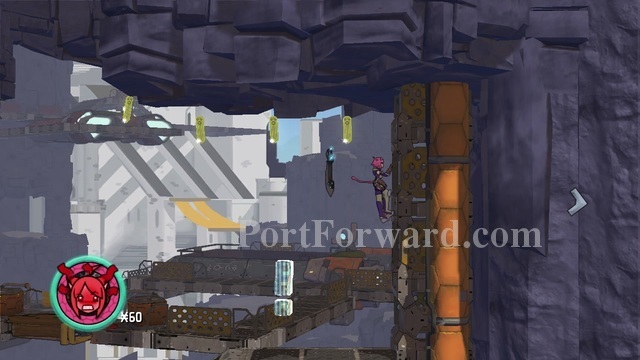
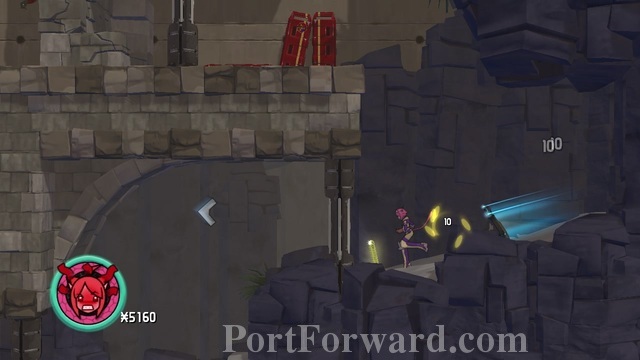
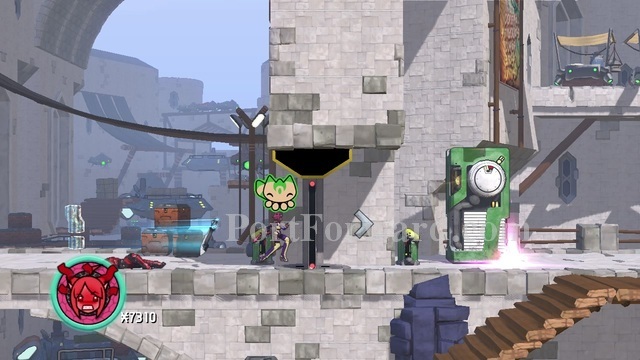
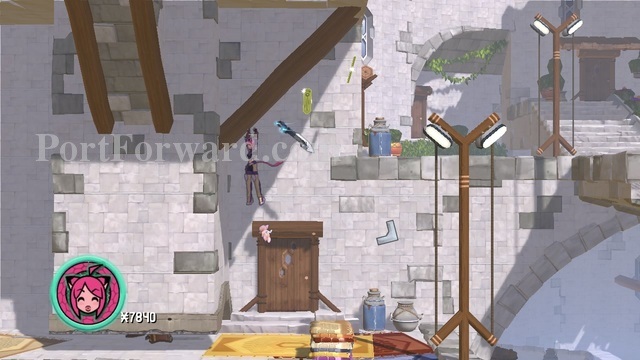
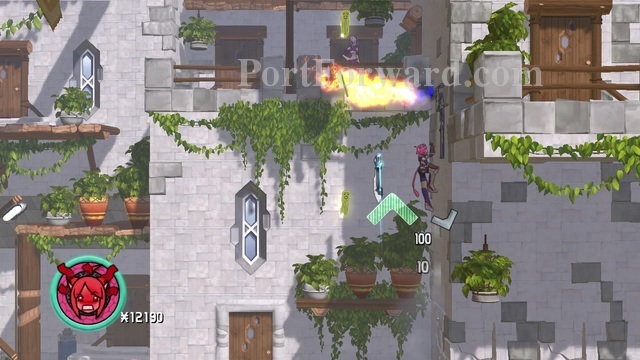
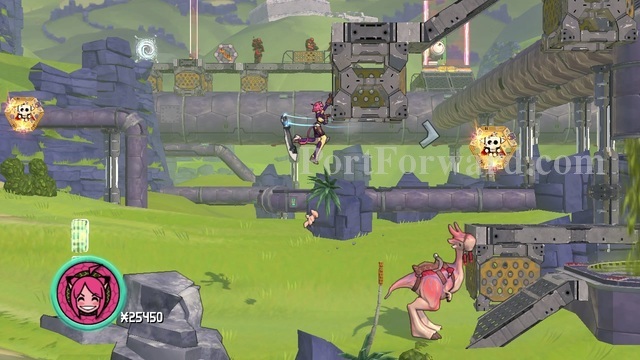
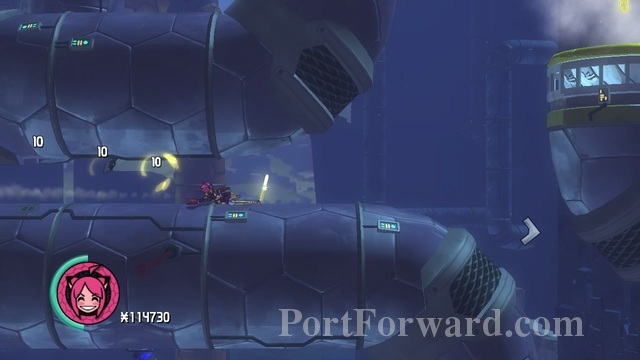
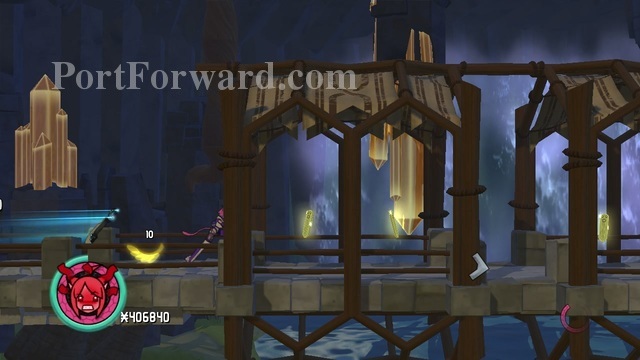
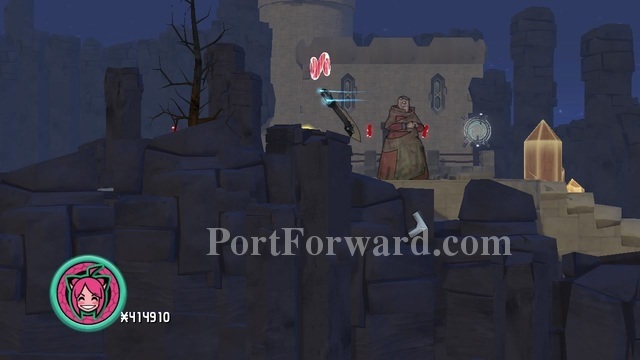
Once up, you'll see your first "Checkpoint". It is easily recognized through the intensive pink lightning and smoke.
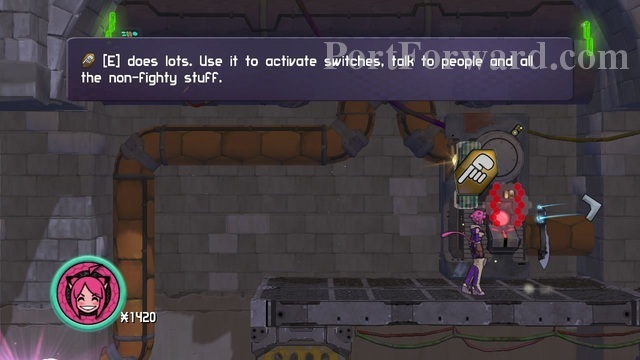
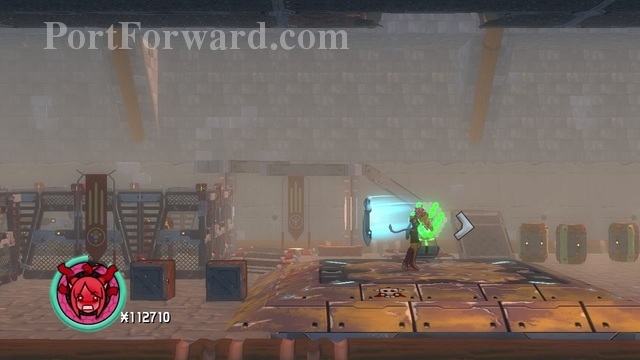
Go on until you meet a door. Press (E) to interact and open it.
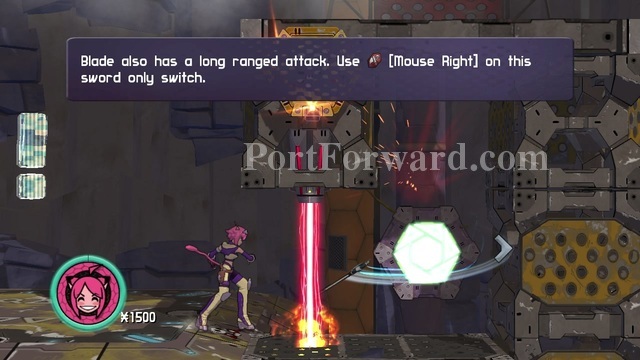
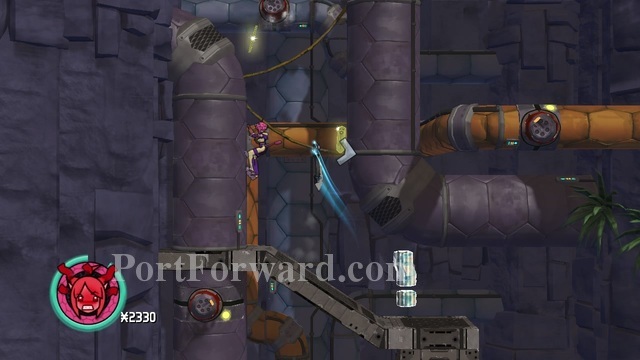
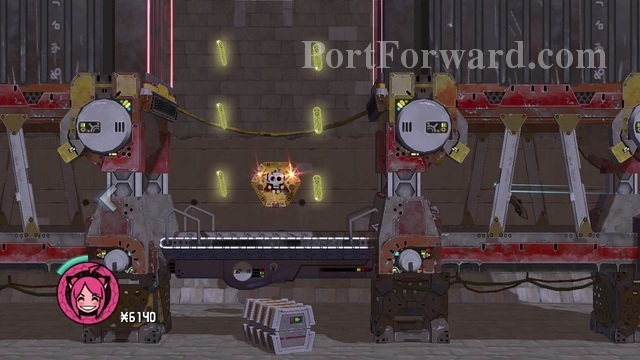
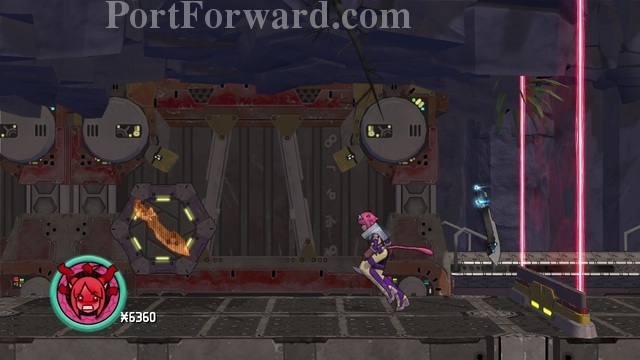
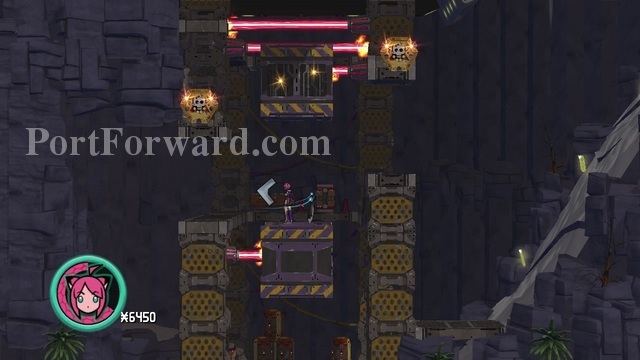
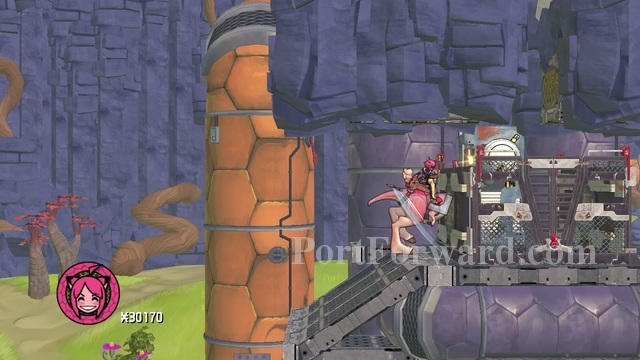
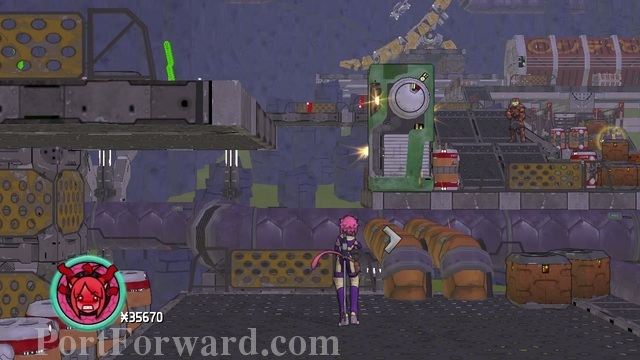
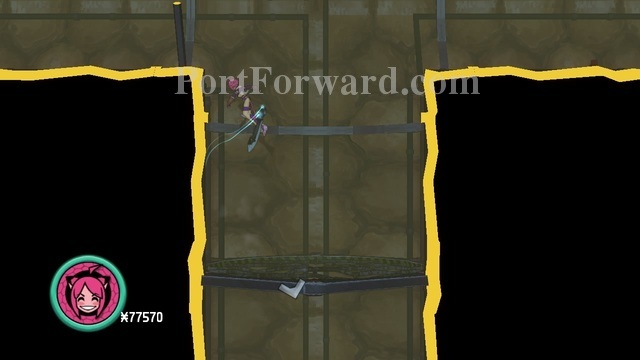
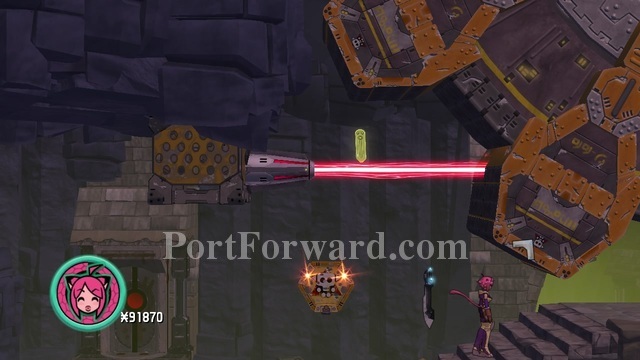
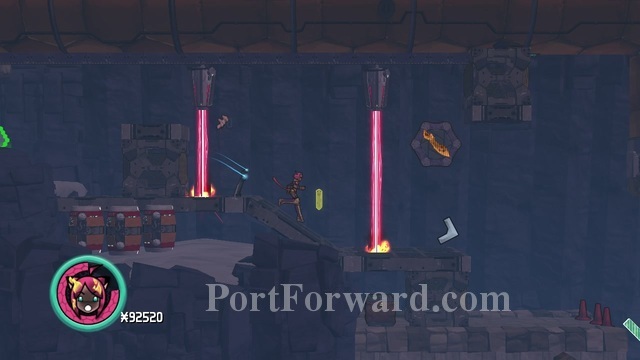
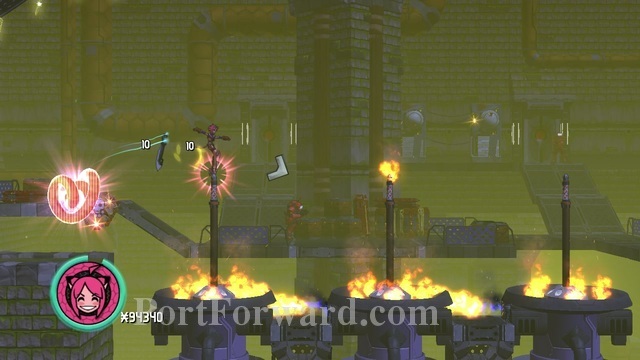
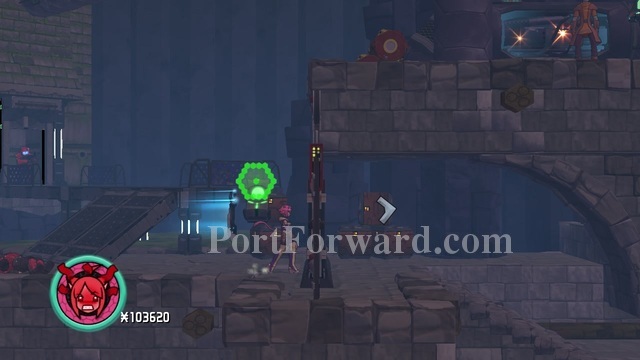
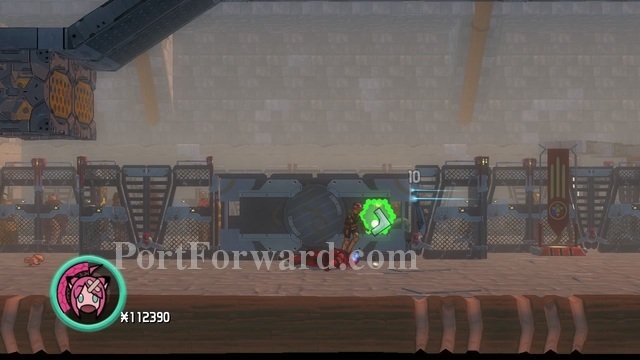
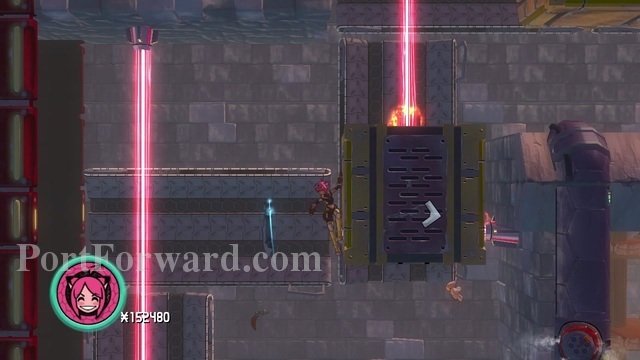
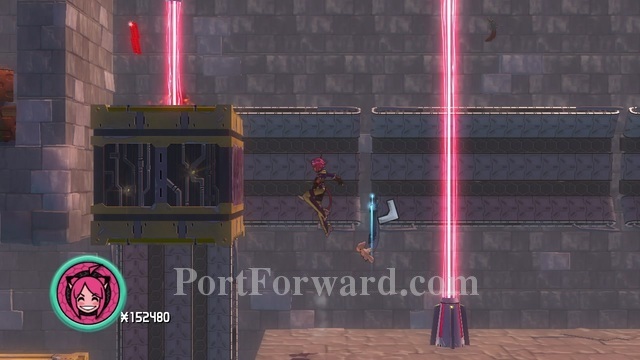
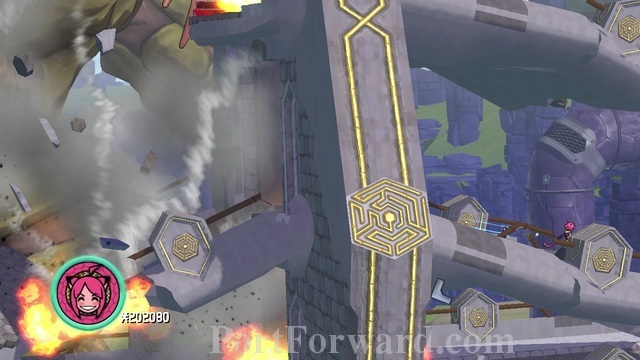
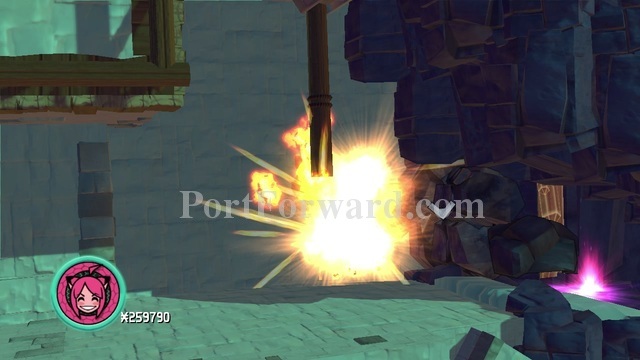
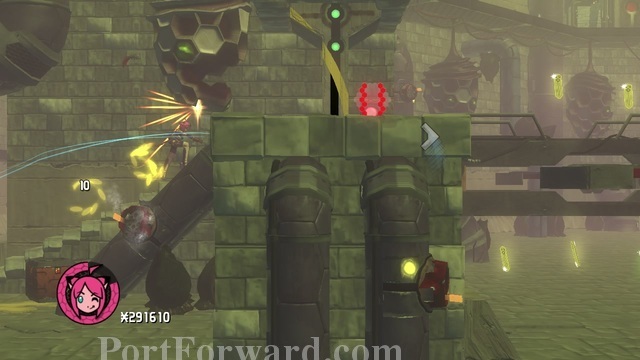
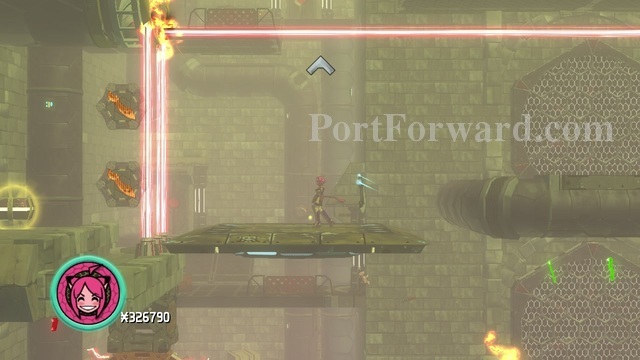
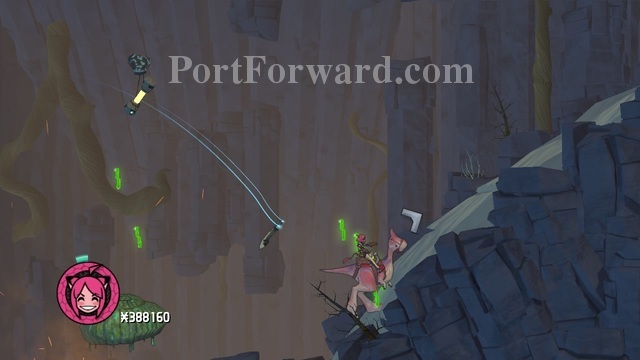
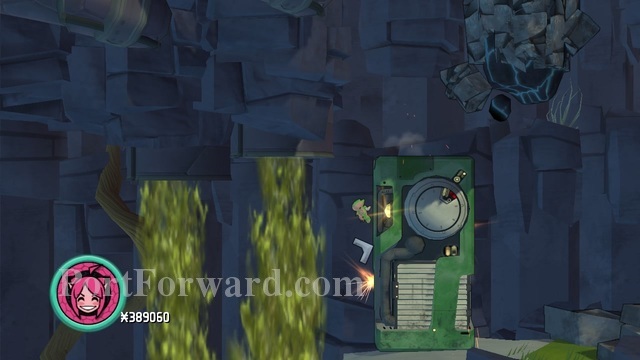
Eventually, you'll reach a laser, blocking the path to a button. Use your (M2) to initiate a ranged attack with your blade, activating the button without having Kit touch the laer.
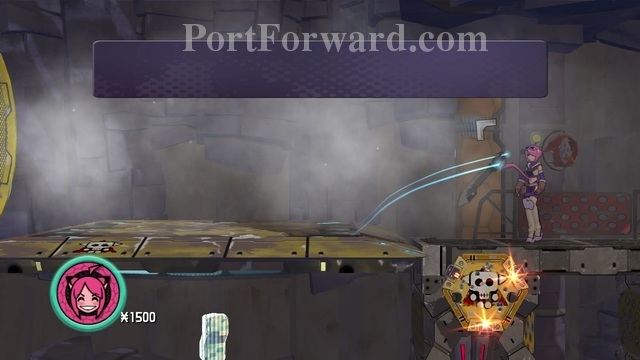
Once activted, the platform will go up, allowing you to proceed.
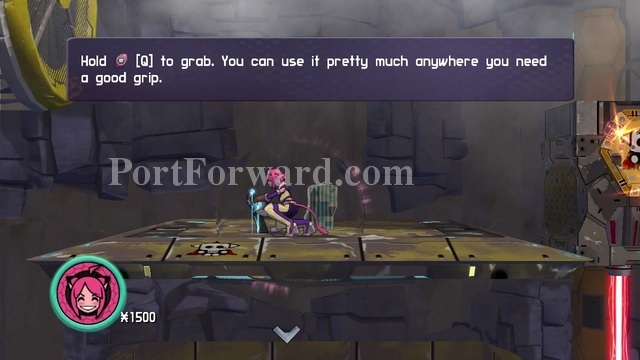
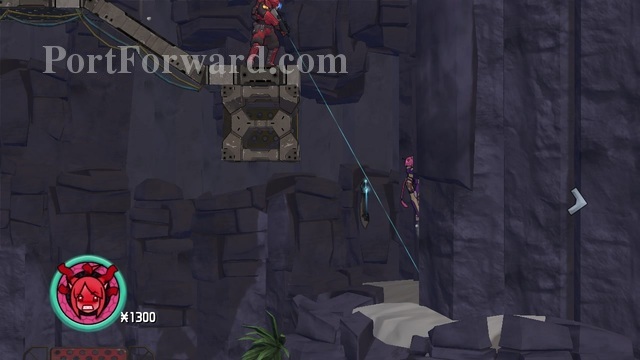
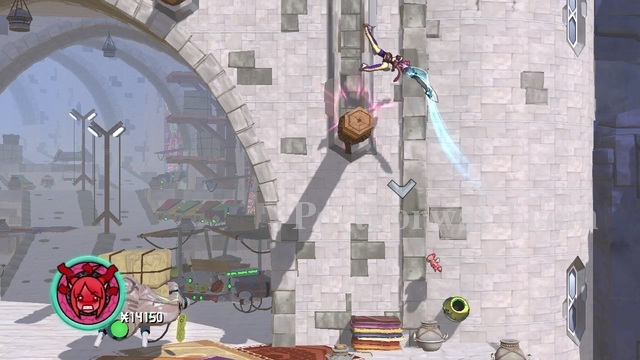
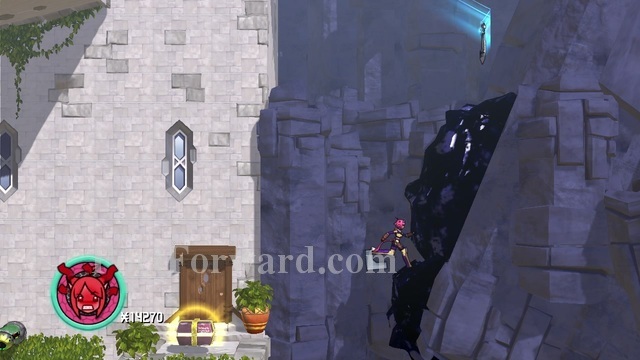
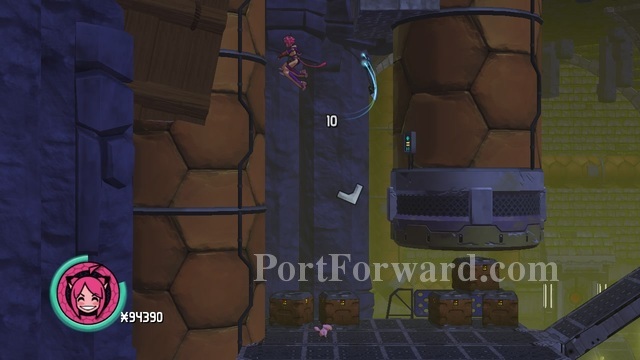
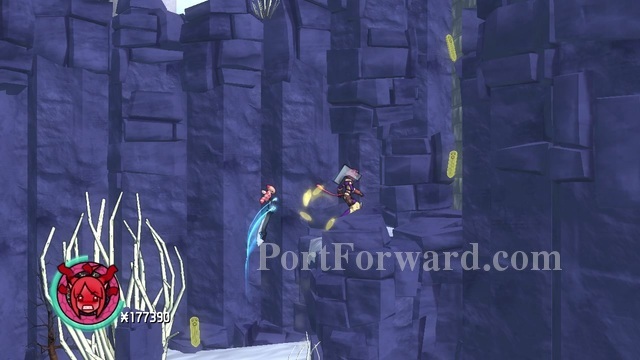
When it does, you need to have your mouse pointer towards or under the ground and press (Q). This will make Kit impale her sword into whatever surface you were pointing towards and hold onto her blade.
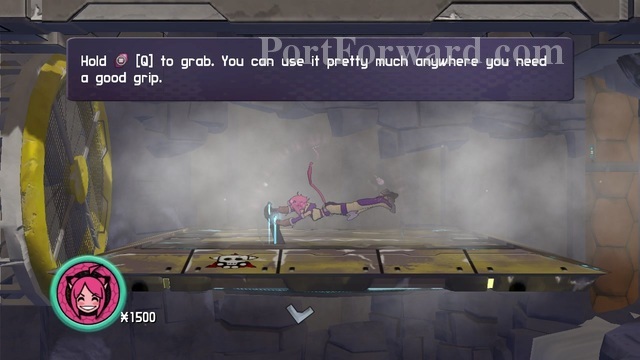
This will be necessary for you to pass the strong turbulences up above.
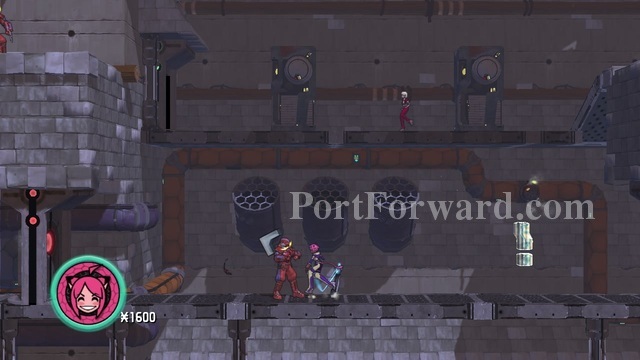
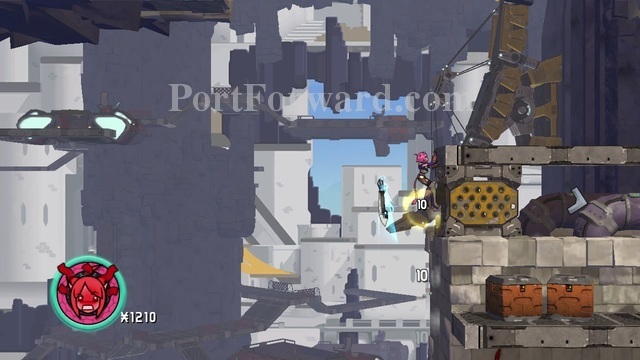
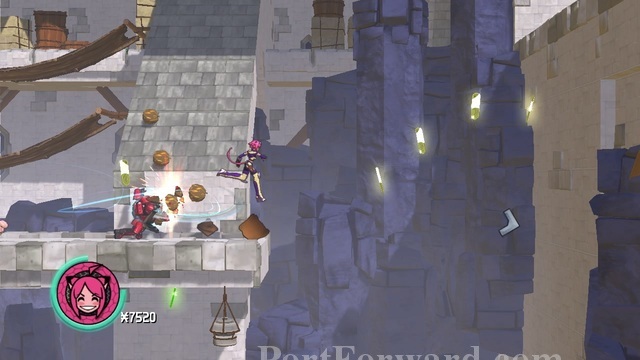
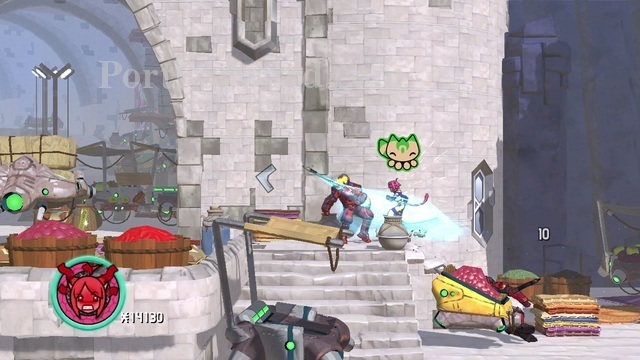
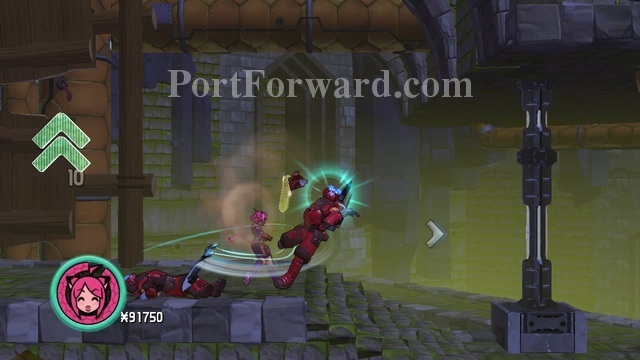
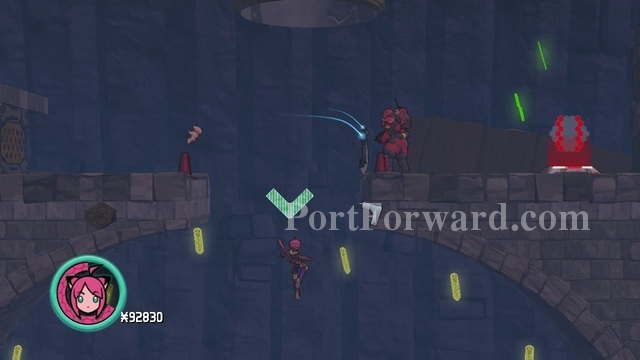
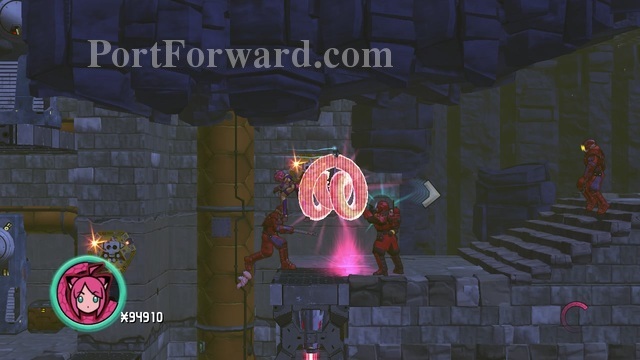
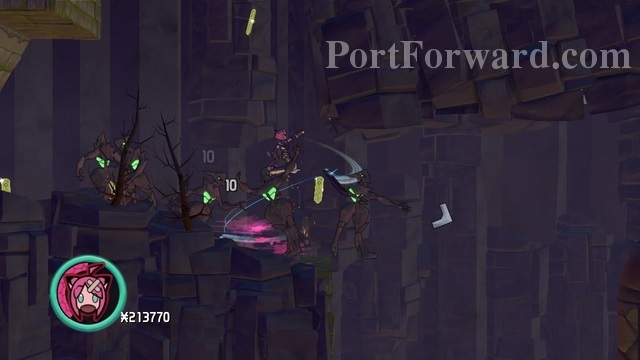
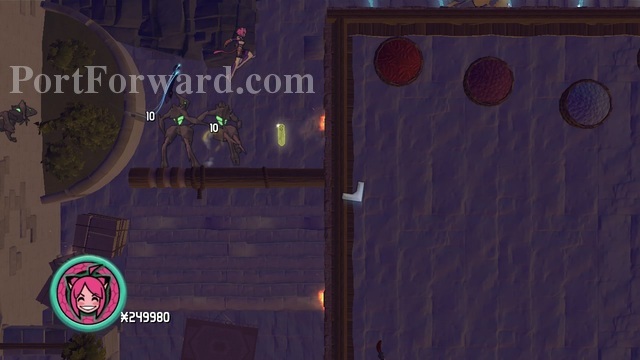
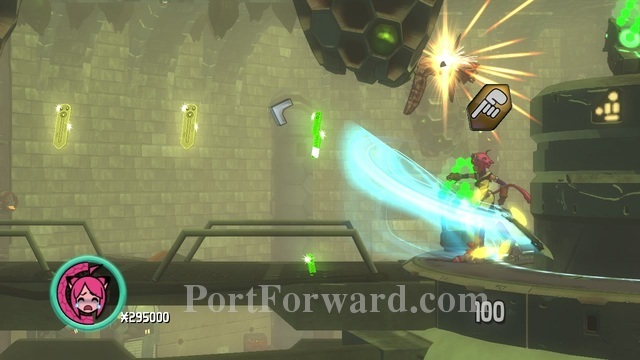
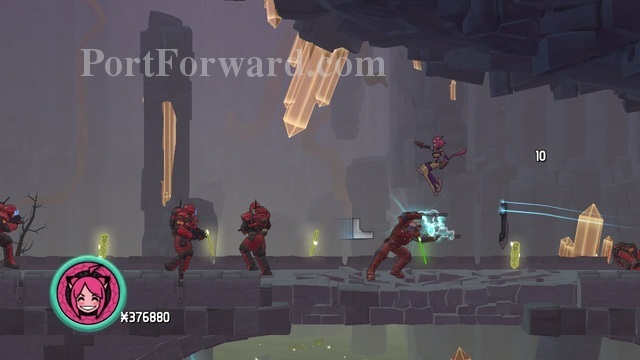
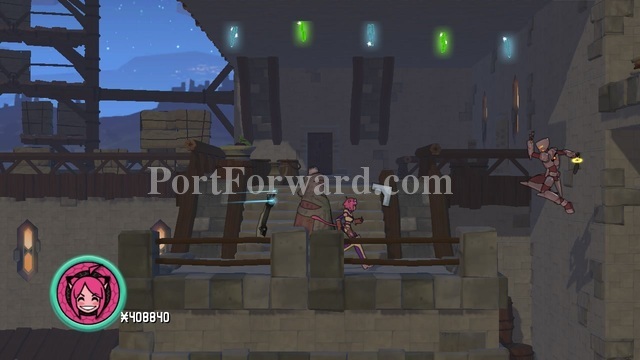
Once at the top, head left and you'll meet the first "hard" units. They will very often parry your average melee attacks and will require for you to either flank them or attack them with a ranged attack to cause damage. It's often just best to avoid them all-together, Kit being very agile.
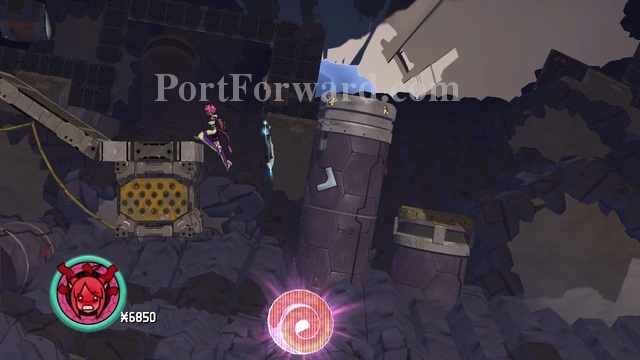
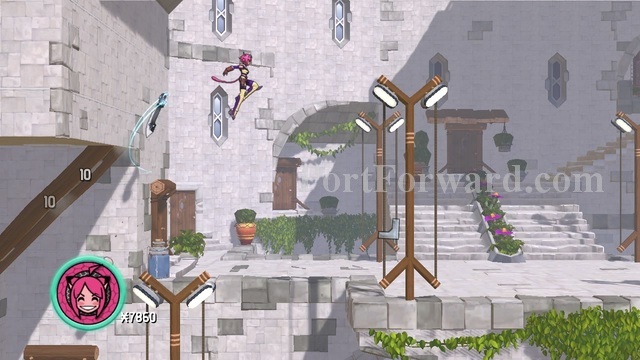
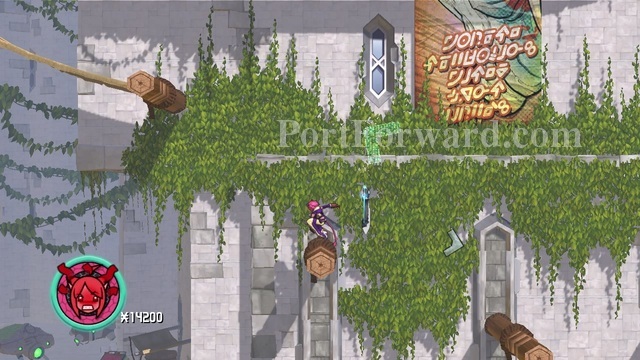
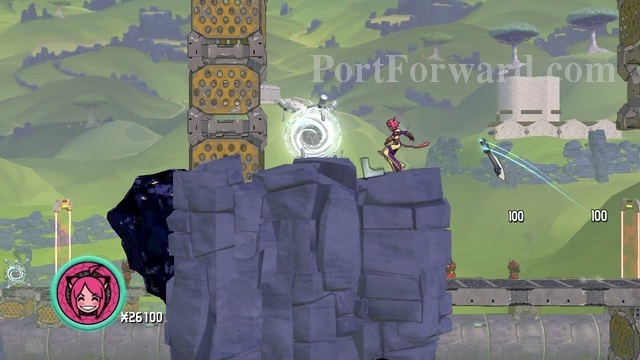
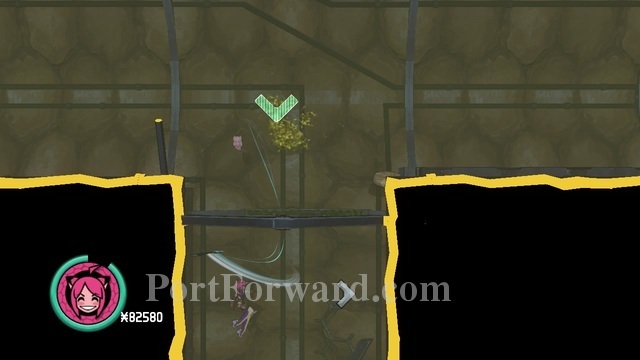
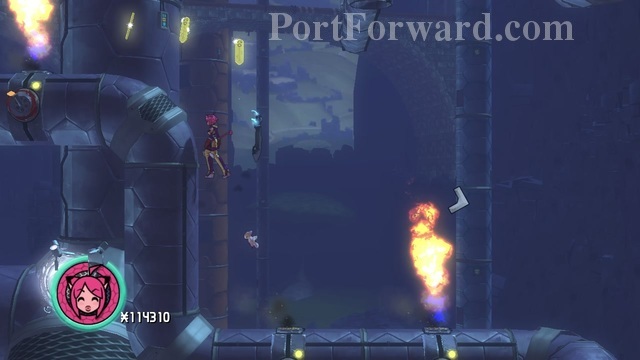
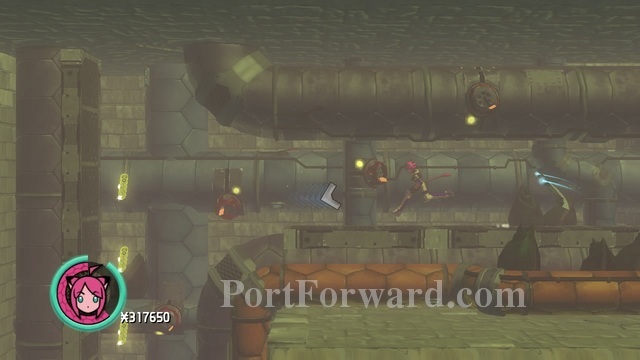
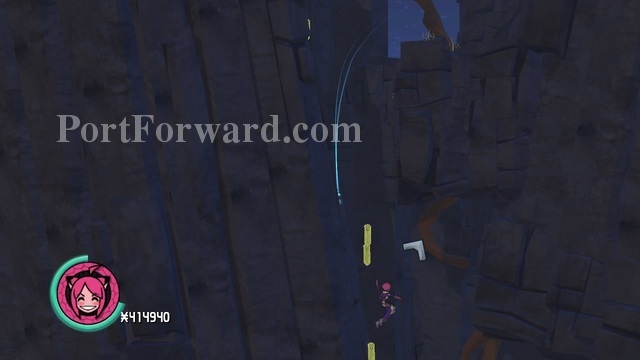
Up ahead, you'll come to a series of vertical pipes that cannot be climbed. Instead, walljump yourself up in quick succession by jumping against one surface, then pressing jump again to elevate yourself higher and higher without stopping.
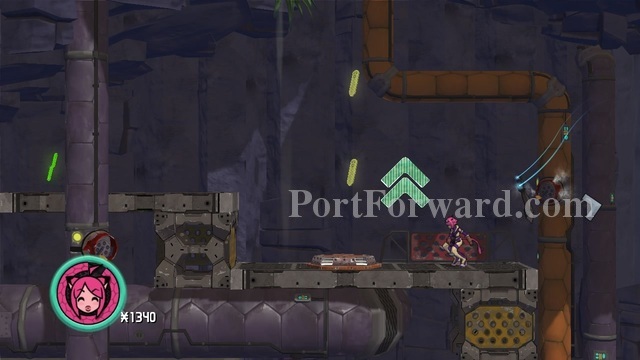
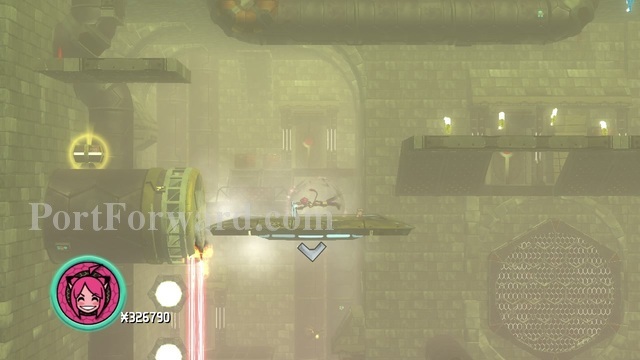
Next up is the introduction of "precision" platforms that will (to a major degree) guide your jumps, making you land ontop of them.
After that the game also introduces huge blocks that occasionally dive into the ground, giving you a small lapse of time to run under them safetly to get to the other side. Get caught beneath and you will instantly die.
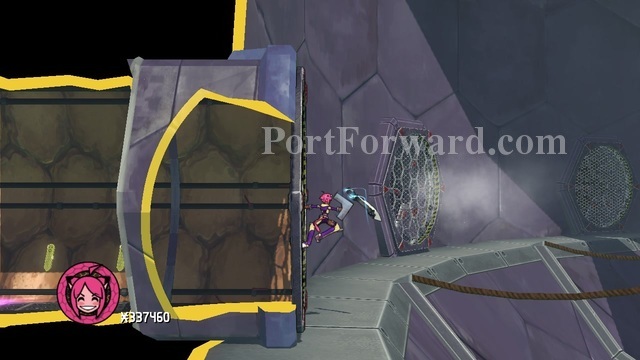
Following the series of baddies, you will be introduced to yet another game-concept in the form of a bunch of brittle walls. Smash them with your sword to create a passage.
Once through the wall, head down.
Be careful around these cogwheels. Get caught in anything and Kit will instantly die.
Jump off to the right and continue forward before you get smashed.
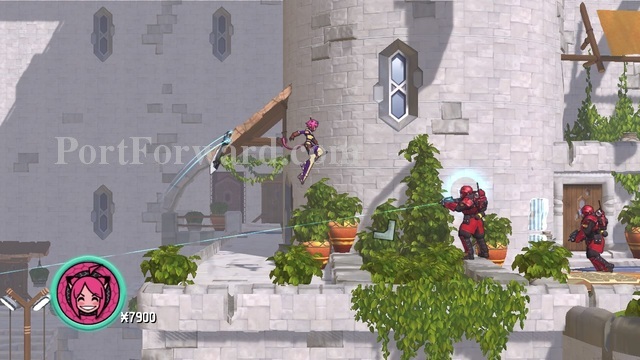
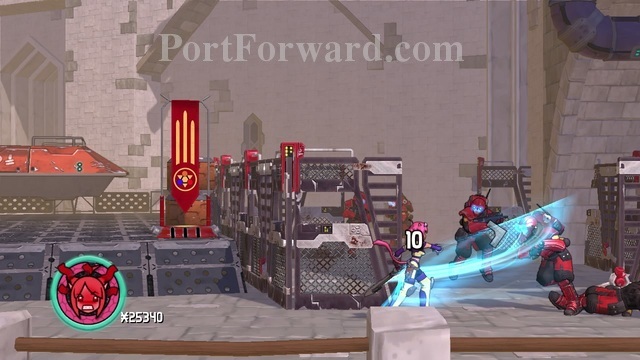
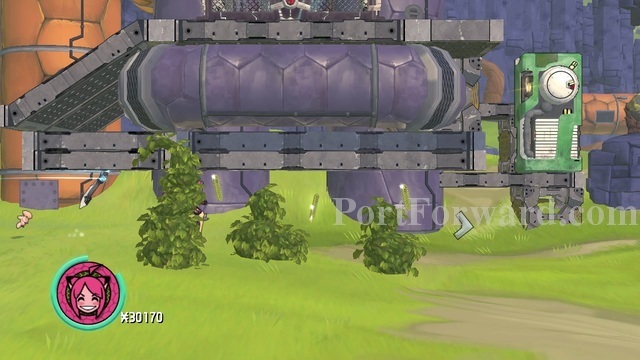
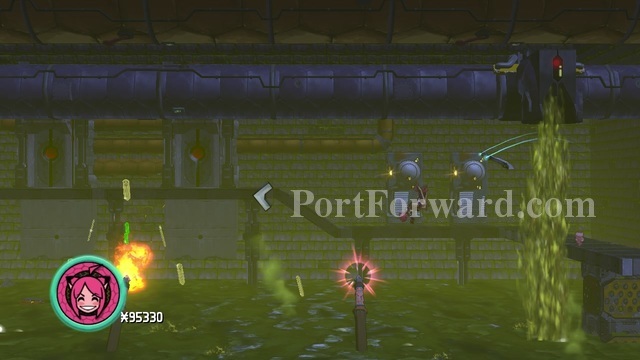
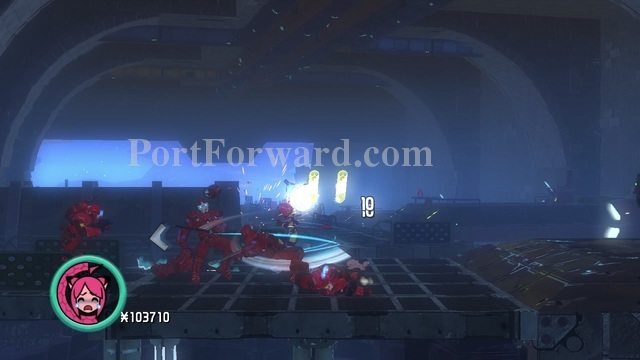
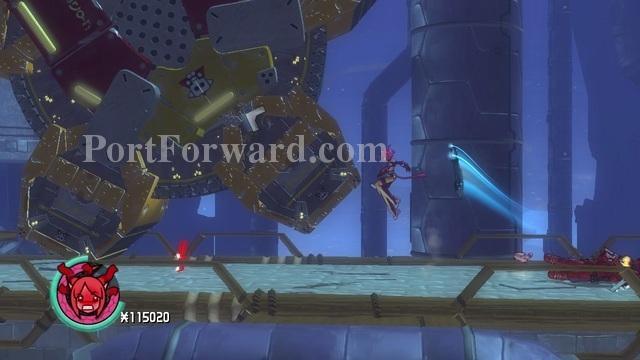
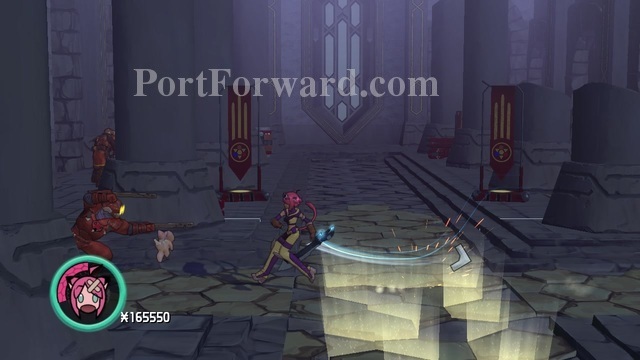
Keep going right and you'll eventually reach a "loading bay", swarming with enemies. Jump on/over the cars and take out any bad guys you see or simply keep going right.
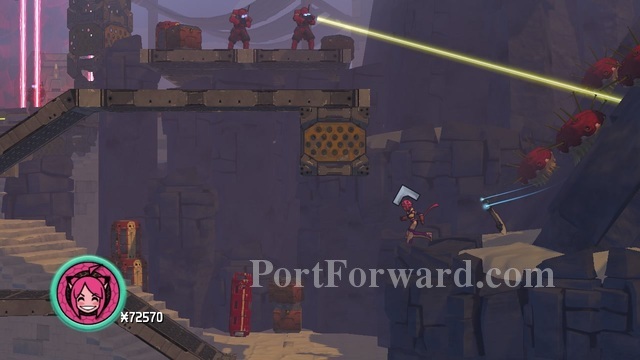
Up ahead there will be a large "laser" gate with baddies coming out from a ship towards you. Kill all the baddies in the area to make the gate deactivate.
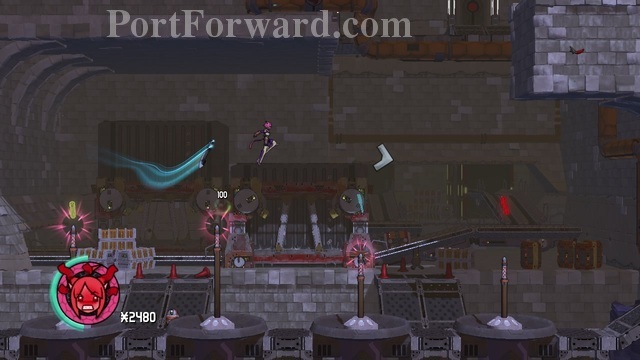
More crushing blocks up ahead with treadmills between. Take it slow and steady, wait for the opportunity and then do controlled sprints to the other side or get crushed.

Head down the shaft after deactivating the button and get ready for more tricky crushing block puzzles including a large flaming pit. Get familiar with the concept of sprint-jumping or die. Alot.
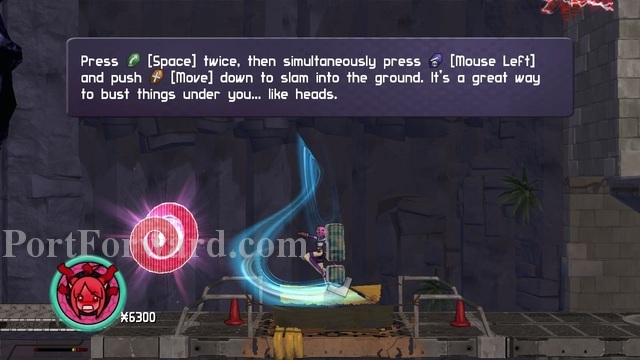
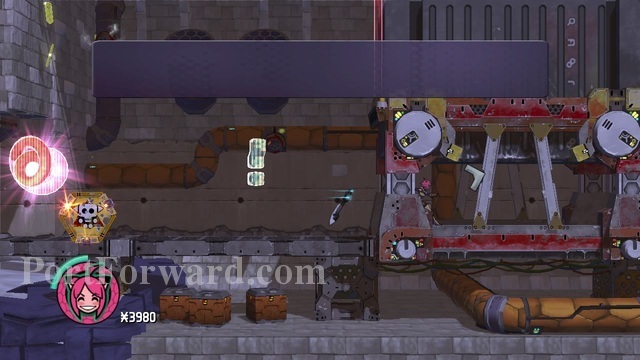
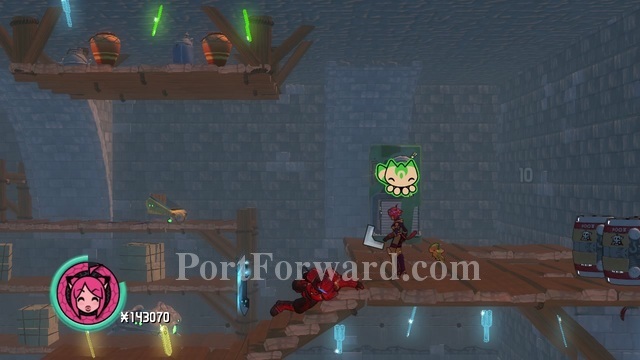
Up ahead will be the first "Brittle" floor introduced to you. Jump up twice, hold in your attack button and then press downwards to initiate a floor-smashing manouver.
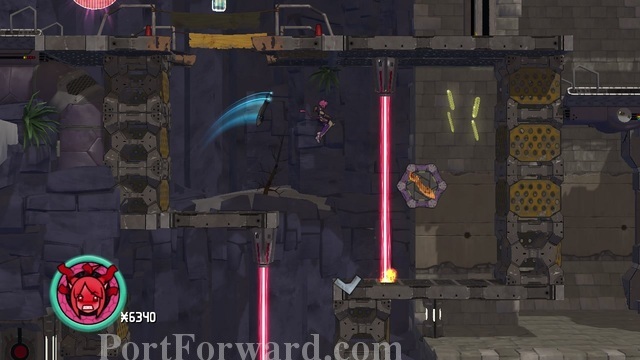
Down from there will be a button behind a laser. Ranged-attack it until it activates, giving you passage.
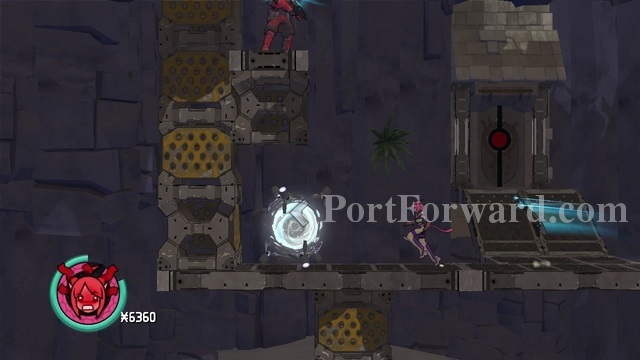
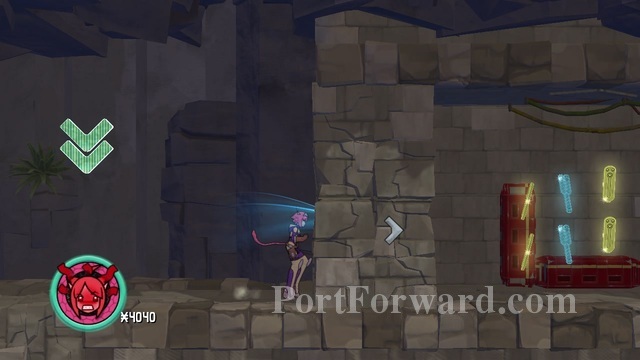
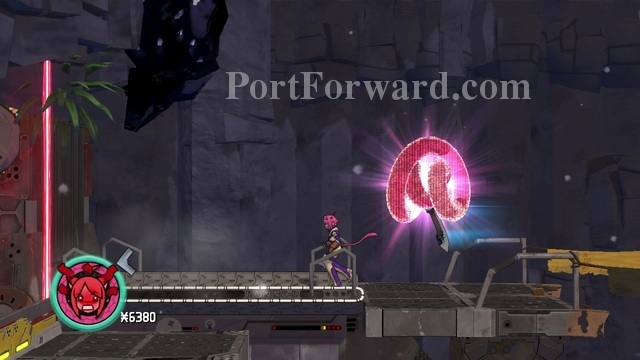
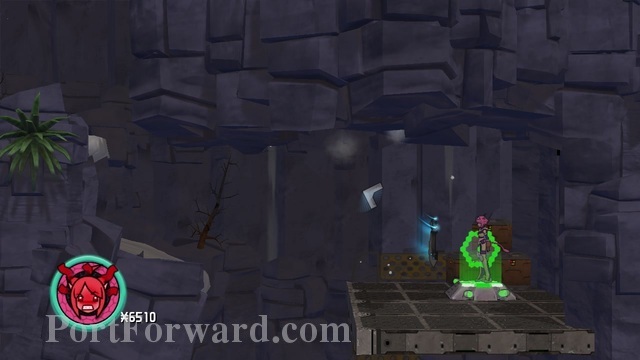
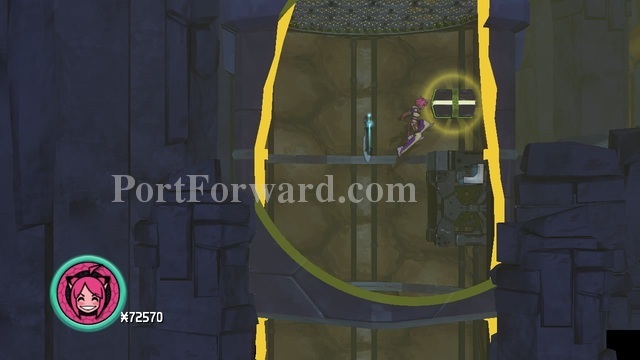
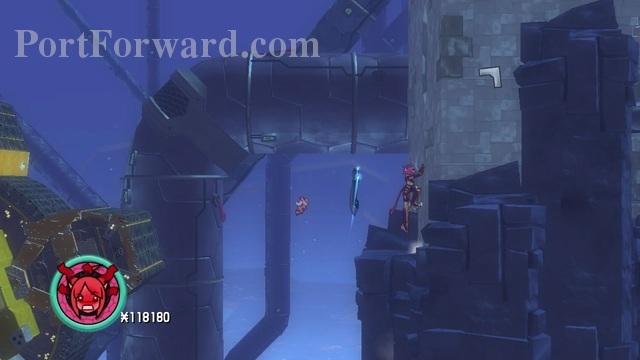
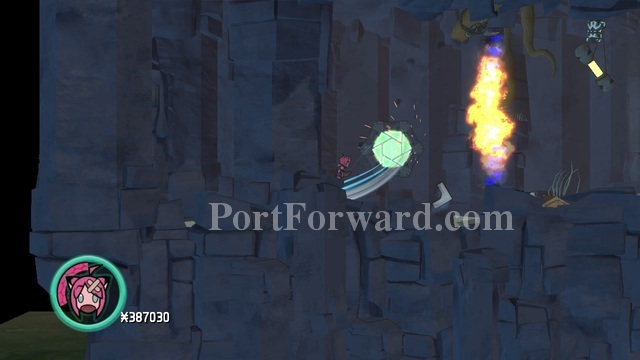
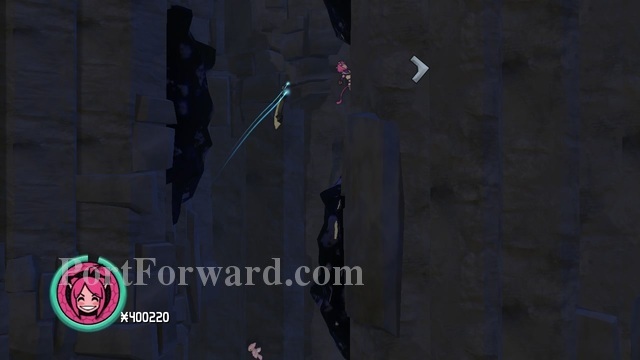
You'll then be introduced to a "warp bubble". It will teleport you (often close-by) where either a crucial part of passage will be or just treasure.
In this case, It's crucial to open the laser-gate where you crushed the floor.
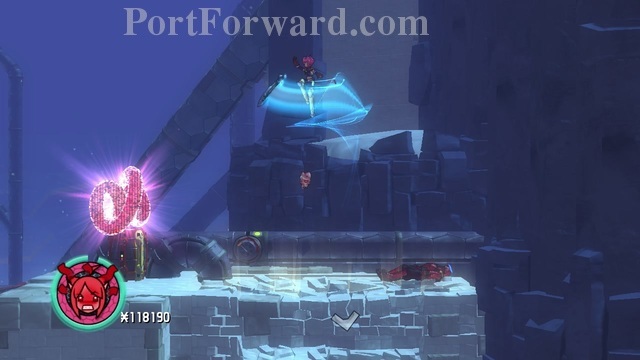
When you get out from the warp by going to the left, you'll be brought back to the treadmills. Run left and be cautious of the crushing blocks.
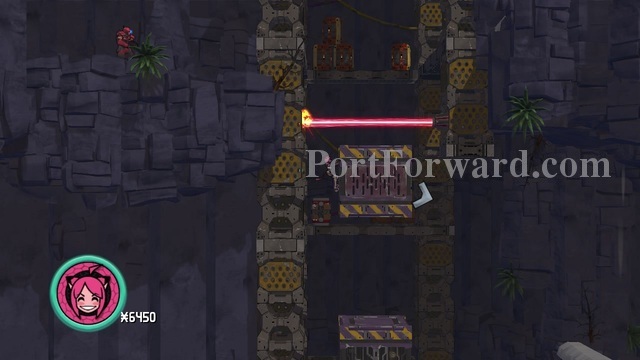
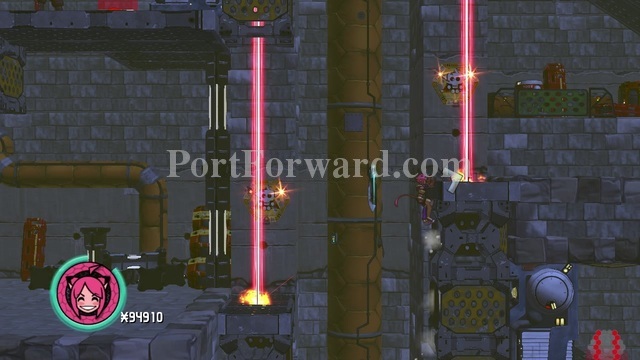
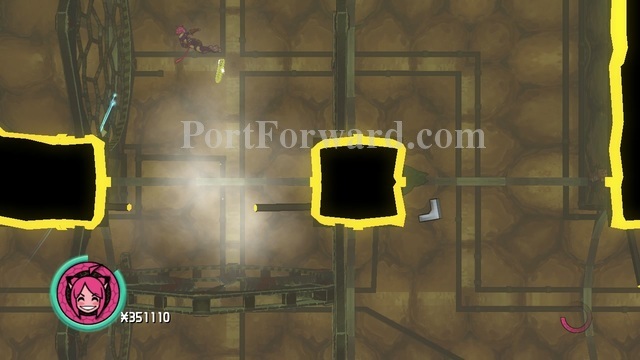
Once past the blocks, you will run into another puzzle. There are lasers in a shaft and upwards going boxes. Latch on with (Q) or simply climb onto the opposite sides of the lasers.
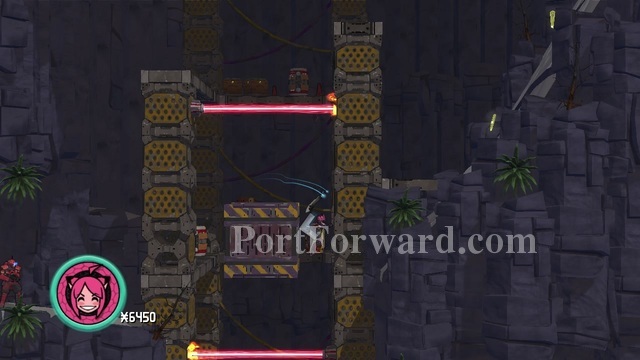
As the boxes traverse upwards, you will need to swap to the other sides.
Once you see the tight row of lasers, jump off to the right.
Head onwards and activate the red circle when you see it to turn off the laser gate.
Run up ahead and the next cutscene should start, ending the level.
Blade Kitten Walkthrough Skiff Happens
After the cutscene, you'll be given the task to chase after a small critter. It doesn't matter whether you get close to it, past it or not, just run to the right.
When the enemy soldiers are dead, run up to the gate and you'll be introduced to a new concept of using your new pet "Skiffy" to gather items and get past certain areas in the game. Press (E) when this symbol appears.
Run up ahead after the gate and onto the cliffs.
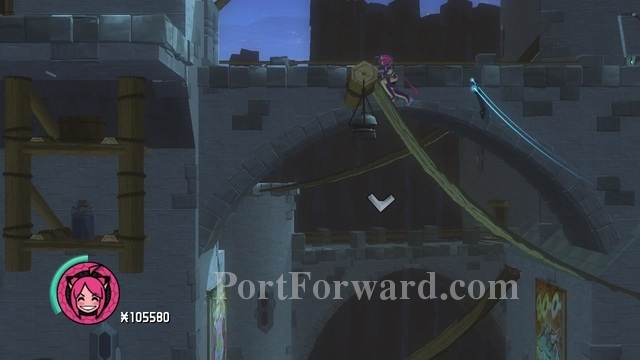
You'll come to another "Skiffy" checkpoint. Press (E) to lower down a climbable object.
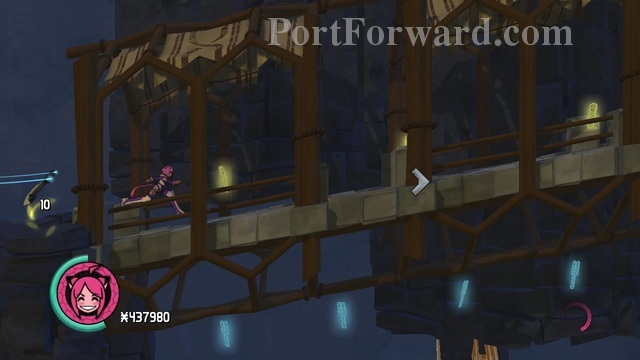
Once it's down, get up on the large telt-roof and head right.
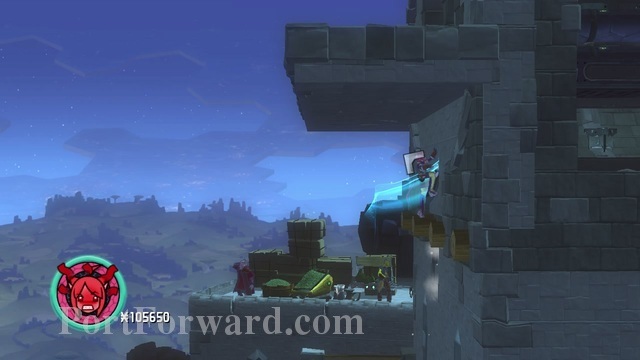
When you are up, press Kit up against the wall to your left and climb upwards.
When at the top, jump off the wall to the platform ahead.
After that, onto the next platform and keep going right.
A general rule in this level is to keep going up up and up. Look for arrows if you get confused at some point.
At the wall ahead, there will be traps that will within a certain cycle splurt fire out. Watch their patterns and avoid getting caught in it or you will fall off the wall.
Once up, head right and keep going until another Skiffy scene is available.
Get up on the lowered platform and push onwards.
The platforms will alternate up and down. Time your jumps to reach the far away roof ahead to the left.
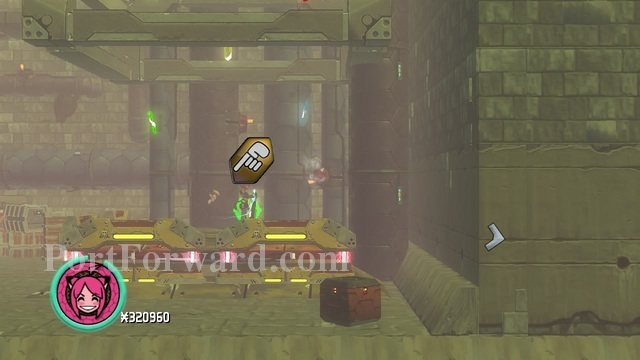
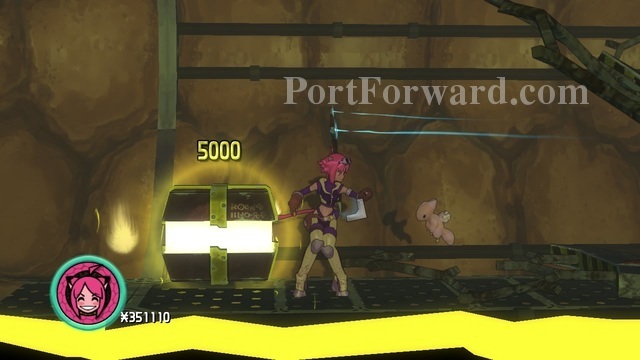
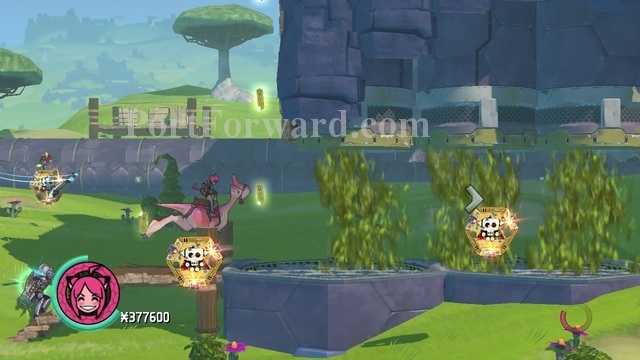
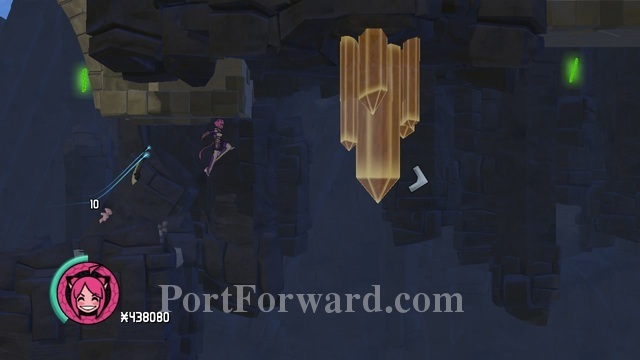
If you drop down at the edge of the cliff, there will be a "treasure chest". It holds currency for you to purchase suits and weapons with later. Nothing too important.
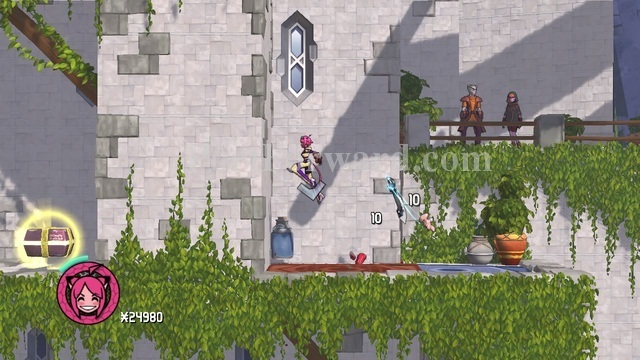
You will see quite a few of the treasure chests, being hinted at you often behind walls and other contraptions. They are rather worthless since money becomes abundant later on. Ignore them if you want and head up.
When you reach the relative "top" of the map, jump off, following the currency in the air.
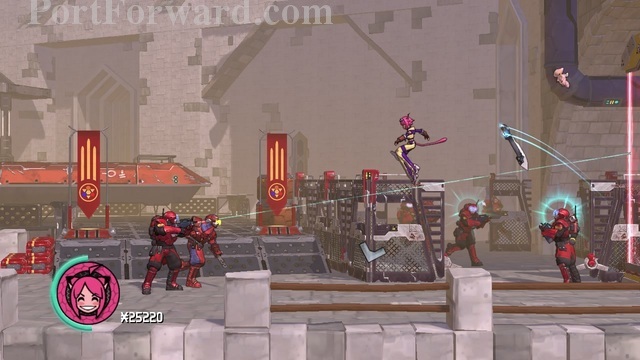
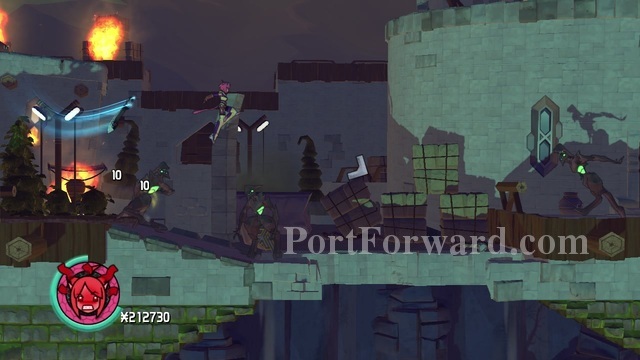
You'll run into another "locked combat" sequence where you will have to kill all the soldiers to proceed through the wall.
It's easiest to just camp the reinforcements after taking care of the "strong" mobs.
After the battle, you'll reach an elevator. Get on it and press (E) to lower yourself down, ending the level.
Blade Kitten Walkthrough Chasing Justice
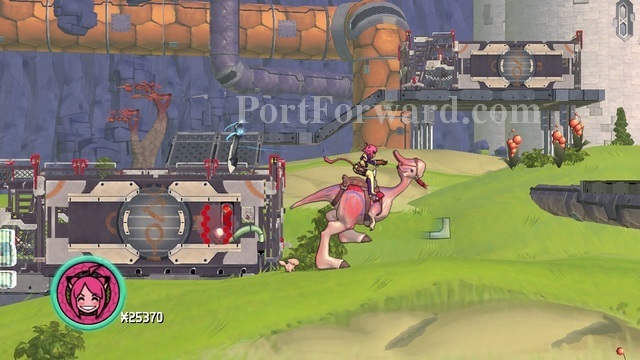
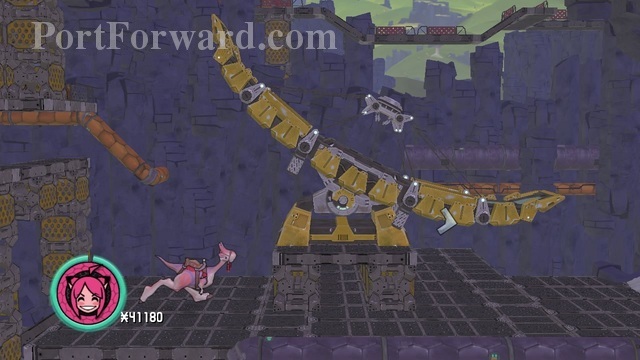
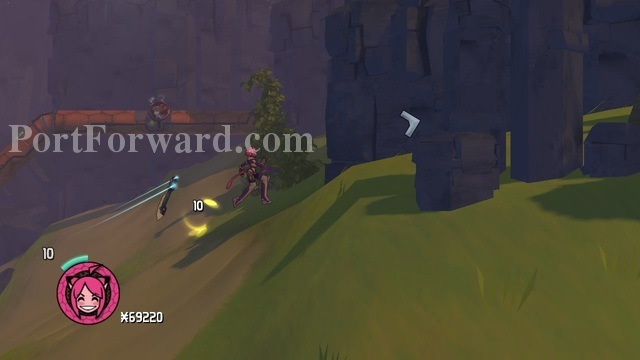
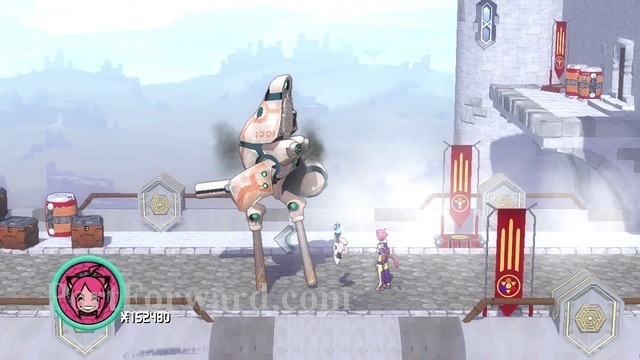
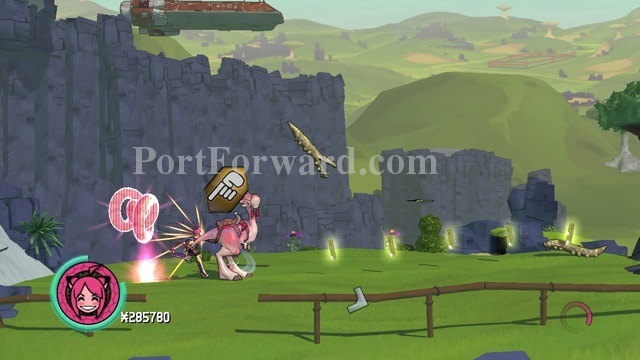
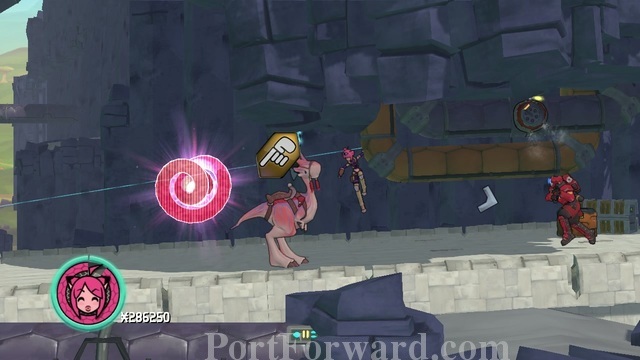
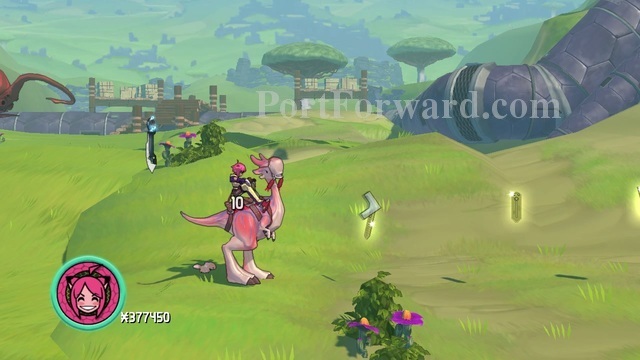
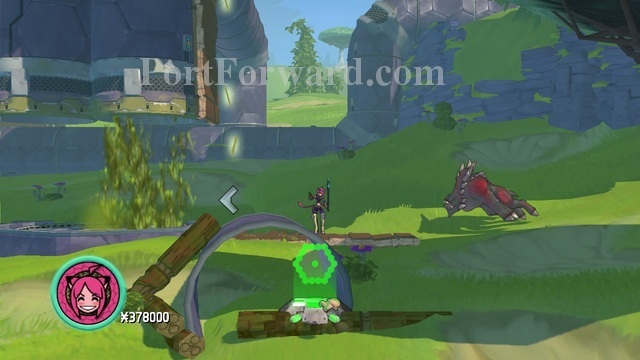
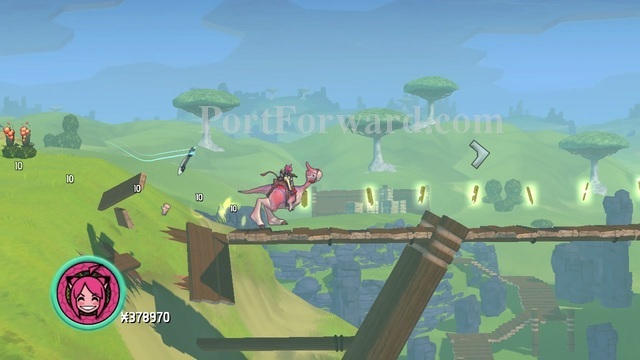
At the start of the level, you'll start close to a pink dinosaur, resembling a giant velociraptor in stature. This is Noot. He will help you traverse a lot of terrain up ahead in the game. Mount him by getting close and pressing (E) and start running right.
You will eventually come to a pair of "sewage" pipes. If either you or Noot touches it, you'll die. Dismount Noot using (E)..
And get up on the construct.
There will be another pottal at the top. Go into it, defeat the enemies inside, interact with the machinery and go back to Noot.
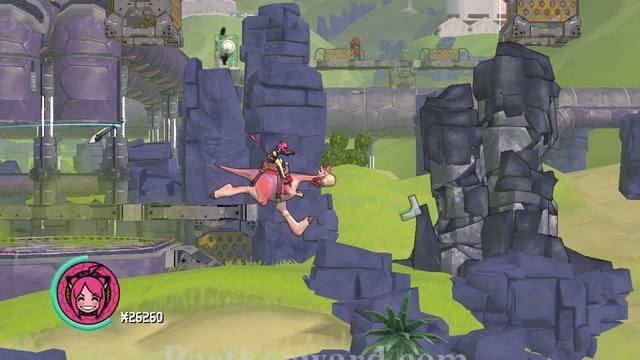
Once the green disposal is gone, move onward with Noot and once you reach the rock pillar, sprint with Noot by using (Left Shift) to make him smash the rocks down in his way.
Keep your stamina up and move onwards.
You will eventually reach a large building, blocking your way.
Dismount Noot and pass the building by walking beneath it and destroy the machinery on the other side to clear the way.
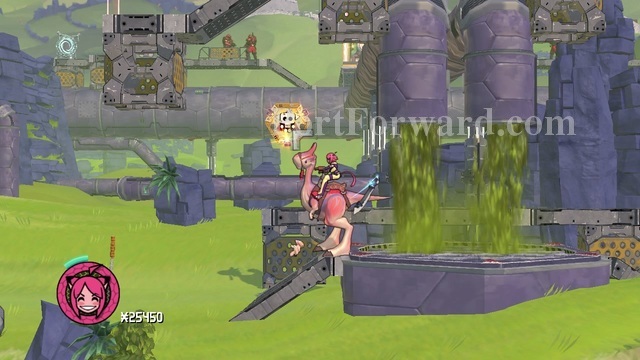
Once passed, you will come to a large ravine with a broken-down bridge. Sprint-jump on the very ledge on your end to reach the other side using Noot.

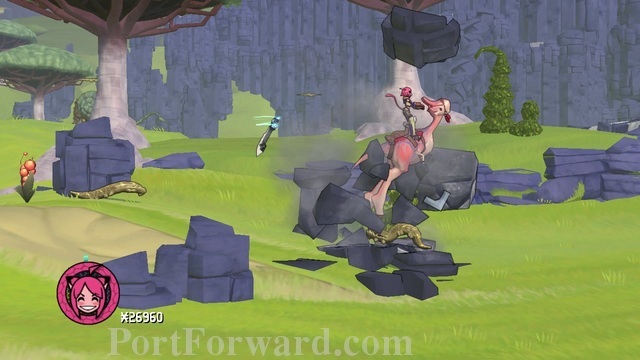
Up ahead, the game will start to introduce other breakable objects, including this debri. Smash it using Noot.
When you run into the bunch of rocks down in the cave, get off Noot and proceed on foot. You'll come across a large military complex. Start cleaning house.
Destroy the machines using your companion..

And a way should be cleared for you to go back to Noot and continue onward.
There will be a large crescent construct that blocks your path. Run up to the left, activate the button and start making the crescent machinery move back and forth to let both Kit and Noot pass.
More bad guys ahead after the blockage. Clean them out.
Reunite with Noot a bit up ahead..
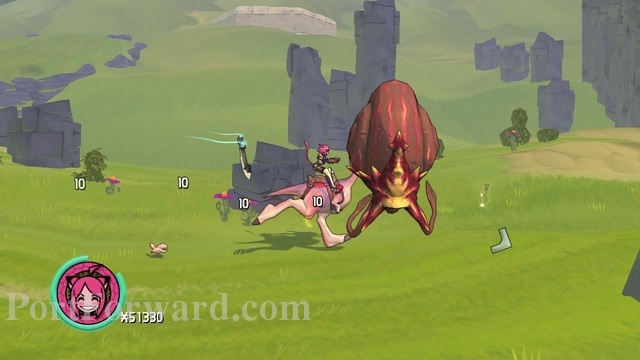
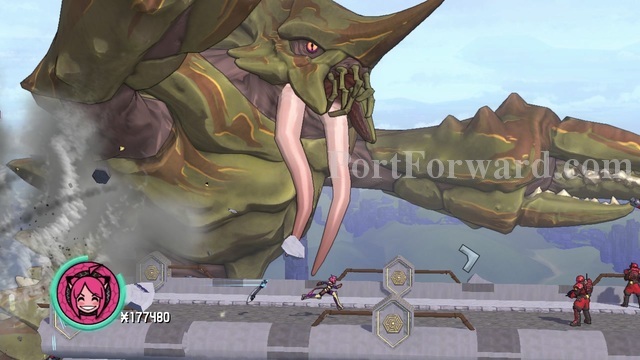
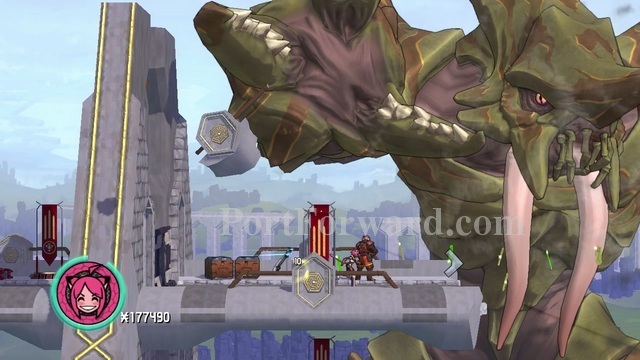
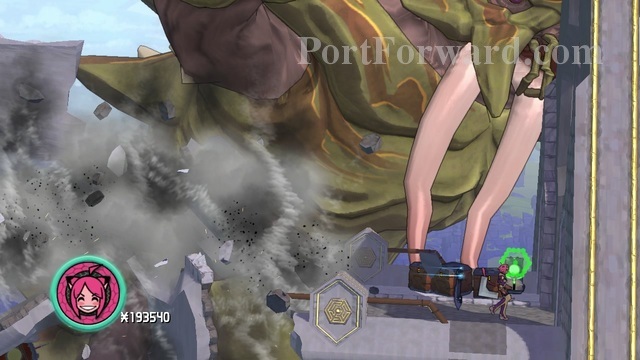
And continue moving forward until you come to a large valley with seemingly gigantic red squids crossing the plains. Avoid them at all cost since they will 1-hit kill you and Noot by the slighest touch.
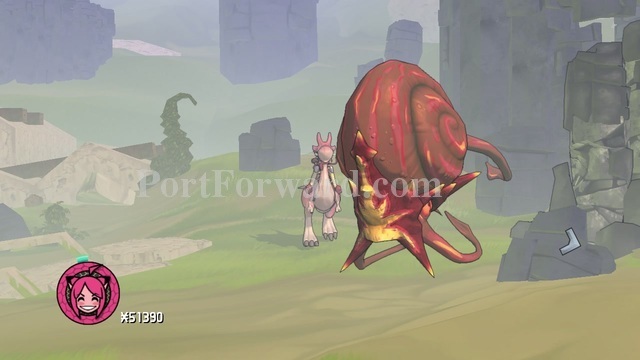
Slow and steady wins the race. Seeing them coming from a 2.5d field can be a bit tricky determinating their paths but in a worst-case scenario, trial and error will be needed at this part.

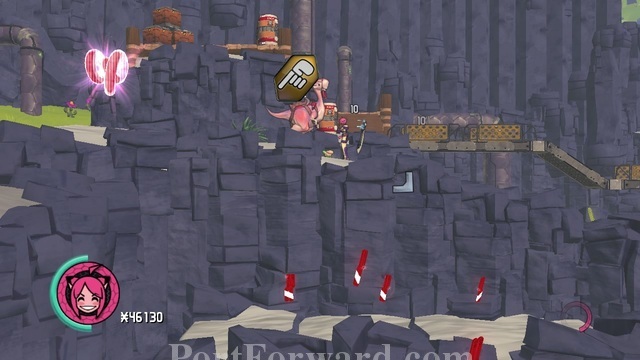
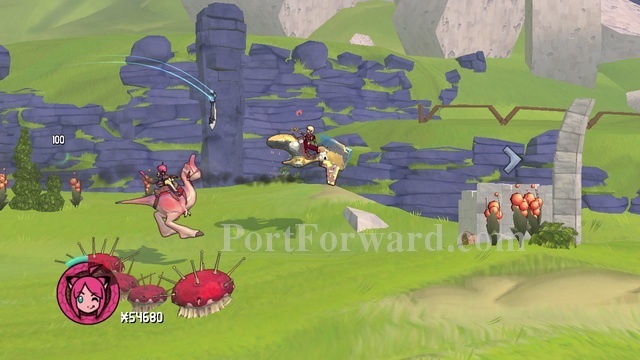
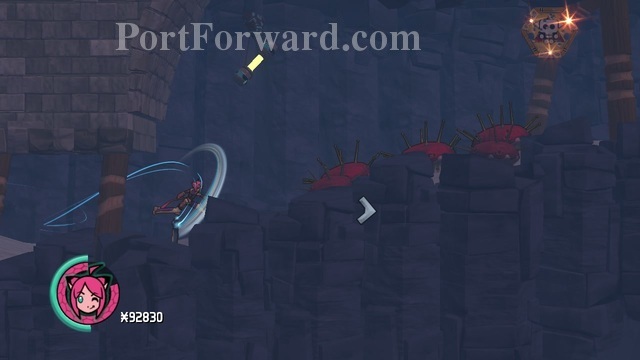
Half-way through the plains, you will also start to come across spiked mushrooms. These things act like landmines and when stepped upon, they will blow away 75% of your HP.
Continue onward and feel free to ignore the red soldier enemies. They have no chance of catching up to you, even less hitting.
Following the scarce amount of enemy soldiers, you will be treated to a cutscene and then a chase with Justice. Run to the right as fast as you can, avoiding any mushrooms and taking good use of the sprint-jump speeds.
During the chase, another HUD will pop up to your top-right, displaying how far behind Justice is. Beat her in the "race" and the level will be complete.
Blade Kitten Walkthrough Urb Ex
Run up the hill to your right.
Keep going all the way right until you hit a stop. When you do, start heading left and then downwards. Don't forget to destroy any weak objects in your way.

Eventually, you should reach a "ventilation" system. Golden rule is to head downwards and a bit right for now.
Go anywhere else than that and you're likely to run into treasure. Explore as desired.
The occasional (Space, Space, M1, Down) may be needed to crack through some floors.
There will also be arrows at some of the more confusing sections. Follow them accordingly and continue going down.
Once you hit the sewers, pipes will become a common sight in your path. Remember to wall-jump off them or climb another surface.
Buttons behind lasers will also be common. Get comfortable with that (M2) button.
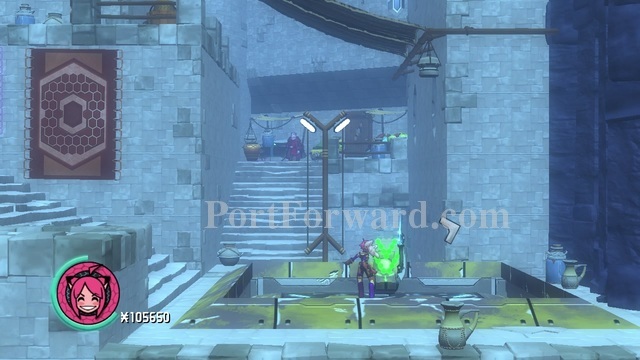
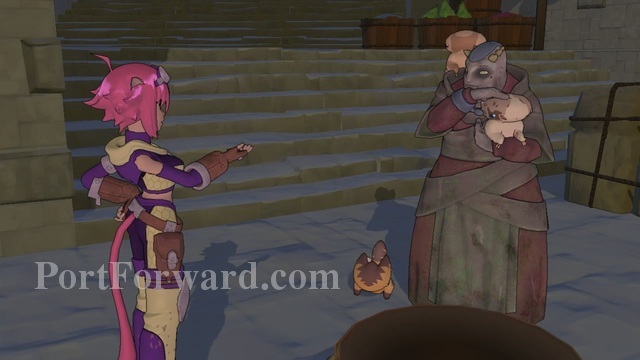
Converse with any NPC's you'll come across. They will be plenty and often necessary to proceed further into the game. (ESC) skips the cutscenes.
The terrain will have a high likelyhood of being confusing at this point. Remember to head up and that Kit can easily escalate up any roof.
Some enemy soldiers up ahead. Fight then talk to the nearby NPC afterwards.
You're very likely to come across a gigantic cogwheel and a filtering laser. Getting through with the laser on is possible but VERY difficult but not necessary. Instead, head left and down.

Activate the nearby button beneath and your path should be clear.
Interact with any functions and start walking inbetween the moving lasers.
Once free, jump further down and then right.
Spike mushrooms ahead. Same rule goes here, don't touch and climb the roof instead.
Once you hit a dead end, start going up again by using the wooden pillars.
Keep going up and get beneath the narrow path ahead by using (Left Control) to slide.
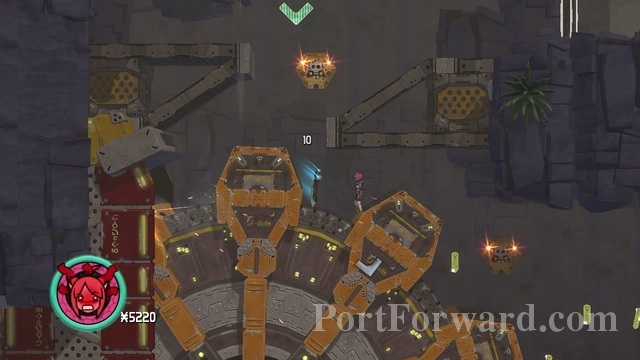
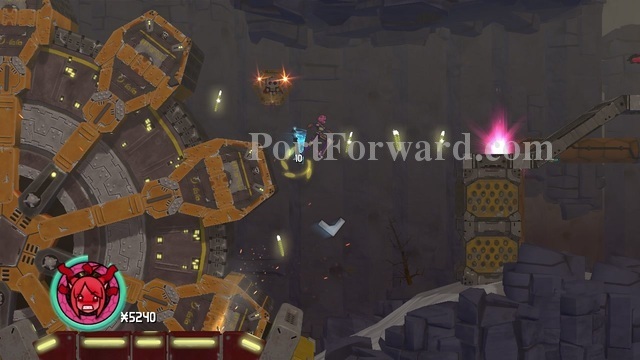
Up here, you will be re-introduced to the jumping pillars. This time, they will ocassionally splurt out flame, making them unavailable to stand on. Learn the routine and get over.
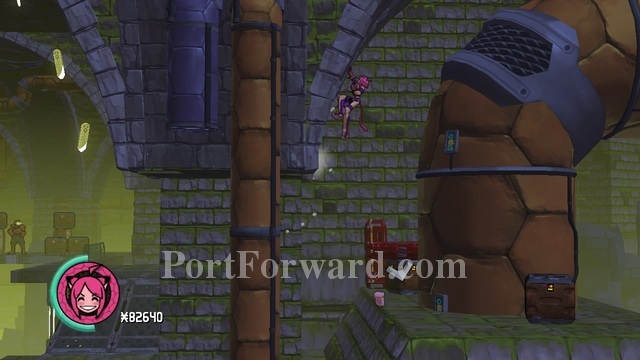
Keep going up, up, up. Walljump where there are pipes.

Remember to climb the roof. It is almost necessary more than half of the time during these parts. Smash the fluorescent tubes you come across if you want extra money.
Some overly complicated map layout ahead. Ignore it if you don't want treasures and keep going up, then right.
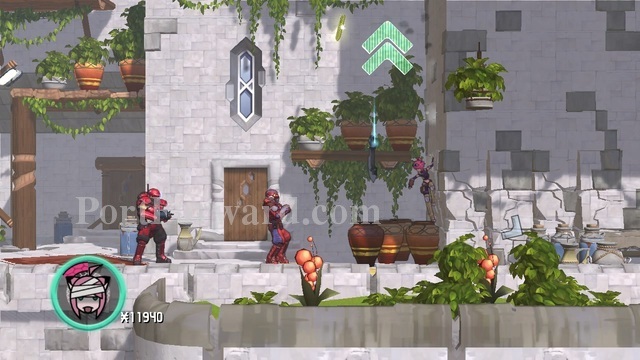
Seeing pink checkpoints means you're on the right path. Small fight ahead, take out the enemy soldiers to proceed.
Once the soldiers are dead, go up and meet the next set of pillar-jumping challenges. This time, you also have sewers both above and beneath you, causing insta-deaths.
Once you reach this part, go up, talk to the NPC, then go more up and clear out the enemies while activating the buttons to open this door.
Talk to the NPC, get the door open and take the elevator up.
Once up, work yourself through the next batch of enemies before proceeding through the laser gate.
After that, keep going left and work yourself up the city.
When you have sufficient amount of height, start going right to a great, big wall. Climb up under the balcony and the level is complete.
Blade Kitten Walkthrough Exodus
Go right and use the elevator down.
Once down, head right and start working yourself further down.
Buttons to cages will come up. Interact with them after killing all the baddies.
Take the next elevator down.
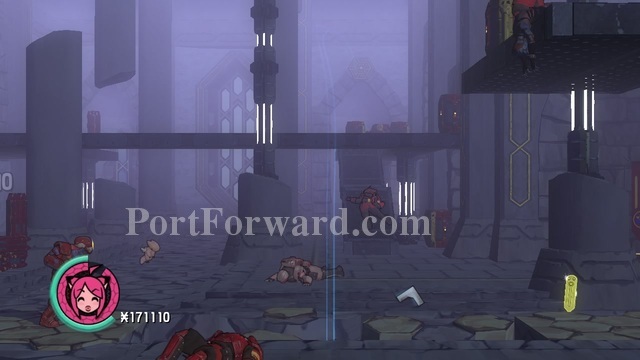
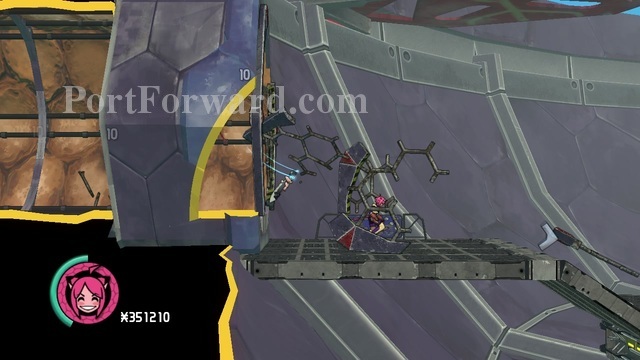
Work yourself through some more baddies and you should arrive "outside" again on a large section of pipes. Remember that you can only walljump on these things, not climb.
Squeeze yourself through the narrow path ahead and get on the giant fan.
Once up, you should discover a huge set of spinning cogwheels. Run under them and then up on the wall.
At the edge, jump from the cogwheel onto the wall and climb up.
Smash yourself down the brittle floor.

Once down, open the cage and keep going right & up. You'll come to a small laser puzzle. When the laser is at the opposite side of you, run under the car.
After the puzzle, you should be back to the more open spaces with wood platforms.
When you come to a large laser cannon, go up a pair of steps..
And ruin the machine. This will unlock the cannon for your use.
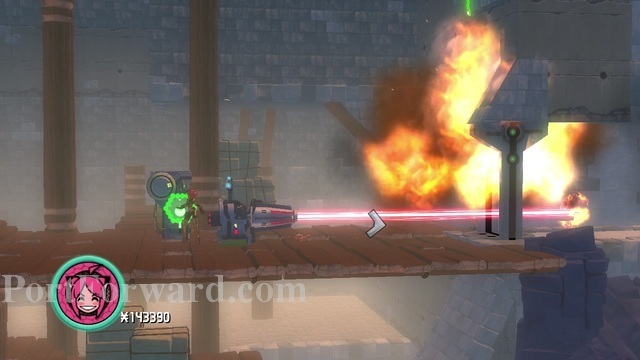
Once used, the door will "open" and you can proceed.
Continue through the marketplace until you come to another "car". The level will then end.
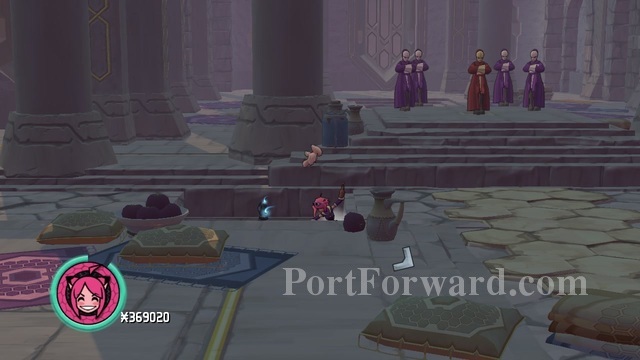
Blade Kitten Walkthrough Collaborator
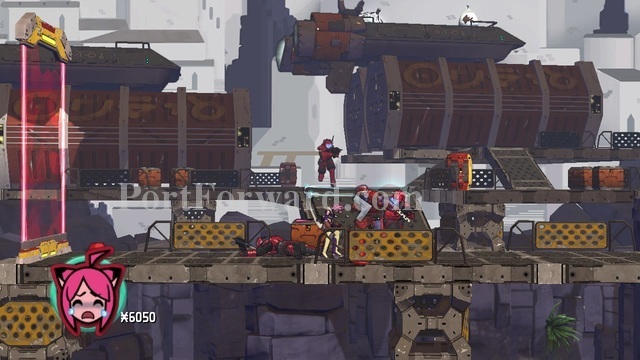
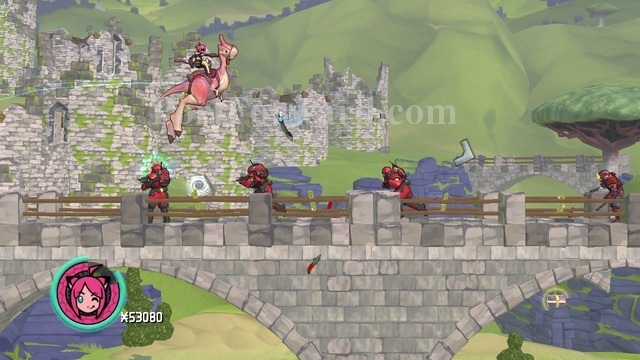
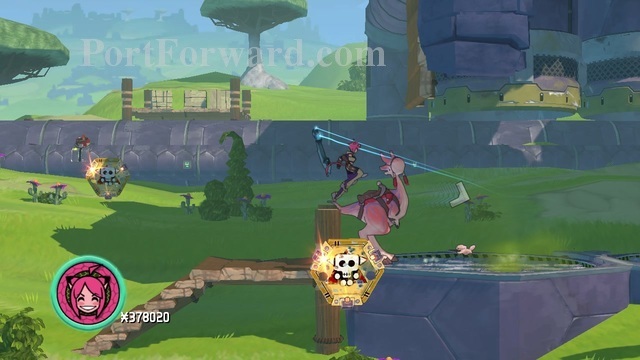
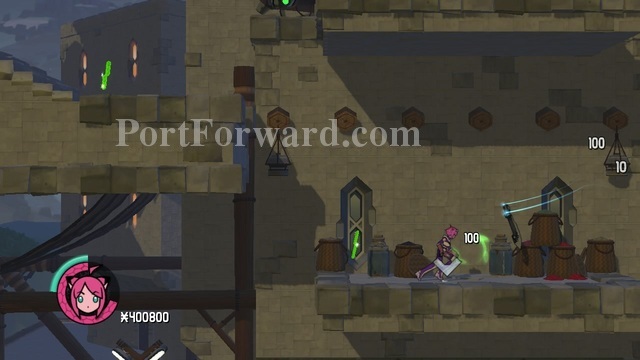
Once you got the risk, run through the battlefield to the right and scale the large "castle" wall and gate.
When you are inside, head upwards through all the wood platforms and enemy ninjas.
Interact with the button to open the way further up.
You will eventually reach a conveyer belt of boxes. Latch onto them from underbeneath and hitch a ride further up.
Once you reach the first ground, get onto their left side to avoid being shot off by lasers.
Then once you reach the next ground, swap between from being ontop of them to being on the bottom.. There will be lasers on the floor and ceiling.
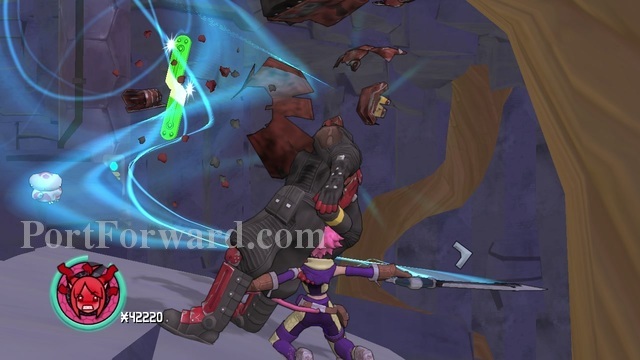
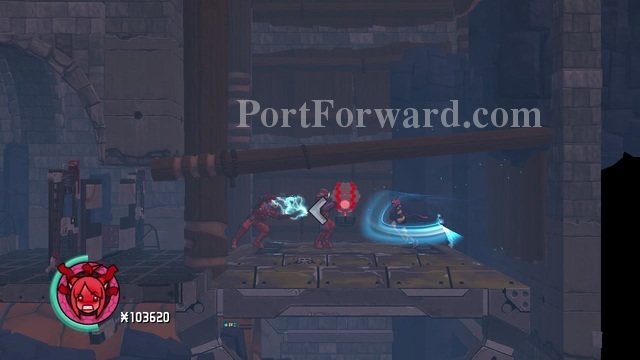
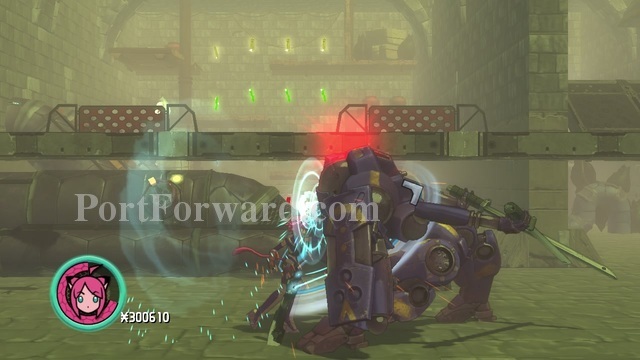
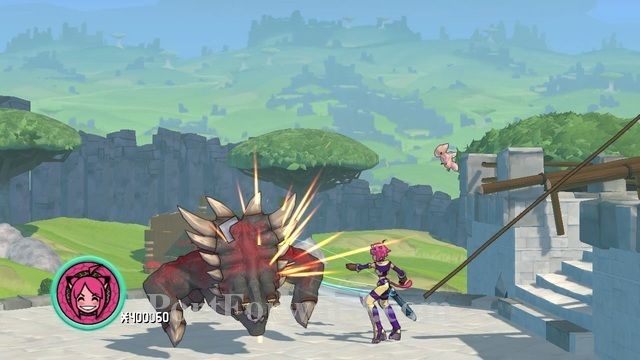
Once you're past the lasers and outside, you will encounter a boss. Whack him repeatedly at his legs
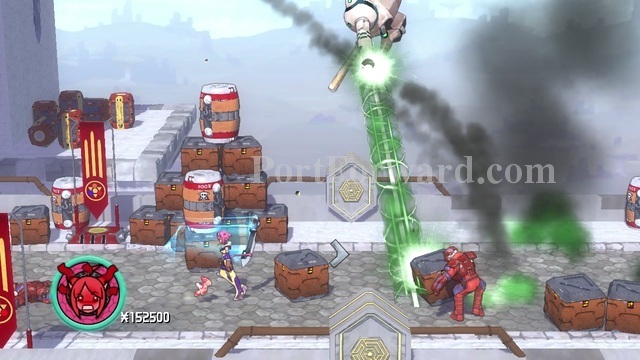
Avoid his barrage of attacks while he's off the ground and wait for your next opportunity to hit him.
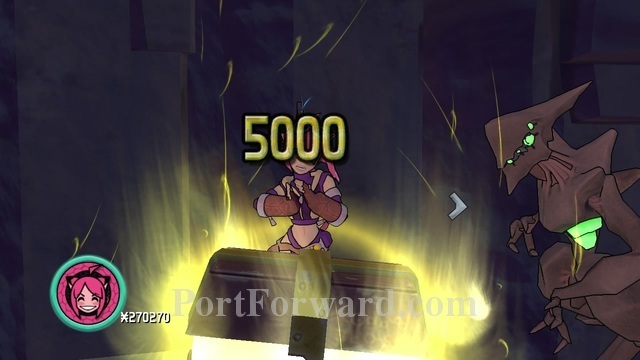
Once he's dead, grab the cash bonus of 10000 and start climbing up the wall on your right.
You will arrive at a large hall. Smash through the floor in the middle before the mist gets too thick.
There will be a tons of floor you have to get through. All are quite shined up so it shouldn't be a problem locating them.
Keep going down & right and you should eventually reach this NPC.
After the cutscene, dash right, out of the castle and start climbing up the cliff, ending the level.
Blade Kitten Walkthrough Acland
Dash to the right as soon as the level starts.

Look ahead and jump when there's a fire or any other obstacle.
Once you get through that short segment of a wall, the monster chasing you will start to tear the construct apart piece by piece.
When he is done demolishing to the bottom floors, start running right again..
And wait for him to tear down the rest.
Head more towards the right and a cutscene will start, ending the level.
Blade Kitten Walkthrough Darque Nights
This level will be very straight-forward. Go right, down, left, up.
Once you come across a large hole, jump down into it.
The new kind of mobs should be swarming you at this point. Take them out to create some breathing room for Kit.

When you're through the pipe-system in the earlier tunnel, get up and crash through this brittle floor.
Interact with the button to create a path through the sewage-spewing pipe.
Keep working yourself downwards.
Activate the button..
To blow a path through the cliffs to your right.
There will be a LOT of money-chests in these cave systems. I recommend throughly exploring while fighting off the enemies.

You will eventually reach to the "bottom" of the cave where a fight to the death will commence, ending the level.
Blade Kitten Walkthrough Berserk
Head down right and off the cliff to reach Noot.
Go right until there will be a section of pipe blocking your way. Get off Noot and proceed on foot.

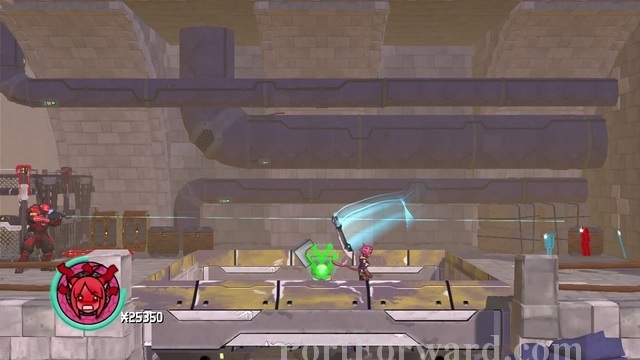
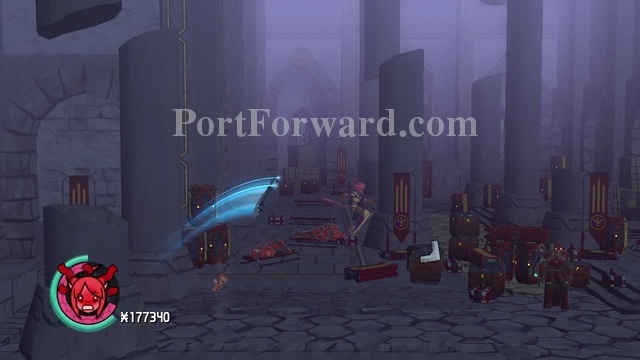
Enter the sewers and you'll be greeted with a new foe. They will swarm you from every possible direction and becomes real annoyances when in any number higher than 2.
Go right and destroy any cocoon you come across.
Head up the elevator and take out the cocoons before proceeding right..
Lower the lift and continue onwards.

You'll come across a section with moving pillars. Keep going up..

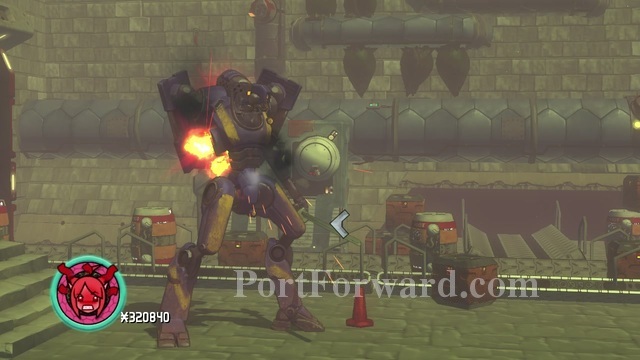
Until you come across a large mecha boss. No real tactic with this one except non-stop attacking.
Jump over and hit him from above/the back whenever he gets into his "prone" blocking mode.
He'll eventually have an arm destroyed and flee.
Continue down, left and down after that.
The mecha will appear and disappear again. Same strategy.
Go up the elevator after defeating him.
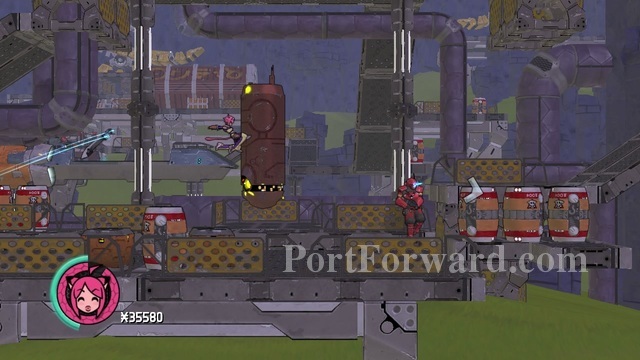
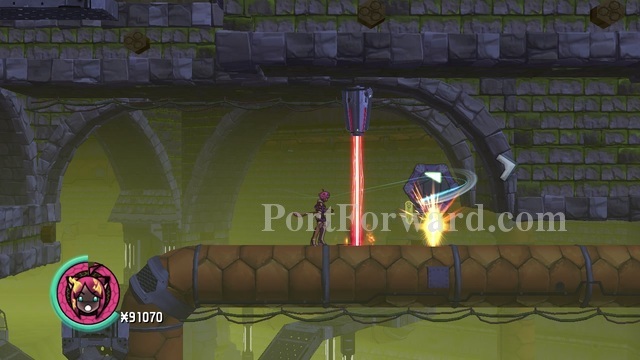
There will be a large laser puzzle up ahead. Destroy the buttons to your left using (M2) before the platform reaches up.
Once gone, the pipe will then instead start giving out a large air-flow. Use (Q) to impale your sword onto the platform.

Head further up after that.
Once out of the small sewer section, head left and start working yourself through the long ventilation shaft.
Once as far up as you can go in the ventilation shaft, you'll come across a timed air-flow. Destroy the ventilation fences and watch your timing to get through.
Run under once the giant fan floats over you while you're in the hole.
Loads of treasure to be found here too. Explore if desired.
Once you see it, ride up on the horizontal going fan.
Blast yourself through the exit..
And engage another mecha. Same strategy. Once he's dead, the level will end.
Blade Kitten Walkthrough Sisterhood
Head down the valley and start going down-left once you can't go right anymore.
Talk to the NPC to be taken to the next area.
Head down through the floor after the cutscene.
This area will be very straight-forward. Down and right with a lot of flying bugs around. Take your time and destroy every cocoon you see.
Eventually, a new enemy will be introduced. They will be similar as Noot, capable of breaking through walls with some "encouragement".
Lure the new foe to destroy the walls for you by hitting him and latching onto said wall or roof.
Head further down after the segment of walls have been destroyed and jump across the goo pit using the floating rocks.
Grab the artifact on the altar..
And make a run towards the left after the cutscene.
After the soldiers steal the Artifact from you, smash through them and head left & up.

Keep fighting until you finally get outside and into a nearby car, ending the level.
Blade Kitten Walkthrough Vor Hunting
Head left and get on Noot.
Stop once you reach the segment of sewage pipes and scale the construct on foot.
There will be a series of buttons you will have to interact with.
Once done, jujmp down the other side and make the "Vor" destroy the wall.
When at the other side, make your companion trigger the last button..
And reunite with Noor.
Eventually, you will reach a brittle bridge. Sprint-jump through it and work yourself through the valley ahead down.
Two sewage pipes will be blocking your way once again. When this occurs, go left and activate the button.
Once they are dealt with, go right and watch out for falling down in any pits or holes. Sprint-jumping with Noot is golden.
More sewage pipes ahead.
Get off Noot and make your companion get rid of them.

Once outside, head left and work yourself through the small segments of ventilation-shafts under the bridge.
Keep going until you reach a huge Vor, running around on a building. Kill him and the level is complete.
Blade Kitten Walkthrough Hidden Fortress
Head right and climb the segments of walls.
This level will also be relatively simple, mostly featuring a city with platforms.
Head up and go right.
Your objective will be to find these NPC's and talk to them while working yourself upwards.
When you meet the first one, head left.
Once you are at a sufficient height, the next NPC's location will be hinted. Go there and fight off any nearby enemies, orelse you won't be able to talk to the NPC.
When you meet the third and final "witch", run right.
Jump down any potentially risky ravines or fjords..

And talk to the NPC once you run into the big gate in order to open it.
After that, there will be segments of platforms, forcing you to go up, left, up, right, up, left, up, right.-
Jump down the ravine..

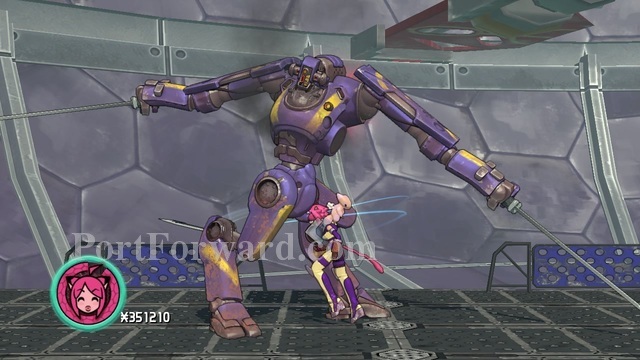
And into the giant mecha boss, ending the level.
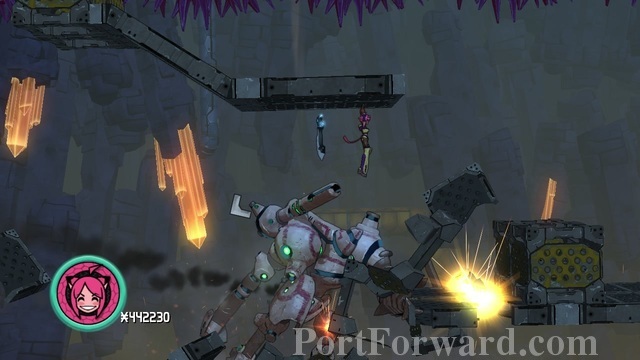
Blade Kitten Walkthrough Dreadnaught

This boss-fight is fairly easy but with instant-kills if you get too careless.

Once the boss gets close to the platform to fire its laser, get even closer to her and throw your sword into the mecha, using (M2). Then pull her close..
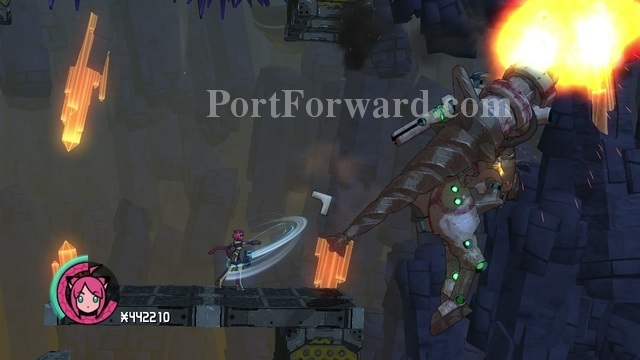
And melee-hit her violently into the cliffs.
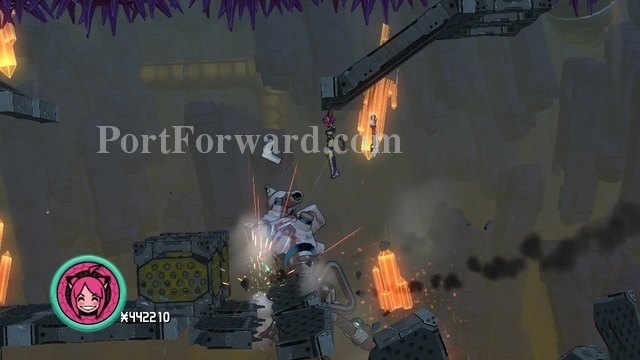
Every once in a while, she will use her drill to destroy the platforms below you. When this happens, either run to the other side or stay climbed/attached/impaled to your current roof.
It makes great cover being climbed onto the floor when she destroys the crystals.
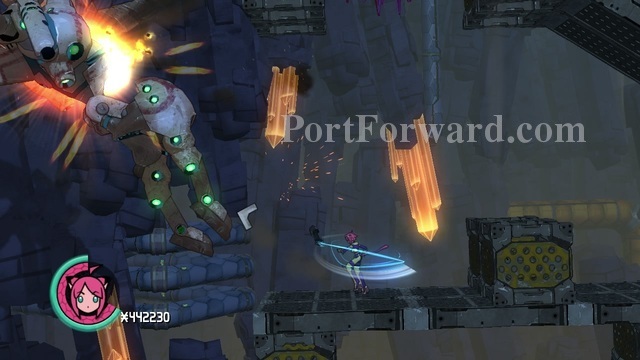
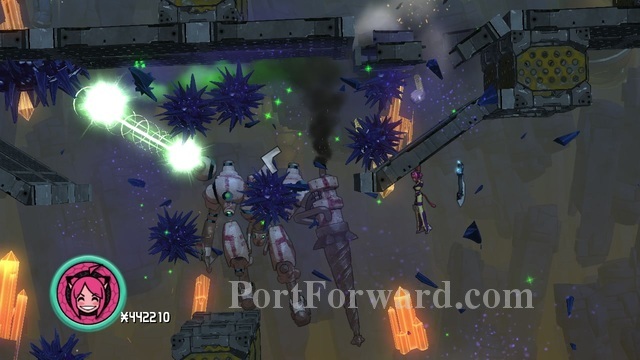
Keep slashing and blasting her up once she fires the laser.
And be ready to evacuate the floor at any given moment.

Pay in mind that floors will come in different designs as you get further up.
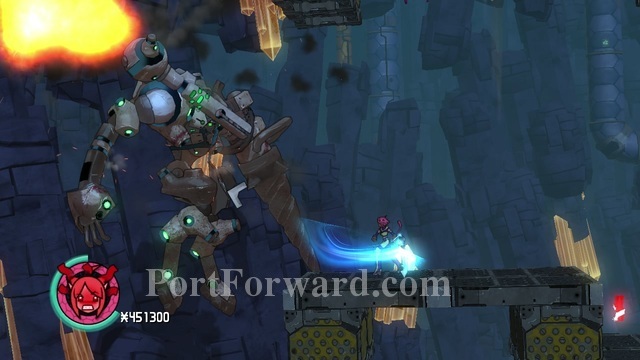
After 5-6 hits, she should eventually get defeated and initiate a long cutscene, ending the game.
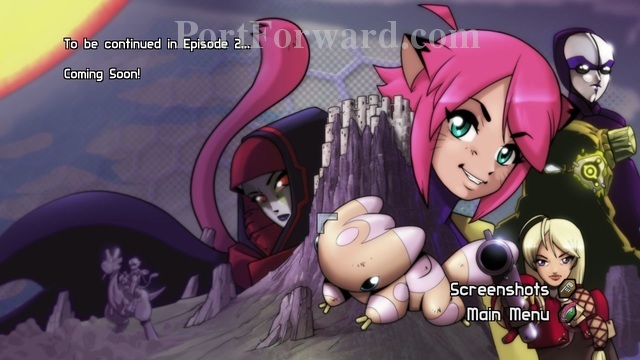
And that concludes our Blade Kitten, "Episode 1" walkthrough!

 Braid Walkthrough Introduction
 Batman: Arkham City Walkthrough 1. INTRODUCTION
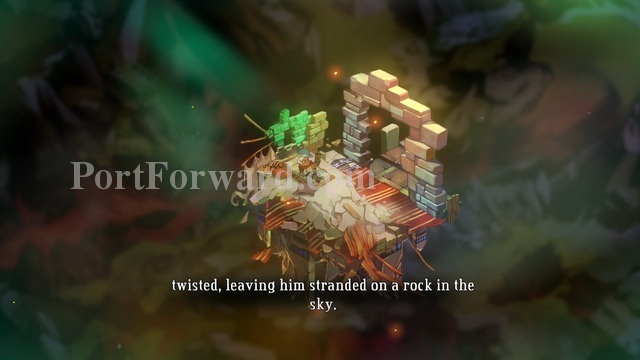 Bastion Walkthrough The Beggining
 Banished Walkthrough Banished - Starting out