Bioshock Infinite: Burial at Sea - Episode Two Walkthrough La Poche Du Temps Cafe

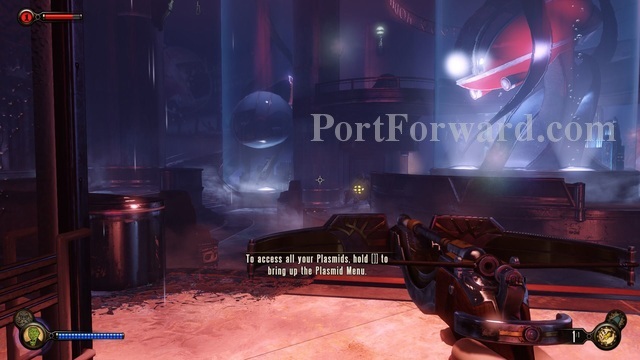
Welcome to Episode 2. If you are wondering if I'm going to continue an attempt at Noir walkthrough-ing- this episode doesn't really attempt to continue the tone of the first so I won't really be doing that. Sorry.

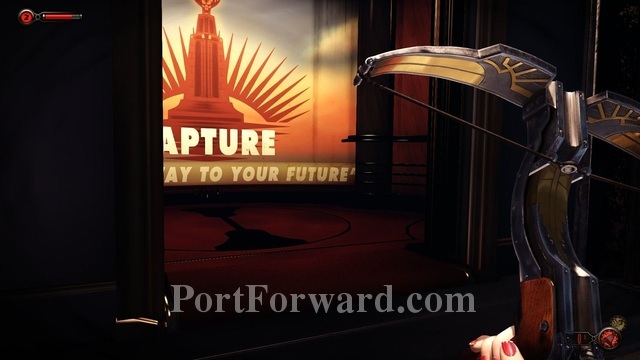
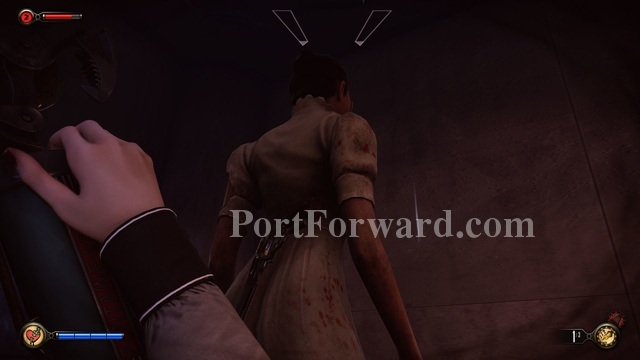
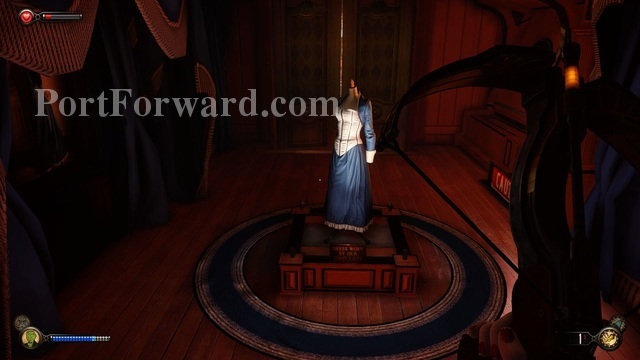
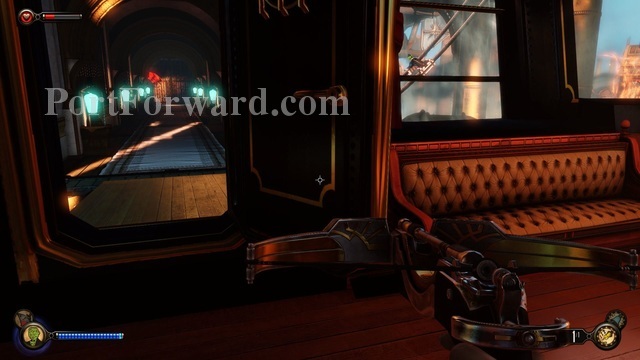
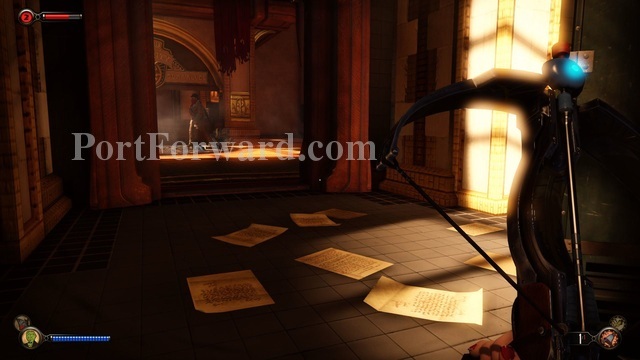
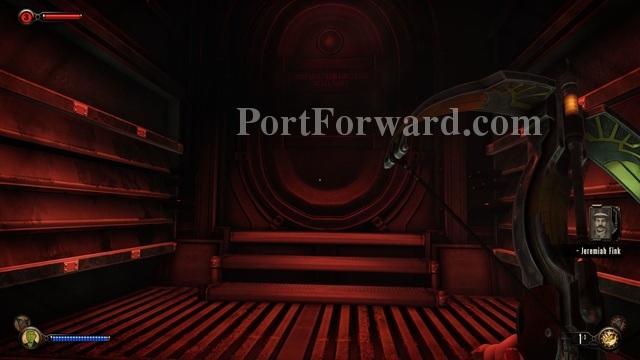
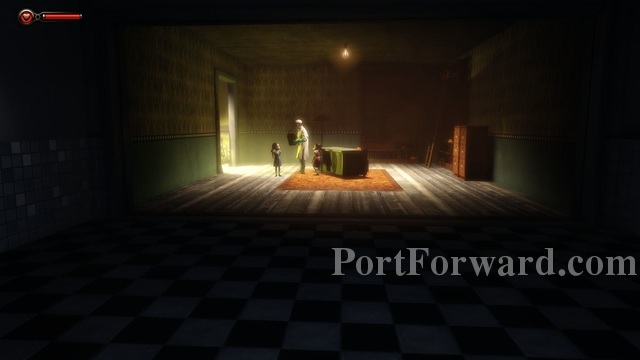
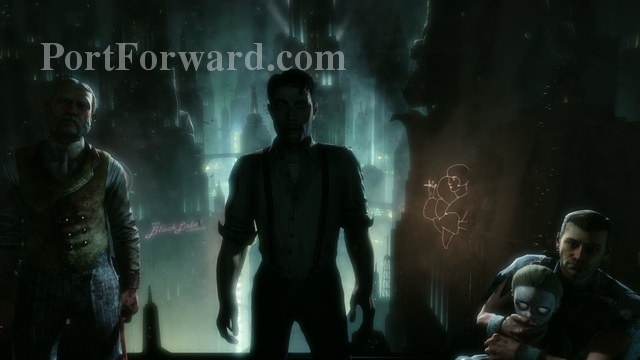
The game opens as Elizabeth sits at some sort of cafe. If you didn't know already, you play Elizabeth in this episode.
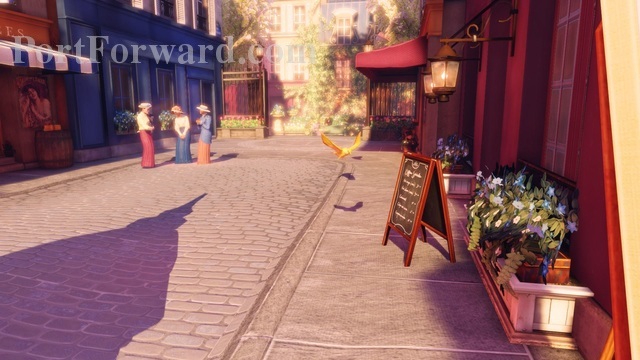
After you get control of Elizabeth you can begin exploring. When you get to a sign post just ahead you can go to the right. I wont be going that way with pictures, as there is nothing to pick up nor any story reason to do so, but if you want to explore you can go that way first. The walkthrough will be here when you get back.

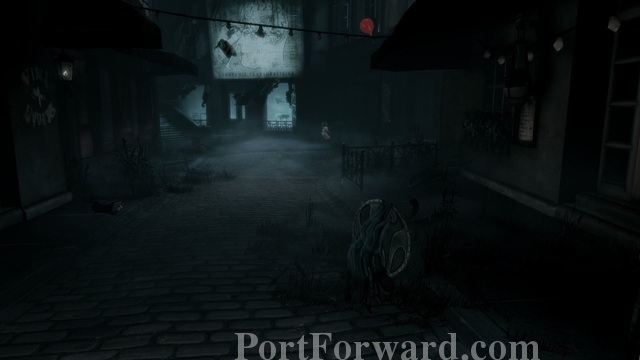
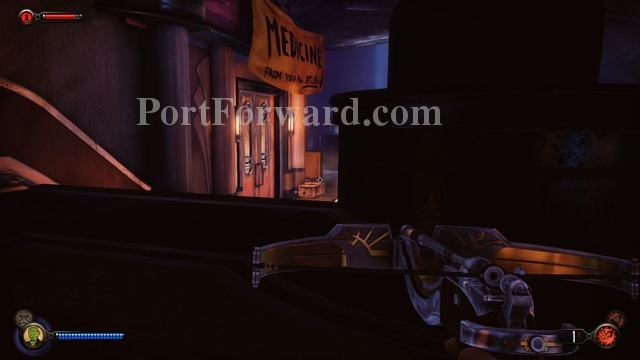
When you're done head to the left. You'll notice, almost immediately actually, that Elizabeth seems to be in Paris. Everyone is really nice. Maybe a little too nice, if you ask me.
At the next corner head to the right.

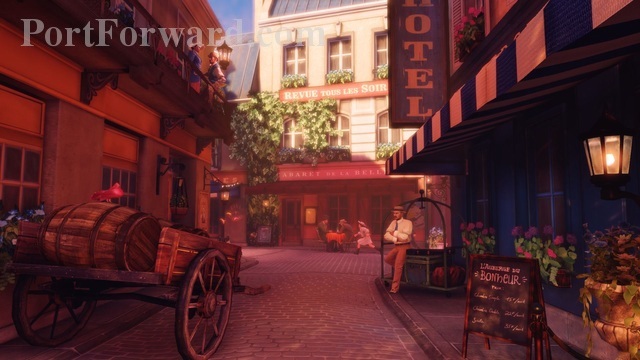
Go past the motel and take a left. Continue down the alley.
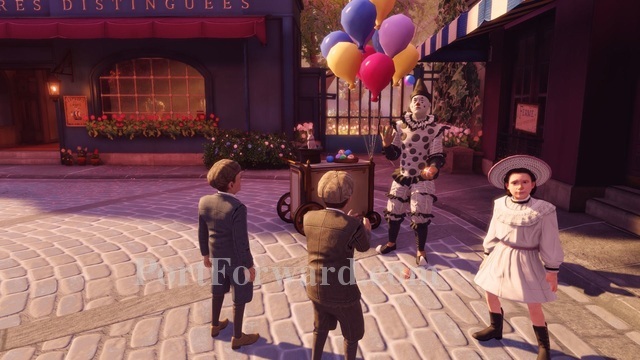
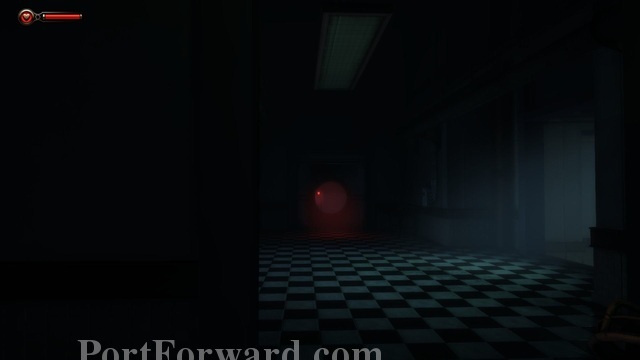
At the end you'll get to a group of kids around a clown- Elizabeth briefly has a conversation with one of them (well, one sentence really).

If you look to your left, also, you'll notice a rabbit in the grass . You may remember another rabbit, but I'll leave that to you (I never found an explanation for them).
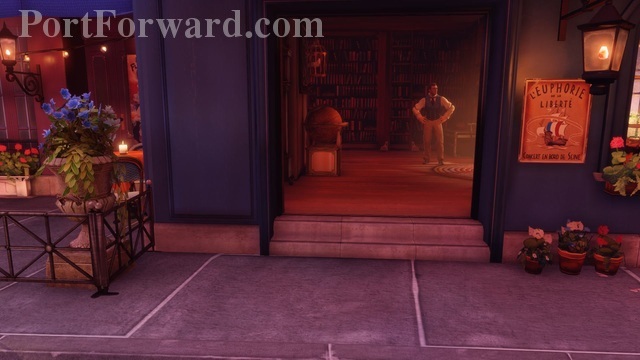
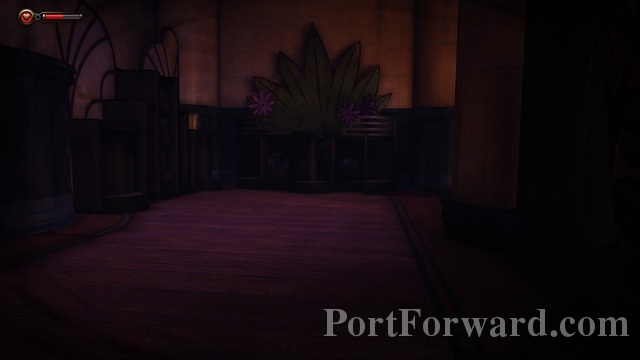
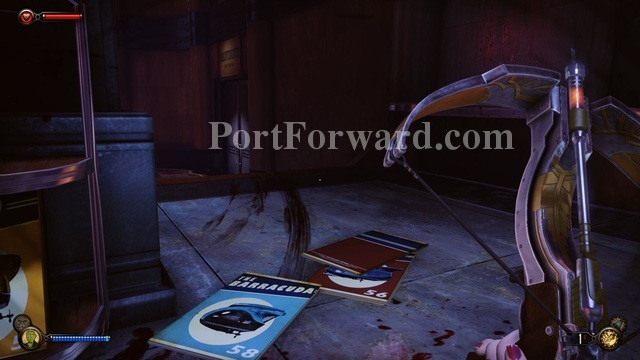
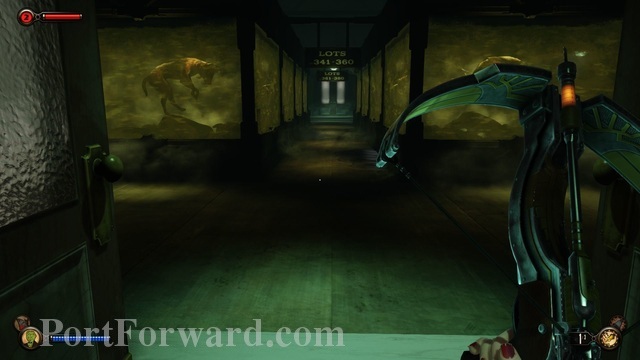
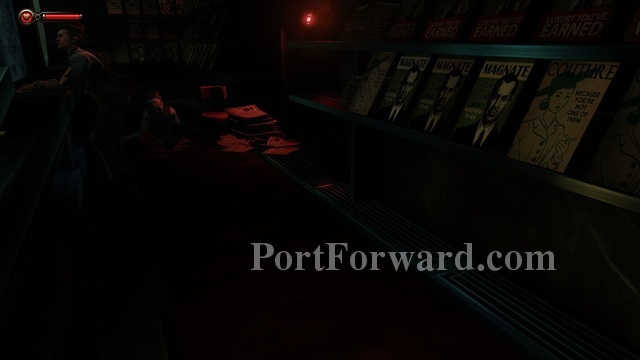
While heading to the left of the clown you'll come to a bookshop on your right. Go inside for a second.

There isn't actually anything you can do in here, but I just like this moment because it's almost like they are parodizing, a bit, something that the design of Elizabeth exudes. See if you can spot it.

When you're done in the bookshop take a right from the store.

At the end of the street take another right. You'll see a lot more people here- playing music, selling fruits and vegetables, etc.

To the left of the musicians you'll notice a small path you can walk through (you cant get around from anywhere else) between two vegetable carts.
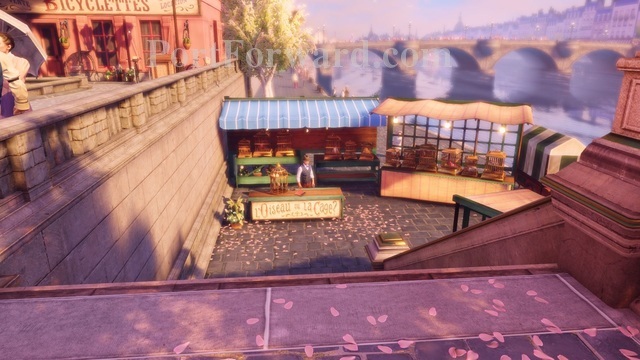
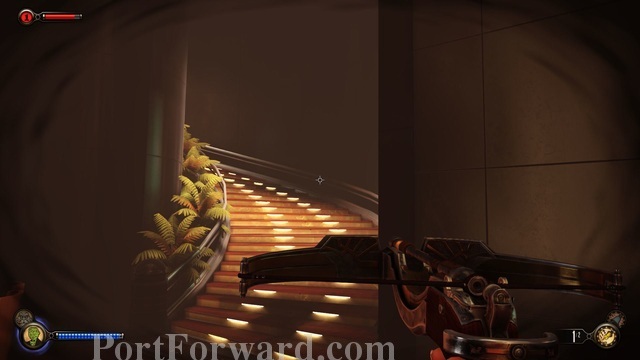
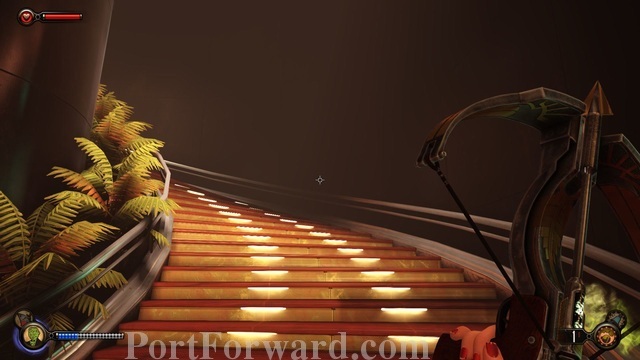
Take a left on the other side of the vegetable carts and head towards the stairs.

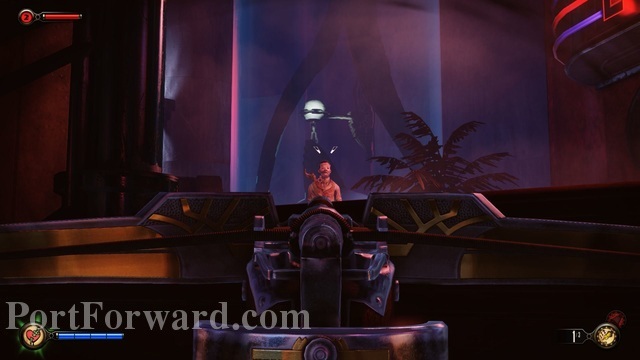
You'll be stopped, briefly, as Elizabeth sings with a blue bird.
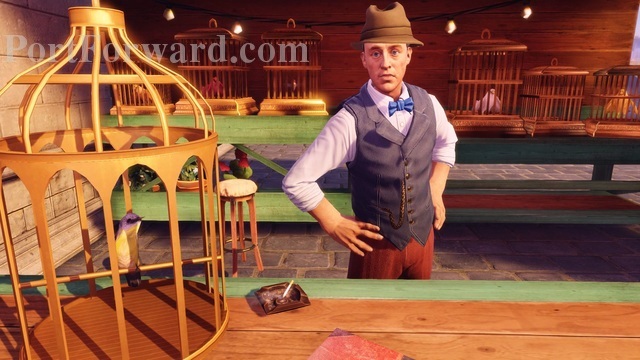
When the scene is over you can continue down the stairs and you come up on a salesman selling birds. There is a lot of symbolism in Paris. Hmm.

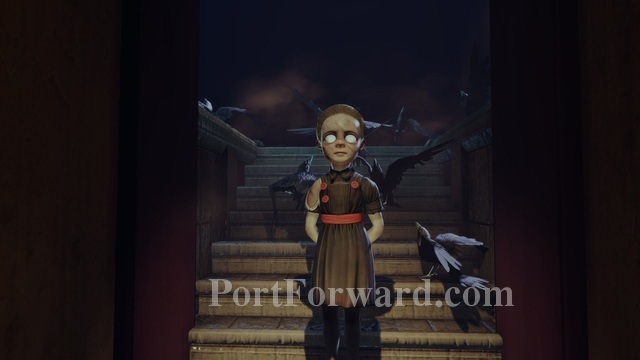
From the bird sales man take a right. You'll notice a little girl, just ahead, holding a red balloon (intentional reference? I don't know).

When you approach the little girl she turns around. Elizabeth recognizes her as Sally, the little girl you were trying to save in the last episode.

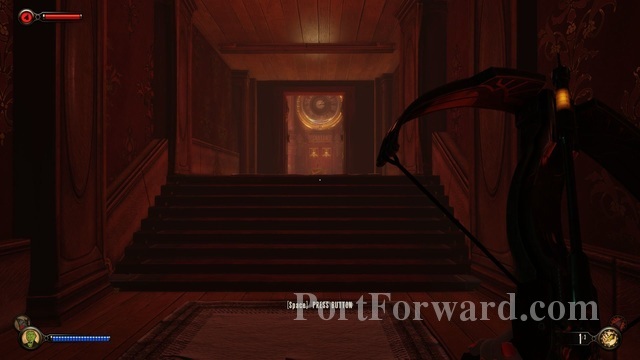
Sally ends up running away and the sky grows dark. Head around to the right at the stairs.

Then go up the stairs.
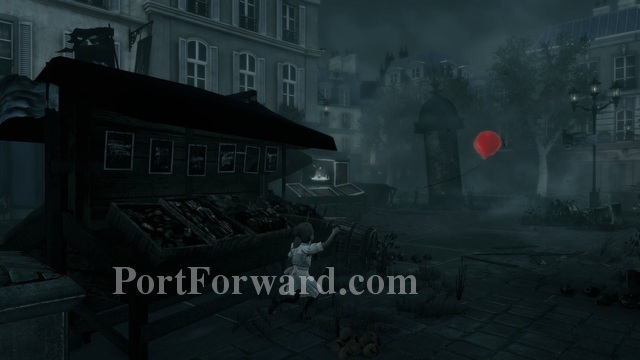
You'll see Sally again as she loses her grip on the red balloon (really seems like a reference but I don't know if it's intentional or not).
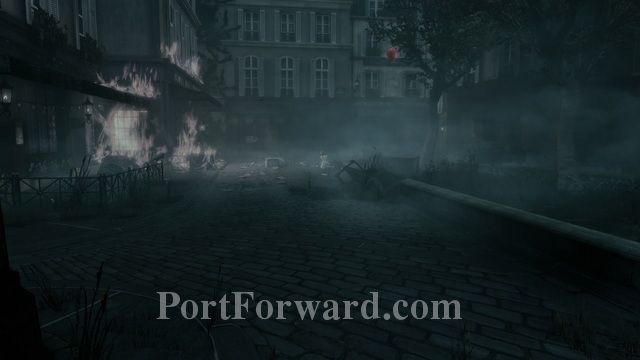
Follow Sally to the left and notice now the bookshop is on fire now. Very strange.
Head to the right at the end of the street. Elizabeth calls to Sally again as you head towards her down the path.

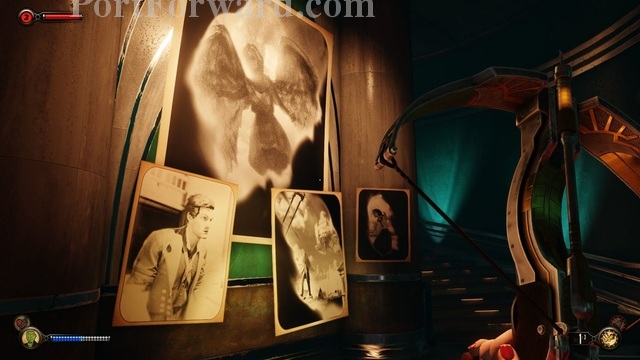
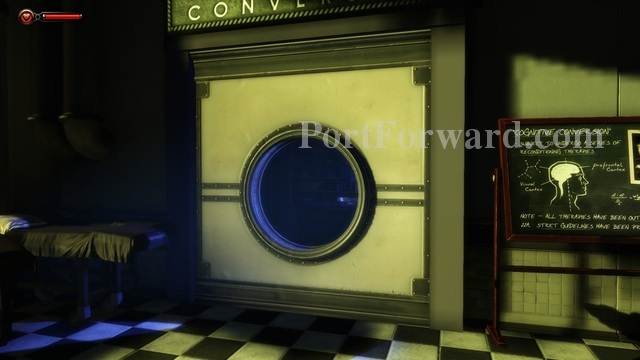
That lobotomy picture makes me uneasy. The windows also have strange things on the other side. Anyway, head up the stairs on the left.

It starts to rain now as Sally runs off ahead. Continue on.

At the crossroad, at the end of the street, take a left. There's nothing but a closed gate on the right.
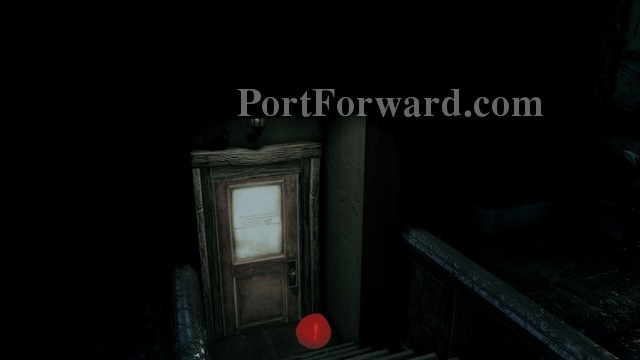
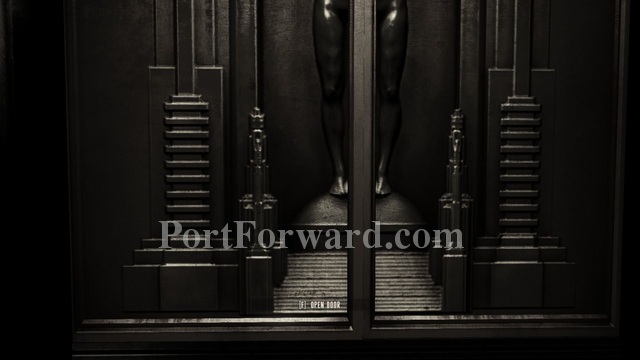
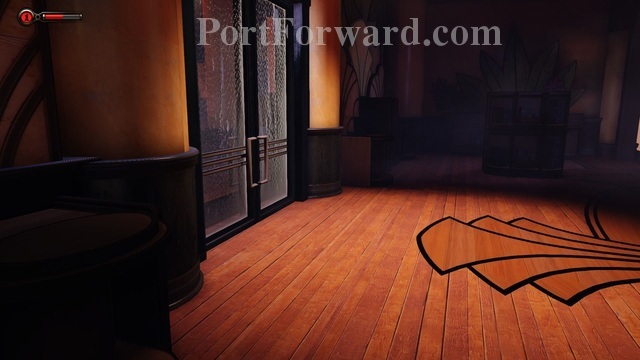
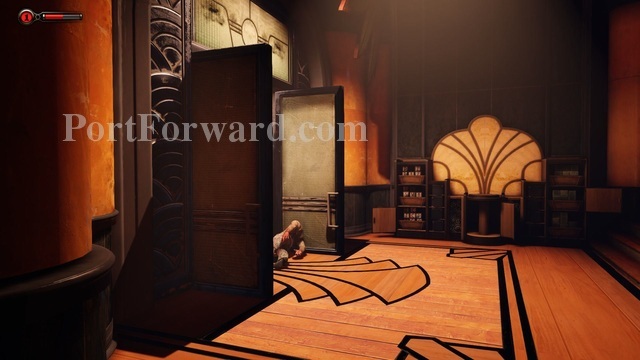
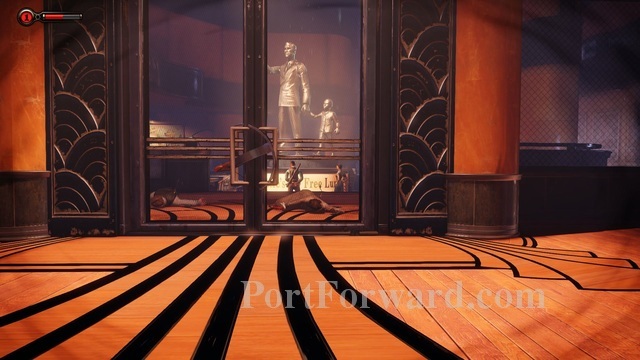
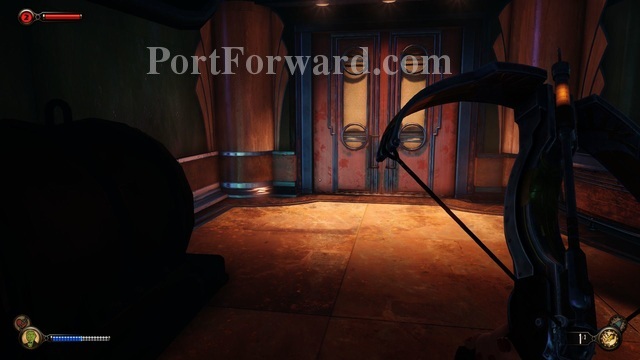
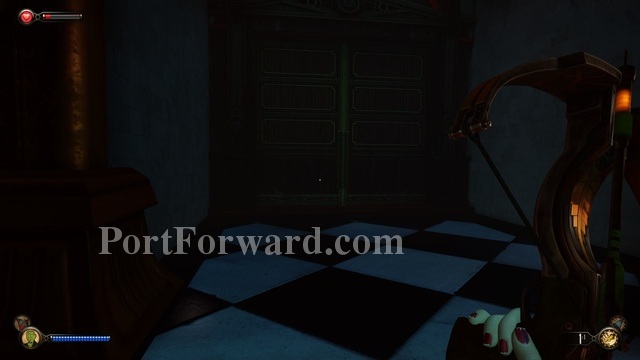
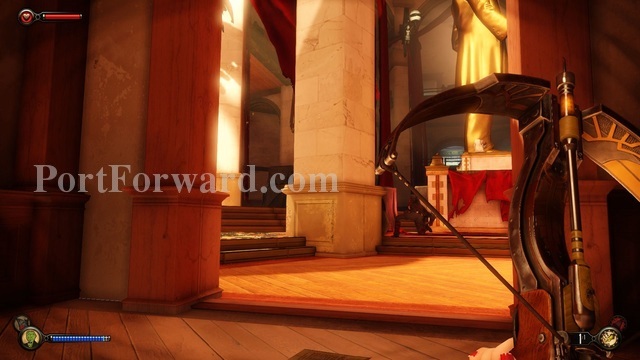
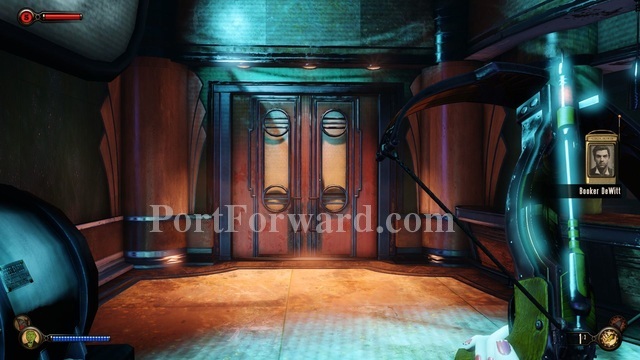
After you pass the archway you'll come to a familiar door on the left with a red balloon sitting on the ground outside it.
Go ahead and enter through the door.

You're greeted by a more obvious symbol of Elizabeth's cruelty from the last episode.
As you look around (you do still have control) you may see the door first. If you do, keep looking to the left, and you should come to "little sister-ized" Sally standing on the staircase behind you.

It would seem, rightfully I would think, that Elizabeth is haunted by that choice she made in the last episode.

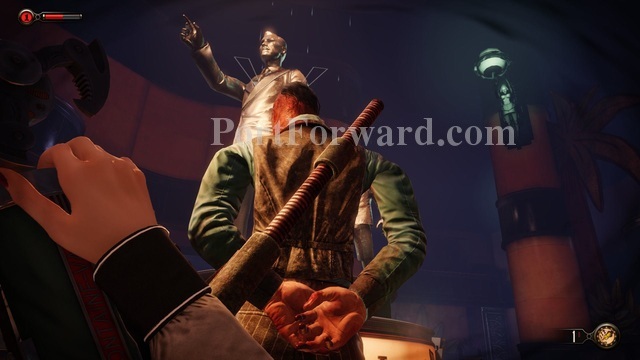
The scene fades to white and then Elizabeth awakens on a familiar scene.
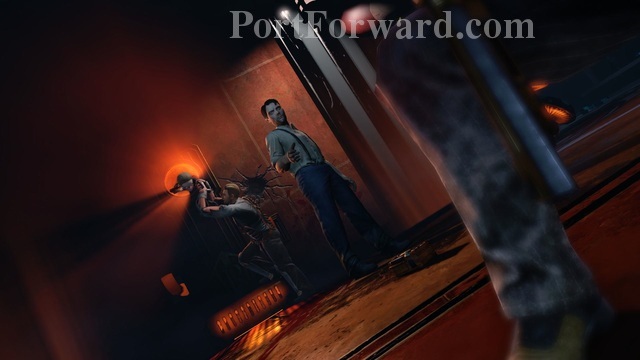
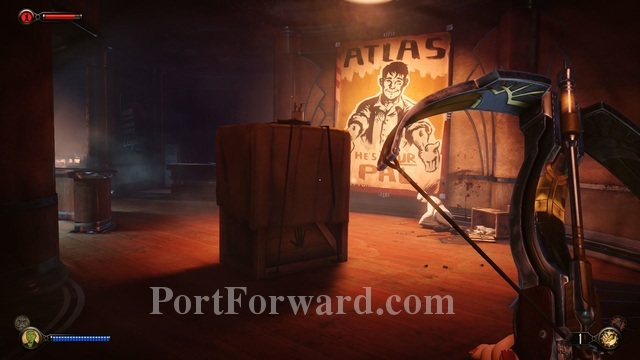
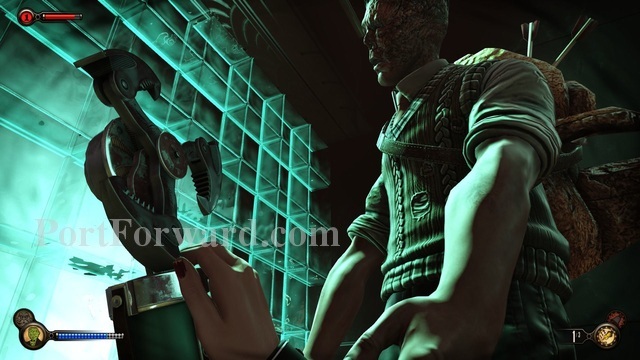
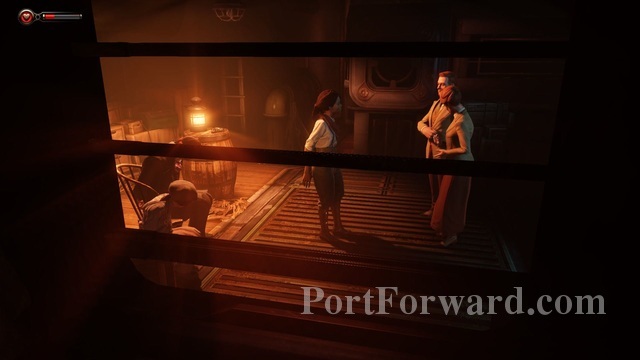
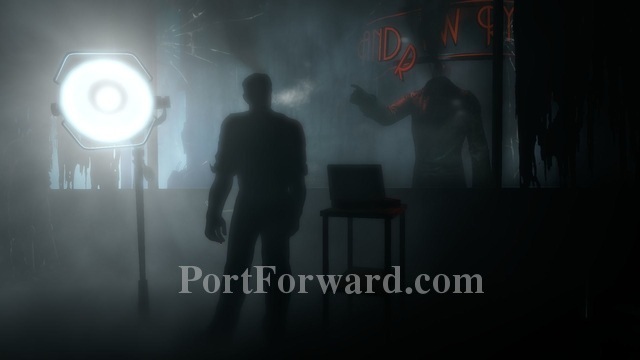
There are strange men hovering over her, and one is taking Sally out of the vent. The man in suspenders is Atlas- if you recall he was the voice over a radio in the first Bioshock game and part of a major change in the plot (if you havent played the original Bioshock before, this game, as well as my walkthrough, will spoil most of it as it has major references to everything in that game all throughout).
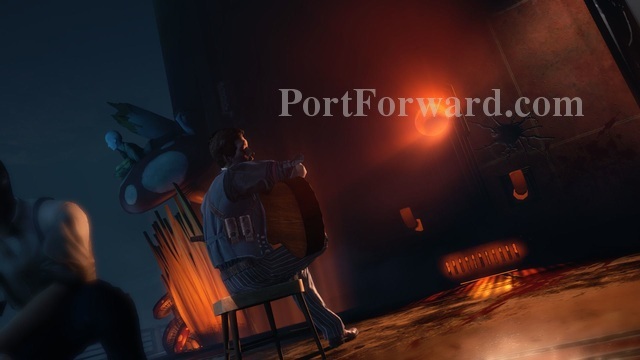
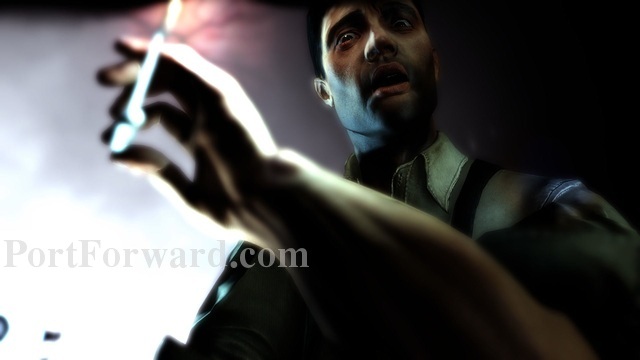
Strangely, you'll also see Booker to the left sitting on a chair playing a guitar. If you recall Booker in this world is dead because Elizabeth killed him (you saw his body when you woke up). Booker tells Elizabeth what to say to get out of this mess.
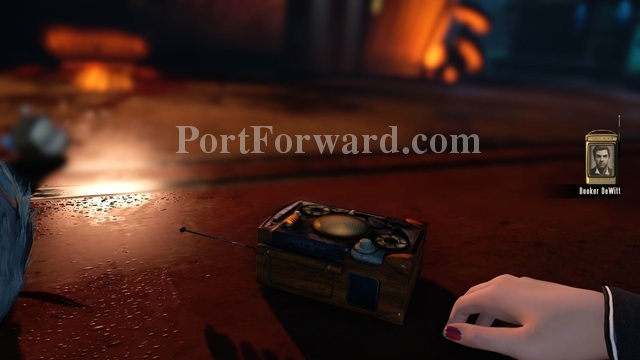
Atlas makes a deal with Elizabeth, leaves her a radio, and then Elizabeth gets knocked out. She awakens to a transmission from "Booker."
Bioshock Infinite: Burial at Sea - Episode Two Walkthrough Back in Rapture

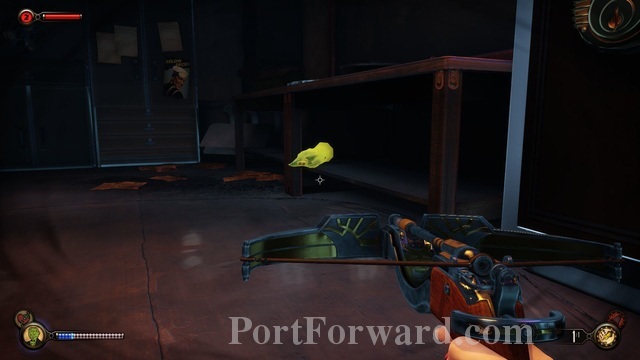
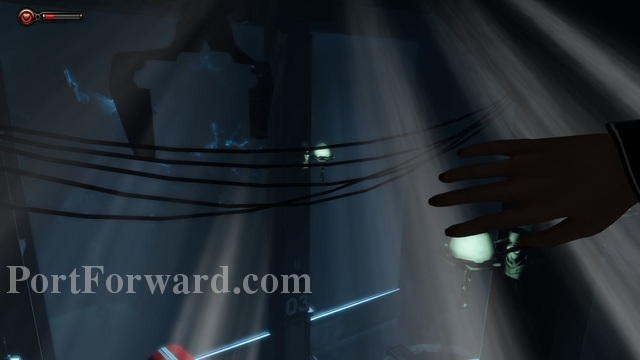
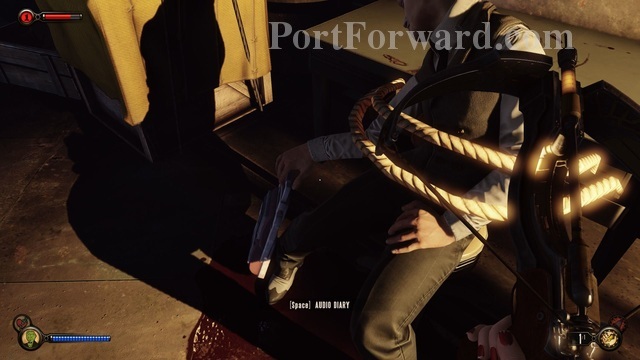
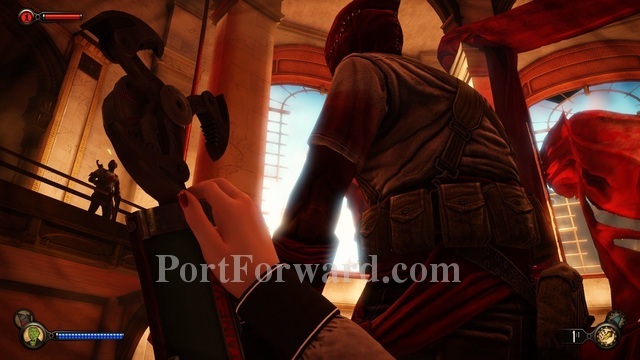
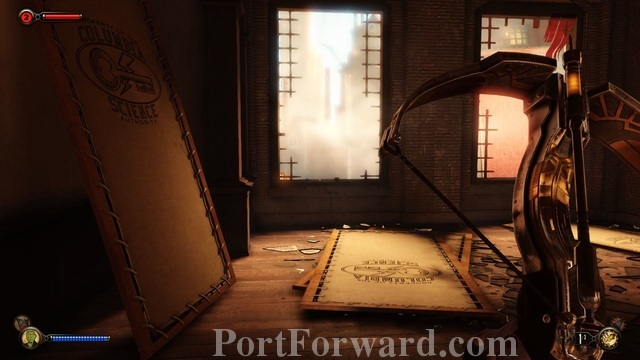
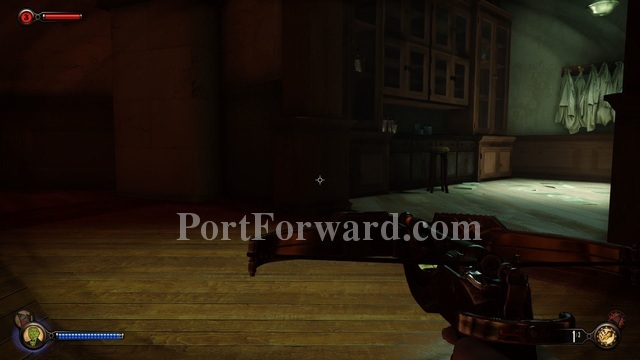
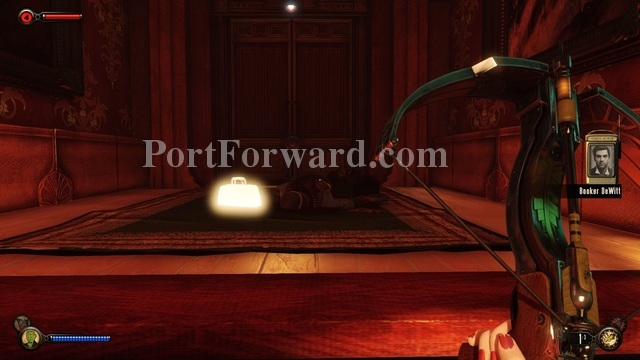
When you have control pick up the doll's head on the ground just in front of you.
When that's done, to get your bearings, you can look around. You'll probably recognize this place from the last episode.
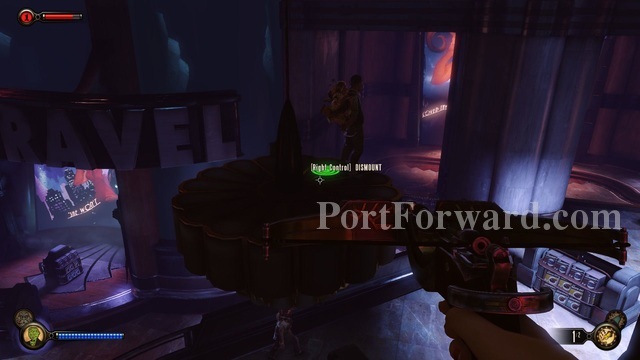
Head to the left (if you're looking over the balcony; otherwise it's probably to the right). Use the fallen shelving unit to climb on top of it.
Then jump down the other side and head down the stairs.

Take a right at the bottom of the stairs and continue down more stairs and up the path.
When you get to the fallen pillar go around it and move on to the left on the other side.
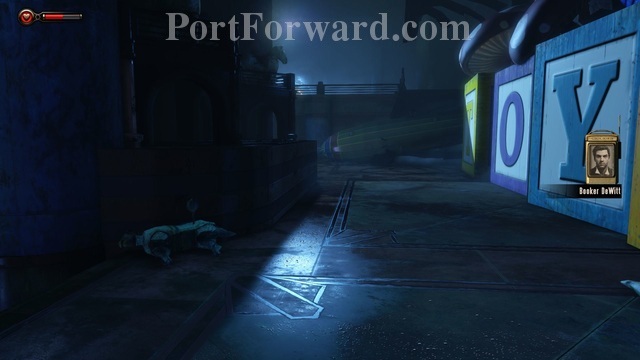
Continue left, down the path, and make another left at the end of the big blocks that spells "TOYS".
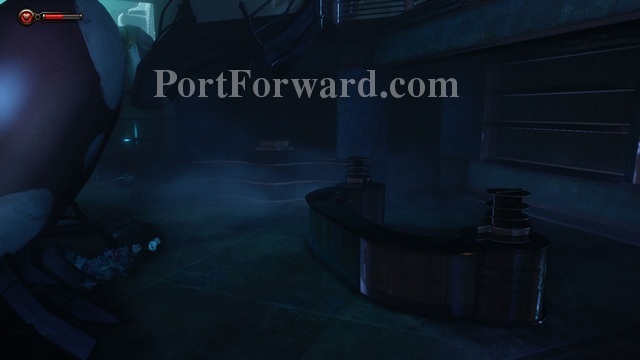
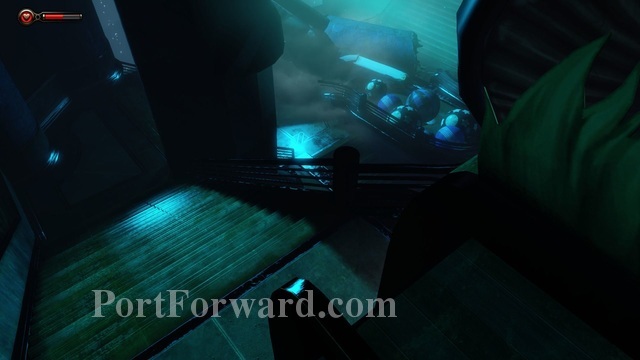
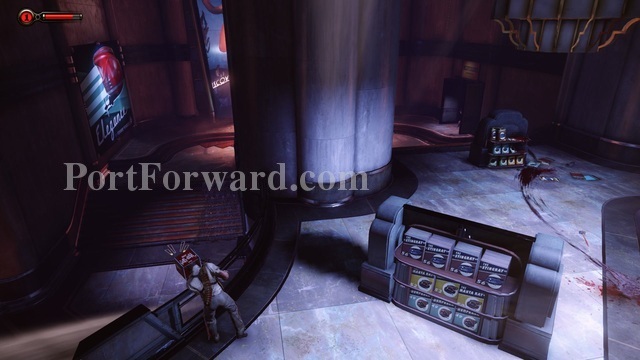
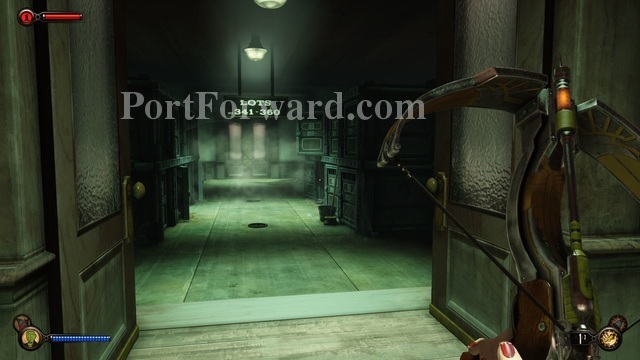
At the bottom of the stairs continue going forward past the counters (there's nothing to pick up yet so no reason really to search the area).
At the other end of the path, head up the stairs, then to the right past some more shelves.
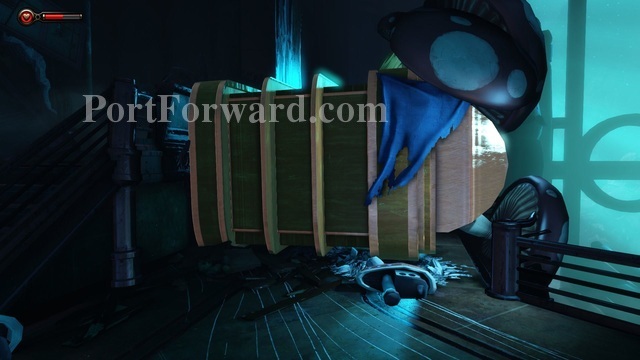
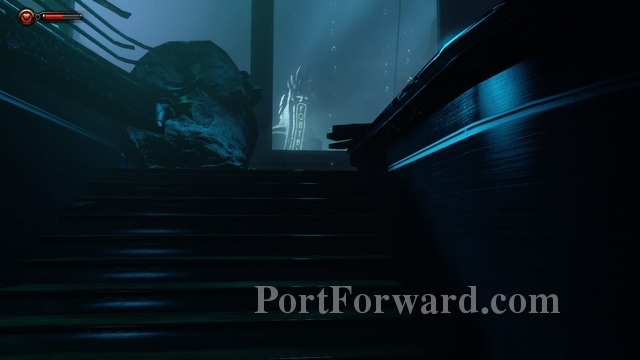
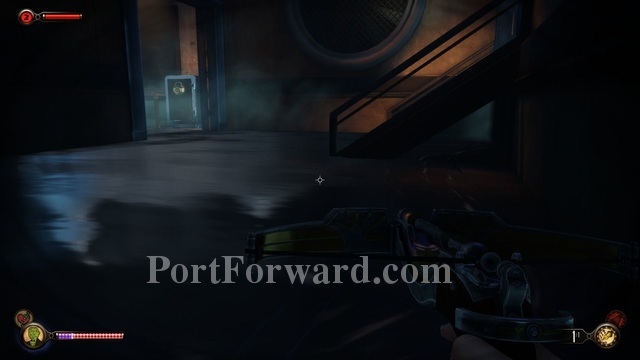
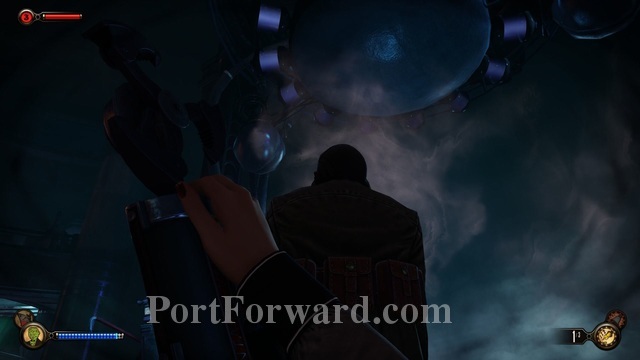
You'll see a big cracked wall ahead with some kind of large round object blocking it.
Use the object and Elizabeth will push it out of the way.

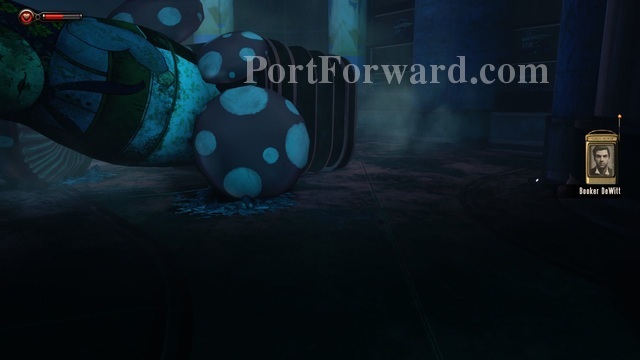
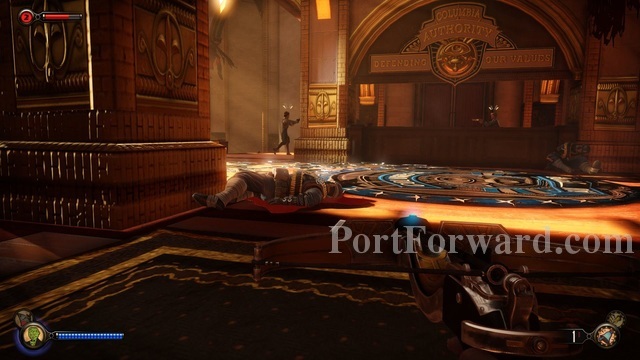
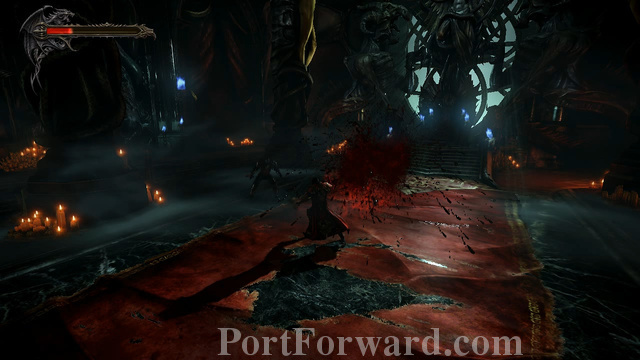
This twist is fairly early. Elizabeth is already dead.
Elizabeth was apparently killed by the Big Daddy shortly after Booker was. You can try and piece that together if you want.

Strangely, Elizabeth also has her pinky which means she is powerless- she cannot see between realities or contol portals like she usually can.

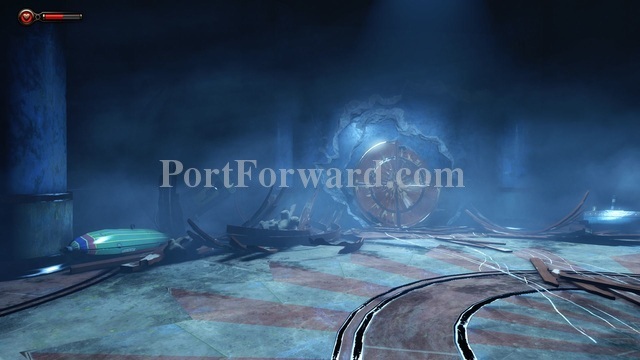
Elizabeth recalls being with the Lutece twins and you are transported to this meeting.
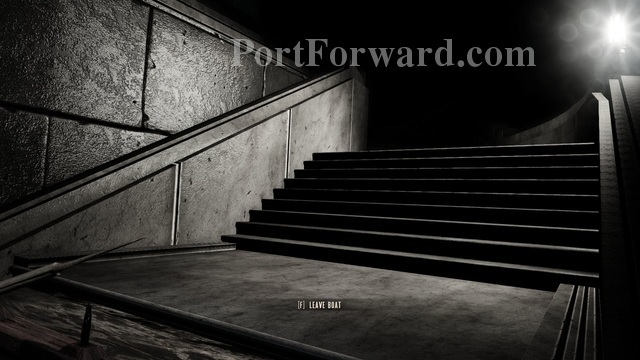
At the end of the boat ride you can get off onto the stairs.

If you want you can wait for the Lutece's to leave (as they always have such fun dialogue to listen to).

Then head up the stairs.
At the top take a left and go through the door.
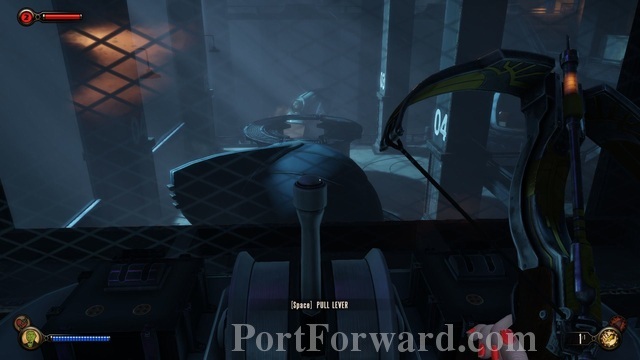
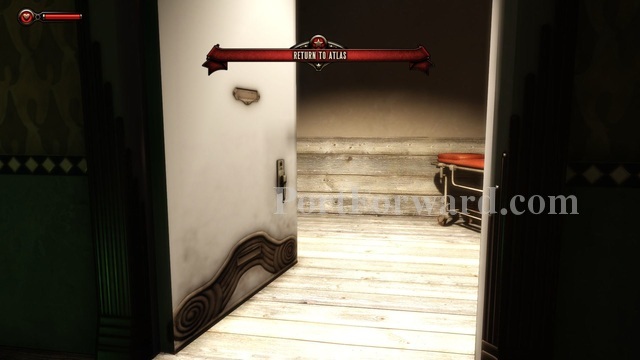
Elizabeth will be back at her... own dead body. After the conversation with "Booker" go to the left side where the elevator is to continue forward.
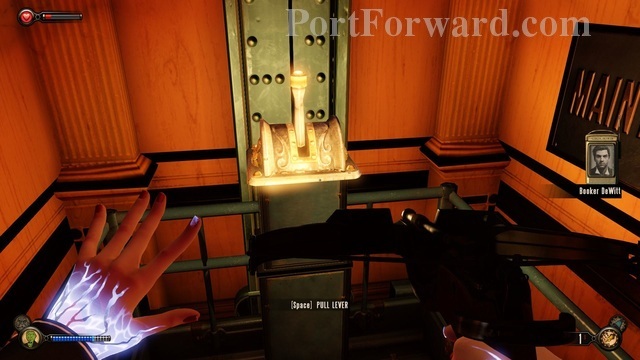
Head for the switch and pull it.

At the bottom, exit the elevator.
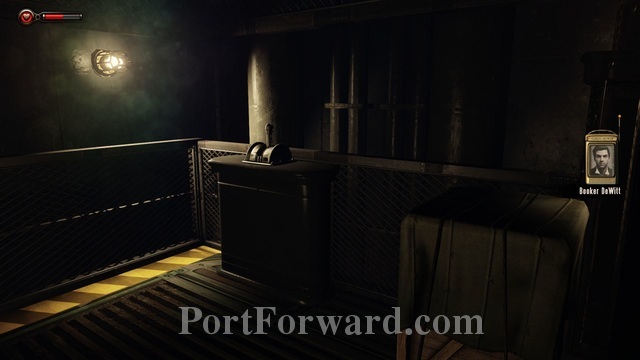
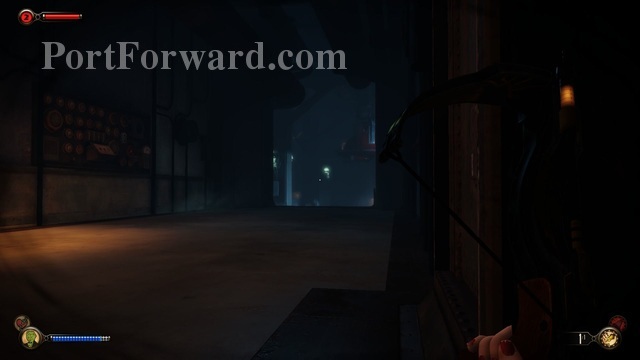
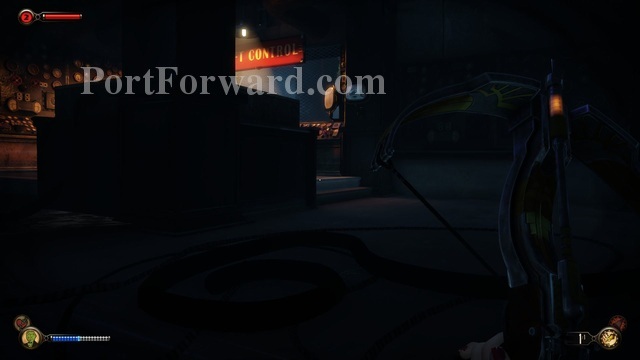
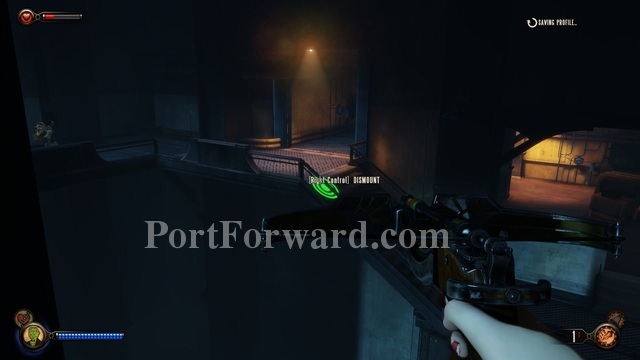
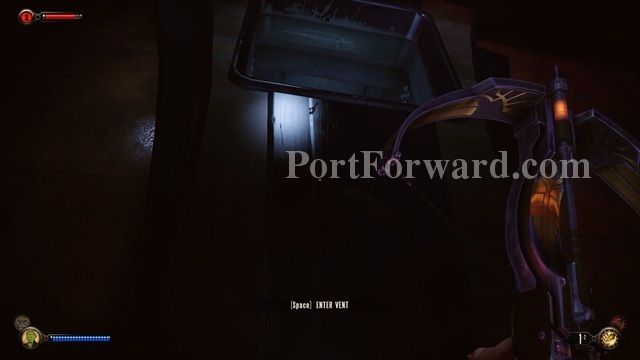
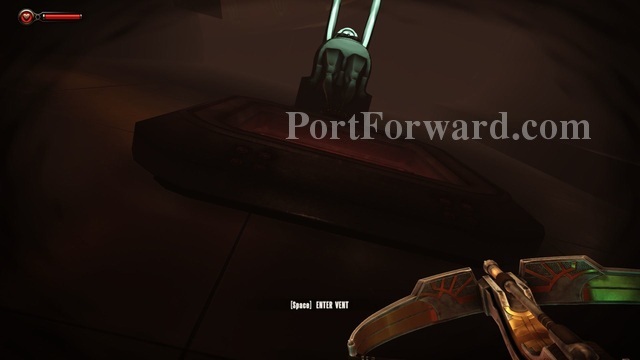
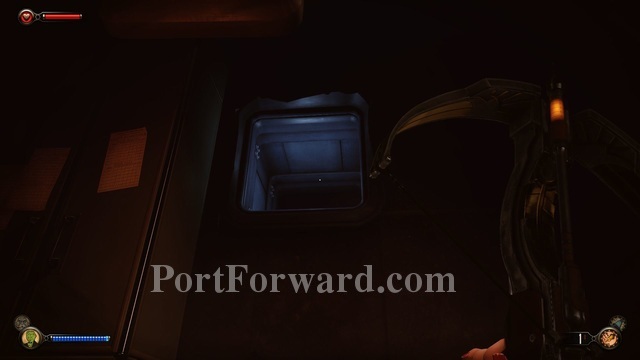
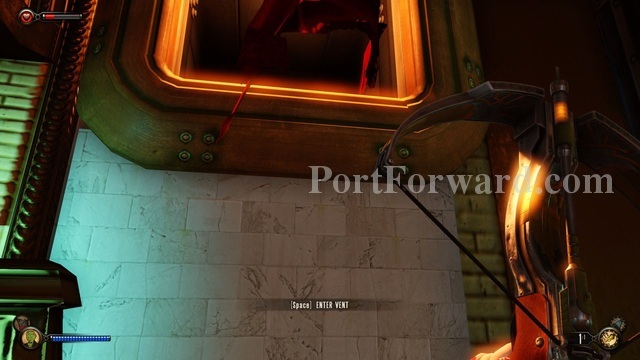
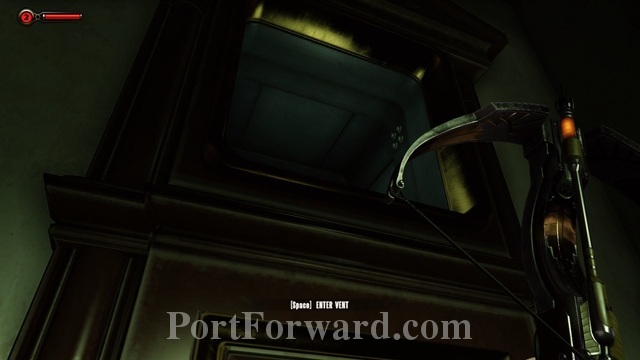
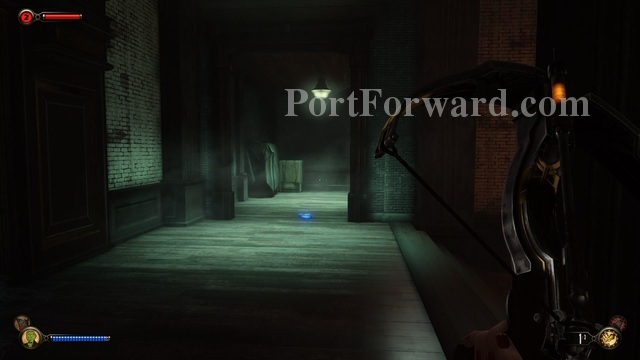
Duck down and head into the service vent on the left side of the room.
This area is intended to tutorialize you on some new mechanics to Bioshock Infinite- namely that since you are playing Elizabeth this game is more stealth oriented than action.
If you step on glass you will make noise and enemies can hear it.
Head around the vent to the right.
When you step through water it makes noise too so be careful. There is not much to worry about in here as the Splicers can't get to you while you're in here, but it's something to keep in mind for the future.
Head around the next corner to the left.
Continue forward and exit the vent onto some carpet.
The game lets you know that carpet is silent to walk on so you can move quicker on carpet without being heard. I didn't find this particular piece of information useful, though, as I didn't find a whole lot of carpet that I noticed, but it's good to know none the less. From the vent head to the right.
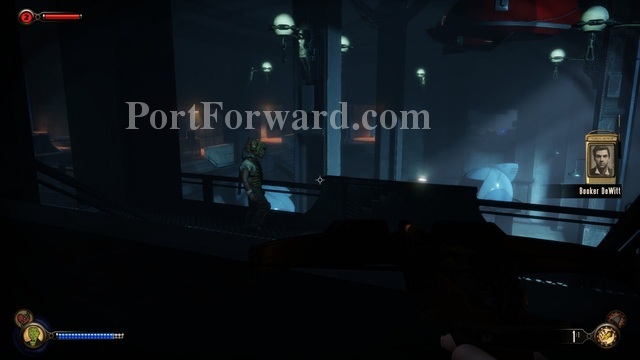
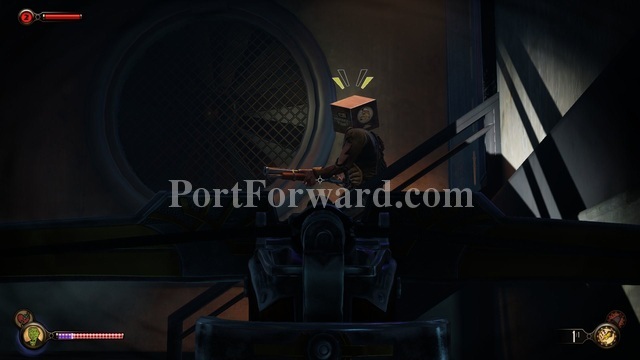
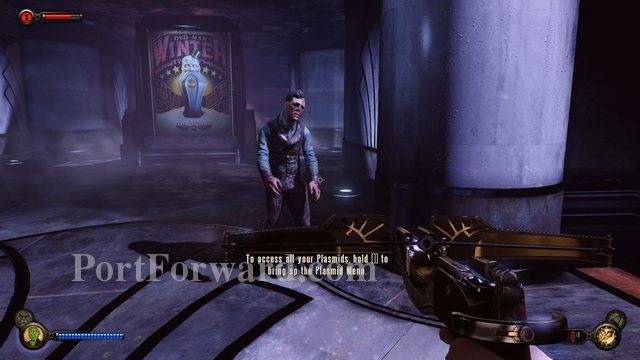
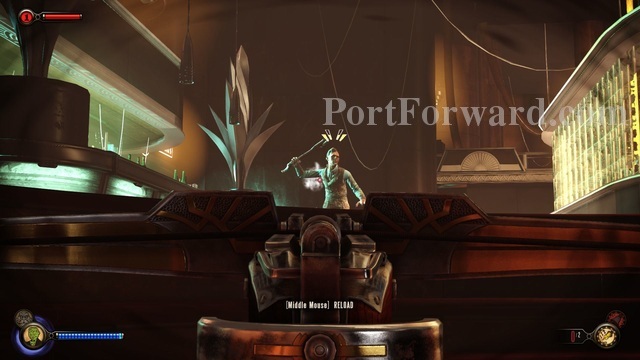
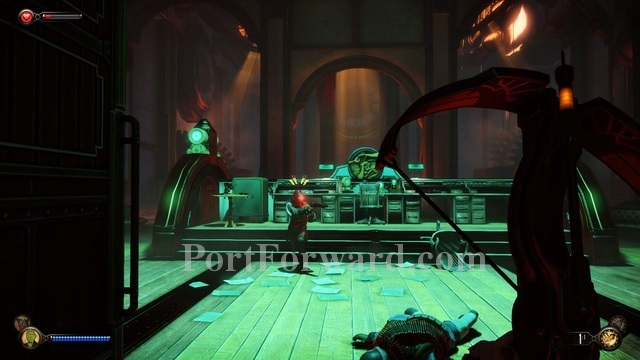
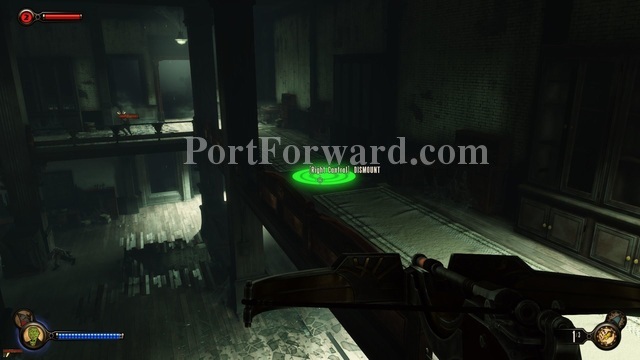
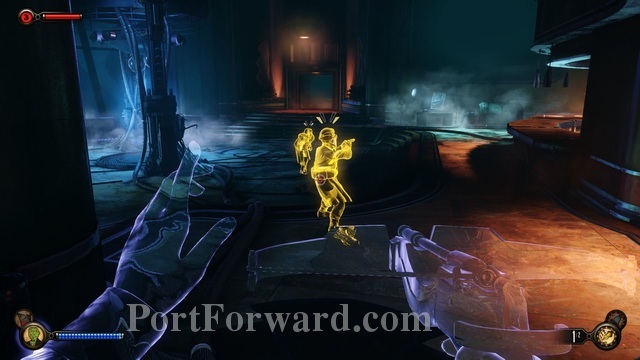
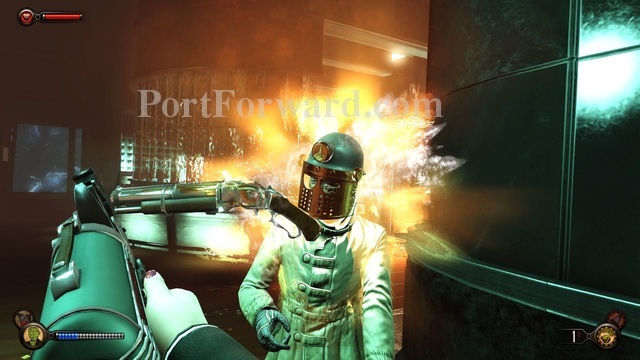
Continue down the stairs and the game gives you a Splicer to practice sneaking up on.
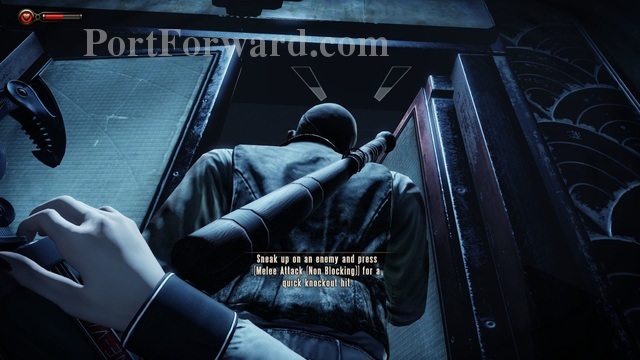
Sneak up behind him and use the melee attack to knock the Splicer out.
Continue on to the next area through the door ahead.
Take a left from the door.
Then head around the right corner.
Continue forward and you should see another Splicer trying to get in a locked room ahead.

If you stay low and move slowly you should be able to sneak up on him without attracting attention.
Once you get up on him you can knock him out.

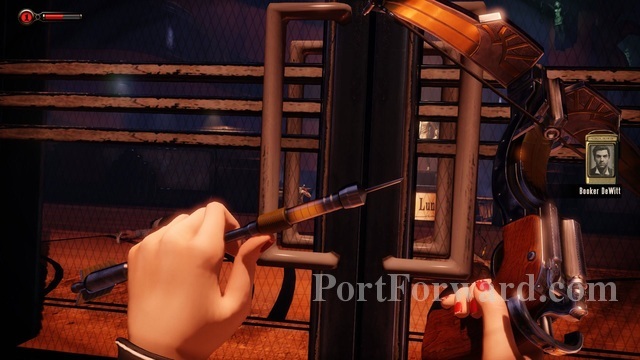
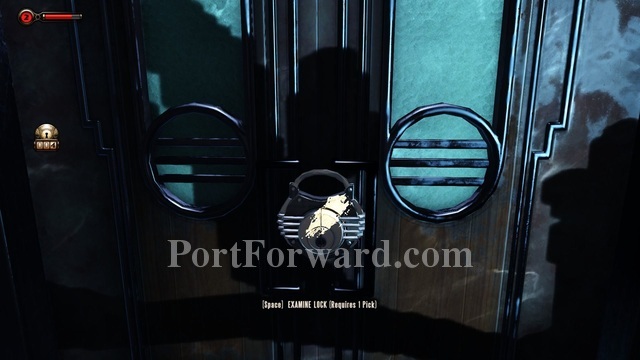
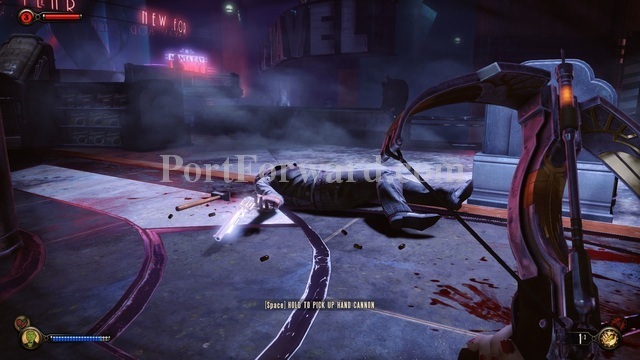
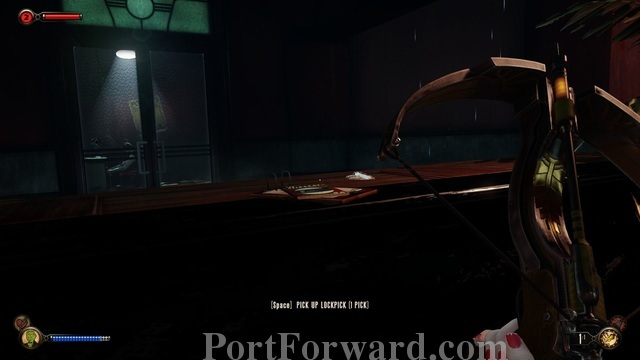
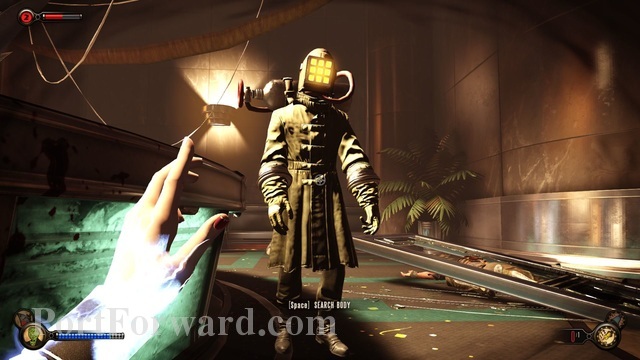
You need to then loot the body to get a lock pick.
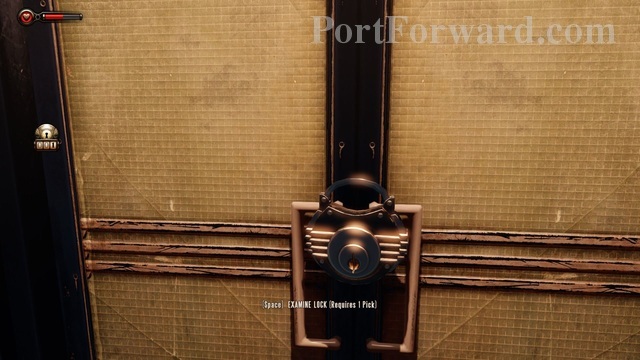
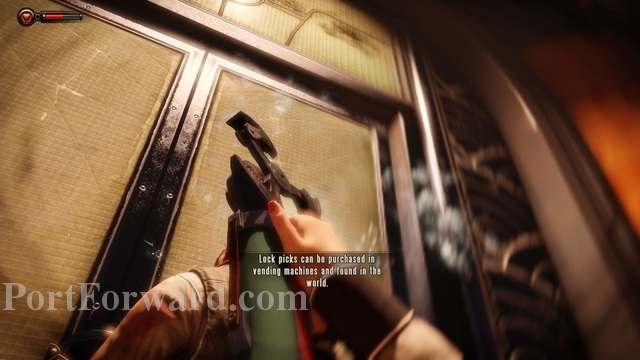
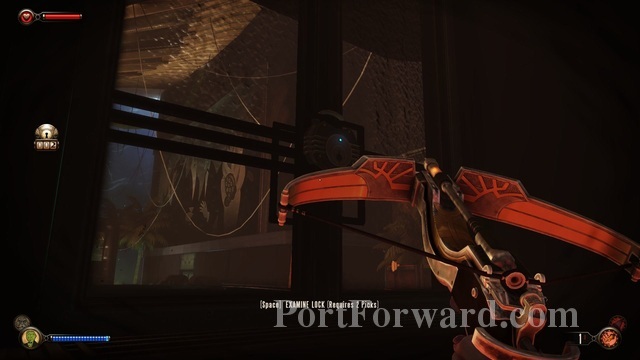
When you go to lockpick the door it will trigger a cutscene.
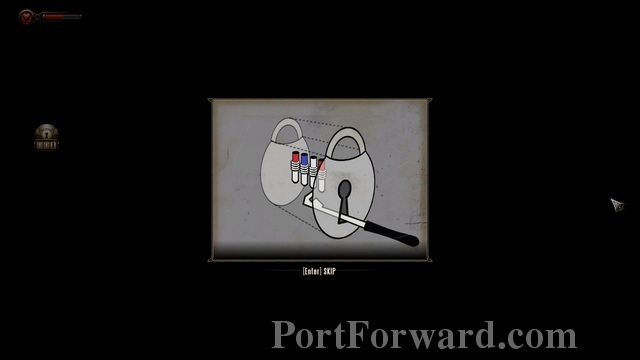
I found the instructions the game gives to be a tad confusing so that's why I am showing this here. When lockpicking there are three possibly colors- red, blue, and white.
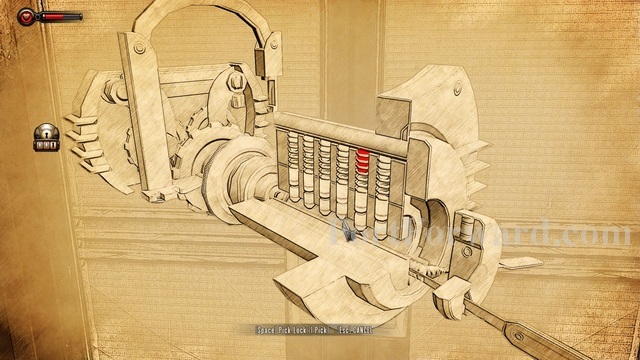
While lockpicking the pick moves on it's own across the bottom of all the pins. The only thing you have to do is hit the use key when it's under a pin that wont set off alarms. The only bad color is red. For now all you want to focus on is using the use key when it's under a white pin.
The door should then open.

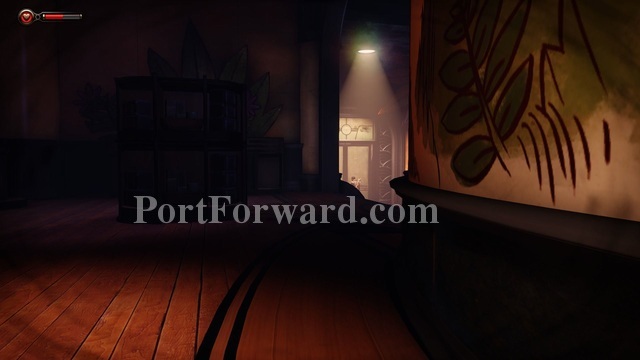
Head forward and pick up the medical bag on the fake planter ahead.
Before moving on head back to the area just up the stairs just before you knocked the guy out. There's a door on the left here.
You don't have to worry inside, there's no enemies here.
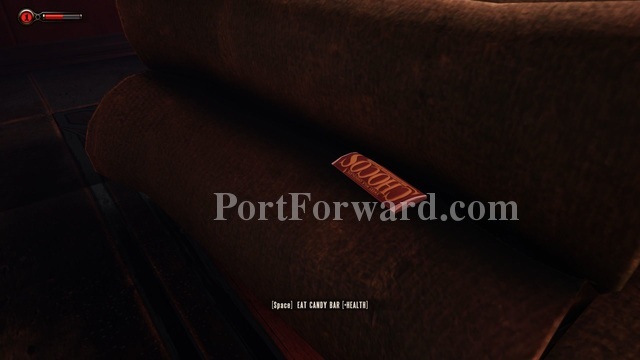
Really the only reason to go in here is to pick up the candy bar to restore some health, but I want to bring up that I can't tell you areas to search on a constant basis so just remember to always look around and search everything for food and supplies. I will try to let you know when an area is dangerous.
Anyway head back out and go through the door on the left.

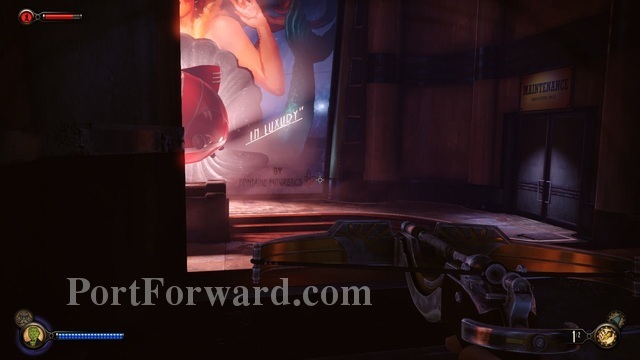
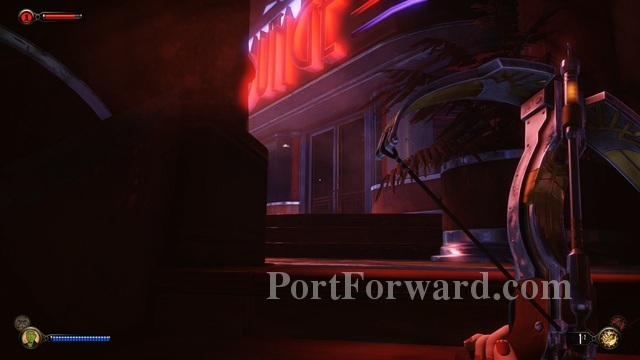
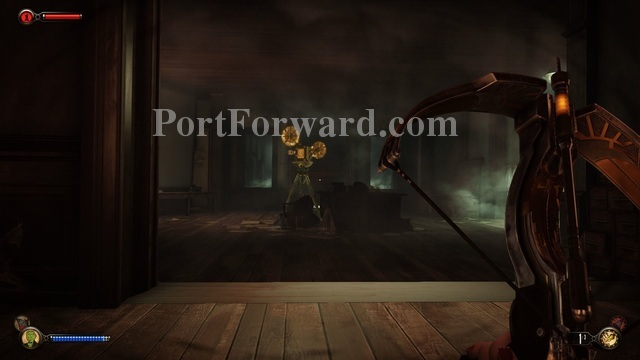
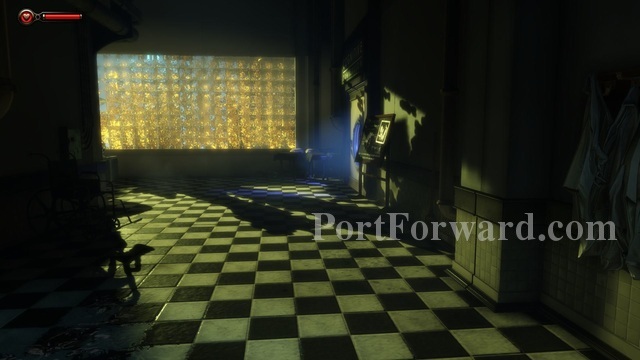
Then move to the right towards the opening into the video center on the left side.
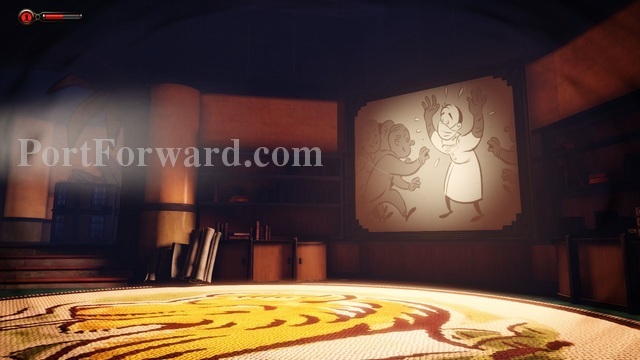
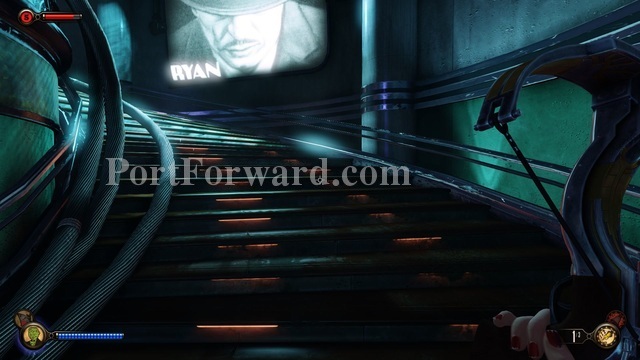
You'll see a movie playing. It's typical Andrew Ryan type propaganda, but it has some interesting satire on current political leanings which I found interesting how blunt it is.
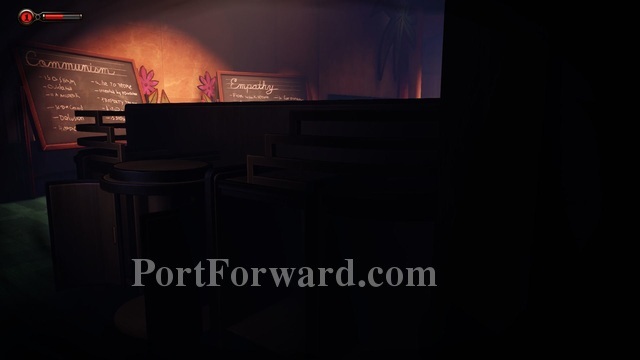
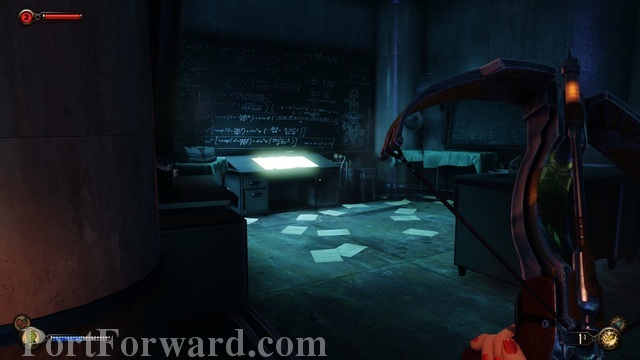
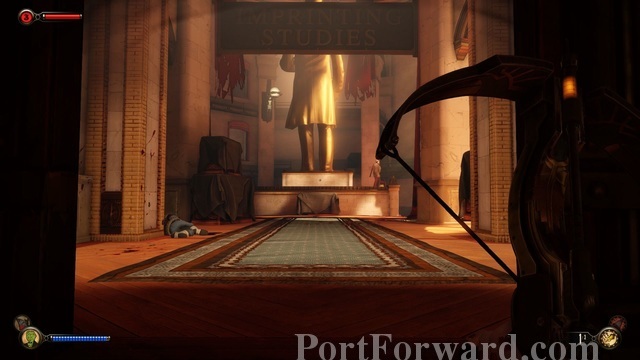
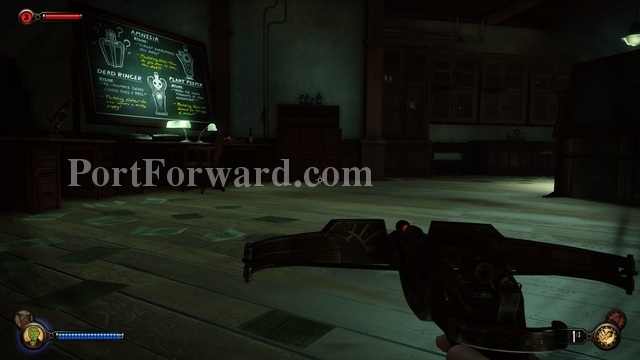
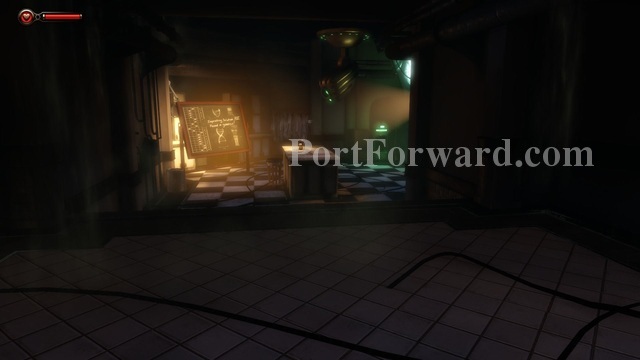
Anyway, continue on to the left side of the room and you'll come to a room with chalk boards.

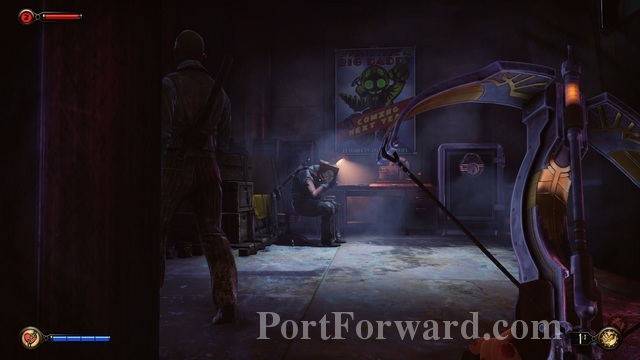
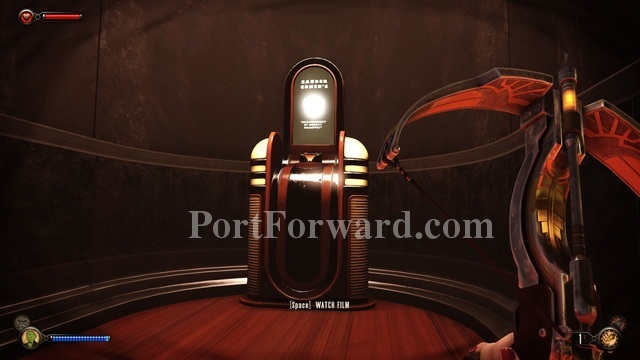
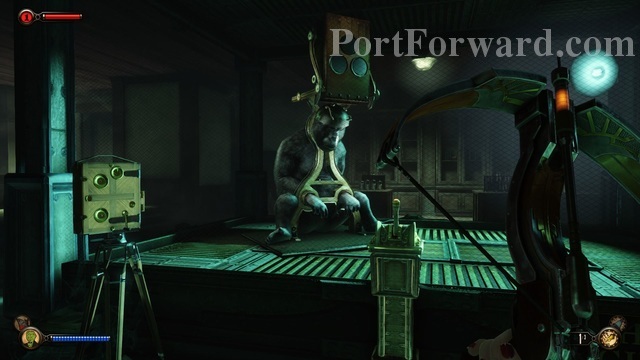
When you head around to in front of them there is a bear on a chair in front of the chalk boards that you can use which gives Elizabeth strange flashbacks.
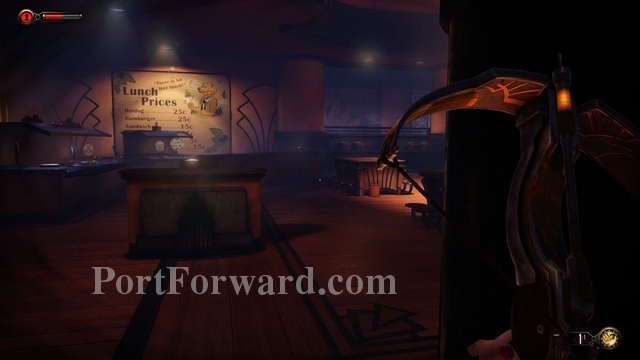
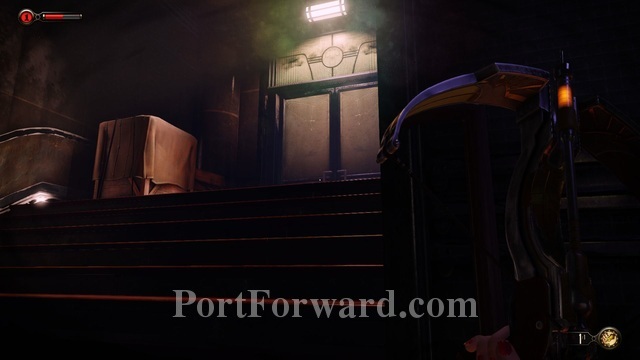
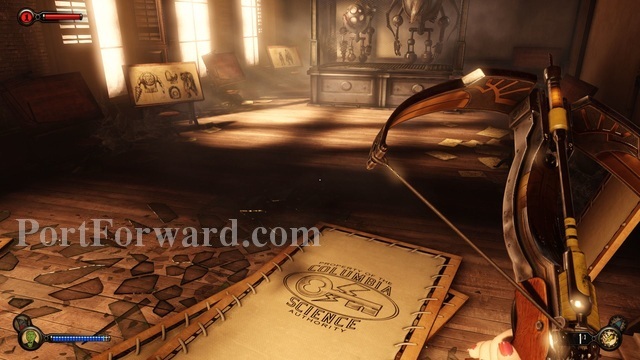
Then continue down the path until you see stairs on the right. It's to the right of a room filled with targets (for bow and arrow practice I believe). Head to the stairs and go around the bookshelf.
On the other side of the bookshelf continue up the stairs.
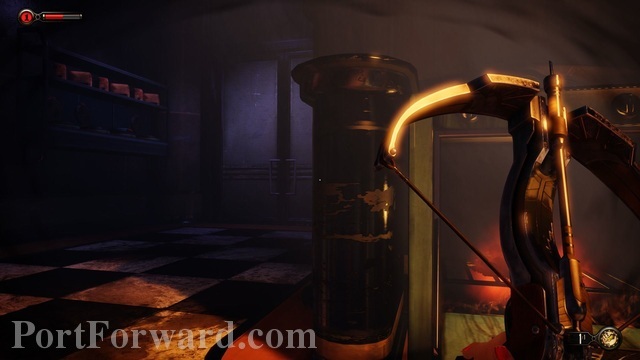
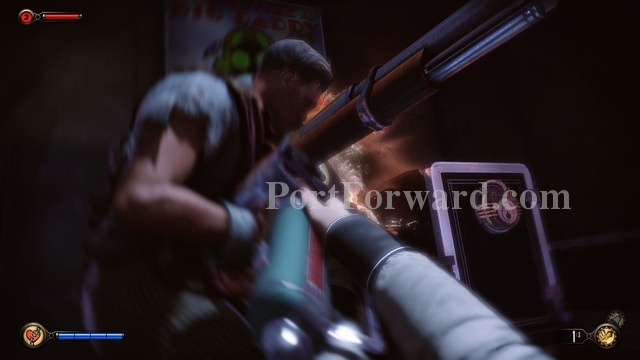
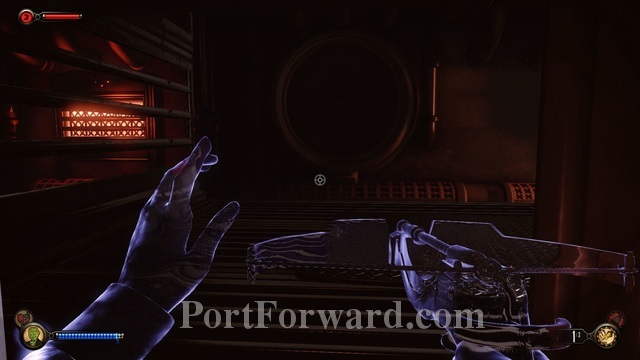
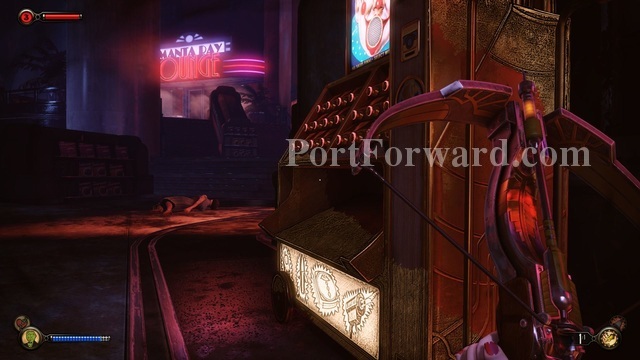
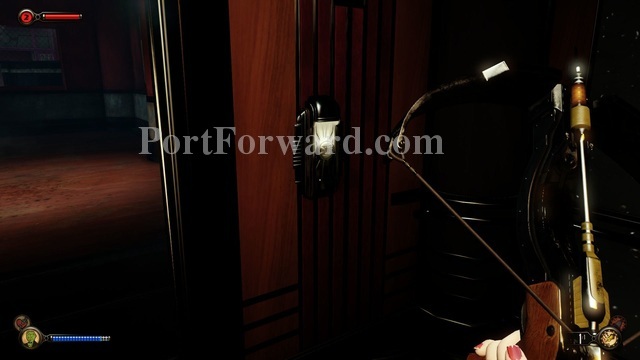
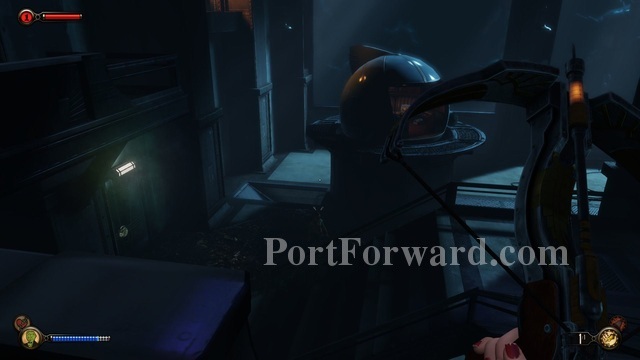
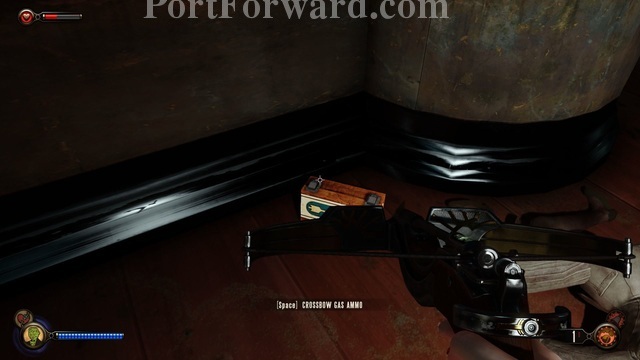
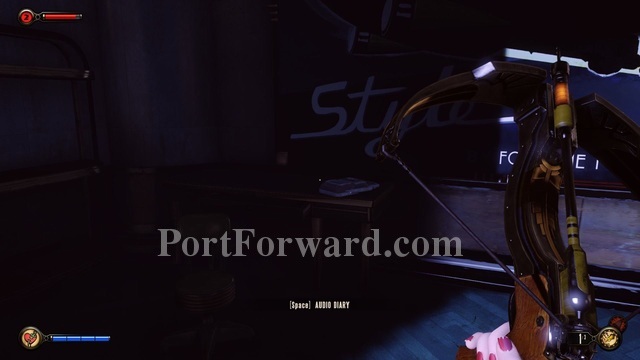
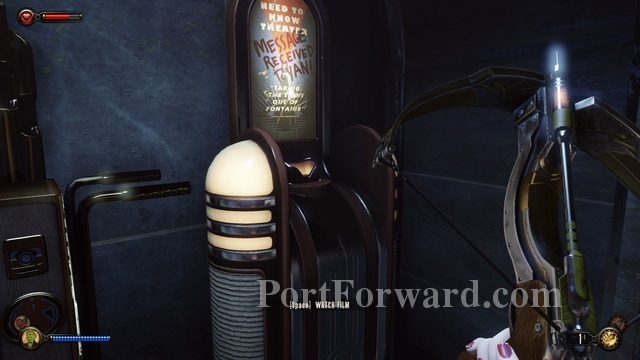
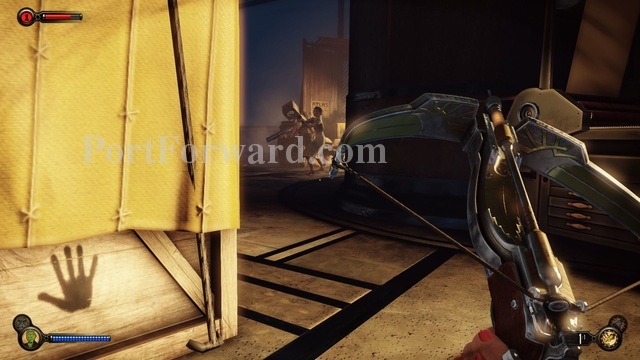
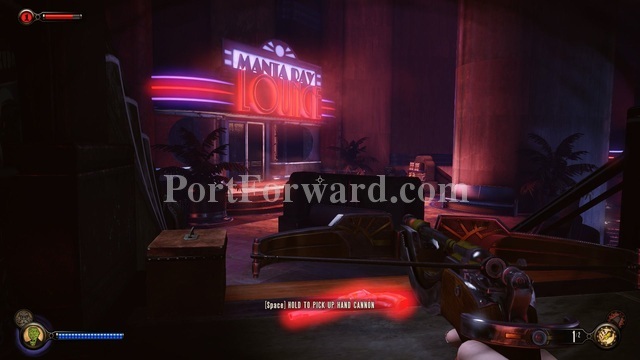
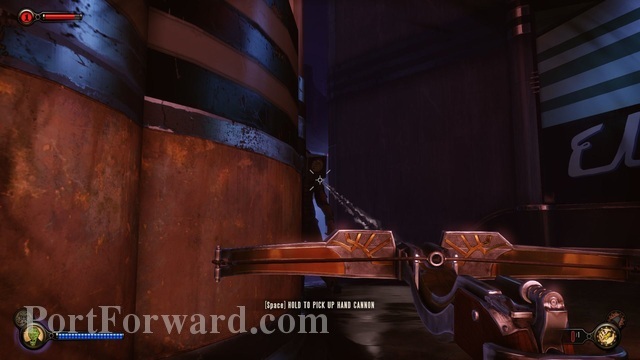
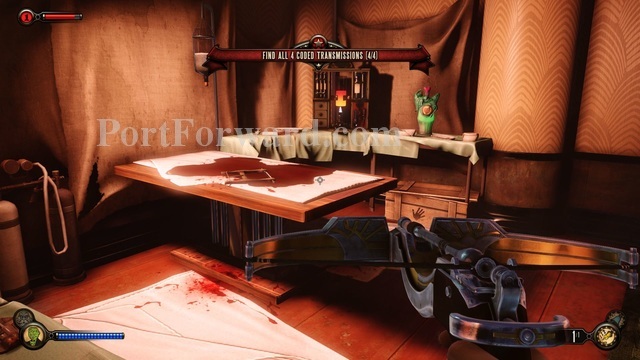
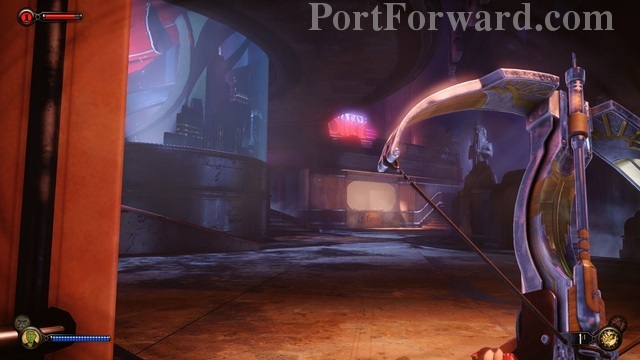
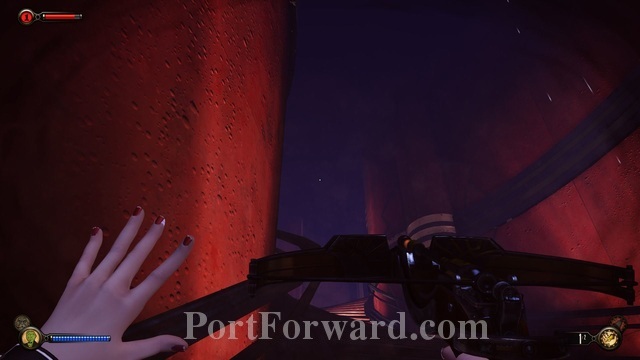
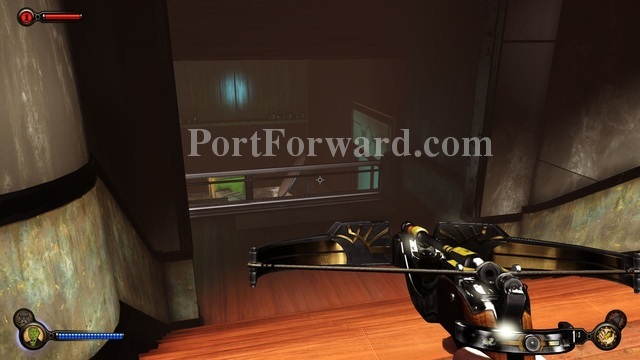
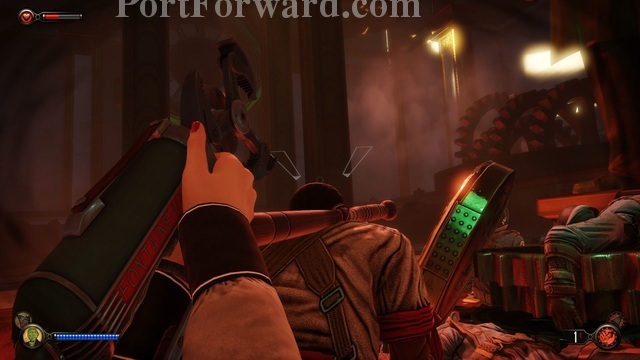
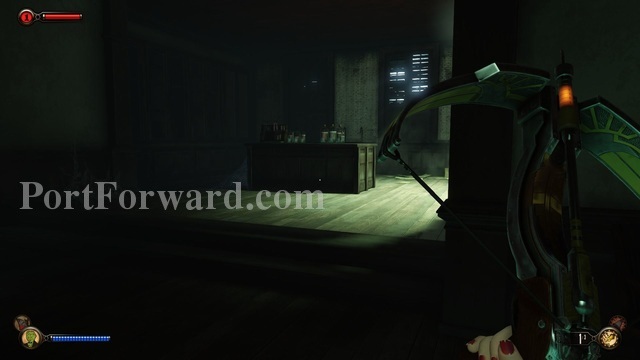
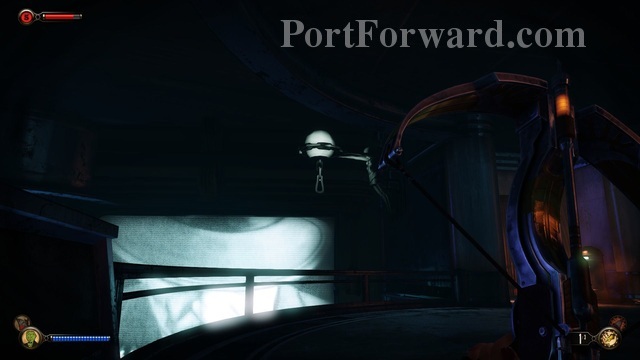
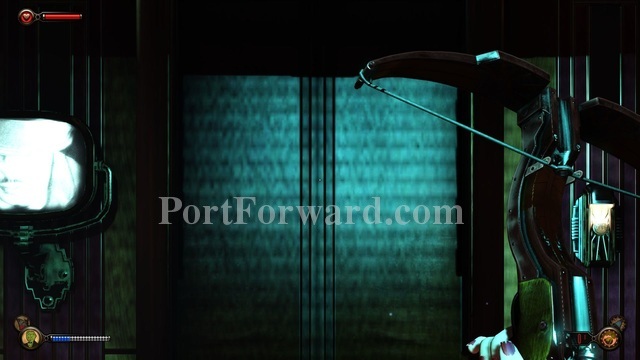
On your left you will see a door with a crossbow in it. You will also notice some Splicers on the other side of the door.
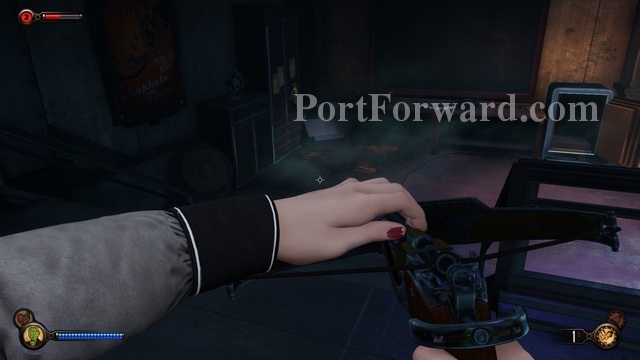
You first need to pick up the crossbow. Elizabeth explains that it uses sleeping darts.
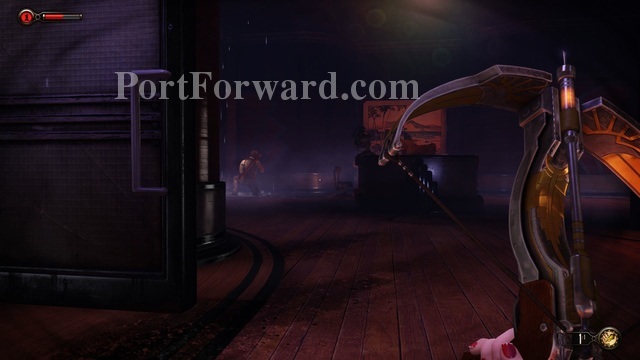
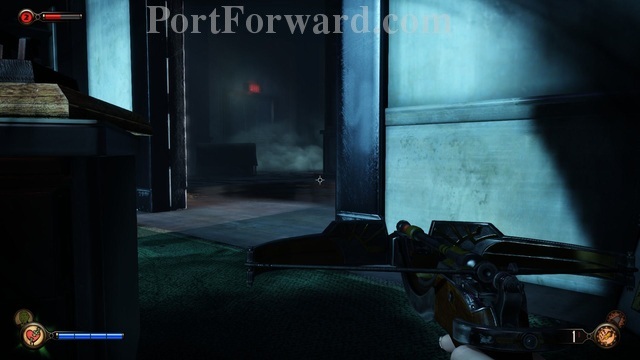
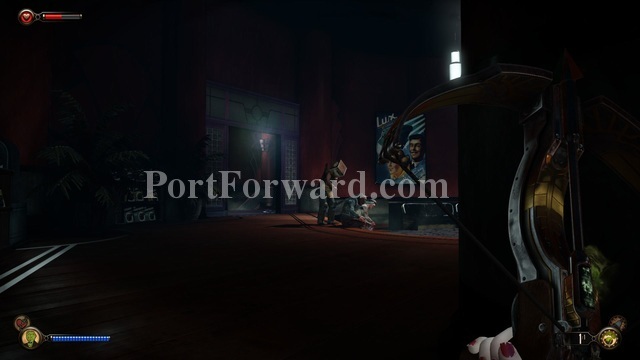
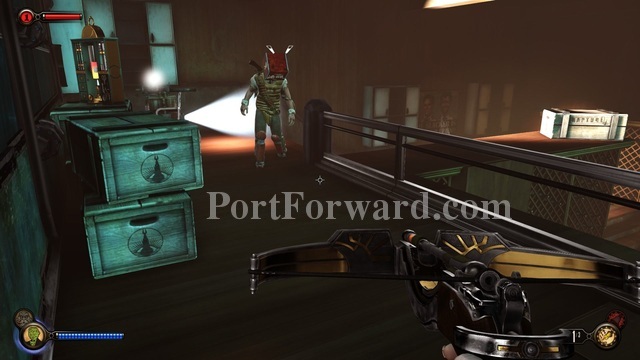
From the door head inside the next room and to the left.
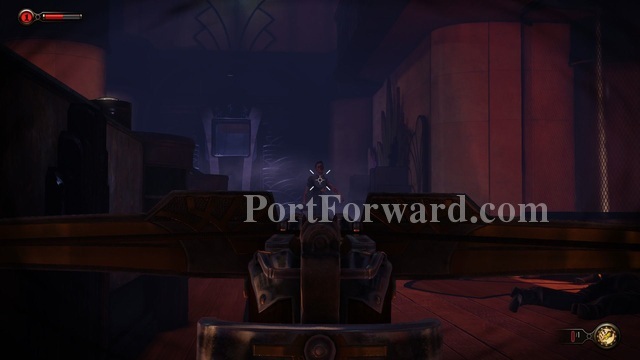
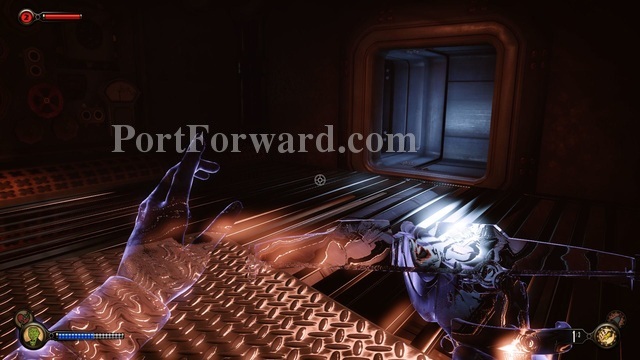
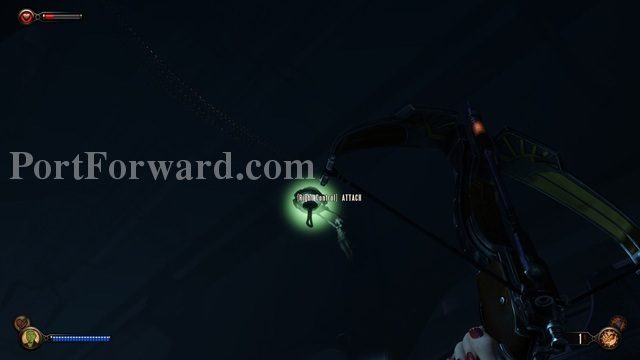
You may need to quickly turn around, as one of the Splicers is patrolling this part of the room. If needed shoot her with a sleeping dart.
Once she is down you can take out the Splicer in the center of the room. You shouldn't need to waste a dart to do this.

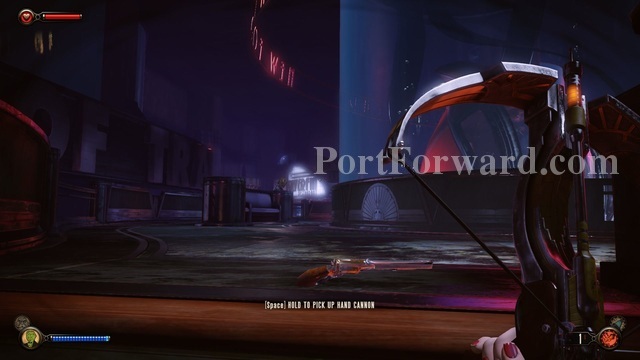
I want to bring up briefly now that you can pick up deadly weapons (that I noticed, there are pistols and shotguns, but it's possible there are others). It is up to you if you want to use lethal force or stealthy non lethal means of taking down enemies. Both are available options, but I played through without killing anyone and it wasn't that difficult to do so. This walkthrough is written from that angle.

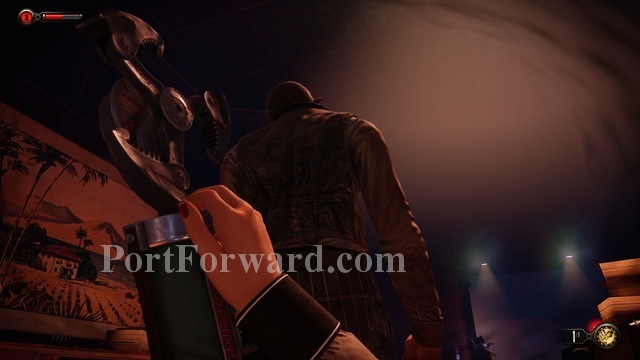
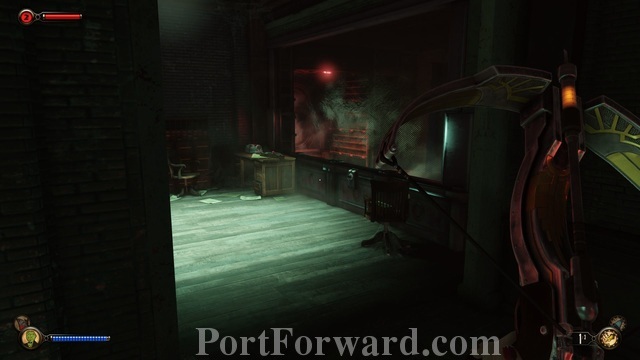
Anyway, head towards the back of the room. There is a kitchen area.
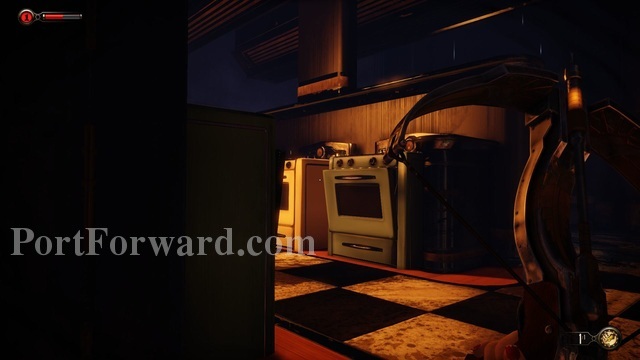
Head into the kitchen and to the left.
At the back of the kitchen is a door you can go into.
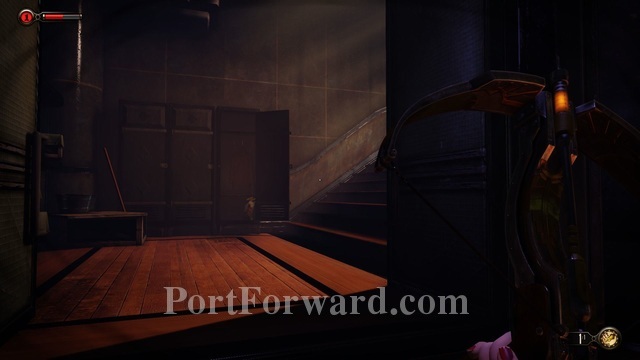
On the other side move around the corner and up the stairs on the right.
There's a door up there you can enter.
You've probably been hearing this guy the whole time. He's the last Splicer in the immediate area. He's standing in a puddle on the left.
If you move quietly you can knock him out with no trouble.
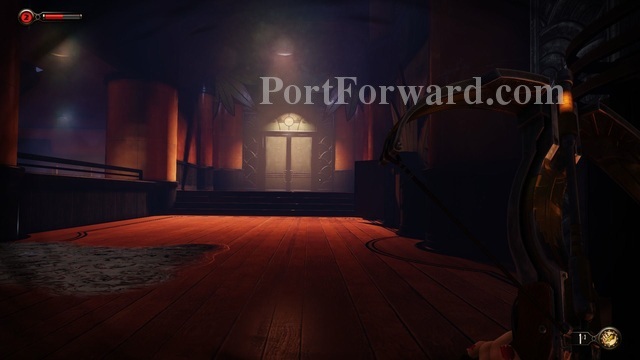
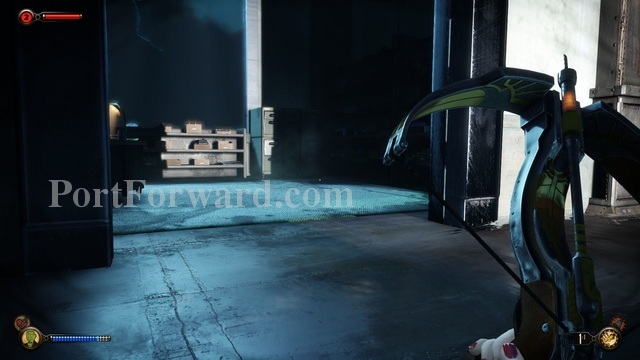
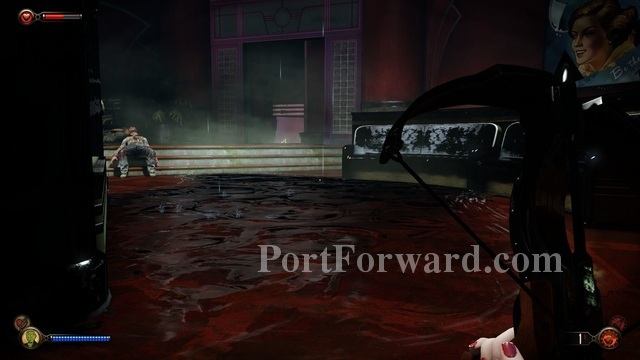
After searching all those areas (there's things to pick up that I didn't touch on- none of it is hard to find) head back out to the main hall where the first two Splicers were knocked out and head around the partition on the right side of the room to see the door.
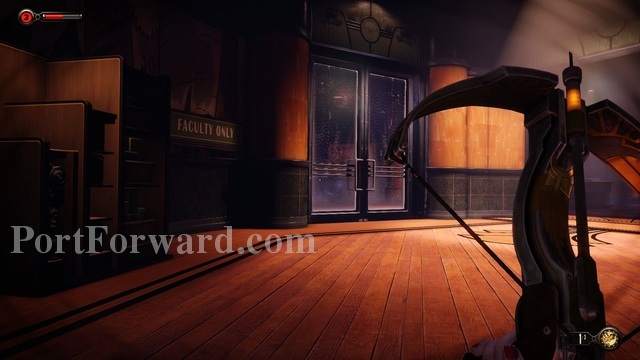
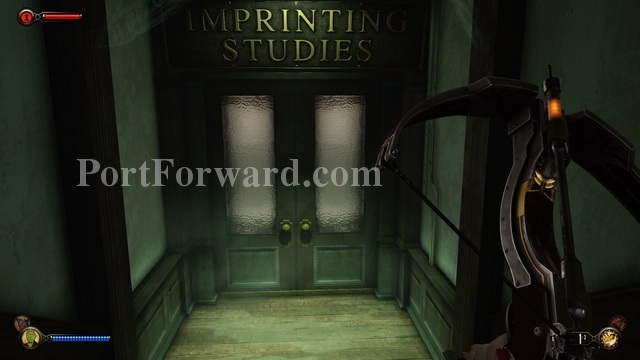
On the other side of the door go into the "Faculty Only" room on the left.
Inside you'll find a small office you can search. Nothing specific needs to be pointed out in here, though. It is important to search everywhere in this Episode as money is scarce and there are a few times you may need to buy lock picks or needles for the crossbow.
When you head back out of the office go to the left.
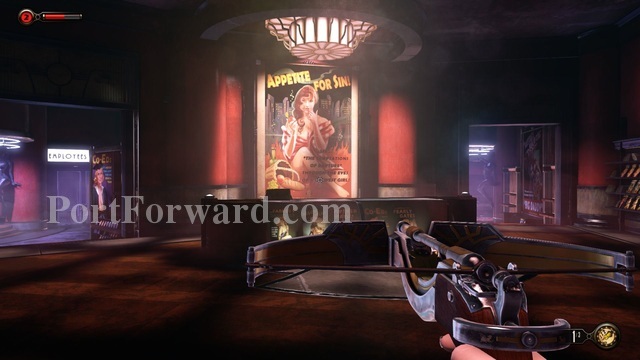
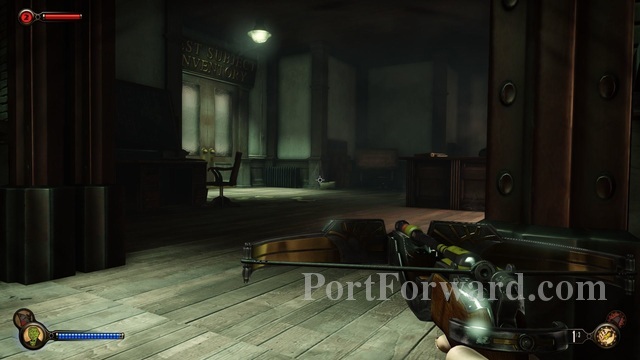
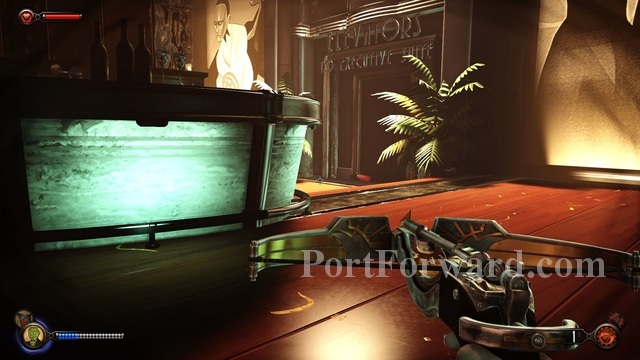
If you go around the front desk (you can open the divider) you should be able to see a big red exit sign over a door just ahead of you.
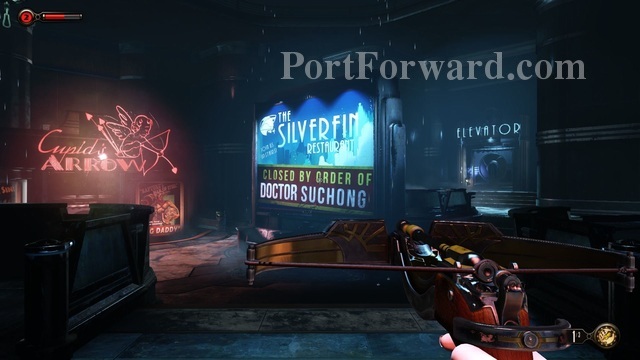
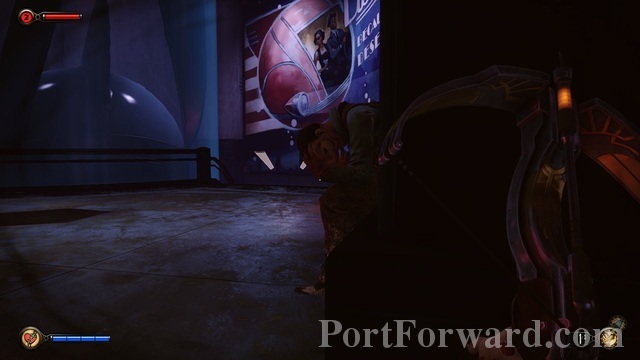
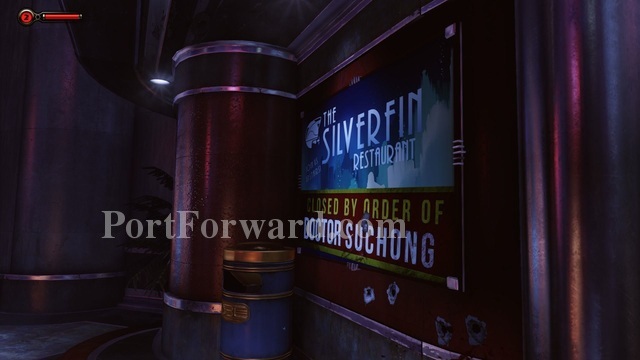
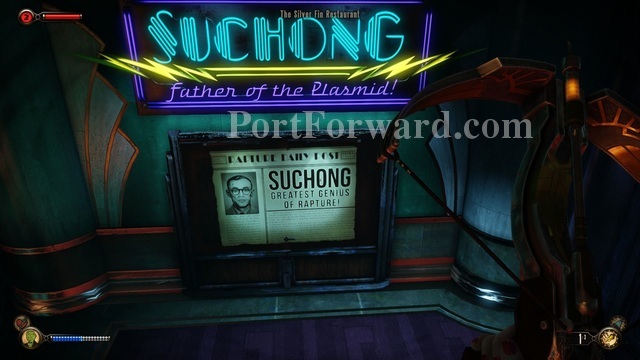
On the other side of the door is a big billboard for "The Silverfin Restaurant". Elizabeth discusses this place with "Booker" and decides that would be the place she needs to go to.
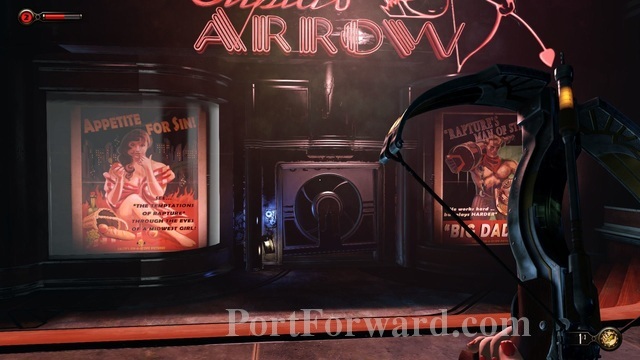
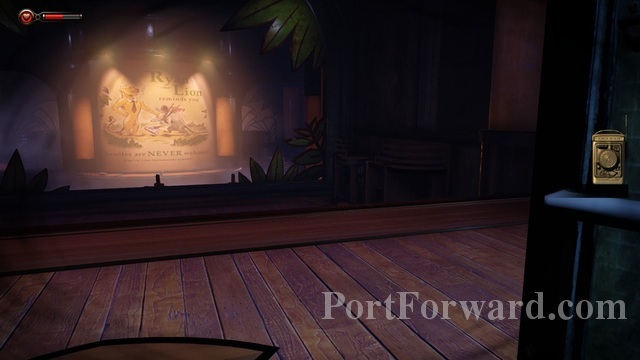
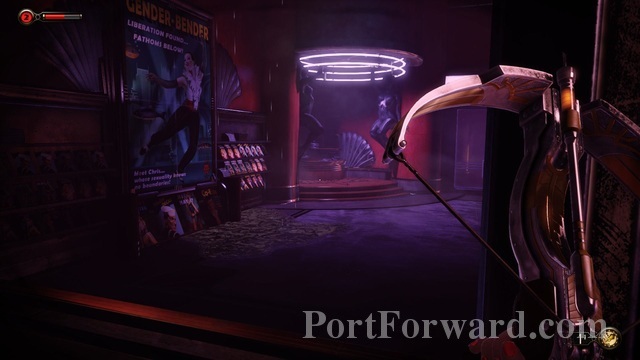
Before we go to the right, though, head into the store on the left. I don't think I've ever seen Bioshock games touch on pornography or adult entertainment in general before so it's interesting that this is here.
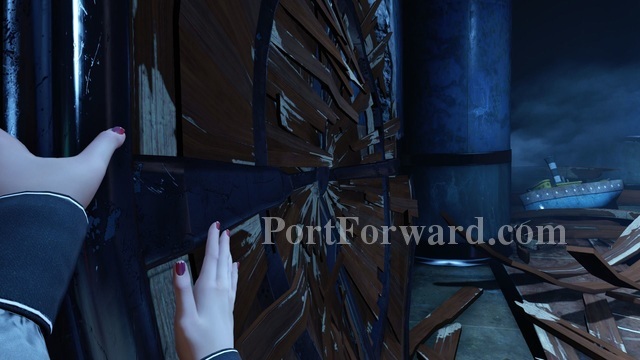
Elizabeth can open these broken doors with her sky hook/air grabber.
Don't worry, by the way. The pornography/adult entertainment is very tame in relation to real world modern day stuff. This just stood out to me as I've never seen what Rapture would think of such a place.
Inside head to the left.
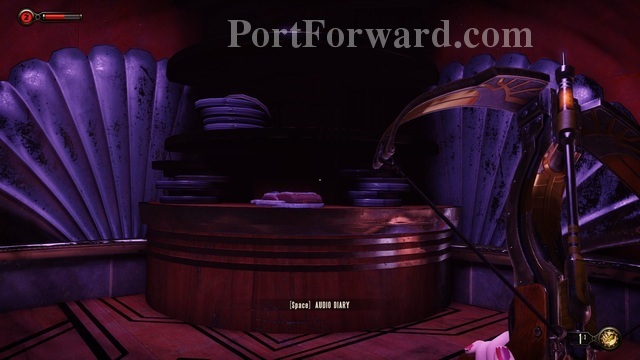
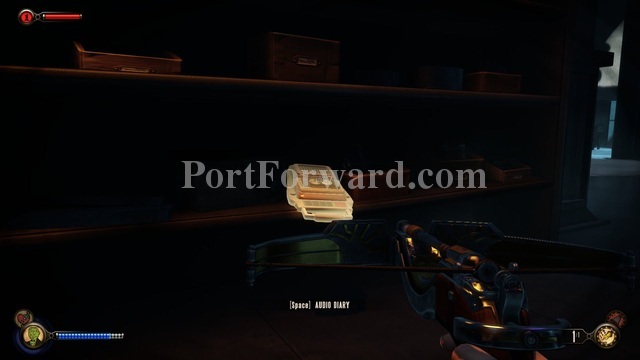
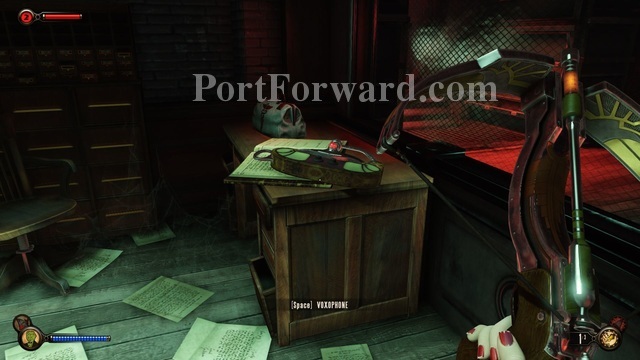
There's an audio log on one of the shelves on the left side in the back.
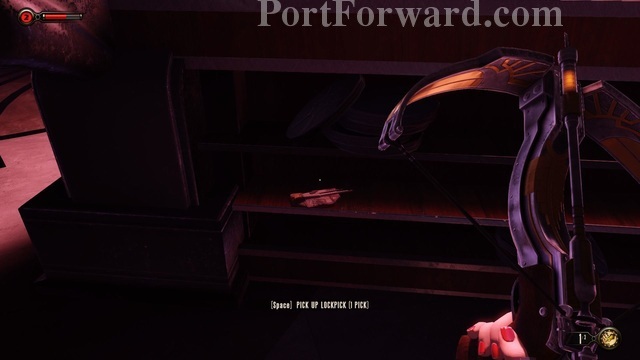
You should look around as usual as there are lockpicks here and you need as many of these as you can get. There are a lot of locked doors in this Episode.
When you're done searching the store head back out.
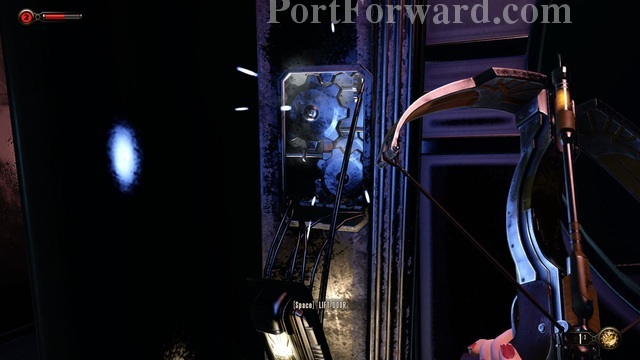
Turn to the right and you should see a Kinetoscope machine you can view about sex.

Turn around when you're done viewing that and head up the stairs.
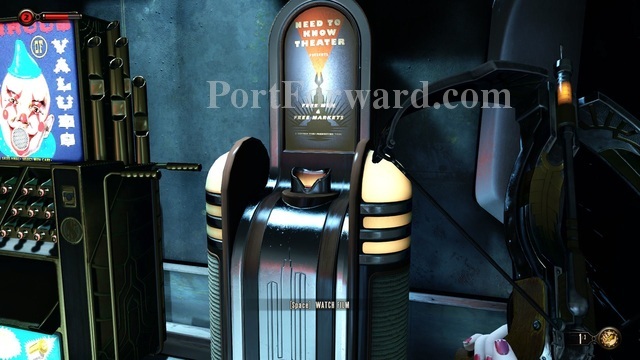
If you head around to the right you'll find another Kinetoscope machine by a vending machine that you can view.
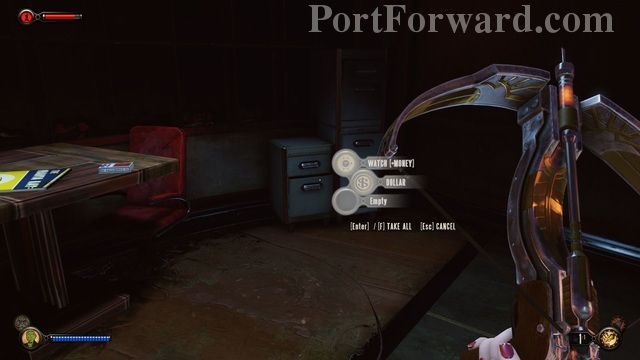
If you've been searching you may have a few dollars to check the vending machine for any needed supplies as well.
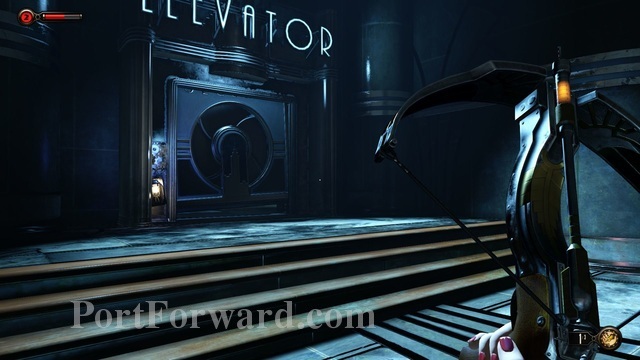
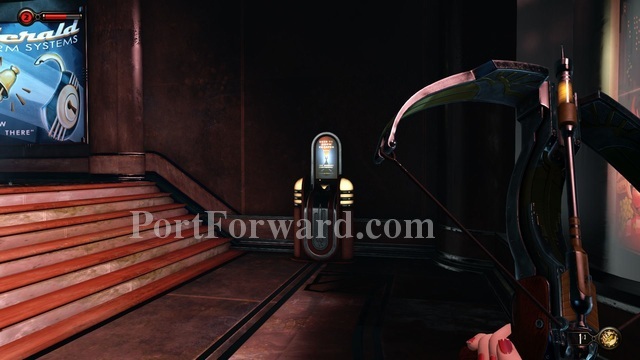
When you're done, head back to the left and to the Elevator door (the door that is marked Elevator).
Head across the hall to the next door.
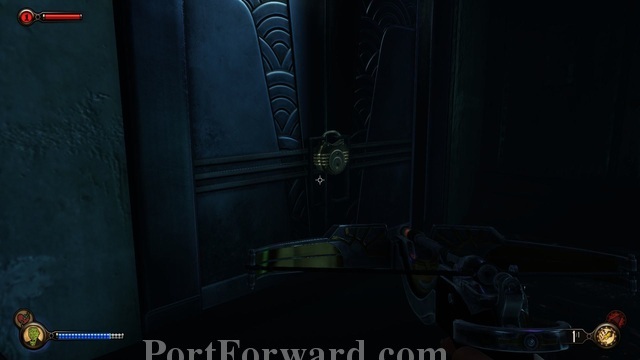
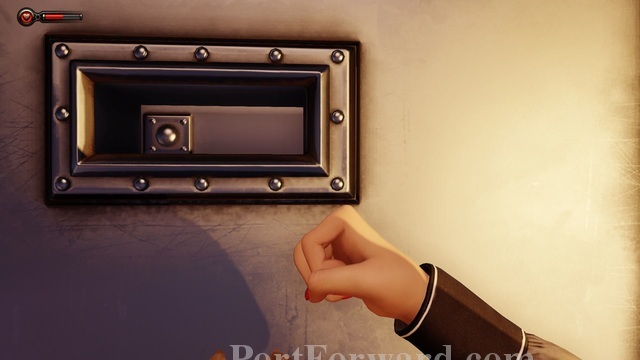
It's locked so you'll have to pick it.
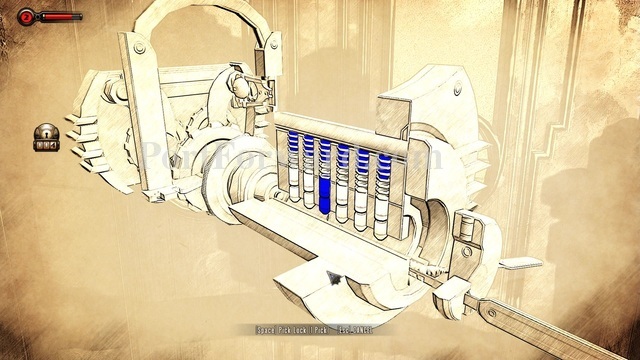
This lock is a tutorial on blue pins. The importance of these is if you do happen to land on one you get a new bolt.
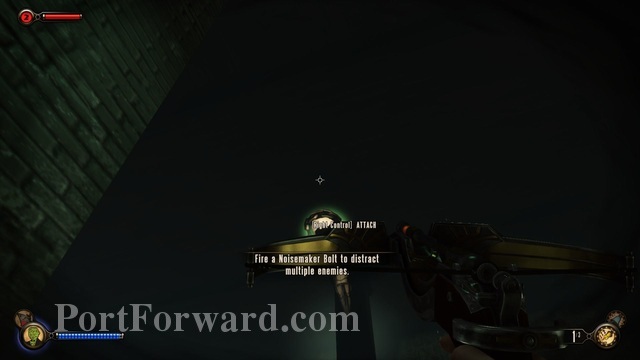
When you open the door you obtain your first distraction bolt. There are three Splicers hanging around the elevator you need to get in so this will be useful.
Turn slightly to your right and shoot a distraction bolt towards the window. This will cause the Splicers to move over there to find out what the noise is.
While they are doing that sneak to the left, around the counter, and head into the elevator.
Then hit the button to move on.
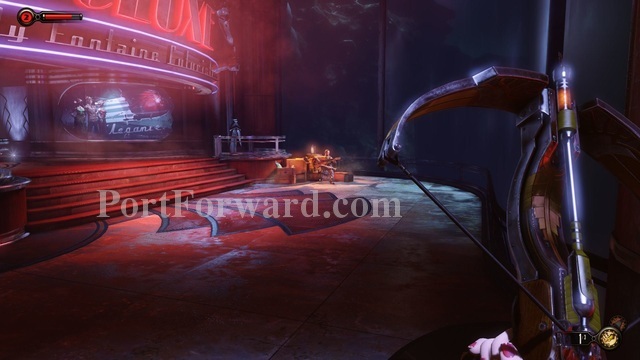
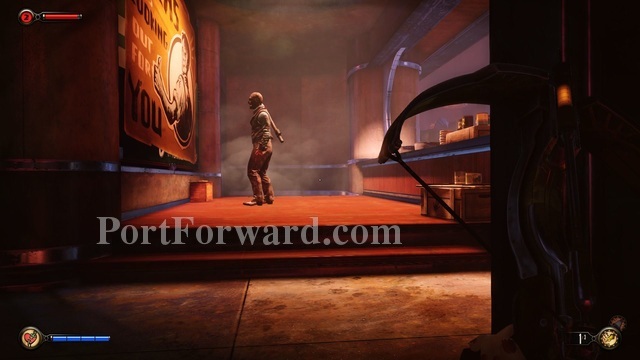
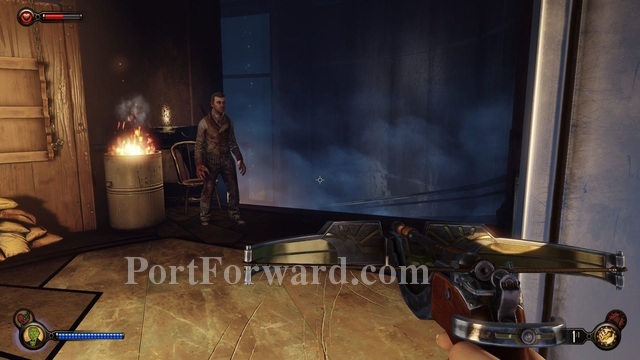
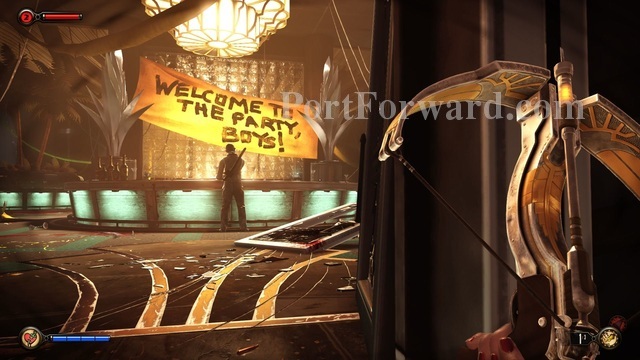
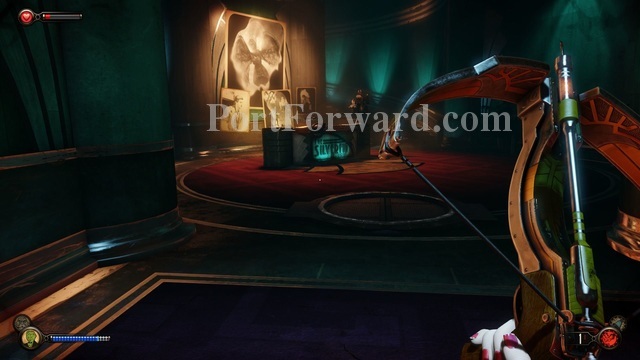
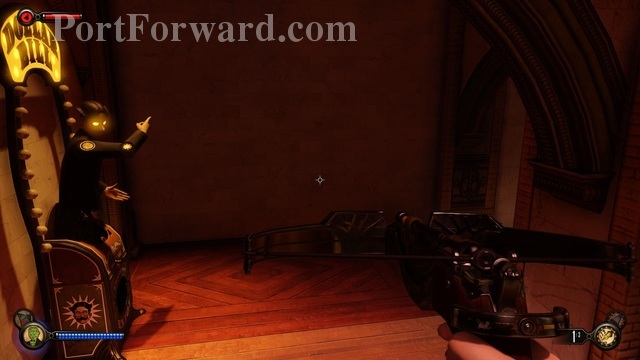
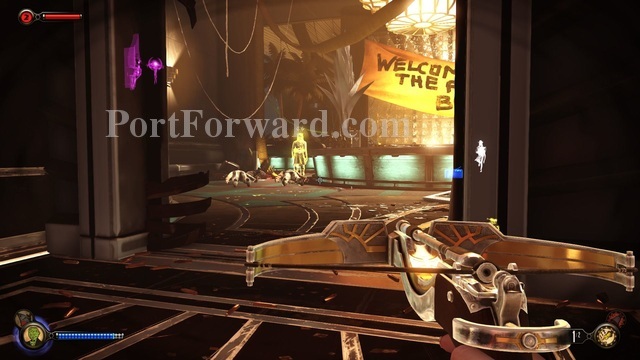
Once you reach the top you see a man playing a guitar and singing a song on a soap box in the right corner of the room ahead.
Before you go over turn to your left slightly and there is a poster on the wall you can examine for another Elizabeth flashback.
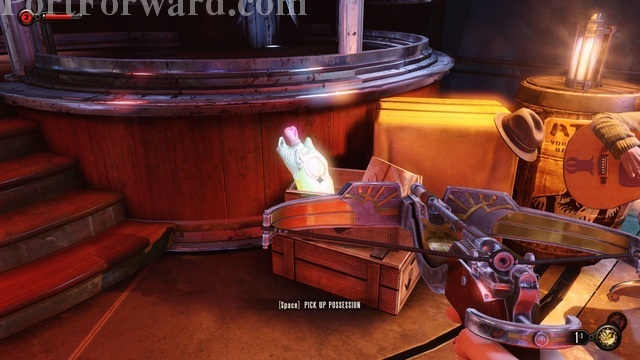
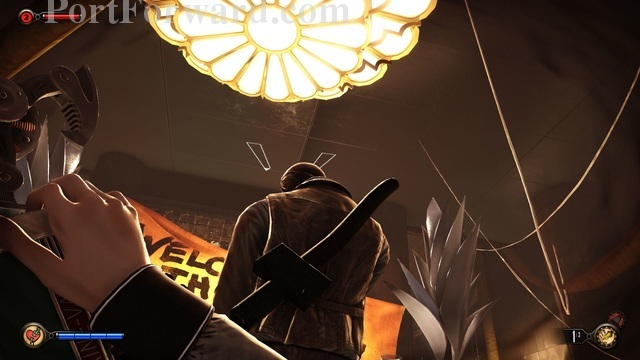
Then head over to the musician. You can pick up the possession plasmid next to him.
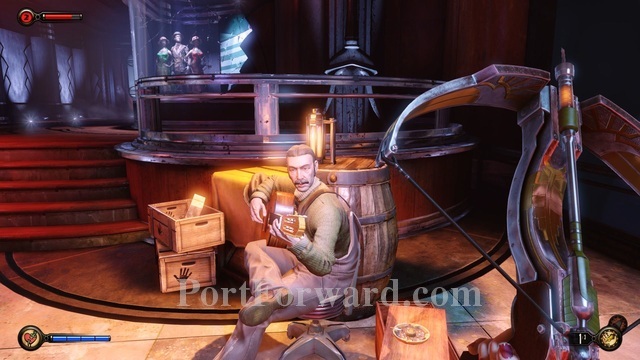
If you want, before moving on, you can listen to the guys song. It's kind of eerie in it's relevance, but I appreciated that it's about Rapture. It's not very often music actually capture the political mood of a world in video games so it's neat to see this here.
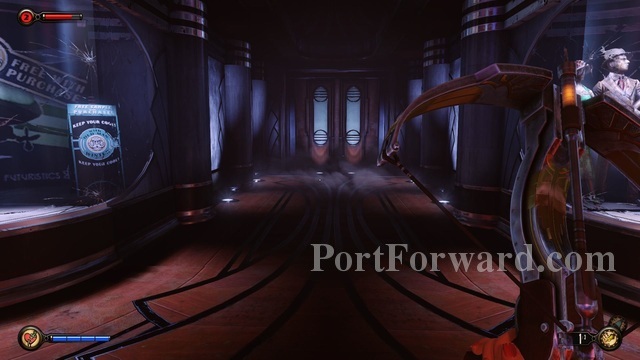
Head up the stairs when you're ready and go through the door.
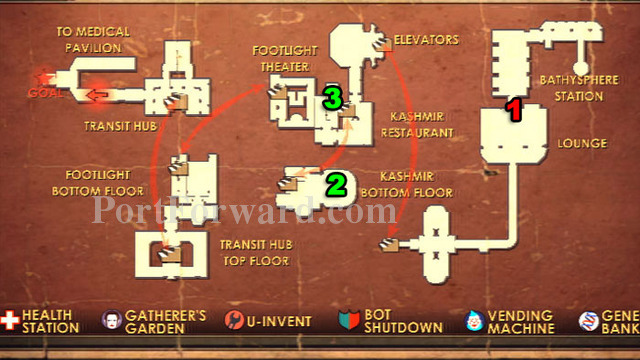
Bioshock Infinite: Burial at Sea - Episode Two Walkthrough On to The Silverfin Restaurant
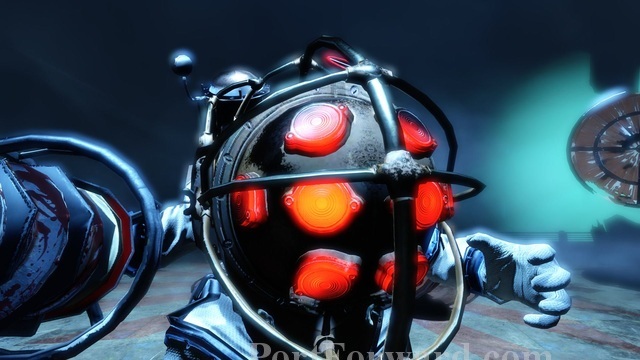
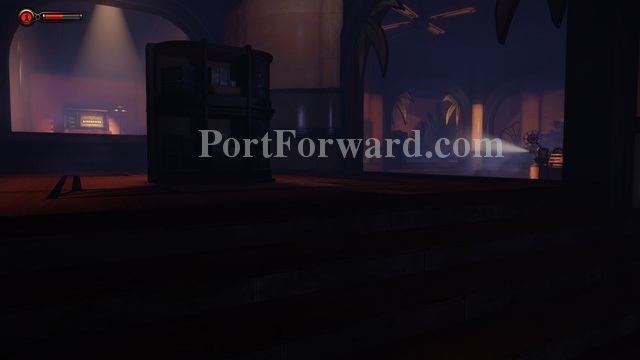
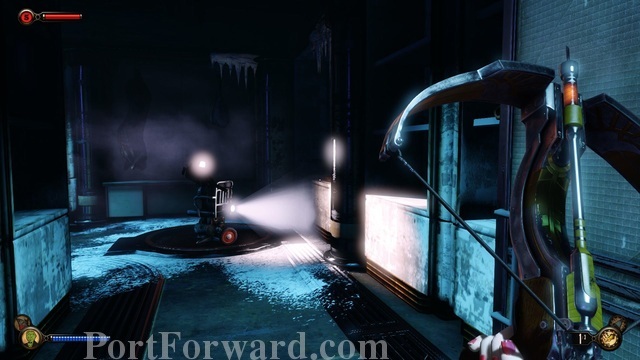
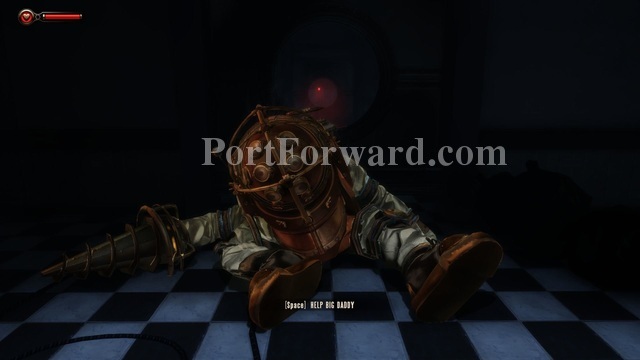
On the other side of the door you'll see your first Big Daddy in this episode.

He will constantly patrol this entire (very large) area so I recommend staying low, using hooks, or whatever other means to stay away from him. The biggest reason being that they attack on site and Elizabeth cannot harm (or kill) them. If you're good you can use it to attack Splicer enemies as it has no loyalties when it enrages.
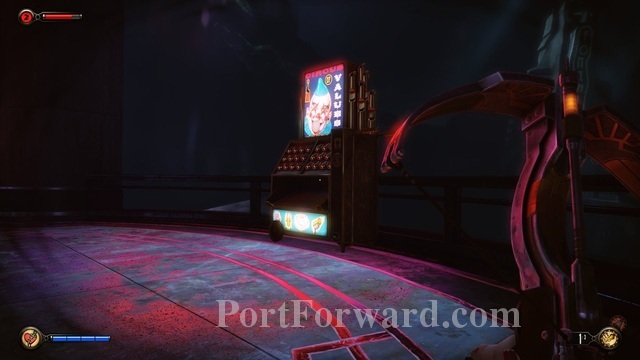
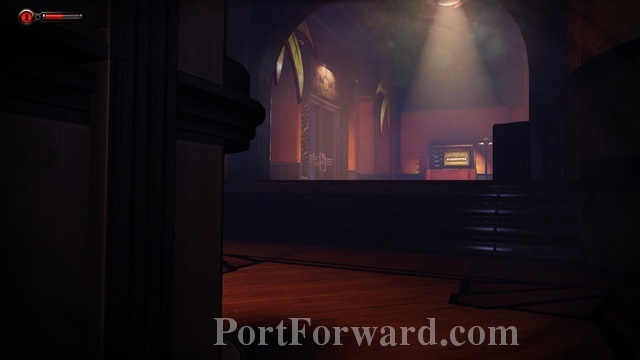
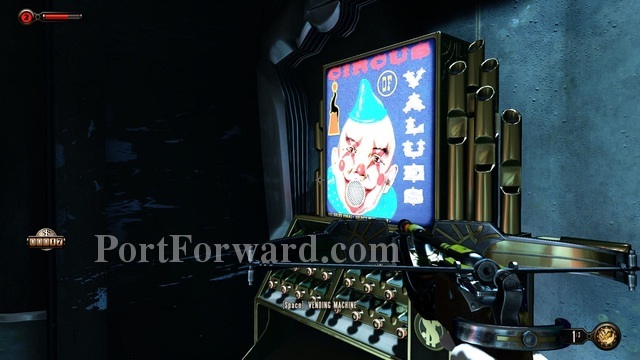
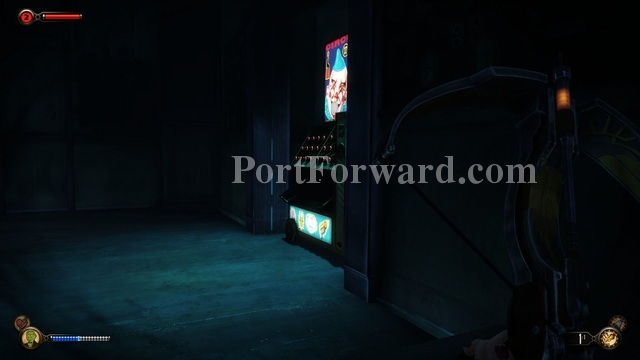
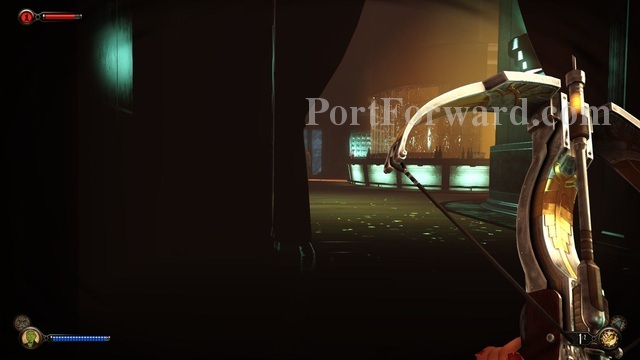
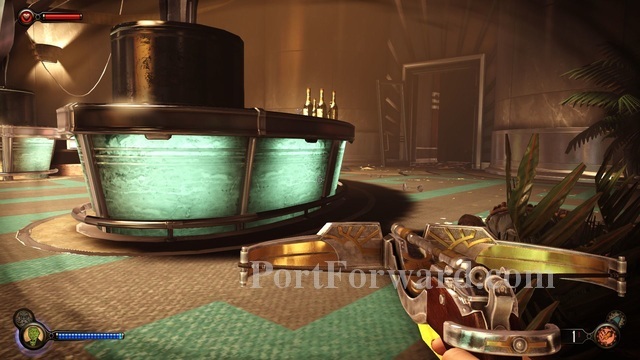
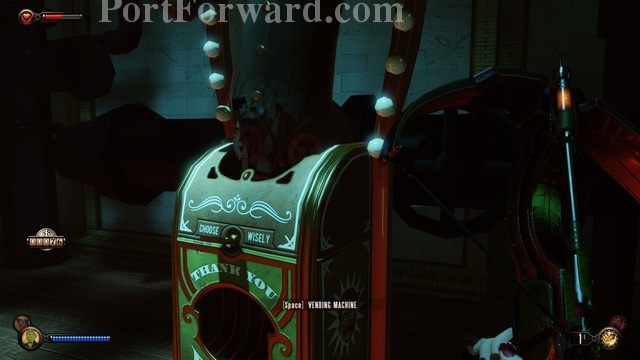
If you head to the right side you will find another circus of values machine you can use for any supplies you need.
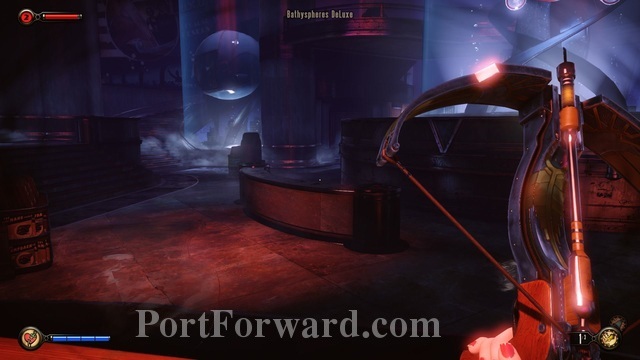
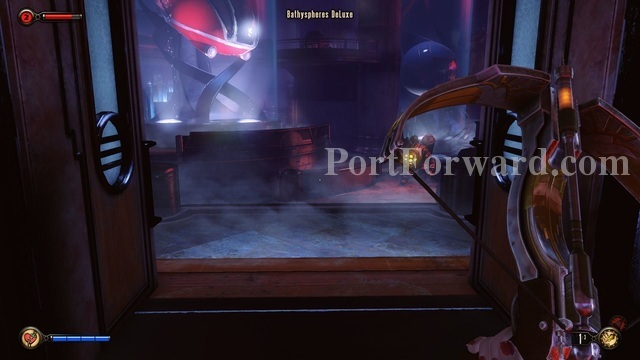
Continue right to the "Bathosphere Deluxe" and then turn in towards the center. You should see a door in the dakrness ahead.
Head around the counters, staying low, and into the door just ahead.
This leads into the information booth. There are two Splicers in here.
If you stay low they wont see you.
You should be able to easily knock them both out.
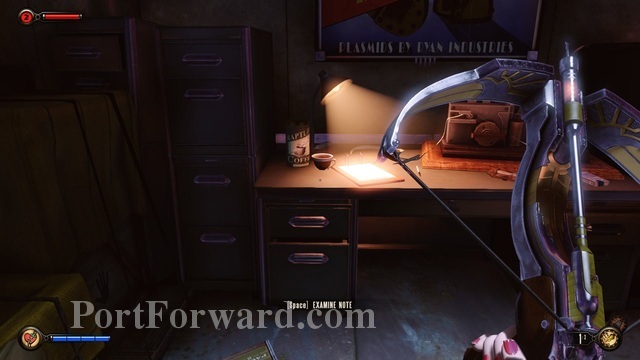
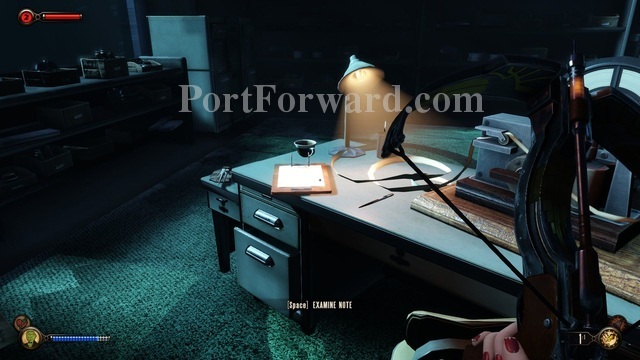
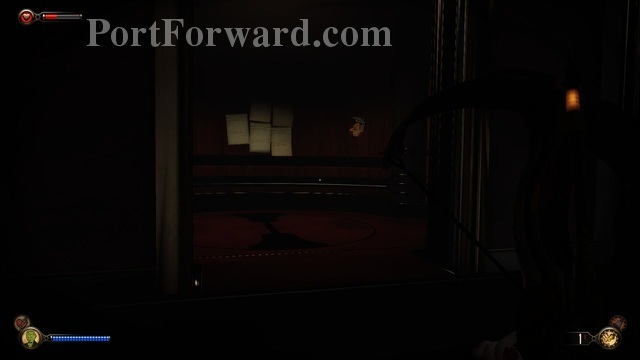
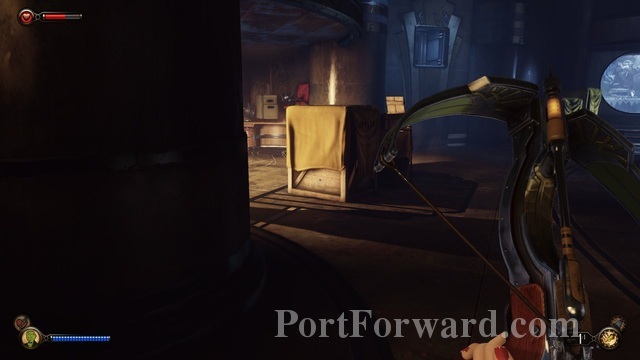
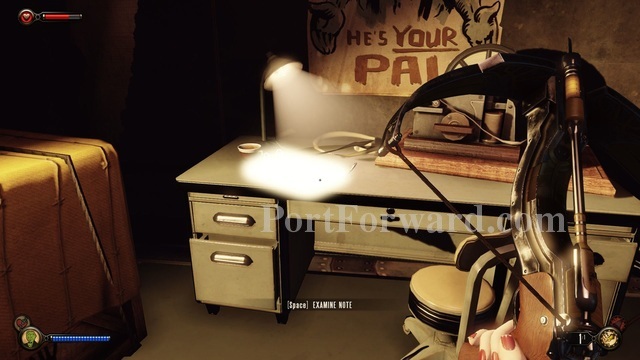
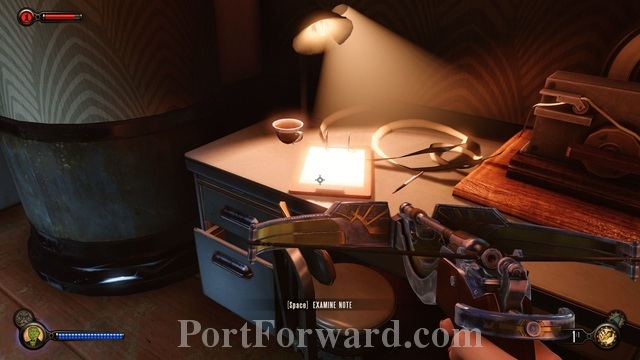
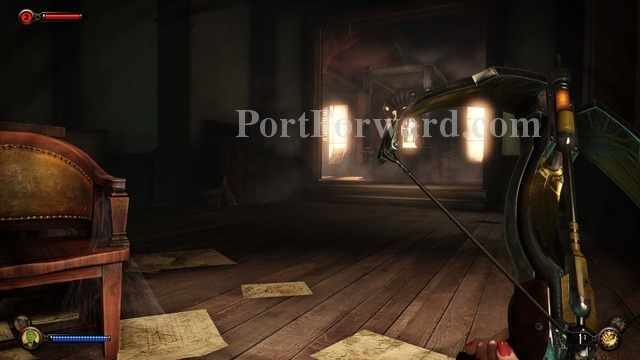
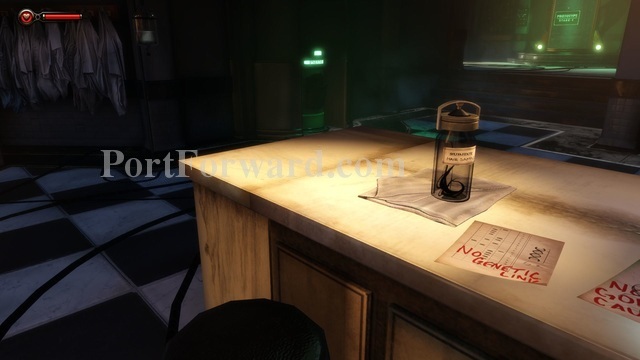
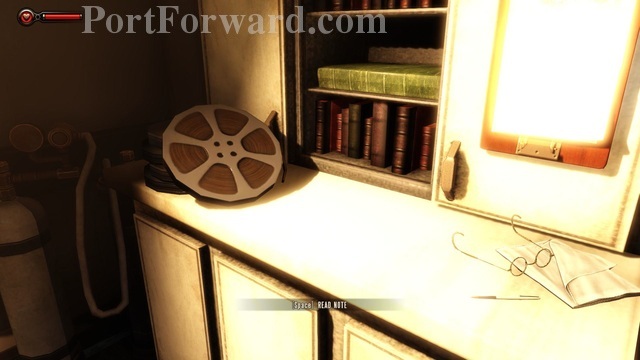
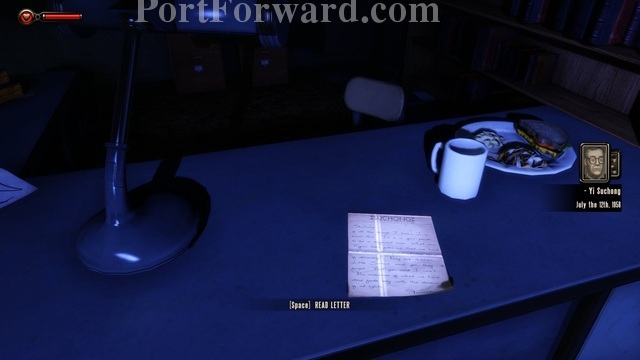
Search this entire office. The big reason I mention this room is there is a note on the desk which is part of a side quest. This is the first secret note of four. I will have all the locations in this walkthrough.

Turn to your right when you're done at the desk and you should see a vent above.
Head through the vent and jump to the right on the other side.
Be careful to put any Splicers in the way to sleep. Don't rush it.
Also bare in mind that sometimes there are some Splicers that will sit on benches. These guys are only a problem because you may not notice them as it isn't ordinary to have to look for an enemy sitting on a bench, but if you're listening you'll probably see them before they see you as Splicers do mutter a lot.
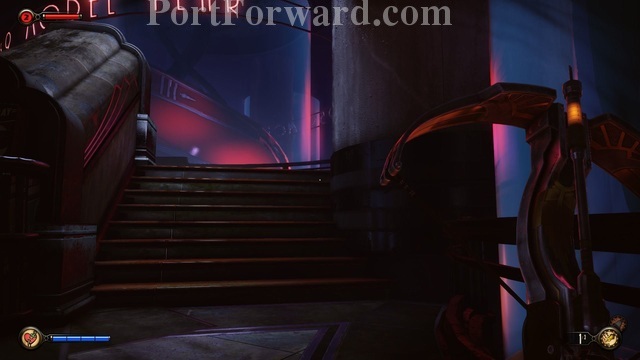
Anyway continue up the stairs to the left.
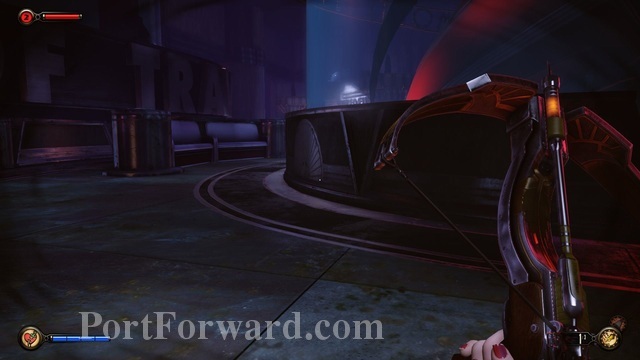
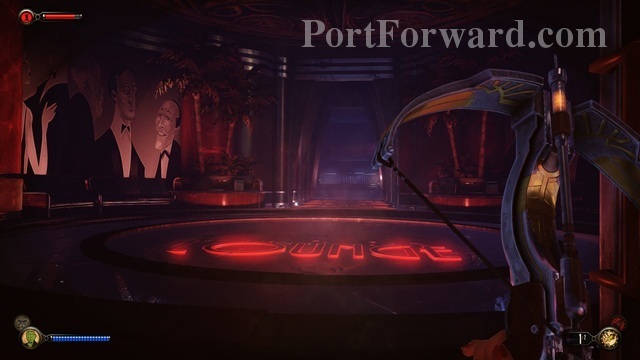
Then head around the big encircled area in the center.

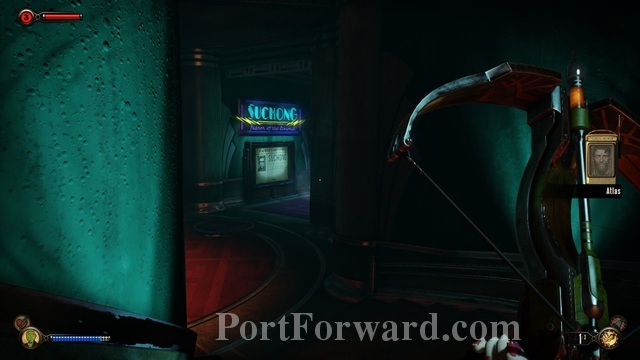
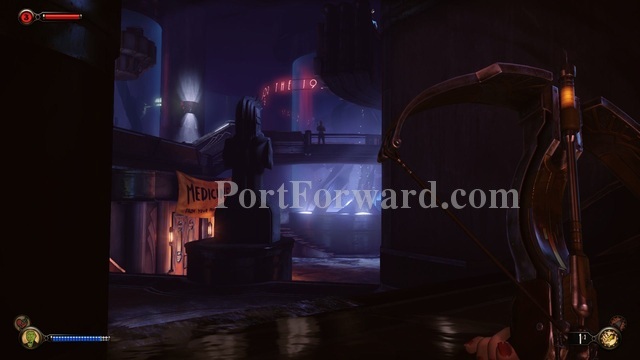
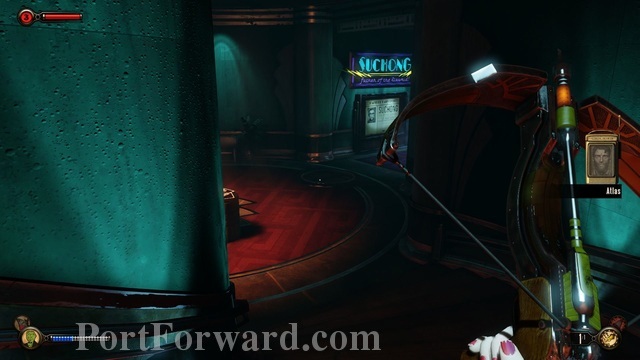
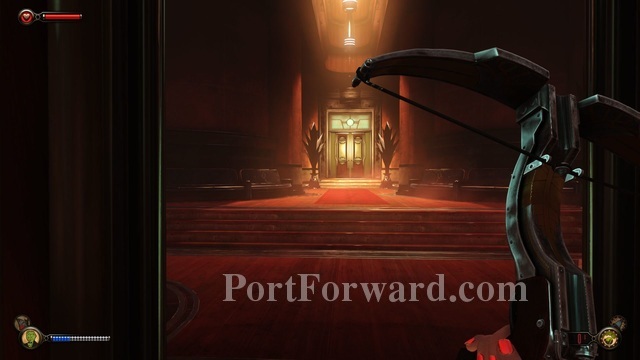
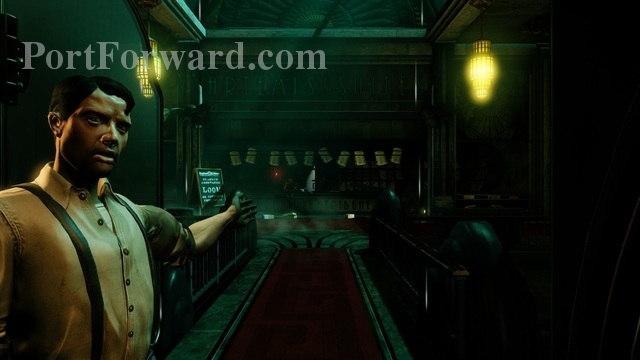
You should now see The Silverfin Restaurant just ahead of you.
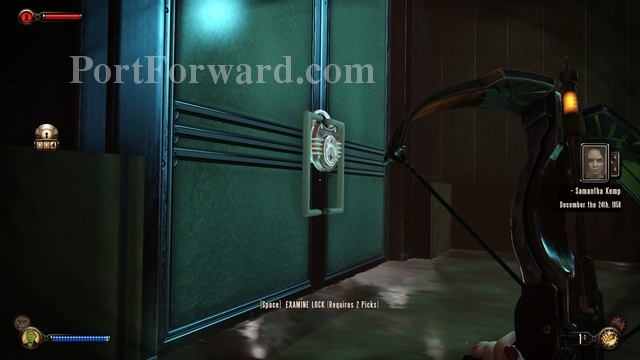
When you get to the door you find that it is locked with a key combination. You can't get inside this way.
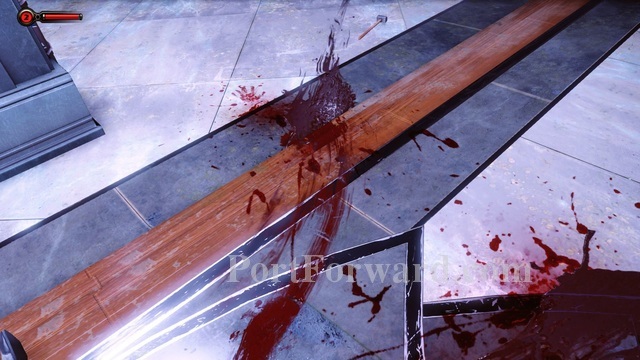
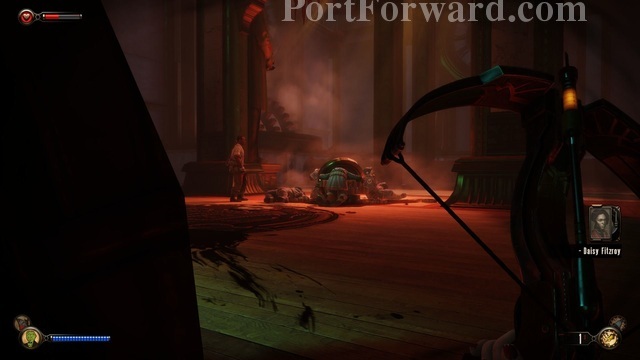
If you look around on the ground there are tools indicating someone else has tried to get in here before. There is also a trail of blood.
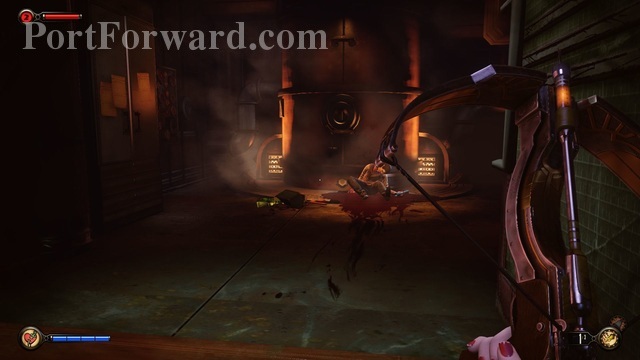
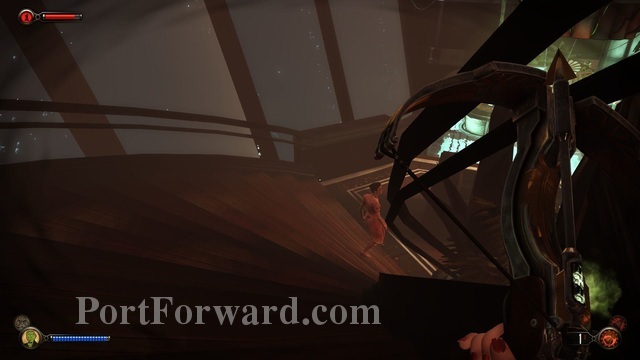
Follow the blood to the right and down some stairs. Then go into the door on the right (I think it's marked maintenance) and you should see a dead man in a pool of blood.

You can pick up a "Peeping Tom" plasmid here. This is the most useful plasmid in the entire game in my opinion so don't miss it.
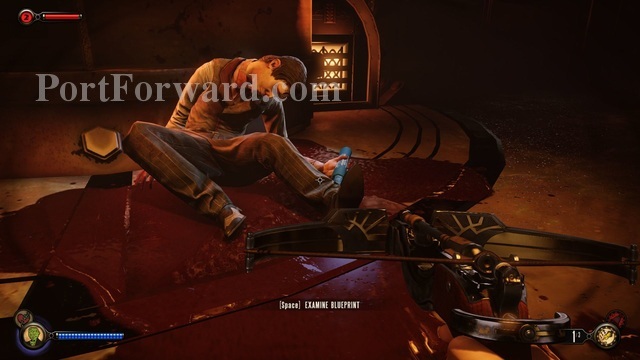
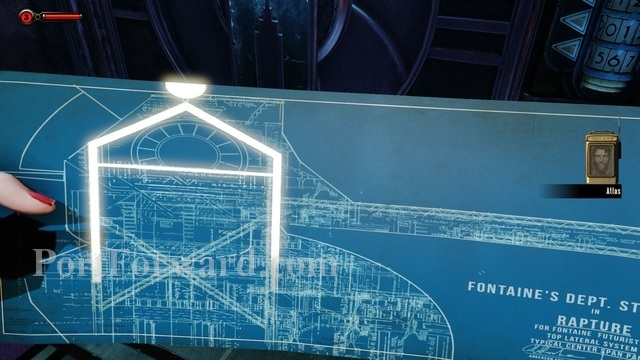
On the dead man you will see a blueprint in his hand.
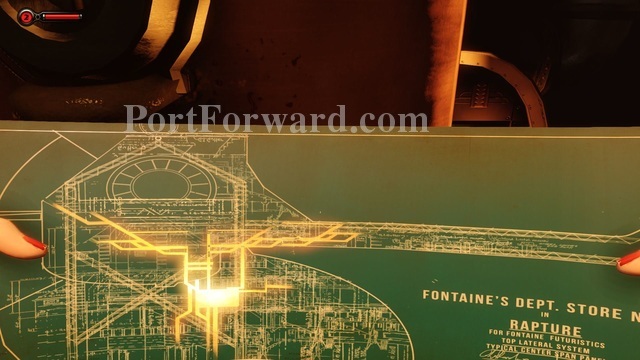
When you pick it up Elizabeth is able to pinpoint how she needs to get into the restaurant.
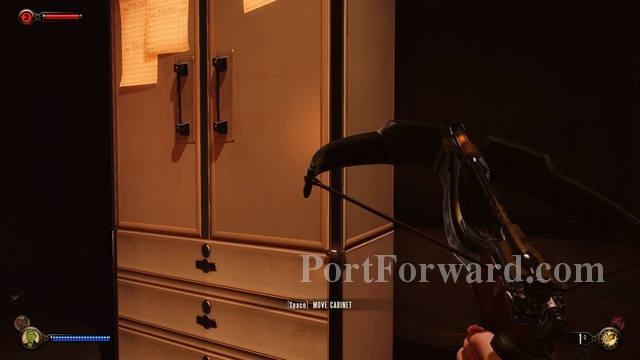
Head to the cabinet that is placed, oddly, in the right side of the room.

Sure enough this cabinet doesn't actually belong here. It's blocking a vent, and not doing a good job at being inconspicuous.
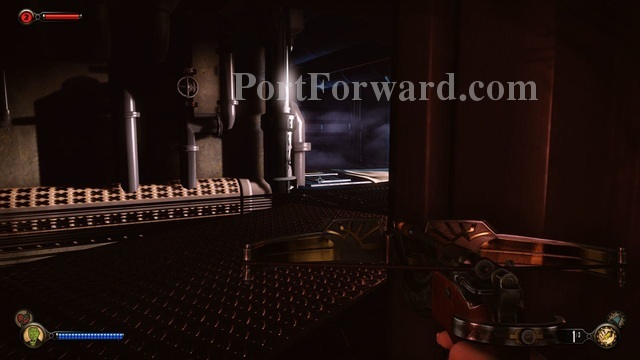
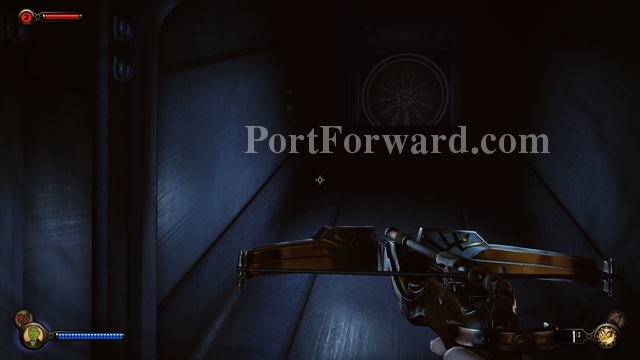
Head into the vent, but be careful at the other side. There are turrets in here.
When you get around the first turret head up further through the vents.

There's another turret here and it has a better angle on this next room.
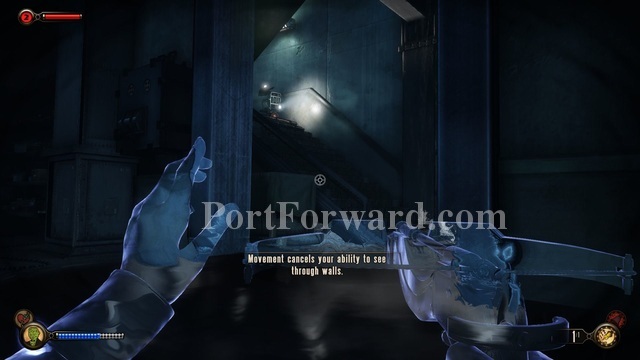
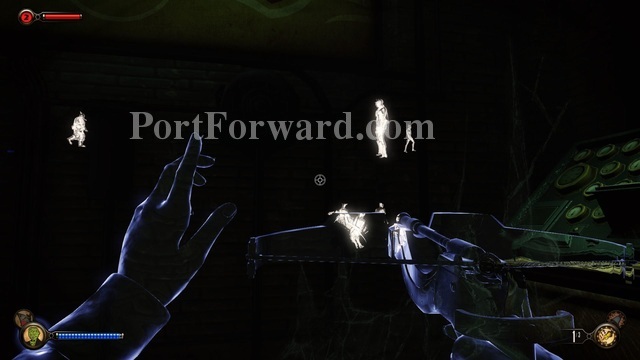
The easiest thing to do is to use the "Peeping Tom" Plasmid (hold the button down to keep yourself cloaked) and you can move while invisible.
You should be able to easily get around the turret this way and continue through the vents.
On the other side of this area you will now be inside the SIlverfin Restaurant.
Move towards the desk on the left side of the room.
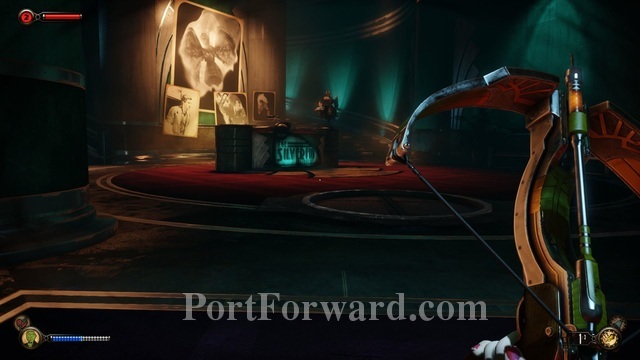
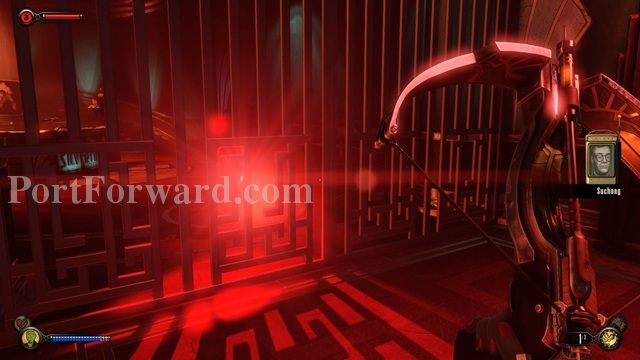
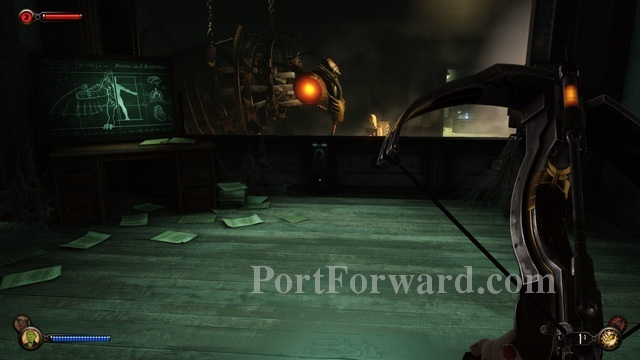
For some reason Suchong has pictures of Columbia. It's not really clear how he got these, yet. If you want to be violent there is a shotgun you can pick up on the desk. Otherwise, continue upstairs.
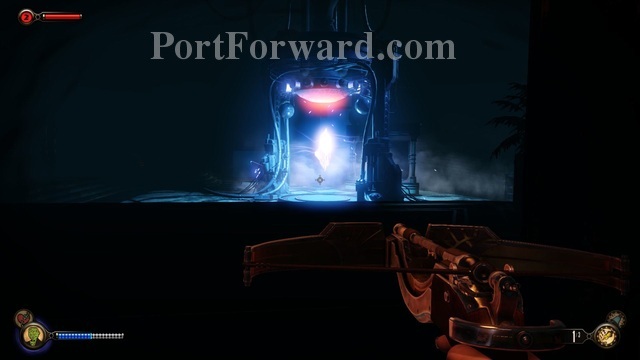
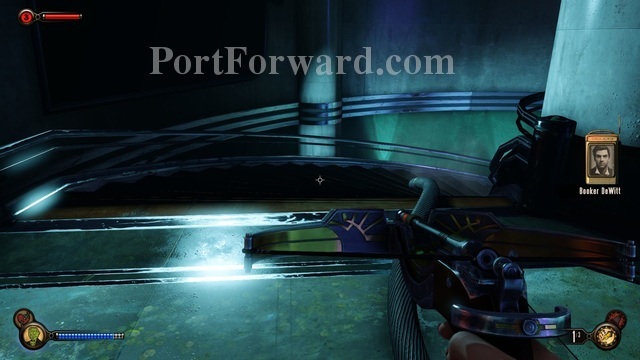
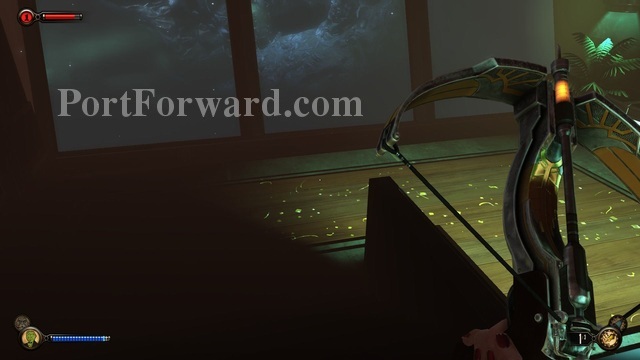
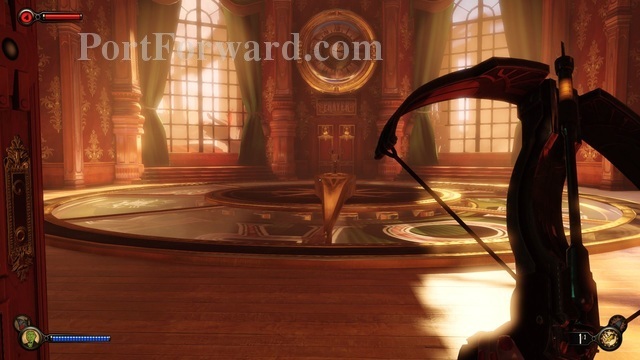
Head through the door at the top of the stairs. Inside you will be able to see the "Lutece device".
Head over to the device to examine it. Elizabeth will have a long conversation with "Booker." Realistically, though, she is talking to herself, but I guess you know that by now.
Anyway, remember, again, to search the area.
When you're ready, head through the door that is on the left of where you entered (may actually be on your right from the "Lutece Device").
Stay left inside (there is a door on the right you can lockpick, but it is pointless to go in there right now so I recommend you don't bother with it, yet) and go up the stairs.
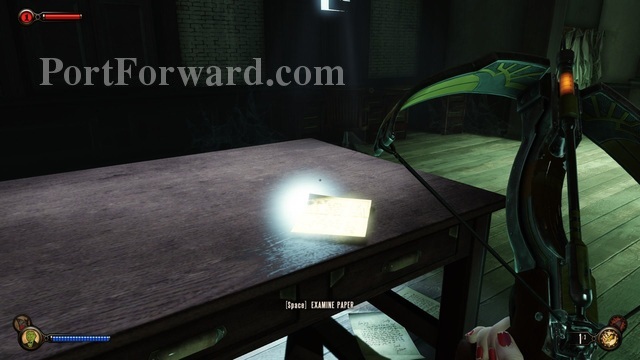
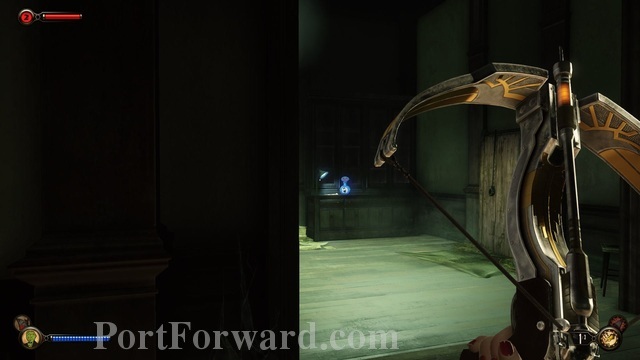
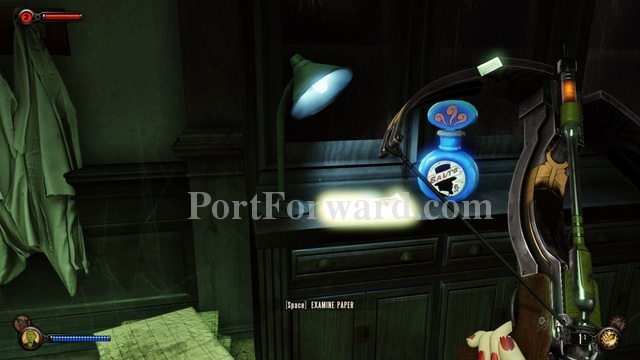
At the top of the stairs you'll see the big glowing paper on a desk on your left.
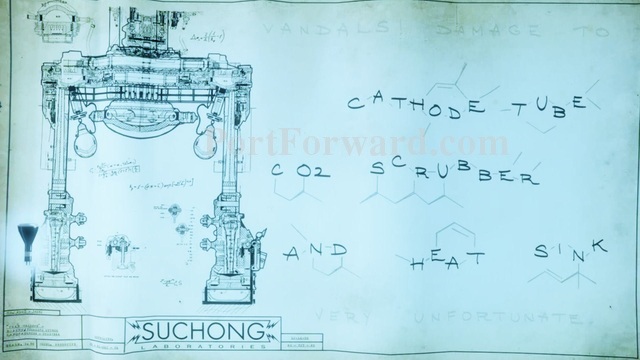
Examine it and Elizabeth will decode Suchong's notes which outline what is needed to fix the Lutece device and get it working properly again.
After the scene with the notes head back downstairs.
Continue on to the right where the entrance is and head back out to the reception area.
Go back downstairs and to the front door.
The door is still locked, and unfortunately from inside you can't reach the vent.
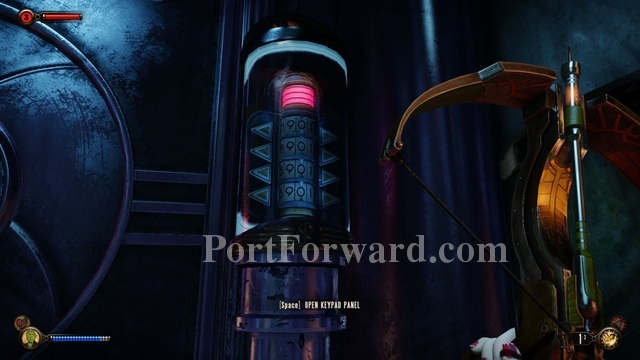
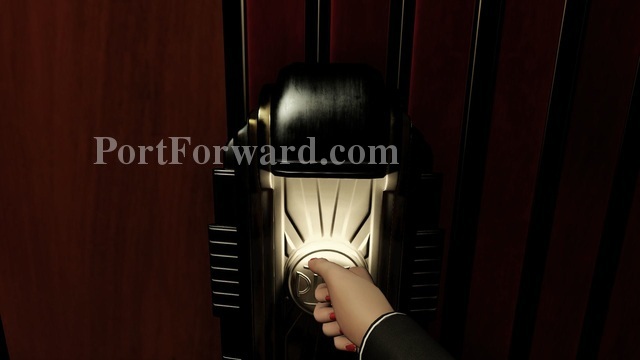
Attempt to use the keypad for the code in the hopes that maybe this will do something meaningful.
The alarm will go off and Suchong will contact Elizabeth over the speaker system.

Elizabeth will discuss how she is actually attempting to fix the Lutece device and convince Suchong to let her out.
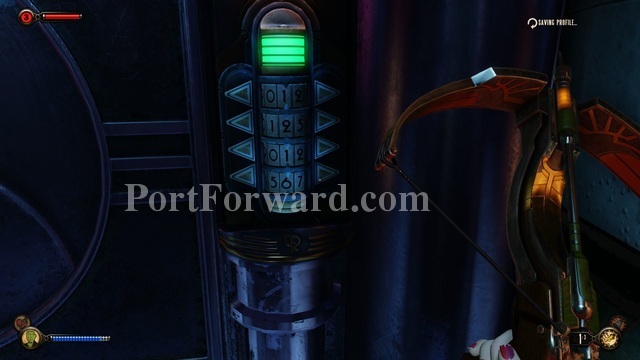
Suchong then gives her the code in order to open the door.
Once outside be careful to look out for the Big Daddy that is still patrolling.

Head down the stairs on the right and go around the corner.
Watch out for patrolling Splicers and continue to make your way all the way around to the other side.
On the opposite side (you can see the Manta Ray on the left from here) is a Circus of Values machine..

Use the machine and Elizabeth will get the part she needs from it. Don't worry, though, the machine is still usable for buying stuff if you actually need anything.
I recommend using the hooks when you need to stay out of site. The important thing with that is you don't want to stay on one to long or it will begin to make a lot of noise. Also when you jump down you need to hit your duck button to land softly or you will make a lot of noise.
Anyway, from the machine we just scavenged head to the right (in the picture I had to hide from a Big Daddy so I am just above it). There is a stair case there.
Head up the staircase, staying low, and you can pick up some lockpicks on a wall on your right side.
Then use the door to pick the lock. Remember to use the "use" key when you want the pick to stop and dont stop on a red pin.

If you trip the alarm there will be turret that opens right at the door. Either way head up the stairs.
At the top head into the next room with a big TV.
Move to the right and around the desk counter.
If you head around it and to the left you will find the elevator in the back.
Board the elevator and press the button.
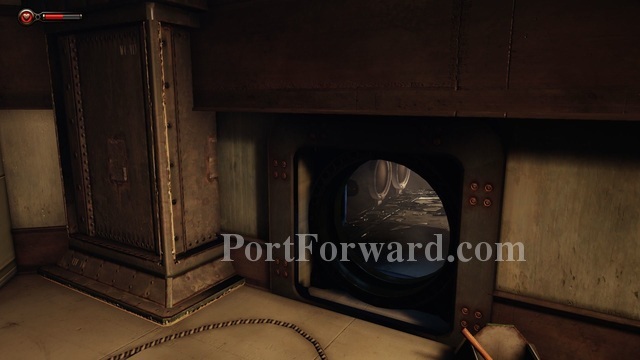
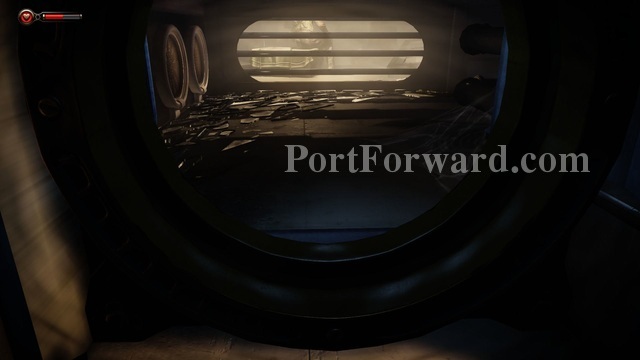
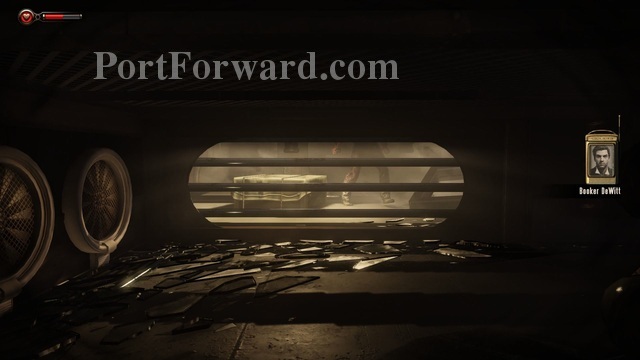
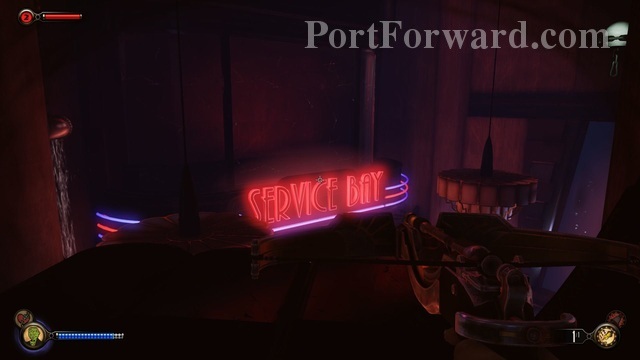
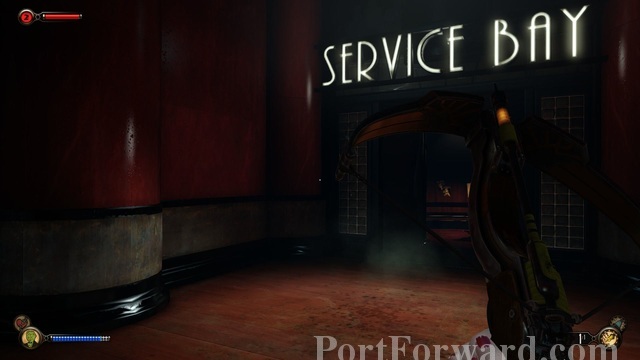
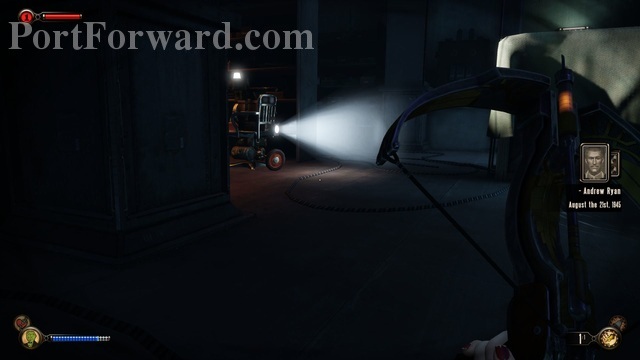
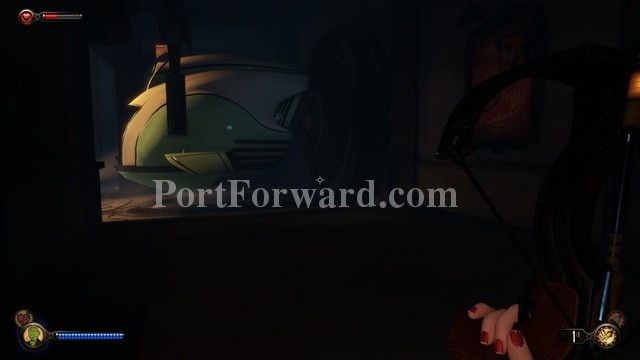
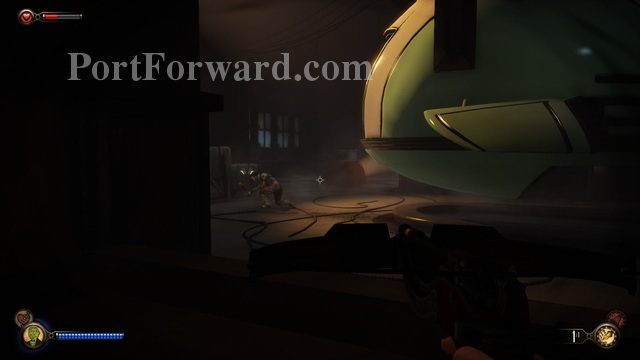
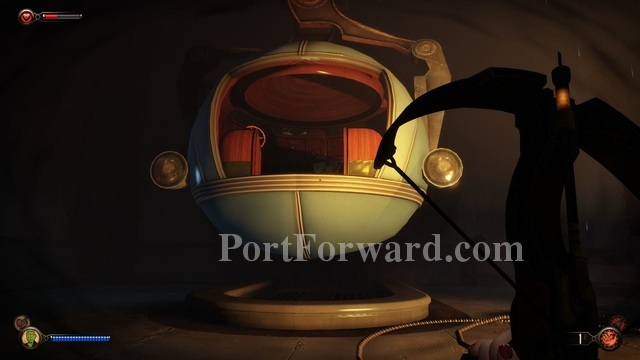
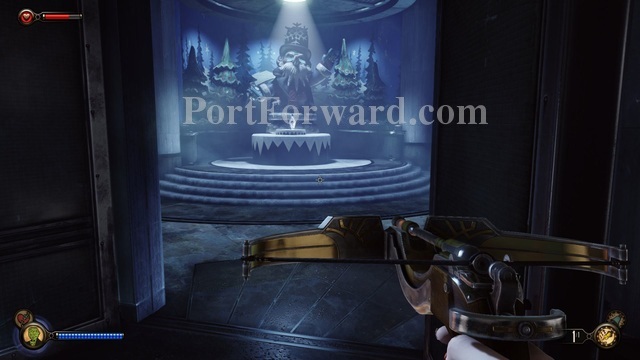
It will bring you down to the service bay where several prototype bathyspheres are.
You can examine the bathyspheres on both sides. Elizabeth read up on these, apparently, and she gives some interesting back story on their design evolution.
When you're done head to the stairs in the back.
Head around to the right and down the hall.
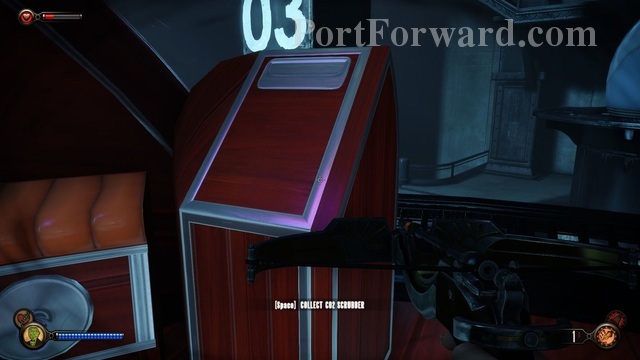
You'll see the bathysphere that Elizabeth needs for a CO2 scrubber ahead.
Watch for enemies in here- there will be several so stay low.
Head to the left from the stairs.
Then go right around the next corner and into the room on the left.

Head down some stairs. Really this so you can remain hidden from enemies easier.

On the other side keep an eye out for more Splicers as you continue ahead.
You'll see some stairs leading down on the right.
After taking out any Splicers around (I think there will be two around the staircase) go to the locked door directly in front of the stairs and pick it open.
After opening the door look to your left to pick up an Audio Log.
Then head around the corner, but be careful. There is a turret on the other side. Remember you can use the "Peeping Tom" plasmid to sneak around it.
From the turret head to the office on the right.
If you look around on the desk you will find another note.
From the office door again go to the right. You should see some stairs.
Head up the stairs, but watch out for the turrets there. There are two flights of stairs.
At the top there are two directions, left and right.
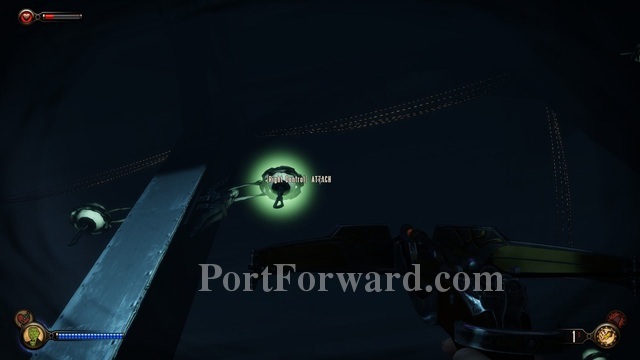
From the right you will probably see at least one Splicer come down the stairs. You may need to knock him out with a bolt from the crossbow.
Once you have that guy out of the way head up the stairs on the right.
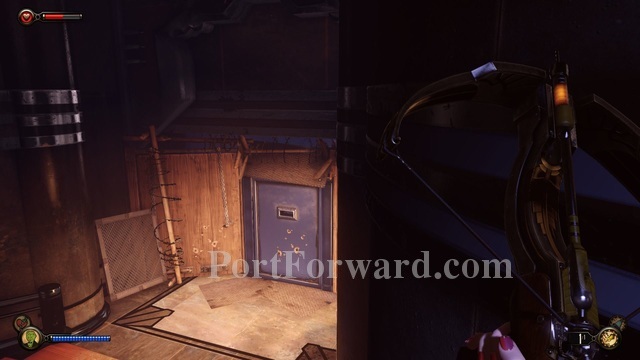
You can pick up a plasmid here (although it will just give eve if you already have it).
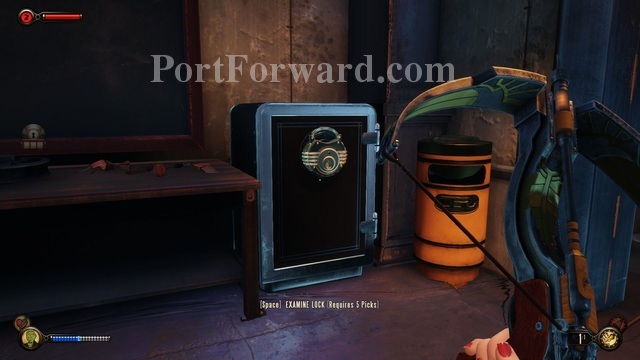
There's also a safe you can open here for some goodies. I won't spoil whats inside, but you should open it.
When your done head up the stairs behind you.
Move around through the door on the left.
On the right side of the room there's a "Circus of values" machine if you need supplies.
Head to the back of the room here where the light is flickering on and off.
You should pull a lever here to lower the bathysphere you need to get to.
Quickly turn around, though, as Splicers will run into the room to find out what's going on. Knock them out however you need to.
Quickly head back out the way you came in.
Be sure to use the sleeping dart if any Splicers get in your way and continue down the stairs on towards the right.

Continue all the way back- the way you came up the stairs.
If needed you can hide in the office room where the note was.
When it's clear go back to the door on the left side of the room.
Then head a bit up the stairs- there may be more Splicers in here so watch out.
If you look up there will be some hooks you can jump to.
Look a little towards the right and jump to the next hook just ahead of you (towards the bathysphere).
You should be able to jump down to the bathysphere from here.
Use the panel near the front of the bathysphere to get the CO2 scrubber.
You can then jump back to a hook above.
Watch for patrolling Splicers, and then jump to the stairs.
Head back to the left and into the door that will be on the right.
Continue back through the room with the prototype bathyspheres, but be careful.
There are now Splicers doing... something inside of the bathyspheres.
As you head past the other one be careful as well- there is a Splicer in that one too.
Get back into the elevator at the end of the room.
Hit the button to go back up.
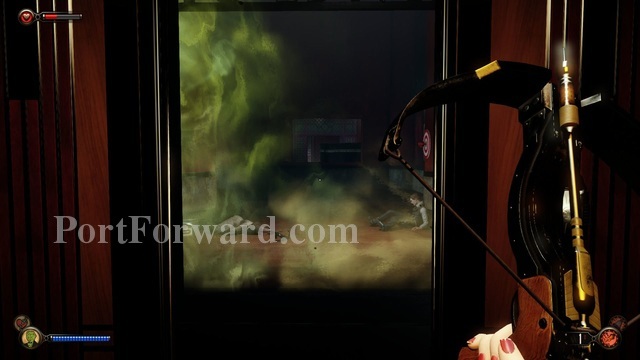
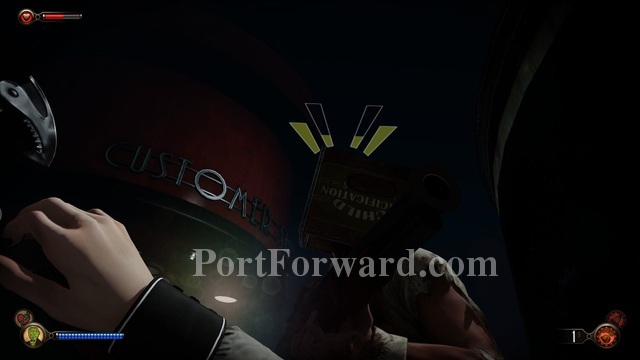
When the door opens there is a bunch of gas. This is really just a hint that you should pick up on.
There is a box of new crossbow ammo that is good for taking out groups of enemies all at once- "Gas" is all it seems to be called.
When you move around the counter again you'll see Splicers playing in the TV area. You can shoot a gas dart towards the center of them to take them all out.
Stay low, though, as there is still one more Splicer in here. I recommend heading towards the back right side of the TV.
If you do you should be able to sneak up on the last Splicer and knock him out.
Then head out the door on the right.
Outside the service area head towards "Test Drive" on the right.

The Big Daddy is still patrolling so watch out for that as well as the Splicers that are still here.
Then go inside the Test Drive department.
Head around the old man winter sign.

There is a Splicer scavenging the room behind the front desk.

Go in through the door on the right.
Then quietly knock the Splicer out.
There should be an Audio Log to pick up off the desk as well.
When you go back out you should see the stairs you need to head down next.
As you head down you will see the door at the bottom.
Go ahead and knock on the door. Elizabeth made a deal with Atlas earlier so the door guard will let Elizabeth in.
Move to the right and go down the stairs.
At the bottom go to the right (you can search around here if you want, there is a lot of supplies to find).
Around the right side you should see a vending machine and a Kinetoscope.
You can watch the Kinetoscope. It looks like Atlas found a way to make his own kind of propaganda.
After getting any supplies you need (you shouldn't need many at the moment, though) head to the right and you can pick up an Audio Log off the table.
Then head back towards the vending machine area and go to the door that's on the left.

From the "Old man winter" display go left.
The big reason to mention this is There is another secret note on a desk in here.
Around the area you may also find a man tied to a chair.
You can pick up another Audio Log off of him to get more info on this guy.
Then head back around and out the door back to the "Old Man Winter" display.
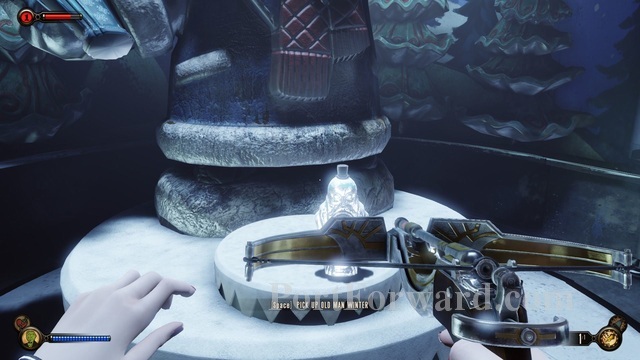
If you look just below the display you can pick up the plasmid you need to complete your current mission.
Now it's time to go back to the Silverfin Restaurant.

Some Splicers begin attacking this Atlas outpost, though, so you will want to get low and head around to the other side of the boxes on the right of the door (from Old man Winter).
You may have to take out one or two Splicers to get back up the stairs on the right.
When that's taken care of go back up the stairs.
Continue all the way back out, but be careful.
There's at least one more Splicer to the right of the stairs just up ahead.
After you get out of the doors to the Test Drive area you will be back to the main area where the Big Daddy patrols.
Head to the left and jump to a hook just above you.

Look to the right and you will see a balcony ahead of you you can jump to.
You may see the Manta Ray ahead of you. From there turn around.
Head towards the Silverfin, but jump to a hook ahead of you.
There are several Splicers guarding the Silverfin specifically now so you'll need to knock them out and carefully head down.
Not only is there a Splicer above there is at least one below as well.
After that is done head to the right and down the stairs but head towards the left first.
When you round the left corner watch out for enemies around the corner. I encountered two Splicers.
You should see a medicine counter ahead of you as you go this way.
Head inside that office and go to the left (search this room but watch out for a Splicer ahead on the left).
There's a Splicer as you round the left corner you'll need to knock out.

Then move around the room on the left side and go through the door.
Knock out the other Splicer in this back room.
Then check the desk for another secret note you need to pick up.
That was the last note. There's also a Plasmid upgrade in here you should collect as well.
You should be safe to search the room for other stuff as well, now.
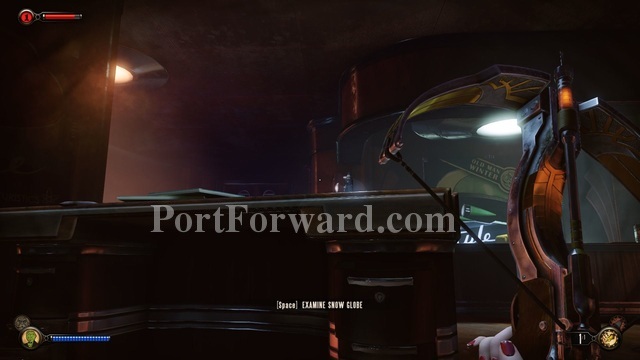
On one of the desks you should find a snow globe you can examine.
Head back out of the room after that.
If you look to the left you'll see the Information Center. That's where you need to go.
Inside this room go to the back and to the right of the desk is the vent we used earlier.
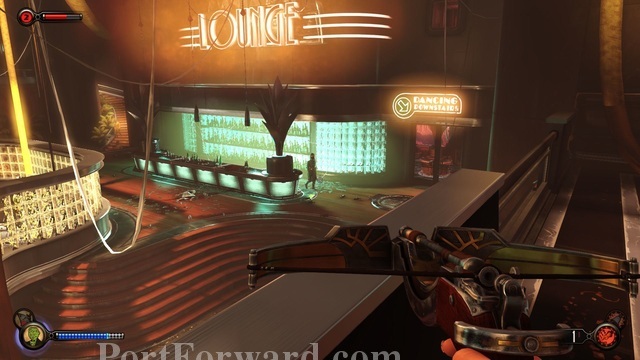
Head through the vent and you will be dropped on the left of the VIP Lounge mentioned in the last secret note.
Head inside the lounge (from the vent, it's to the right).
At the end of the long entrance area head up the stairs on the right (I didn't find anything at all inside the coat check area).
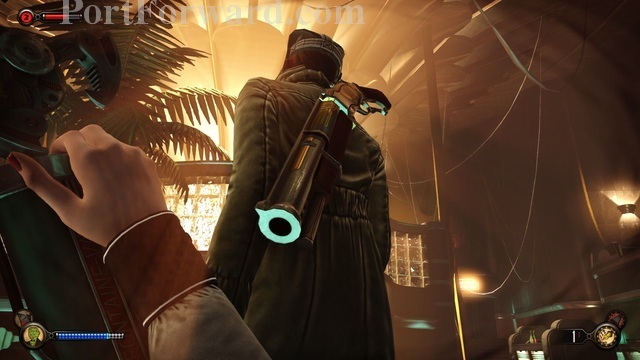
At the top of the stairs watch for the Splicer that may be drinking at the bar.
Sneak up on him and knock him out.

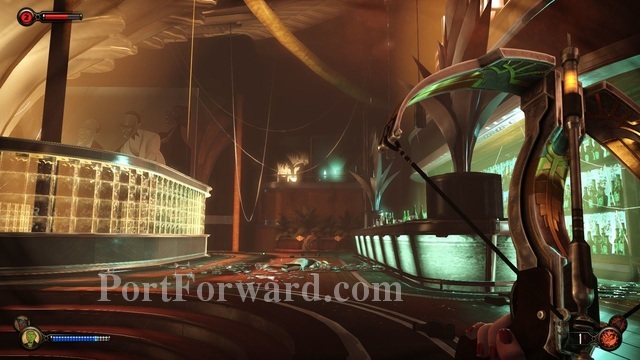
Then head to the left towards the stairs.
Watch for enemies in this room as there are several- up top as well as around the room below.
You need to head around all the way to the back right of the room. Go up the stairs there.
As you get around the corner at the top watch out for the Splicer patrolling up here.

You'll also see the light of the turret in one of the booths. You may need to go invisible to evade it.
The easiest way to get behind the Splicer patrolling here is wait for him to go behind the bar and then sneak up behind him and knock him out when his back is turned.
Then turn around and go to the right of the bar area and move down the stairs.
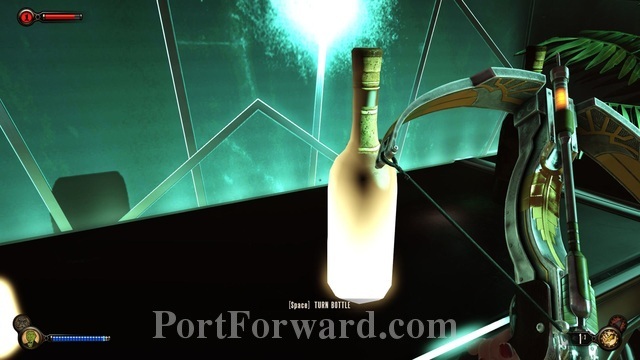
At the bottom turn to the right.
You'll see three bottles on the bar. If you use one it will turn the bottle. I don't know if it's required, but I used middle, right, and then left and this opened the panel behind the bar.
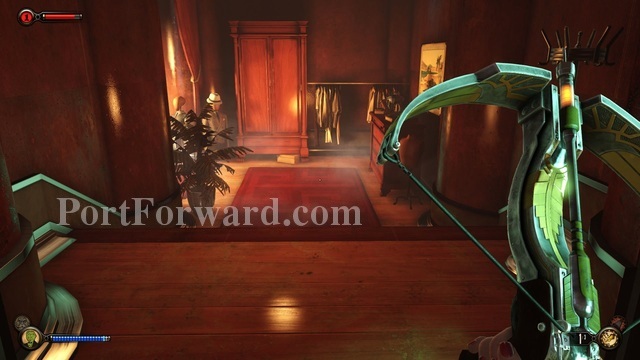
After opening it head inside.
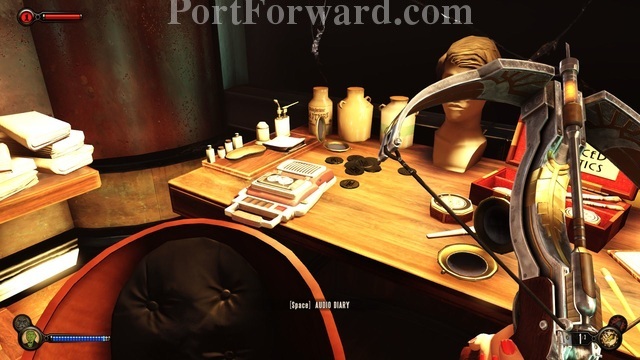
There is a lot to see in here, but this is Atlas' secret room. If you've played the first Bioshock this twist is no surprise, but anyone else enjoy.

There is also a syringe you should examine to the right of the desk.
After searching the room for stuff to find, head back out and you will see a door on the other side.
Open the door and then move down the stairs ahead of you.
On the left of the stairs is a patrolling Splicer you need to knock out. You will also notice a plasmid upgrade on some boxes you should pick up.

Watch out for the turret (you can go invisible to make this easy) and head down the stairs.
If you look on the shelf on the right you can pick up an Audio Log.
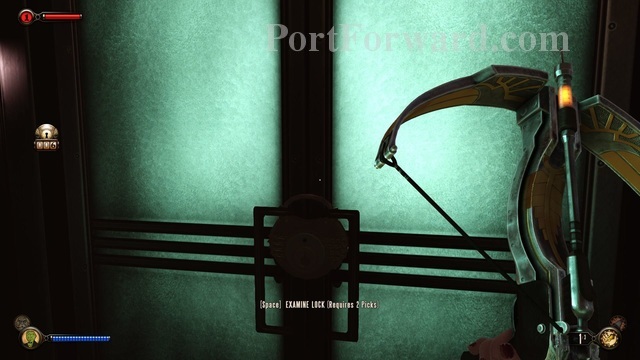
There is a door here you can lockpick open as well.

This door opens up to the bar at the back of the lounge. Look up and to the left and you will see a vent.
Watch out for Splicers as you head over to that area.

Then jump up to a hook above (either left or right side is fine).
You need to jump down directly to the area below you. If you look up from there you should be able to see the vent you can jump into.

On the other side of the vent jump down onto the elevator roof.
There may be Splicers in here so be careful. Go to the right of the elevator and you can use another Kinetoscope.
If you need to you can use the vending machine on the other side of the room as well.
To get out of here you will need to pick the lock to open the door.

I recommend jumping back up to the hook above and then, while being careful of enemy Splicers, jump over to the balcony on the left.
From there you can head around to the front bar area.
Then head out to where you entered the lounge, and down the stairs.
From the door go to the right. You should see the Silverfin Restaurant ahead (I think it's just up some stairs).
From the SIlverfin continue to the left and back to the maintenance area.
In the maintenance room go to the right and jump back into the vent.
Remember that there are turrets in this ventilation area.
Jump down back into the Silverfin restaurant and go to the left.
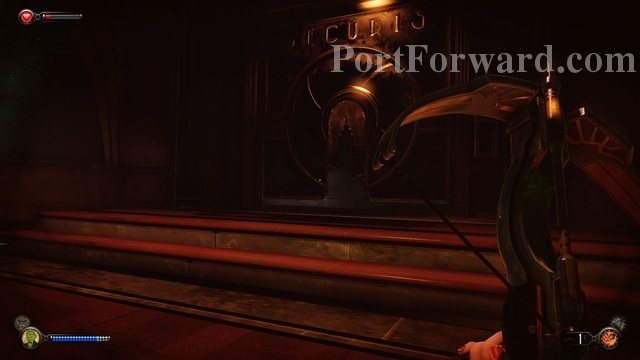
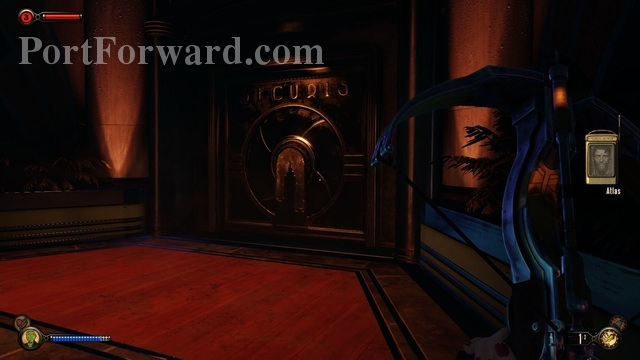
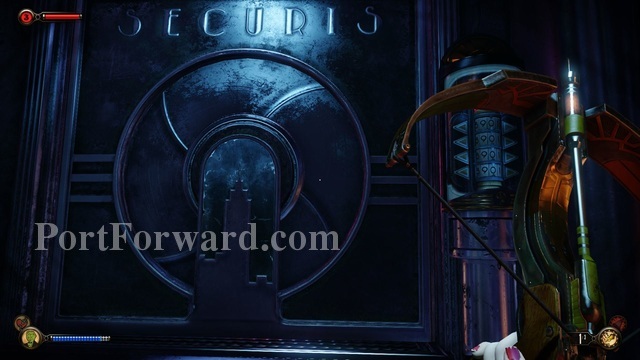
Head up the stairs and through the Securis door.

Just ahead, as before when you came here, is the Lutece device.
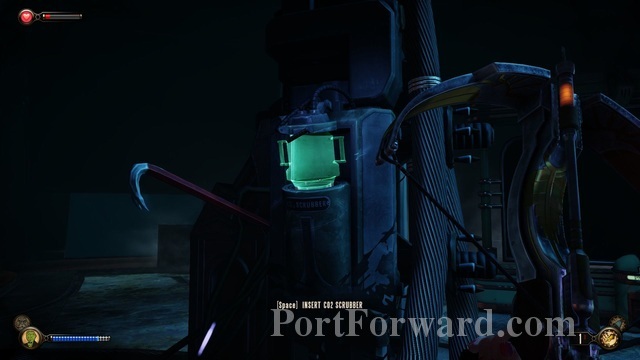
You can find the CO2 scrubber you need to replace on the front.
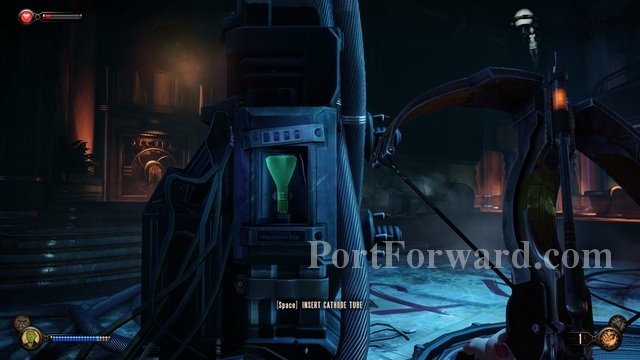
The cathode tube goes on the back.
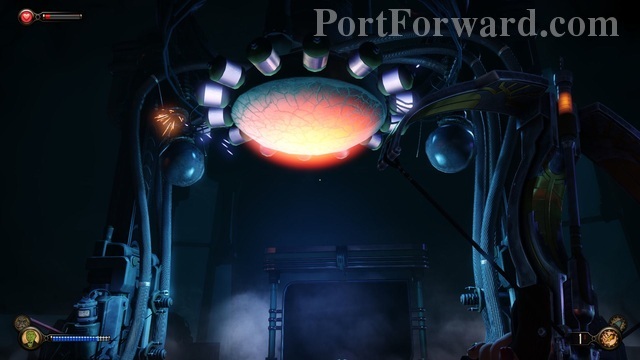
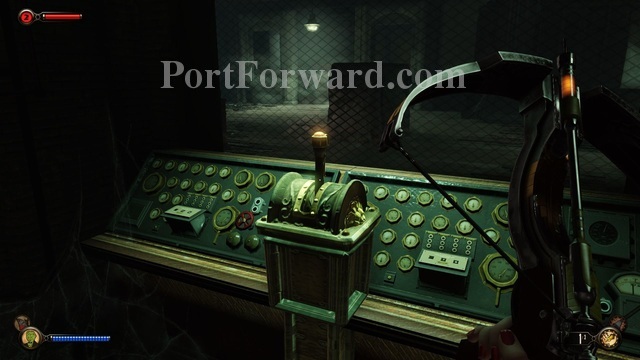
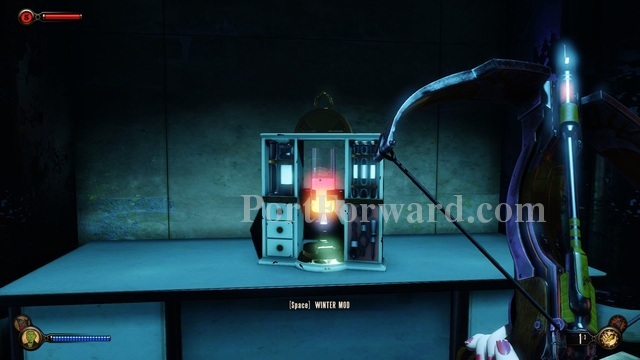
Then you need to look up at the circular red device at the top. Use the "Old man winter" plasmid on it to freeze it and complete repairs of the device.
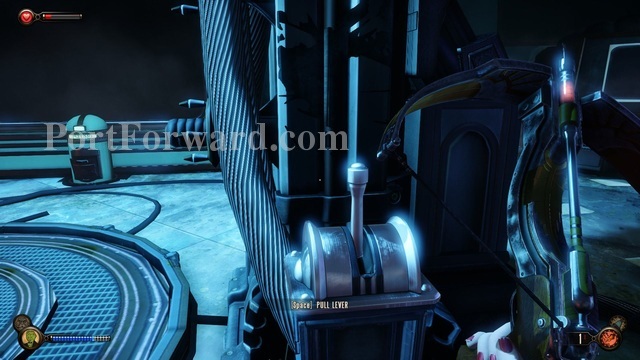
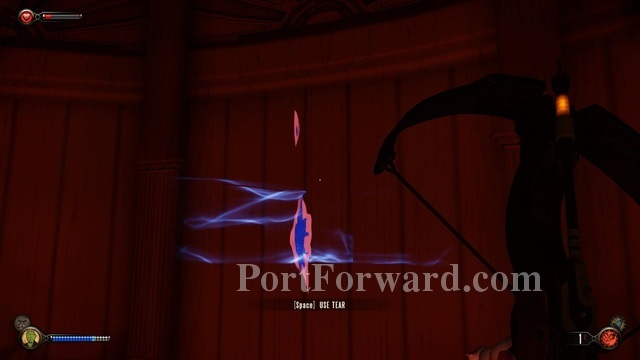
In the front of the device use the lever to turn it on.
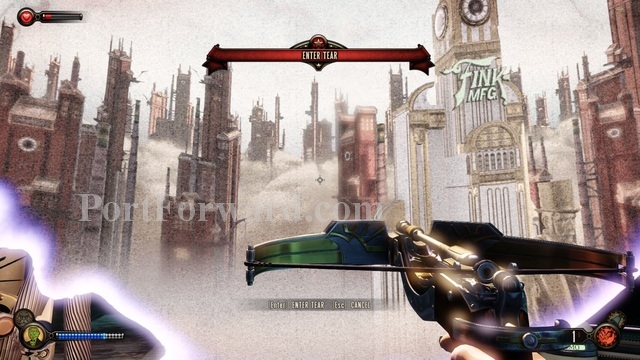
Then, when you have your breath, enter the tear.
Bioshock Infinite: Burial at Sea - Episode Two Walkthrough Columbia
After emerging from the tear you arrive in a familiar place- Columbia.
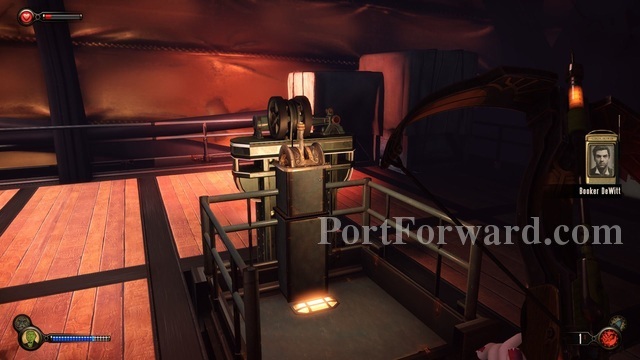
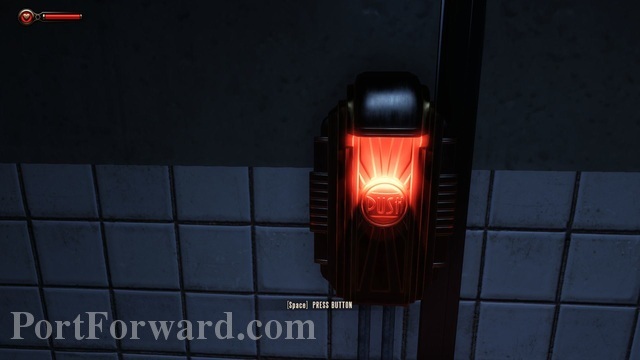
From the place you're standing turn to the right and press the button.
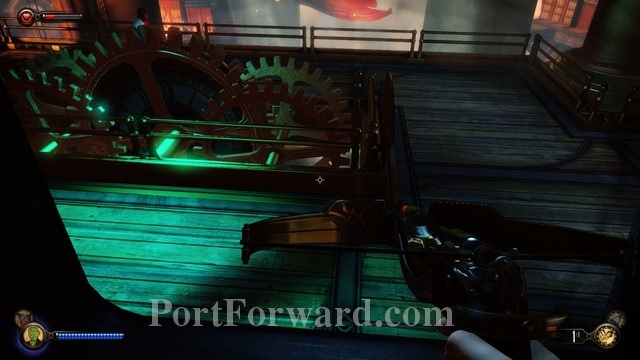
It brings down a small elevator. Pull the switch to take the elevator up.
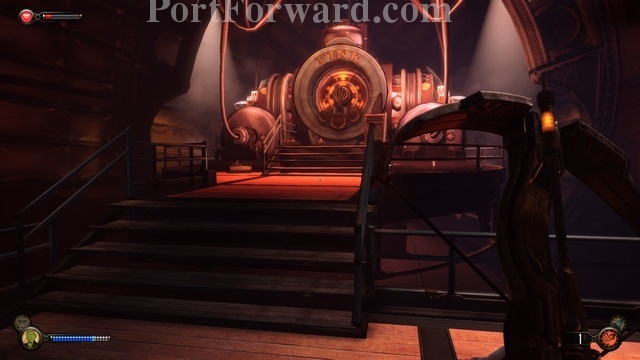
At the top move to the big machine on the right side.
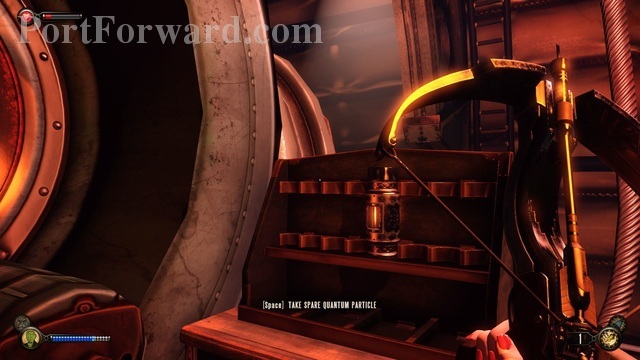
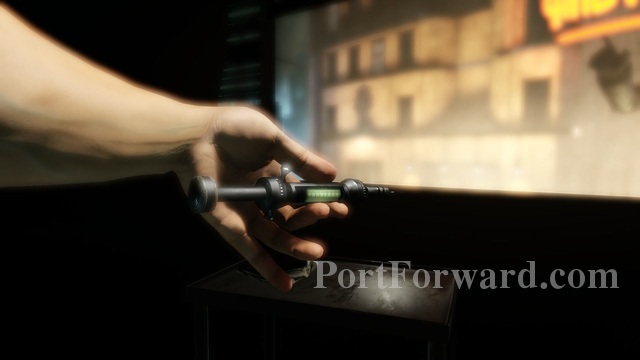
Once you get to the machine look over to the right side and pick up the "Spare Quantum Particle."
Then head back to the elevator and pull the switch to head back down.
Turn to your left and go back to the tear. That was easy.

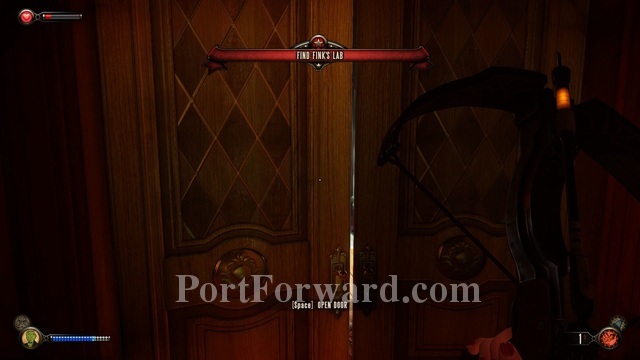
Just kidding. Suchong actually wants you to get a strand of hair from Fink's lab before he will let you come back.
Turn around and head to the door on the other side of this room.

On the other side you'll notice a familiar site. Turn to the right of the door to pick up some more tranquilizer darts.
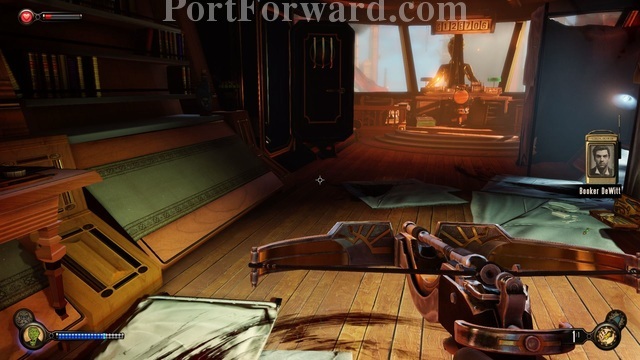
Then head to the door on the far right side of the blimp.
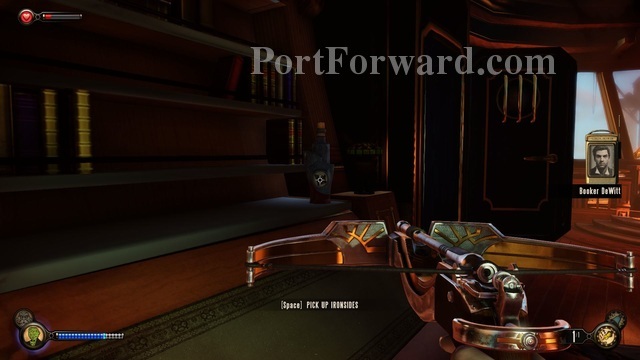
Before going through the door you can pick up a new plasmid called "Ironsides." I didn't use it all that much, but it works like a barrier and you can upgrade it so it refills your ammo if you want.
After that, head through the door right next to it.
All the way on the other end of the corridor is a vent. There's nowhere else to go so head inside.
A little bit ahead you can watch the Lutece's discuss Elizabeth's future with the leader of the resistance in Columbia.
After you are done watching that, move all the way through the vent. Before you jump down, though, notice that there is a patrol out here.
Take out the closest enemy (knock him or her out).
You may come in contact with another one to your right which you should use a dart on to knock out.
To the left there is probably a large group of enemies coming your way. If you have a gas dart this is a good place to use it.
Either way, head back around to the right (the opposite direction from where the group of enemies is) and down the stairs.

Go to the right, past the bottom of the stairs, and keep moving forward.

At the other end will be some stairs- so head up.
Then go through the door on the left.
There will be more enemies inside the next room- so stay low.
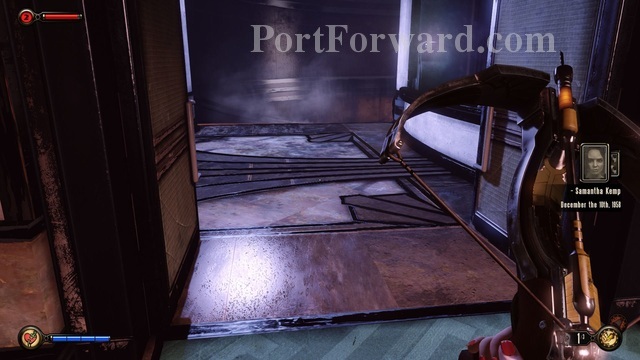
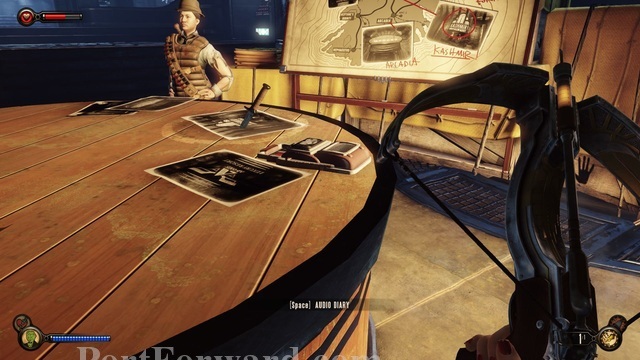
After knocking out any enemies in your way you can search the immediate area. There's a voxophone on one of the desks that you can listen to.
Then head around the desks, but be careful as there are two or three enemies searching bodies on the other side.
Head around on the left and knock out the enemies one by one.
Then turn to the left and go through the door on that side of the room.
In case you're curious about the door on the other side; there is nothing to find there. However, there is a vending machine you can use if you need to buy any supplies.

Anyway, on the other side of the door go down the stairs.
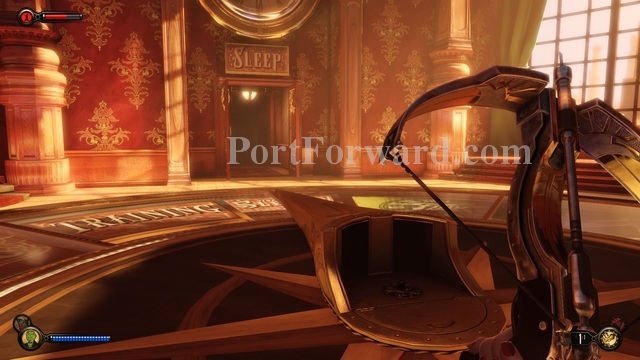
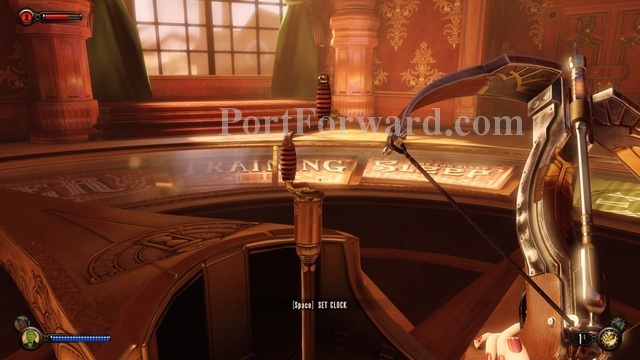
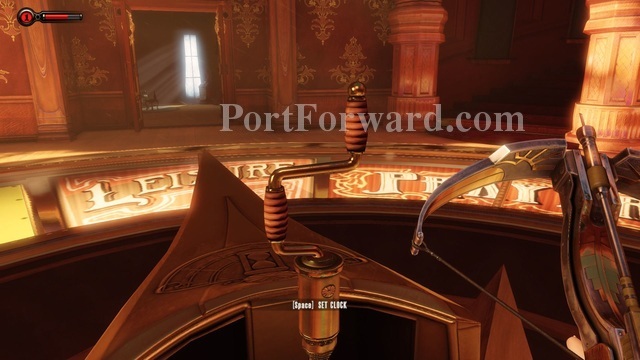
All the way at the bottom you'll notice the floor is shaped like a clock with an arm currently dialed in on a door labelled "sleep."
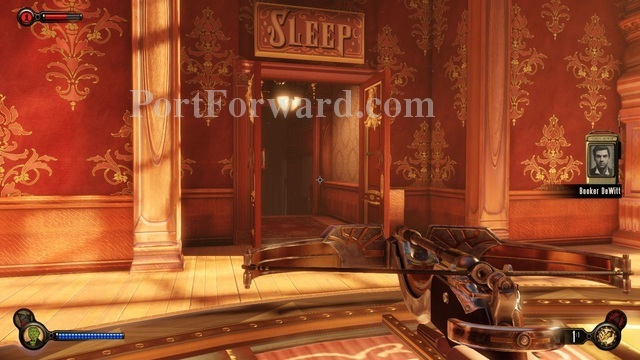
There isn't anything we can do with the clock face yet so go through the door into the "sleep" room.
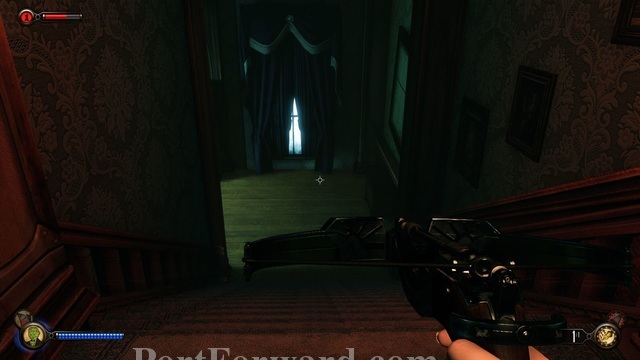
Once inside move down the stairs and go to the left.
Inside you won't see a whole lot to this room.

By the fireplace, on the left, you will find a voxophone on the ground.
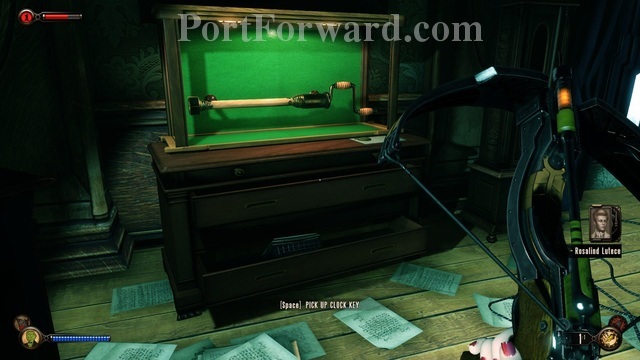
On the right side of the room you can find the crank you need to move the clock faced central room upstairs. Go ahead and grab that.

Then go back upstairs.

Use the crank on the center piece.
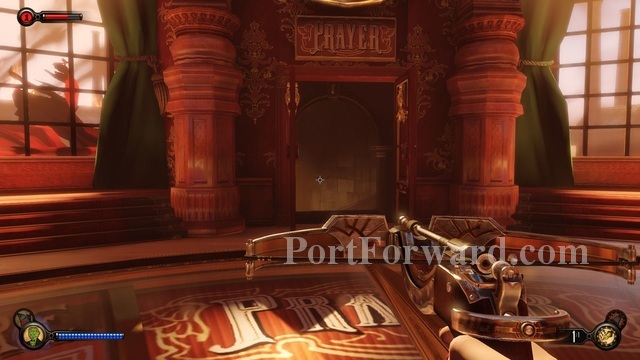
It will spin the room to the door labelled "Prayer."
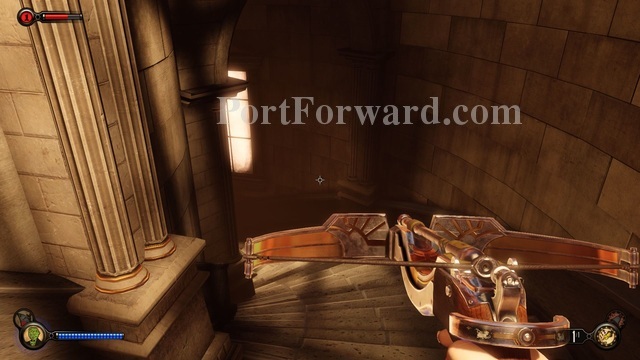
Head through the door and go down the stairs.
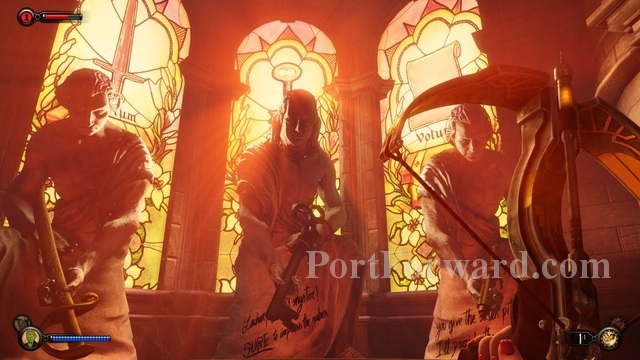
I may be deliberately wasting your time in here, though, as there isn't really anything here. It looks cool, though. Environmental story telling and what not.
Ok, you can go back to the clock room and spin it again.
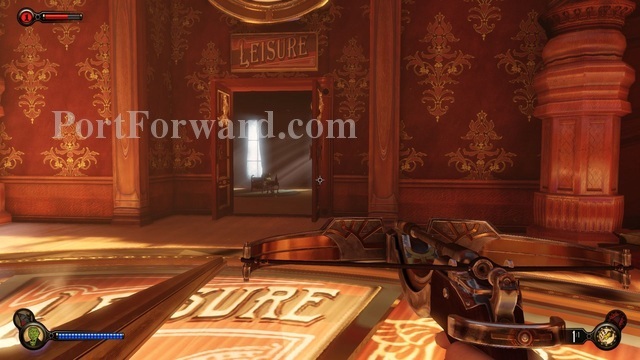
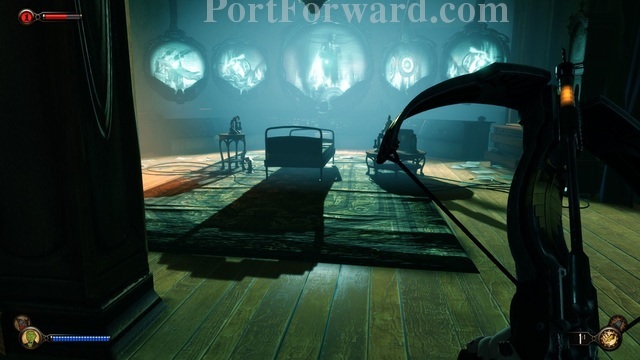
The next door is "Leisure."
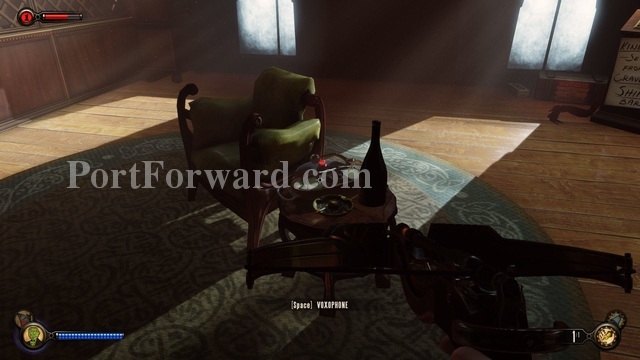
Inside there is another voxophone you can listen to.
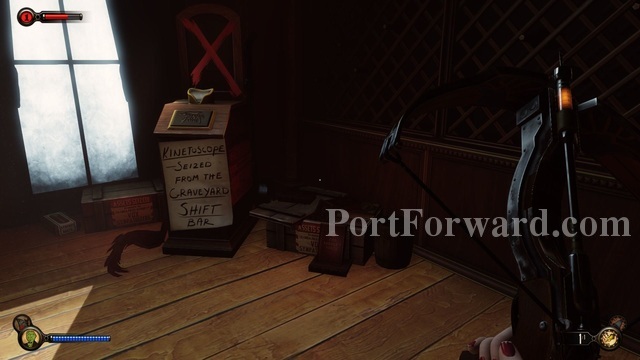
There is also a Kinetoscope in the back of the room you can watch.
When you're done with that, head back to the crank, and give it one more whirl.
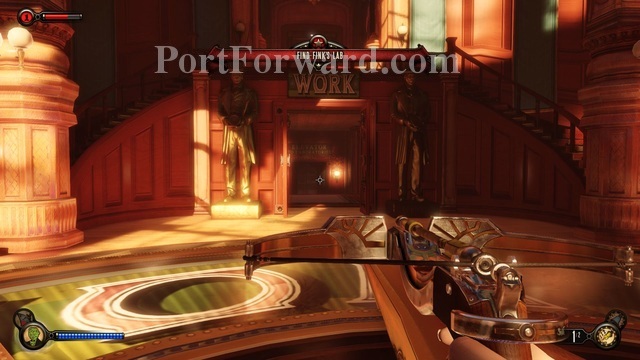
The actual door you want to go through is labelled "Work."
Head all the way through and press the button to activate the elevator.

The elvator will go down and Elizabeth has another conversation with her imaginary friend. You may recognize a scene playing out in one of the rooms you pass by that is from the original 'Bioshock Infinite' storyline.
At the bottom turn to the left.
Go into the room on that side and you can search for stuff. It will be easier on the inside of the room as there are several enemies more centered around the central area outside.
Continue to the left and on the other side is a doorway. You can see further into the room from here.
You may need to sneak up on a few enemies and knock them out, but you are heading to that room on the other side of this area.
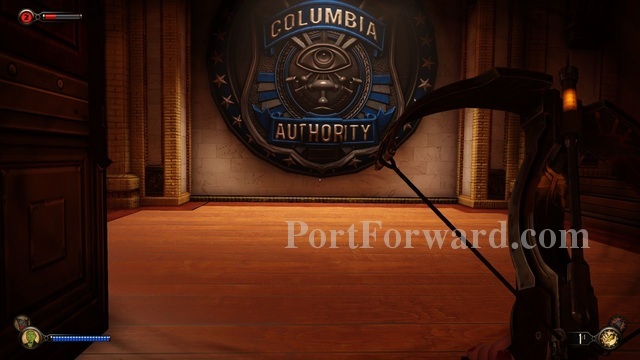
When it's safe for you to do so (watch out for the turret in the back left on a floating vehicle) go all the way across the room, and through the door. You will be greeted by a big seal that says "Columbia Authority."

Head to the right and up the stairs. There will be a "Dollar Bill" on the stairs if you need to buy any supplies.

Go through the door at the top of the stairs.
From the door, if you look to your right, you should see a few hooks; one which is higher up than the others. Jump to the higher one first.

You will be able to have a good vantage on the enemies in this room from here. Don't dawdle (as it starts to make noise if you're there to long), but you'll notice this room is pretty full of enemies.
What is easiest to do here is to use the hook to quietly land behind enemies, and then knock them out.

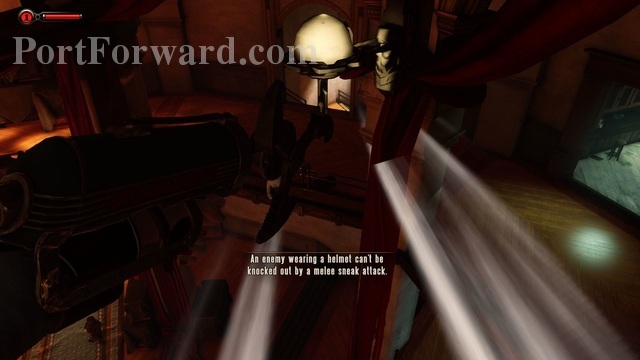
Beware, though, there are now enemies that cannot be knocked out by sneak attacking them (the game says they are the ones that are wearing helmets).
I recommend to only knock out the ones that you need to, but just keep moving silently and you should be able to take control of this room well enough to look around.
The rooms around the immediate area are not important as of yet for advancing the story or anything.
You should look around, though, and pick up any supplies you need. Finding supplies in the world is easier than buying it, I found, in this episode.

When you are ready to move on head towards the far left side of the main room.
You can tell if you're in the right place if you are on the statues right hand side.
You will also notice broken glass on the floor near the back wall here. Watch out as it does alert enemies to your presence if you make environmental noise.
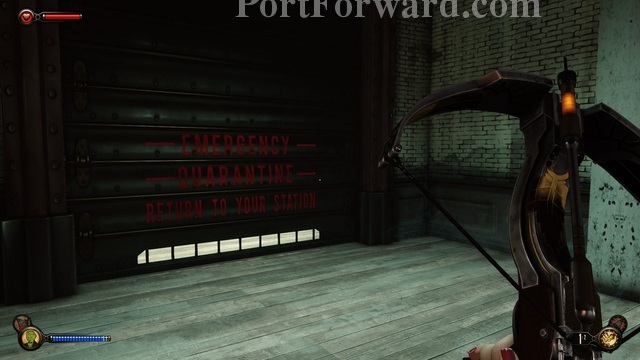
If you head towards the back of the room from the left side you should come to a big door that says "Emergency- Quarantine..." on it.

This one will open and you will come to another hall. Move down the hall and through the next door.
Then go through the next door down another hall.
On the other side of this door you will see a turret ahead. Don't worry- from here the turret can't see you. You are actually safe from the turret in this room if you stick to the walls as they are all too far away for the turret to see and you can also avoid the light to be sure as well.
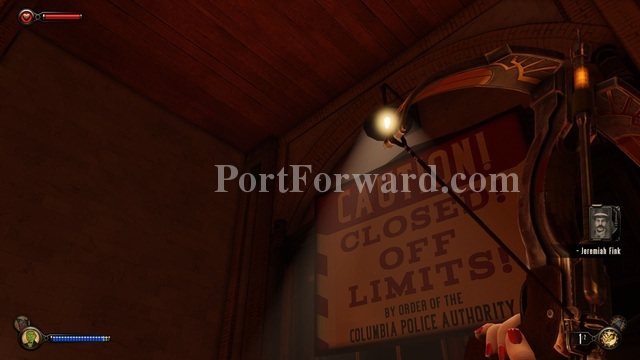
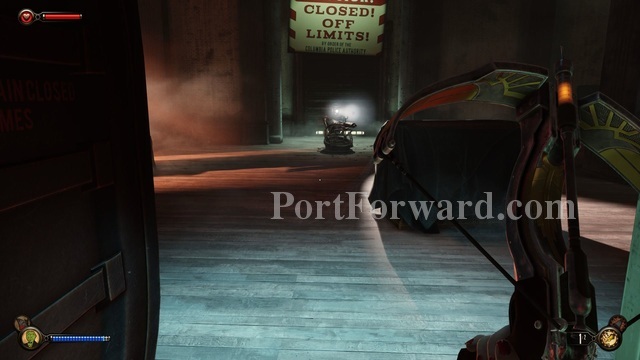
You will notice the door in the back says that area is closed- "Off Limits!"- but that's where you need to go.
Instead of going there- from the door head to the left.
You should be able to go through the window on to a floating vehicle. From the vehicle if you look out on to the next building behind it you should see a hook. Go ahead and jump to the hook.

From the hook jump down to the platform where there is two broken windows ahead of you.
Go through a broken window into the building ahead.
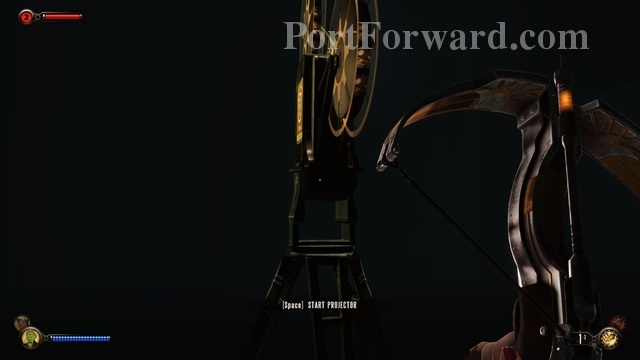
You can look around here. I didn't see enemies when I did this. In the next room you will come to a very old projector.
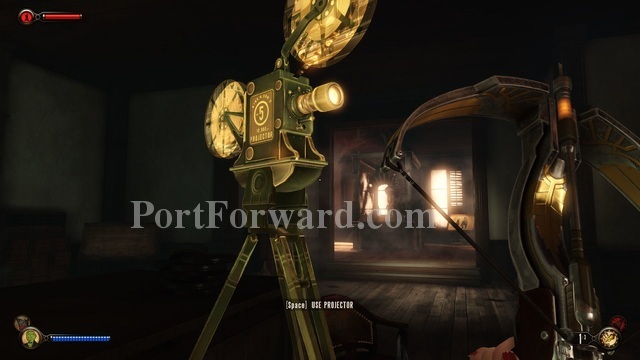
Turn on the projector and Elizabeth will have a short conversation with herself ("with Booker") about the Big Daddy and it's correlation to Songbird and herself.
When you are done head to the door behind the projector.
Open the door and go through an area with "lots." I believe it's basically storage of past experiments, or maybe where animals were kept once to be experimented on. Anyway you are heading to the door you can see all the way in the back.
On the other side of the door go down the stairs.
Continue down, and to the right a few floors, and you will come to another door. Move through this door as well.
On the other side you begin to see all the research that Fink was doing in an attempt to understand imprinting- creating a connection for Elizabeth to Songbird, much like the Little Sisters connection to Big Daddy in the original 'Bioshock'. You can also pull a switch here to see more of this experiment. Don't worry it doesn't harm the animal more than it already is (it may actually be dead at this point, it's hard to tell).
Move around the case, and to the left. You can go up some stairs on this side.
Head around the corner on towards the right from there and you will come to another experiment. This one was a dog- I have no idea if it's still alive or not.
From the dog go to the left and up the next set of stairs.
In front of you will be a table. On the table you can read some of Fink's notes.
Then go to the door on the right.
On the other side you find a kind of sickening site. There are lot of water tanks with animals in them. They may all be dead, it's not really clear, but they are clearly thrown away to die at this point at any rate.

Head through the terrible display of science and you will see a door at the other end you can continue on through.

On the other side you will find a chalkboard that implies the imprinting of Songbird on Elizabeth was a failure at some point.
To the right of that you can see some kind of prototype Songbird. It looks like they were attempting to imprint using archaic forms of brainwashing and other types of manipulation.
You can move to the other side of the Songbird prototype around the left side and find a door on the other side.
Inside the next room you will find another note.
To the left of the table with the note on it you can go inside another vent.
On the other side of the vent you can drop down into another room with a projector. Go ahead and watch it. The video implies that imprinting was a simple matter of human nature. Once the Songbird was hurt and Elizabeth was there to help it get fixed, imprinting was successful- they created a bond with one another. Much like the old fable about the mouse and the lion.
If you move to the right of the projector you will see another set of stairs to go up.

At the back you will finally come to the hair sample that Suchong wanted. Go ahead and pick it up.
Then head through the door on your left.
On the other side of the door look to the right and use the switch.
This will open all of the quarantine doors that were locked before allowing you to (now) leave this place. You may want to stay low as you will hear Vox Populi approaching from the other side.
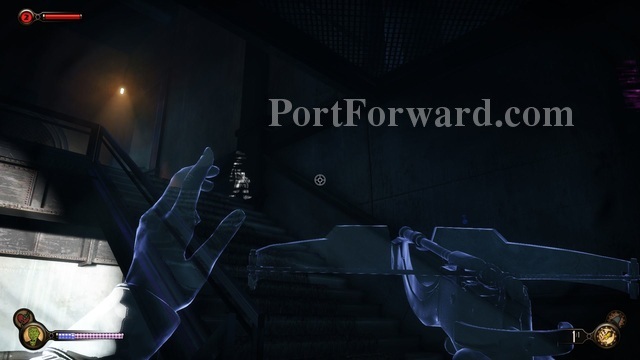
If you look around using peeping tom (while not moving) you will notice there are several Vox Populi waiting around the area to catch you.
Head out the door on the right.
Just above you, you will notice there is a hook. Jump to it.
If you look over to the right you will see the second floor just ahead. Jump over to the right side.
You want to go through the door just ahead of that. You can see the way you entered from here.
Instead of going the way you entered this area, go to the right of it and into the room ahead.
Head around to the left and you will notice the broken windows you came in through earlier. Move outside.

Jump back over to the hook in order to get back to the other side.
From the hook jump back onto the floating vehicle.
Then head down the ramp back into the room.
Before leaving you will notice the turret here was destroyed by someone. Head around the walls on the left.

Be careful, though, as you lifted the quarantine so the door in the back left is now open and there are Vox Populi patrolling that room (that's where we just came from).
Continue around the wall in this room with the turret and you'll come to a door that was closed before, but is now open.
You should head inside.
If you recall from earlier when you came in there is a voxophone on a desk in here and some supplies.
When you are done with that head back out and around the left to the entrance.
Go through the next hall and out the door.
On the other side continue through the next hall and through the other door that leads back to the main hall where you came in a while ago now.
As you move ahead you will notice that hook on your left just above you- to the left side of the statue. Jump to the hook.
From this hook look to the right and jump to the hook that is the farthest to the right side (of where you're currently looking).
Using this hook you can quietly land on the balcony just behind you and go into the office that is right in front of you.
Once inside you will see a desk just ahead of you.

If you move to the desk you will find another voxophone you can listen to.
From there head to the right and you will find a door leading back to the second floor breezeway just outside.
From this door go to the left and you will see the door you came into this room from when you first got here.
Head through the door and down the stairs to the right. You can use the vending machine on the stairs here if you need any supplies.
On the right in the stairway you will recognize the big sign on the right wall. Go through the door on the left.
Then from this door continue left and up the stairs.
Head up more stairs that veer to the right and towards the center of the entrance walkway.
About the center, just behind you, you will see the elevator door you came in on earlier. Go inside.

Then press the button to move back up to the top.
You'll come out at the hallway that leads back to the clock room; head up the stairs.
Go back out into the clock room.
Head around the stairs behind you (either side- they both go to the same place), and go back up to the top.
Turn to the left, at the top, and you will see supplies you can scavenge on the floor.

When you're ready, go to open the door and begin the lock picking mini game. This one is a pain as almost all the pins are red except one blue pin. I landed on the blue one with luck and unfortunately there is no trick to this. Just hit the use button at the right time and you'll be fine. Otherwise, you'll get alarms, and a turret will spring up by the door.
From the other side of the door head to the right, and around the desks.
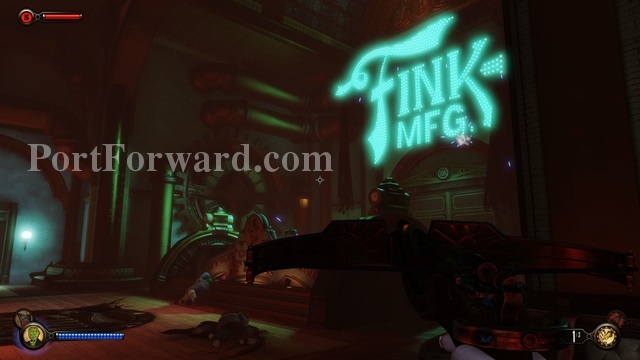
Go back through the door under the "FINK MFG." sign and you will be back out on the outside causeway you entered from much earlier when you got to Columbia.

Head around the dead Vox Populi version of the "Handyman." Be careful, though, as there are still several enemies out here you need to sneak up on and knock out.
Go up the stairs just ahead when it's clear and head around to the left side making sure to watch for more enemies.
Knock out any Vox Populi that are in your way and stay out of sight.
Then go through the door with the FINK MFG. label on it- on the right.
You should recognize this hall from when you first got here. Keep moving towards the tear at the end of it.
Use the tear to open it.
Then go through the tear to get back to Rapture.
Bioshock Infinite: Burial at Sea - Episode Two Walkthrough Return to Rapture
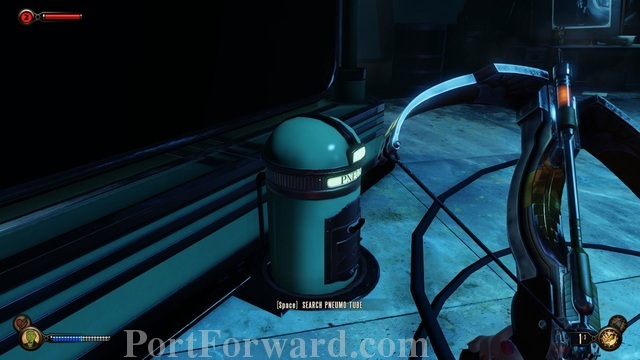
On the other side, Elizabeth will commence negotiations with Suchong and he demands the sample be placed in a Pneumo container.
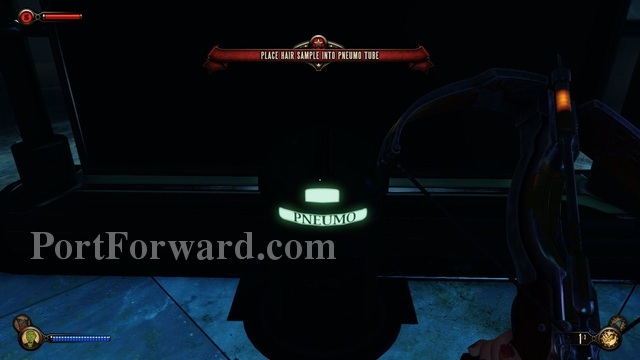
It's just under the screen behind the Lutece device.
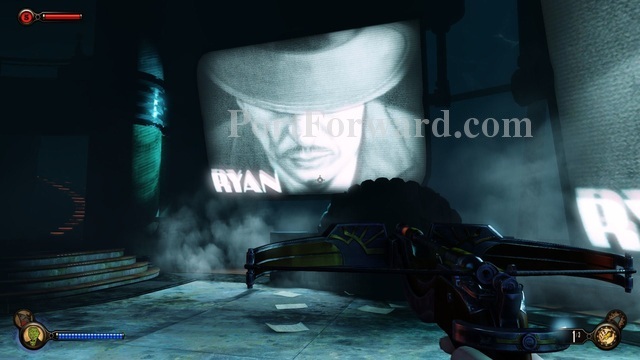
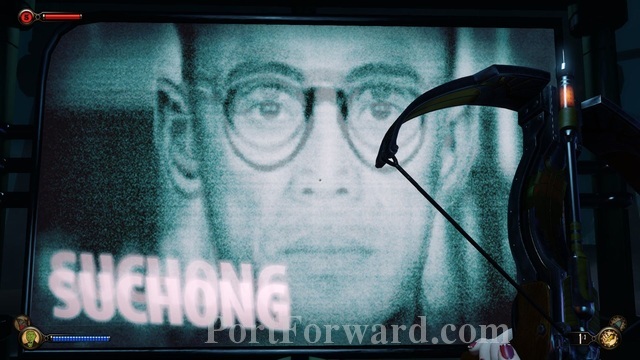
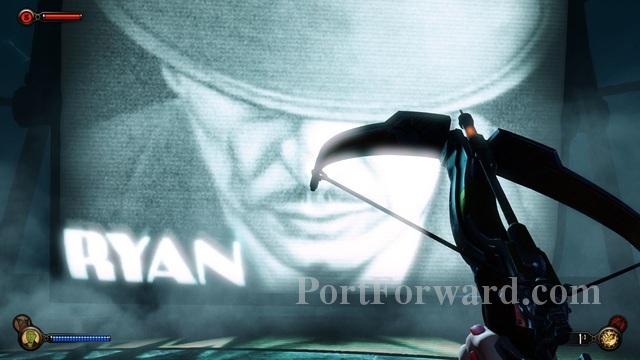
After you complete this transaction Suchong goes radio silent- he probably won't hold up his end of the bargain. However, Andrew Ryan then contacts Elizabeth, and is not happy she is conducting business in his city without his consent.
He warns her to join him or face an oncoming swarm of his henchmen. She won't, thankfully, so you now have 60 seconds to set the room up for an oncoming assault.
If you turn around from the Lutece device you should see the front door to the Silverfin Restaurant. To the right of that door is a wood panel door you used earlier.
Once inside you can go to into that door that was on the right (you will need lock picks if you haven't lockpicked it yet).
Remember that there is a turret in here, but stay left.
Just past the turret on the back left side of the room is an upgrade you should pick up to upgrade "old man winter." I did not personally have use for this, and I believe it kills enemies, so it's up to you.
Head back out, and go to the right of the door to proceed upstairs.

I find it best to hide up here at the beginning of this assault as this is the easiest place to get the drop on the enemies that come in using sneak (peeping tom) abilities. I also didn't kill anyone in this episode.
If you look around the room you can familiarize yourself with your options. There are hooks, dark corners, and other places to hide.
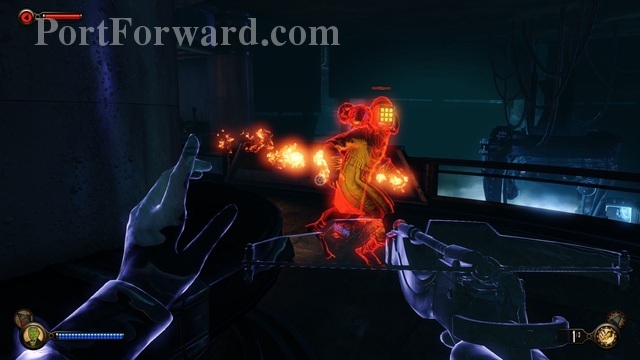
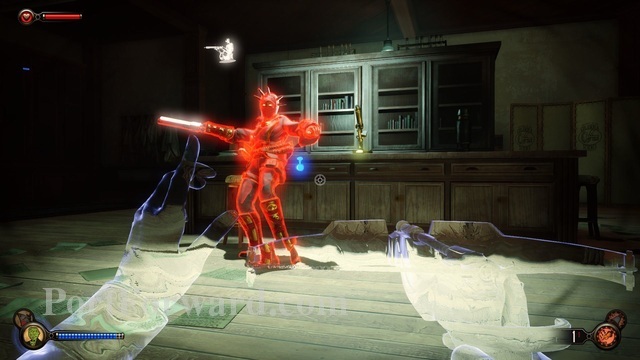
The first enemy you will face is the flame Splicer. He teleports to you. You can use peeping tom to confuse him- as it turns you invisible. You will need to use darts to knock him out, though. It shouldn't be to hard.
There will be several more enemies down below. However, they are much easier to dispatch.
You just need to sneak up behind them and knock them out. I counted a total of four of these guys.
You will then be attacked by another fire Splicer, and then shortly after two more regular gun toting Splicers with helmets. You need to use darts to knock them out.
After that is over you can then leave. Head out the front door and to the right or left (it doesnt matter- they both go to the same place).
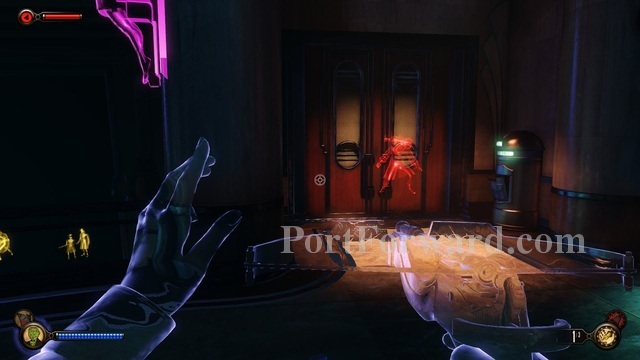
Take the stairs back down to the bottom and head towards the Securis door at the front of the restaurant.

Then use the code panel (the code should already be locked in from when you were here before) and the door should open.
While it's opening, Elizabeth discusses a way to stage a prison break for Atlas so she can conclude her deal with him.
After it opens head back all the way around to the VIP lounge that we went to before to open the secret compartment.
Go all the way through the entrance way and head up the stairs on the right side.
You will notice there are now more enemies here, some with helmets (so you cant sneak attack to knock all of them out).
There are also fire based Splicers here. Stay out sight, knock out who you can, while heading to the left.
Just like last time we are headed to the stairs in the far back of the lounge next to the bar area.
Take it slow, and stay low. Knock out any Splicers that get in your way.
From the bar area- if you find yourself on the side by the stairs- go forward to get to the stairs in the back that will be on the right.
Remember you can use the peeping Tom plasmid to remain hidden as well.
Head up the stairs at the back of the lounge.
There is a few enemies up here now (unlike the only one last time), but you only need to stun one and then book it right.
The elevator is in the back right side of the room.
Quickly get on the elevator and press the button.
Elizabeth talks to herself (Booker) for a bit and Ryan notices. He again offers to strike a deal with Elizabeth, but this is pointless. She doesn't trust anyone and Ryan is no better than Atlas realistically.
At the top head down the hall and to the door.
Be ready, once you go through here there is no turning back- you are basically heading to end game now which entails little to no more sneaking attacks or upgrades, and you will no longer be able to search around Rapture for secrets.
Once inside the room Elizabeth breaks it down for you.
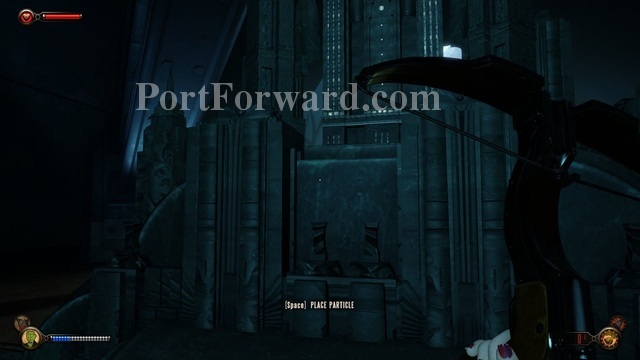
Basically, though, you just need to move towards the model in the center of the room (there is nothing to search the room for so don't bother) and use it for her to climb up it and place the Particle. A lot of things will happen once this is done. Enjoy the oncoming scenes.
Bioshock Infinite: Burial at Sea - Episode Two Walkthrough The Room

Elizabeth will awaken after the expected betrayal with a potato sack over her head obscuring her vision.
A doctor will give her some serum with the intent on making her talk, but it doesnt... it doesn't do that.
After some bizarre scenes she awakens again and Atlas says she's been out cold for two weeks. The sounds of a war are going on- it would appear he has launched his rebellion by this point.
Atlas attempts to torture Elizabeth into telling him what he wants to know, but Elizabeth doesn't know anything about what he wants.

Since he can't get her to break that way he attempts to torture Sally in front of Elizabeth.

Elizabeth has a vision and "Booker" tells her what to do.
Elizabeth then tells Atlas how to get what he needs and offers to do it for him since he would not be able to get near the place.
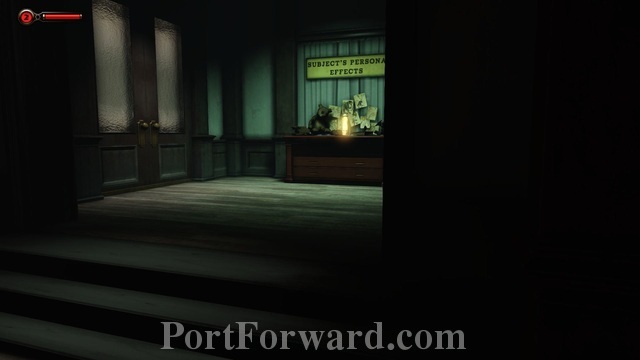
After Atlas drops you off (in a seriously familiar spot) head towards the desk ahead.
Go around the front counter and to the door in the back.
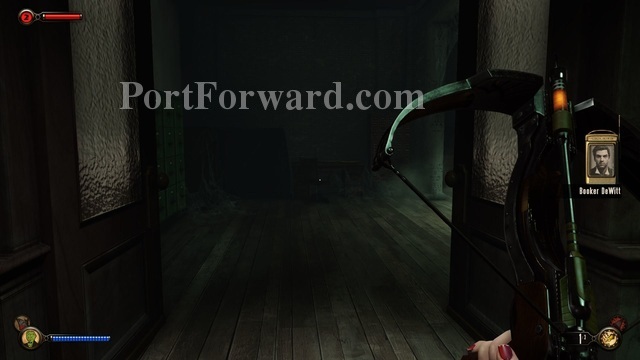
Head through the door and down a very long hall.
On the other side of the next door go to the left of the prototype Big Daddy suits.
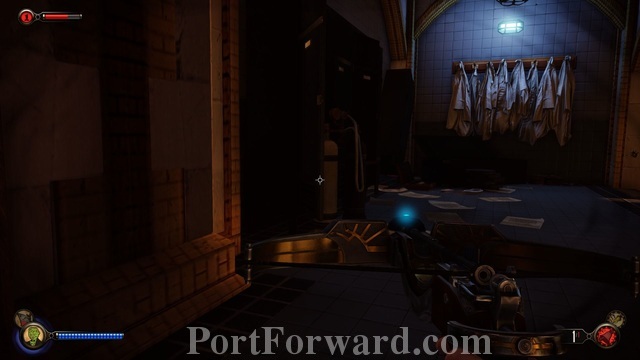
There is an Audio Log in some lockers around here .
Anyway, head towards another lab room room with schematics and charts on a chalk board on the left.
As you go through this room you will probably also notice the hair sample you got for Suchong in Columbia.
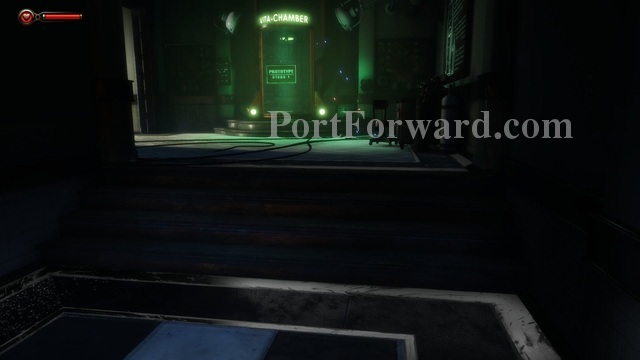
Move around the table and go up the stairs towards the Vita-Chamber prototype.
From there go left, up the stairs, and into the next room.
Inside the next room you will find a Big Daddy and two little sisters cowering in the corner. The Big Daddy is hurt, and Suchong has not figured out how to imprint the Big Daddy with the Little Sisters so they are still afraid of it.
Attempt to move the Big Daddy and Elizabeth will determine what is wrong with him.
Turn around, and head back out the door.
From the Vita-Chamber prototype head down the stairs and towards the chalkboard.
Behind the chalkboard is a note you need to read.

Then go back around the chalk board and into the room on the left. There is another note you need to read. Elizabeth will be able to figure out how to help the Big Daddy now.
Head back to the Big Daddy room and attempt to help him.
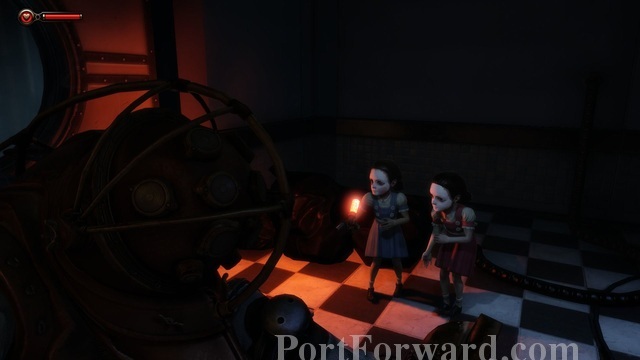
The Little Sisters will use some of their "Adam" which helps to restore the Big Daddy.
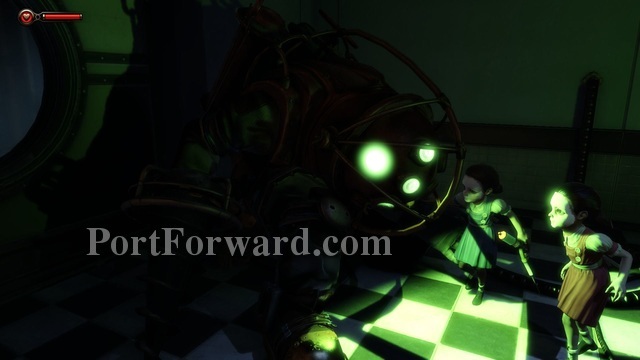
This also, inadvertantly, creates a connection between the Big Daddy and the Little Sisters so they are now friends.
Once the Big Daddy is with the Little Sisters you can go through the door that was blocked by the Big Daddy before.
From there head to the right and through another door.
At the window, turn to the right and go through the door that looks like a porthole.

This is Suchong's office. You can listen to an Audio Log in here.
You can also read a note from Tenenbaum. Ya, Tenenbaum- remember her? She was a big part of Bioshock as well but has very little to do with this story.

After finding out what a terrible person Suchong is (if you weren't already convinced of that) head back out and around the corner at the other side of the hallway.

You will see some Little Sisters walking with a Big Daddy (these are actually the ones you "imprinted") through a window in the room ahead. Go into that room.
Inside that room look to the right side wall and press the button.
This will open a secret lab where Suchong is being greeted by the Little Sisters we just saw.
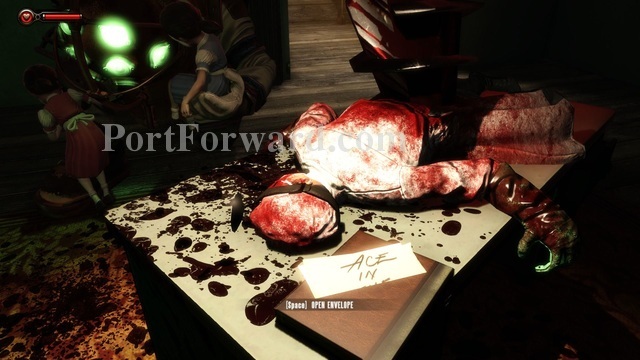
After the ensuing stupidity by Suchong, you can head to the desk (the window will be smashed open). Don't worry, the Big Daddy doesn't have a problem with you. On the desk you will find the "Ace in the Hole" letter that Elizabeth needs.
Around the other side of the desk, and behind the Big Daddy, is the door you need to proceed through.
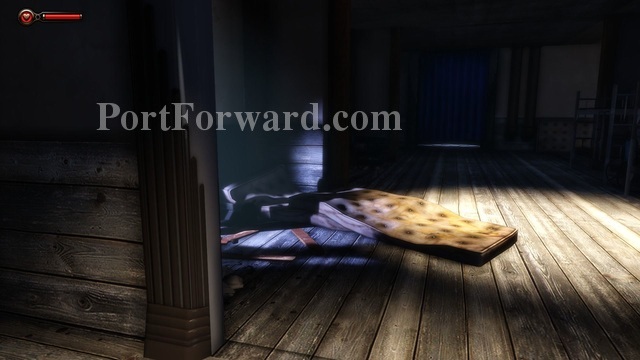
On the other side take a right and then another right (you don't need to go through the door on the left and besides I dont think this one opens anyway) where you will see a matress on the floor.
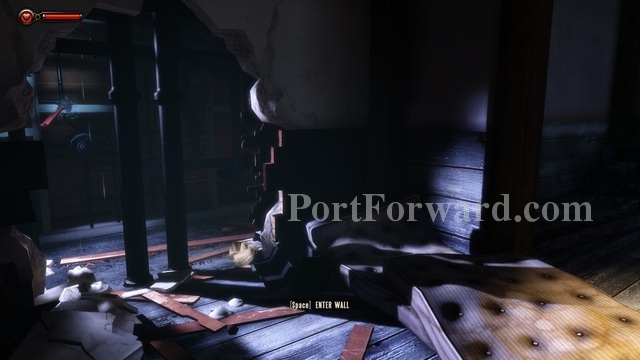
Inside that room there is a hole in the left wall by the matress. Go into the hole in the wall.
Then proceed around and out the hole on the left wall.
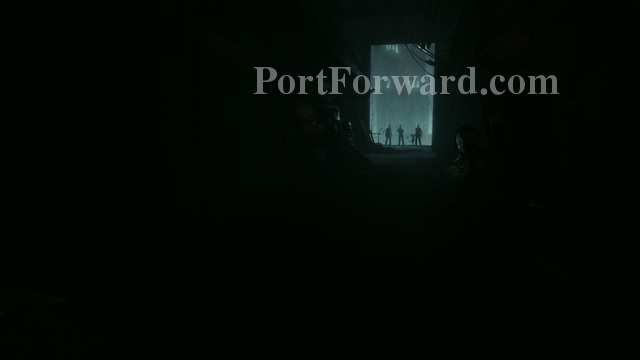
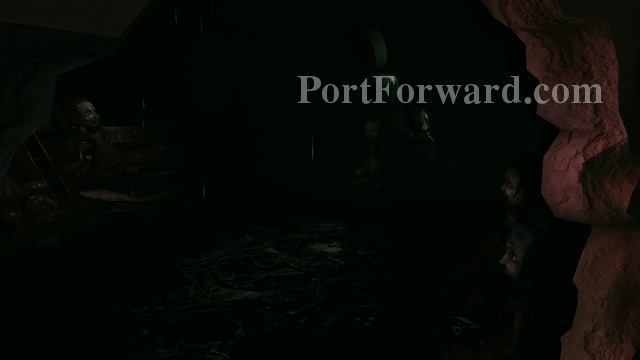
Head all the way down the long dark alleyway.
You can then give Atlas what he wants and see the end of this episode.

That's it. This episode was a really great way to send off the Bioshock series- in my opinion. As always, you can reach me on Twitter if you have questions (@cornbredx) and your Tips are greatly appreciated. Thanks so much for reading!

 Call of Juarez: Gunslinger Walkthrough Mission #1: Once Upon a Time in Stinking Springs
 Call Of Duty: Advanced Warfare Walkthrough Induction
 Call of Duty 6 Modern Warfare 2 Walkthrough Mission #1 - S.S.D.D