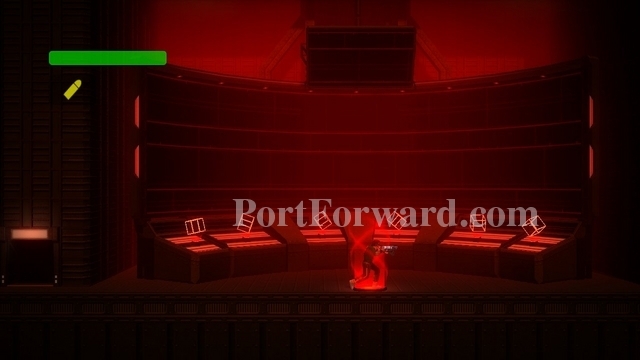
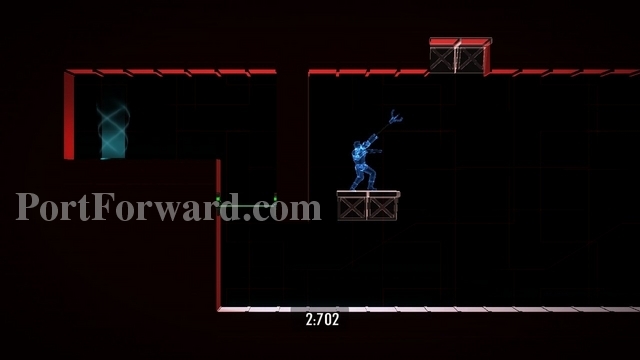
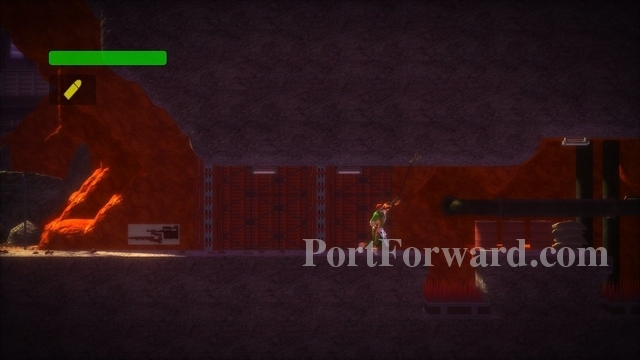
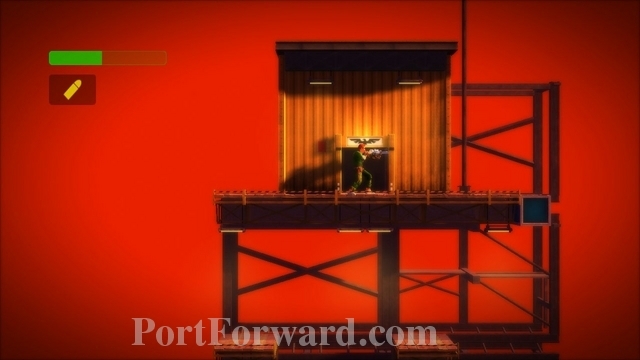
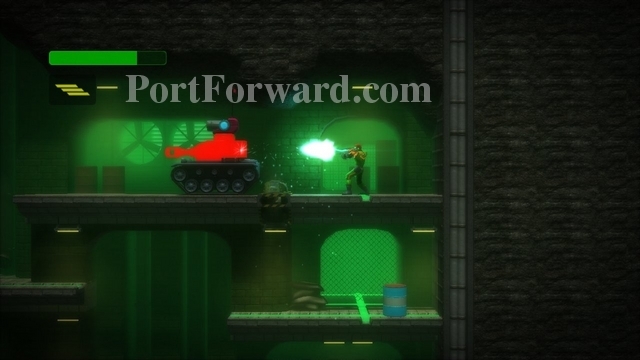
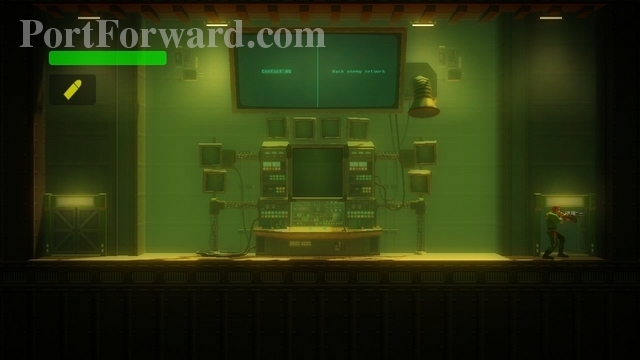
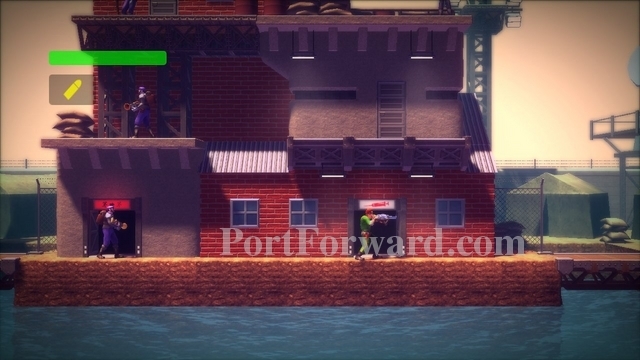
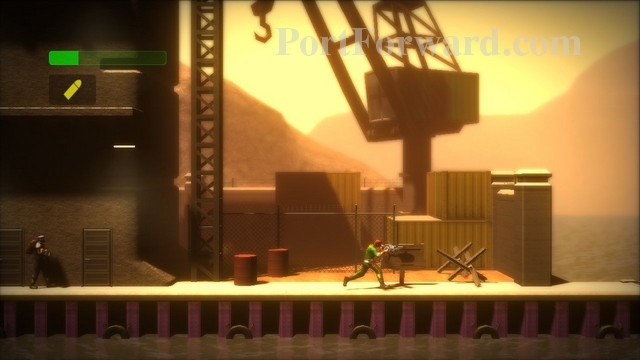
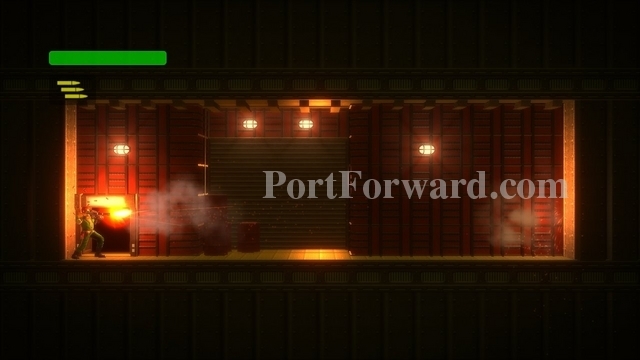
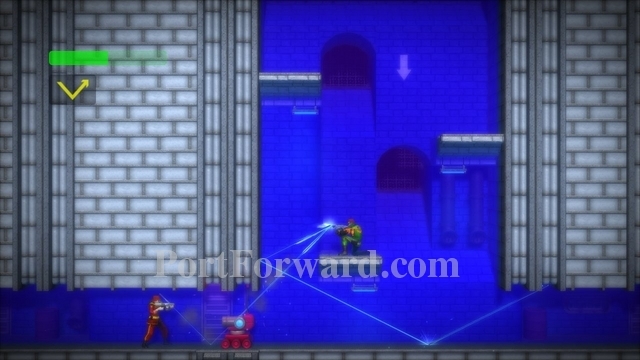
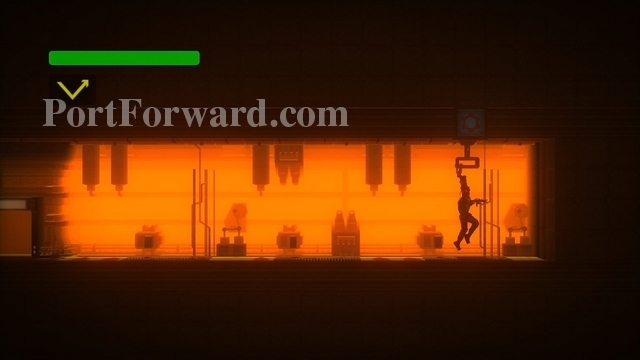
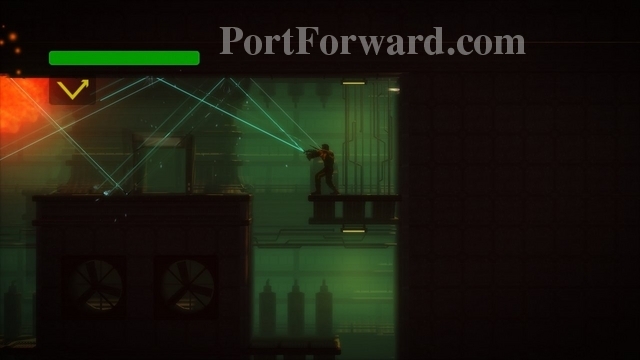
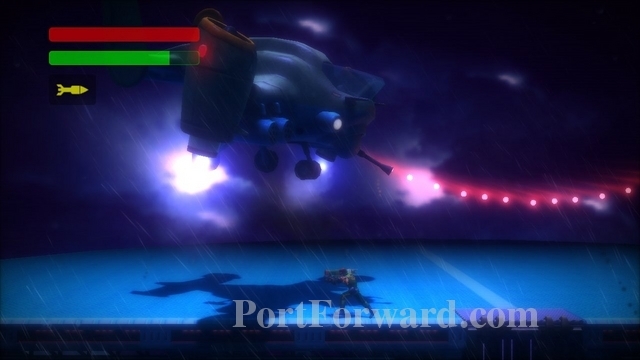
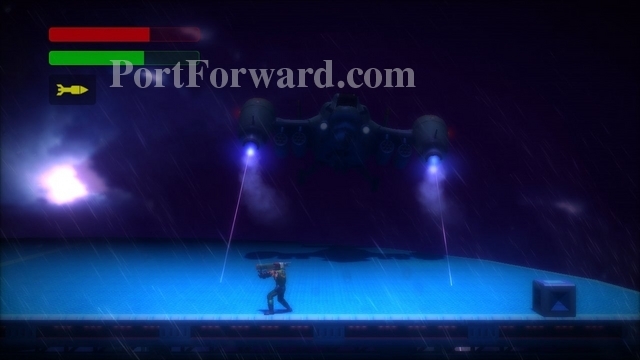
Bionic Commando Rearmed Walkthrough Area 00 - The FSA Headquarters

Welcome to our Bionic Commando Rearmed walkthrough. This walkthrough is on the default Medium difficulty level.
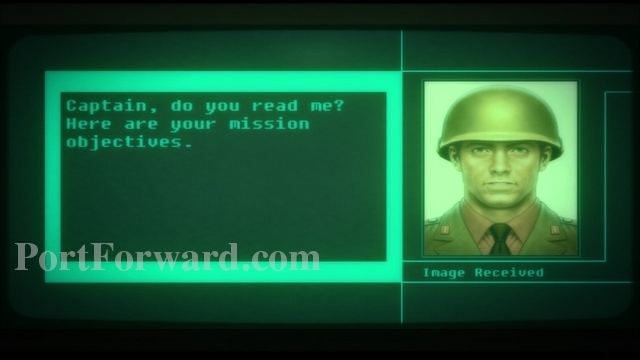
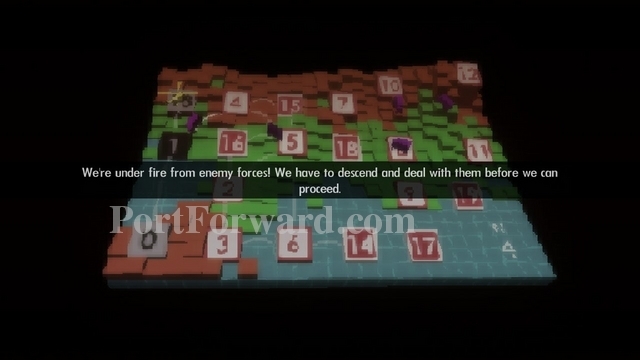
The game starts by giving your mission objectives.
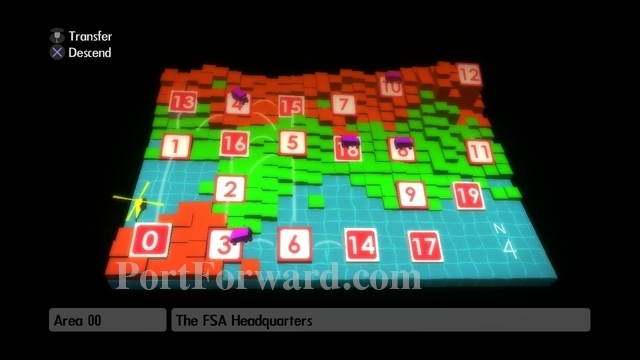
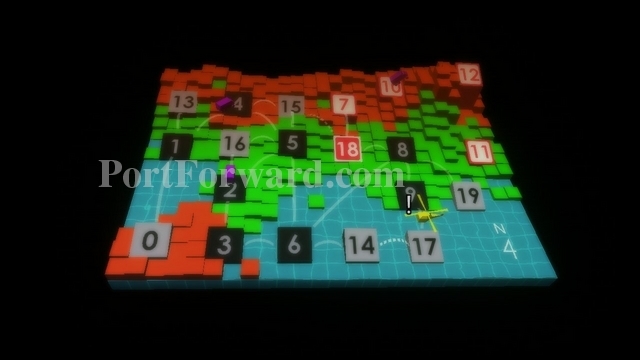
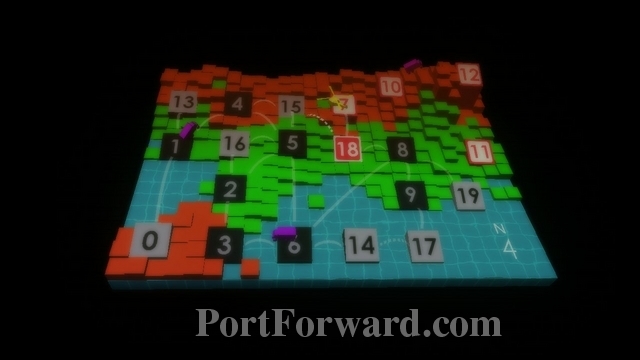
Choose Area 00 on your map.
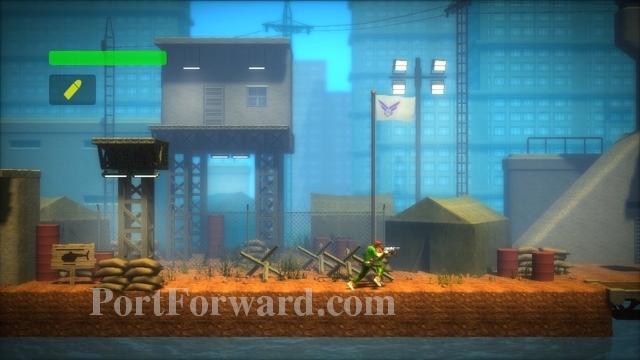
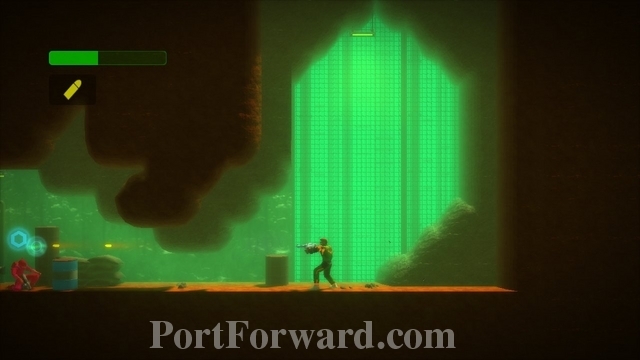
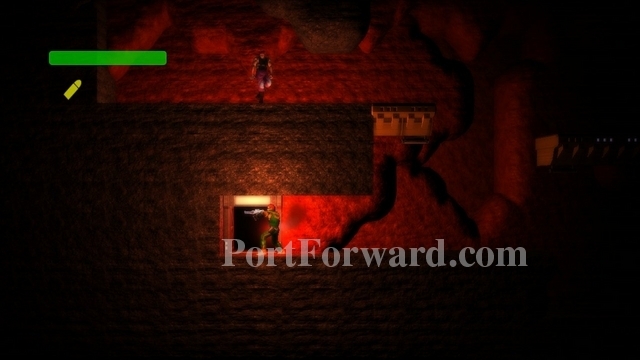
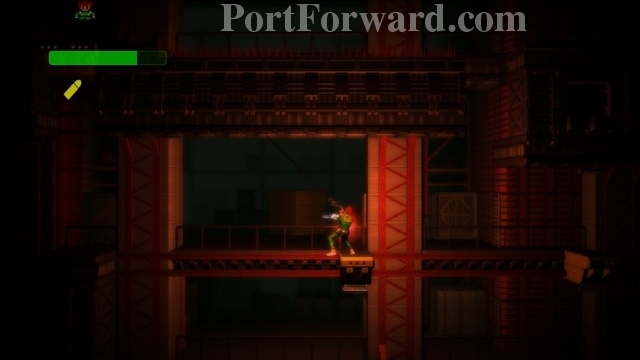
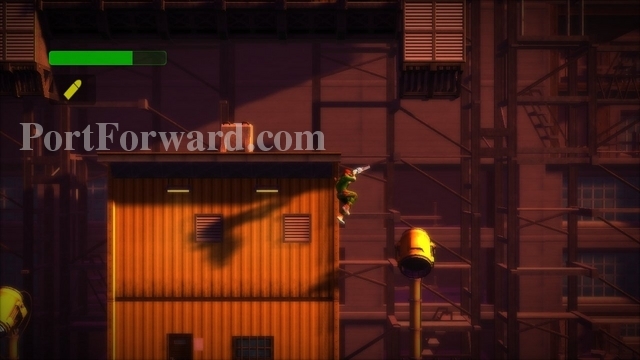
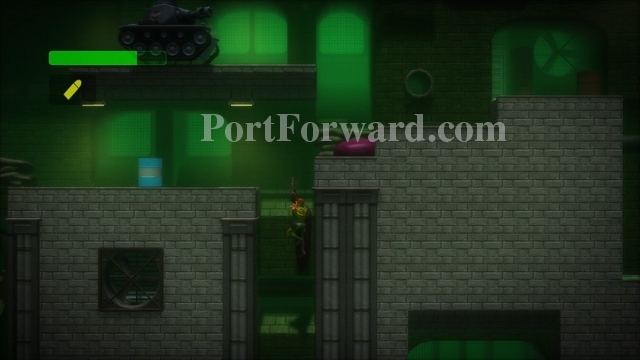
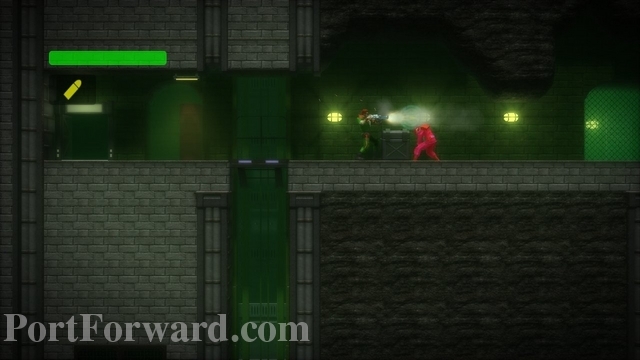
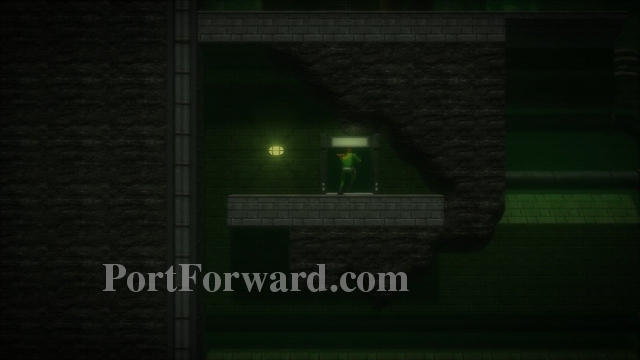
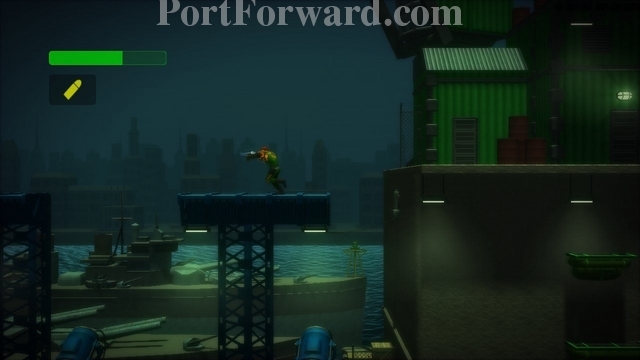
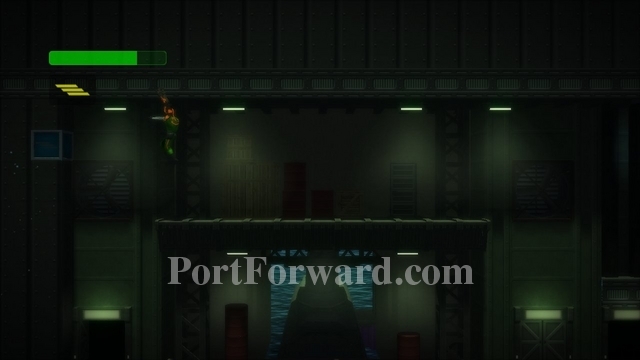
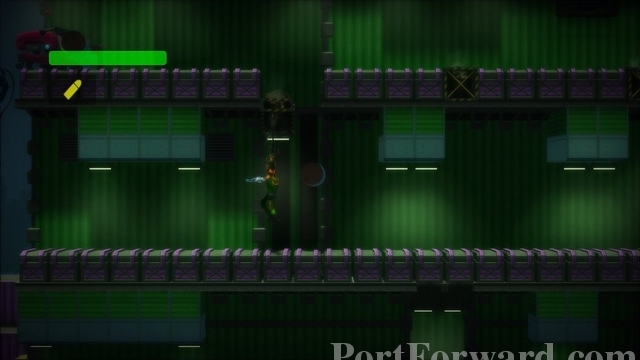
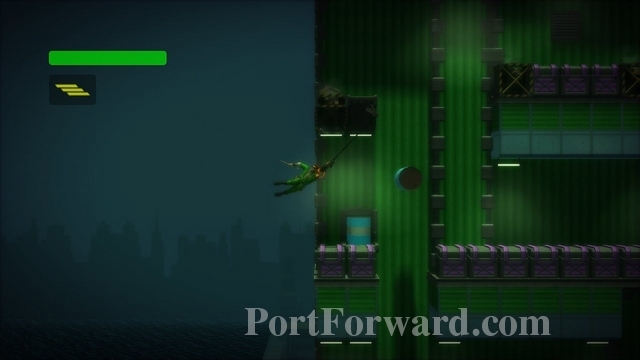
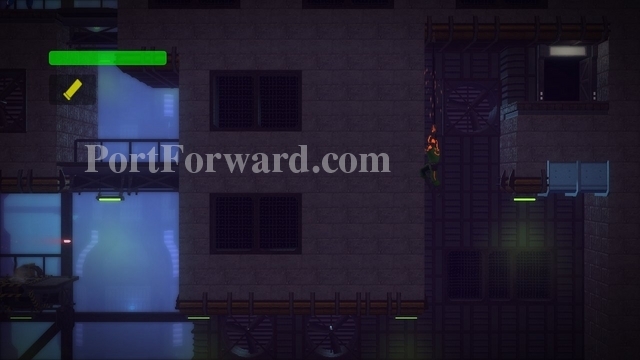
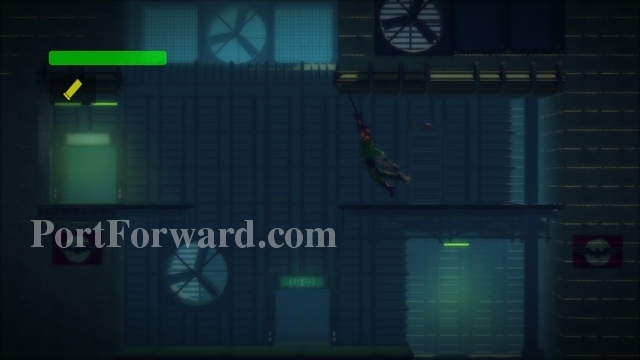
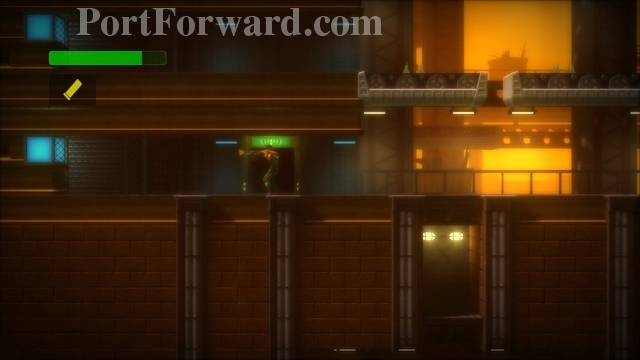
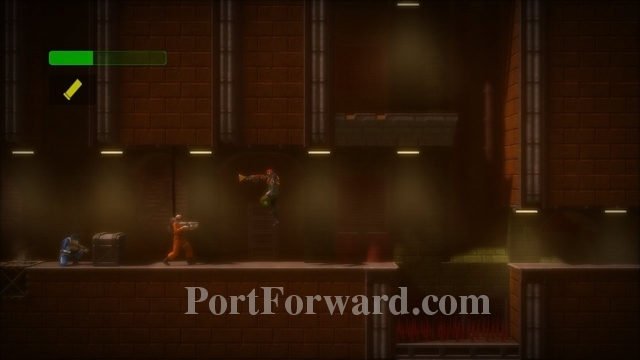
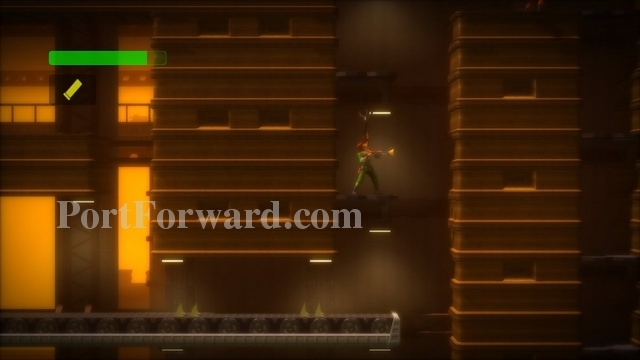
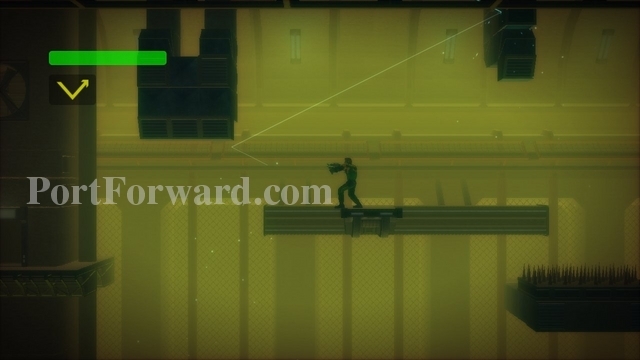
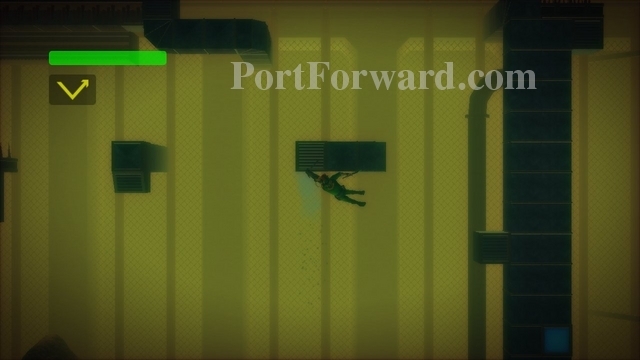
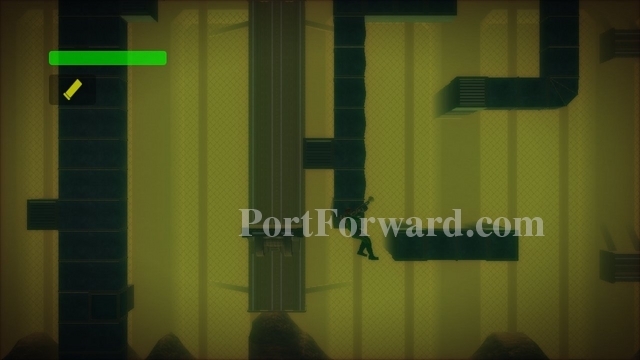
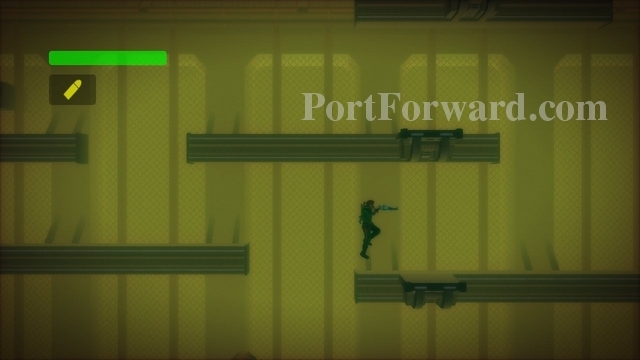
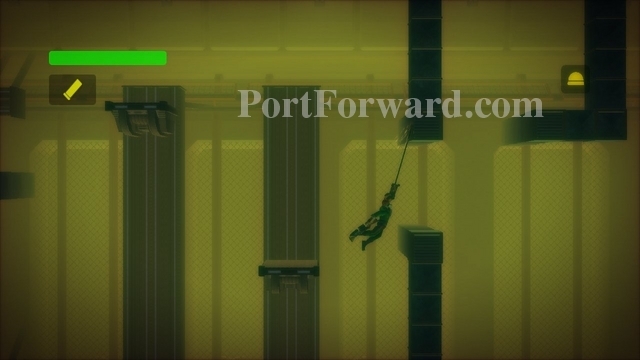
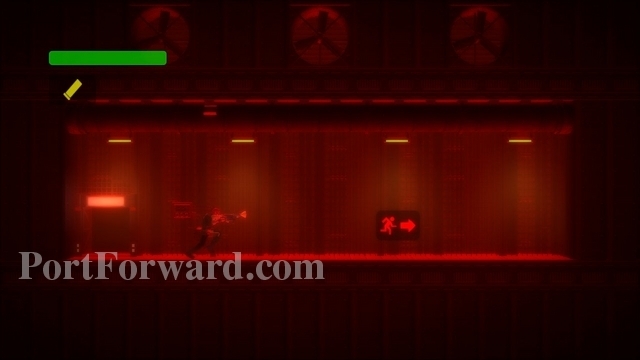
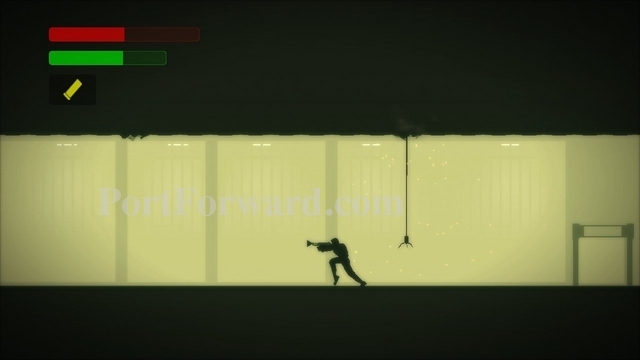
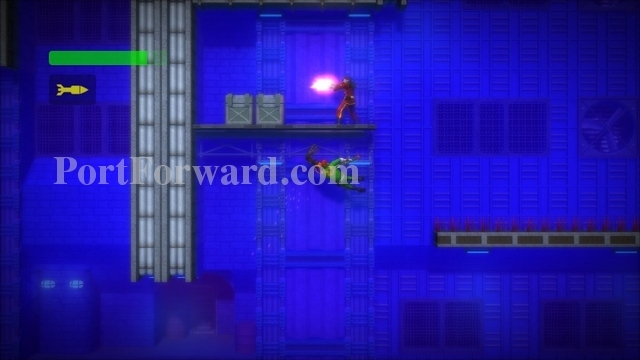
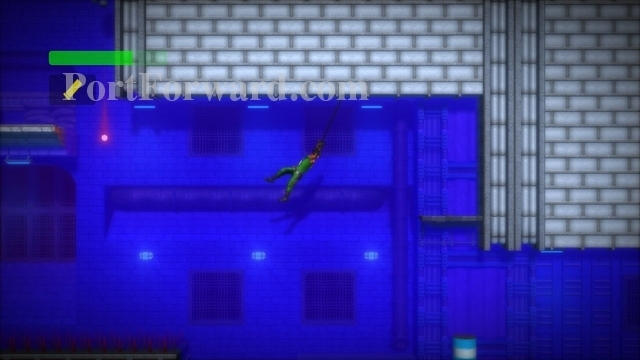
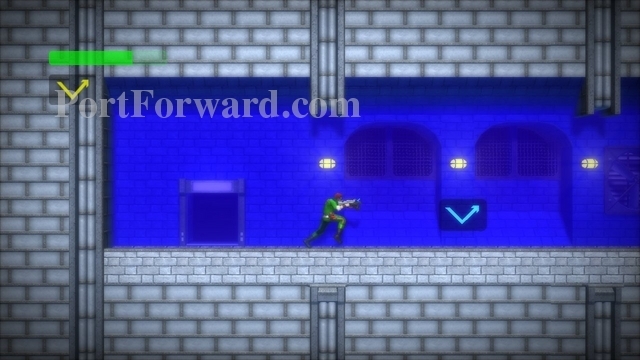
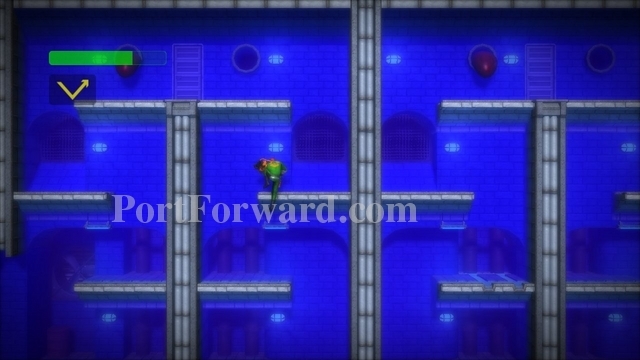
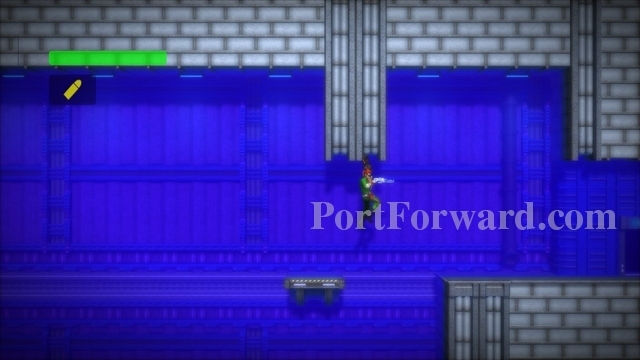
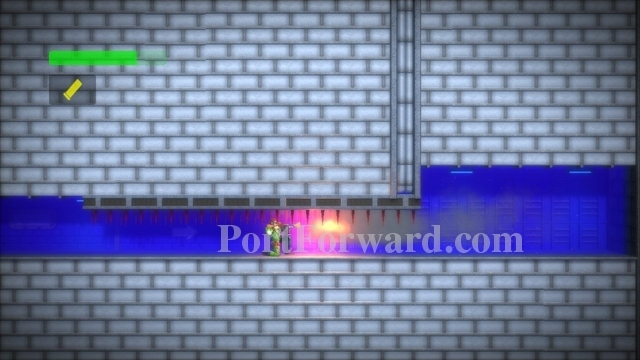
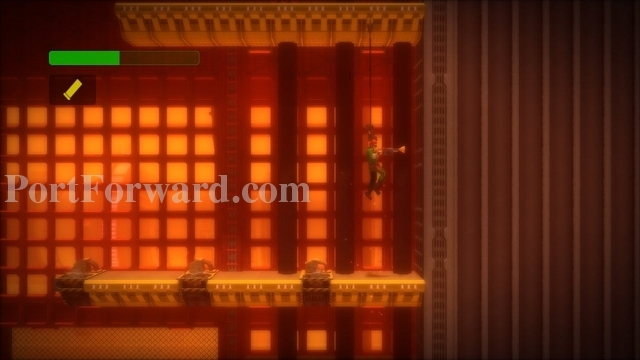
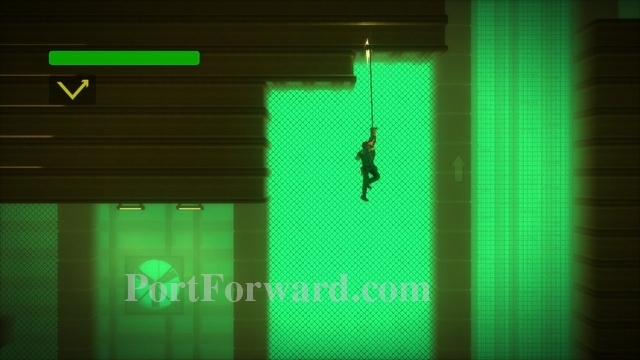
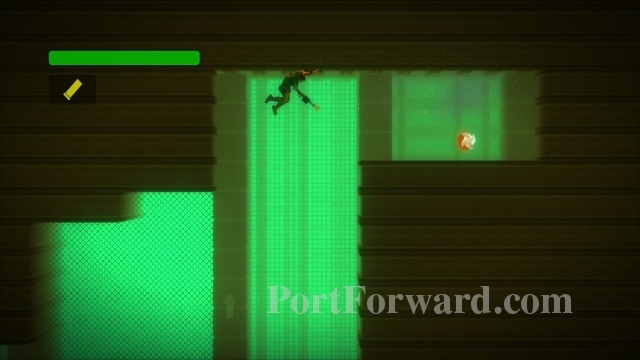
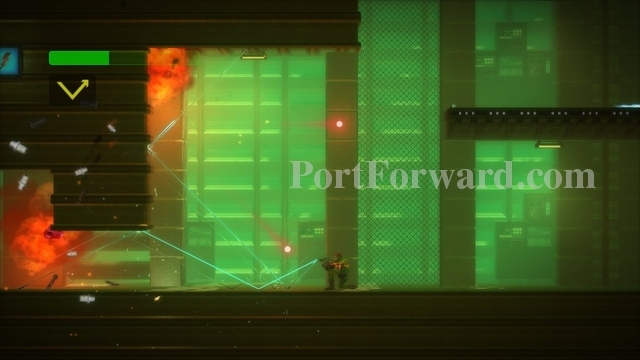
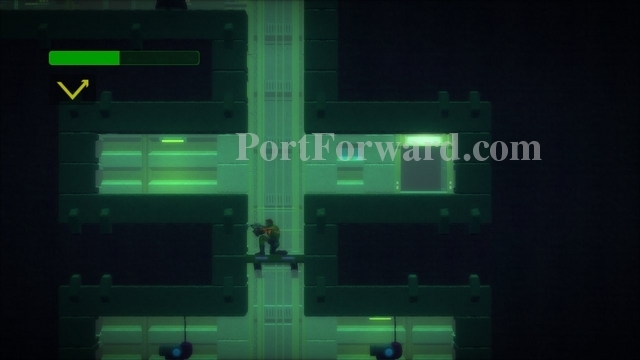
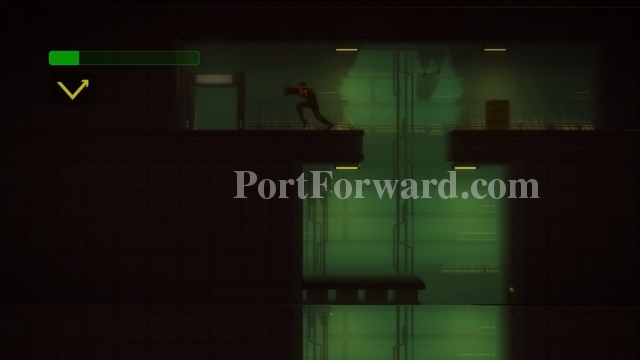
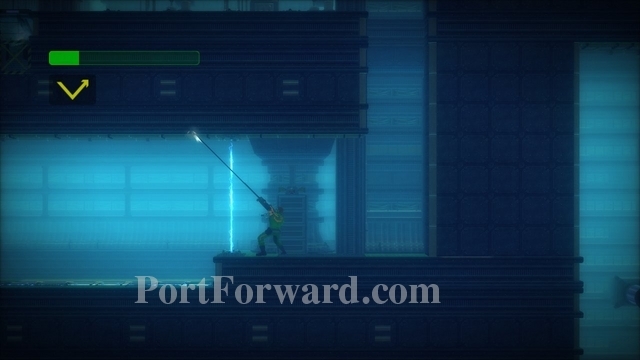
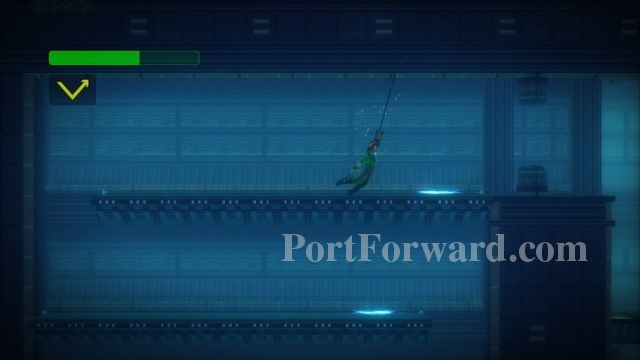
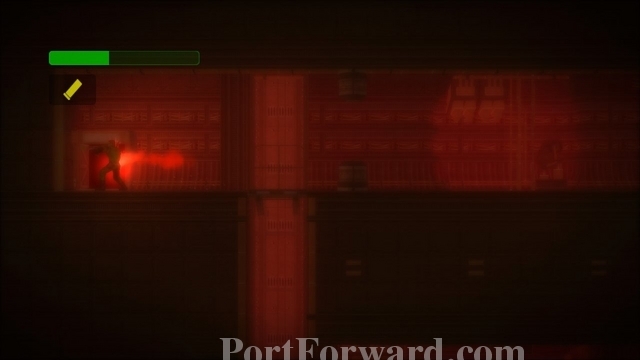
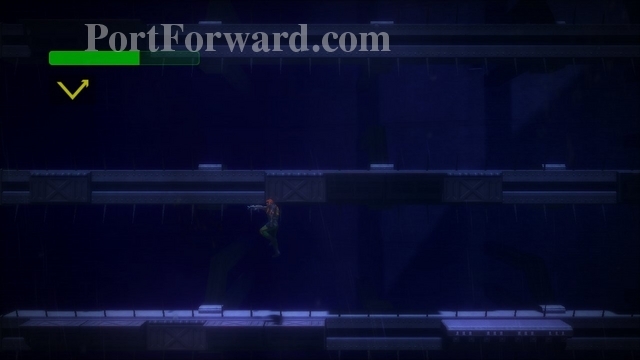
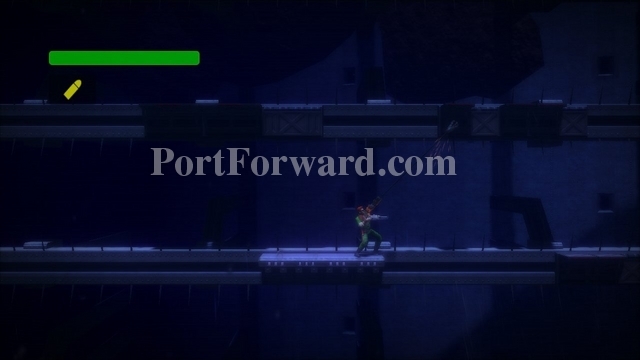
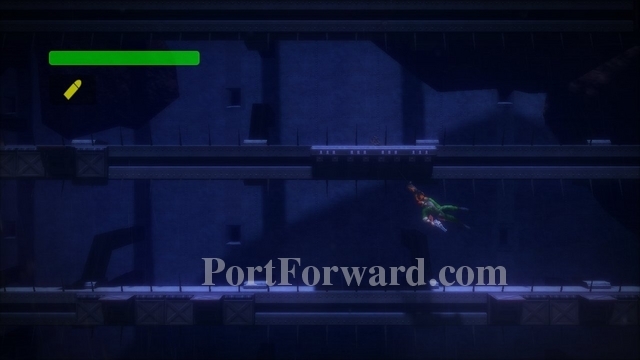
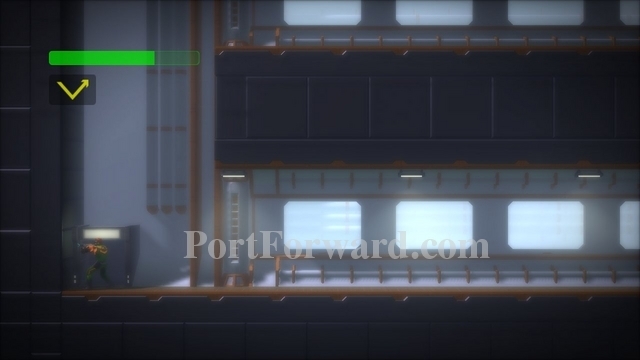
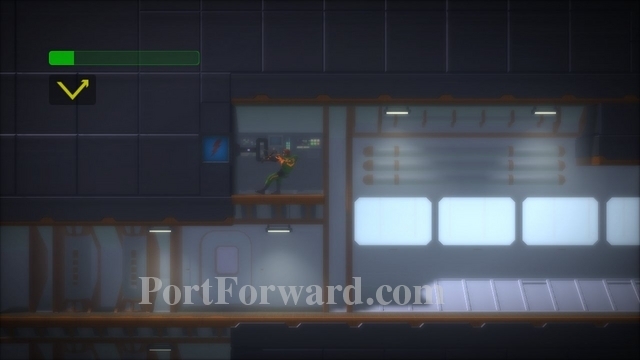
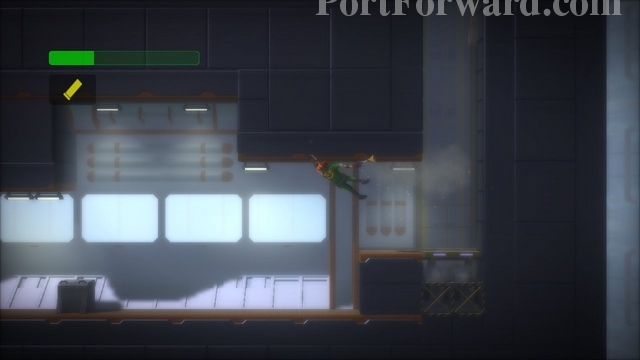
Run rightward when entering the level.
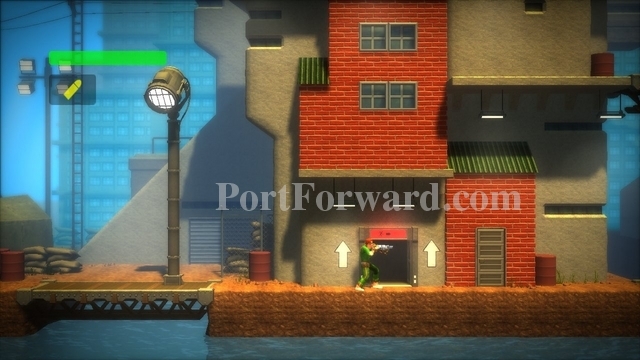
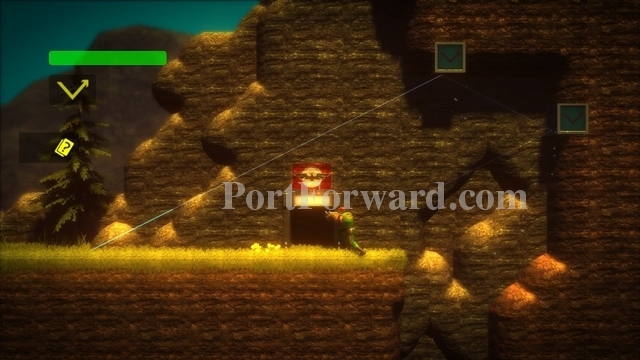
You'll come to a door. Press up to enter it.
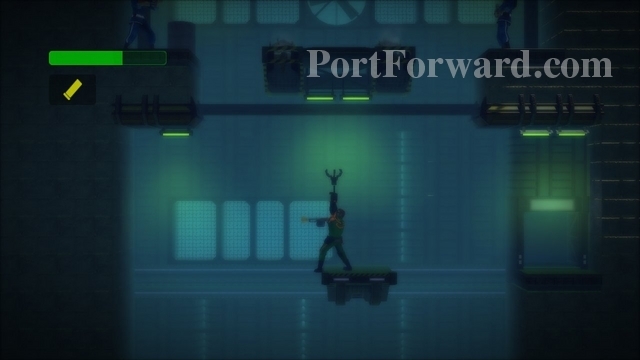
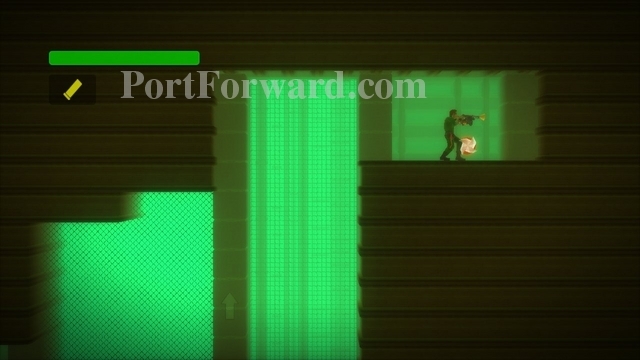
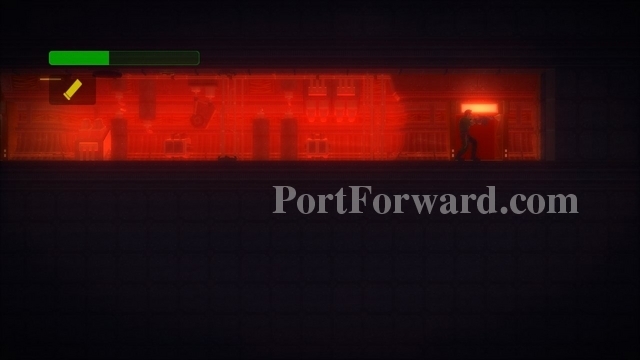
Walk into the middle of the room to enter a tutorial stage.
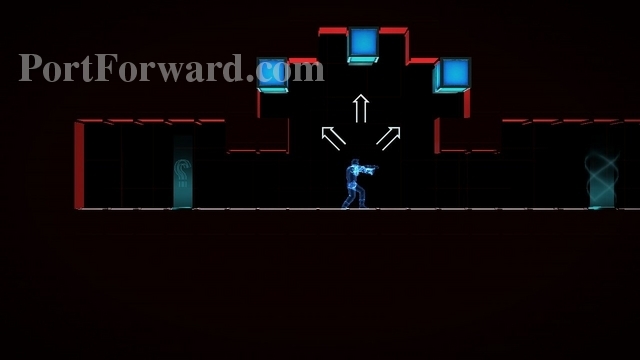
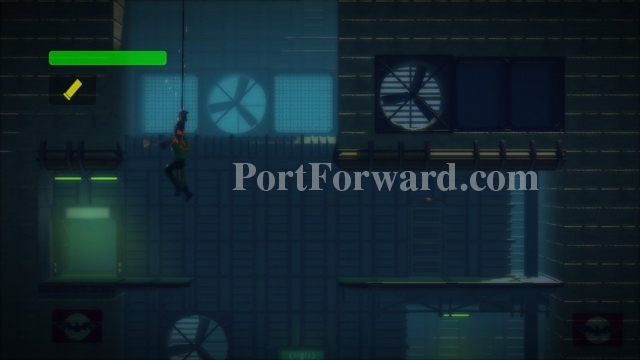
These tutorials will help you learn to grapple and swing. I recommend going through all the basic and advanced tutorials if you are unfamiliar with the controls.
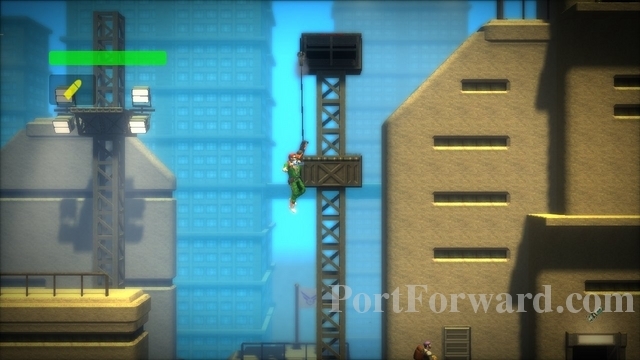
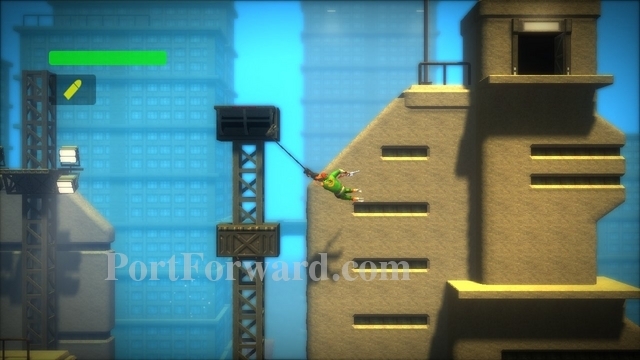
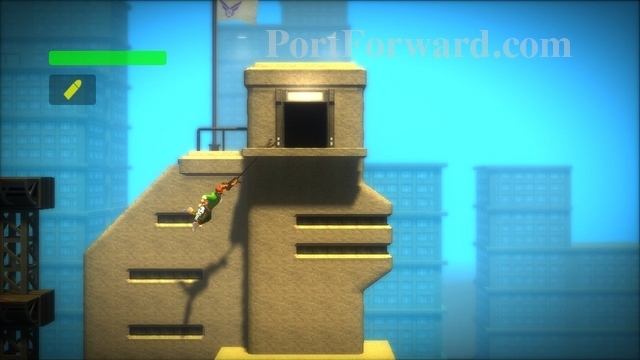
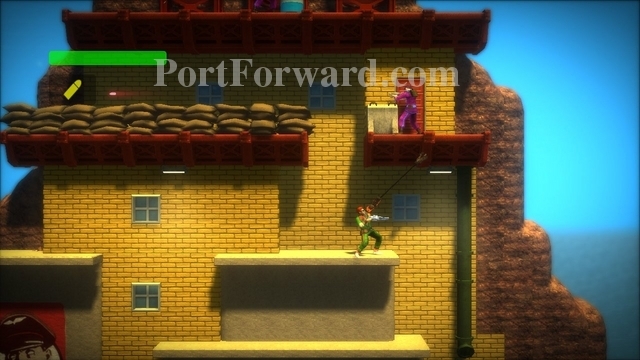
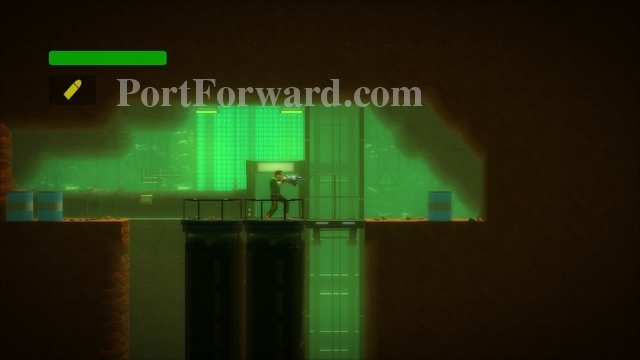
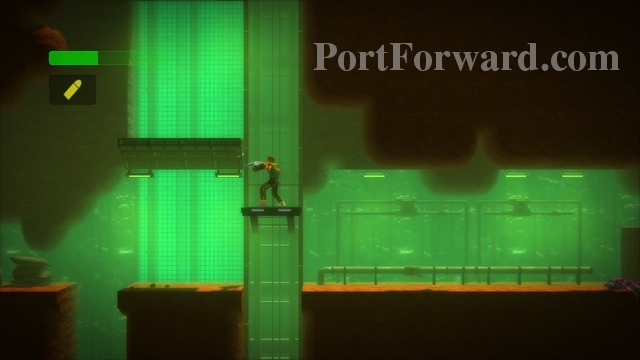
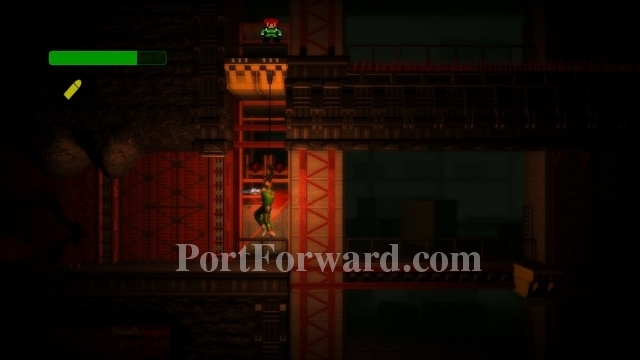
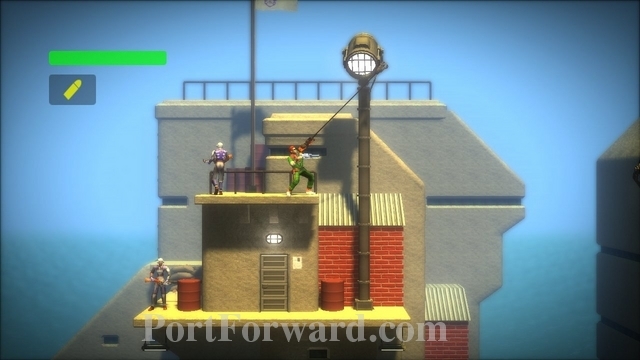
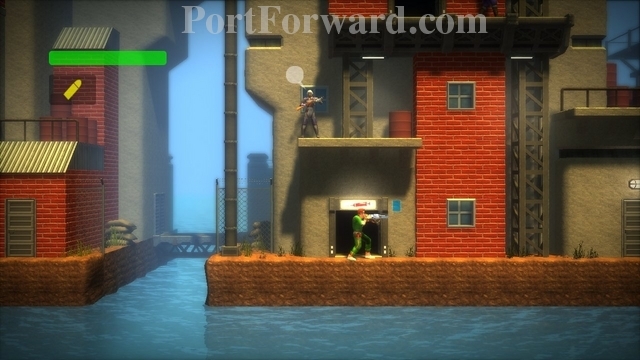
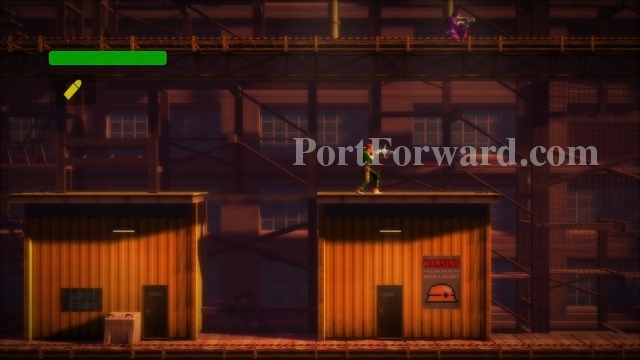
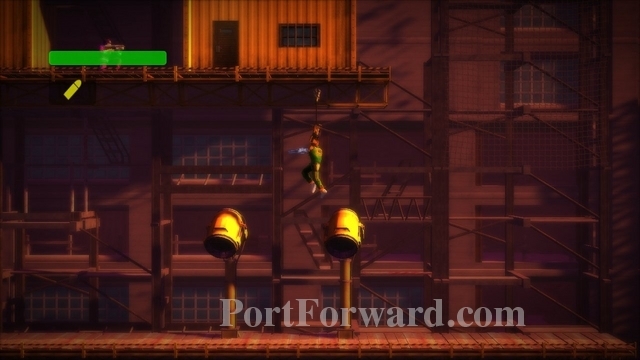
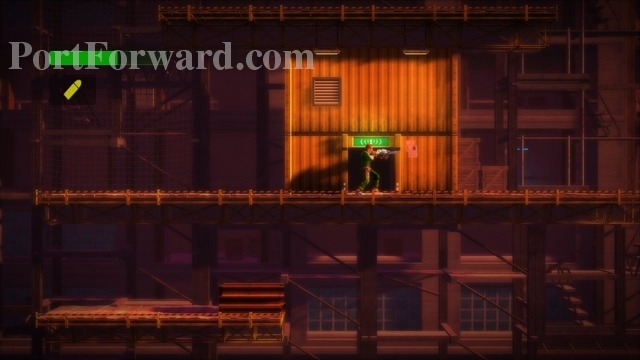
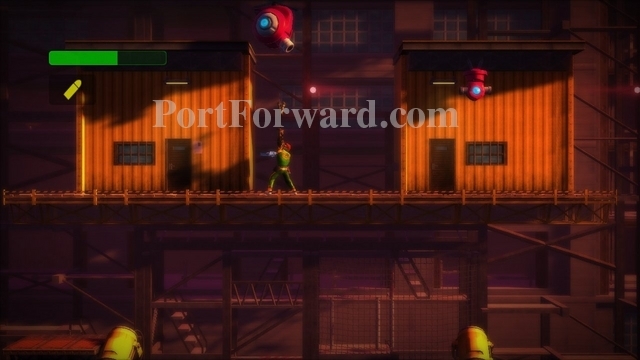
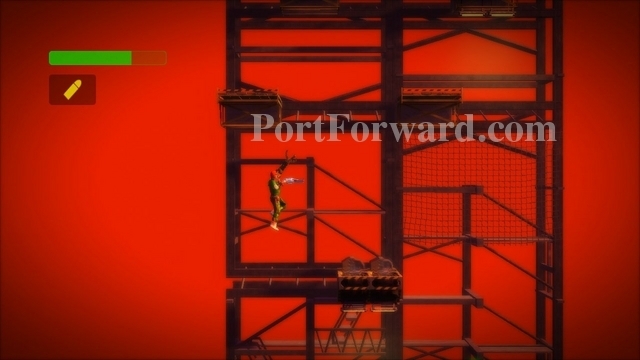
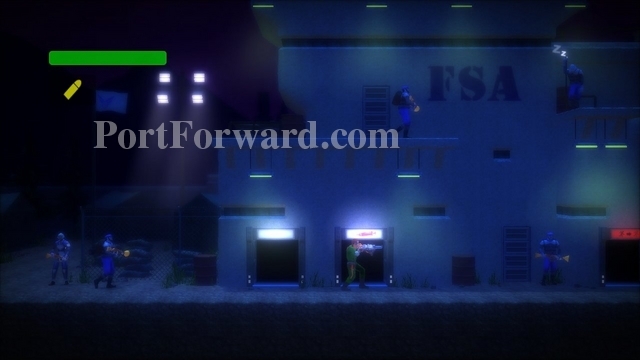
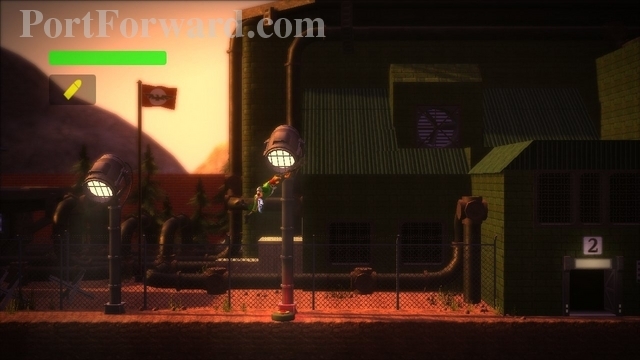
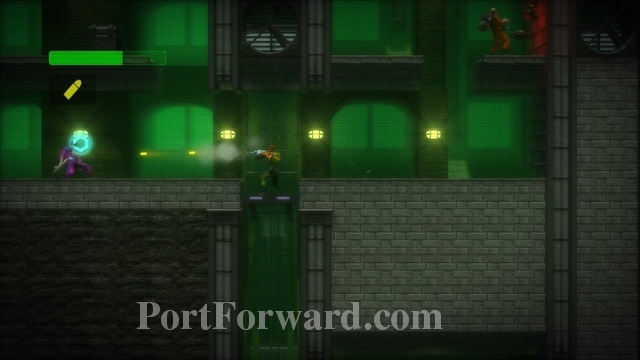
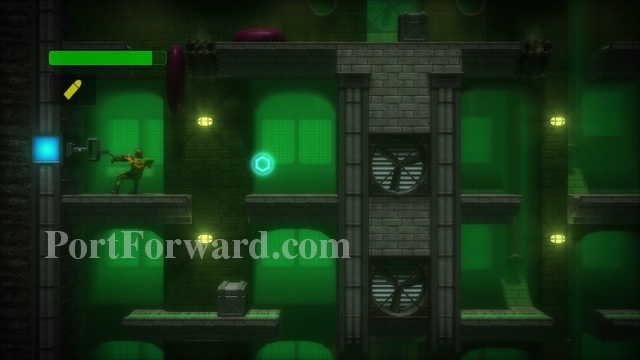
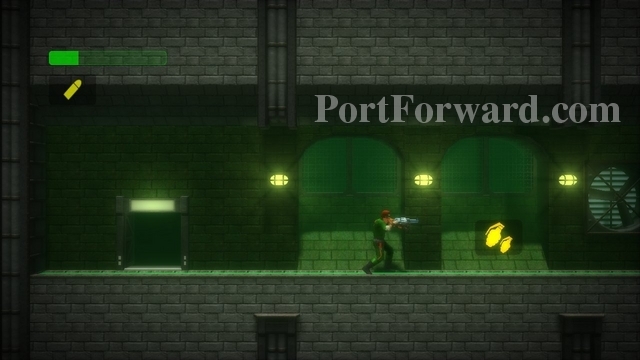
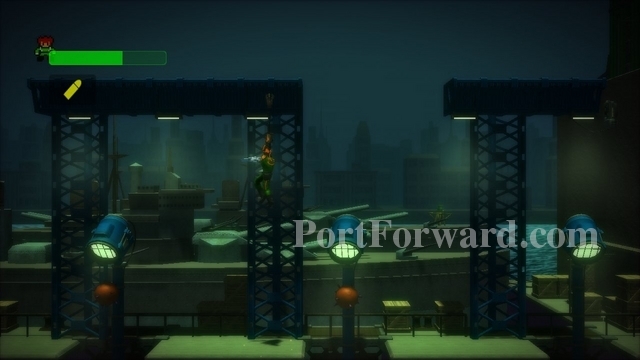
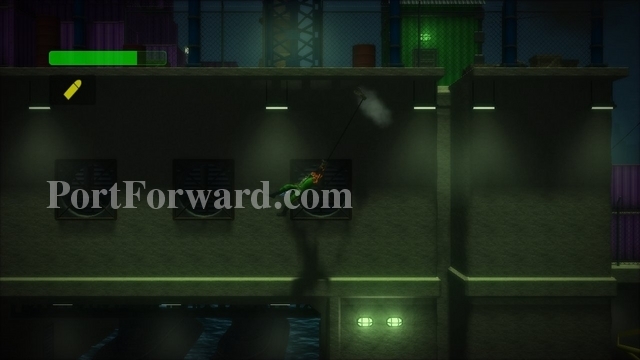
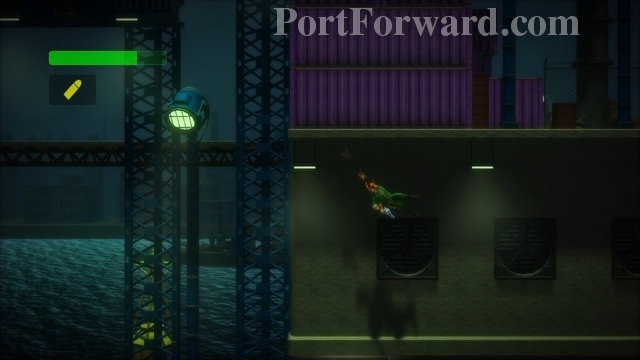
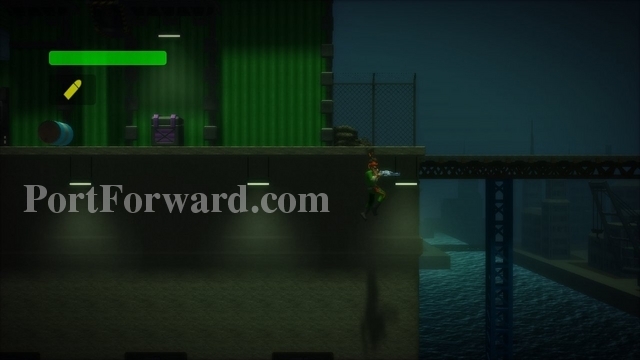
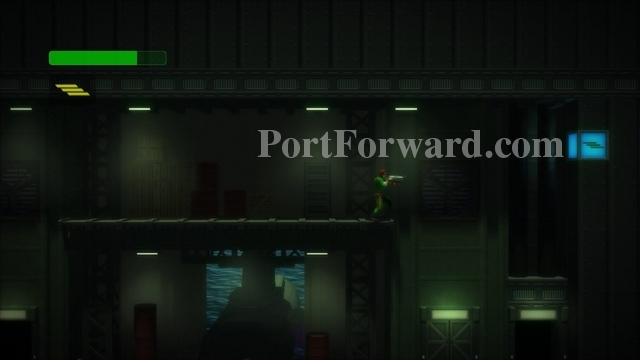
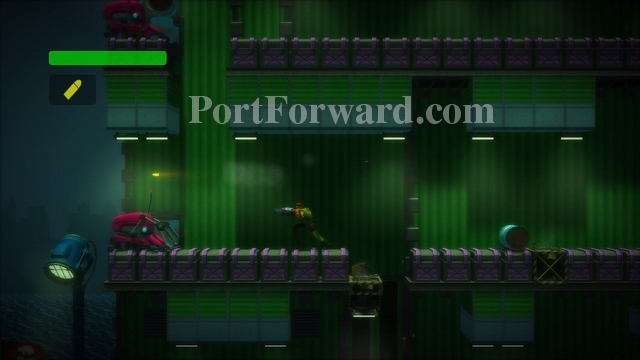
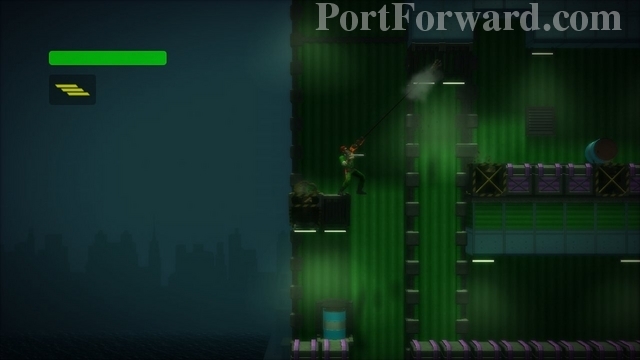
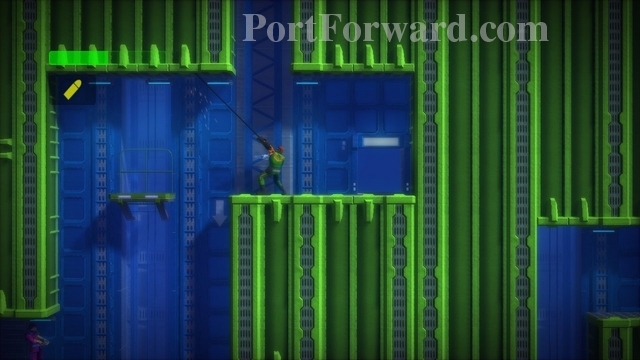
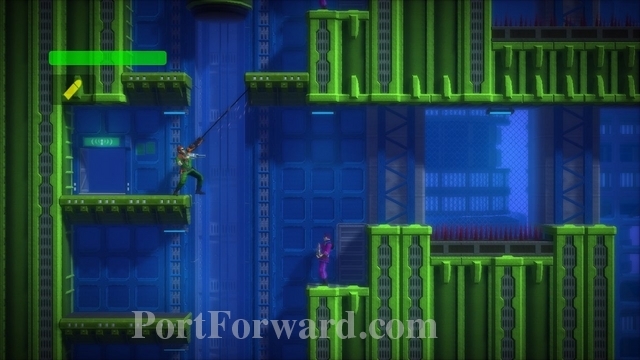
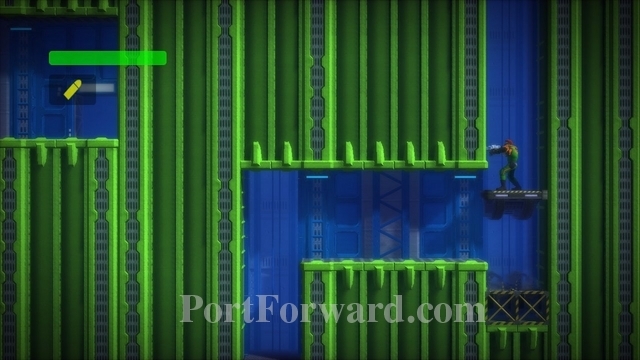
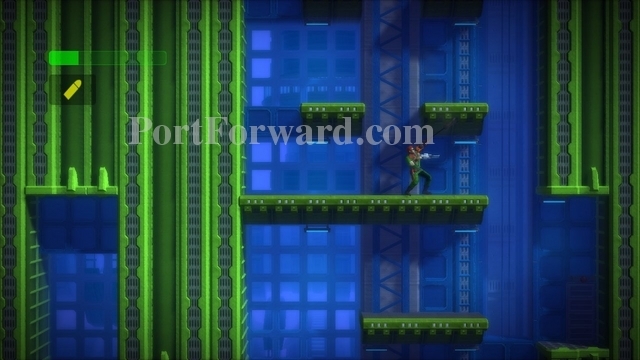
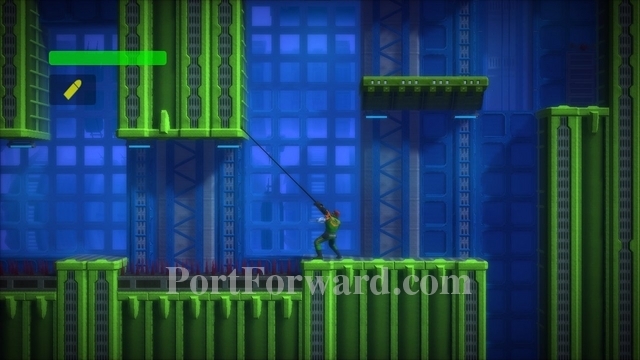
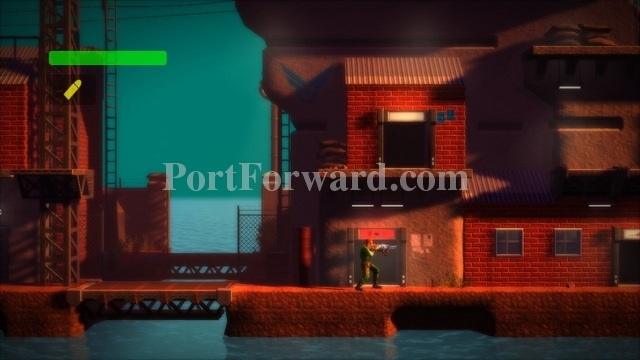
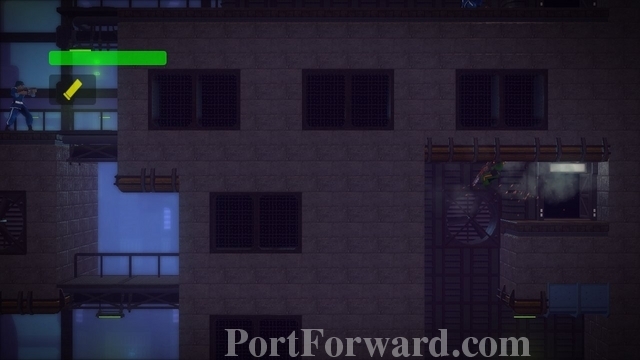
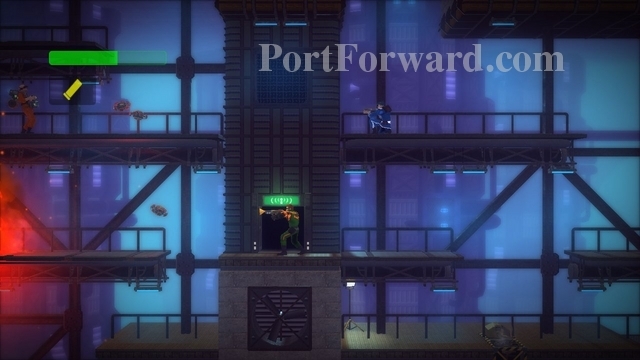
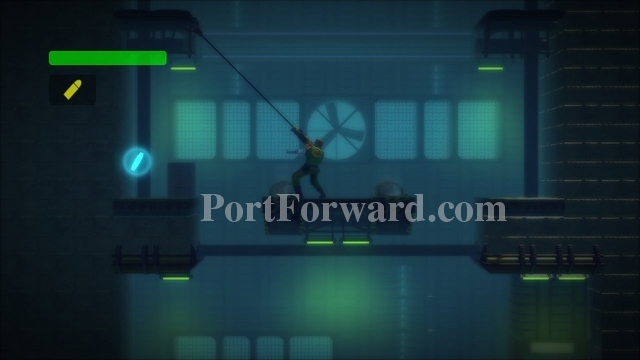
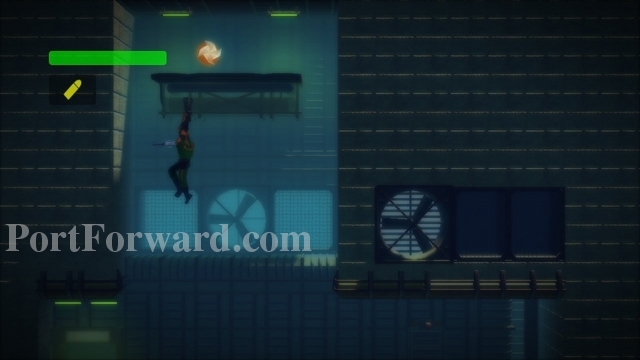
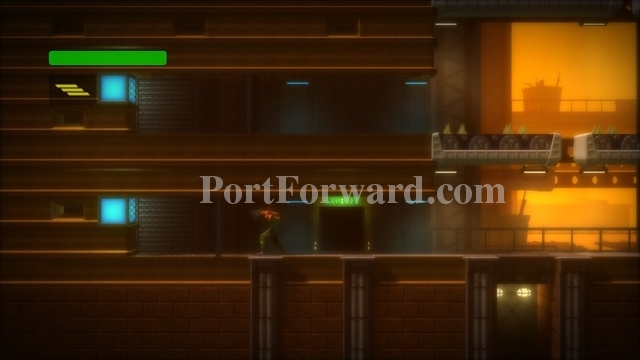
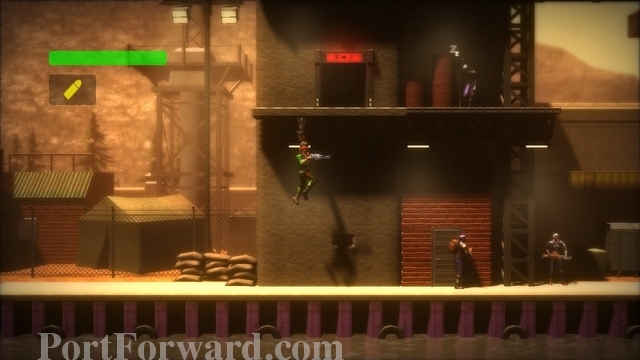
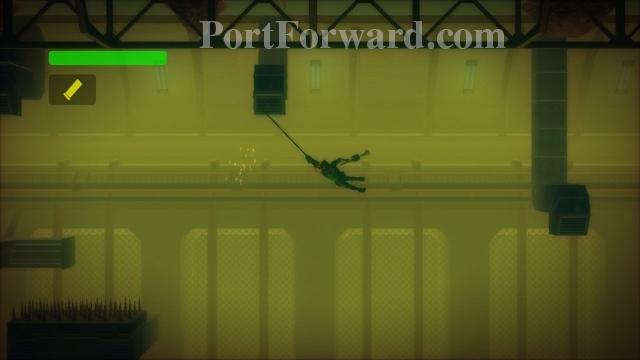
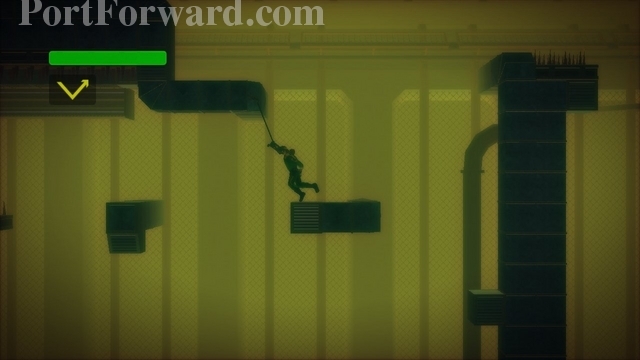
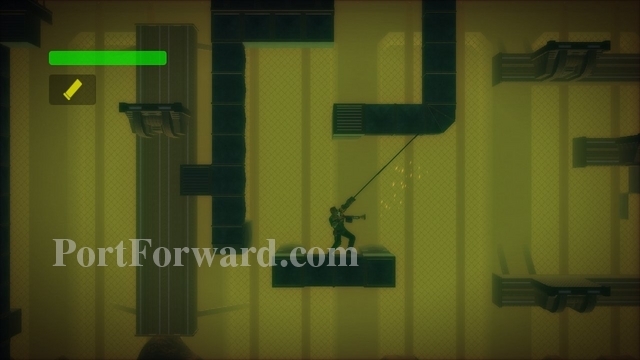
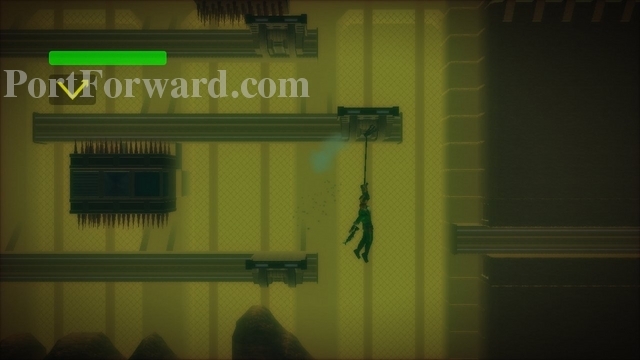
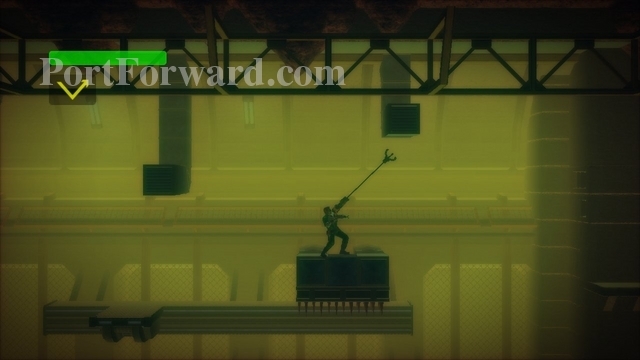
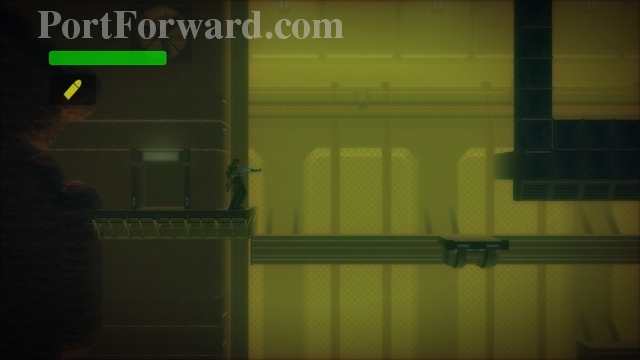
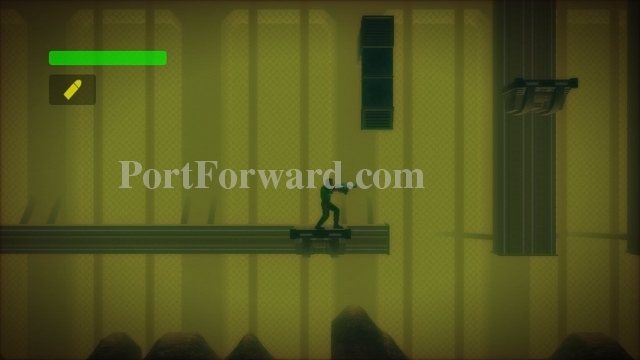
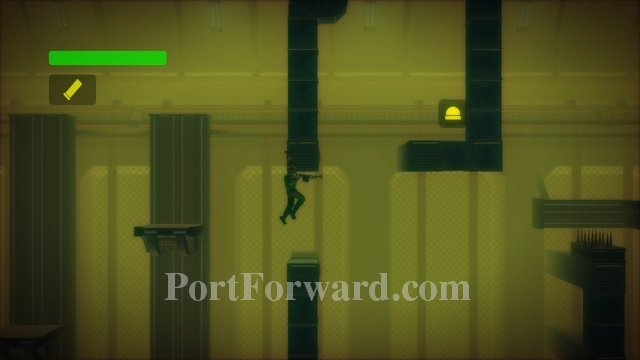
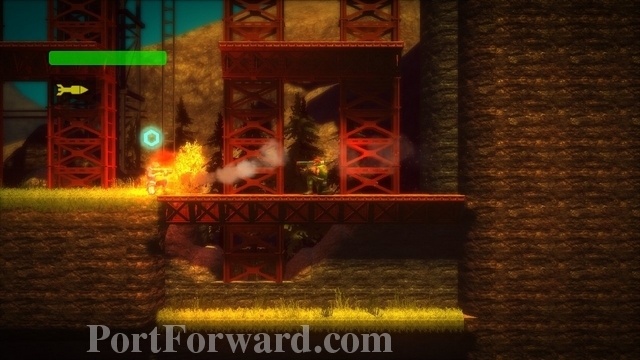
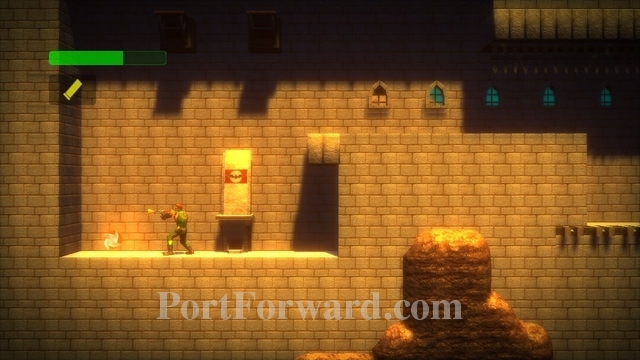
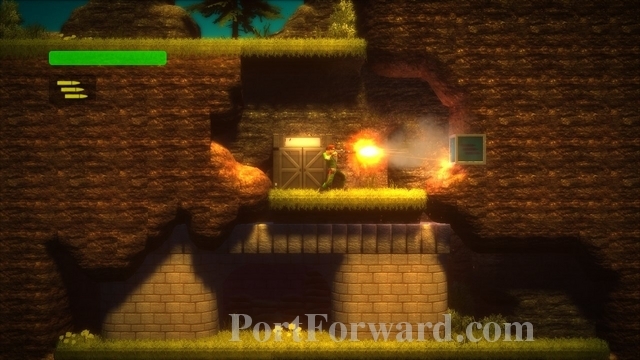
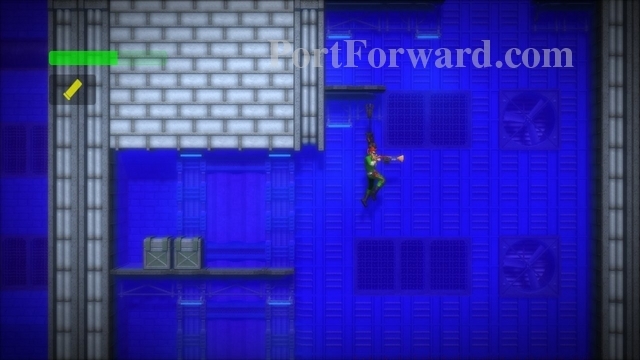
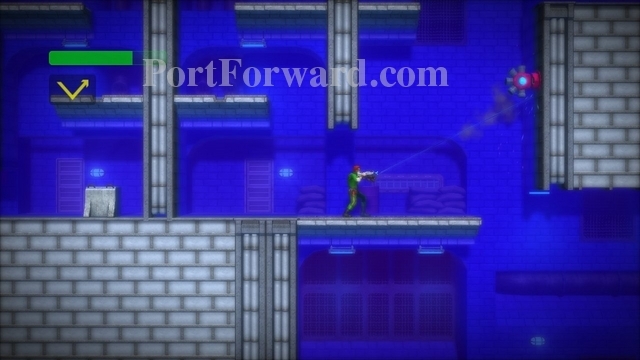
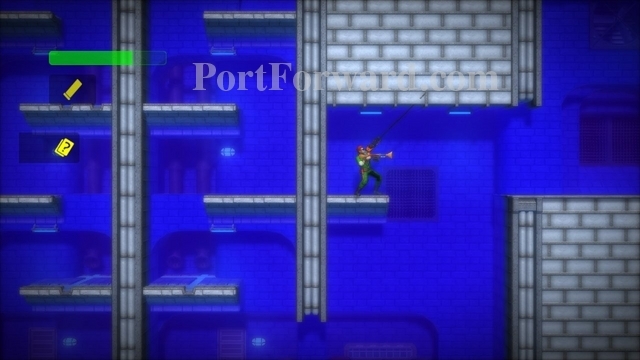
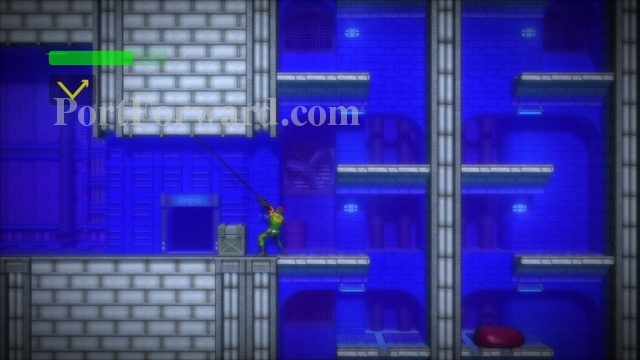
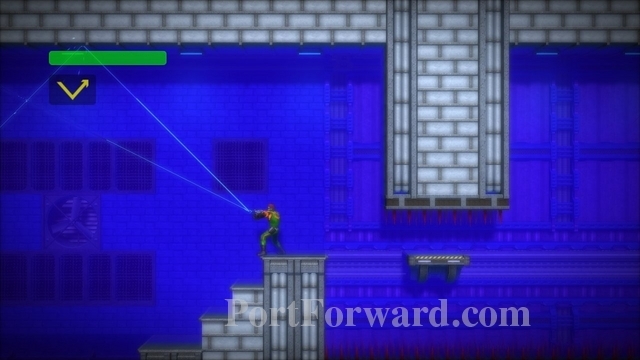
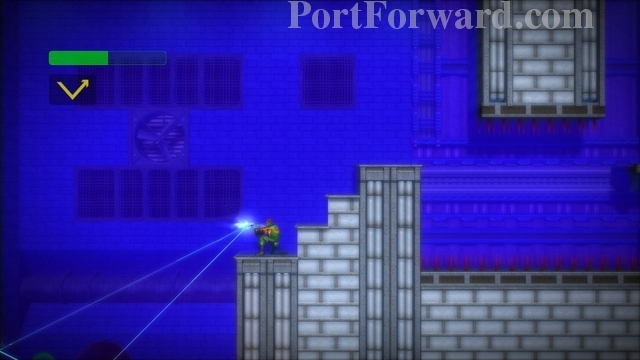
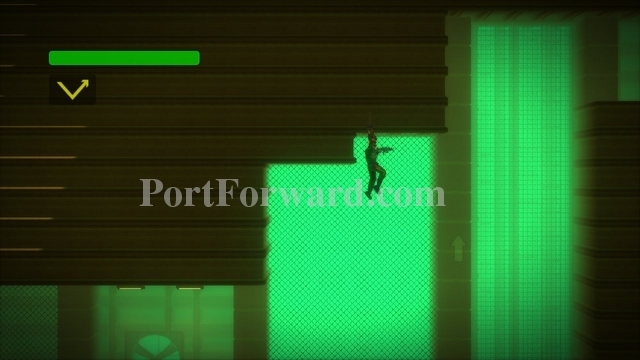
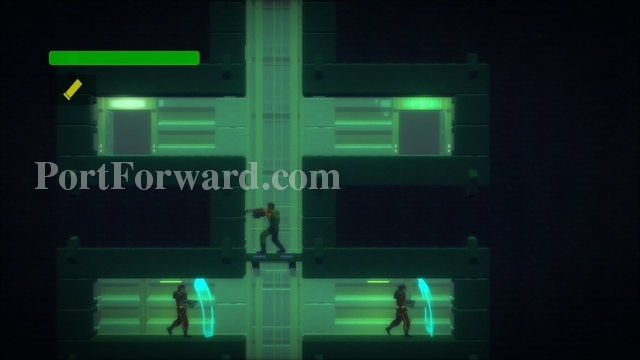
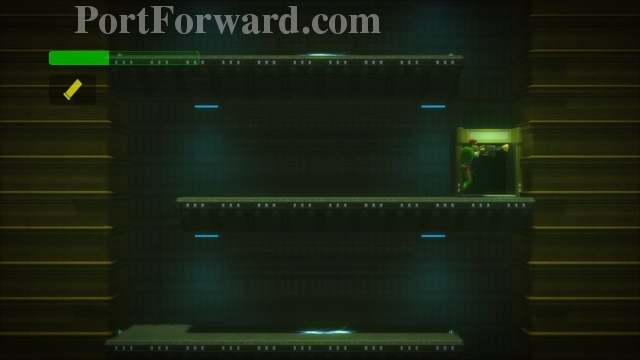
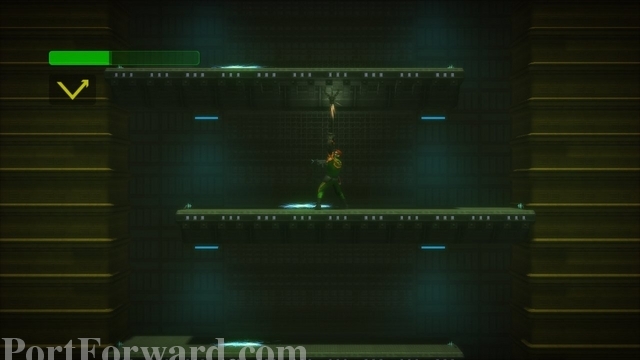
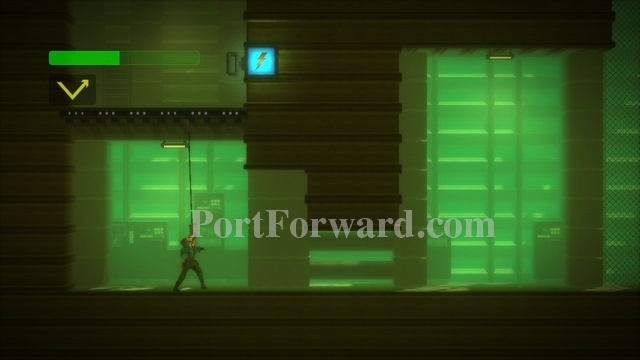
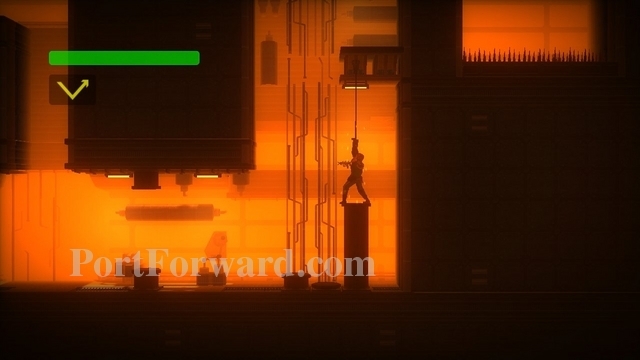
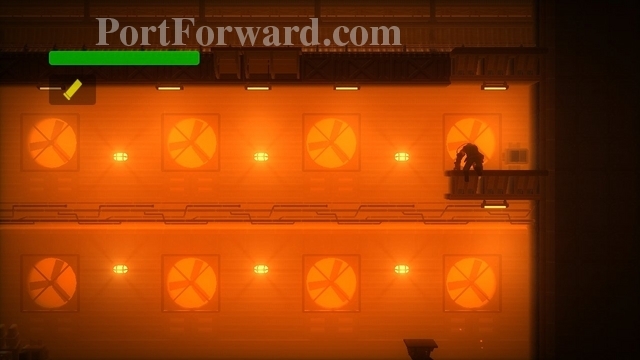
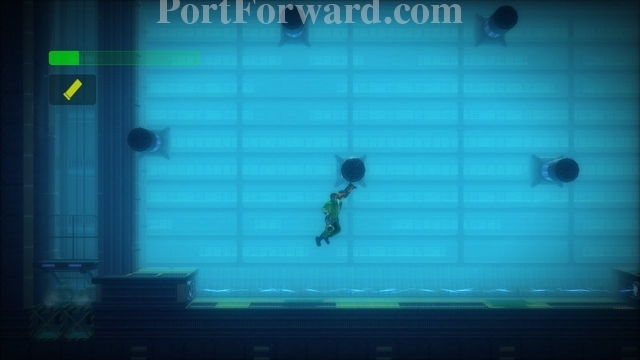
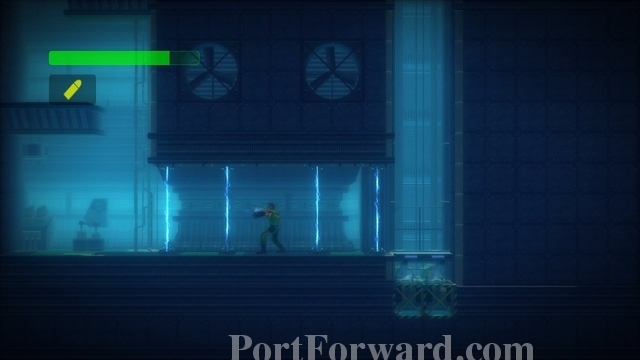
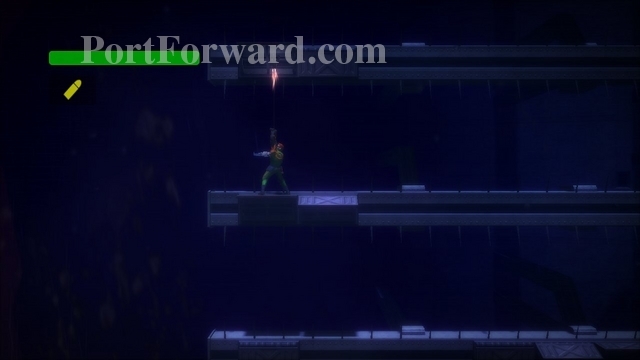
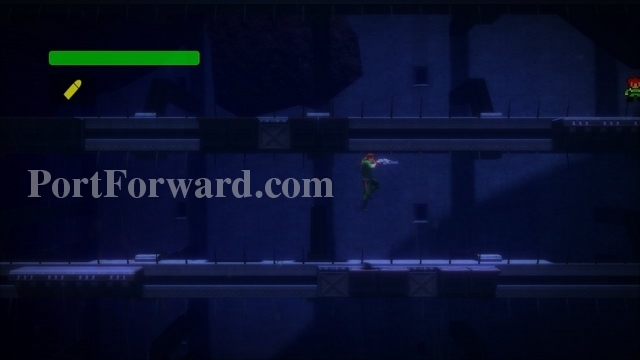
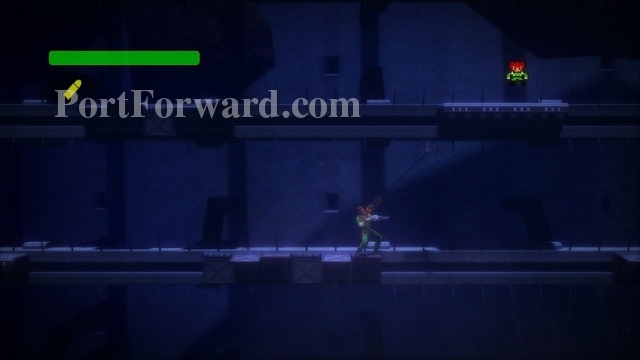
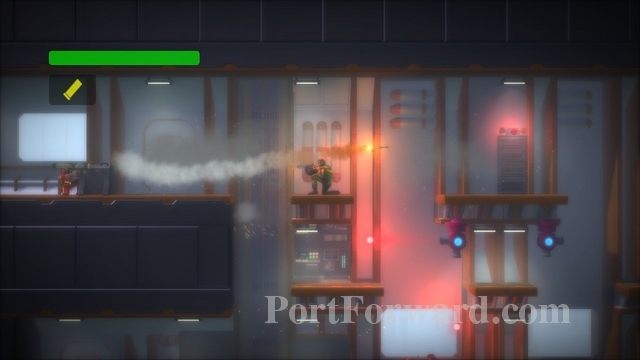
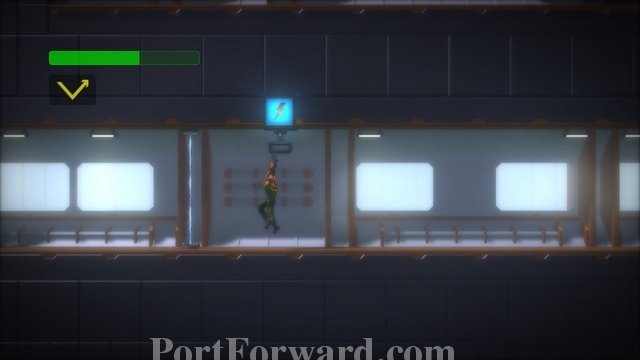
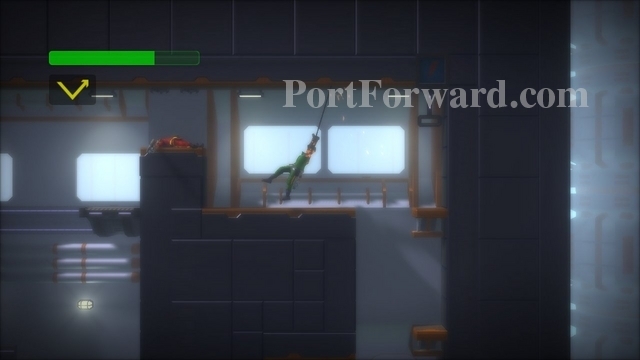
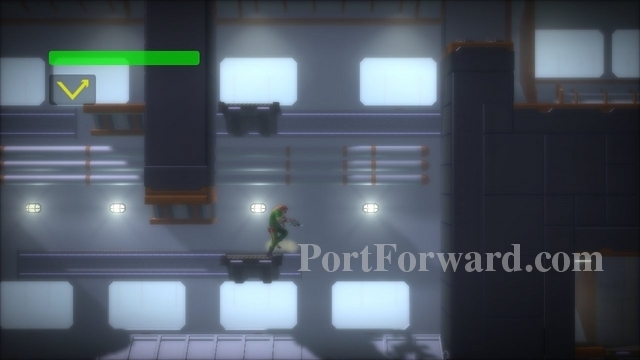
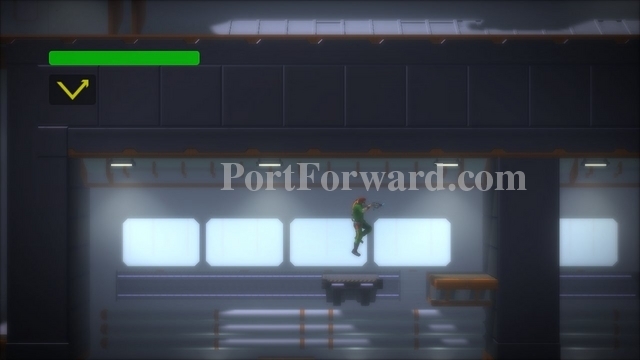
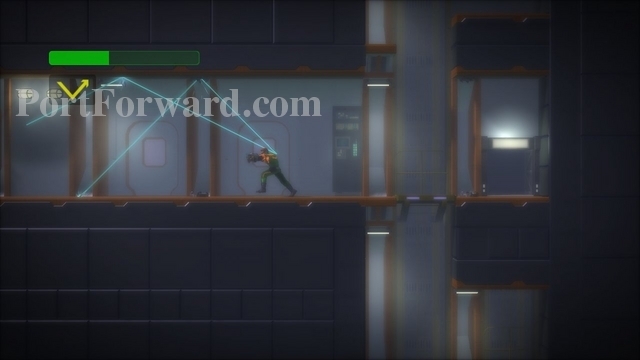
When you are done with the tutorials, scale the buildings with your grapple. In the upper-right area you'll find another door. Enter the door.
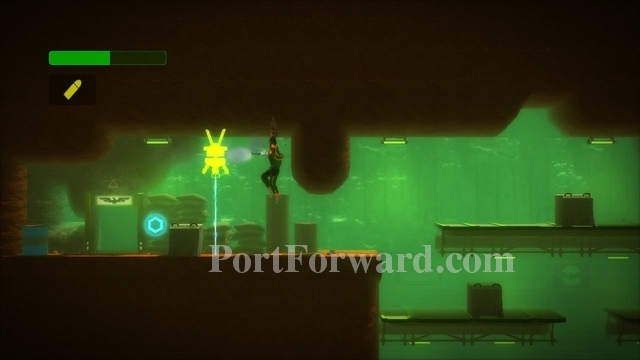
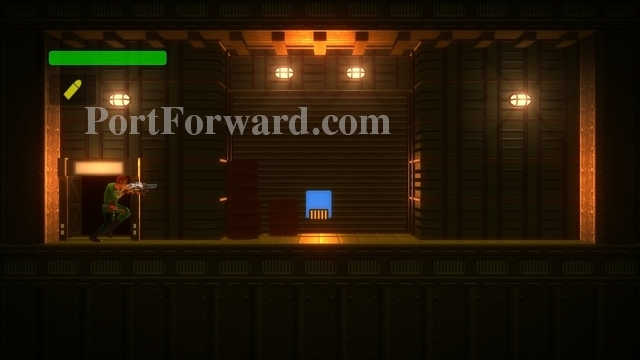
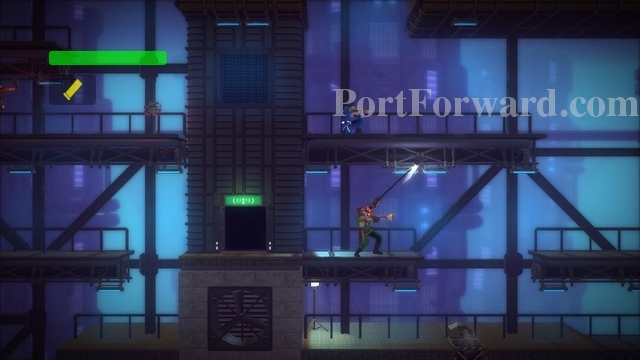
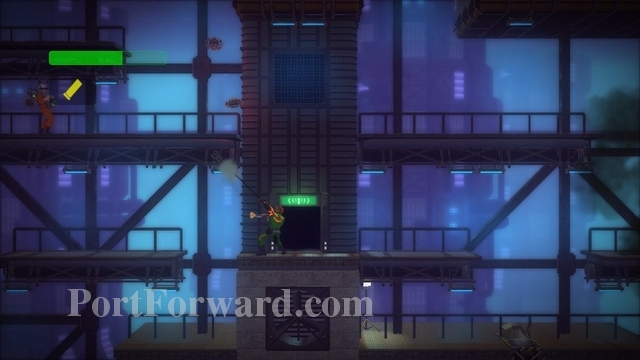
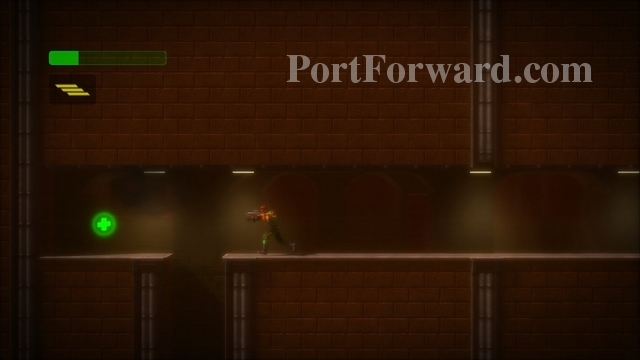
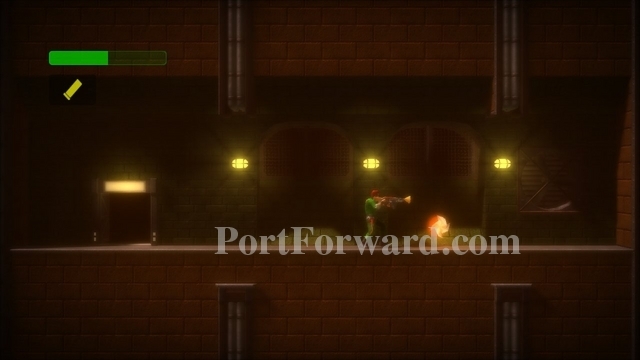
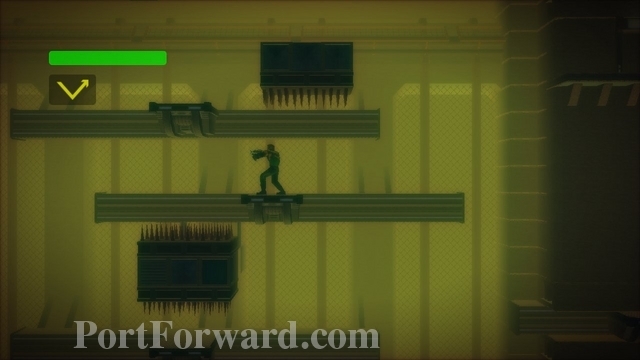
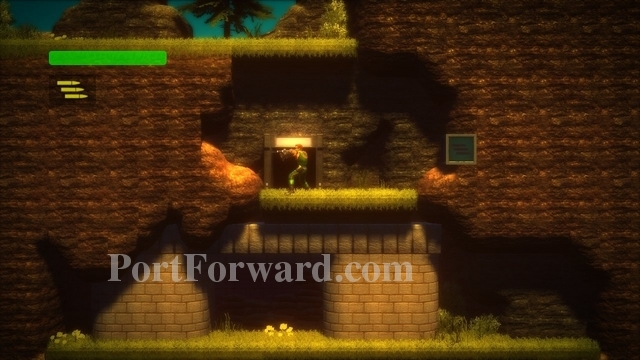
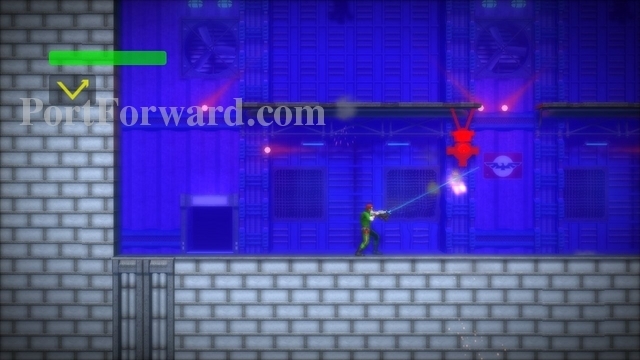
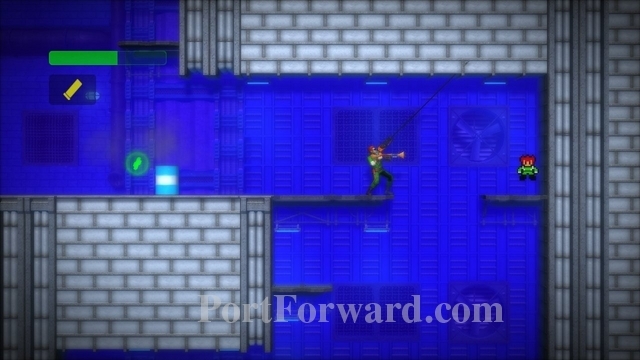
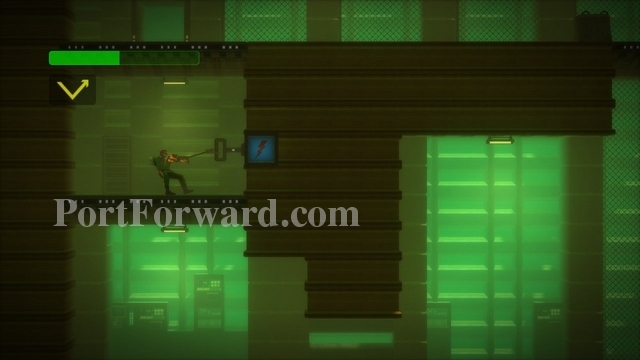
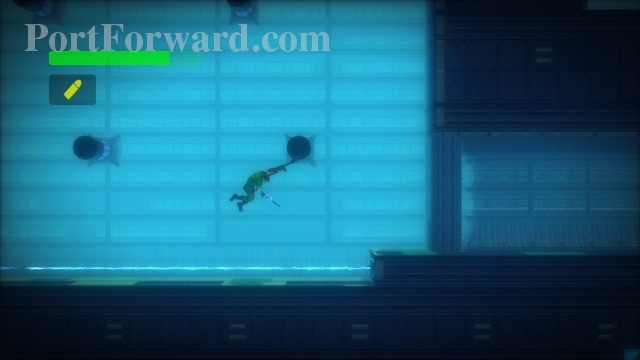
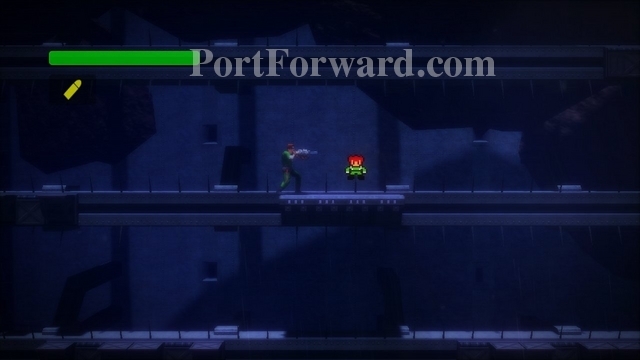
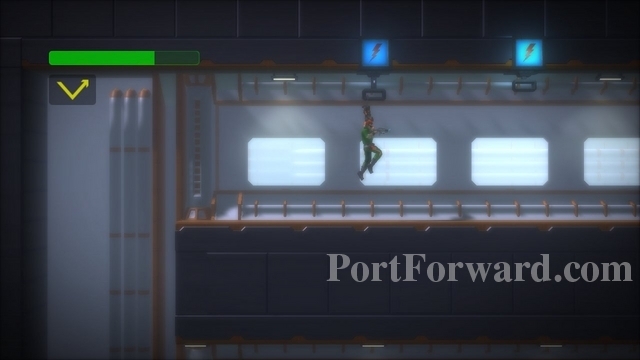
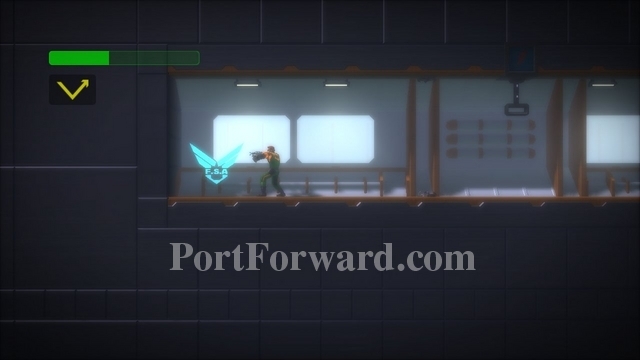
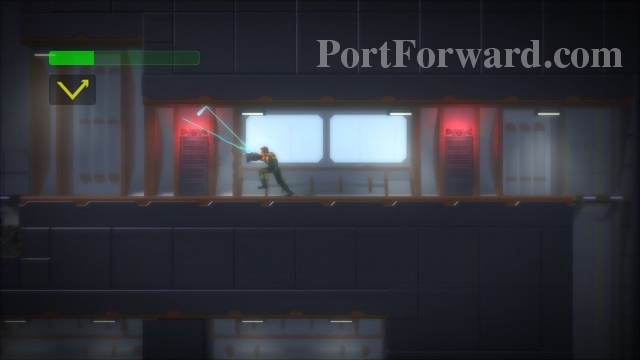
Here is a weapon upgrade. You'll notice you can only shoot two projectiles at a time.
After grabbing the upgrade you can shoot three projectiles at a time.
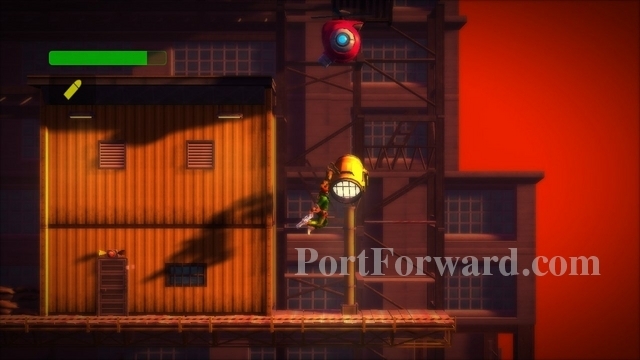
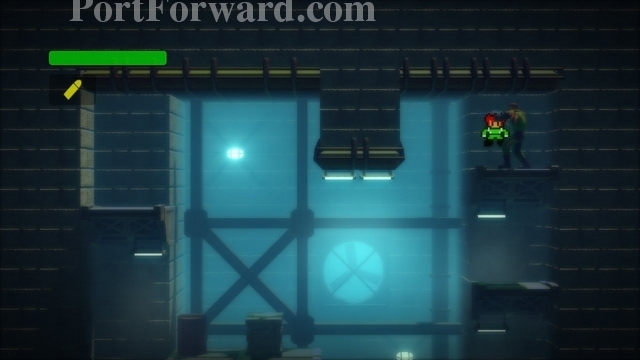
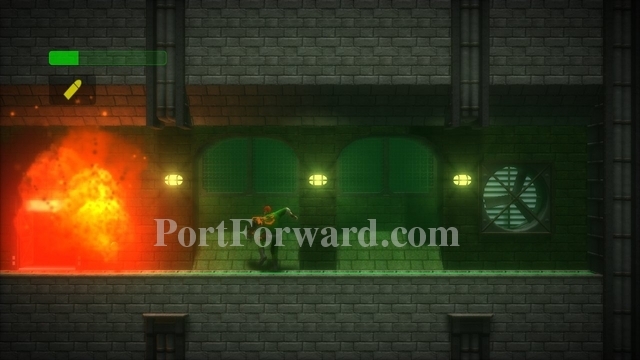
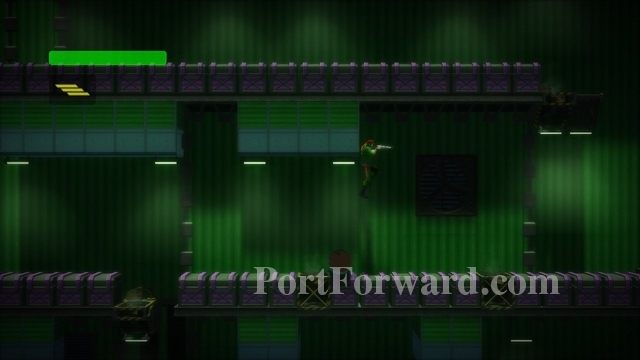
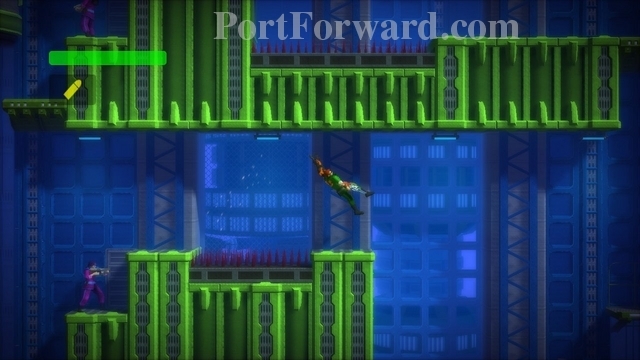
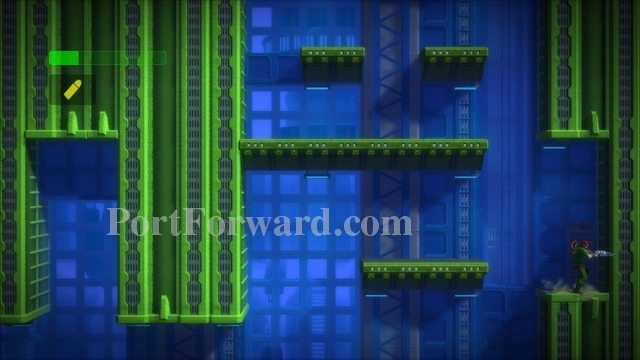
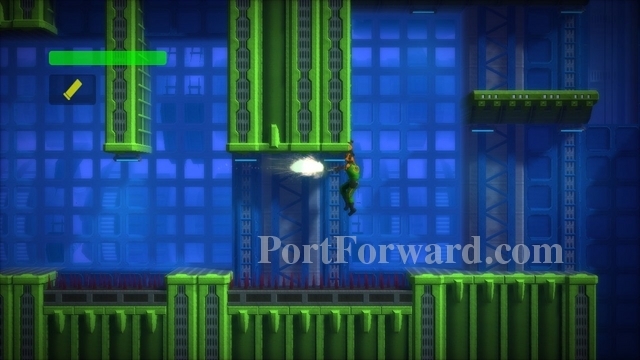
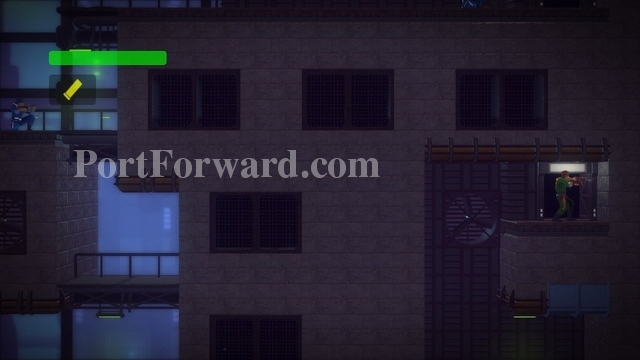
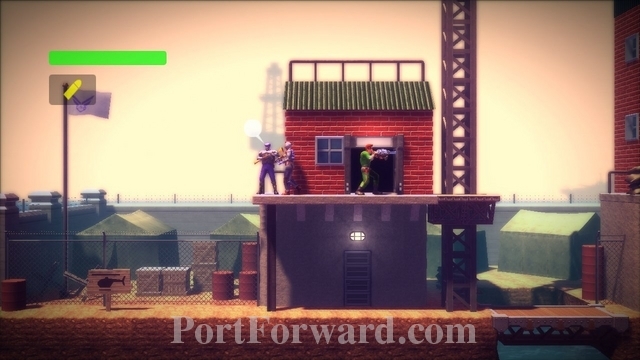
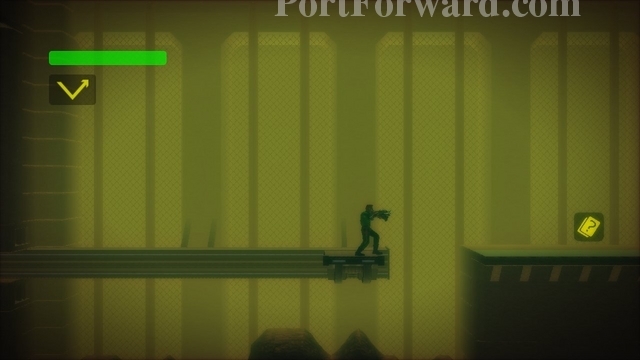
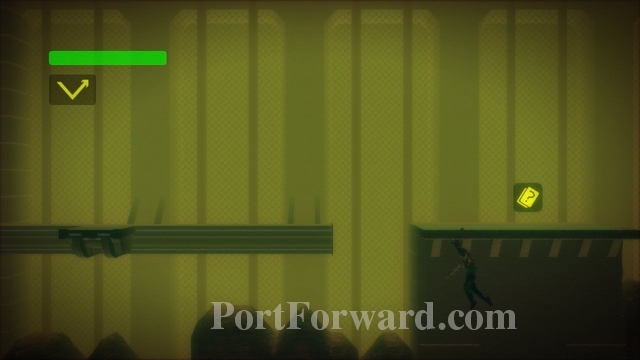
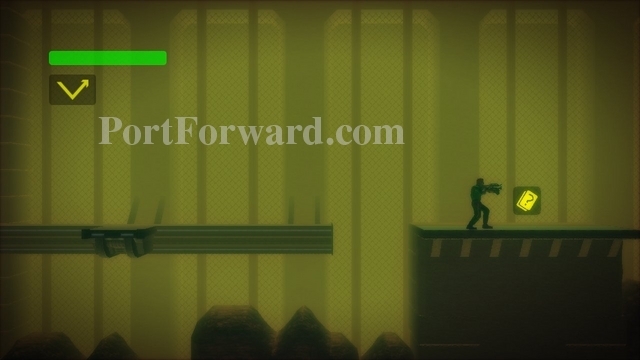
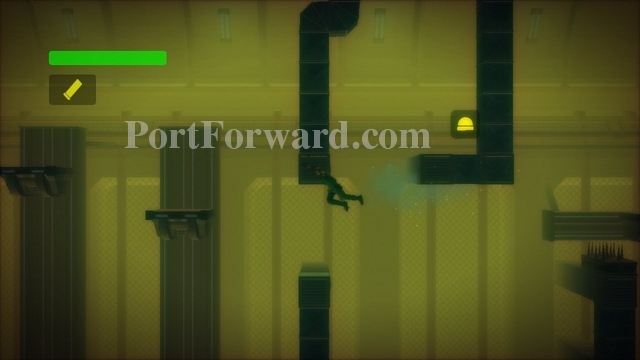
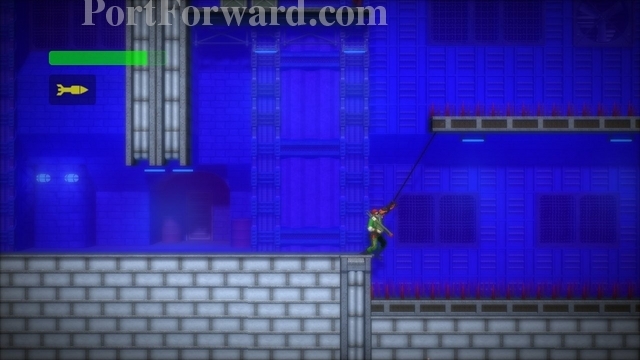
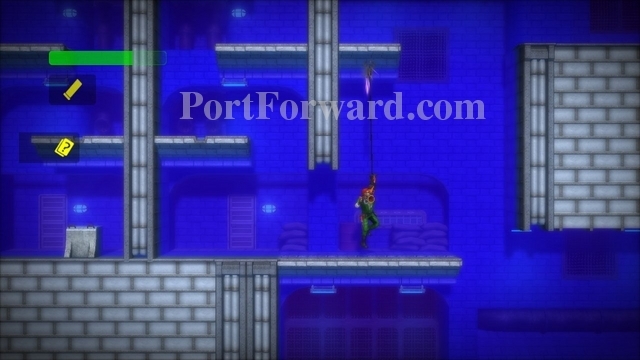
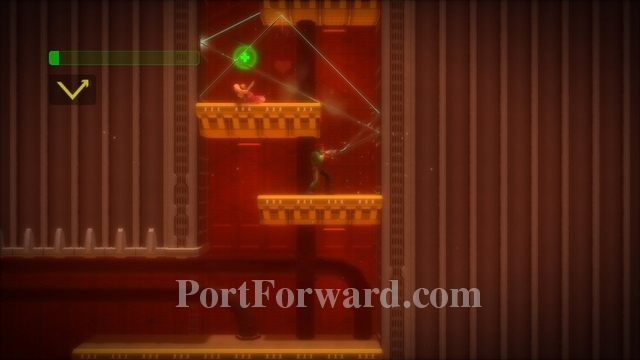
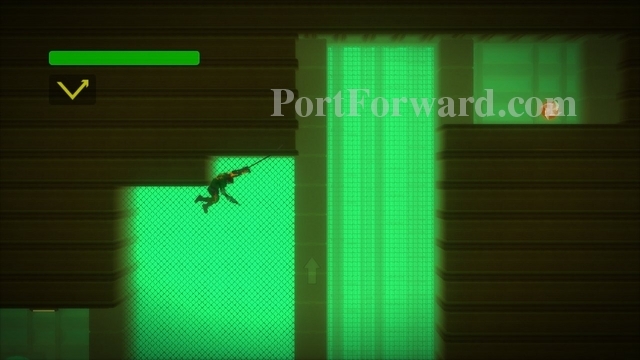
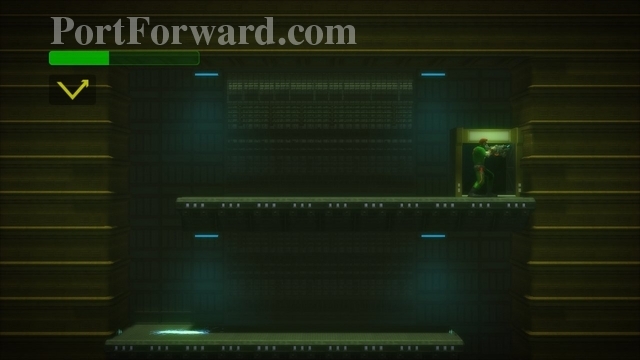
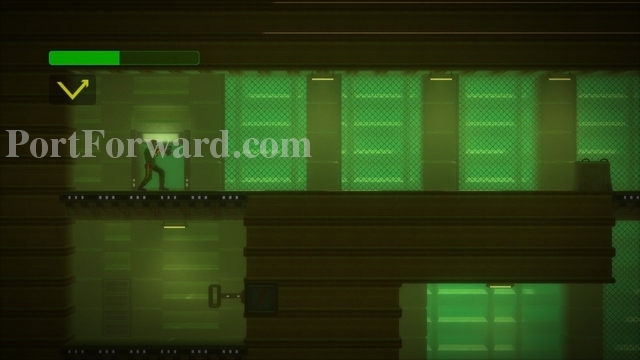
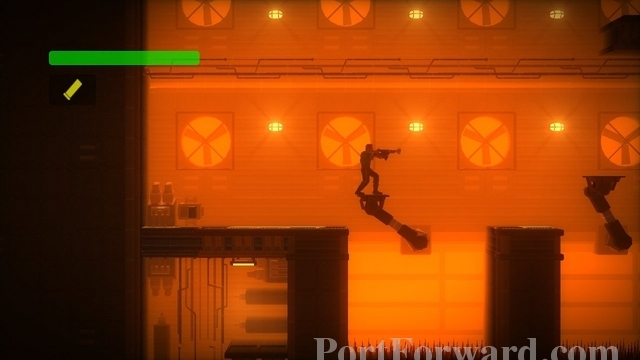
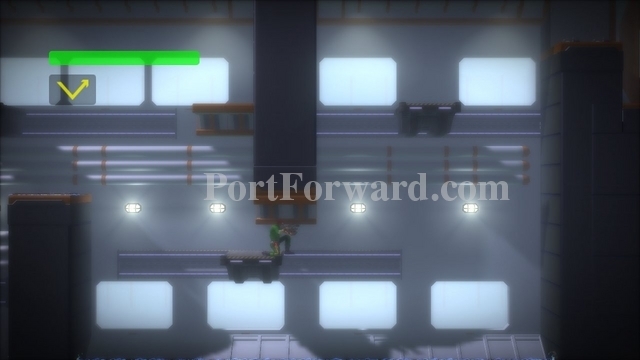
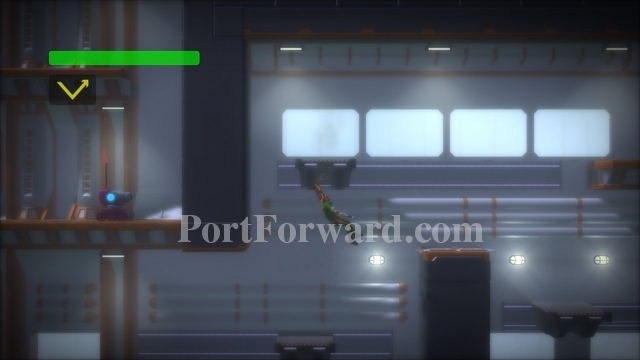
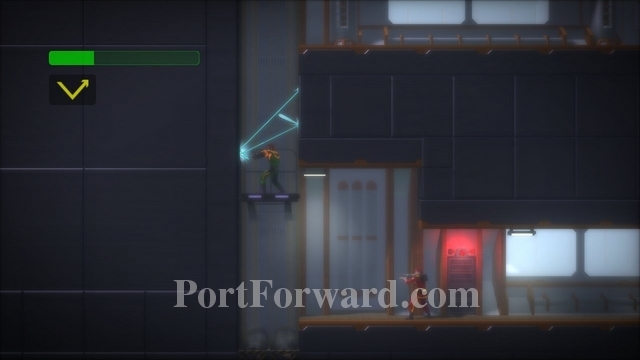
If you want a secret (Friendly Fire for Co-Op mode), climb on the roof above the weapon door.
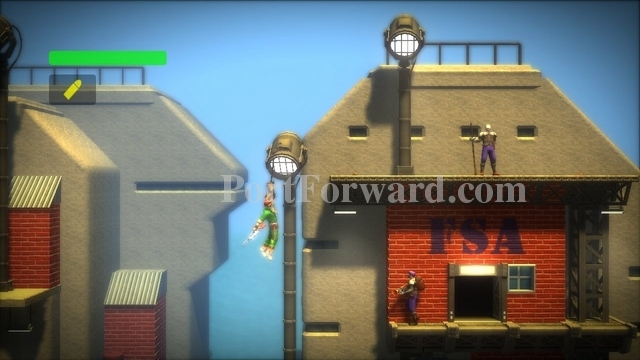
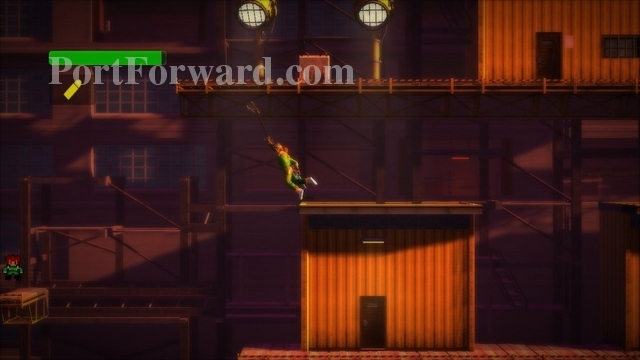
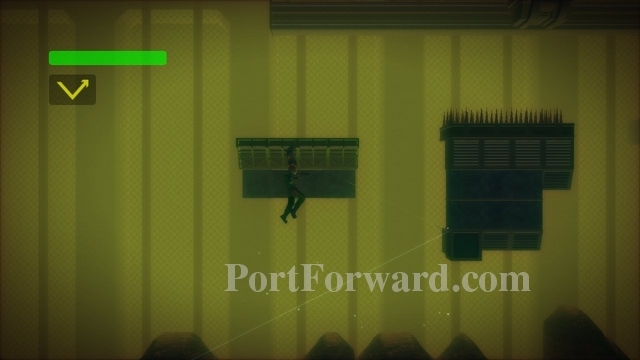
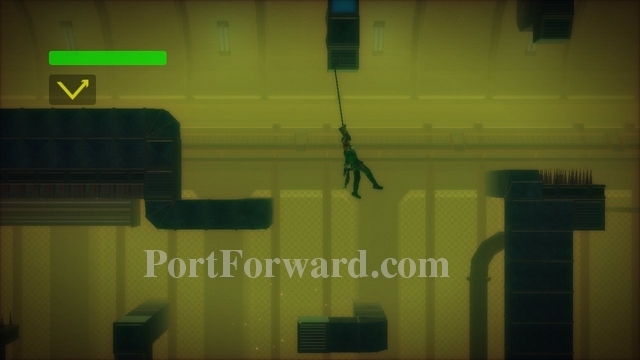
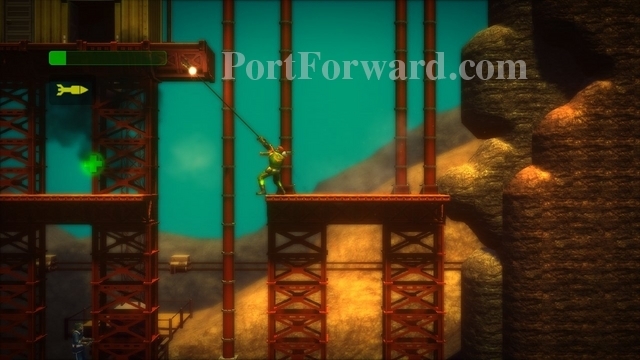
Walk off the left side and grapple to the right to grab on to the ledge.
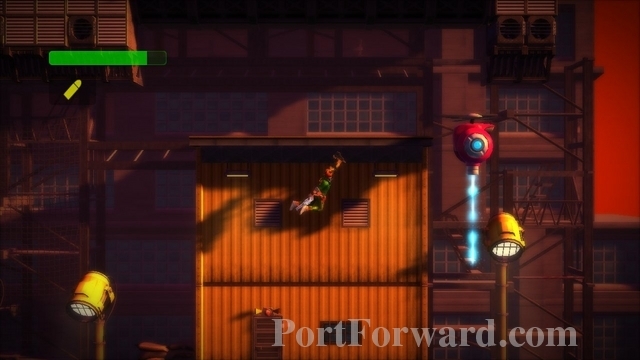
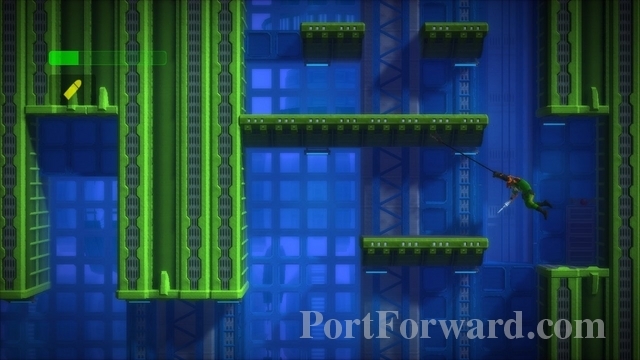
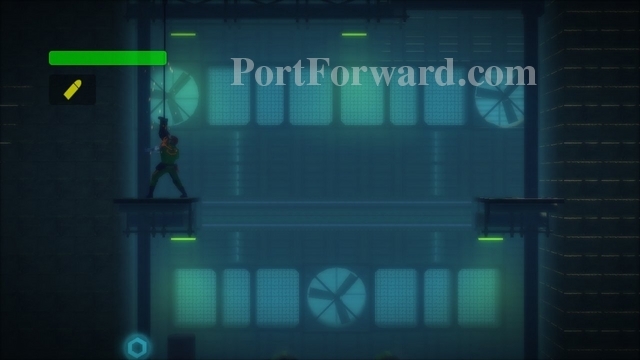
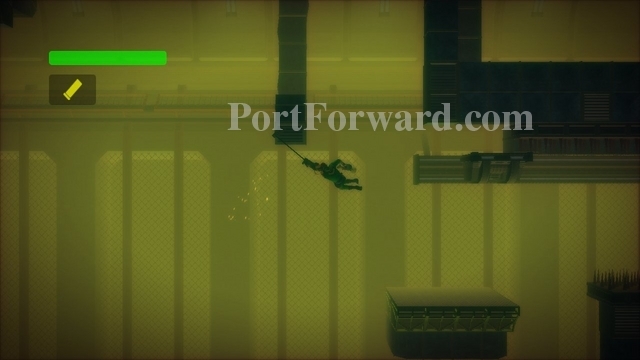
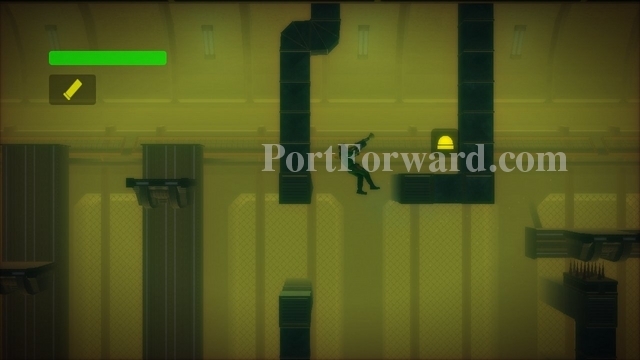
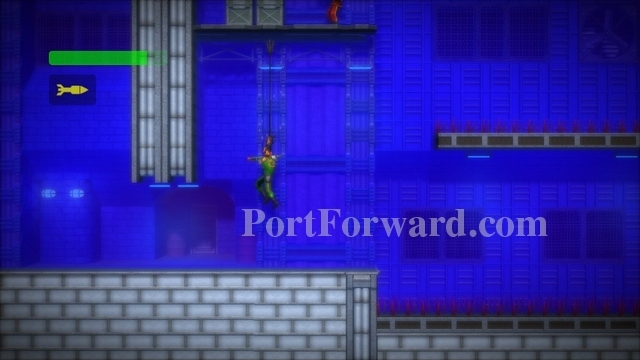
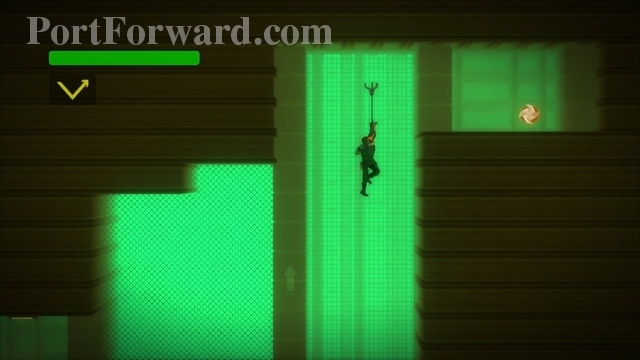
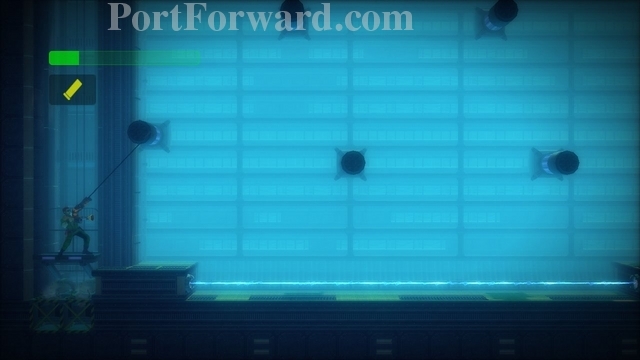
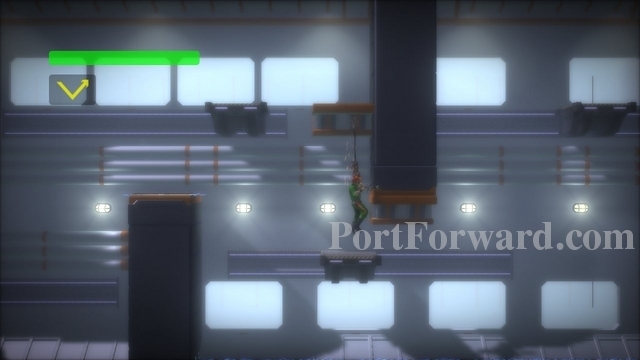
Swing left and grab the platform here.
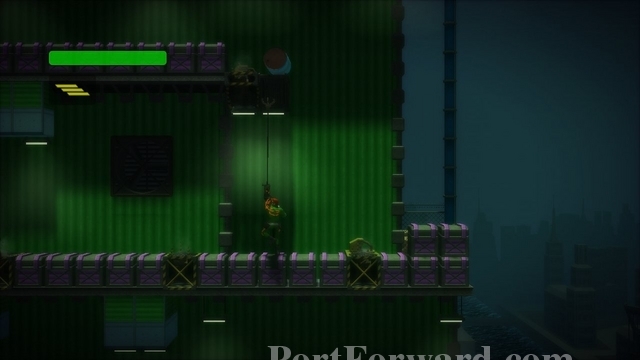
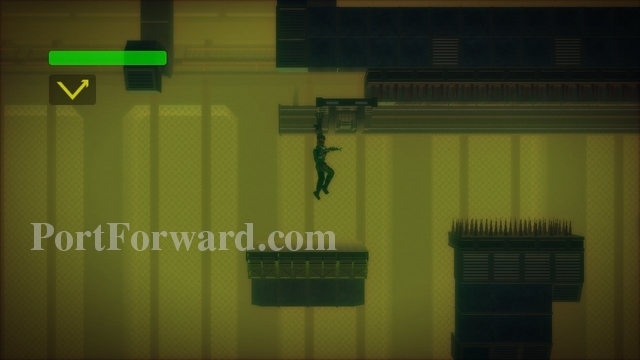
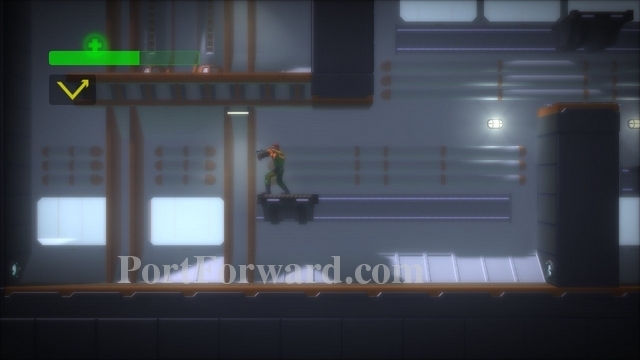
Immediately grapple upward to the upper platform. It'll probably take you a few tries.
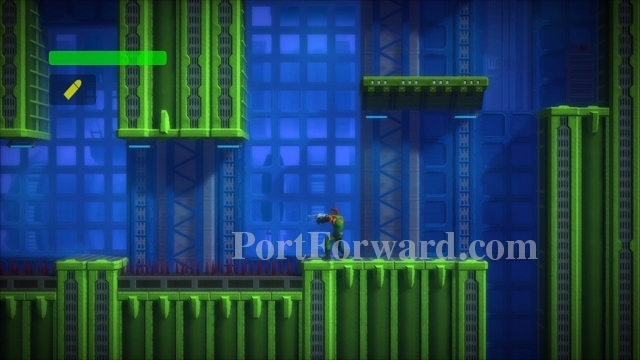
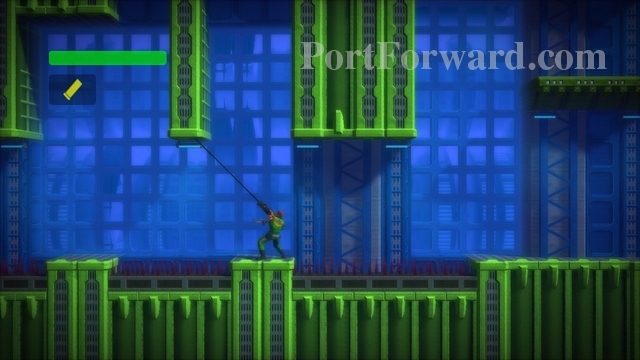
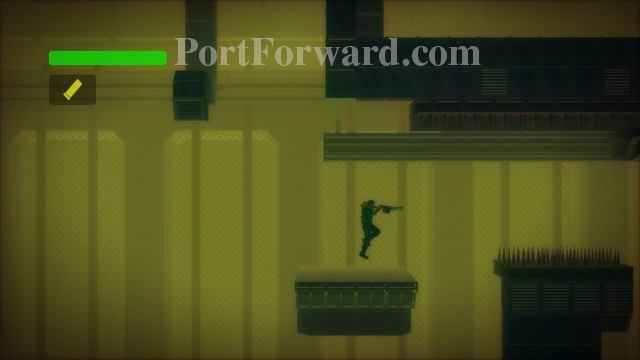
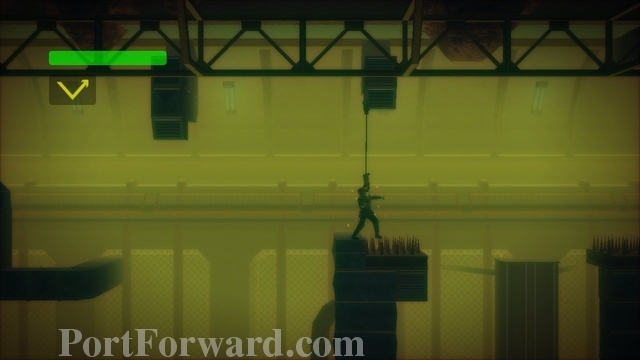
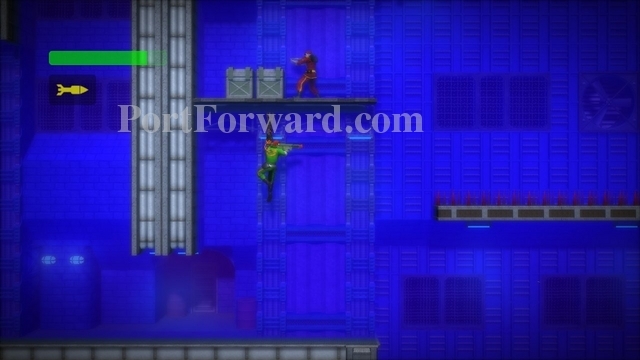
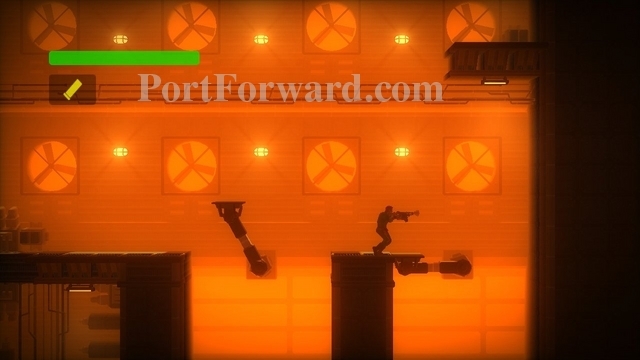
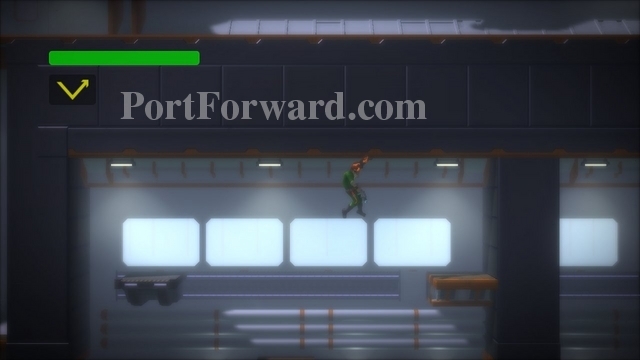
You'll want to stand on the bottom platform and then grapple diagonally onto the top platform to swing rightward.
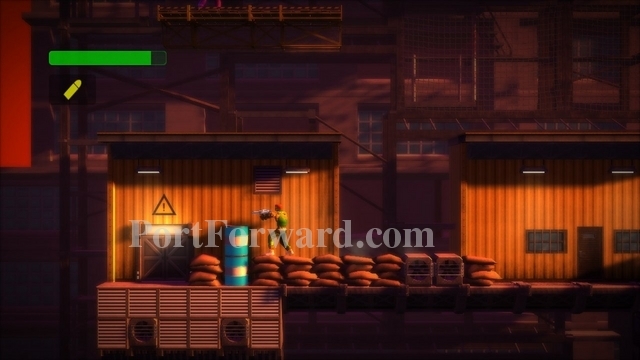
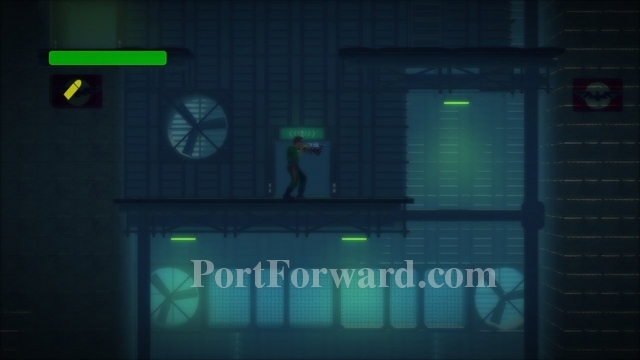
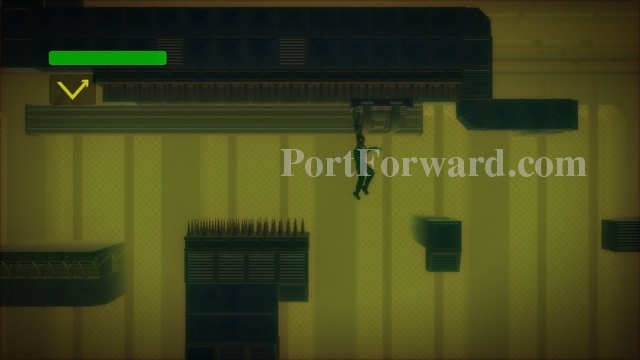
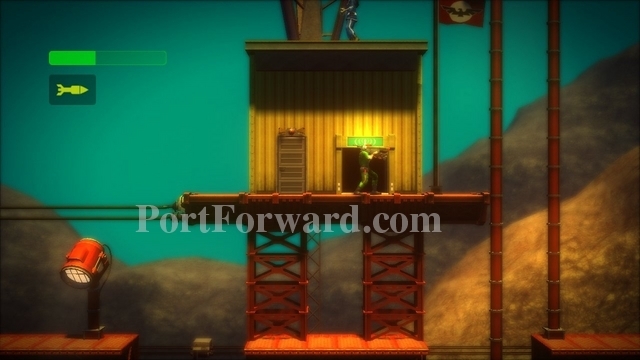
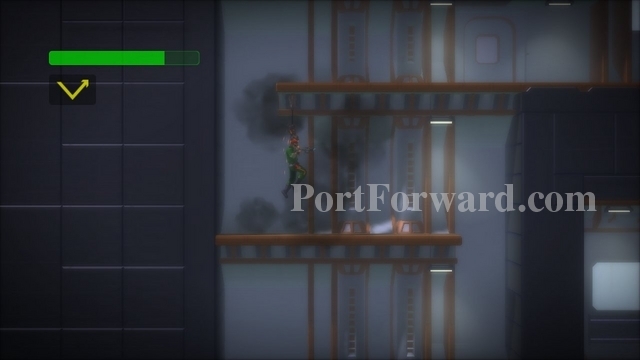
Grab the floor below the secret door. Climb up and enter the door.
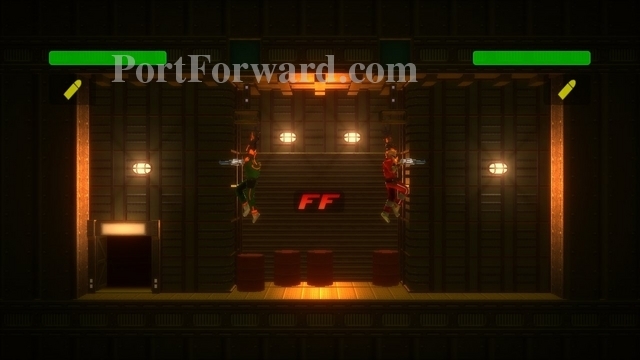
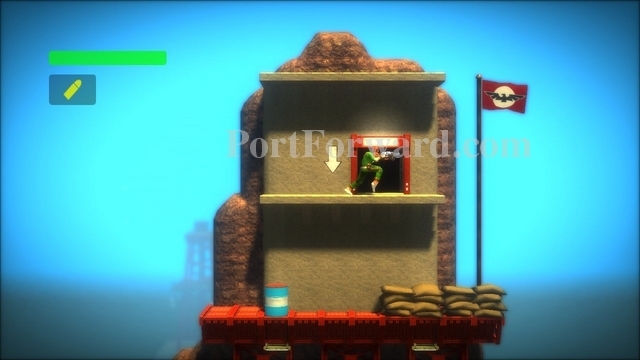
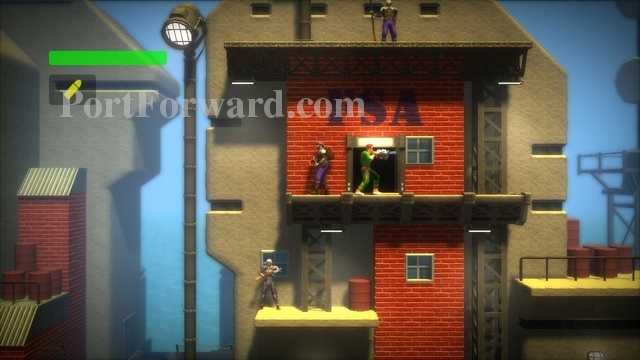
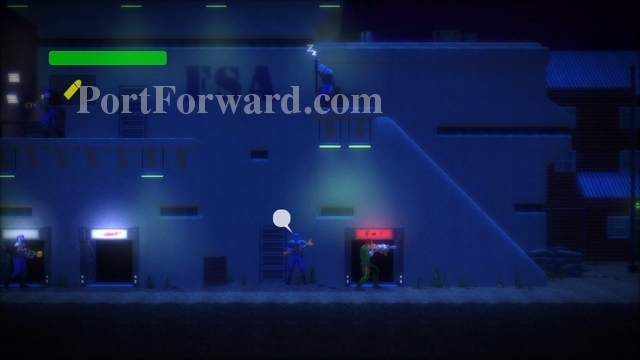
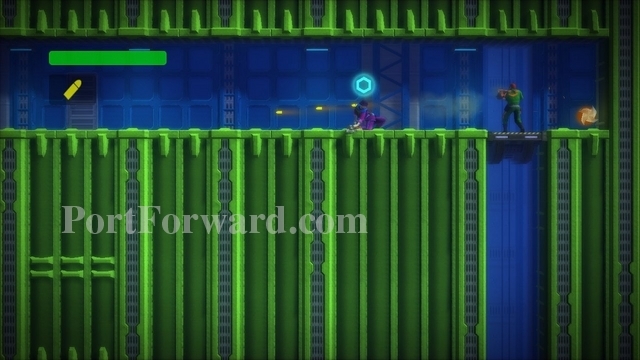
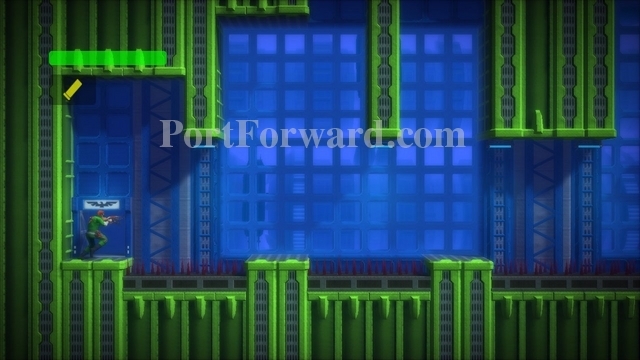
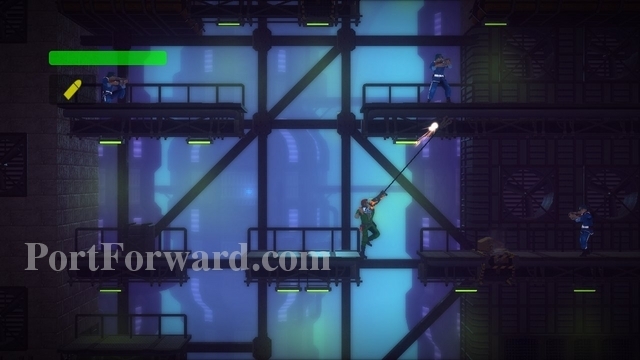
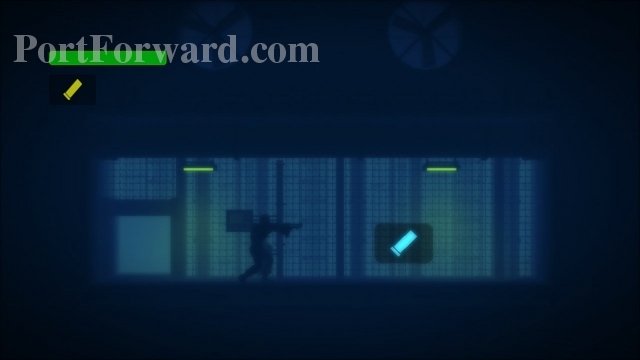
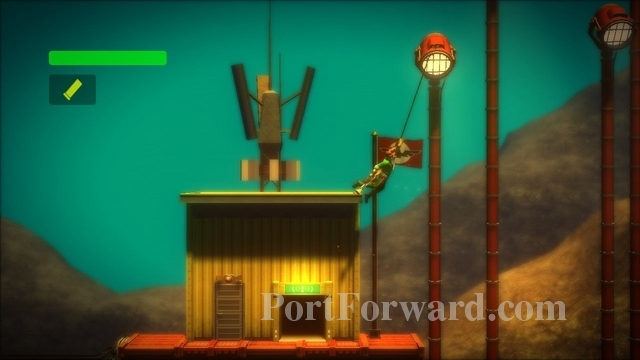
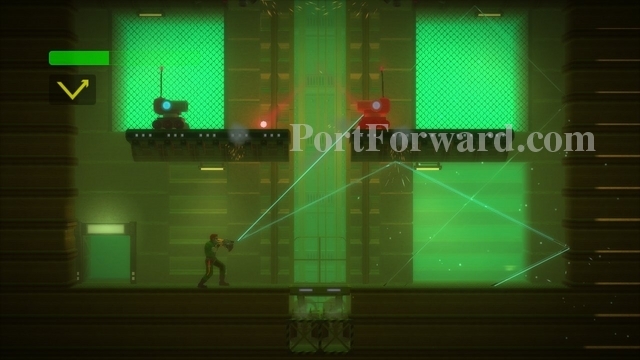
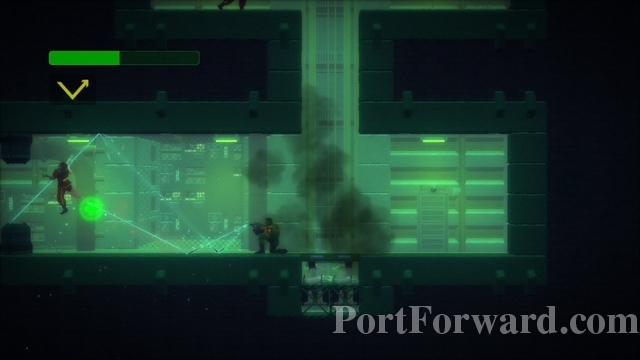
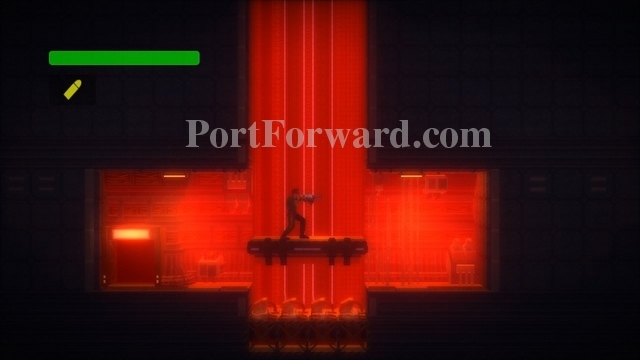
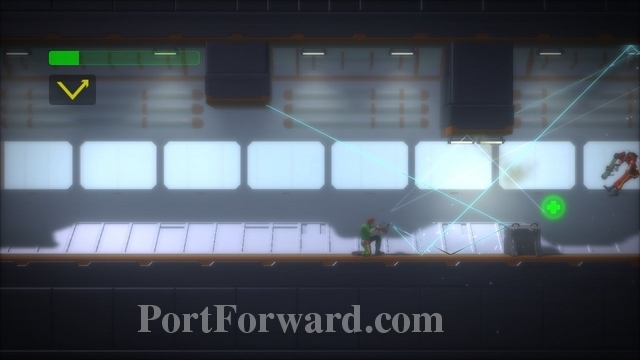
There are mechanical levers at the top. You have to grapple onto them and pull them downward with your weight. You need to bring a second person into the game in order to do them both at the same time. A large FF will fall to the ground, this turns on Friendly Fire.
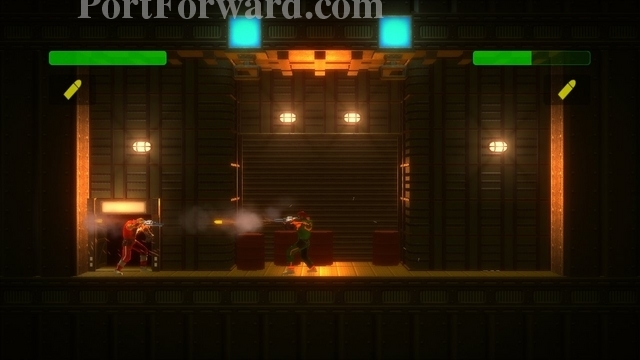
Shots now hurt other players.
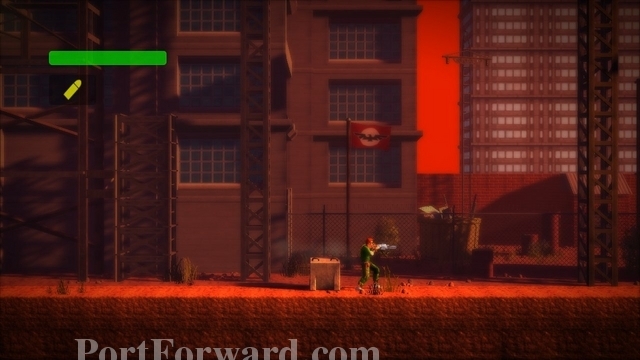
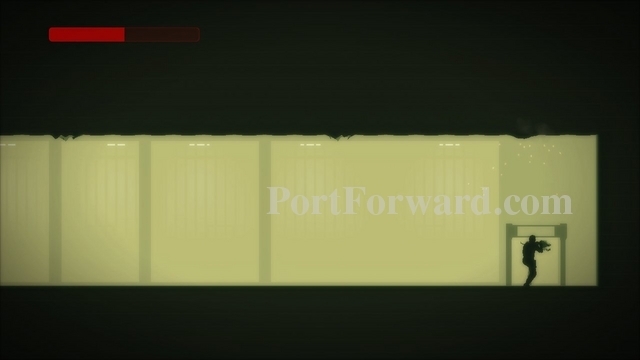
Exit the map by walking to the left or right edge of the map. You can also call for extraction from the start menu.
Once you've collected the twelve Yashichis within the game. Come back to Area 00 and this door will open.
Inside you'll find the BC Purple Matrix, which is an unlock for the new Bionic Commando game.
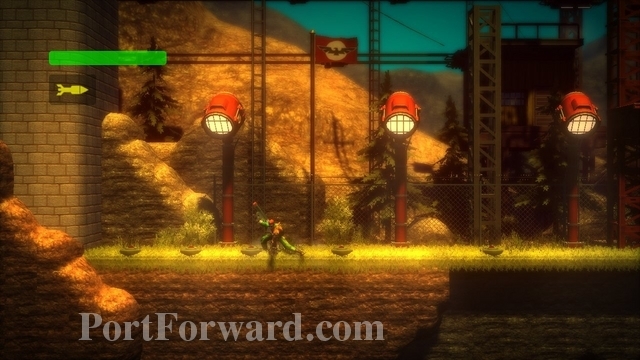
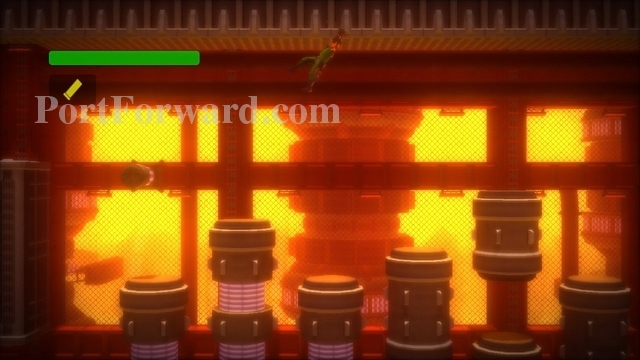
Bionic Commando Rearmed Walkthrough Area 01 - The Oil Refinery
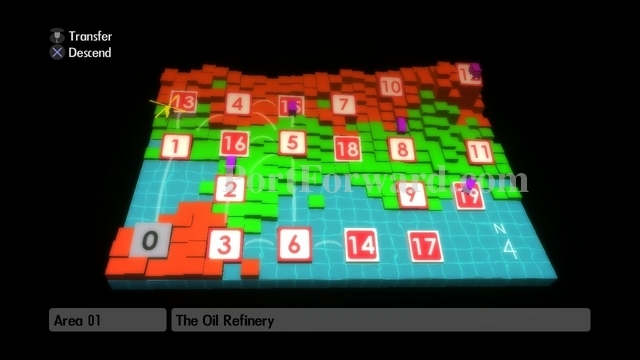
Select Area 01 From the overview map.
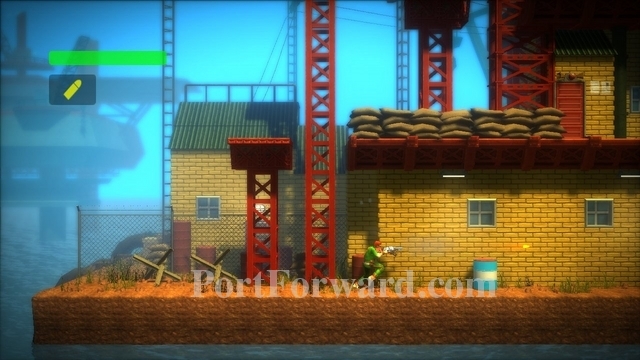
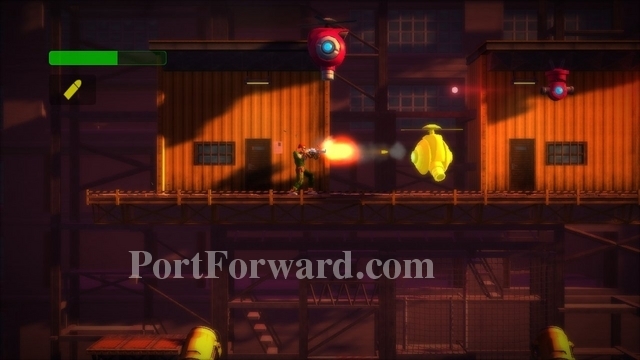
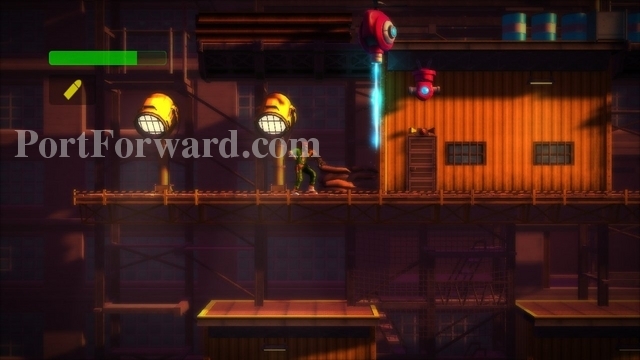
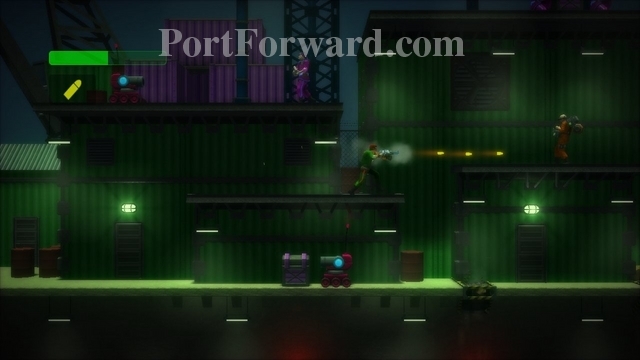
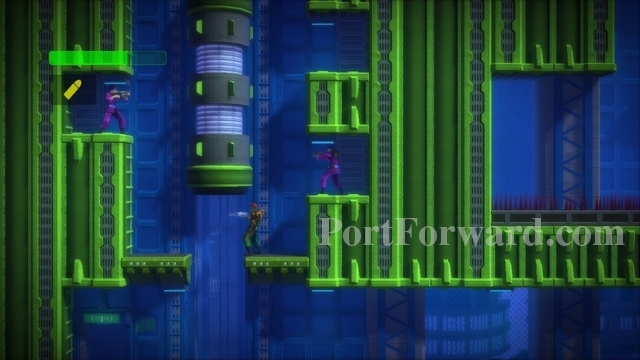
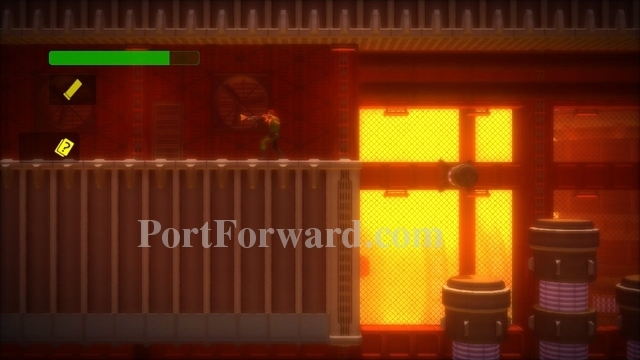
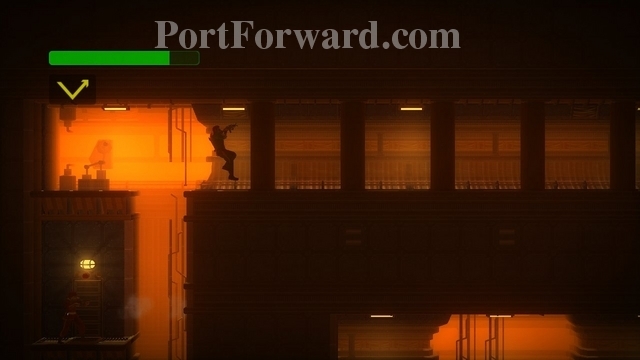
Climb up the ledges, defeating enemies along the way.
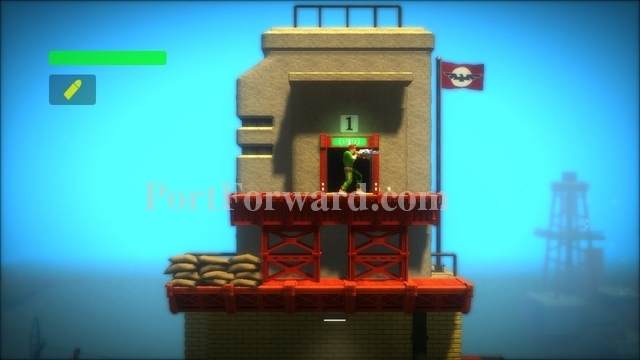
Enter the door at the top of the building.
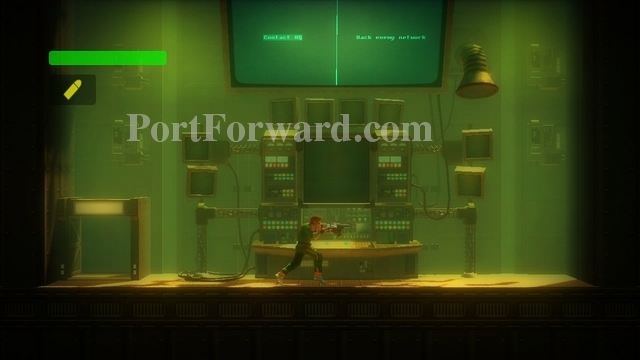
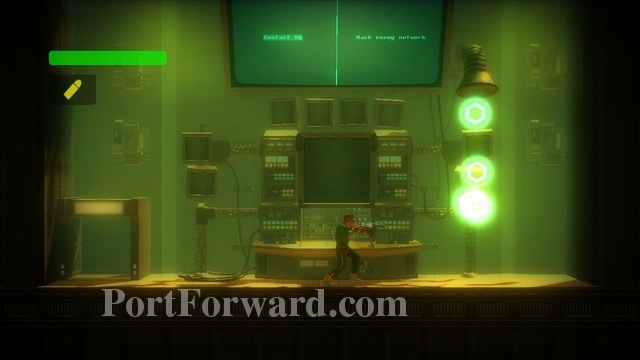
Access the terminal.

Choose to Contact HQ.
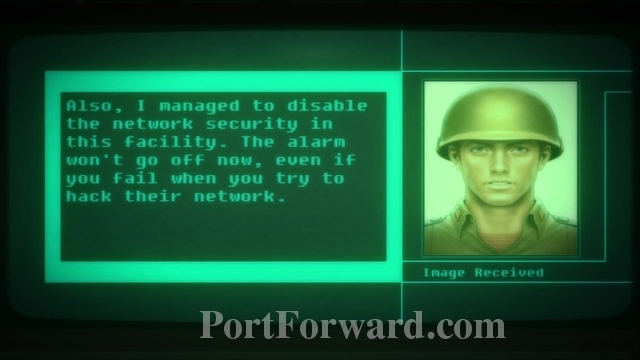
HQ will unlock a door for you. They will also disable the security in this facility, allowing you to hack the computer with no consequences for failure.
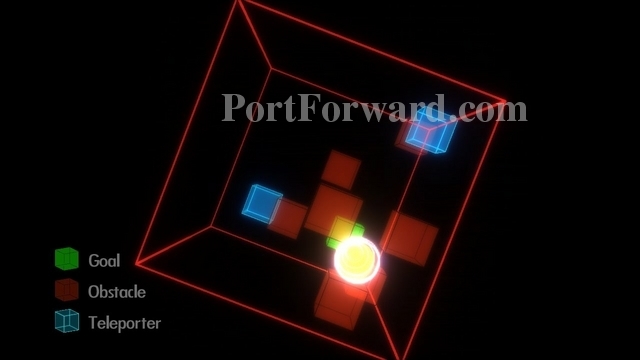
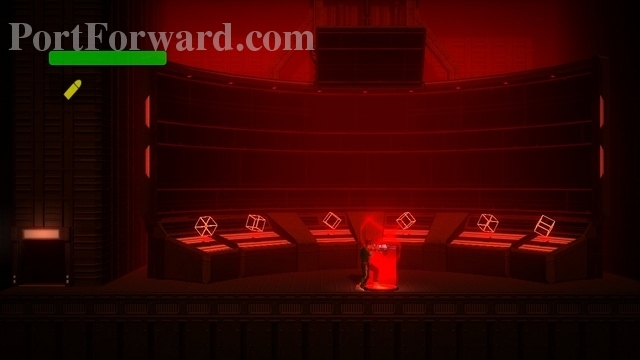
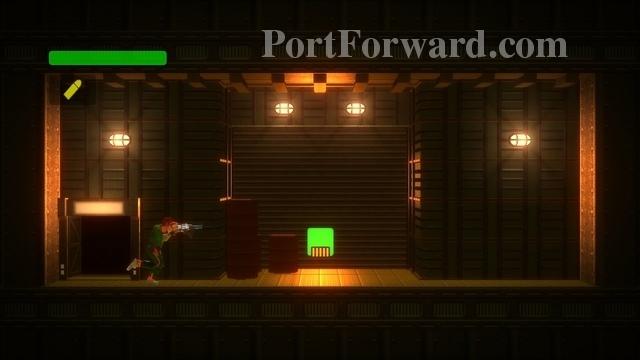
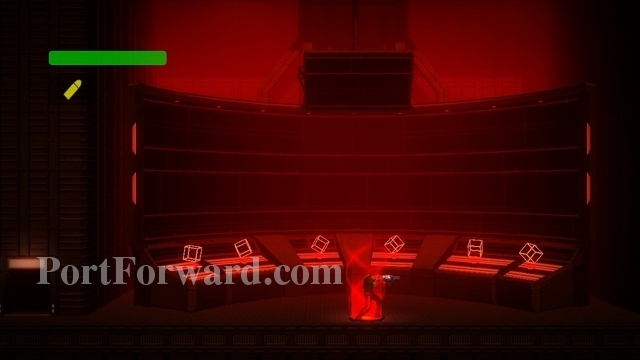
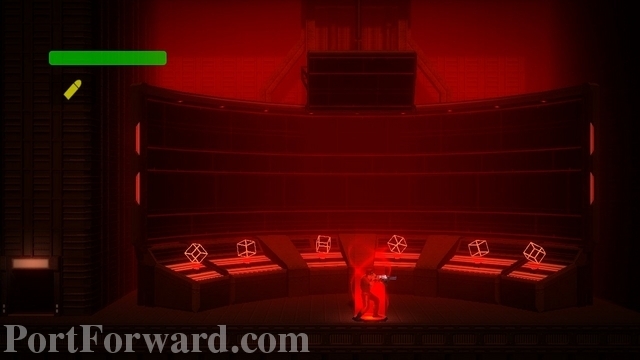
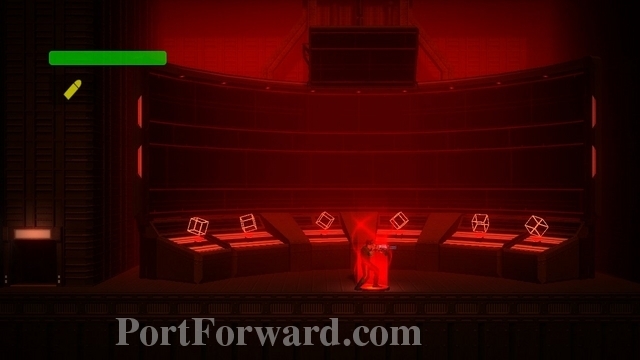
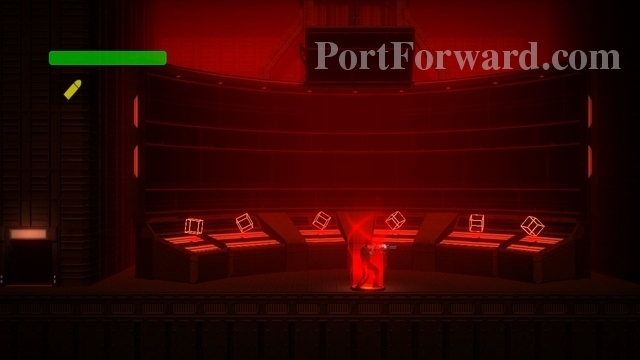
After talking to HQ, choose to hack the enemy network. Your goal is to get the yellow ball into the green cube. To do this, you rotate the camera until you can find a place that the ball could land if it fell from your viewpoint. Keep having it fall onto other blocks until you can land it in the green cube.
Hacking is optional, but it gives you enemy information that may be useful.
After hacking the enemy network, you'll receive some goodies to pick up. Collect them and exit the room.
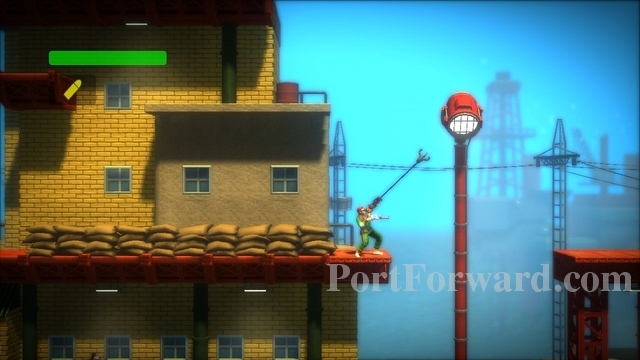
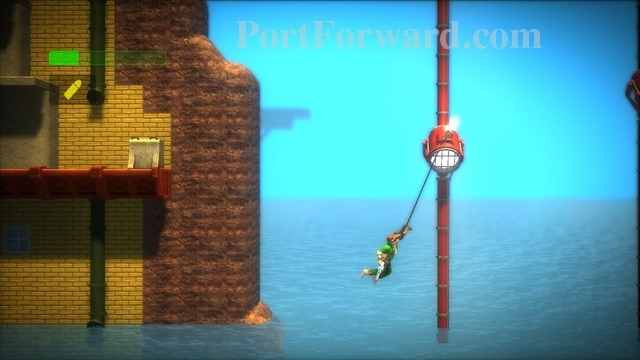
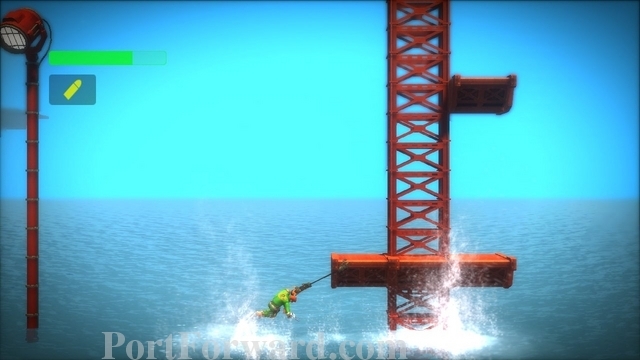
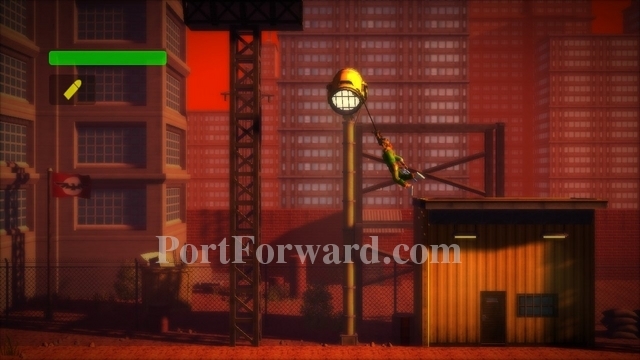
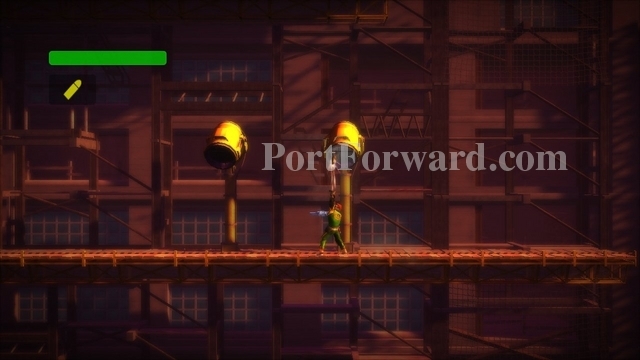
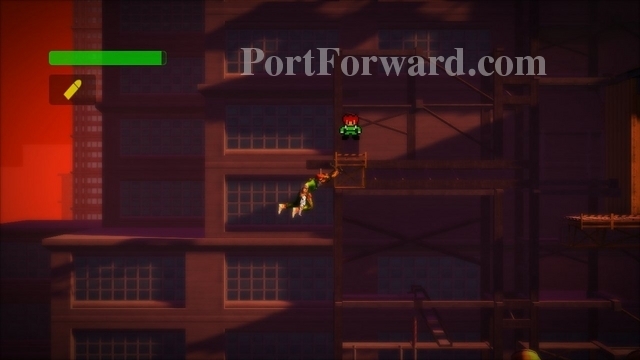
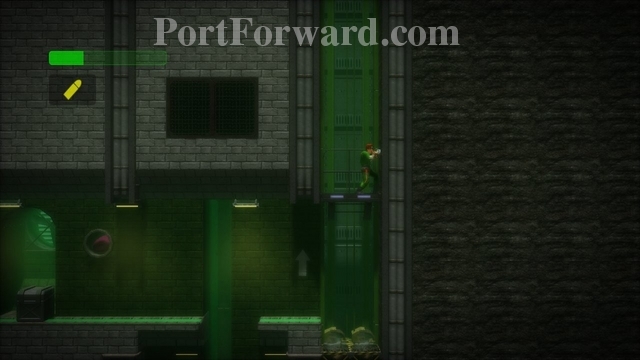
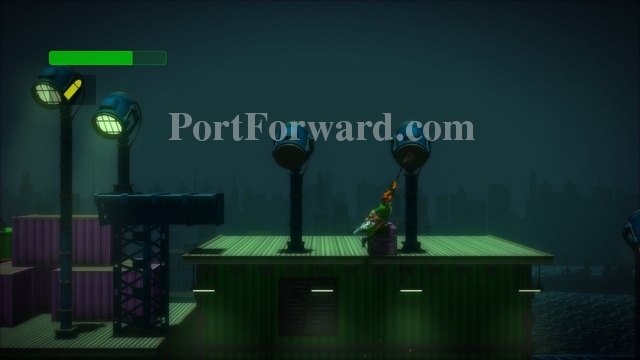
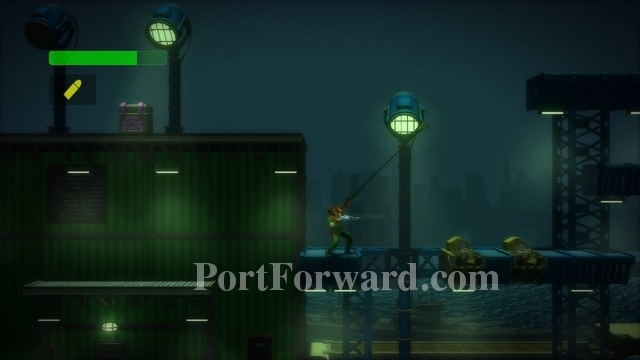
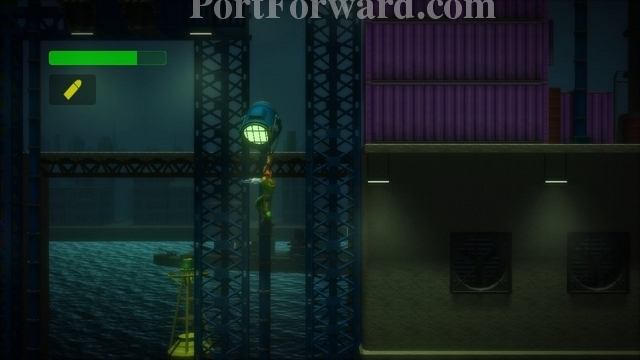
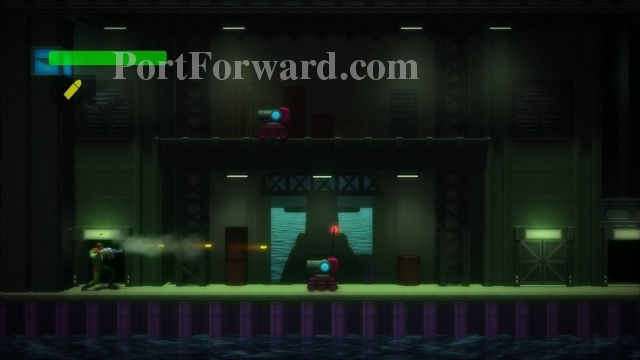
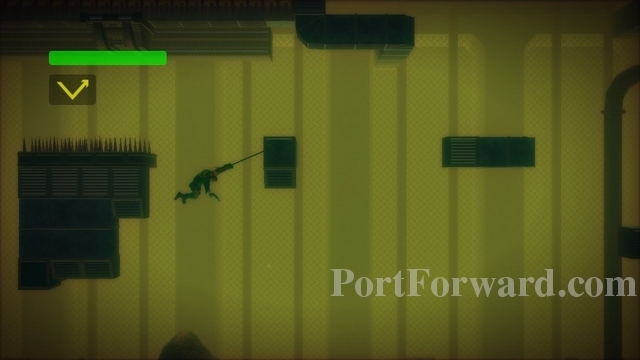
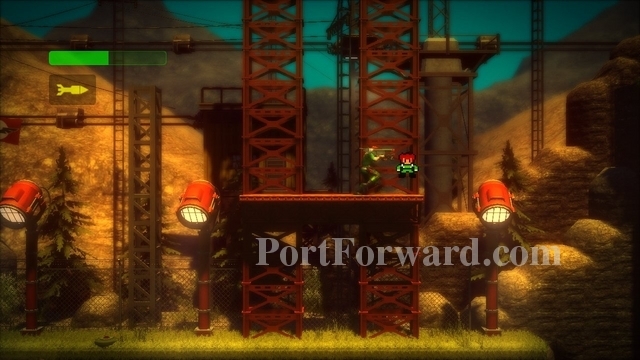
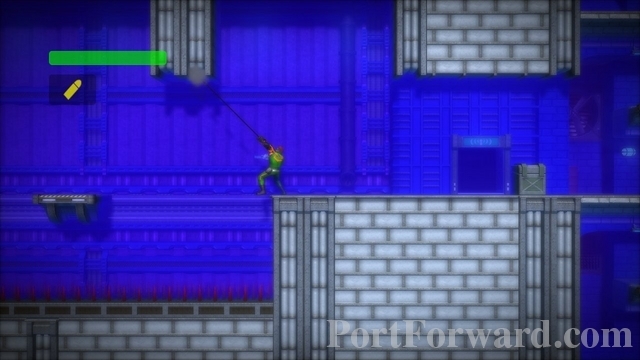
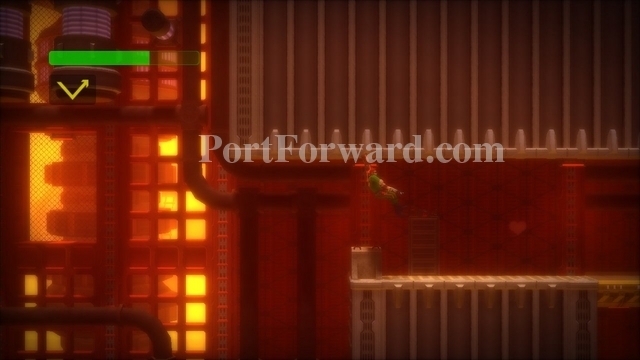
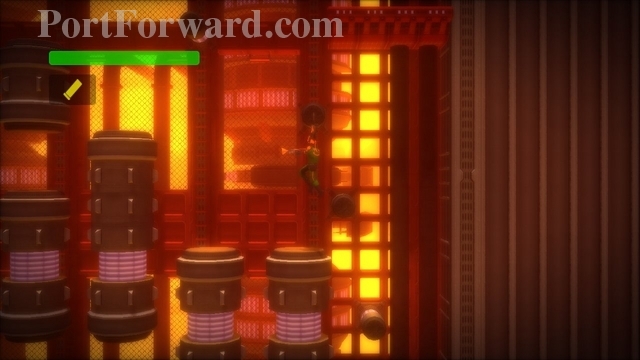
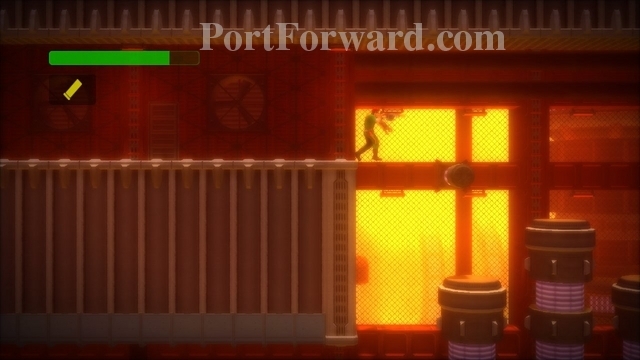
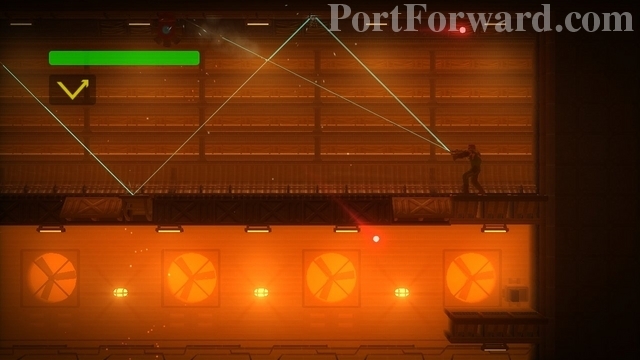
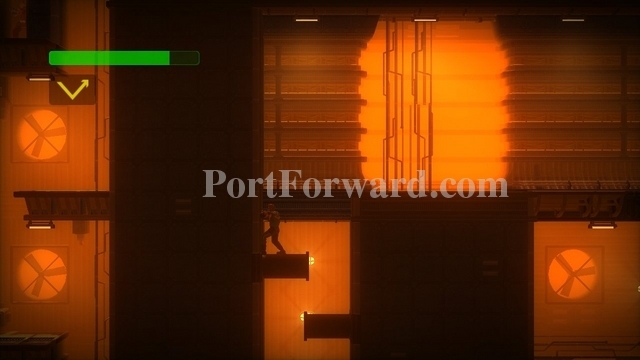
Drop down to the right two times and you'll come to a red lamp post. Use your grapple to swing across to the other side.
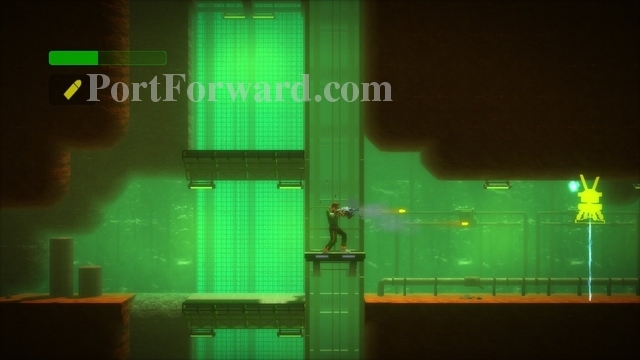
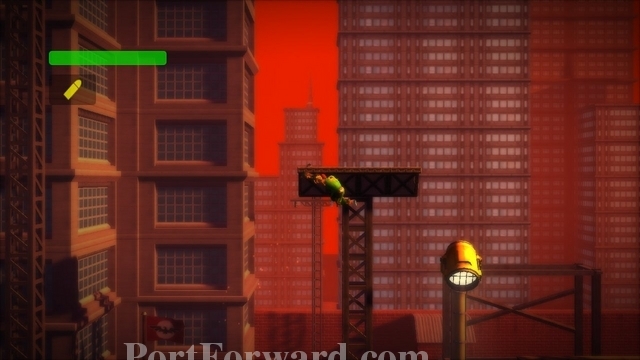
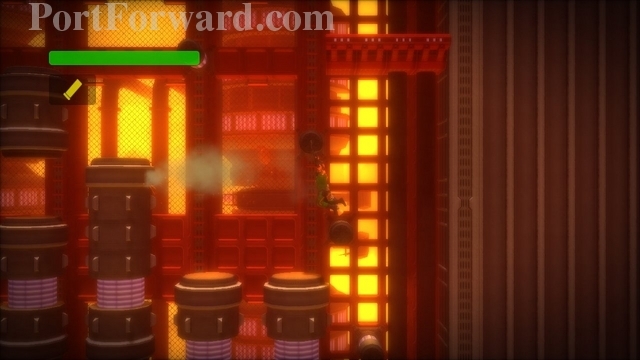
Climb up the building here as well. Here you'll have to grapple past the concrete block, lift yourself up, and defeat the enemy.
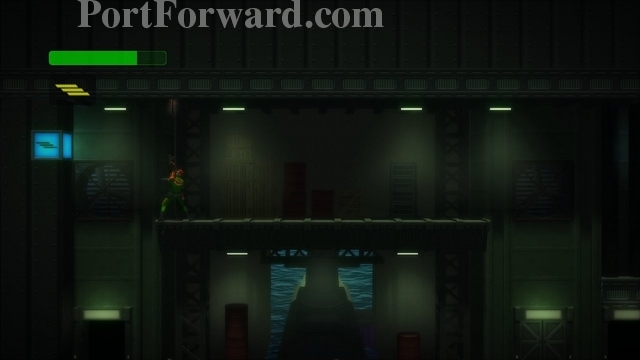
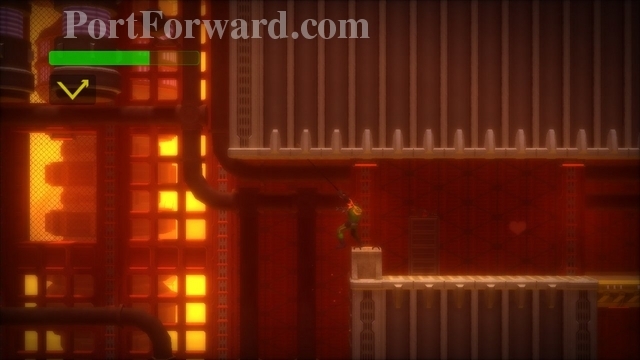
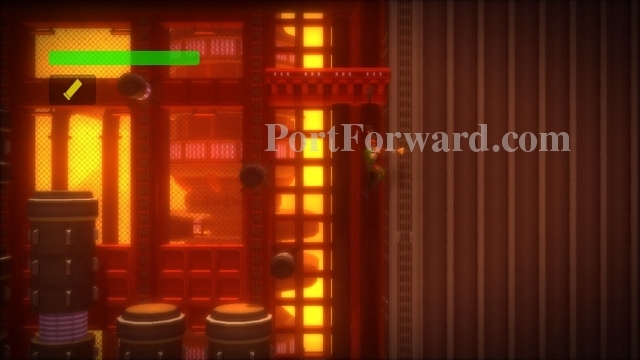
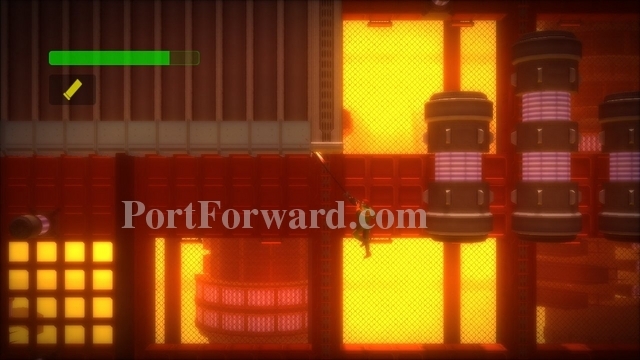
To get the first secret of the area, grapple the right side of the ledge above (you may want to climb up and go in and back out of the door above to use that as a continue point.) Swing off the ledge to the right.
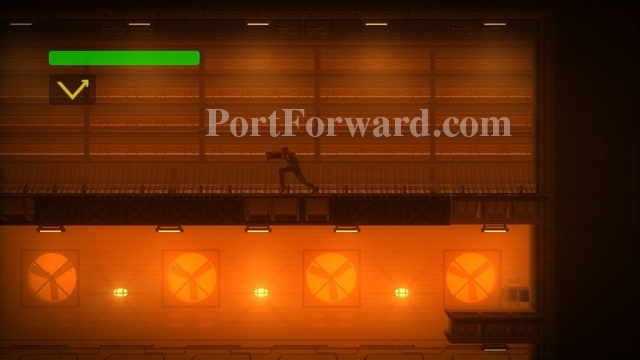
As you're falling grab the bottom lamp.
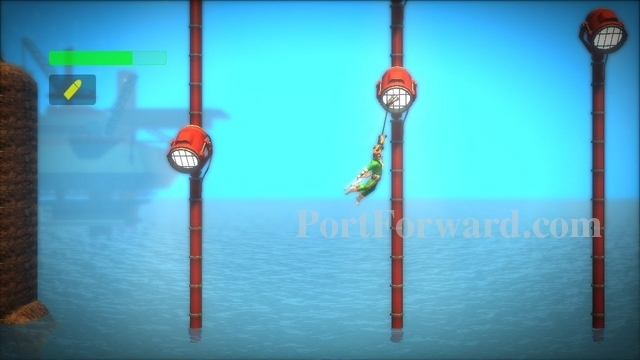
Continue to swing across the next two lamps.
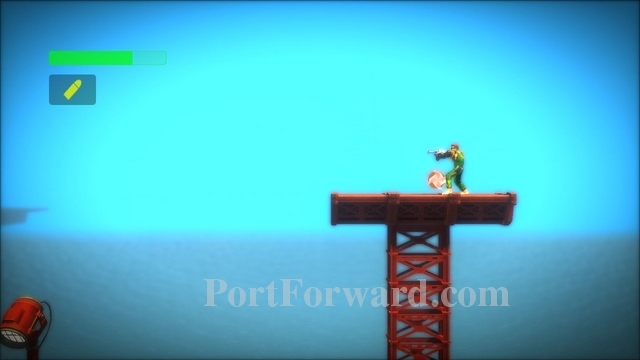
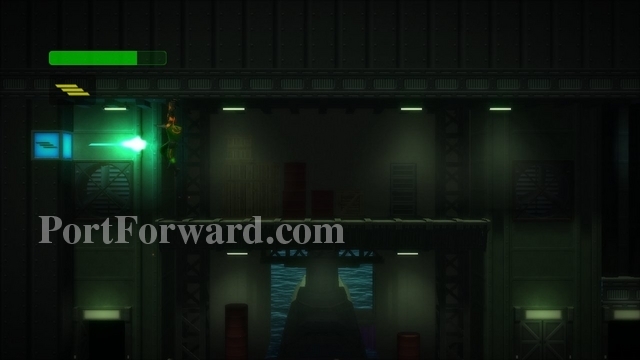
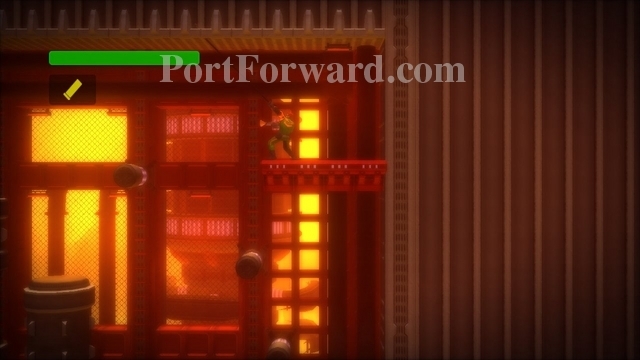
Grab this ledge and pull yourself up.

Climb upward.
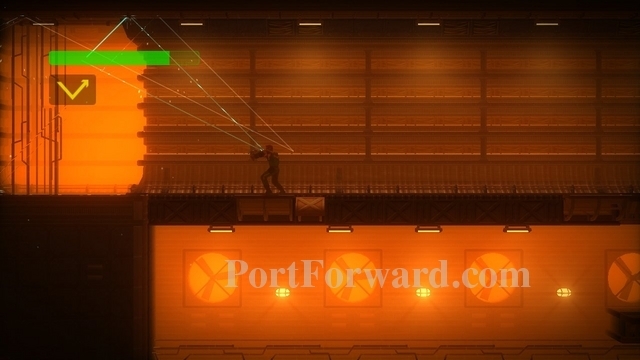
Grab the Yashichi. Head back to the left where you swung over. If you die you'll still keep the secret item.
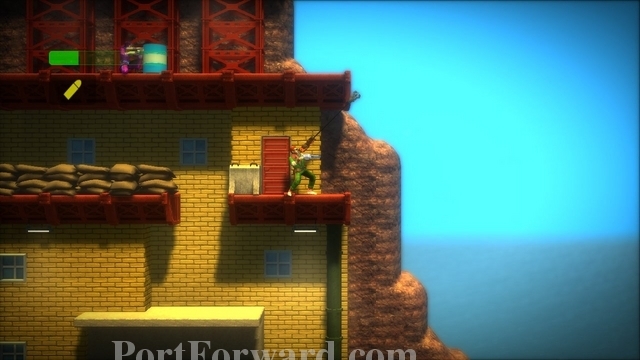
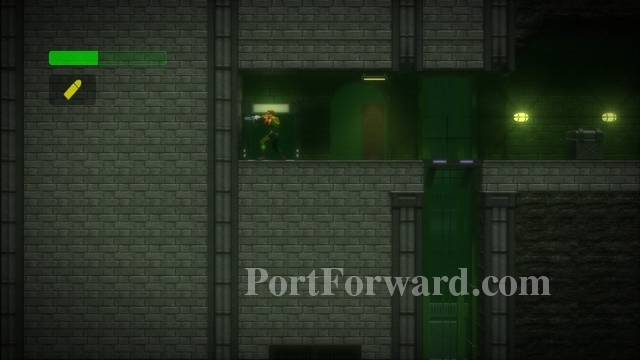
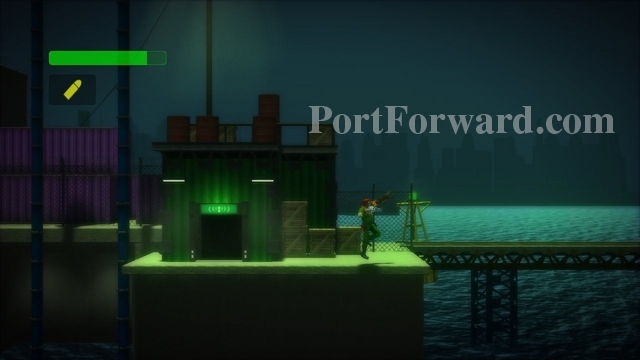
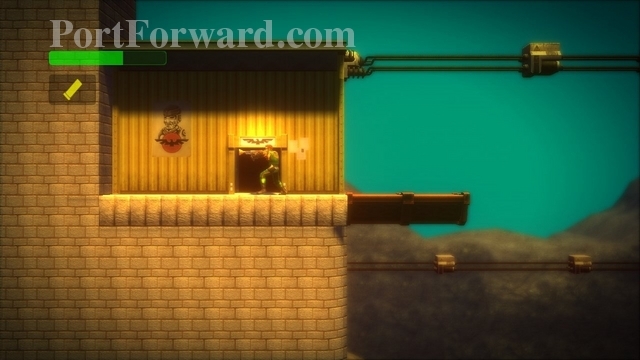
At the top of this building, enter the doorway that HQ unlocked for you.
Take the elevator downward.
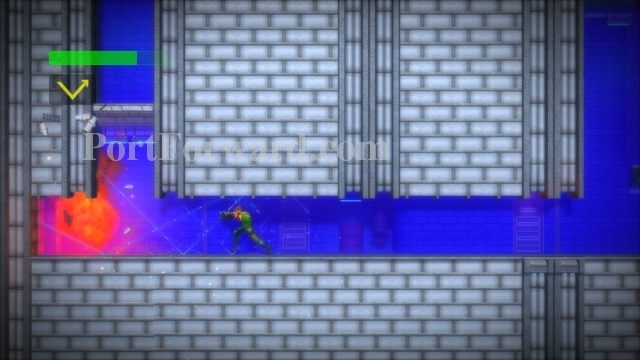
Destroy the battery powered barrier and then walk right.
Duck and use your grapple on the cement block. Then use the grapple button to pull yourself toward the block.
Swing over the gap to get an extra life.
Fall down the gap and walk rightward to get back to the elevator.
Go up the elevator.
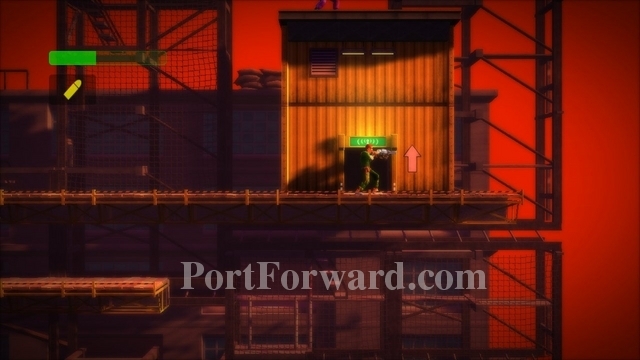
As you're going up the elevator, keep a lookout on the right for a communications room. Enter the room and talk to HQ.
Exit the communications room and head left, past the elevator. Kill the enemy here.
Grapple the roof and pull yourself up. Shoot the battery powered barrier to shut off the electric wall.
Climb upward a short ways.
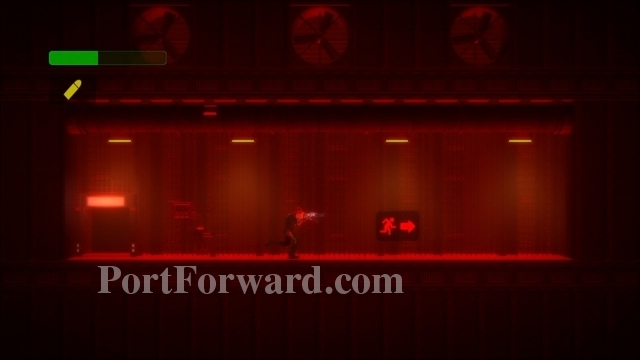
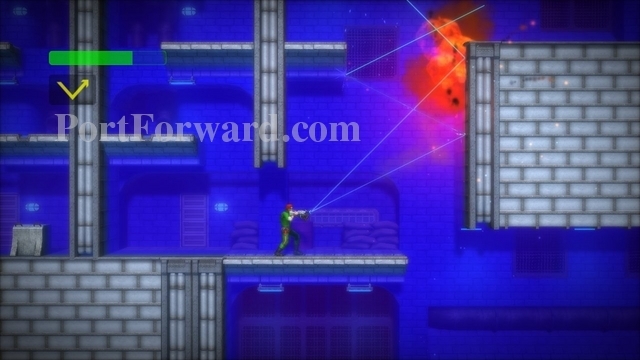
Travel left, taking out the enemies in your path.
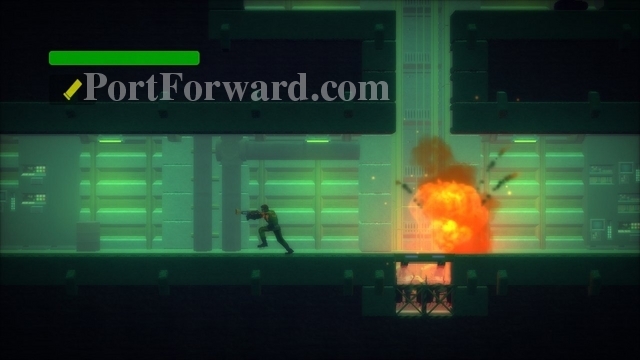
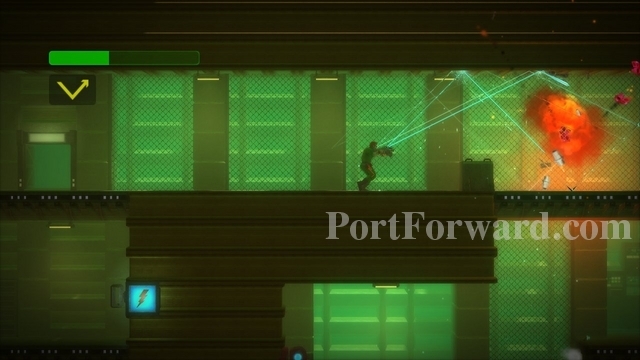
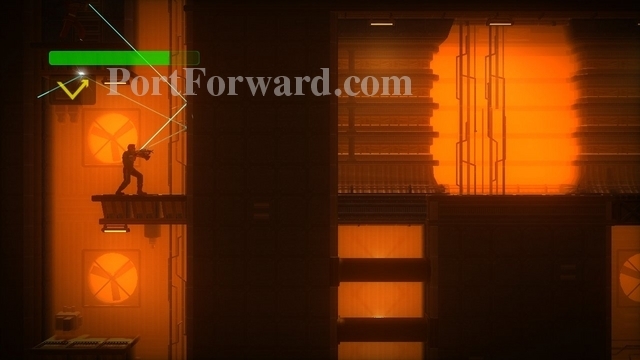
An enemy with a rocket launcher will be hiding behind a cement block. Shoot him, avoiding his shots as best as possible.
Destroy the electric wall.
Enter the doorway.

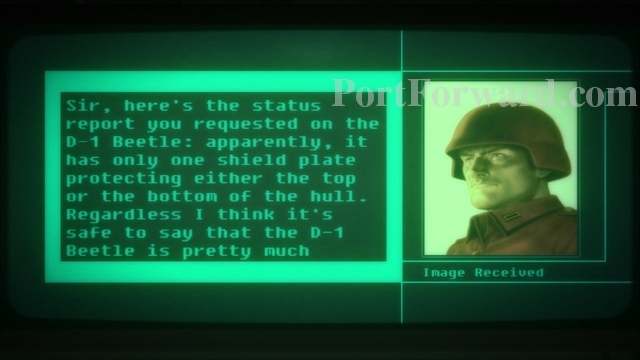
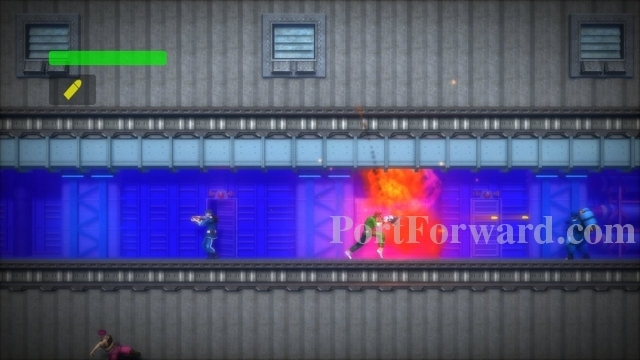
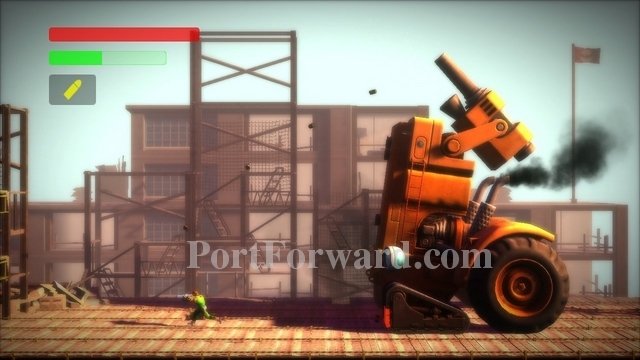
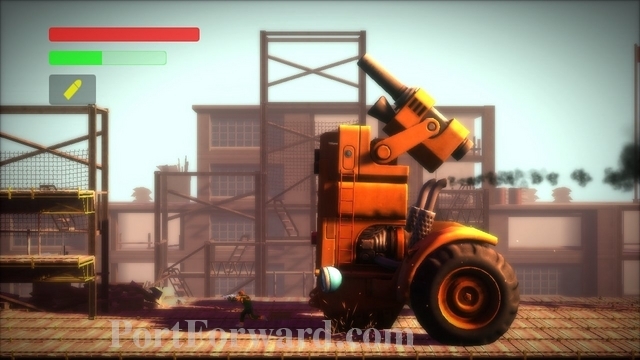
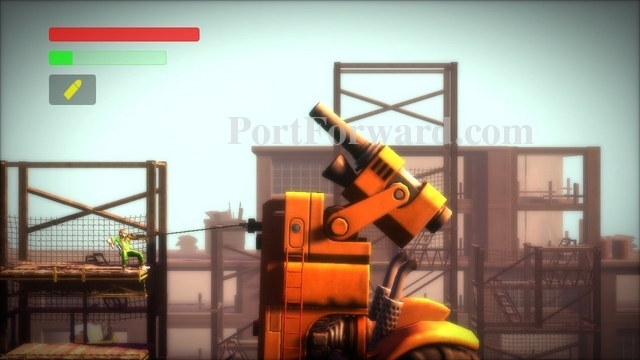
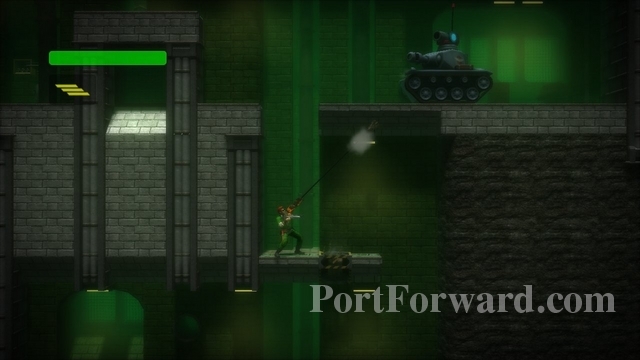
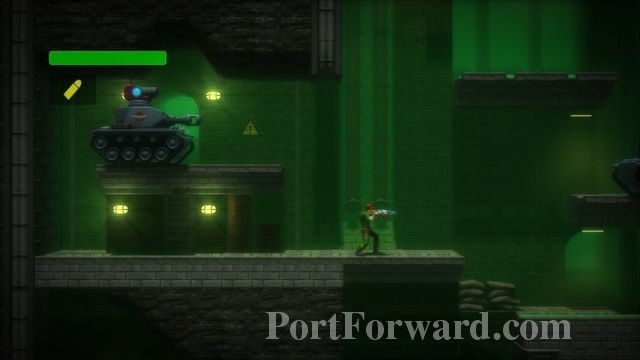
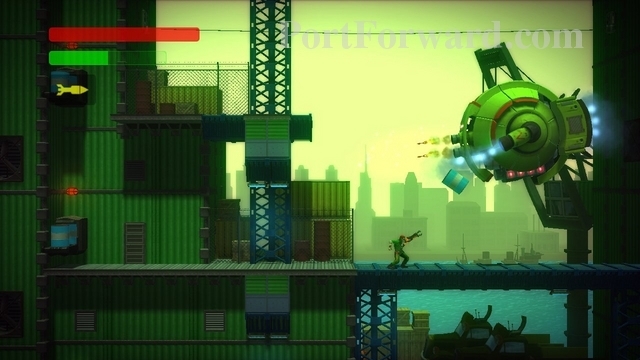
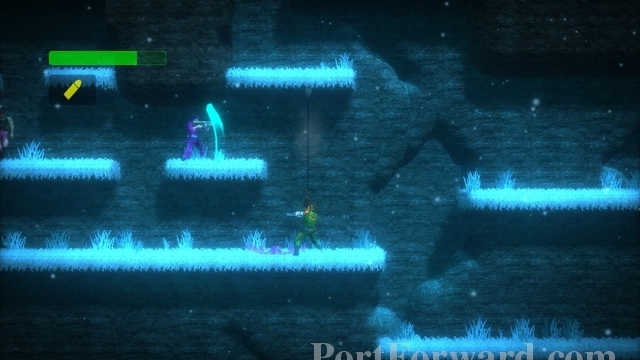
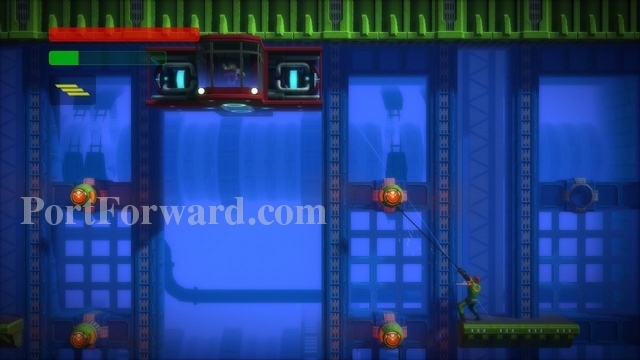
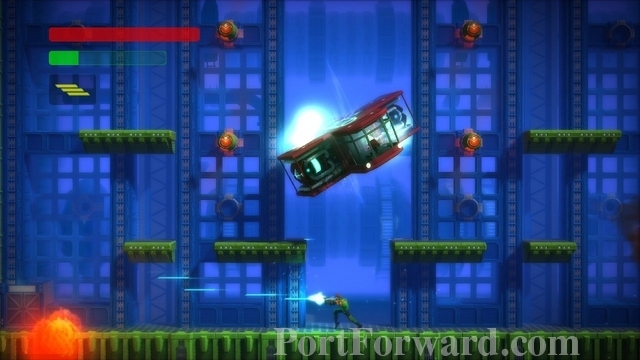
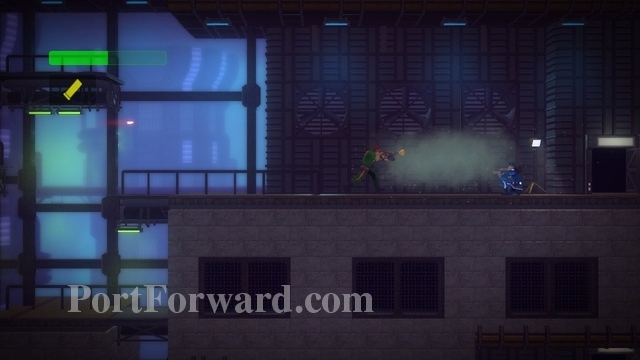
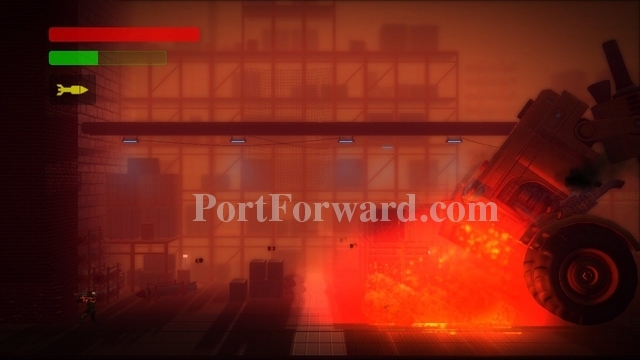
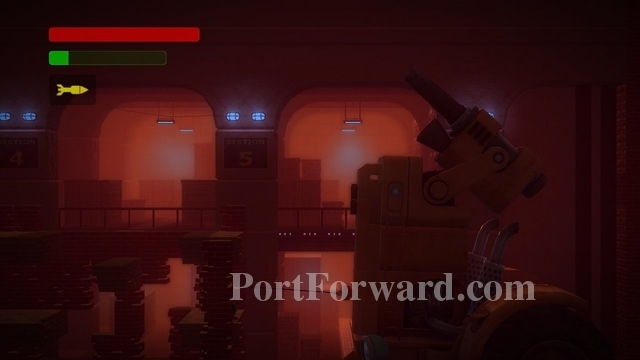
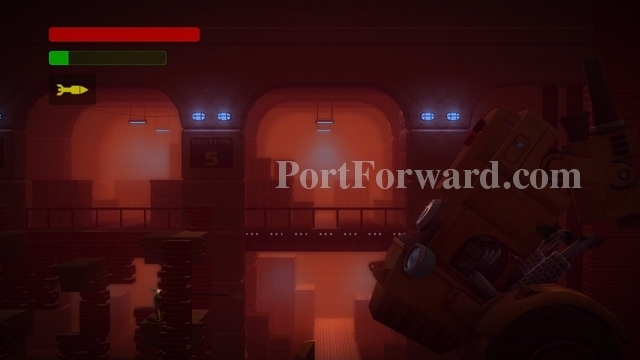
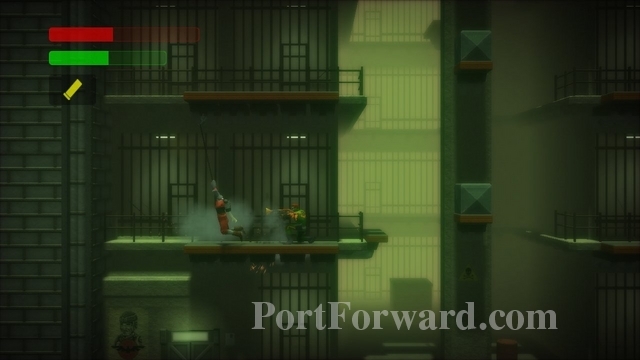
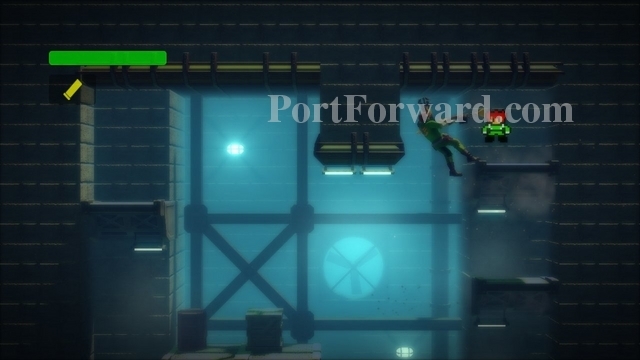
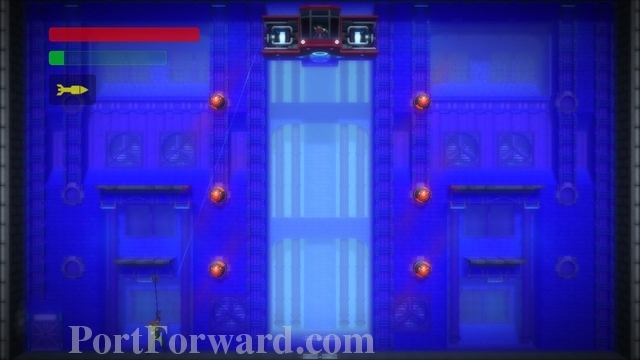
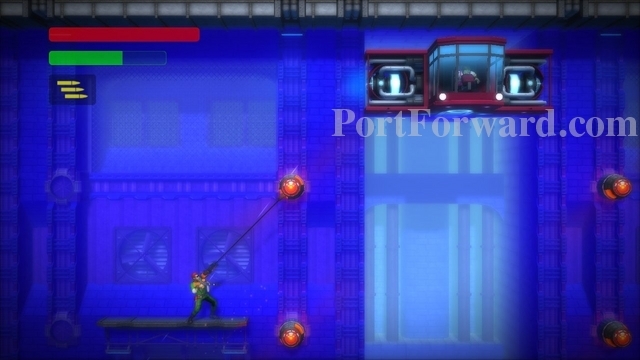
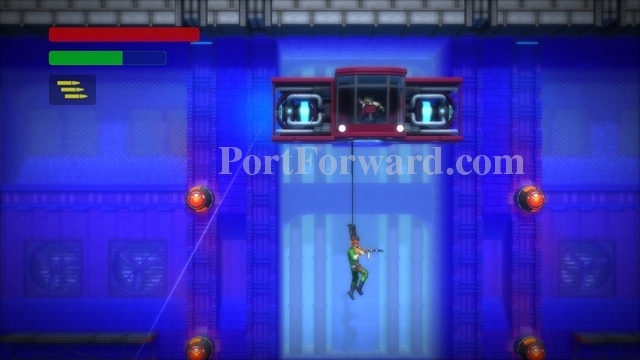
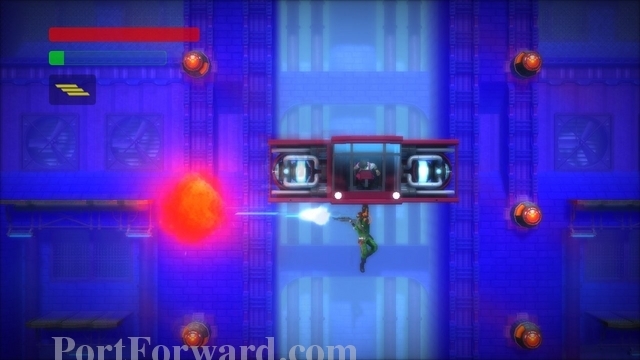
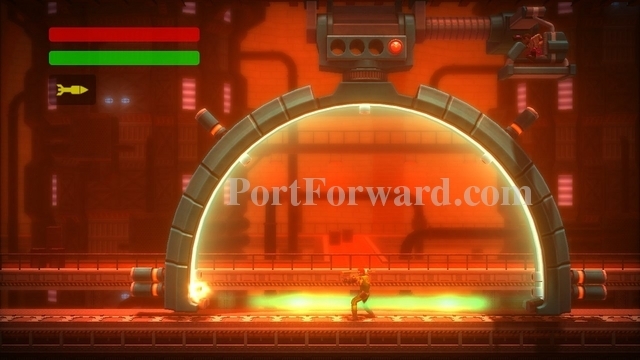
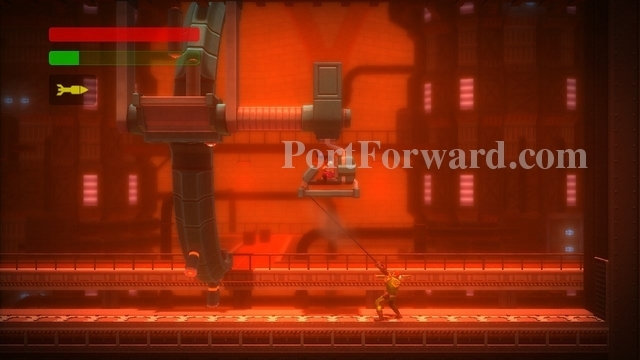
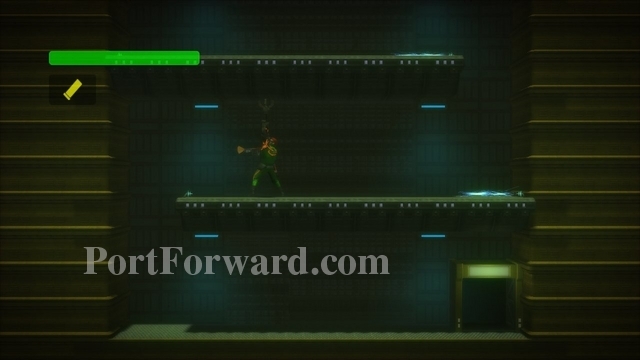
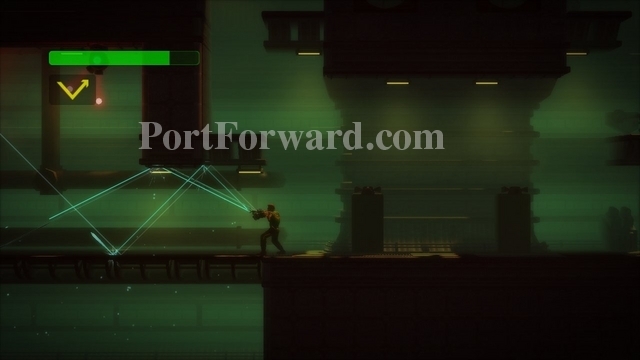
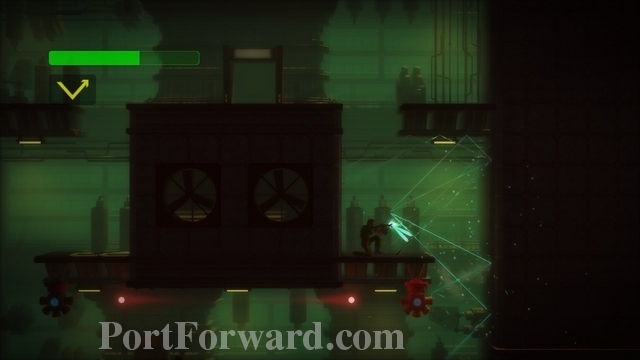
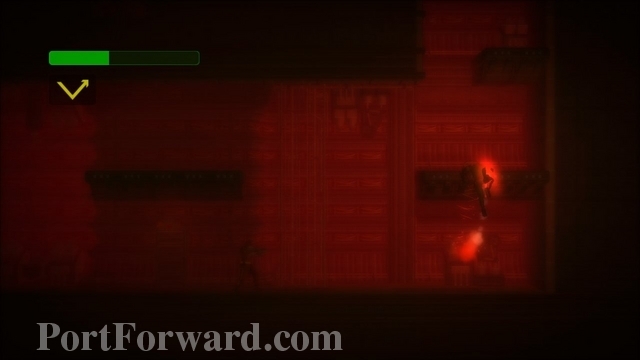
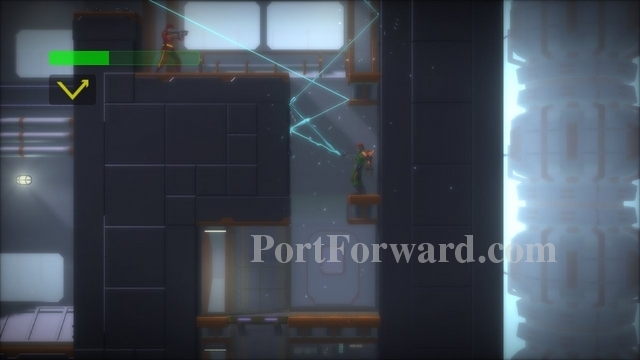
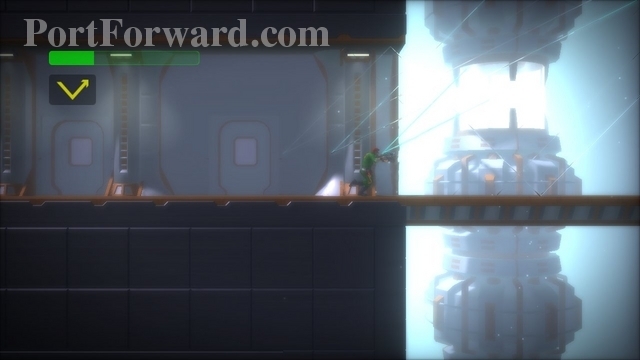
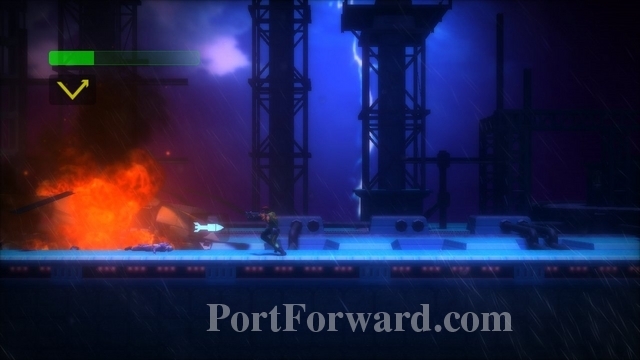
You have entered the first boss chamber. This is the D-1 Beetle. Grapple the platform support to swing high enough to grapple to the main platform.
Grab a barrel with your grapple.
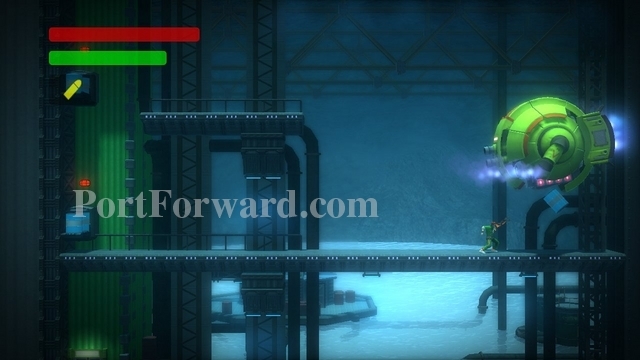
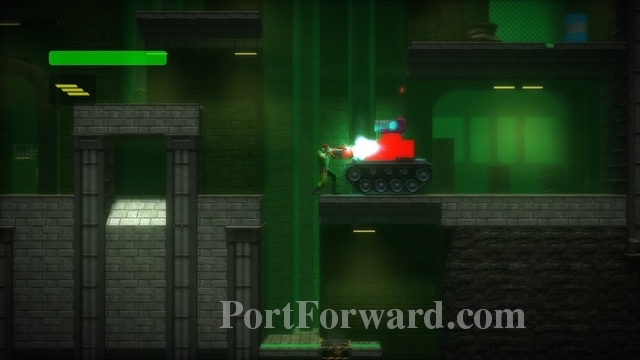
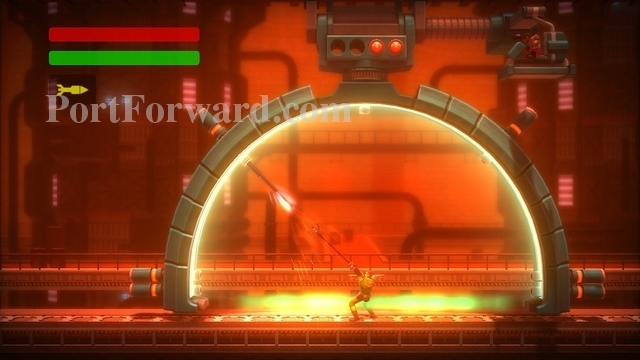
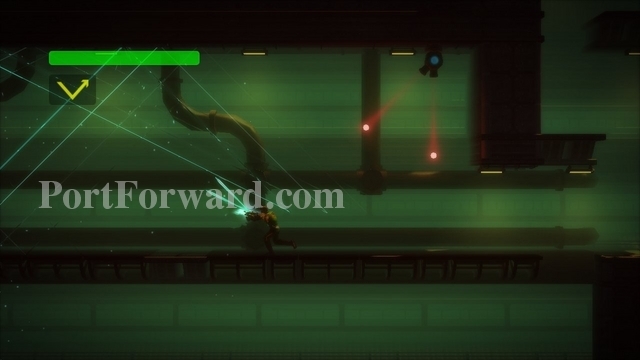
Throw the barrel at the underside of the D-1 Beetle.
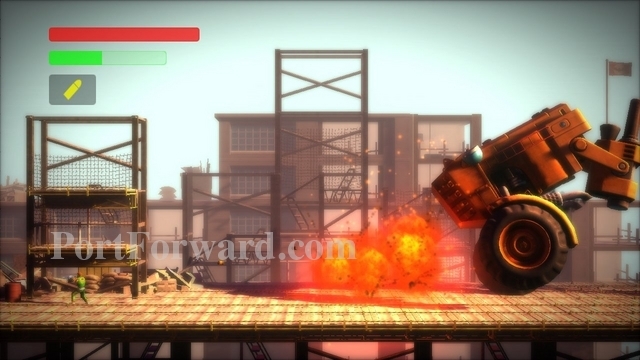
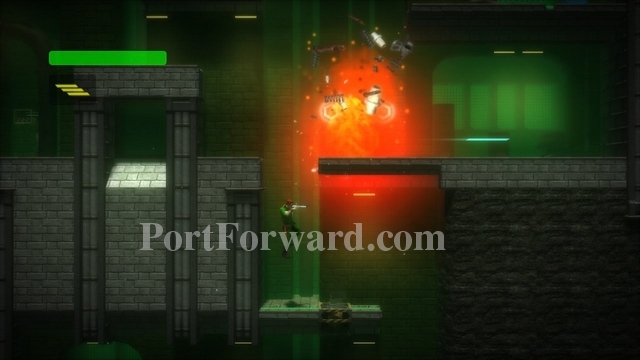
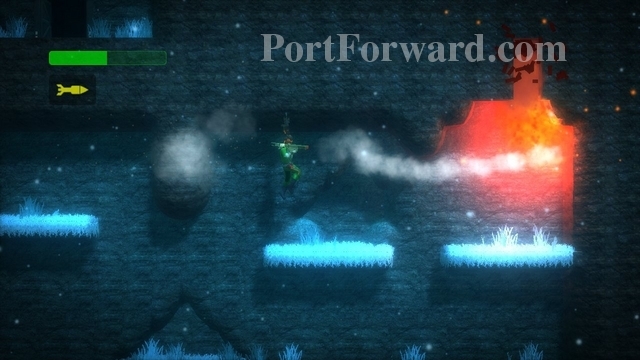
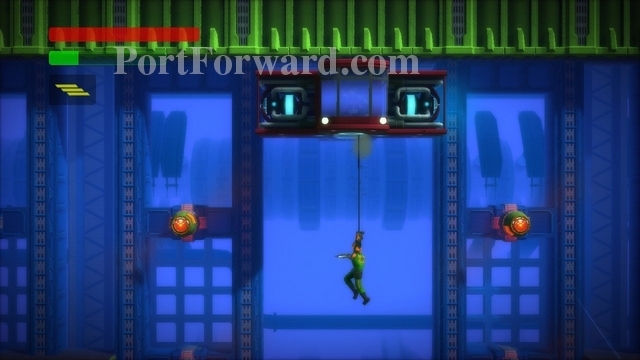
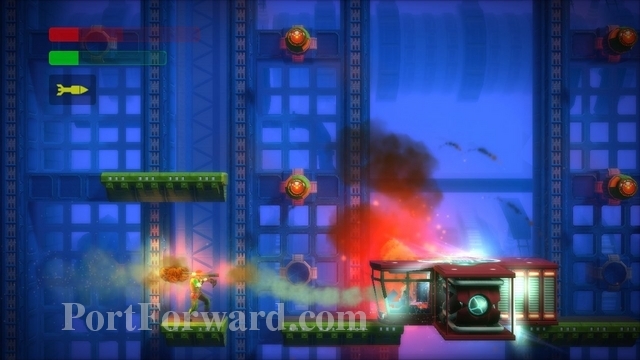
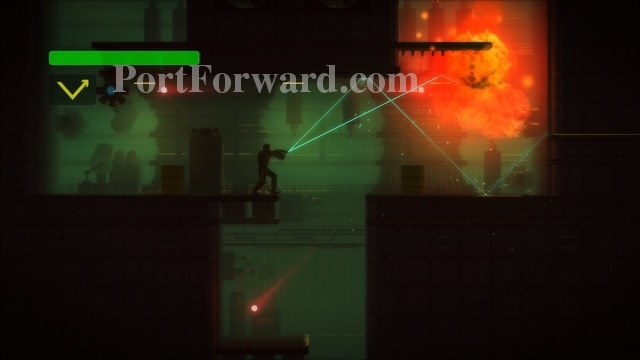
If successful, it'll fall to the ground and expose it's backside. Shoot it as much as you can.
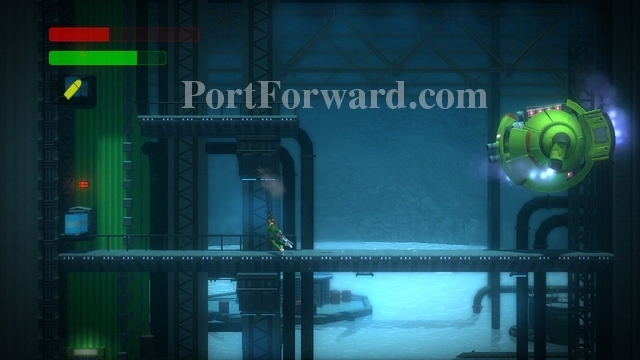
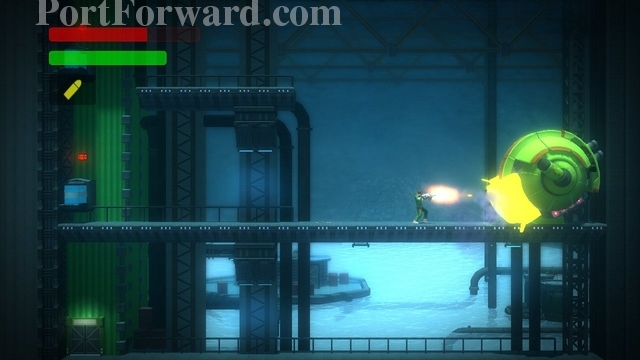
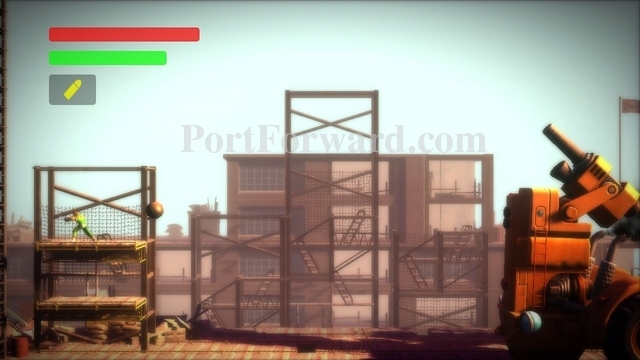
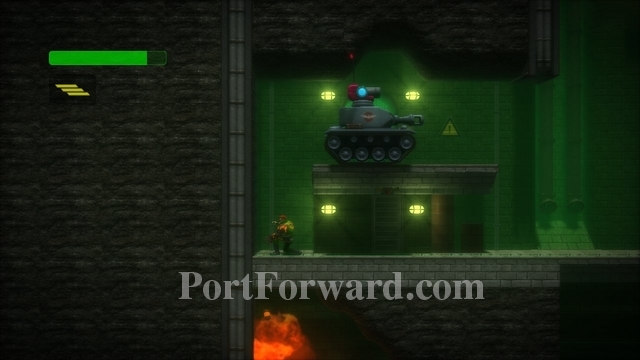
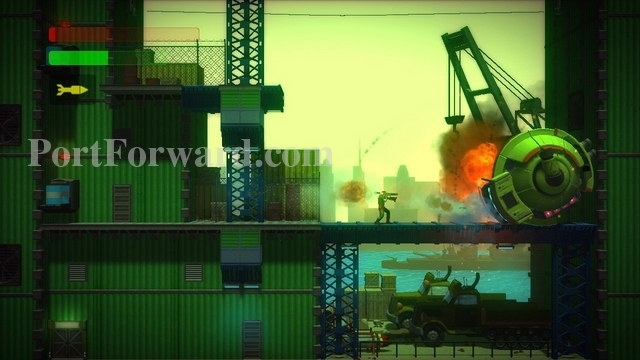
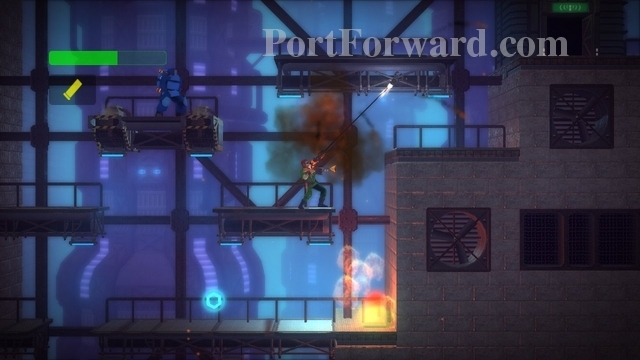
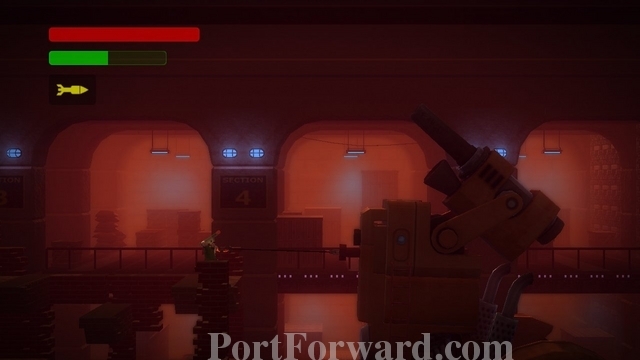
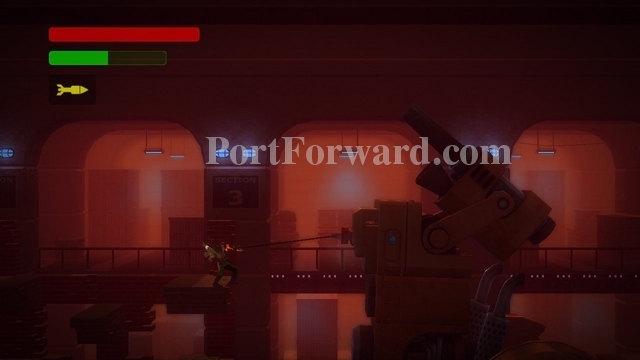
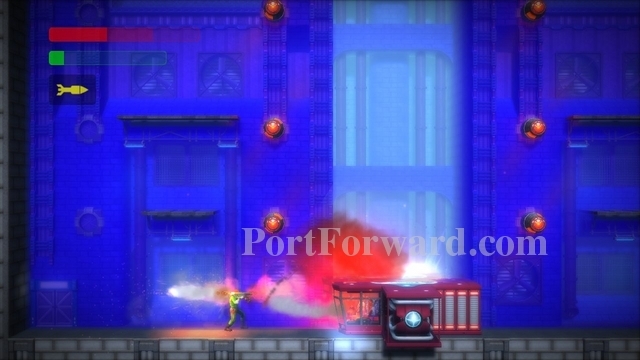
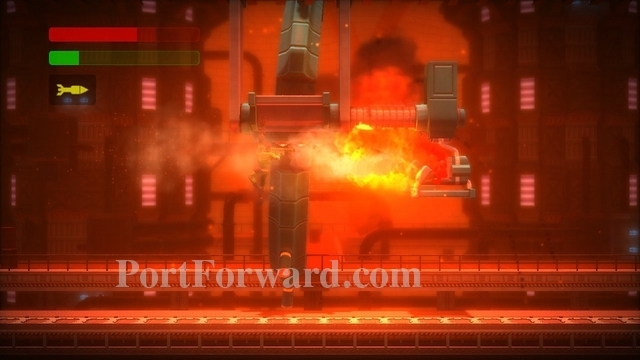
Now the D-1 Beetle will move it's protective plate to the bottom, exposing the top of it. Swing up to the upper platform.

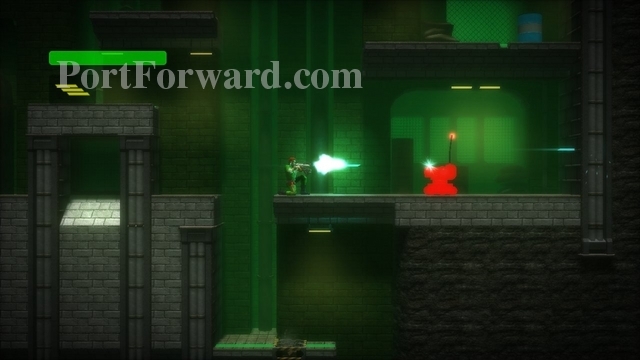
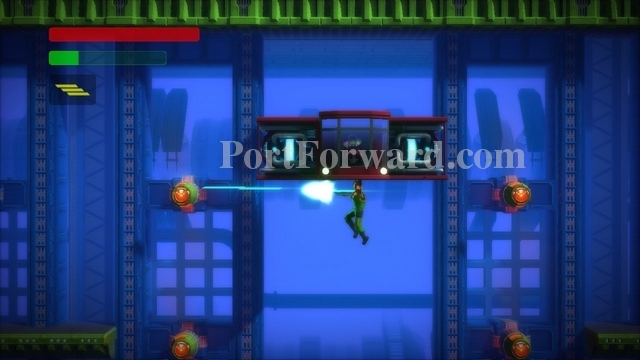
Grab the barrel here. The barrel will block any shots from the D-1 Beetle.
Throw the barrel at the top of the D-1 Beetle.
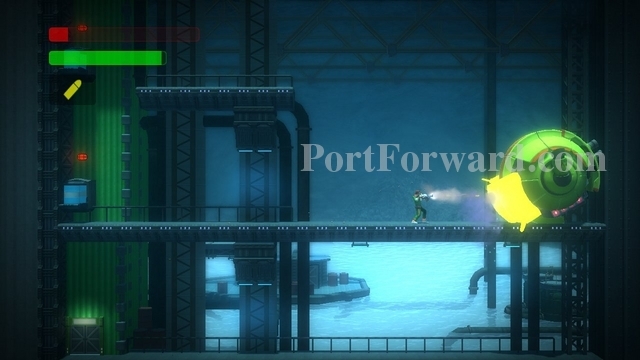
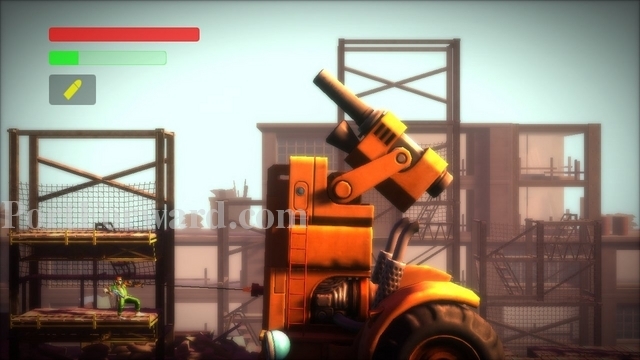
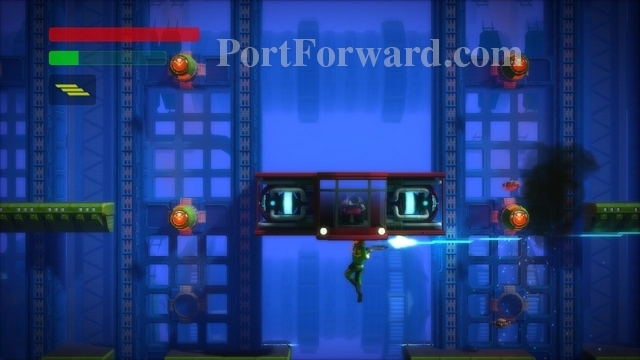
If successful, it will once again fall to the ground. You should be able to finish it off this time.
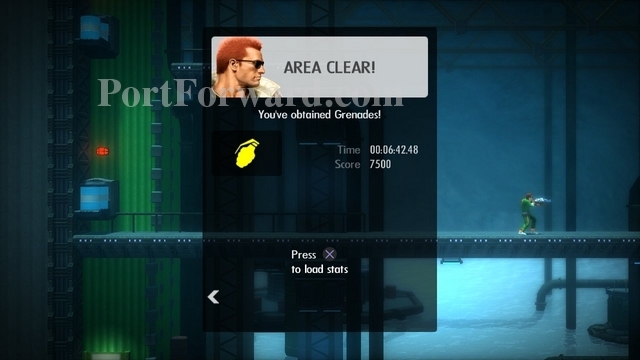
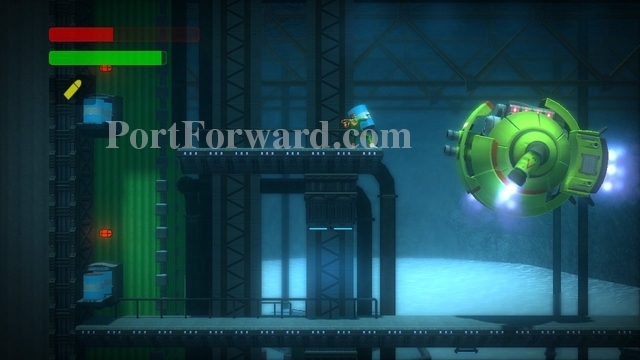
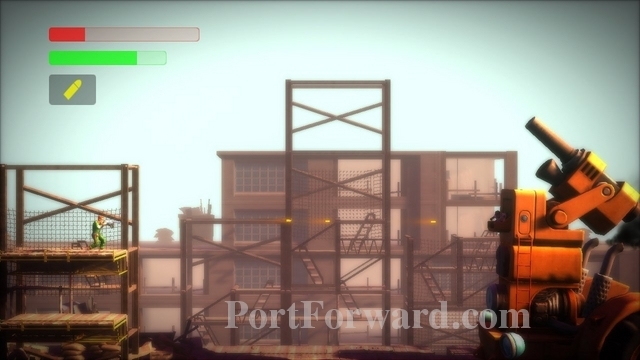
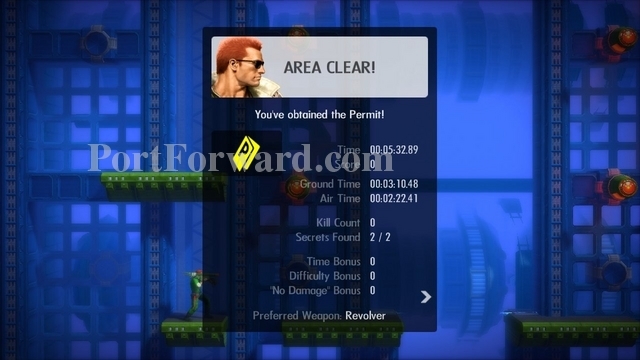
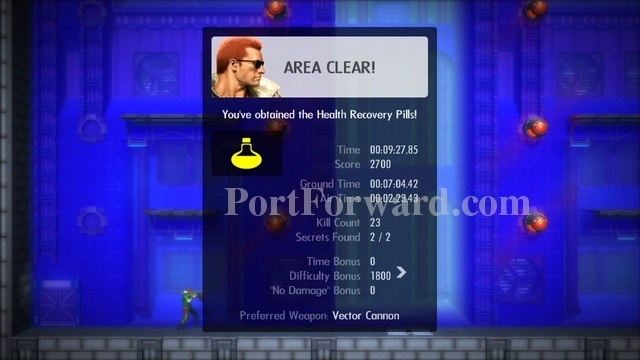
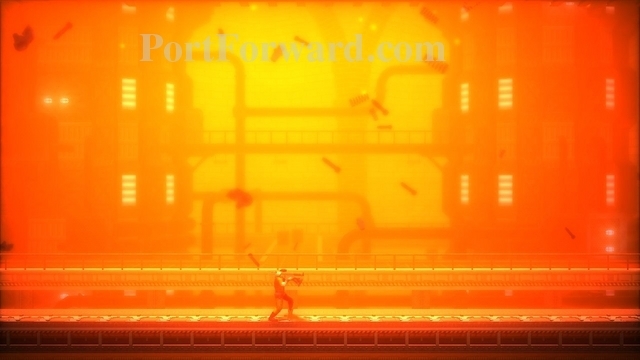
Area Clear! You now have grenades!
You can come back to this level to obtain the second secret. Go to the far left side of the cave area (below the door to the boss' chamber. You'll find a heavy weapons soldier. Defeat him.
Use the grenades on the wall behind him.
Enter the revealed doorway.
This unlocks Secret Challenge Room 1
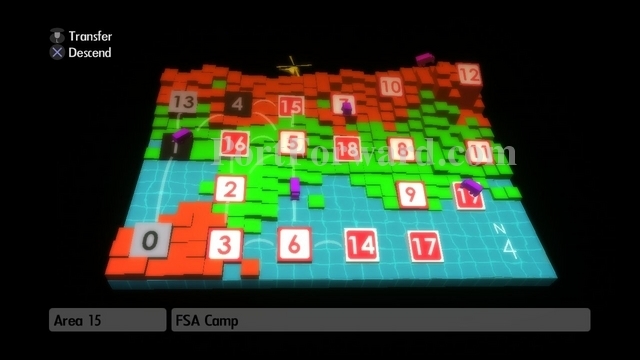
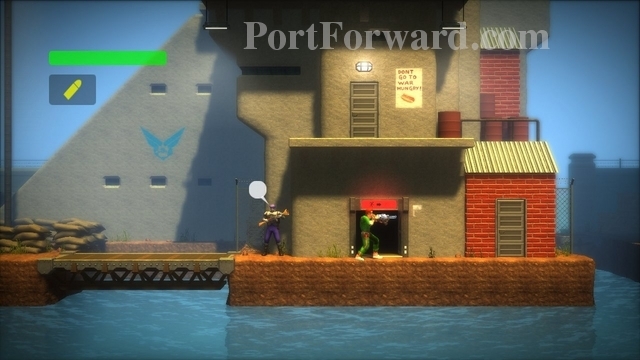
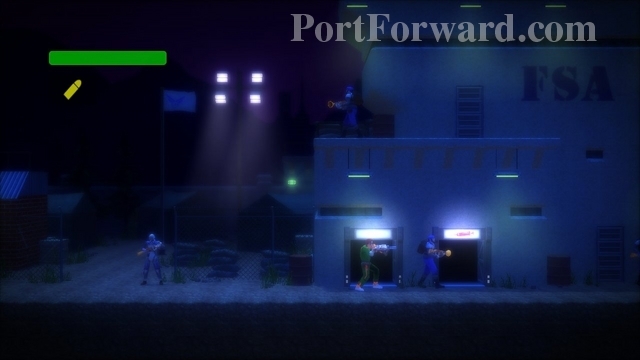
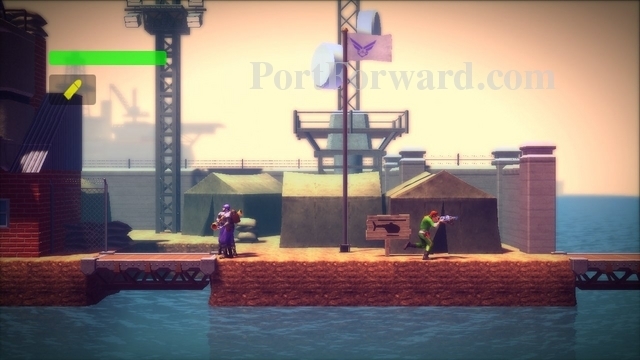
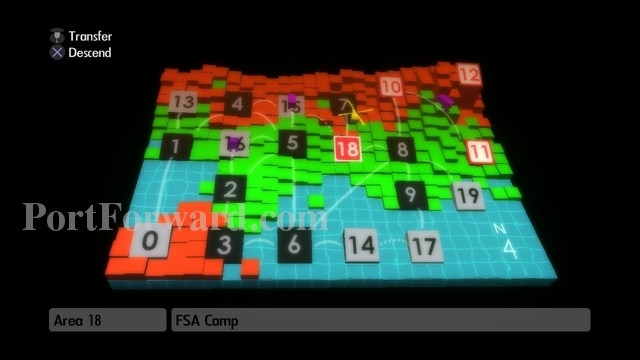
Bionic Commando Rearmed Walkthrough Area 13 - FSA Camp
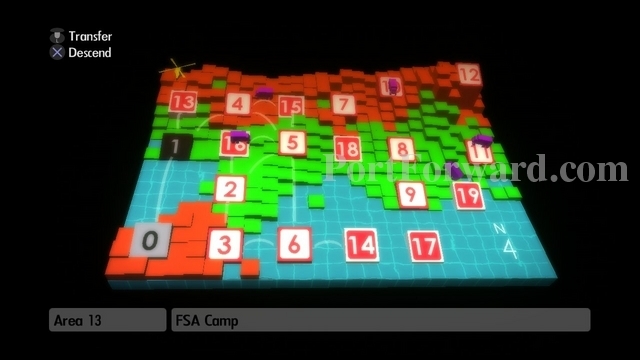
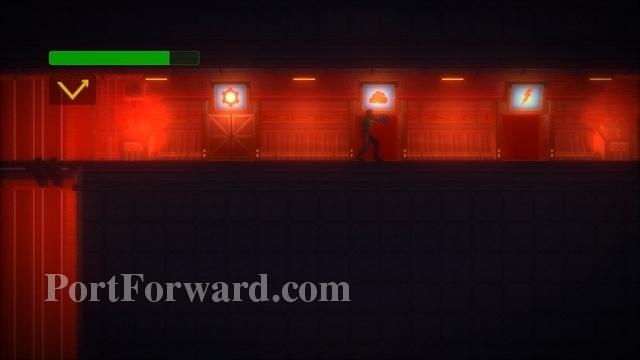
Enter the FSA Camp in Area 13.
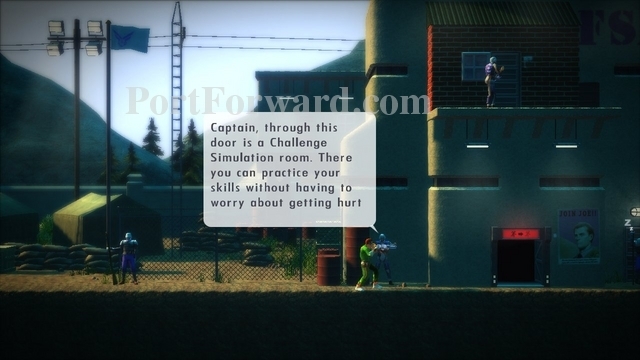
To your right you'll find a Challenge Simulation room.

Enter the room and use the simulator.

This unlocks Challenge Rooms 1-8 in your Main Menu.
You have 30 seconds to complete a challenge. The better your time, the better your rank will be.
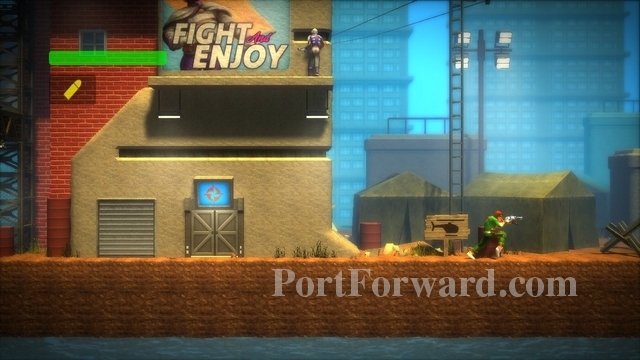
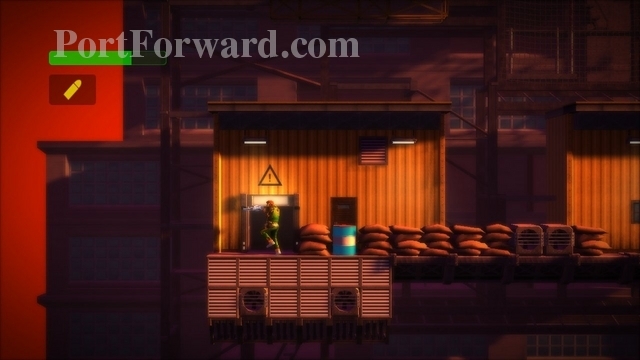
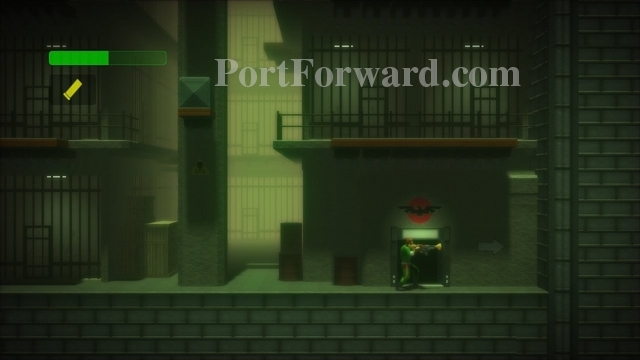
Walk rightward through the camp. You'll find a door with a syringe on it.
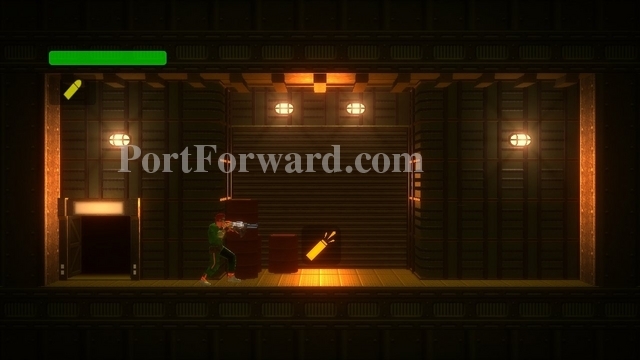
Inside this room you'll find an extra life. Careful of the spike pit on the ground though.
The door above that room will contain an item to help you in Area 04.
Take the Flares.

Haley will explain that those flares will make it easy to see in Area 04.
Bionic Commando Rearmed Walkthrough Overhead Map Trucks
When your path takes you into a Truck on the overhead map, you'll have to fight enemy forces. There are three basic types of areas, Stone Desert, Marsh, and Snowfield. All are extremely similar.
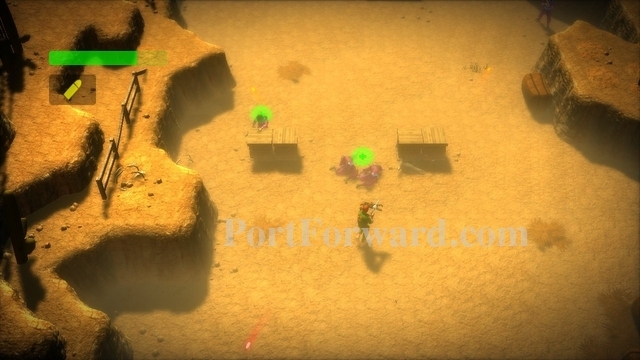
Walk upward, killing or avoiding enemies as you go.
Look out for an extra life.
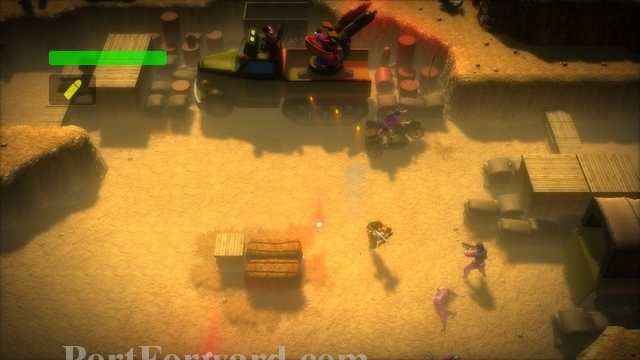
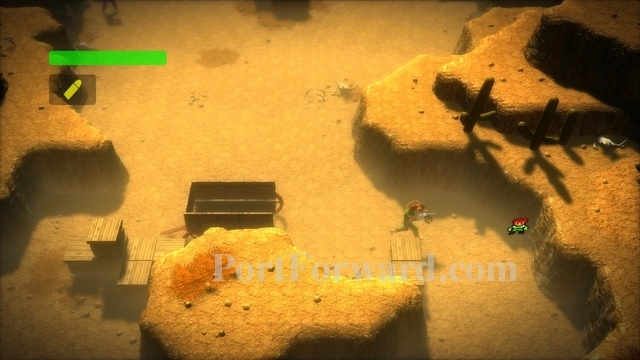
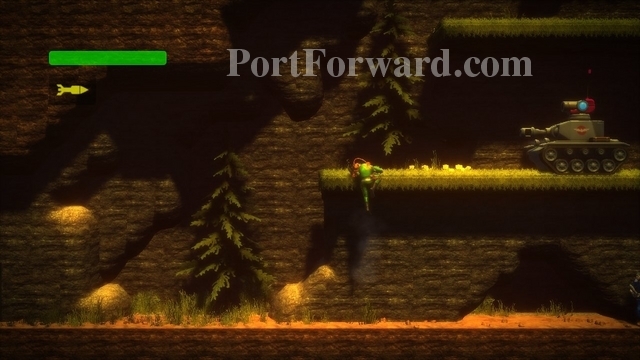
Eventually, you'll reach some enemy vehicles.
Use a grenade to blow up the enemy truck. A helicopter will immediately come in and pick you up.

Here is where the Marsh extra life is.
Here is where the Snowfield extra life is.
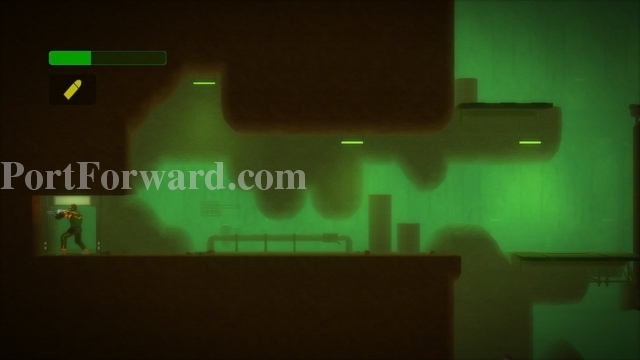
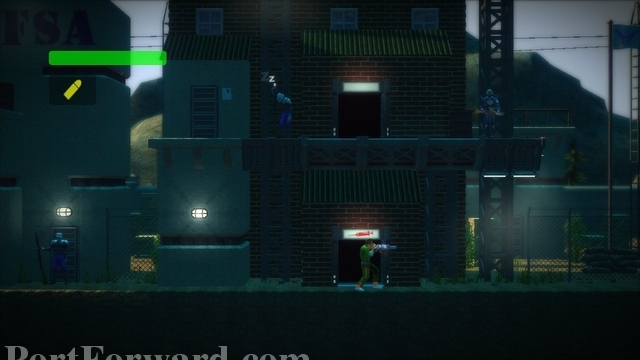
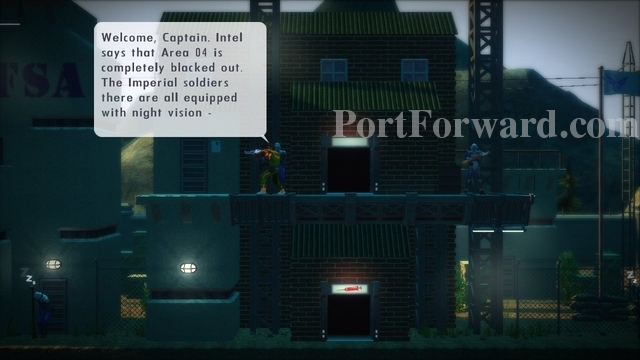
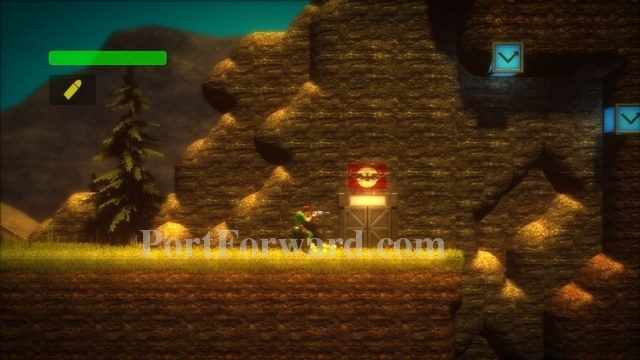
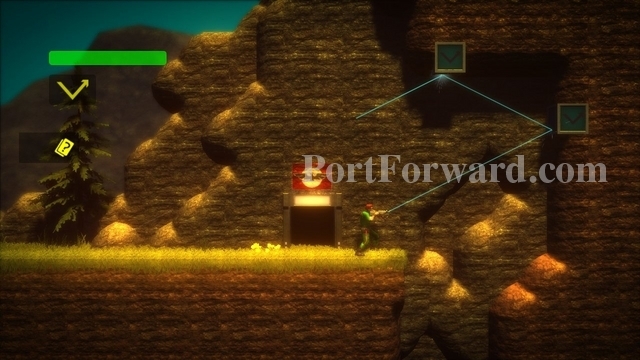
Bionic Commando Rearmed Walkthrough Area 04 - The Weapons Storage Cave
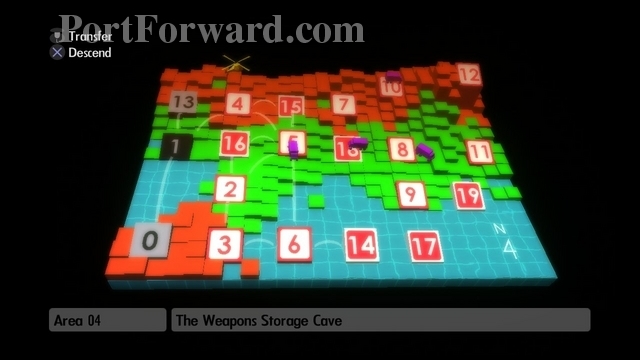
Descend into Area 04, The Weapons Storage Cave.
Use your grapple to pull the cement pillar down.
Swing over the pit.
Continue to swing over several pits. You should only have to do one swing for each pit.

Quickly shoot the enemy in front of you. Then swing over another spike pit.
Climb up to the platform in front of the communications room. Grapple the pillar down, then enter the room and contact HQ.
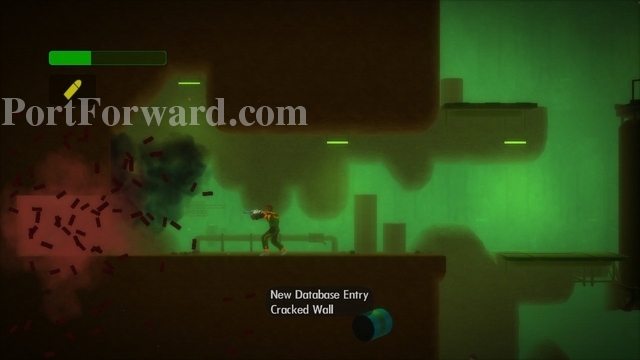
Just a little ways to the upper left of the communications room there will be a cracked wall. Use your grenades to open it.
Enter the revealed room.
Grab the secret. It unlocks Secret Challenge 4. Exit this room.
Go further to the upper-left. There is another wall to destroy with your grenades. This is a secret area and is optional. If you'd rather skip it, head right instead.
You'll come to a spike pit. Swing across it.

After two swings try to grapple upward and catch the platform. Climb up the platforms.
Head right and fall down the pit, grabbing the first ledge you come to.
Climb up on the platform, then swing across the spike pit.
Keep swinging until you make it to the Yashichi. Grab it and then fall down the pit to your left.

If you skipped the secret area continue here. Knock down the pillar with your grapple, then shoot the enemies.
There is an extra life above, but it is a bit difficult to get. First swing rightward and land on the small platform to the right.
Now swing back to the left.
Attempt to grapple upward and grab the platform before you land. Pull yourself up and get the extra life.
Swing across the spikes until you come to a pit to fall down.
Climb rightward and then upward. You'll reach an enemy with a shield. Just duck and fire and eventually he'll turn around and die.

Enter the door found at the upper-right.
Run to the right, taking out enemies as you go.

You'll come to the next boss, the 1st Platoon.

Get on the yellow platform and swing across to the right platform.
Throw a grenade to kill the boss.
Then fall to the lower level and just duck and take out the rest of them. Very easy.
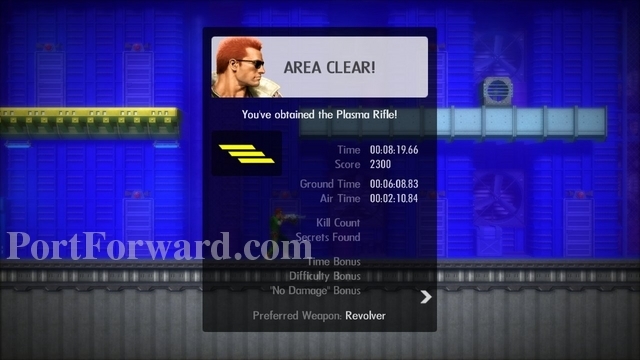
Area Clear! You'll obtain a Plasma Rifle.

Haley will explain that it is a Raytech Plasma Repeater. It works great for neutralizing energy fields, like those shields carried by some Imperials. It's also good against mechanical enemies.
Bionic Commando Rearmed Walkthrough Area 15 - FSA Camp
Land in Area 15, the next FSA Camp.
Enter the first door on your right.
Press up at the center of the room.
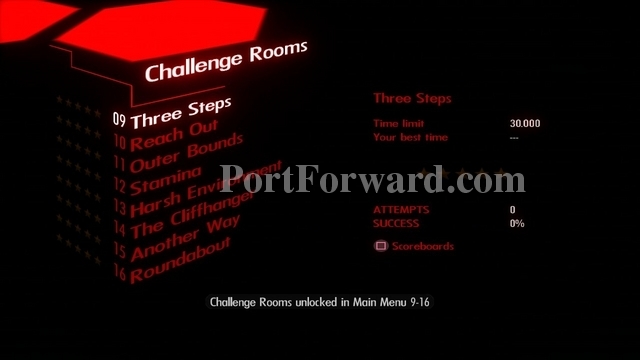
This unlocks Challenge Rooms 9-16.
Climb to the top of the building. Grapple onto the lamp and swing to the right.
Grab the next lamp in your path.
Enter the door with FSA above it.
Grab the Green Comms Chip.
Enter the door at the bottom of this building.

You'll find an extra life in the upper-right corner. Careful of the spike pit.
Exit the area or call for extraction.

Haley will explain that the Green Communicator Chip is needed in Areas 02, 03, and 06 to stay in touch with HQ.
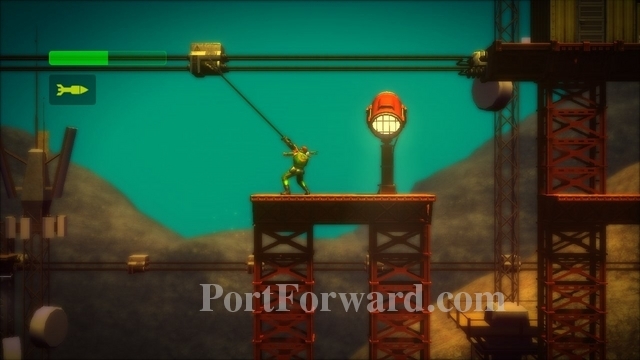
Bionic Commando Rearmed Walkthrough Area 05 - The Construction Site
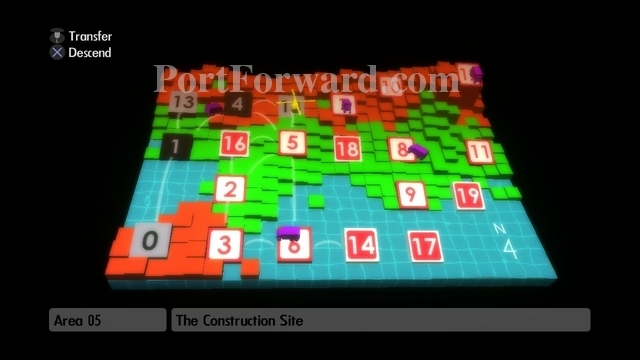
Descend into area 05, The Construction Site.
Walk as far right as possible. You should come to a concrete block. There is a secret past this block.
Walk left a bit and climb the platforms, working your way to the upper-right until you find the building with a hardhat on it. Get on top of this building.
Get on the platform above the roof of the building. Grab the barrel on the right and throw it.
Drop off the right edge of the platform and turn around and grab it. You should be swinging. Swing to the right.
You should land on or after the concrete block. Continue right.

You'll find a Yashichi on top of the building here.
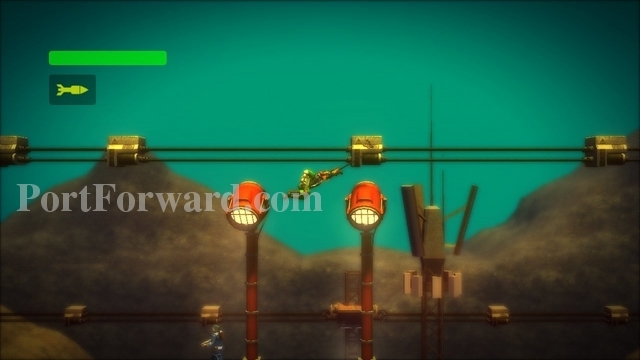
Grapple the lamp and swing left.

Grab the platform and climb up.
Drop down the left edge of the platform, then turn around and grapple it. Swing left off of it.
You should land on or after the concrete block, allowing you to get back to where you started.
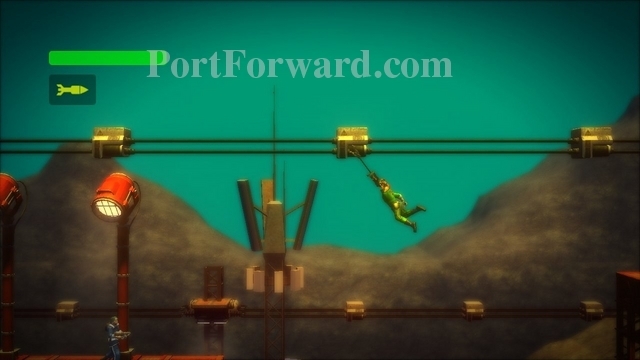
Climb up the platforms. You'll reach a platform that has four lamps and a concrete block on it. To continue upward, grapple a lamp straight upward and quickly grapple upward again.
You should latch onto the platform above.
Get on the left building on this platform. Go to the left edge of the roof and swing leftward.
Grab the small platform as you're falling. Climb up and get the extra life.
Continue up the platforms. You'll need to grapple upward on this lamp.
Then grapple the roof to the upper-left of it.
Continue upward until you find the first communications room. Enter it and talk to HQ.
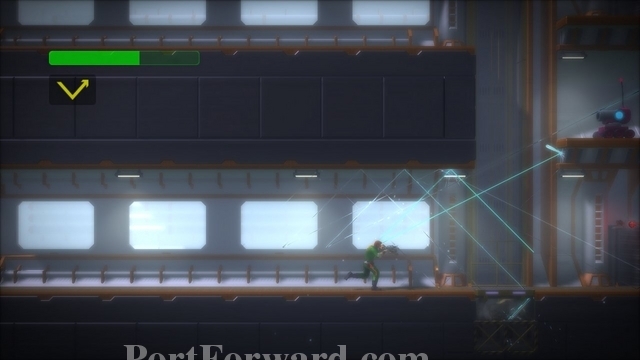
Continue upward. You'll come across some Droid Sprinkler Cannons. These are easy enough to destroy or avoid.
Soon you'll come to some Propeller Droids. These droids move around, making them tough to avoid. Duck under their energy beam.
You can use your grapple to knock them down lower.
Once you get them lower, shoot them with your weapon.
Keep climbing upward. There is another lamp you'll need to grapple up on.
From the lamp, grapple the roof to the upper-left.
A short ways upward, you'll find a closed door near some sandbags and two barrels. This is a secret room. We need to climb to the very top to open it.
Climb upward, past the second communications room. When you get to these platforms, there are some that push you up and left or right automatically when you step on them. Be ready to grab the next platform.

At the top of the tower you'll see a blue switch. Fall off the right edge and turn around and hit the switch with your grapple. It should turn off.
Go back down to the secret room that was locked. It should now be open.
Inside you'll find Secret Challenge 5.
Climb back upward and enter the second communications room. Talk to HQ and continue upward.
Enter the boss room at the top.

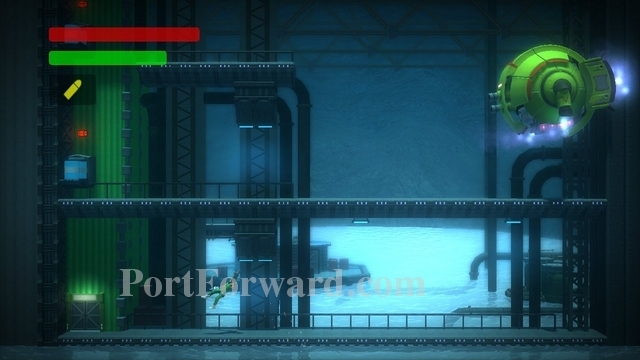
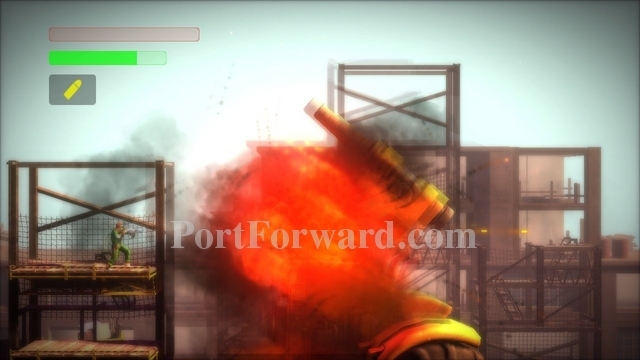
This is the third boss, Siege Machine.
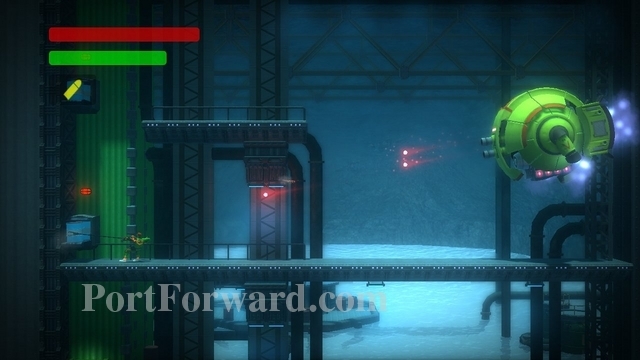
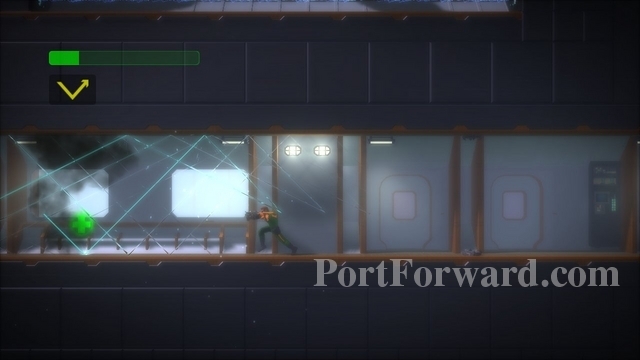
The treads have a glowing red spot on them. Try to use your grenades to damage them. Watch out for the bombs the boss throws at you.
After a few hits, the tread will be destroyed.
The boss should charge you, if not you might have to get a bit closer. Run back to the platforms before you get hit.
Get on the upper platform and use your grapple to remove a bolt from the boss.
The boss will then back up and continue firing at you. Watch out for cannon balls along with bombs.

Take out the second bolt when you can.
Then take out the third bolt. You'll need to duck when grappling this one.
Now the driver will be exposed. Shoot him, while dodging his weapons.
Once you defeat the driver, the boss will explode.
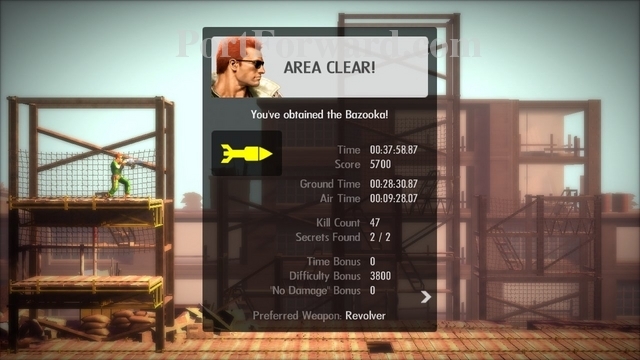
Area Clear! You obtain a Bazooka.

Haley will explain that the Bazooka is needed in area 06 to get past the outer wall.
Bionic Commando Rearmed Walkthrough Area 16 - FSA Camp

Enter Area 16, another FSA Camp.
Enter the first door to your right.
You'll find Iron Boots inside.
Enter the second door.
Grab the extra life in the top right corner. As usual, be careful of the spike pit below.
Enter the third door.
Walk into the center of the room and press up.
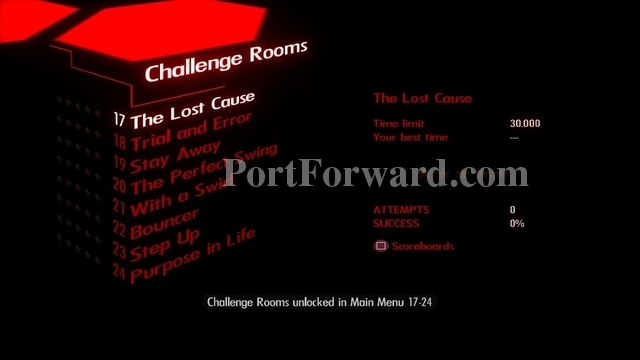
You'll unlock Challenge Rooms 17-24.
Exit the area by walking off the screen or calling for extraction.

Haley will comment how the Iron Boots will hurt enemies when you swing into them.
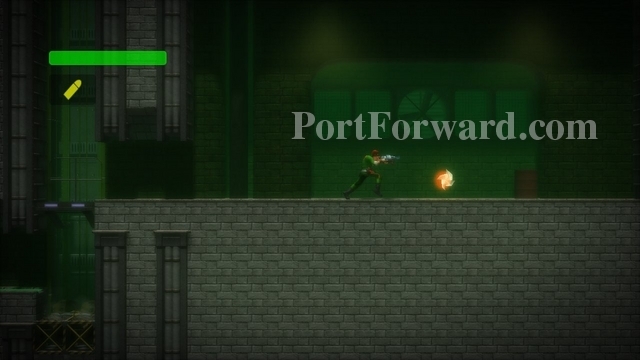
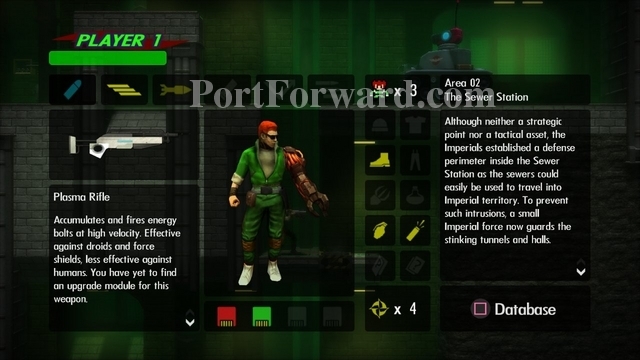
Bionic Commando Rearmed Walkthrough Area 02 - The Sewer Station
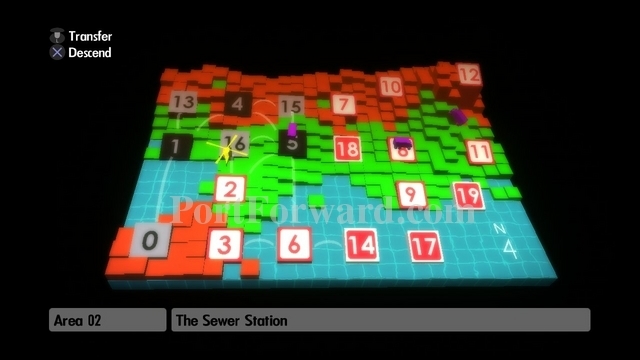
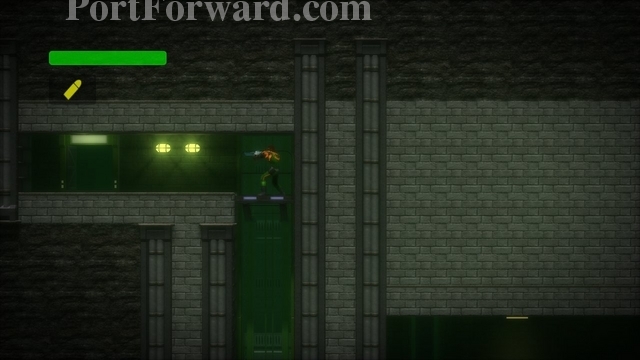
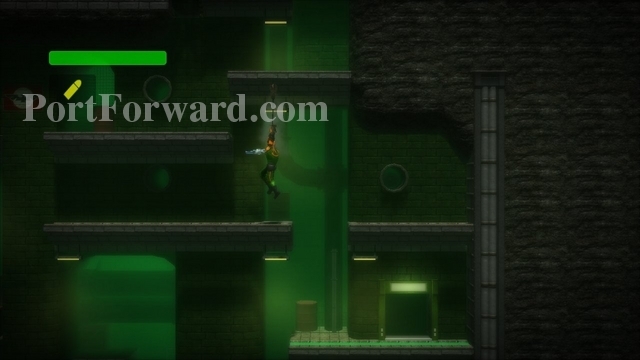
Descend into area 2, The Sewer Station.
There is a landmine on the ground. Grab the first lamp and swing rightward.
Next, grab the second lamp and swing rightward again. Then enter the room with the large 2 over it.

Some slimes will carry you rightward. You can escape them using your grapple, but just let them take you all the way to the right, into a pit.
As you're falling, grapple the roof to your right.
Swing rightward.
You should land on the platform on your right. Defeat the enemy, then walk into the elevator.
Take the elevator up a small bit and collect the Yashichi to your right.
Take the elevator all the way to the top and enter the door to your left.
You'll exit a door, right above the pit the slimes dropped you down. Climb upward.
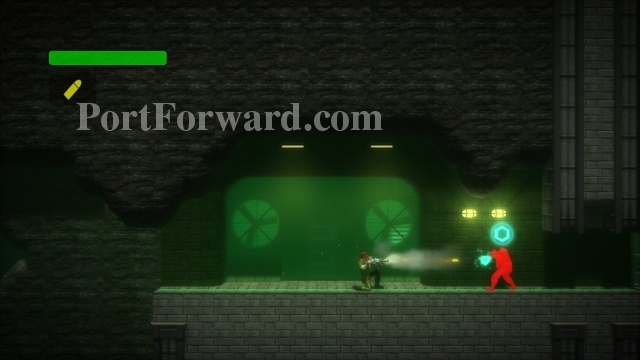
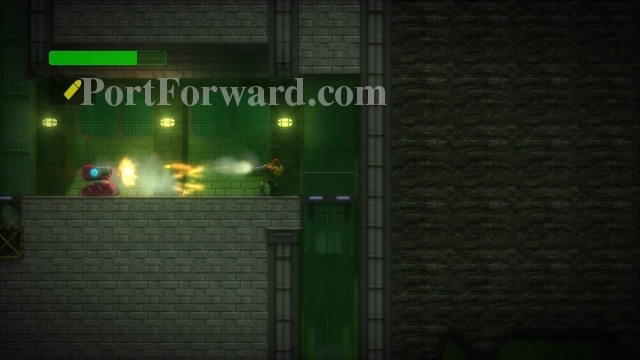
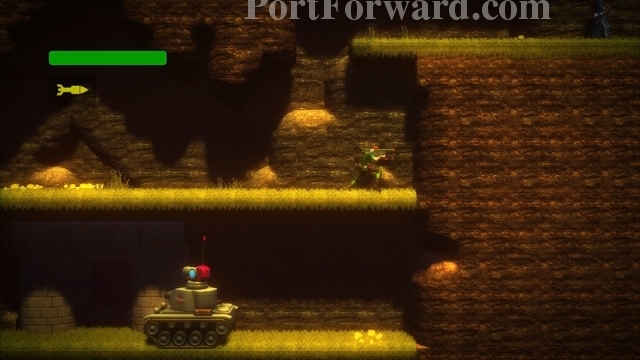
You'll come to a Tank Droid. Change to your Plasma Rifle (using the select button, then R1) to defeat it.
Climb in front of the Tank Droid.
Shoot the tank's cannon with your Plasma Rifle.
After several shots, it'll explode.
A Mini Tank Droid will remain. Destroy it as well.
Climb to the top and destroy the tank here as well.
Continue to your left. Enter the Communications Room and talk to HQ.
Let the fan blow you upward.
Then grapple and swing to your left.

You should land on the other side of the pit.
Continue left until you reach another tank. Fall down the pit in front of the tank.
When you land, you'll find an extra life.
Swing all the way left until you come to an elevator. Ride it upward.
Destroy the Mini Tank Droid here, then continue up the elevator behind it.
Take out the enemies at the top of the elevator.
One of them will send some flying explosive droids at you. Shoot them before they hit you and kill the guy or he'll keep sending them.
Climb up the right path. Destroy the shielded enemy.
Pull the switch behind him.
Now pull the switch found in the path on your left.
Go to the upper-right of the room and take the elevator you find upward.
Pulling those switches unlocked a secret door here. Enter it.
Collect Secret Challenge 2, then exit the room.
Go rightward, defeating enemies in your path. Drop down the pit you come across.
You should land near a Tank Droid.
Walk to the left wall. Press down and throw a grenade. You'll destroy a secret wall below you. Now walk off the right side of this platform.
You'll drop near the Boss Room. Get on the left side of the platform above it and grapple upward.
Enter the door found here.
You'll find a Grenade upgrade here.
Now you can throw two grenades, instead of one. Exit the room and drop back down to the Boss Room.
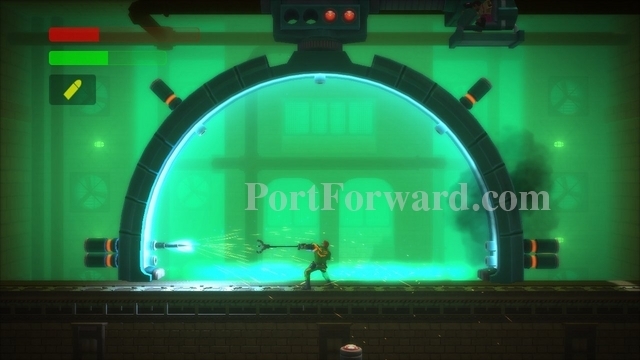
Enter the Boss Room.

You'll fight the boss named Fabricator.
Get in the center of the machine. Spikes will try to stab you from many directions. Before one launches at you, it will light up. The spikes on the left and right of you have two heights. You have to duck when you block the lower ones.

After blocking several spikes. The Fabricator will recharge for a bit. Latch on to the driver's platform and swing over to the left.
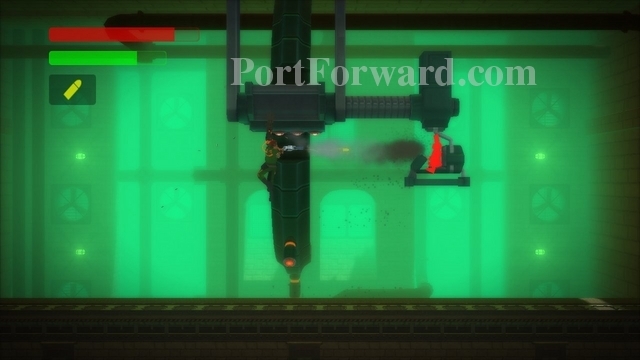
Grab the top of the machine and pull yourself up. Shoot the driver.
Repeat the process until the Fabricator is destroyed.
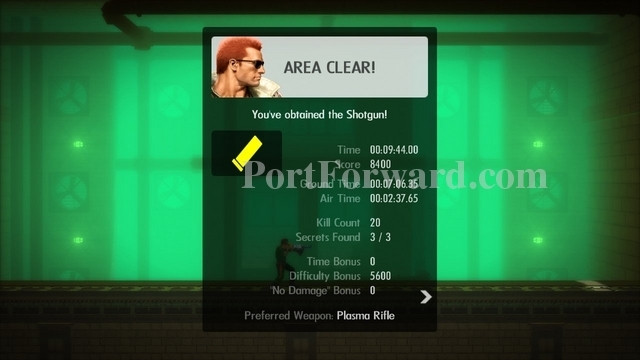
Area Clear! You'll obtain the Shotgun.

Haley will explain the Shotgun is great a short range only. It is also handy to make yourself start swinging again when grappled.
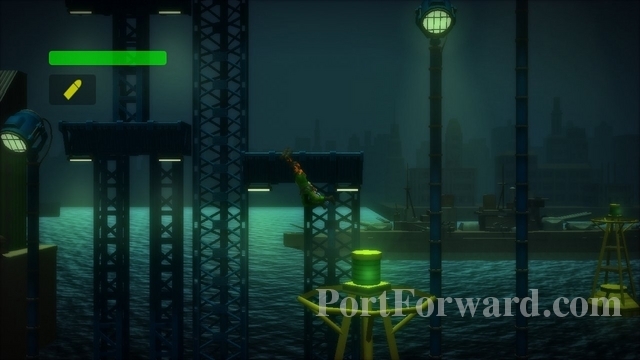
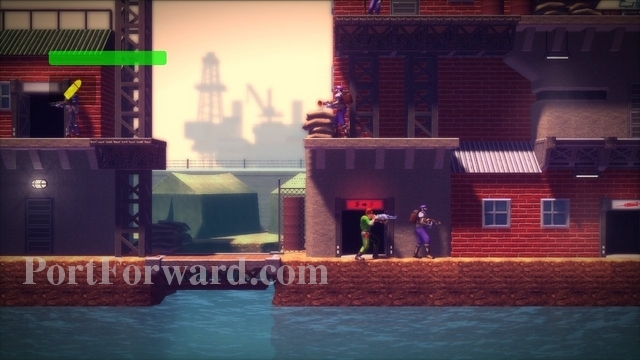
Bionic Commando Rearmed Walkthrough Area 06 - The Docks
Descend into area 6, The Docks.
Use your Bazooka to destroy the wall.

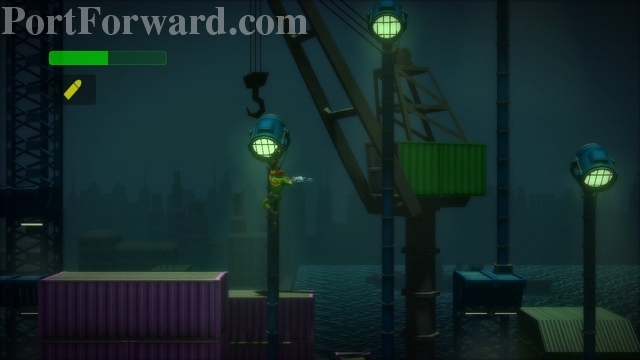
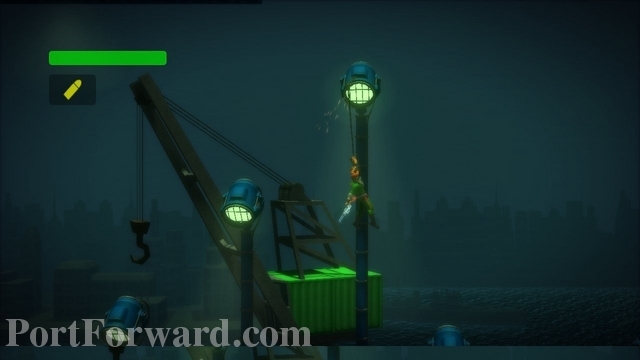
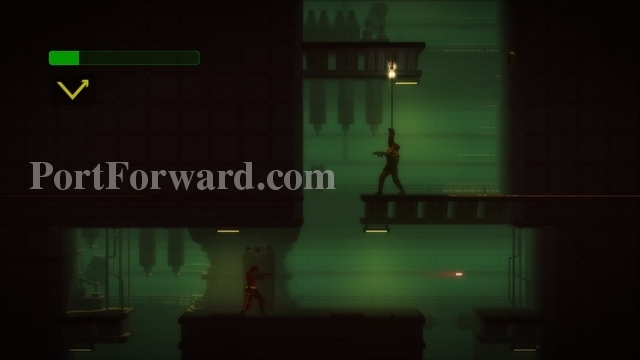
Grapple onto the lamps. Wait to swing until the spiked ball is out of the way.

Continue swinging rightward using the lamps. Destroy the Mini Tank Droids as you go.

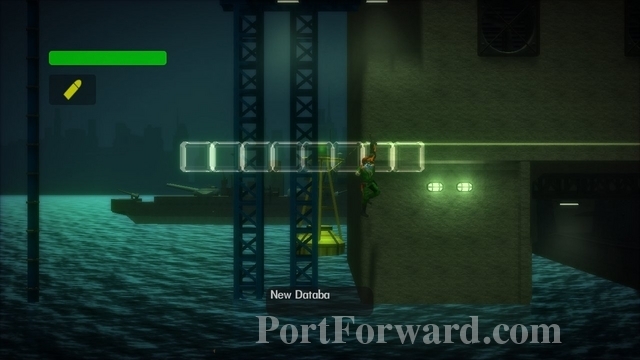
The platform after the last lamp has a fan that'll blow you upward.
Use your grapple to latch onto the platform above you.
Go up a small ways and then swing leftward to some blue platforms.
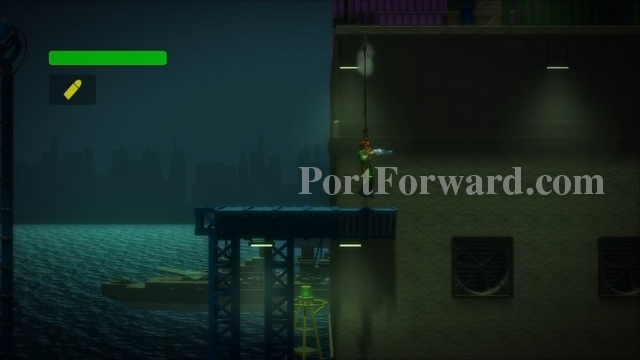
Fall off the left side of this platform, then turn around and grapple it. Swing left.
Grab the next blue platform on your left.

Get the Extra Life on top, then go back and continue scaling the building upward.
Take out the enemies that throw the exploding droids.
Go to the top of the building. There will be a purple crate in your way on the right. Use your grapple on the lamp to get over it. Then walk off the right edge of the platform.
Grab the lamp with your grapple and swing right.

Immediately grapple upward and get on the platform above.
Quickly shoot the enemy before too many droids attack.

There is a secret above this lamp. It's very tough to get, especially since you can't easily get back up here if you fail (unless you play using Co-Op and one player stays on the purple crate.) Grapple the right side of the lamp.
Pull yourself up and then face right.

Press up to climb on top of the lamp. Quickly grapple to the next lamp on your upper-right. You want to grapple the right side of this lamp as well, which is tricky. Pull yourself up and face right.

If you don't grapple the right side, you can climb the lamp and then as you're falling hope to grapple it again. Another way is to press down and immediately grapple afterward.
Climb on top of the second lamp and grapple the third lamp.

Swing leftward off the lamp. Grapple up to the platform above.

On top of the platform you'll find a Yashichi.
If you fail to get up to the secret, you can attempt to swing under the platform to the left.
Continue swinging left.
Grab the lamp.

Climb the lamp and grab onto the blue platform. Now you can attempt the secret again.

After you get the secret, or want to continue on, grapple rightward along the lamps.

Swing off the far-right lamp.
You should land on a platform with a Communications Room on it. Enter the room.
Talk to HQ and then exit using the door on the right side.

Grapple the lamp and swing right.
Catch yourself on the platform and climb up.

Then swing right by grappling the lamp.
Catch the white see-through blocks.
Climb upward.

When you can no longer go up, go rightward. You should pass a closed door. Swing over the purple crate that blocks your path.
Walk off the right side of the platform, then turn around and grab on. You'll want to be latched just to the left of the right light.

Fall down and you'll land at a door.
Destroy the Mini Tank Droids inside the room.
Climb up the platform. Switch to your Plasma Rifle and grapple the roof.
Shoot the blue switch on the wall as you pull yourself up.
The switch should turn off.
Now do this to the switch on the right side of the room as well.

A door will open at the bottom of the screen.

Inside the door you'll find an upgrade to your Plasma Rifle.

Exit the room using the right door.
You'll exit out the door you passed earlier. Climb up where the blue barrels are falling.
Use the fan to blow you up to the left. Continue left. The barrels won't hurt you, just knock you around.
When you come to a fan above you, grapple it and climb up.
Destroy the Barrel Droid.
Go right.
Grapple the platform above, to the right of the fan you find.

Go left and kill the Barrel Droid you find there.
Grapple up to the platform on your upper-left. Careful not to get knocked down by barrels.
Get on the platform, but avoid the fan. Grapple to your upper-right and swing right, avoiding the barrels.
Go rightward. On the right side of the building you'll see two fans above you with a platform between them. Grapple to the platform between the fans and go left.
Destroy the last Barrel Droid.
Enter the Boss Room.
This boss will look familiar. You found one nearly identical in Area 01. This is the D-1 Beetle v2.
Grapple up to the platform that the D-1 Beetle is hovering over. Now the D-1 Beetle will shoot rockets, which will destroy any barrel you are carrying.
Grab a barrel from the left side of the screen.
Carry the barrel over to the D-1 Beetle and throw it.
If you hit the D-1 Beetle, it will fall to the ground and expose it's back to you. Use your Bazooka to destroy it quickly. You should be able to destroy it before it can get back up.

Area Clear! You have obtained the Power Claw.
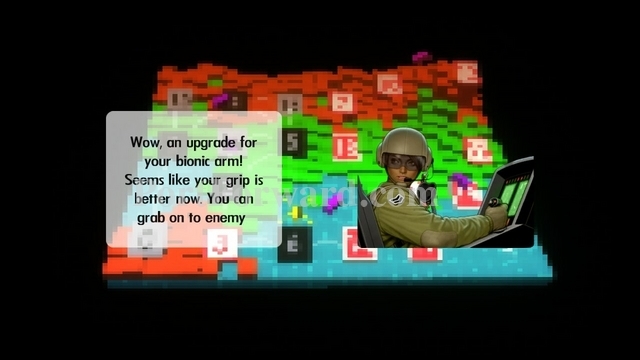
Haley explains that the Power Claw will let you grab onto enemies and use them as shields. She also tells you that it is needed in Area 03.
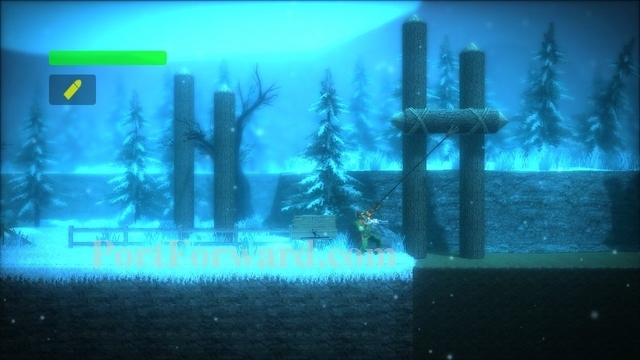
Bionic Commando Rearmed Walkthrough Area 03 - The Secret Mountain Pass Base
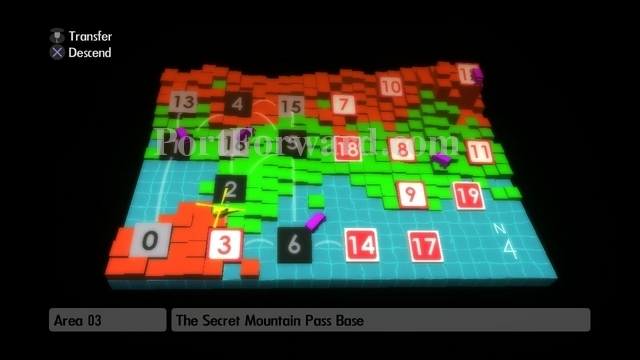
Descend into area 3, The Secret Mountain Pass Base.

Use your upgraded claw to destroy the wall.
Swing across the quicksand.
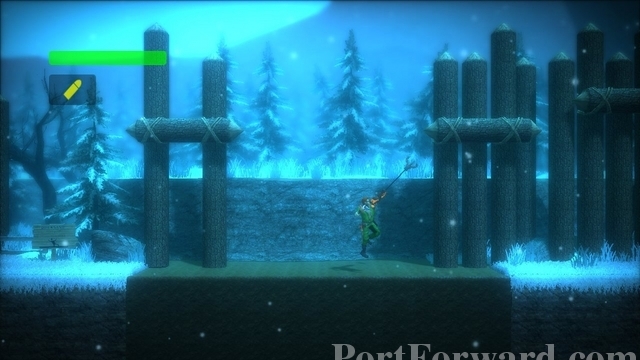
Grapple to the next log and continue swinging.
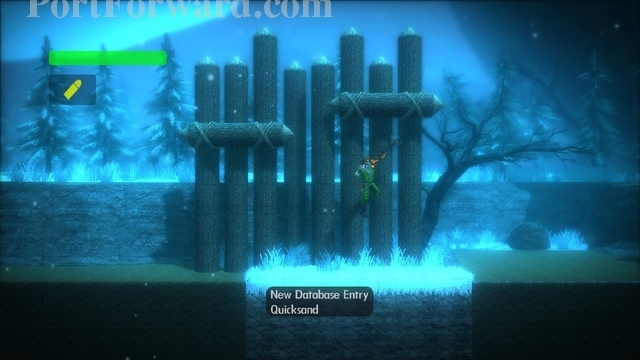
Swing over the next quicksand pit.

The quicksand won't kill you instantly. You have a little time before you sink so far that you die. If you can grapple something and swing out, you'll still be able to make it across.
Walk right. Don't stop or a bear trap might hurt you. There are two of them to avoid.
Climb upward, killing or avoiding enemies.

When you're almost at the top, you'll come to a fork where you can go up and left or up and right. Go up and right.
Attach yourself to the roof and use your Bazooka to destroy a crack in the upper-right wall.

Head down and to your right and you'll find a door that has been revealed.
Inside the door you'll find Secret Challenge 3.
Now continue climbing as far up and left as you can. You'll find a door labeled "3". Enter.
Fall down to your left.
Continue to fall until you reach a platform above a Communications Room.
Fall and grapple the platform above the Communications Room. Swing left and enter the room. Talk to HQ and exit.
If you fall down from the Communications Room, you'll find an extra life. You have to grapple at the right time or you'll die, so it may not be worth the effort.
Swing right from the Communications Room.
Continue swinging along the roof, avoiding the spike pit.

You want to swing all the way to the right.
Grapple up to the platform at the far right. It's a bit tricky to do. If you fall you won't be able to get back up without dying (unless you are playing Co-Op.) This leads to a secret. If you don't want the secret you can skip this part.

Continue upward.
Ride the elevator on your left up. Kill the enemy at the top.
Now ride up the right elevator.
At the top you'll find a Yashichi.

Walk left and drop off the platform. You'll drop to the door that brought you into this area. Go back toward the Communications Room.
Swing right, over the spike pit.
You'll fall past some small platforms.
Grab the lower-right platform and use it to swing rightward.
You'll land in an alcove.
Grab the platform to your upper left. Pull yourself up and drop straight down onto the platform below you.
Walk off the left side of the platform. You'll be in front of a spike pit.
Grapple the ceiling over the spike pit.
I ended up pulling myself up by accident. I used the shotgun to make me swing again. Then swung to the left.

It landed me perfectly onto the platform after the spike pit.
Grapple the next part of the ceiling and continue swinging left.
Enter the Boss Room.

Boss: Power Pod
The boss will try to hover as high as possible. He'll shoot lasers down at you. They will appear faint at first, letting you know where they are going to fire, so they are easy to avoid. Occasionally he'll fire lasers from both sides at once. You can avoid these by being in the center of the room. Grapple onto the lights to reach Power Pod.
Attach to his bottom.
Retract your arm. If you don't he won't come down all the way.
Use your Plasma Rifle to shoot the droids flying around the room.
When Power Pod hits the platforms below. He'll temporarily be disabled.
Get on the far platform to his left and use your Bazooka to destroy him quick.
Area Clear! You will obtain a Permit.

Haley will explain that the Permit allows you to proceed to Area 08.
Bionic Commando Rearmed Walkthrough Area 14 - FSA Camp
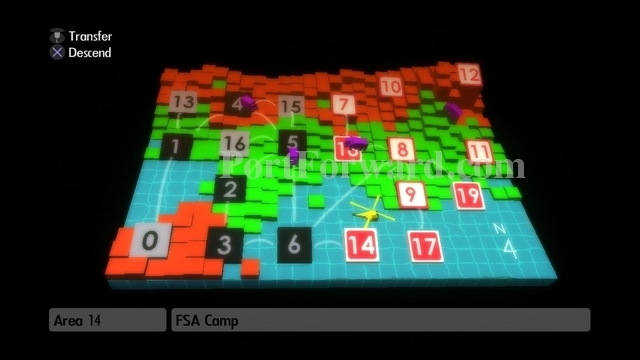
Descend into Area 14, another FSA Camp.
Enter the first door on your right.
Go to the center of the room and press up.
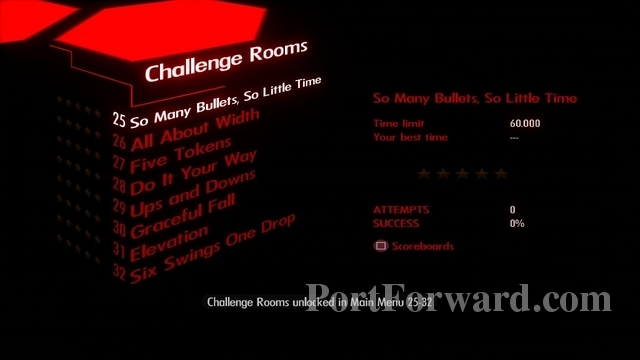
Challenge Rooms 25-32 will be unlocked.
Enter the door above the previous door.
Inside you'll get a Blue Comms Chip.

Enter the door with the syringe on it.

In the upper-right there will be an extra life. Careful of the spike pit as usual.

Walk out of the area or call for extraction.

Haley will tell you that Blue Communicator Chip is good for areas 07, 08, and 09.
Bionic Commando Rearmed Walkthrough Area 08 - The Hi-Tech Fortress
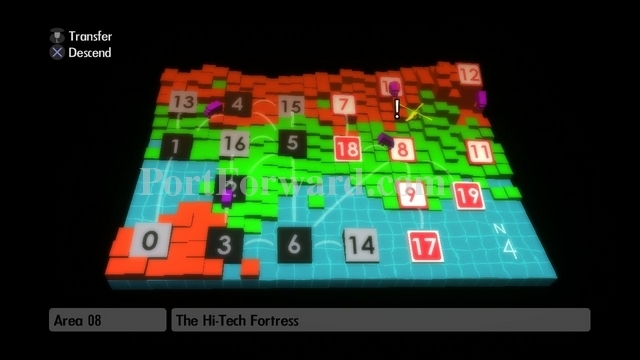
Descend into Area 08, The Hi-Tech Fortress
Enter the building on your right.
Climb up a few platforms
Swing to your right.
Climb up and kill the Heavy Weapons Soldier and any other enemies in your way.
Swing rightward on the right corner of the roof.
Grapple upward to the upper-right roof (there is a light on it.) Pull yourself up and then use your shotgun to start swinging again.
Swing left and grapple upward to latch onto the roof above.
Pull yourself up and use the shotgun again for momentum. If you are close to the wall it might knock you down. Swing right, toward the door.
Enter the door.
You'll find a Shotgun Upgrade here. Exit and fall back down.

Go left a bit and then continue climbing upward.
Enter the door found on the right side of the room.
Get on the elevator and go upward.
Enter the door in the top left corner.

Climb up onto the platform above.
Continue climbing up and to your right. You'll find a Communications Room.
Enter the Communications Room and talk to HQ.
Climb to your upper-right.

Get the extra life in the upper-right corner.
Go back toward the Communications Room and now head to your upper-left.
Enter the door found here.
Get on the moving platform and grapple to the middle of the center platform. Climb up quickly or your grapple will let go.
Destroy the enemies and grapple to your upper-left.
Continue grappling up.
Enter the Communications Room and talk to HQ.
Get on the platform to the upper-right of the Communications Room. Swing leftward off the left corner of the roof.
Grapple upward to grab onto a platform.
Pull yourself up and get the Yashichi.
Enter the door to the upper-left of the Communications Room.
Take the elevator down and enter the room below.
You'll go through a hall full of enemies. The Bazooka works nice here.
Enter the room at the far right of the hall.

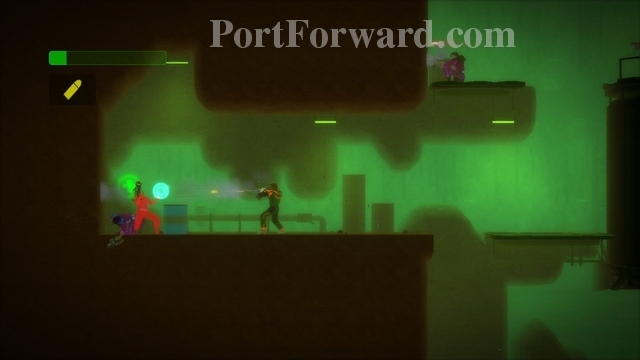
You'll reach your next boss, the 2nd Platoon.
Climb up onto the yellow platform above you.
Duck and shoot any enemies on the platform to your right (besides the main boss.)
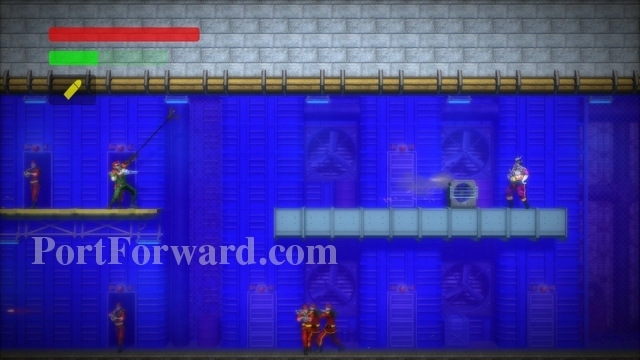
Swing over to the right platform.
Throw a grenade at the boss to kill him.
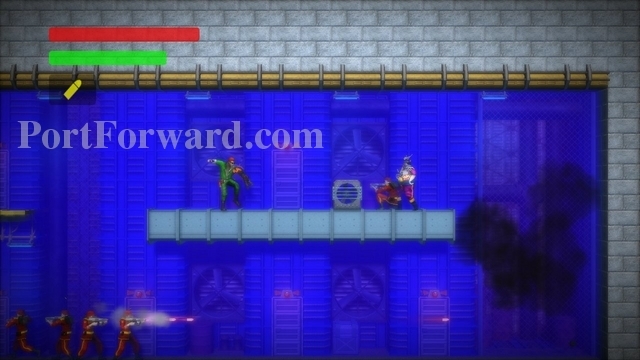
Normally, I believe you would drop down and finish off his men. I swung up and to the right and it said I defeated everyone. Perhaps once the sub-enemies are off-screen they no longer need to be defeated?
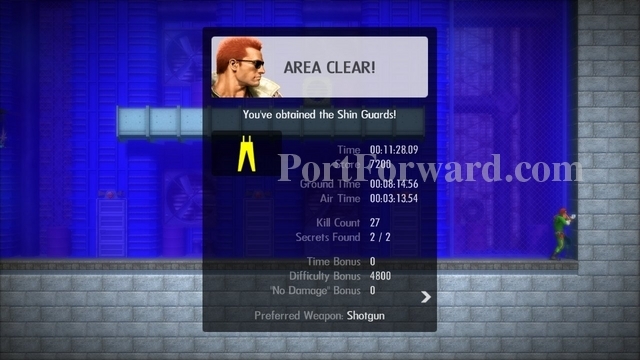
Area Clear. You obtained the Shin Guards.

Haley tells you that the Shin Guards will let you take a few extra hits.
Bionic Commando Rearmed Walkthrough Area 09 - The Waste Disposal Facility
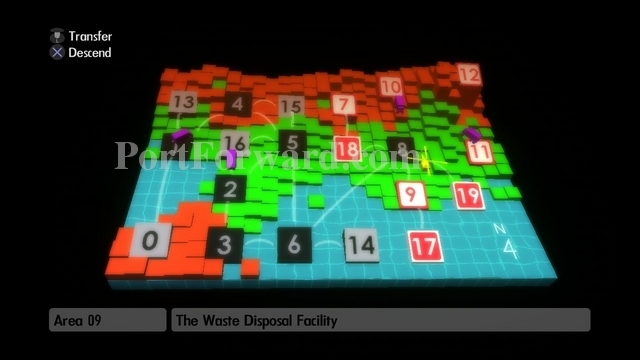
Descend into Area 09, The Waste Disposal Facility.
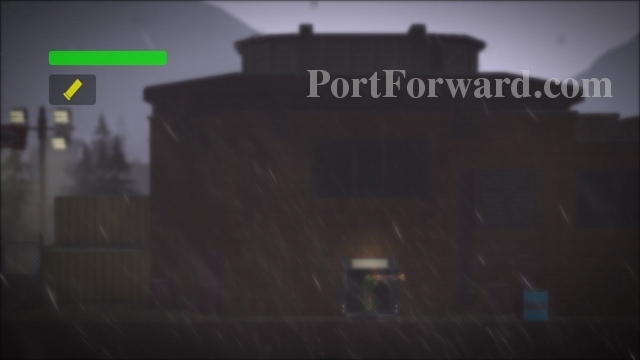
Enter the building on your right.
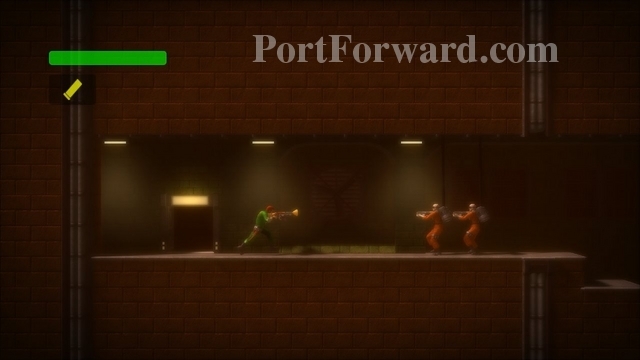
Equip your Shotgun to make easy work of these Cable Backpack Soldiers. Walk to your right and fall down the pit.
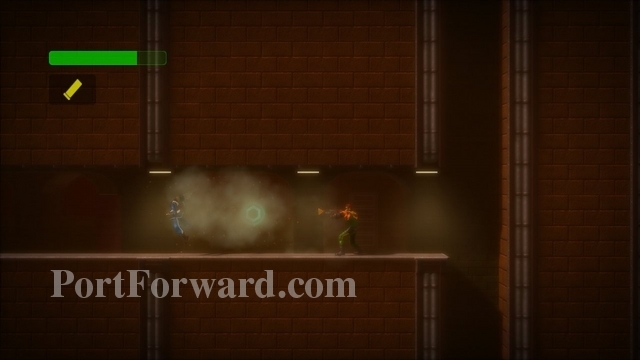
As you're falling, grapple to get into the tunnel on your left. If you miss you can call for extraction and try again.
Take out the enemies and fall down the pit on your left.

You'll find a secret door here, which is still locked. Use your claw to pull the bolt out of the door on your right.
Continue right. Once you reach a spike pit, climb the platforms upward.
Defeat the enemies and swing over the block. You can fall down the pit and get the extra life if you want. If you do, all you have to do is climb back up a few platforms to get back here.
When the fan blows you upward, grapple the platform above you.
Continue upward. You'll reach a Communications Room. Enter the room and talk to HQ.
There are five blue switches. Shoot each one to turn them off.
Climb onto the conveyor belt. There are two sets of spikes that rotate around each conveyor. Watch the pattern to avoid touching them. As you climb higher, the conveyors spin faster.
Continue to climb upward and shoot each switch as you go.
After you hit all the switches, fall back down between the conveyor belts. Don't go too far right, or you might fall into molten metal.
It might be helpful to grab the bottom of the conveyor as you fall. Then time your fall when a spike won't hit you.
Stand on the platform where you climbed up. It will now retract off and on.
Take out the enemies as you go down.
Once you reach the bottom, head left. Destroy enemies in your path.
Enter the secret door, which is now open.
You'll find a Yashichi inside. Grab it and then head back to the conveyor belts.

Climb the conveyor belts to the upper-right.

Once you are past the conveyor belts, swing across the gap to the platform on your right. Walk off the right side of the platform.
You'll fall onto another conveyor belt. Let it take you rightward, then grapple onto the platforms above you.
Climb upward.
You'll find the Boss Room at the top. Enter it.
Pull the bolt out of the wall.
Walk to the right and drop down.

Continue to the right. You'll find the next boss, the Siege Machine v2.
Like the first time you fought this boss, use grenades to take out the treads.
When the boss charges you, hug the left wall to keep from being ran over. The boss will break down the wall.
The boss will fire more powerful grenades at you than the first time. Avoid them the best you can. He'll also fire cannon balls like the first battle.
Try to get somewhat close to lure him forward. When you see the white smoke on the tires, you know he's getting ready to charge. Run left as soon as you see it.
The boss will destroy some of the platforms as he charges, so make sure you run far enough left. After the machine stalls, pull a bolt out with your grapple.
The boss will be knocked back.
Repeat until you can pull the second bolt.
Then finally the third bolt.
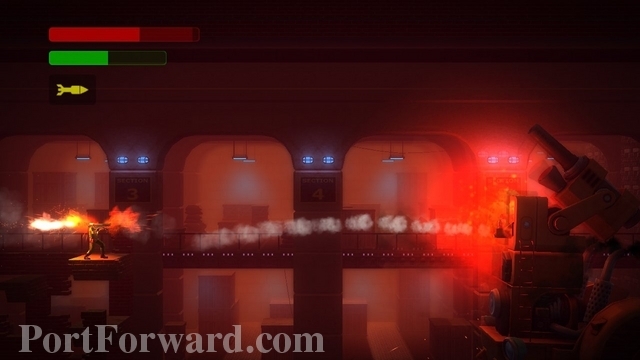
Now the driver is revealed. A few shots from your Bazooka will kill him.
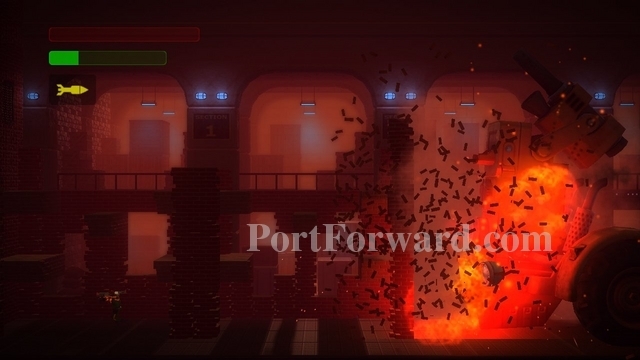
As soon as you kill him, run left. He'll charge one last time.
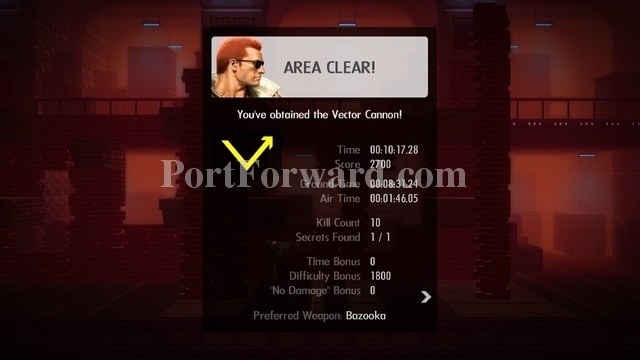
Area Clear! You now have the Vector Cannon.
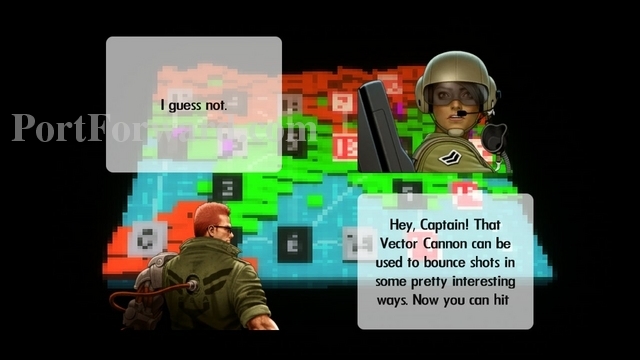
Haley will explain that the Vector Cannon can bounce shots around to reach things you couldn't before. She also mentions it will help you with a closed door in Area 07.
Bionic Commando Rearmed Walkthrough Area 17 - FSA Camp

Descend into Area 17, the next FSA Camp.
Climb up and enter the first door.

Collect the Yellow Comms Chip.
Enter the next door to your right.
Go to the middle of the room and press up.
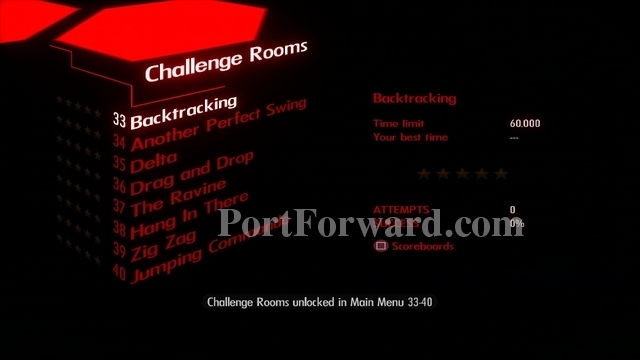
You'll unlock Challenge Rooms 33-40.
Go in the next room.
Collect the extra life in the upper-right corner.
Exit the area by running off the screen or calling for extraction.

Haley will explain that the Yellow Communicator Chip will allow communications in Area 10, 11 and 12.
Bionic Commando Rearmed Walkthrough Area 19 - FSA Camp
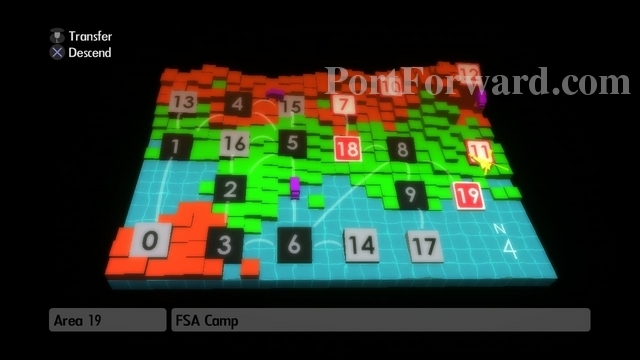
Descend into Area 19, an FSA Camp.
To your right you'll find a door. Climb up to it and enter.
Go to the center of the room and press up.

You'll unlock Challenge Rooms 49-56.
Head right, Enter the next door you find.
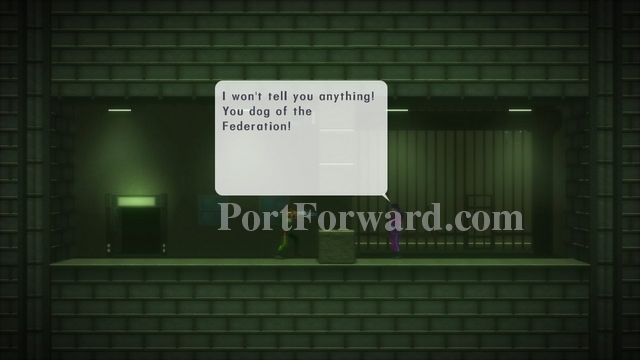
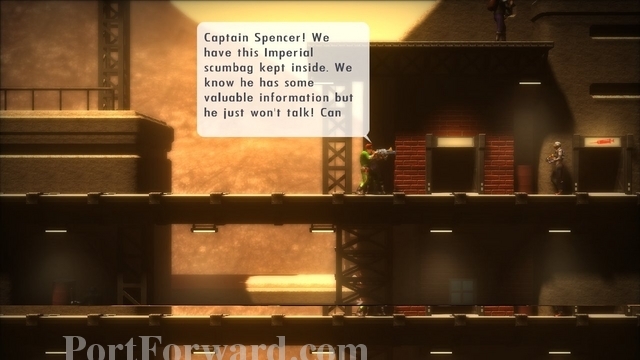
There is an Imperial prisoner here. He is refusing to talk.
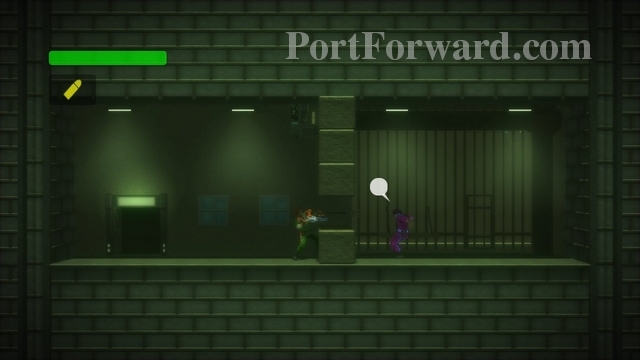
Jab him with your grapple several times.
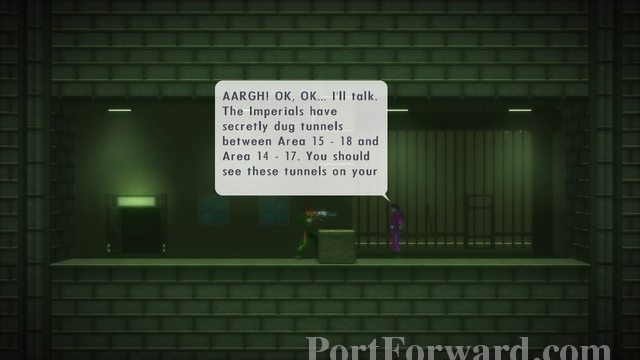
He'll start telling you about secret tunnels.
Go into the next room.
Grab the extra life in the upper-right corner.
Exit the area.

Haley will tell you more about the secret tunnels between 14-17 and 15-18.
Bionic Commando Rearmed Walkthrough Secret Tunnel 14-17
Move your helicopter between Area 14 and 17. You'll enter a secret tunnel.
Grapple to the upper-right.
Swing onto the platform on your right.
Use the Vector Cannon to shoot the blue switch.

Grapple upward onto the vent above, reeling your arm in quickly.

Use the Shotgun to make yourself swing.
Swing to the right and grab the next duct you see.
Swing again to the next duct to the right.
Swing right and land on a platform, to the left of some spikes.
Walk off the left edge of the platform, turn around and grapple the underside of it. Shoot your Vector Cannon here to hit the blue switch. Climb back up on the platform.
Grapple the underneath of the moving platform above you.
Drop when you reach the right side of the spikes.
Grab the vent with your arm.
Swing over to the platform on your right. Pull yourself up onto it.
Grapple to the duct to the upper-left and climb on it.
Use the duct with the blue switch above it to swing to the right.
You'll land near some spikes. Carefully inch your way closer to them until you can grapple up to the vent above.
Shoot the blue switch on your left with the Vector Cannon. Then use the Shotgun to begin swinging again.
Swing to the right and get on the vertically-moving platform.
Duck and shoot the Vector Cannon to the left to hit a blue switch.

Get on the single block to the right of the moving platform. When the platform goes above you, grapple underneath it.
Use the shotgun to start swinging.
When the moving platform is near the bottom of the screen, swing right and grab the platform. Pull yourself up.
Grapple the duct above.

Begin to swing. When the timing is right, swing rightward.
You should hopefully land on a platform, or at least be able to grapple it.
Duck under the spikes as it moves. When it's on the right side of the spikes, use the Vector Cannon to hit the blue switch.
Grapple diagonally to the next moving platform above you.
Quickly climb up to avoid hitting the spikes or falling.

When the top platform is to the left of the spikes, grapple to it and climb on to quickly.
Grapple upward onto the vent.
Walk off the side of the vent, turn around, and grab it. Swing to the platform on your right.
Grab the vent in the upper-right. Swing to the right.
You'll land at a door. Don't enter yet.
Walk off the right edge of the platform. Turn around and grapple the platform you walked off. Try to make your arm as long as possible so you can see the platform below.
When the timing is right, let go and swing over to the moving platform.
When you're to the far right, walk off the right side of the moving platform.
Grapple the underneath of the platform on the right.
Pull yourself up and collect the Secret Dossier. Now you can just call for extraction or kill yourself. You'll keep the Dossier.
Bionic Commando Rearmed Walkthrough Secret Tunnel 15-18
Move your helicopter between Area 15 and 18 to enter the second secret tunnel.
Wait for the platform to come close.
Fall to the right and grapple onto the bottom of the platform. Retract your arm, but remain under the platform.
When the platform passes over another one, drop down onto the lower platform.
When this platform is on the right side of its track, grapple up to the platform above you.
Drop down from this platform, catching onto the one below.
Grapple to the vent.

If you need to swing, use your shotgun to start moving.
Swing onto the first vertical moving platform.
Grapple onto the bottom of the second vertical moving platform, then climb on top of it.
Latch onto the top of the duct to your right.
Quickly pull yourself up to prevent hitting the lower duct and falling.
Use the shotgun to start swinging again.
Swing to the right.
You may land right next to the Helmet, if not use your grapple to climb up to it. Get the Helmet and call for extraction.
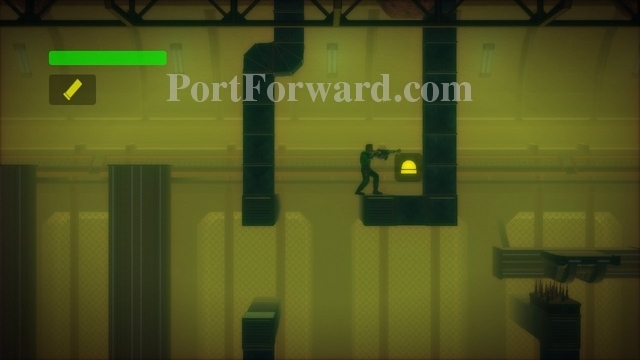
Bionic Commando Rearmed Walkthrough Area 07 - The POW Camp
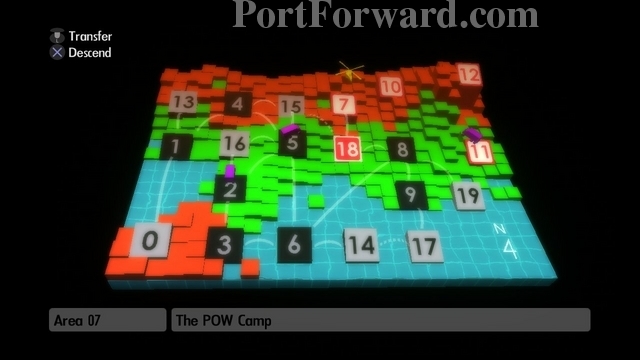
Descent into Area 07, The POW Camp.
You'll find a door, but it's locked.
Use your Vector Cannon to shoot the blue switches.
Enter the door.

Remove the cement pillar with your grapple.
Climb up in front of the Tank Droid.

Destroy it with your Bazooka.
Continue climbing, destroying the tanks along the way.
Head to the upper-right.
You will eventually reach a red tower.
Climb up the tower.
You'll find a Communications Room at the top. Go in and talk to HQ.
Get on top of the building the Communications Room is in. Grab the lamp in the upper-right and swing to the right.
Grab onto the lamp to the right.
Pull yourself up and use the shotgun to start swinging again.
Swing left, grabbing the lamp to your upper-left.
Swing off that lamp to the lamp in the upper-right.

Swing onto the ground to the right. Enter the door found there.
Grab the item here. It unlocks Secret Challenge 6.
Go to the upper-left of the red tower. Grapple to the tiny platform and swing left.
Grab the next tiny platform here. Continue swinging left.
Attempt to continue swinging left.
The lamps may knock you down to the platform below. If they do grab onto the left lamp, retract your arm, and use your shotgun to swing left, grabbing the tiny platforms.
Swing leftward. Skip the next platform and grab the one after it.
Last tiny platform! Swing left to safety. Don't enter the Boss Room just yet.
Walk off the right side of the platform, then turn around and grab it with your grapple. Be careful not to hit the wall. If you do, try to immediately grapple upward. Retract your arm so you don't swing. Face left and then fall strait down.

Attempt to grab the roof of the tunnel you come across.
In here you'll find the Yashichi. Grab it and then exit to the right and fall down the rest of the way.
You'll find a bunch of landmines (if you didn't before now.) You can use your grenades to destroy them if you wish.
You'll find an extra life to the right. Walk right and drop down off the grass to the path below. Go rightward and upward. You'll come to the red tower again. Scale it and make your way back to the Boss Room.
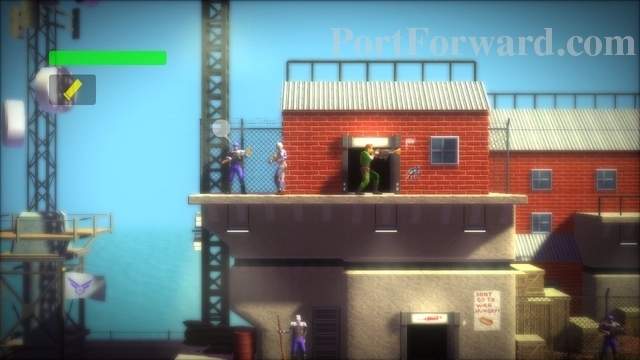
Enter the Boss room.
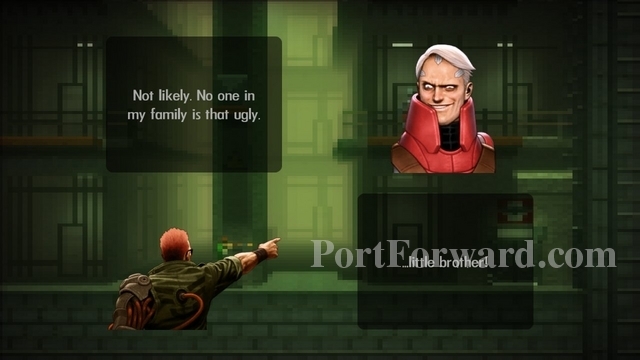
You'll find Gottfried Groeder here to fight.
Avoid his energy blasts. As long as you keep moving it's very easy.
Follow him and try to sneak up behind him and use your Shotgun on him.
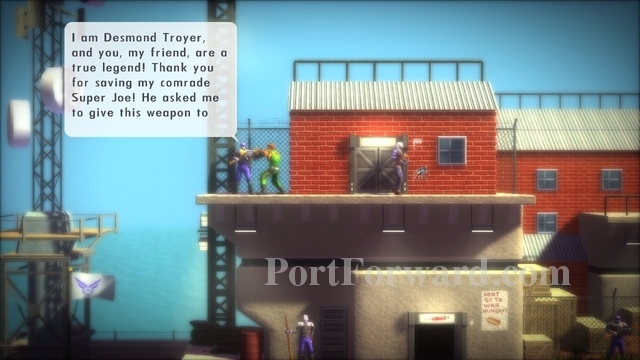
After you do enough damage, he'll run out a door in the lower right. Follow him.
Go through the hall, avoiding the enemy's bionic arm that pokes through the roof at you.
Enter the door at the end of the hall.
Now you will fight the boss some more. Just use the same tactics as before. It's slightly harder, but not much.

This time he'll die when you shoot him enough.
Enter the room in the lower-right corner.

You rescue Super Joe!
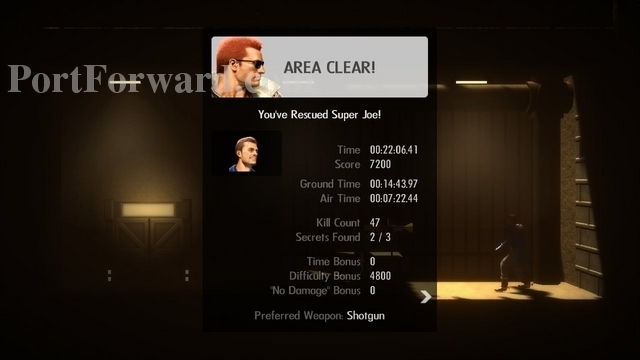
Area Clear!

Haley tells you that Joe provided coordinates for Area 10 and 11. Continue on to Area 18 and then come back to Area 07 for a secret weapon upgrade (see below.)
Fall down the pit to the right of the first door in this area.
Grab the ledge to the right as you fall.
Swing rightward and try to catch the lower part of this rock.

Swing right and grapple upward to catch the grassy platform.

Grapple upward.
You'll reach a locked door and a blue switch. Shoot the blue switch with Joe's Machine Gun.
The door will open. Enter it.
Grab Joe's Machine Gun Upgrade here.
Now your machine gun is more powerful. Call for extraction.
Bionic Commando Rearmed Walkthrough Area 18 - FSA Camp
Enter the FSA Camp in Area 18.
Go in the first door on your right.
Go to the middle of the room and press up.

You'll unlock Challenge Rooms 41-48.
Continue to the right. Go in the next door.
Grab the extra life in here.
Climb upward. You'll find a locked door. Talk to the guy to the left of it and he'll open the door.
Enter the room.
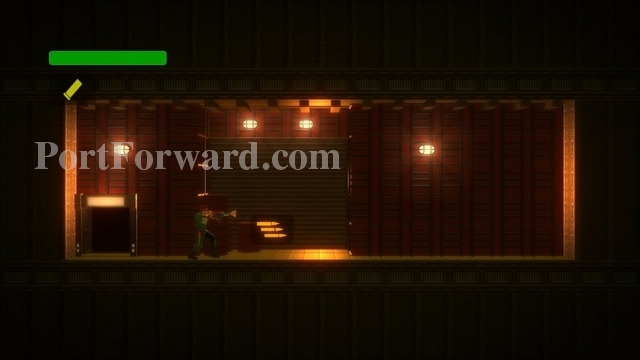
Pick up Joe's Machine Gun.
It's a powerful, well-rounded weapon.
Exit the area.

Haley says Joe's Machine Gun is effective in almost all situations. Make sure you go back to Area 07 to get Joe's Machine Gun Upgrade!
Bionic Commando Rearmed Walkthrough Area 10 - The Tech Assembly Plant

Descend into Area 10, The Tech Assembly Plant.
Enter the door on your right.
Droid Sprinkler Cannons will shoot in multiple directions throughout this room.
Use the Vector Cannon to destroy them.
Continue right until you find a spike pit. Grapple to the ledge above it.
Swing left and grapple upward to latch on to the platform above.
Retract your arm.
If you're under the crates. Drop and quickly latch on again. You should now be past them.

Latch on to the roof above and swing right.
Grapple upward to catch the small platform.
Continue upward. You'll find an extra life here.
Grapple to the platform above the blue barrel and climb up.
Swing leftward from the platform.
As you swing left, grab the left edge of the roof. Then swing left onto the platform above. If you miss, quickly grapple onto it and pull yourself up.
Use your Vector Cannon to take out the Sprinkler Cannon.
Latch onto the right side of the platform on your left. Retract your arm and use the shotgun to start swinging.
Swing left and grapple upward, catching the platform above. Pull yourself up onto the platform.
Swing right, across the pit.
Use the Vector Cannon to hit the blue switch.
Then hit the other blue switch as well.
The door in the background will open. Enter it.
Inside you'll find a Vector Cannon Upgrade. Exit the room, heading left.
Now your Vector Cannon will shoot two shots at once.
Climb up the platforms on your left.
Go down the next platforms on your left. Duck and use the Slime Blobs to carry you under the spike. If no slimes come, you can use your Shotgun as well.
Climb up the platforms on your left.
Then go down the platforms on your right until you find a path going left. Careful the Slime Blobs down carry you down to the spikes. Swing over the crate.
Enter the Communications Room found here and talk to HQ.
Grapple to the upper-left, over the spike pit.
Retract your arm. Wait for the platform to come over and drop on it.
Get on the left side of the platform. Duck when the platform goes under the spikes.
Once you are past the spikes, stand up and walk off the platform onto the floor to your left. Use your Vector Cannon to take out the Sprinkler Droid.
Go to the bottom step and repeatedly fire the Vector Cannon while ducking. This should destroy an enemy that launches explosive droids.
Fall down the pit and defeat the enemies.
Toss the blue barrel on your right.
Face left and duck. Use the Shotgun to push yourself under the spikes.
Collect the Yashichi.
Use the Shotgun to get back under the spikes again.
Run leftward while repeatedly shooting your Vector Cannon.
Grapple upward when you reach the end of the hall.
Take out the enemies at the top and enter the Boss Room.
The boss you'll fight is Power Pod v2.
Climb up the platforms, avoiding Power Pod's energy beams.
Swing toward Power Pod, using the lights on the wall.
Grapple upward to catch onto the bottom of Power Pod.
Retract your arm. Use the Plasma Rifle to take care of the explosive droids flying around.

After you pull Power Pod to the bottom. Climb back up the platforms so you can use the lights to swing onto him. Stay on the left side of Power Pod.
When Power Pod hits the ground the left side will be exposed. Use your Bazooka to damage the boss badly. Repeat these steps until you defeat Power Pod.
Area Clear! You obtained the Health Recovery Pills.
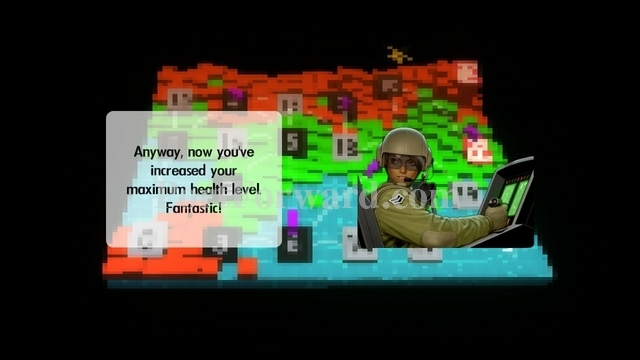
Haley tells you that the Health Recovery Pills extend your maximum health level.
Bionic Commando Rearmed Walkthrough Area 11 - The Furnace

Descend into Area 11, The Furnace.

Enter the door to your right.
Grab the roof and swing right.
Continue swinging along the roof to your upper-right.
Once you reach a platform with a Close Combat Soldier on it, you can drop down.
Platform rightward.

Collect the extra life, found against the right wall.
Climb upward. use the fans here to blow yourself up high enough to grapple upward.
Use the Vector Cannon to kill the Close Combat Soldiers as you climb upward.

When you reach the top, Swing over to the right and enter the Communications Room. Talk to HQ.
Go left from the Communications Room. Grapple above the cement block you come to. Retract your arm and drop on top of the block.
Get to the left side of the cement block. Grapple to your upper-left from the block.

Swing leftward.

Grapple upward to attach to the circle above. You want to grab the left half of it if possible.
Retract your arm and pull yourself up onto the circle.
You should fall off the circle to the left. Grapple upward to the next circle.
Retract your arm and use the Shotgun to swing.
Swing left, landing on the cylinders.
Grapple to the third circle and retract your arm.
Shoot your shotgun to get swinging.
Swing right and grapple upward to the platform, then pull yourself up.
Grapple leftward along the roof.
Continue leftward across the roof, past all the cylinders.
Swing into the hallway on the left, killing enemies as you continue leftward.

Grab the Yashichi at the end of the hall.
Head right and fall off the right edge of the hall.
As you fall, grapple leftward, onto the bottom of the wall. If you need to get back here from the Communications Room, you can swing along the bottom of the cylinders until you reach this point.

Swing leftward, grabbing whatever you can to stay swinging.
Continue swinging leftward. Land on the platform with the Boss Room door.
Enter the Boss Room.

You'll fight the Fabricator v2.
This time the Fabricator will light up three places around it's inside. These lights indicate which order spikes will attack you in.
Use your grapple to block the attacks. If you miss any of the three, the process will start over again.
After a while, the Fabricator will need to recharge. Grapple onto the driver's seat and swing left.
Grapple upward and retract your arm. Use your Bazooka to hit the driver.
Continue this pattern until the boss is defeated.

Area Clear! You'll obtain a Bulletproof Vest.

Haley will explain that the vest will soak up a lot of damage.
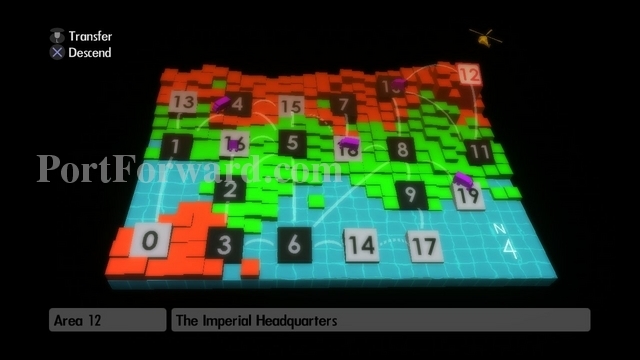
Bionic Commando Rearmed Walkthrough Area 12 - The Imperial Headquarters
Descend into Area 12, The Imperial Headquarters.

Take the elevator to your right downward.
When you reach the bottom head left.
Enter the door at the end of the hall.
Destroy your enemies and then climb onto the platforms on the left side of the room. Collect the extra life found here.
Swing rightward along the roof.
Try to grapple near the right edge.
Swing right, then grapple up to latch on to the upper ceiling.
Retract your arm.
If you aren't somewhat close to the right edge of the ceiling, release your grip and quickly grapple to your upper right again.
Swing right and grapple upward to latch on to the upper roof.
Use the shotgun to start swinging.
Swing to the right and collect the Yashichi. If you've been collecting them along the way, this should be your final one. Drop down and exit the room through the door you came in.
Head rightward, past the elevator.
Take the next elevator downward.

Go in the Communications Room on your right. Talk to HQ.
Continue down the elevator.
When you reach the bottom, run left.
Enter the door at the end of the hall.
Climb up the platforms here. Do your best to avoid the electricity moving along the floor.
Enter the door you find on your right as you climb up.
Use the Vector Cannon to destroy the enemies here.
Climb to the top of the room and hang from the blue switch to deactivate it.
Drop back down and exit back out the door you entered with.
Continue to climb up the platforms, avoiding the electricity.
Enter the door at the top of the room.
You'll exit near the Communications Room.
Take the elevator down again.
Once you reach the bottom, head right. Use your grapple to get past the obstacle.
Take the elevator down a bit and enter the door on your right.
Use your Vector Cannon to make quick work of the enemies here.
Swing over the cement block. Continue downward to the bottom of the room.
Use your Vector Cannon and move leftward.
Grapple up to the switch.
Pull the switch with your arm until it deactivates.
Climb upward and exit the room.
Continue down the elevator.
When you reach the bottom, take out the enemies and head left.
Swing past the obstacle and go down the elevator.
You'll come to a floor of spikes. Grapple the roof to your right.
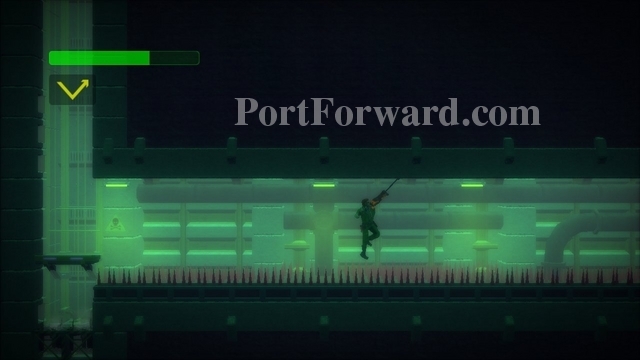
Swing across the roof, avoiding the spikes.
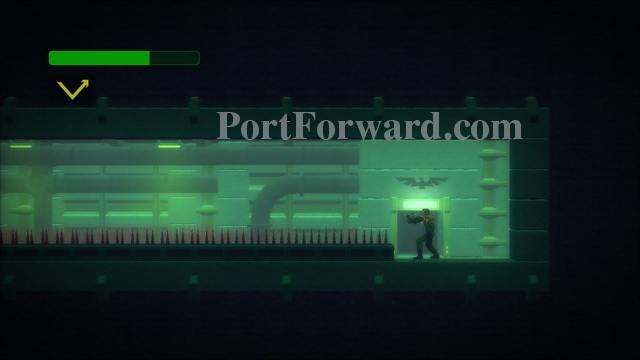
Enter the Boss Room.

You'll have a cut scene, but no boss battle.
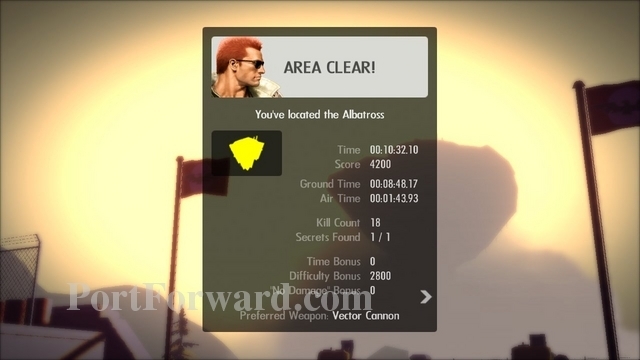
Area Clear! You've located the Albatross.

Haley will tell you to go to the next area. You can now backtrack to Area 00 to get the BC Purple Matrix.
Bionic Commando Rearmed Walkthrough Area A - The Albatross

Descend to Area A, The Albatross - The Ultimate Weapon.

Super Joe will land with you. He'll take out the Main Reactor while you go after The Leader.
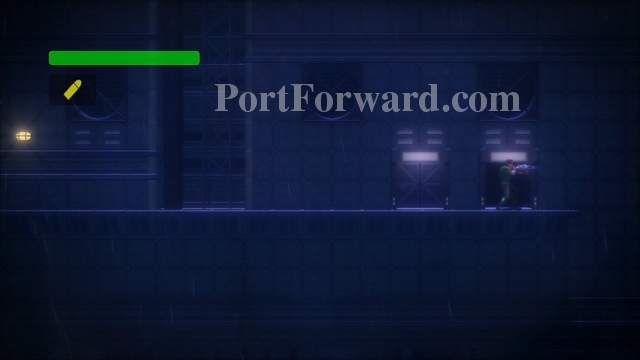
Super Joe will enter the first door. Enter the second one.
Go up the elevator.
Enter the first door, which has a picture of a gear overhead.

Run leftward.

Drop down the pit, then continue to platform downward.
Enter the door you find at the bottom, on the left.
Head right.
Hang from the switch to disable it. Exit the door and head right.
Careful not to get smashed by the crunchers. Use the very right cruncher to grapple to the platform above.

Climb to the upper platform.
Walk right, onto the moving platform.
When it reaches the right side, walk off to your right and get on the second moving platform.

When the second moving platform has you high enough, grapple to the platform above it.
Climb upward.
Use the Vector Cannon to destroy the Sprinkler Cannons.
Walk left, across the retracting platforms. Whenever one pops up, quickly move onto it before yours retracts.
Use the Vector Cannon as you walk to take out more Sprinkler Cannons.
Drop onto the top horizontal Cruncher. Try to land on it, then just let yourself fall as it retracts into the wall.
You should drop onto the ledge below.
Climb up the left path and either use the Vector Cannon to destroy the soldiers that come out the door, or just grapple quickly past them.
Swing over to the right, where you'll see some Crunchers.

Walk rightward, past the Crunchers, being careful not to get squished.

Exit the room on your far right.
Enter the second door, which has a gas symbol above it.
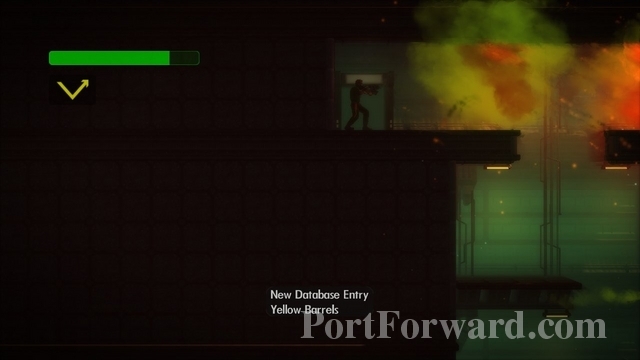
Shoot or avoid the Yellow Barrel in front of you. The gas from the explosion will damage you if you get too close.
Fall down the pit and continue downward. Drop down the ledges when the gas stops.
You'll come to a barrel and two passages downward.
Drop down the left path.
Use your Vector Cannon to try to destroy as many Sprinkler Cannons as you can.
Then walk left, but don't stop because the floor will retract after a bit once you touch it. Keep shooting the Vector Cannon to try to clear any enemies from your path.
Grapple up to the platform at the far left. Continue to climb up.
Use the Vector Cannon to destroy the Sprinkler Cannons.
Climb up either left or right path and destroy the Sprinkler Cannons at the top.
Enter the door.
Head to your right, avoiding the gas.

Hang from the switch to disable the gas in this area.
Walk left and exit the room.
Go back down the way you came.
Walk right, over the retracting floor.
Climb up the platforms on your far right.
Keep climbing to the top of the area.
Exit via the door on your left.

Now enter the room with the lighting bolt on it.
Go down the elevator on your left.
Carefully go right, past the electric beams.
Drop down the pit.
Grapple the roof and wait for the electric beam to shut off, then swing leftward.
Grab the roof again. Try not to fall into the electrified floor below.
Swing left past the second electric beam when it shuts off. Go down the elevator on your left.
Grapple onto the first cylinder.
Swing right and catch the second one. Avoid falling onto the electric floor.
Swing right again and catch the third cylinder, then swing to safety on your right.
Go down the elevator, found on your right.
At the first right, hang from the switch to disable it.
Continue to the bottom of the elevator. Carefully go left, avoiding the electric beams.
Grapple up the platforms.
At the top, swing left.

Go down the platforms, avoiding the electricity traveling along the floor.
Pull the switch, found at the bottom-right.
Climb upward, avoiding the electricity on the floor, then swing right, over the barriers and pit.

Hang from the switch found here.
The power will go off. you'll use your torch.
Swing back over the pit to your right and head downward.

Drop down the hole at the bottom-left side.
Use your Vector Cannon to take out enemies as you head rightward.
At the far right, climb up the platforms.

Eventually, you'll reach some cylinders above you. Grapple upward, attaching to the left side of the cylinder.
Retract your arm.

Pull yourself up and you should start falling off the left side of the cylinder. Quickly grapple upward to latch onto another cylinder above you.
Retract your arm.
Pull yourself up and quickly grab to the ceiling above you. Retract your arm and use the shotgun to being swinging.

Swing left and latch onto one of the small platforms.

Climb upward.
Exit via the doorway on your left.

Go right and collect the extra life.
Enter the door at the end of the hall.
This area can be quite difficult. Grapple to your upper-left to grab onto the platform. This platform will retract after a few seconds, so don't hold on too long. Swing leftward off the platform.
Latch onto the permanent platform to the left of the one you swung off of. Climb on top of the platform.
Grapple to your upper-left, then swing left.
Grab onto the permanent platform to your left and climb on top of it.
Grapple straight up to the retracting platforms above.
Each time a platform extends, walk leftward onto it.
Stand on the left edge of the final retracting platform, then let yourself fall when it retracts.

Make is so that you fall between the two retracting platforms below. If you stand between two of these platforms there will always be one extended to keep you from falling.
Continue leftward across the retracting platforms. When you reach the left edge of the area, grapple upward.
When you reach the top platform, grapple to your upper-right and quickly swing rightward.
There are some retracting platforms that you may land on. If you don't, be ready to grapple to your upper-right to a permanent platform that's found on your lower-right (you may land on it.) Get on the right retracting platform and just let yourself fall, landing onto the permanent platform.
Grapple to the upper-right, onto some small retracting platforms, then swing right.
You should hopefully land on some more small retracting platforms. If you miss, try to grapple onto them and climb up. Walk rightward across them as they extend.
Grapple to your upper-right, to a permanent platform.
Climb up and grab the extra life.
Walk off the right edge of the permanent platform, then turn around and grapple onto it.
Swing right, hopefully landing on the small retracting platforms. If you fall, attempt to grapple onto them and pull yourself up.
Walk rightward across the small retracting platforms as they extend.
Stand on the final platform and let yourself fall. You should fall onto a permanent platform below.
Walk rightward across the retracting platforms.
When you reach the right edge, grapple to your upper-right, onto a permanent platform.
Climb on top of the permanent platform.
Grapple upward twice, onto the retracting platforms.
Walk left along the retracting platforms.

Grapple upward and climb onto the retracting platform.
Walk leftward, across the retracting platforms as they extend.
Let yourself drop off the left edge of the very-left platform when it retracts. You should land on the retracting platforms below. Try to land between two platforms to be safe.

Walk leftward, across the retracting platforms as they extend.
Grapple to the upper-left, onto the permanent platform.
Pull yourself up and go through the door.
Head a small bit to the right and then climb the platforms.

You'll find an extra life in the upper-left corner of this room.
Head back to the right. The Vector Cannon is useful in this area.
Grapple onto the roof and swing to your right. Grapple to get up to the elevator on your upper-right.
Take the elevator as high as you can.
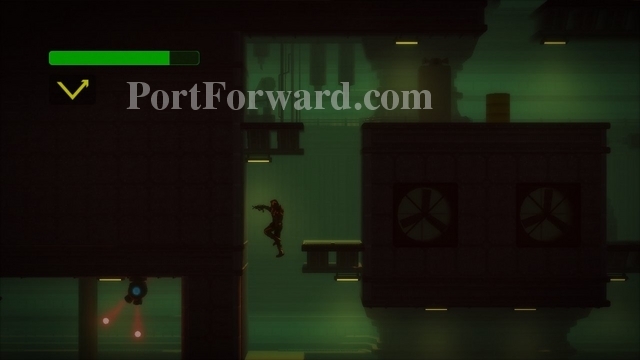
Use your Vector Cannon to take out the shielded soldier.
Climb up and pull the blue switch in the upper-right corner.
Go back down the elevator and go left, down the hall that is now accessible.
Use the Vector Cannon as you run left.
Pull the blue switch that you come to.
Head back to the right and enter the door.
Right right, using your Vector Cannon.

Climb up the platforms, then swing leftward.
Pull both the blue switches.
Exit the room.

Go up the elevator.
Climb to the top, where the switch is. Swing leftward, landing on the upper platform.
Walk off the left edge, falling onto the moving platform.
Drop off the platform and grapple under it. Quickly retract your arm, so you don't hit a wall.
Drop to the moving platform below when they line up.
Duck when it goes under the wall.
Grapple up onto the platform on the left side of the wall. Climb up onto it.
Grapple to your upper left and retract your arm.
When the moving platform is under you, drop onto it.
This part can be tricky. When the moving platform is on the left side of the wall you see below it, drop off and grapple onto the platform, quickly retracting your arm. If possible drop onto the platform below, or onto the lower edge of the wall to your left. If you can't do it, then climb back up onto the moving platform before you hit the wall on your right.
When the lower platform is on the left edge of it's path, climb up.
Continue climbing upward, taking out enemies in your path.
Walk to the right and pull the switch you find.
Now you can optionally go back to the last elevator, take it down where the door is, but head leftward.
Collect the FSA icon. Now head back to the last switch you pulled.
Continue rightward from that last switch. Use your Vector Cannon to defeat enemies.
Swing past the cement block. When you reach a barrier on the right, grapple upward and retract your arm. Use the shotgun to start swinging, then swing rightward.
Go up the elevator.
Go leftward.
Take the next elevator upward.
Then run rightward.
Go in the door on your far-right.
You will now continue from here. Climb upward.
Walk left.

Haley will show up and talk to you.

Her helicopter will be destroyed.
Grab the Bazooka upgrade on your left.

You'll come to a blue switch. Use the Bazooka to shoot the blue switch. You can control the rocket with your right analog stick. Make it go up and then left to hit it.
Go past the elevator and hit the other blue switch with your Bazooka.
Go up the elevator.
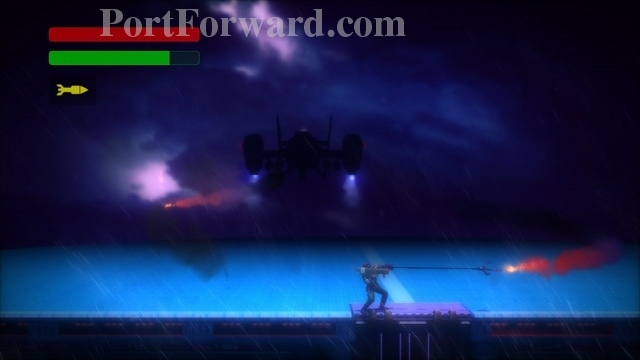
You'll come to the final boss, The Leader's Helicopter. He'll shoot rockets at you. Watch which direction they are coming at you. You'll need to use your grapple in the opposite direction to destroy the rockets before they hit you.
Run from the bullets fired.

Fire your Bazooka and use the right analog stick to guide the rocket into the windshield.
Occasionally, the boss will prepare to fire some heavy lasers at you.

Run whichever way the helicopter is leaning. He'll often repeat this pattern three times.

On your third rocket hit, the action will slow for a dramatic conclusion to the fight.

The boss will be destroyed.

Joe will tell you that he's destroyed the main reactor.
The Albatross is falling. You only have so much time to get out before you'll die. Go down the elevator.
Go in the door to the left of the bottom of the elevator.
Run rightward.
Climb up the platforms and start walking left.

You'll find Groeder again. This is an optional fight. It would be extremely difficult to actually kill him and get out alive. If you die and still have lives, you'll start at the doorway to this room.
Rockets will heavily damage him. Avoid his shots.

When he gets on the platforms, you can guide your rockets into him.
Your best bet is to just avoid Groeder and climb up the platforms on the left.

When you get to the top of the platforms, you'll watch the Albatross crash into the water.

Mission accomplished!


 Banished Walkthrough Banished - Starting out
 Borderlands 2 DLC: Sir Hammerlocks Big Game Hunt Walkthrough Sir Hammerlocks Big Game Hunt
 Borderlands 2 Headhunter DLC 5: Son Of Crawmerax Walkthrough Fun,Sun and Guns
 Borderlands 1st release Walkthrough Introduction
 Battlefield 4 Walkthrough Chapter 1: Baku