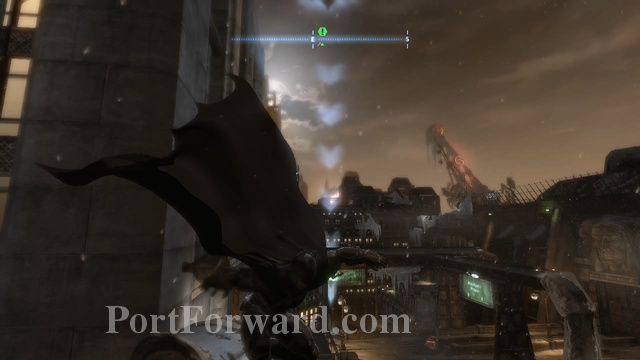
Batman: Arkham Origins - Cold, Cold Heart DLC Walkthrough Wayne Mansion

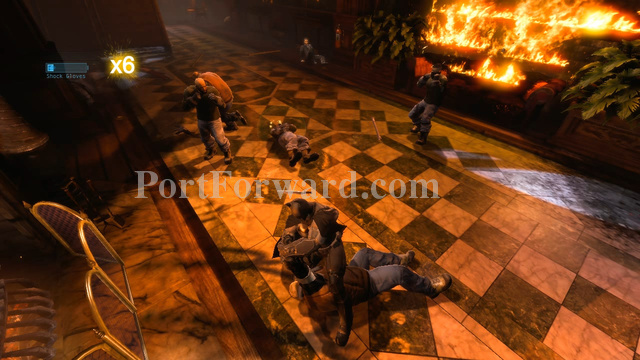
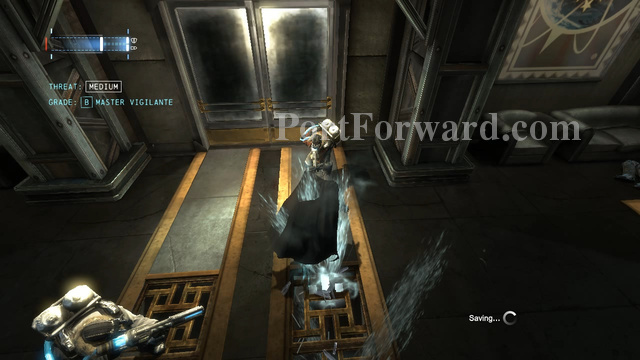
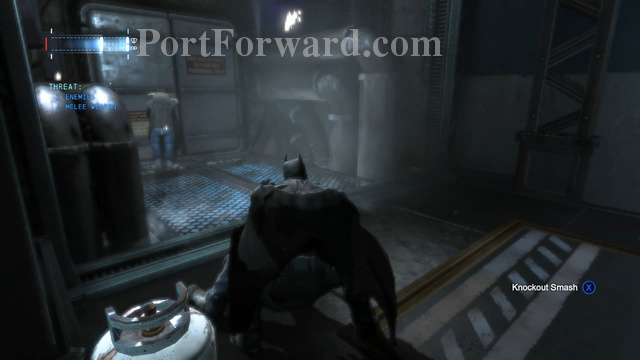
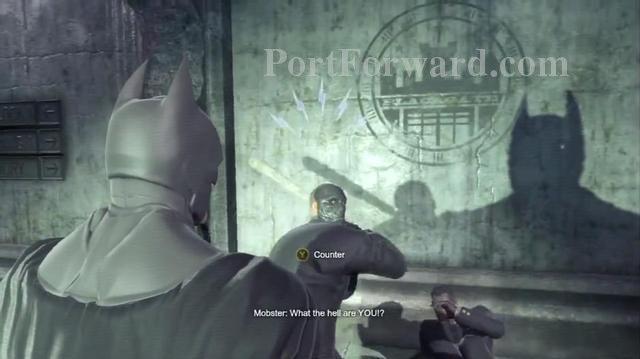
After the cutscene you'll immediately have to take care of a few of Penguin's goons. Press X to attack and when you see blue lightning shaped icons on the enemy's heads press Y to counter their attack.
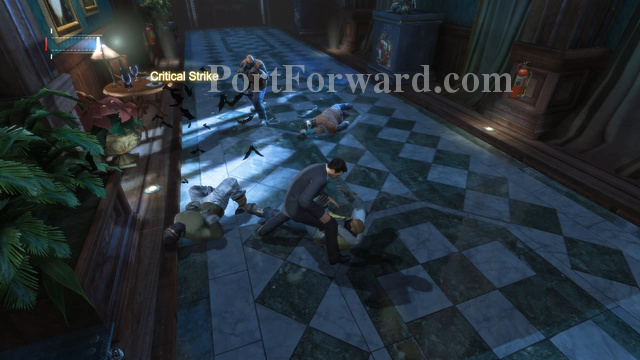
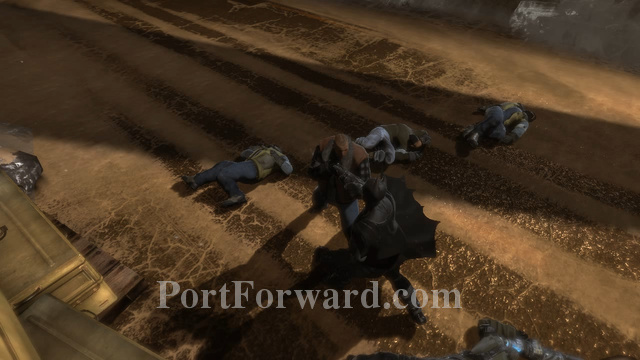
You can do a takedown on a fallen enemy by pressing LT+Y while they're on the ground. Beat up the goons but be careful not to do a takedown when some goons are still standing or else you'll get hit.
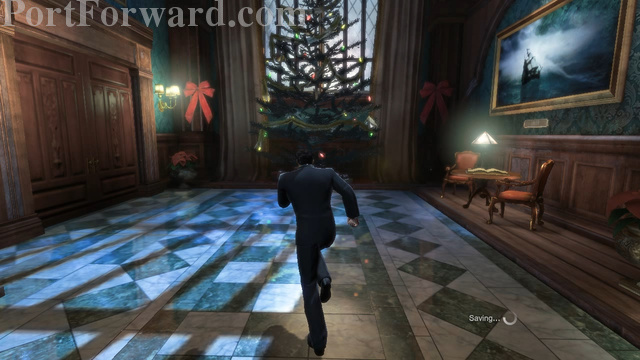
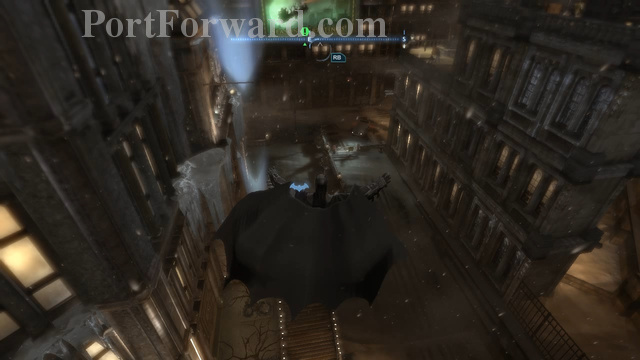
After talking to Alfred head for the door on the left side of the large Christmas Tree and talk to Alfred inside, then exit through the door behind him to get to the library.
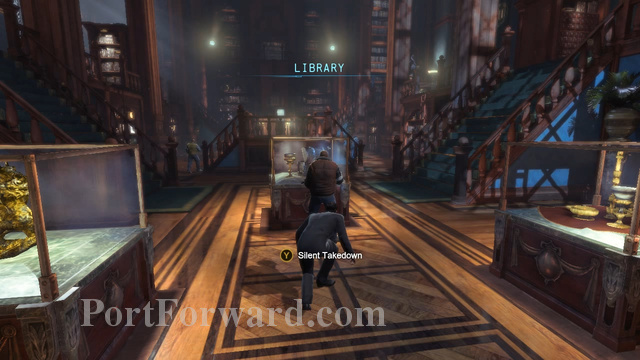
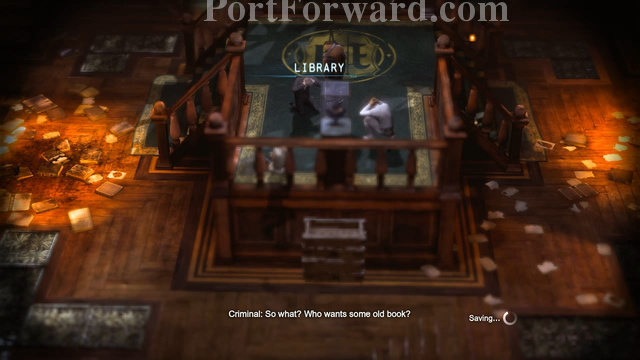
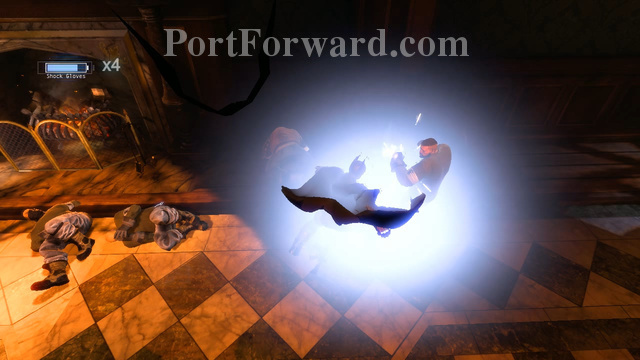
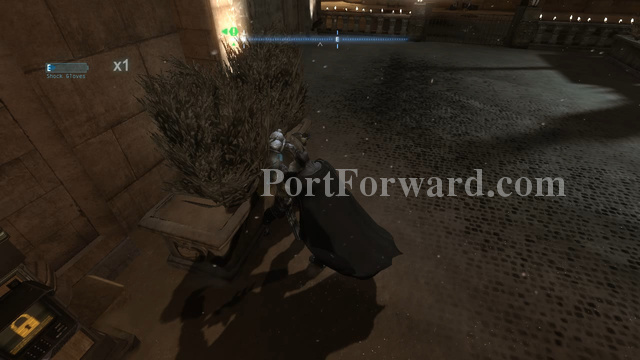
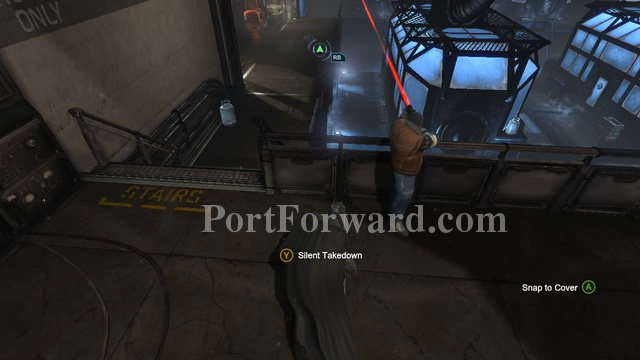
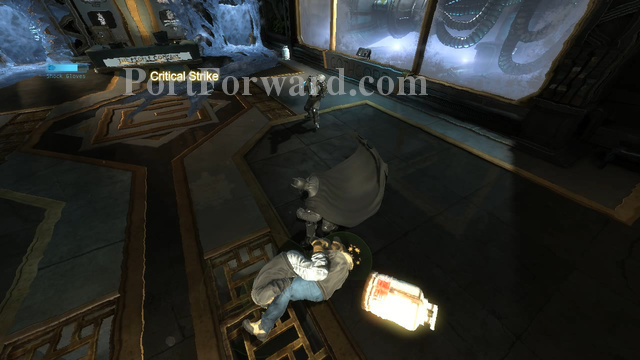
Inside the library you'll have to silently takedown Penguin's men. As soon as you enter through the door, press RT and approach the first goon from behind and press Y to do a Silent Takedown.
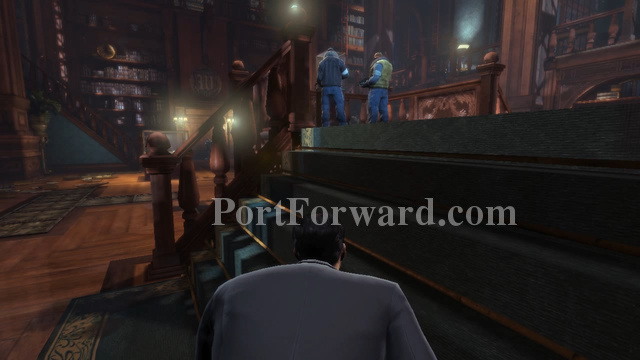
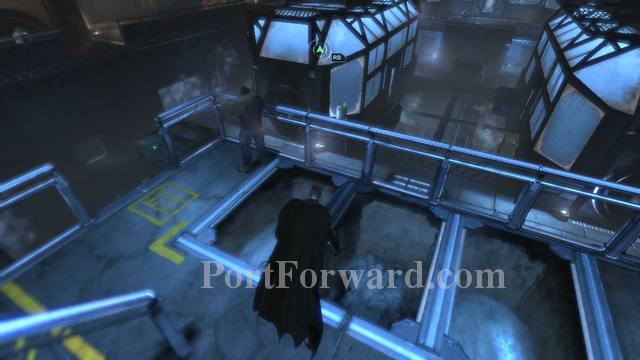
Approach the elevated part of the floor at the middle of the library and climb up on either side of the stairs, then approach the goons from behind and do a Double Takedown.
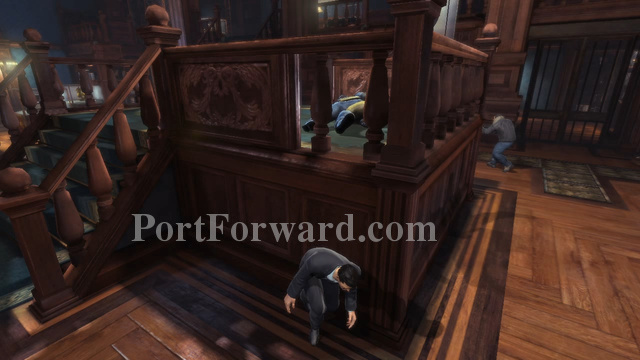
Now climb downt he right side stair and hide behind the wall. Wait for the last goon to pass the other side of the elevated platform, then quickly follow behind him and do a Silent Takedown.
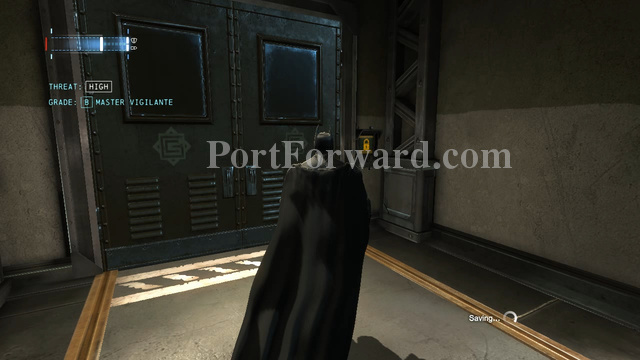
Enter through the door with the large "M" (where the last goon was standing) and proceed down the stairs and to the right side walkway.
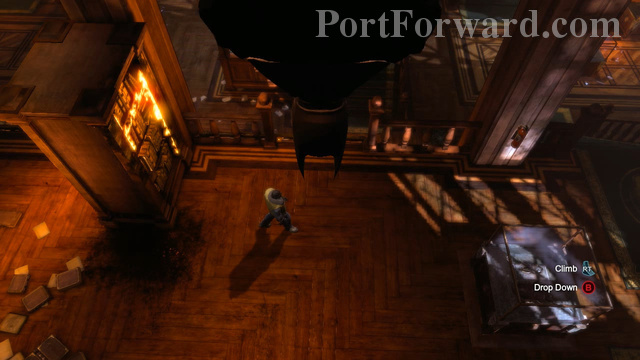
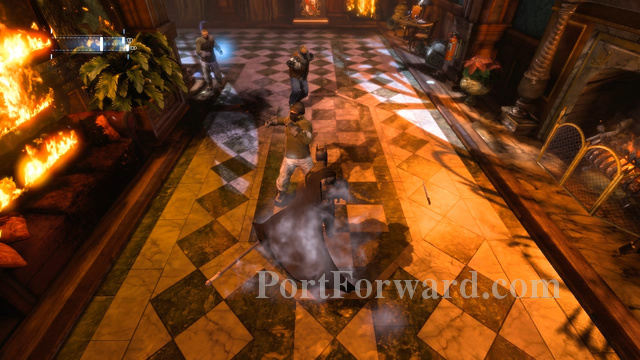
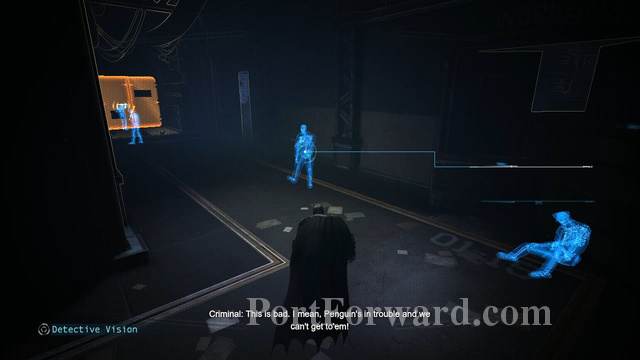
Climb down on the side of the railing and do a Pounce attack on any of the goons below, then knockout the rest of them.
"A short note though, some of the goons may break a wine bottle and attack you with it. This is the same for knife wielders, when yellow lightning marks appear on an enemy's head either dodge behind them (A, A) or press Y at the right moment to dodge.
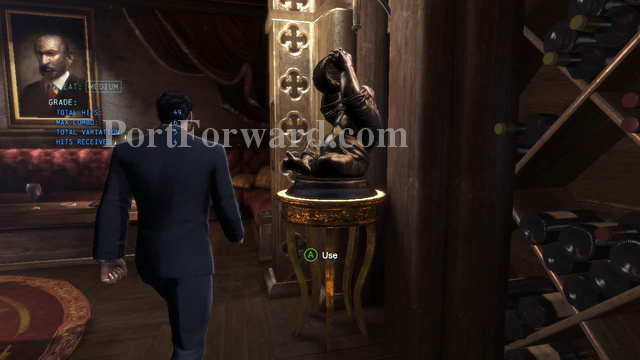
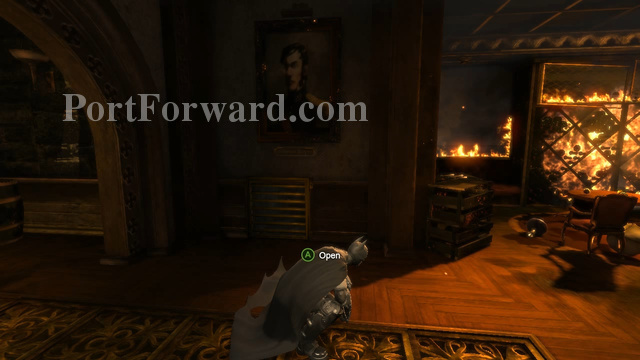
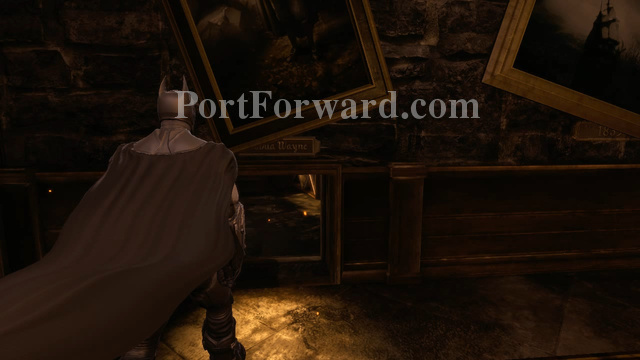
After taking out the goons head through the metal gate and inside the tasting room. Approach the statue at the far right corner of the room and press A to open the Batcave.
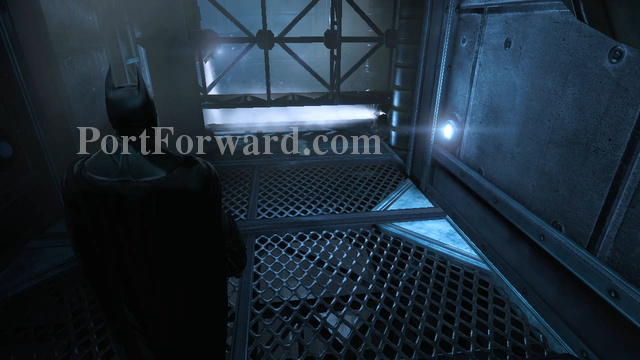
Enter into the secret tunnel and head down until you get to the broken bridge. Jump across the gap and shimmy over to the right side using the ledge.
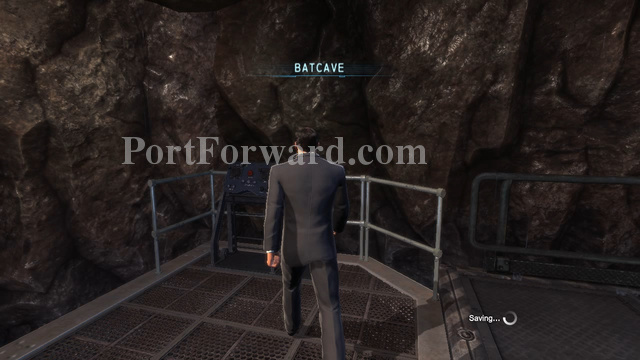
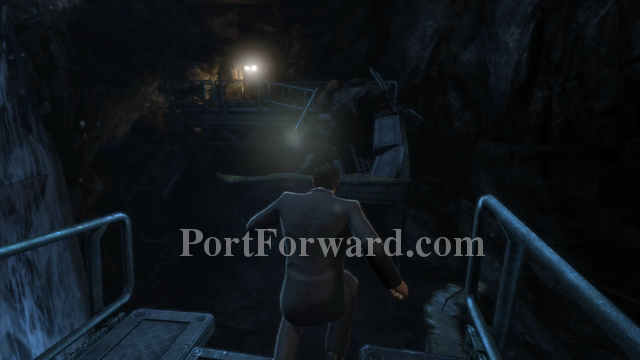
Climb up the side of the broken bridge and continue down the tunnel until you reach the lift. Press the big red button on the right side to take it down to the lower floor and into the Batcave.
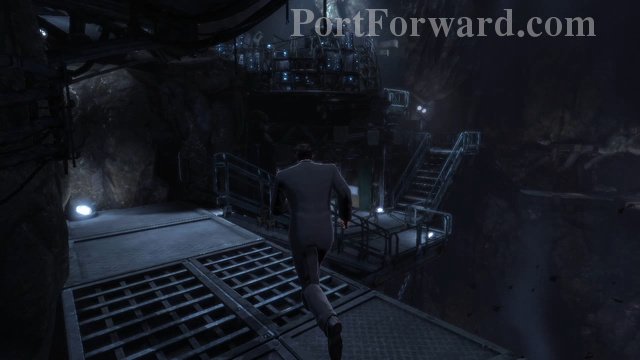
Once the lift stops moving, head forward and take a right near the bridge. Follow the bridge and climb up on the stairs at the end of the catwalk.
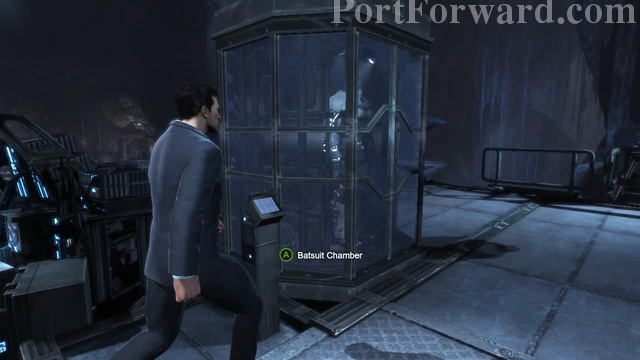
Climb up the stairs that lead to the large computer and approach the glass case on the right side. Approach it and press A to wear the Batsuit.

Now that you have your Batsuit on you'll have all the equipment that you've gained in the main game. Head back down the stairs and to the lift you used to enter the Batcave and take it back up to the Secret Tunnel.
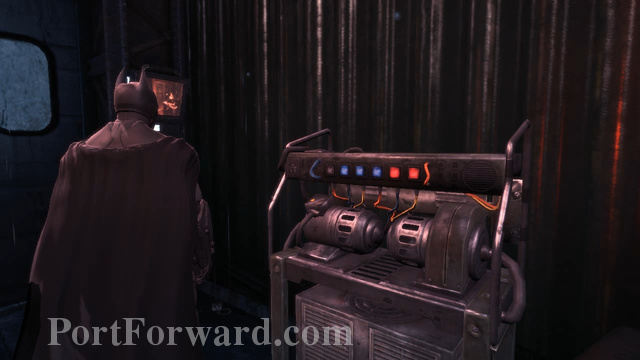
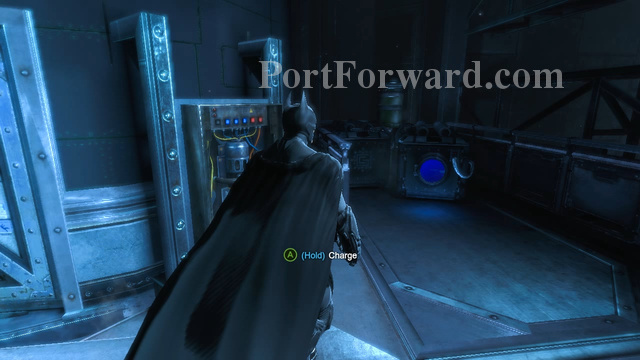
Once you're in the Secret Tunnel Alfred will contact you again and the door will be unable to open. Turn to the right side and you'll find a generator. Press and hold A to recharge it and power up the door.
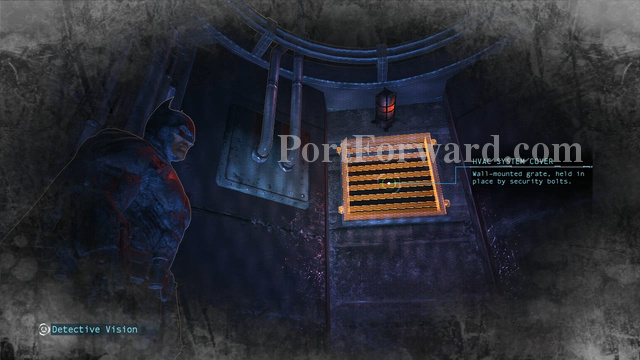
Now head all the way back to the wine tasting room and open the vent on the right side wall, just before the gate.
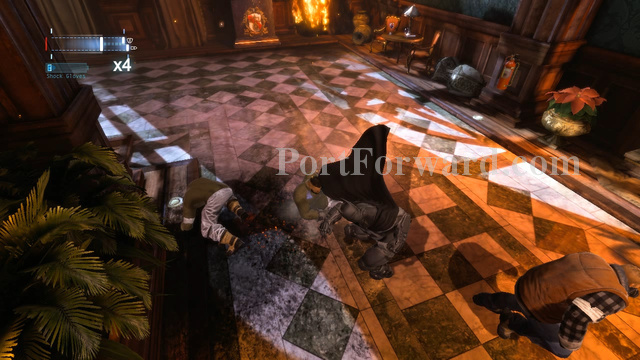
Don't open the vent, just get near it and perform a Takedown on the nearest goon to thin the enemy number. Start beating up the rest of the goons.
The room consists of unarmed, bladed, pipe and gun wielding goons. Always takedown the ones with a gun first, then the blade wielders. Once those are down just keep countering and attacking the rest of the goons.

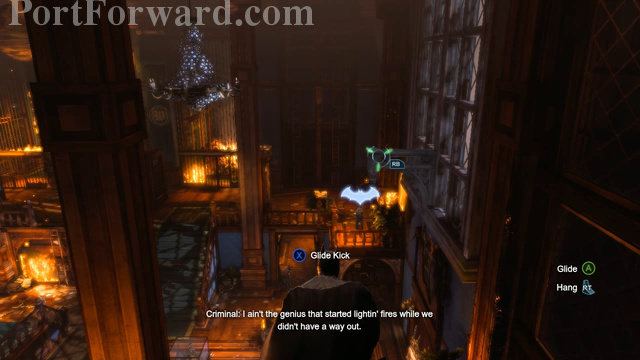
After defeating the goons use your Grapnel (RB) to get back up the upper floor and make your way to the library entrance.
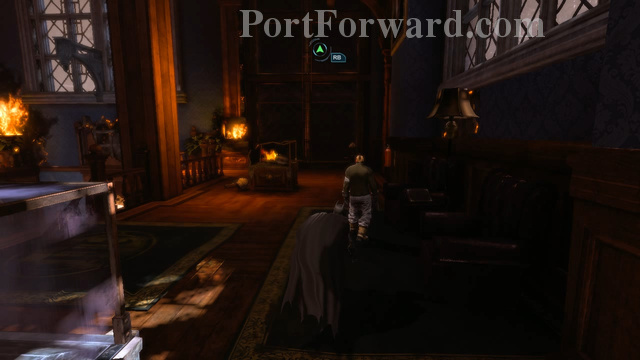
You can't enter the library anymore due to the fire so look at the right wall and look underneath the second portrait on the right from the library entrance and you'll find a vent that you can use.
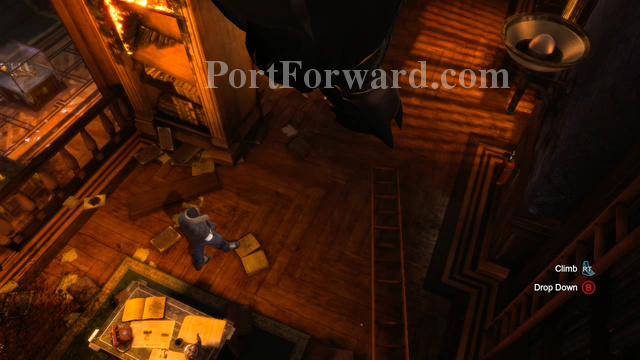
Use your Grapnel to climb up the next floor and use the ladder to get into the higher floor of the library. You'll find Alfred and some other people in need of saving there.
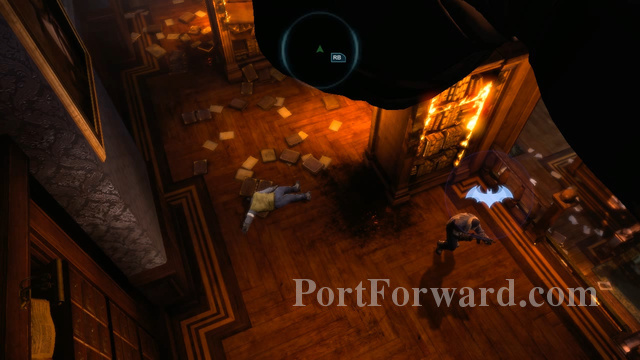
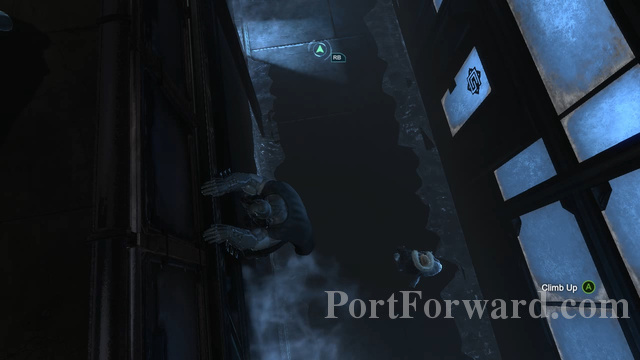
Use your Grapnel and make your way to the second post on the right side. Press RT to hang from the post and wait for the goon to turn his back on you, then drop down and do a Silent Takedown on him.
Climb back up the post that you hanged from and wait for the goon further on the right side to turn his back, then drop down and take him out.
After taking out the second goon, climb back up on the post and make your way to the left side via the post on top of the door at the opposite side of where you first came into the library.
Hang from the post and wait for the goon to walk towards the center of the floor, then drop down and take him out.
Move back to the right side, chances are someone found one of the goons that you took down and the rest of them are crowding around him. Wait for them to split up, then drop down and take out the one that will be left by the stairs.
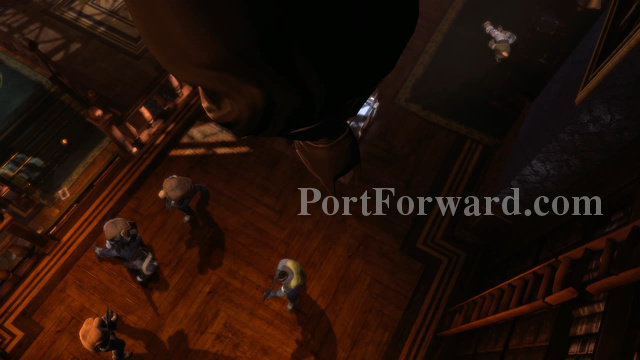
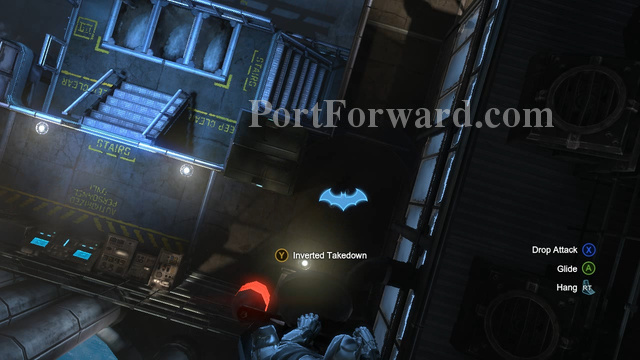
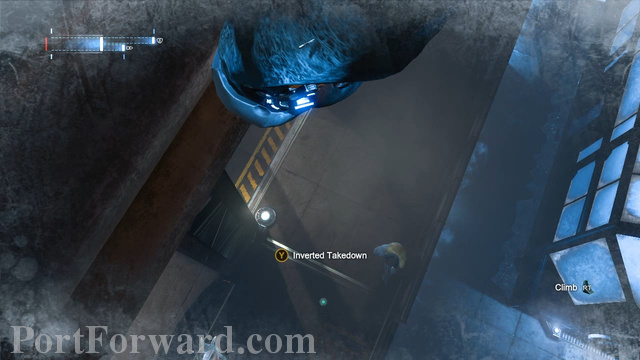
They'll find that guy too and start crowding on him. This time hang from the post and wait for one of the goons to pass underneath you, then do an Inverted Takedown on him. Since they're all busy inspecting the other guy, they won't even notice you.
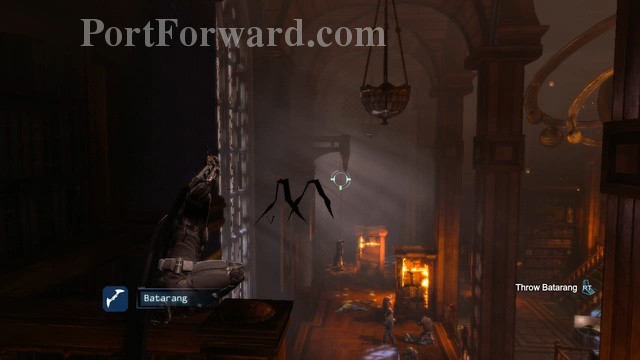
Move to one of the posts on the side and wait for the guy that you hung to lose consciousness. Once he does, throw a Batarang at the rope to make him fall.

After cutting the rope, head back to the post at the middle and wait for another chance to do an Inverted Takedown on the goons. Keep repeating this pattern until the last goon takes a hostage.
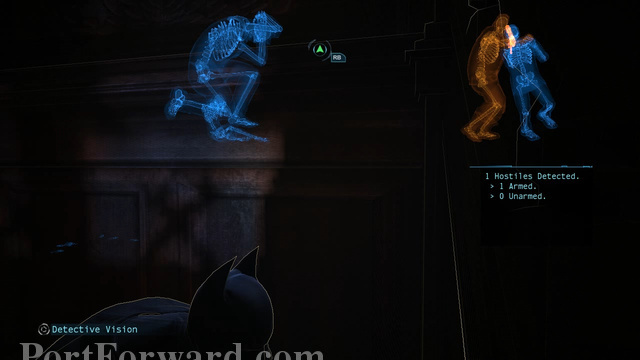
Once he takes a hostage, drop down on the side of the platform and crouch down to avoid being seen. Activate your detective vision and wait for him to turn his back on you, then climb the stairs and take him out.
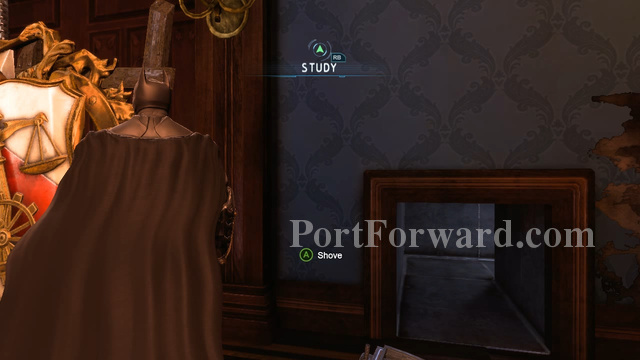
After saving the hostages, head for the door at the center of the room and press A to shove the Wayne Crest out of the way and open a path for the hostages.
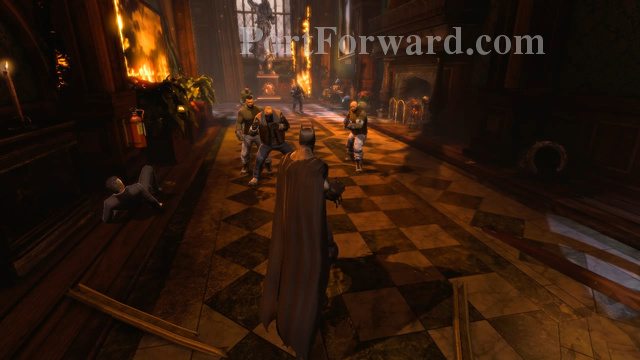
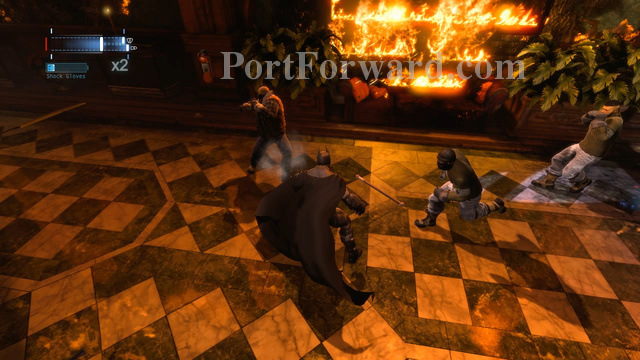
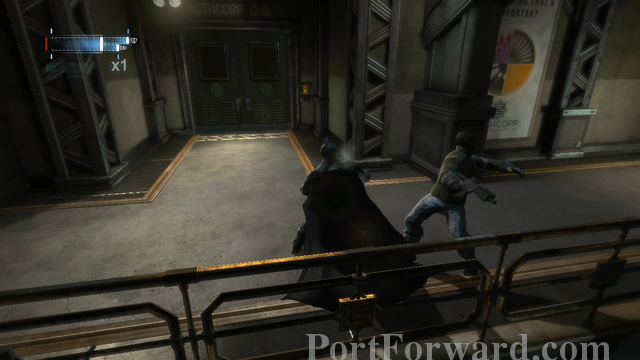
Head outside the study and into the hallway, you'll find Mr. Boyle here and also a lot of goons. On the right side theres a goon that's holding a gun, take him out first. Then right behind him is a goon with a knife, get him next.
Then proceed to beating them up. Make sure that you don't let any of them retake the gun or blade. Also occasionally a message will appear of the screen saying to press Y+B, always press when it does as you can quickly Takedown an enemy even in combat when you do.
As you go on fighting your Shock Gloves will charge and is charged depending on how many hits you've done. Once fully charged you can press both analog sticks to activate it. Shock Gloves bypass enemy defences, meaning even shielded enemies get hit with your attacks when the gloves are activated.
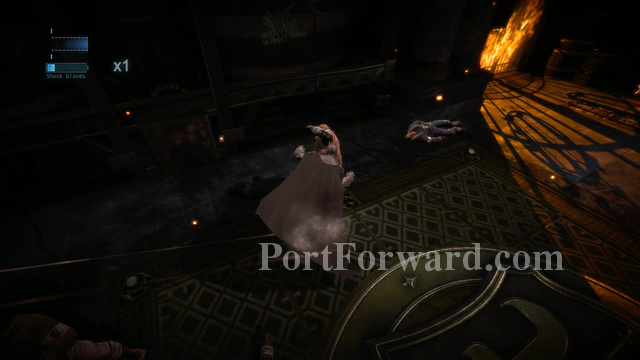
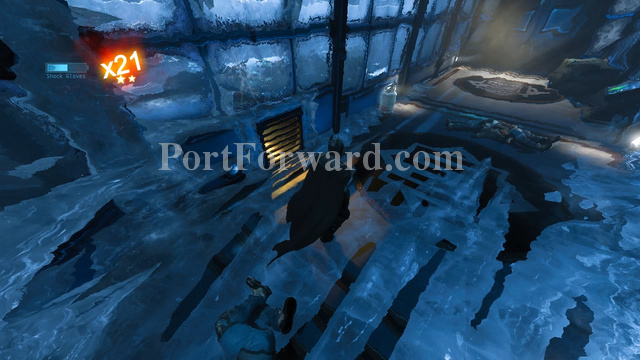
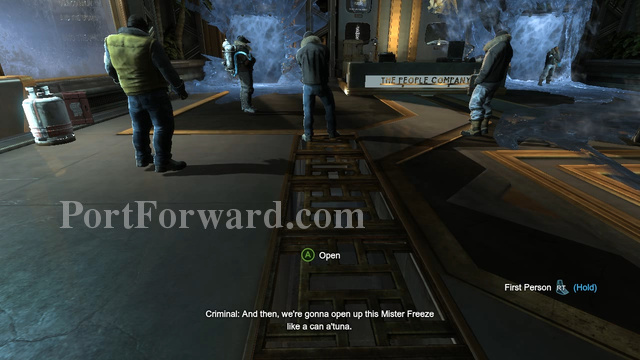
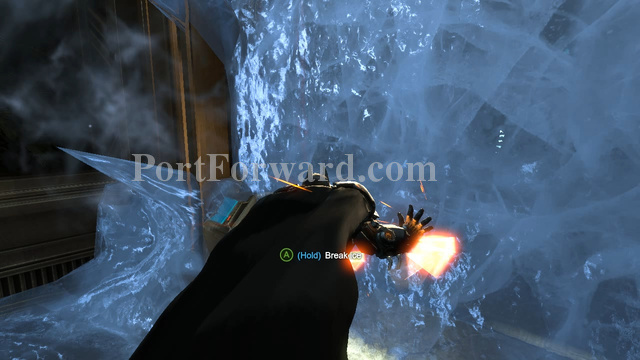
After the cutscene mash the A button to break the ice that's keeping you trapped. The ice also does environmental damage on you so break it as soon as you can.
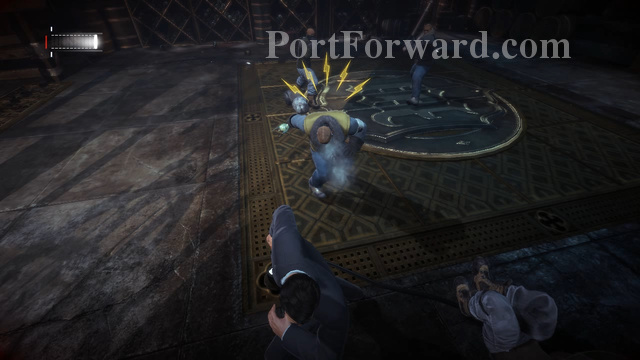
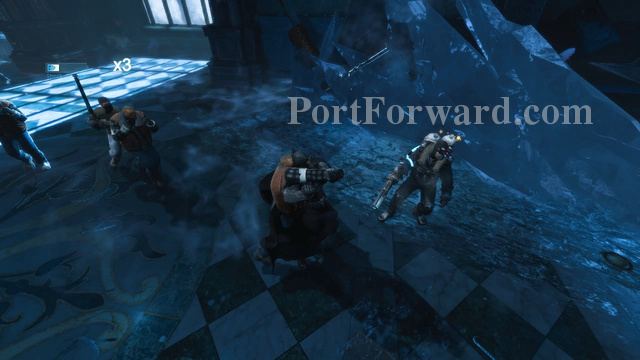
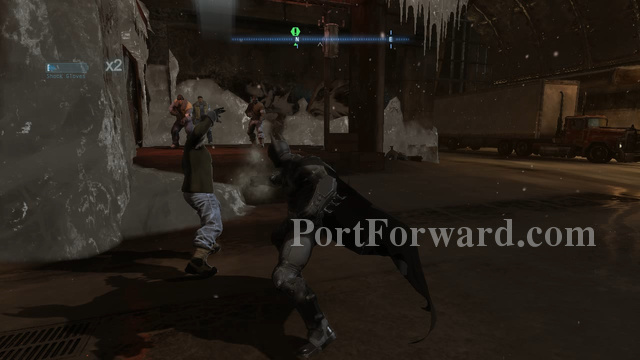
3 goons will come at you as soon as Mr. Freeze leaves and one of them has an electric pole. Jump over him by press A twice then start attacking him from behind.
Once the goon lets go of the electroic pole, beat them all up and don't let them retake the pole. Electric pole wielders can't be attacked from the front and that's why you need to attack them from behind. Their attacks can't be dodged too and that's why you should focus on them whenever possible.
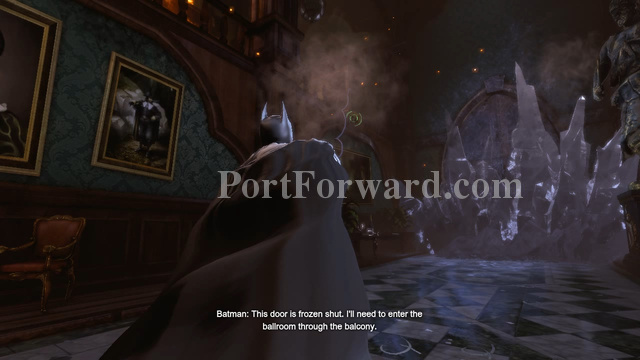
After taking them out head for the end of the hallway and you'll find a goon sealing the door to the Ballroom with a cryogenic weapon. Grapple up to where he was then follow the path in front of you and get to the Ballroom.
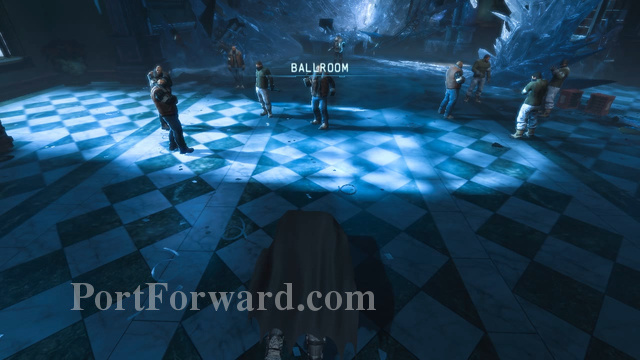
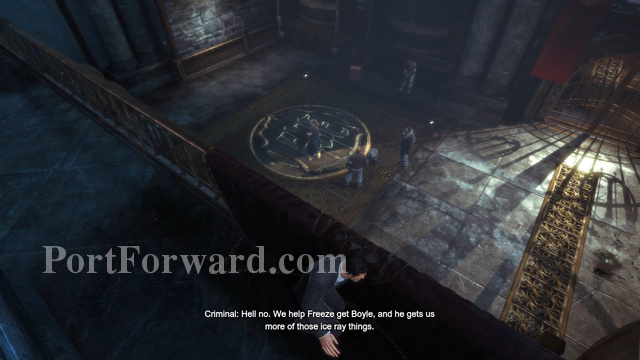
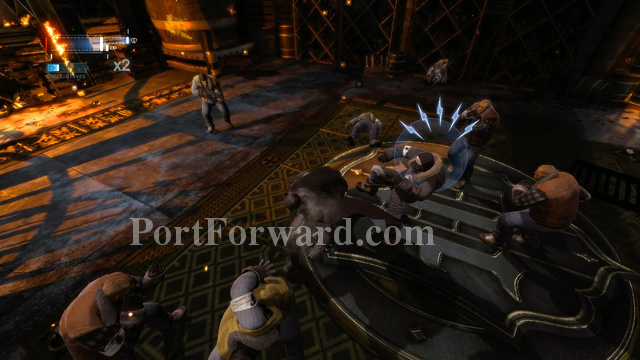
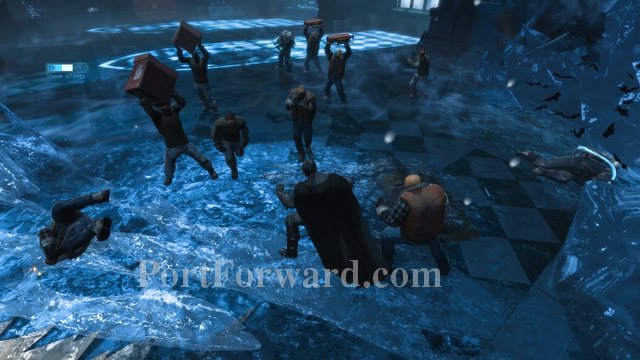
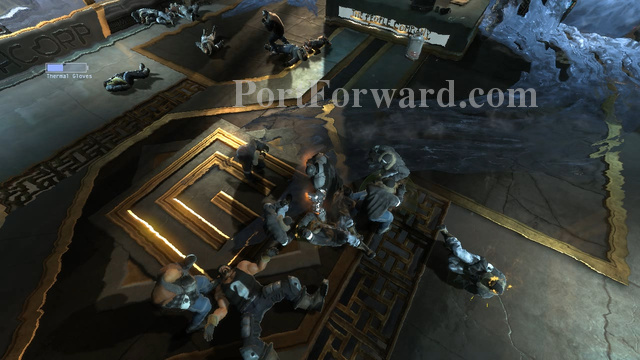
In the Ballroom a large group of goons will be waiting for you and are eager to kill you. Drop down and immediately head for the goon with the cryogenic weapon (I'll refer to this as CW from now on).
The guys with CW are heavily armored, meaning you have to press B to stun them and mash X before you can take them out. The problem is there are a lot of other enemies that will get in your way and to make matters worse there's 2 of the CW equipped goons.
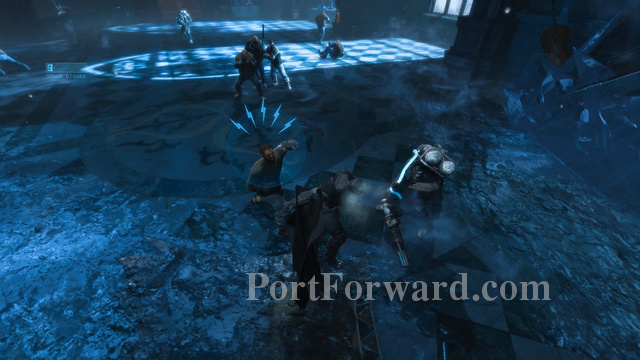
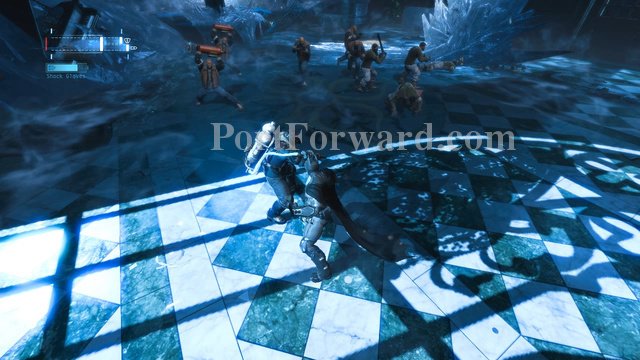
So quickly get near the first CW guy you see and press B near him to stun him. Pound him with X, then press Y whenever another goon tries to attack you and go back to attack the CW guy when you've successfully deflected the attack.
If the second CW guy tries to freeze you while you're beating up the other CW guy, just stick close to any goon and dodge away so that they'll freeze instead of you. Effectively thinning down the enemy number for a while.
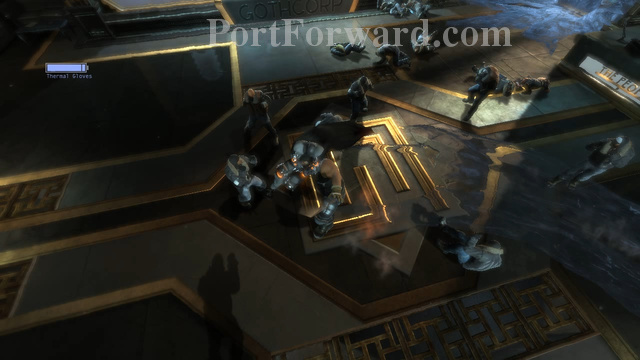
Once you've defeated the first CW guy, start looking for the other one and beat him up the same way. If your Shock Gloves reach maximum power then this will be a lot easier than the first one.
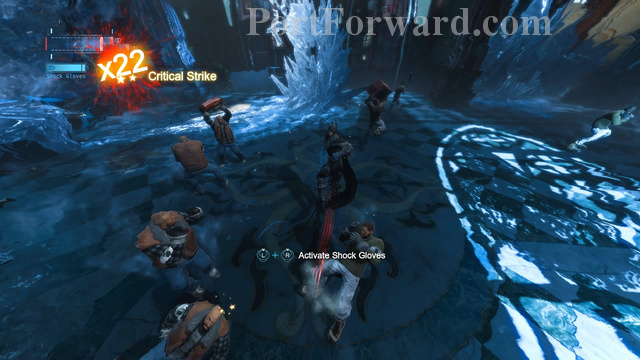
After both of the CWs are down all you have to do is eliminate the remaining goons. Activate your Shock Gloves if possible, to quickly take them out.
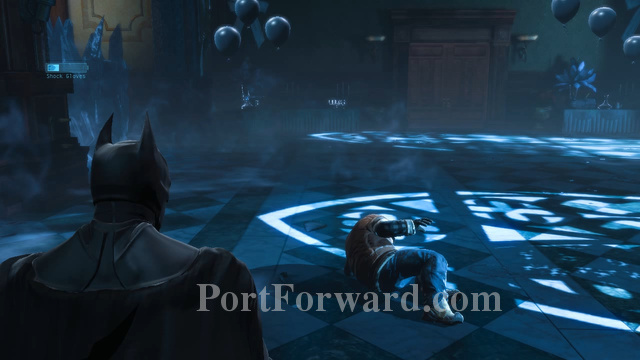
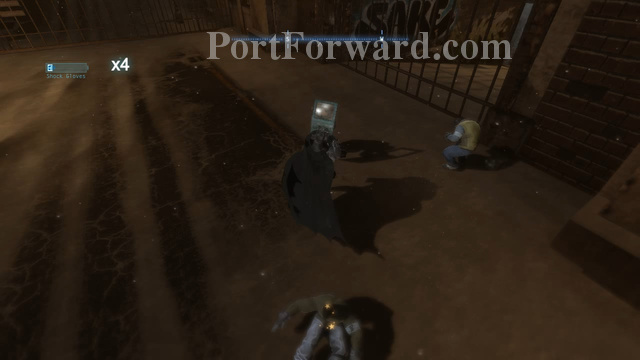
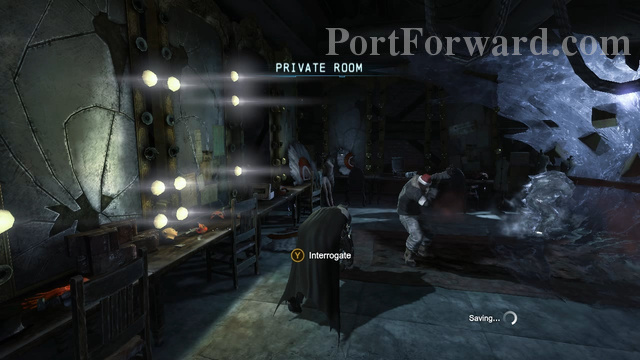
When they're all down, survey the area and look for the only goon that's still moving around on the floor. Approach him and press Y to interrogate him.
Batman: Arkham Origins - Cold, Cold Heart DLC Walkthrough South Gotham

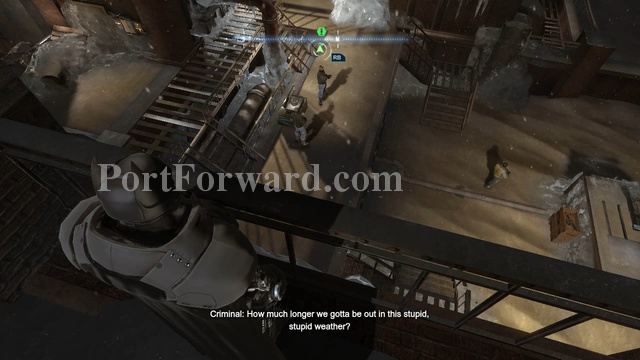
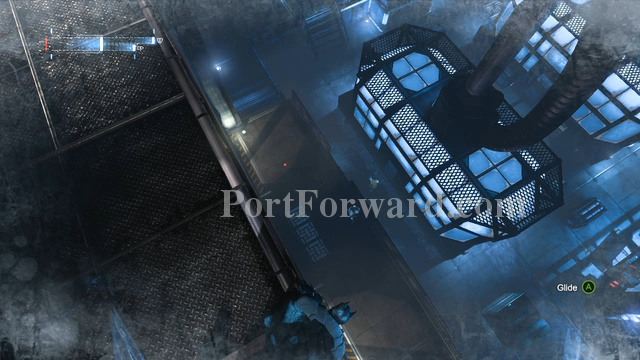
After dropping down, head to the Northeast towards the Bat sign. Don't drop down on ground level once you get there.
Drop down on the metal ledges down below and stay there. You'll have to slowly make your way through the enemy numbers cause all of them are armed with guns.
Unfortunately the goons here move in a really weird way and chances are you'll get noticed eitherways. Make sure to always takedown the goons that are isolated.
If you get discovered, quickly move from one grapple point to another to confuse the goons and make them lose sight of you.
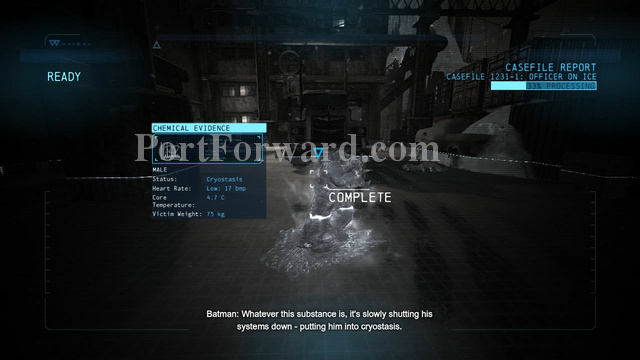
Once you've taken care of all the goons, climb down to the ground and activate your detective vision, then analyze the frozen guy twice.
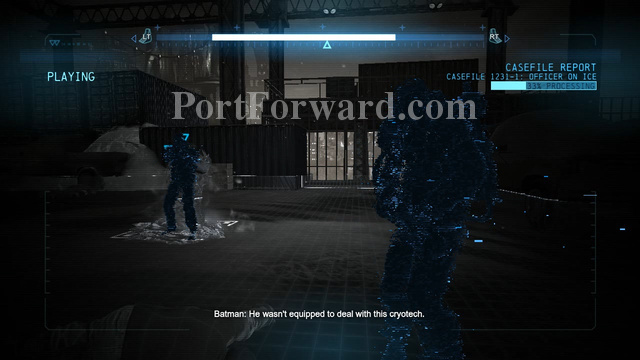
After that a new marker will appear on the guy, analyze him again to reconstruct the crime and you'll find some drops of the mysterious liquid that was left behind.
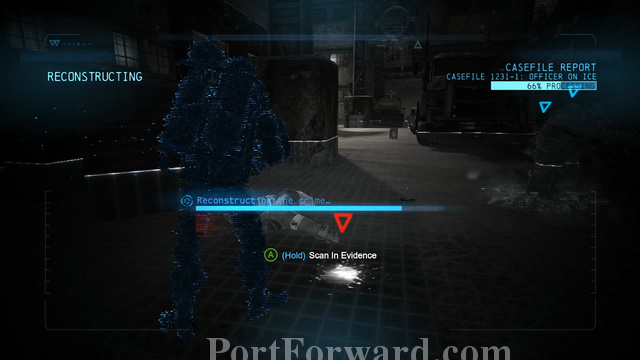
Examine the drop and you'll receive a trail that you can follow with the Detective Vision, keep it activated and follow the chemical trail.
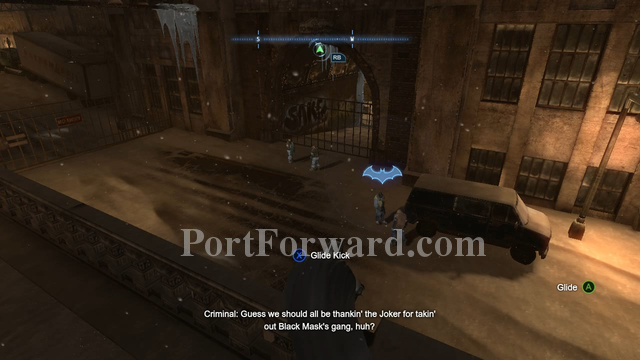
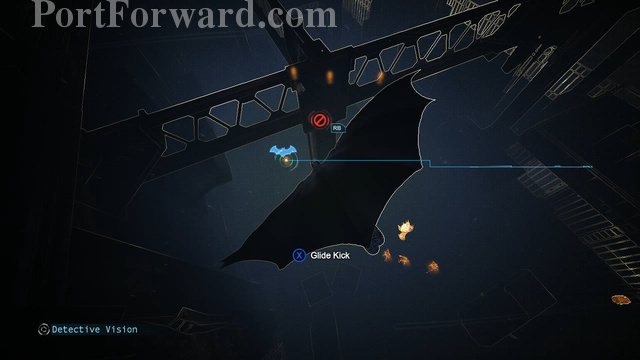
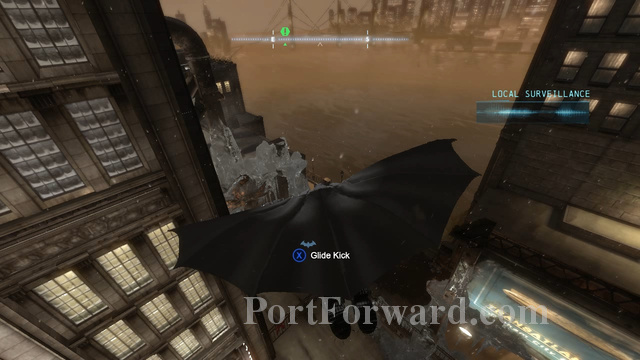
Follow the liquid trail all the way to the Southwest part of the city and you'll find a group of penguin's men near a van.
Drop down and glide kick one of the goons. There's a goon with a shield here, to take him down you'll have to stun him (B) then double press A followed by X to smash his shield to the ground.
Like electric baton holders, shield holders also can't be attacked from the front and their attacks can't be dodged either so keep that in mind.
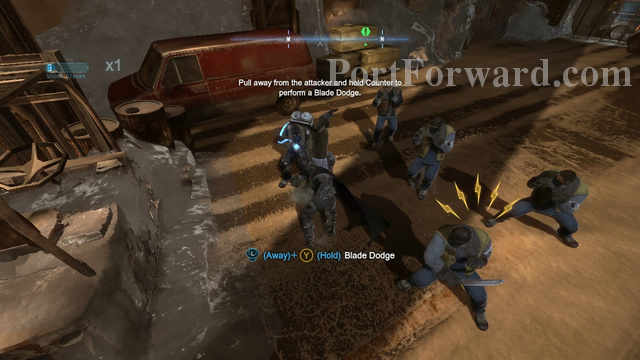
After taking out the first group of men, re-activate your Detective Vision and follow the trail across the gates and to the alley on the left side. Climb the fence and you'll find more enemies.
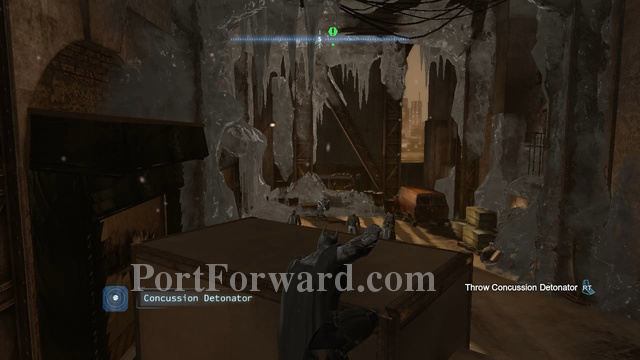
Try to throw a Concussion Detonator at the goons below. If you can, make sure to aim for the guy holding a blade, but any other would do.
Considering you fail to knockout that guy with the blade, go for him first and jump behind him to get to the guy with the CW, but make sure to takeout the bladed guy first cause he's a pain to deal with while worrying about getting frozen.
Once you takedown the guy with the blade, start stunning and attacking the one with the CW, but don't let anyone re-take that blade from the ground. Use your Shock Gloves when they become available.
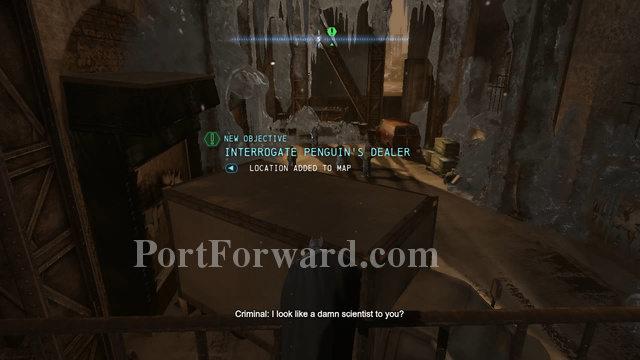
When you've dealt with all of them, approach the last conscious goon on the floor and interrogate him to get your next lead.
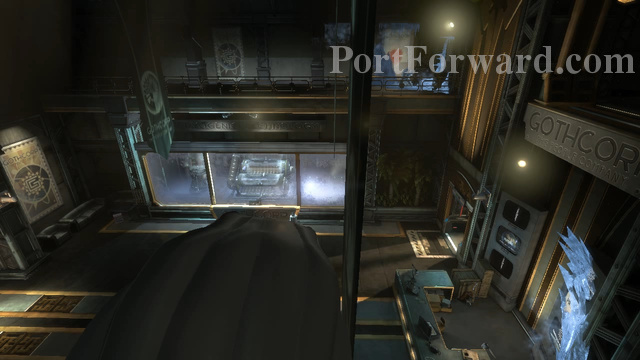
After obtaining your much needed information head up the catwalk behind the ice wall and proceed to the East towards Goth Corp.
Drop down from the metal pipe at the side of the GothCorp. building and Glide Kick one of the goons that are guarding the entrance to the building.
Immediately go after the guy with the CW and occasionally block attacks from the other goons.
After taking the goons down, approach the door to GothCorp and take out your Cryptographic Sequencer and aim it at the security box at the right side of the door.
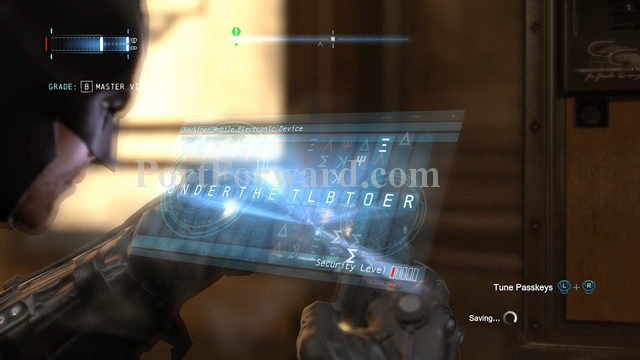
I highly recommend using a controller on this as the vibration is the most obvious sign when you're looking for the codes. It's still doable without the countroller but a little harder especially with level 3 and level 4 codes.
Anyways to crack the code you just have to move the analog sticks around until the words stop shuffling and stay in a legible format. Get both right and the door will open.
Batman: Arkham Origins - Cold, Cold Heart DLC Walkthrough GothCorp

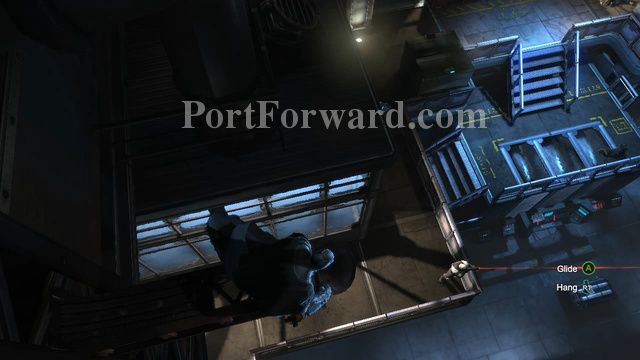
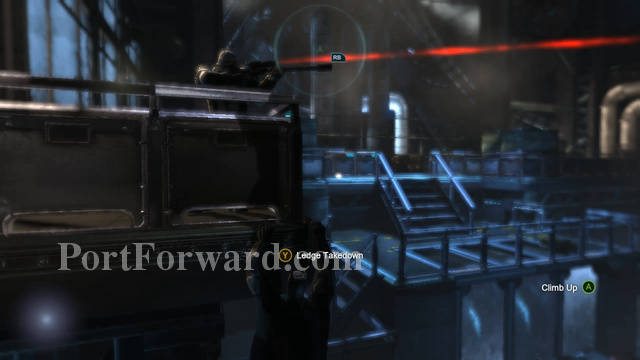
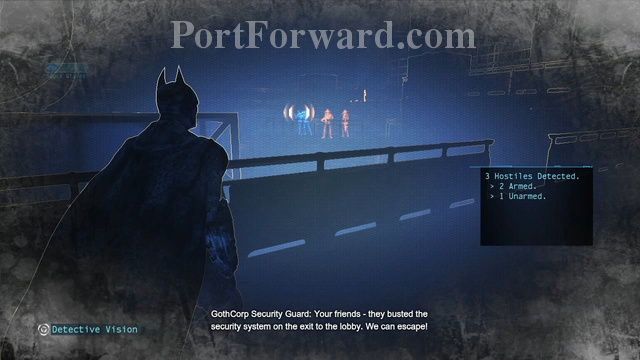
Use your Grapnel and fire it in between the two goons on the walkway at the right side. Try to stay in between them then do a Double Ledge Takedown.
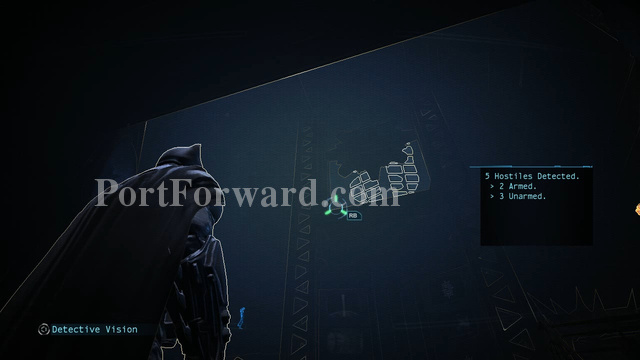
Now climb up the railing and takedown the last goon that's guarding the security guard. Once he's down, approach and talk to the security guard.
After talking to the guard, drop back down on the lower level and take the entrance on the left side, then climb down the stairs and enter the door.
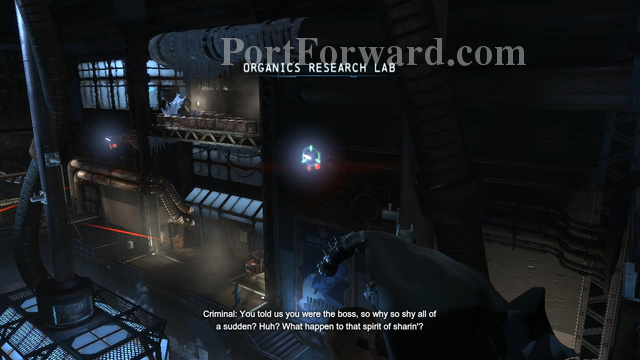
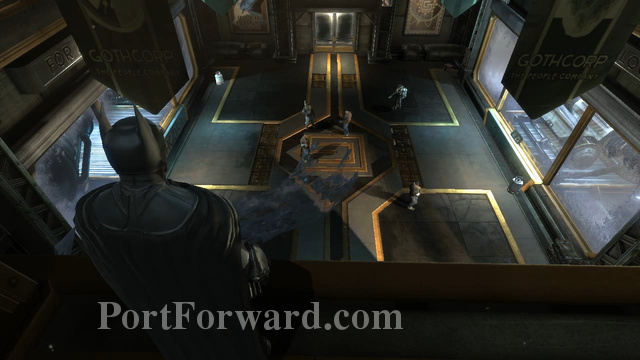
Once inside the Organics Lab approach the 2 armed goons and perform a Double Takedown on them. Approach the guy with the CW and stun him then beat him down.
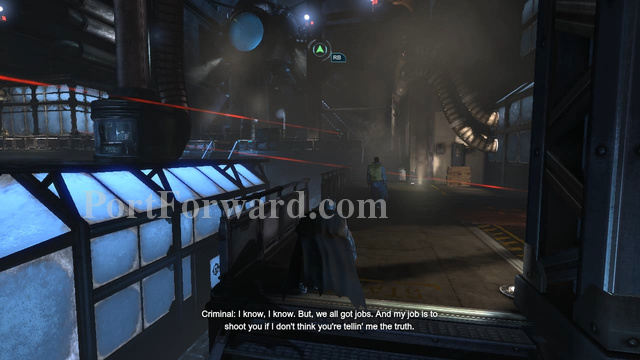
After you've cleared the area, turn right and approach the vent on the wall. Open it up and follow it to the other end, but don't exit it yet.
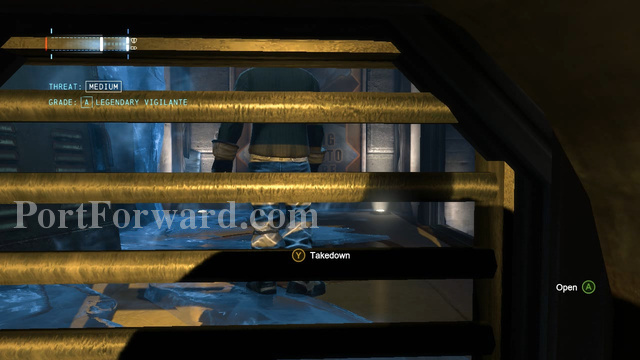
On the other end of the vent, do a Takedown on the goon that's standing right in front of you. After knocking him out, takedown the rest of them.
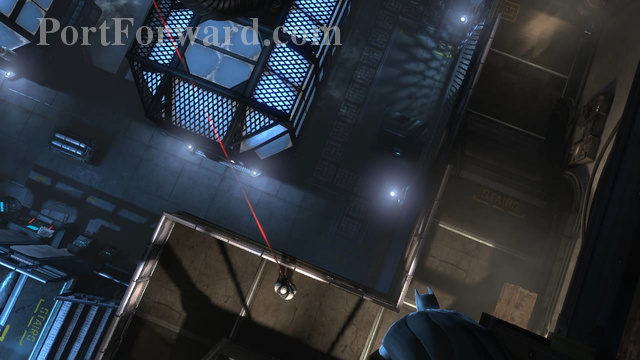
Now enter the door right at the end of the hallway and you'll find the security guard's boss being held hostage by Penguin's men. After entering the room immediately use your Grapnel and climb on the post right above you.
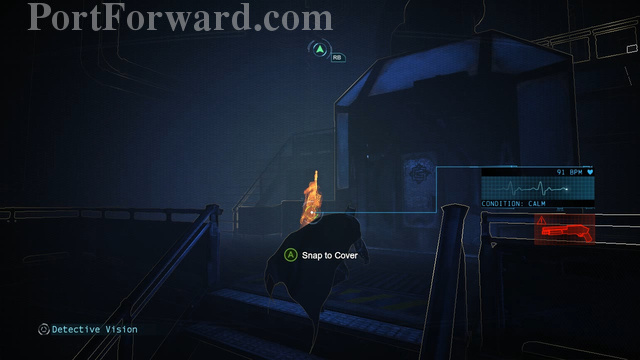
Then move to the post on the right side and wait for the goon on the walkway right below you to start moving towards the other end, then drop down and do a Silent Takedown.
Hug the railing on the left side while you're crouching, then drop down, but don't drop on the floor yet. Just wait for the guy to pass underneath you and when he passes drop down below him and take him down.

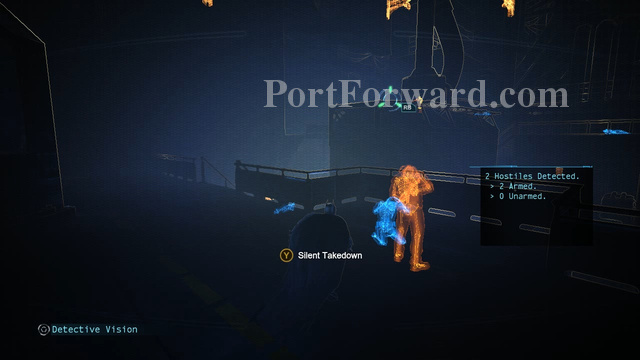
Climb back up the post near the sniper and move to the one behind him. There's another goon that's gonna pass underneath, when he passes drop down behind him and take him out.
I don't recommend approaching the sniper from the angle that you're in after taking out the other goon. Just to be safe climb back up the post and drop down on the snipers left side and take him out from there.
Now climb up the post on the far right corner of where the sniper you took down was. Wait for the patrolling guard to head for the heavily armored sniper, then drop down on the platform below and take out the goon there.
Then head back up the same post and wait for the patrolling goon to get near, but don't do an Inverted Takedown on him. Just hang and wait for him to turn around, then drop down behind him and do a Silent Takedown.
For some reason the sniper won't even notice his body there so you're good to go.
Use youe Grapnel again and climb up the post, then swing towards the post right above the sniper. Don't take him out, just wait for the goon below to walk away from the sniper and wait for the sniper to return to the corner. When he does drop down and press RT+A on top of the floor vents to hide inside.
Head for the other end of the vent and wait for the goon to pass on top of you. Let him pass, then exit the vent and do a Silent Takedown on him. Be careful when you do this cause the sniper on the right side might see you and in addition there's a goon above the stairs that's patrolling. So time your takedown appropriately as the goon is about to pass the stairs.
Follow the other goon that's patrolling above the stairs and wait for him to pass the stairs on the left side of where you are. Make sure to activate your Detective Vision so you can see him properly.
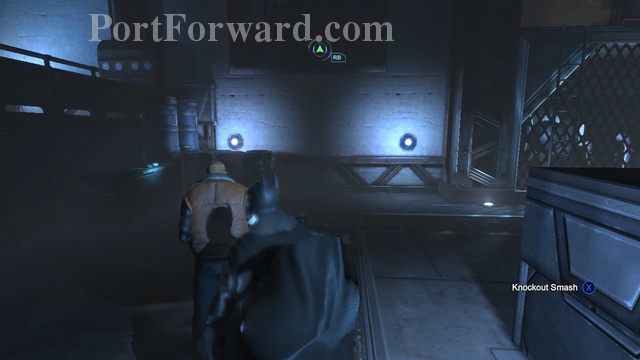
Once he stops walking, climb up the stairs and take him down, then quickly turn around and do a Silent Takedown on the goon that's watching the hostage.
For the armored sniper, there's a reason why I left him for last and that's cause you can't take him down silently. The only takedowns that you can use on him at this point is ledge and hang takedowns which will give you away to the other goons in the room. So climb back up the posts and head for the one near him.
Make sure to drop down on the lowest floor and use your Grapnel to climb up the railing near the sniper, then shimmy towards him and perform a Ledge Takedown.

Now that the area is secure head back to the guard that was being held hostage near the door. Once you have the codes head back out and backtrack to the central lobby.
In the lobby you'll notice that all the doors have been frozen over. Look up the center of the room and you'll find a ledge that you can use the Batclaw on.
Once you're up on the ledge, throw a Concussion Detonator at the guy holding the CW and do a drop kick on one of the enemies below and takedown the rest of them. More enemies will enter afterwards.
When the new set of enemies enter the lobby, immediately go for the guys with the CW. If they try to freeze you over, use it to your advantage and stand near a goon and get them frozen.
Keep attacking the guys with the CW, but listen for the sound of a gun being loaded. If you hear that sound immediately attack the guy holding the gun before proceeding to knocking out the CW guy.
After taking them out use your Grapnel to climb back up the right side walkway and use your Cryptographic Sequencer to unlock the security door.
Enter the door and follow the goon that's checking up on the guard that's nearby and take him down silently.
Then head over to the other 2 that are near the door and knock them down one by one. Then activate your Detective Vision and head inside the room on the right side wall. There's a Service Hatch inside, open and use it to get to the next room.
Near the end of the path you'll find a small gap on the metal fixture and a steam pipe that's blowing steam in intervals. Get a feel for the timing and run towards it, then press RT to quickly go through the small gap while the steam is out.

Now make your way to the other side by shimmying along the ledge and avoiding the steam from the pipes. At the end you'll have to use your Grapnel to climb up the next platform.
Then shimmy over all the way to the right side and climb up on the surface. Head around the area and you'll find a generator. Press and hold A near it to charge it up.
Enter through the door that will open and drop down on the lowest point of the machine. Turn on your Detective Vision and look around the wall to find a vent.
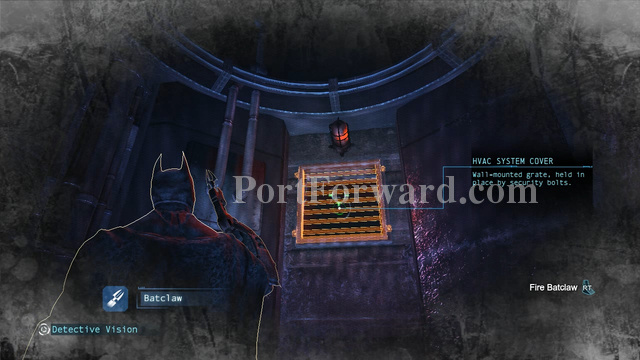
Equip your Batclaw and use it to pull down the cover of the vent, then use your Grapnel to climb up inside it and move through to the end.
Drop down from the vent and climb up the stairs to start a cutscene. After the cutscene follow the path on the left side and head around the corner, then activate your Detective Vision and you'll see some floor grates. Use the grates to drop down on the lower floor and start another cutscene.
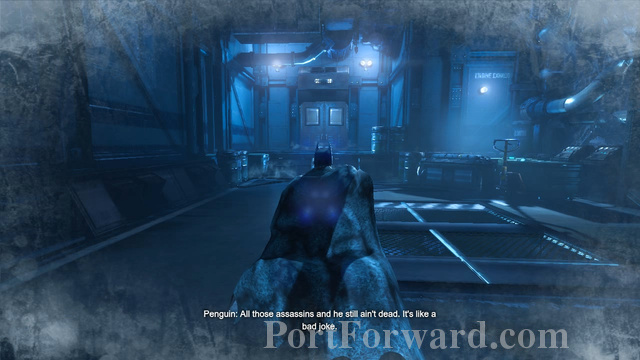
After the cutscene head for the door on the left side to enter the security room. Keep going until you reach the area with cryovapor on the floor.
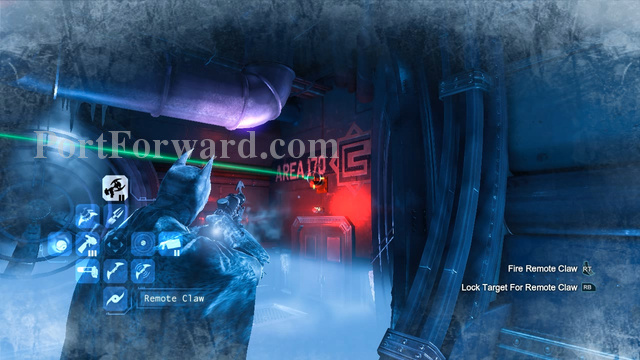
Now equip your Remote Batclaw and fire it at the anchor point on the right side above the door to area 170. Once the line has been established use your Grapnel to get up on the wire.
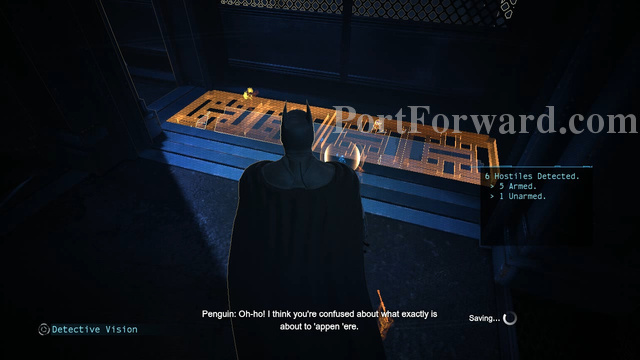
Head for the end of the line and you'll find a group of Penguin's men. Take them down, then recharge the generator on the left side wall near the ice that's blocking your way.

The fan will then shut off and you'll be able to use your Grapnel to climb up above the propeller and climb up the ledge right in front of you. Then turn right and enter the vent.
Backtrack to the lobby and you'll find some goons harassing a guard. Jump across the gap and use your Grapnel to get behind the 2 near the edge and take them down. Then knockout the last goon and Batman will automatically leave GothCorp.
Batman: Arkham Origins - Cold, Cold Heart DLC Walkthrough My Alibi
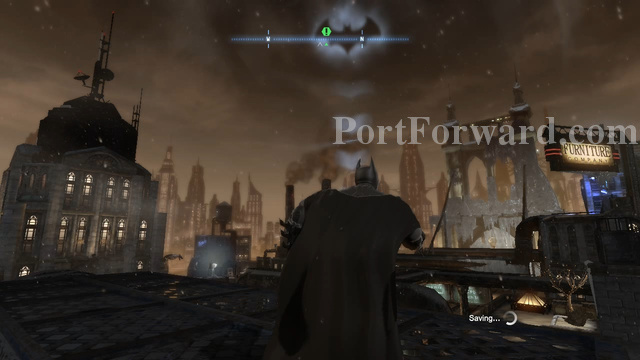
After leaving Goth Corp, use your Grapnel and climb up the building then start moving towards the Northwest until you get to the mission marker pointing to My Alibi.
Drop down in front of My Alibi and you'll be attacked by a group of Penguin's men. There are 2 holding guns and another one with a CW. Take them out and wait for Alfred to contact you.
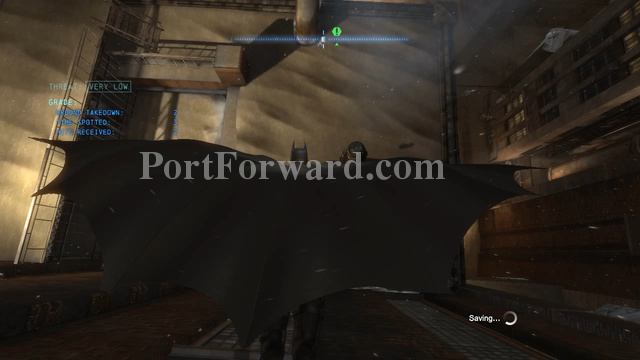
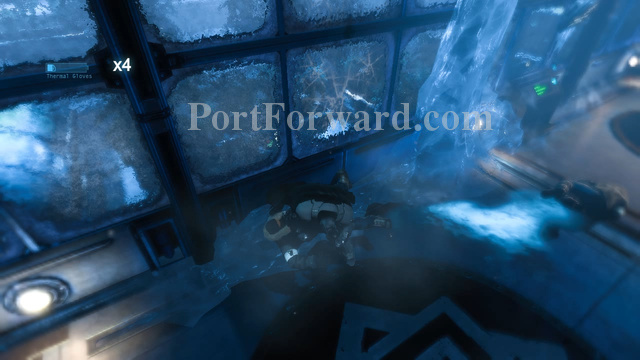
Climb up the roof after Alfred contacts you and examine the large metal object there. Press A near it to wear the much awaited XE suit, then drop down and enter the My Alibi.
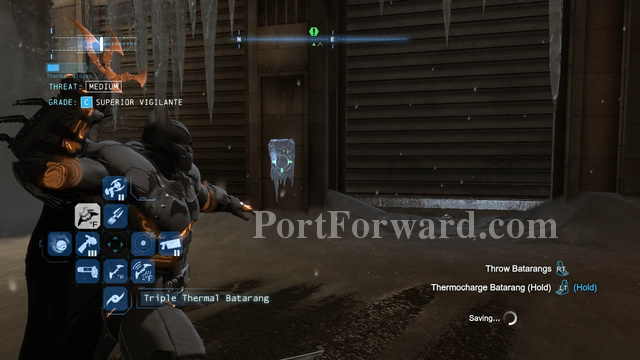
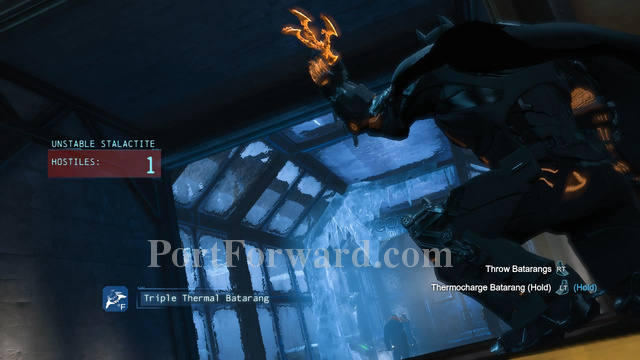
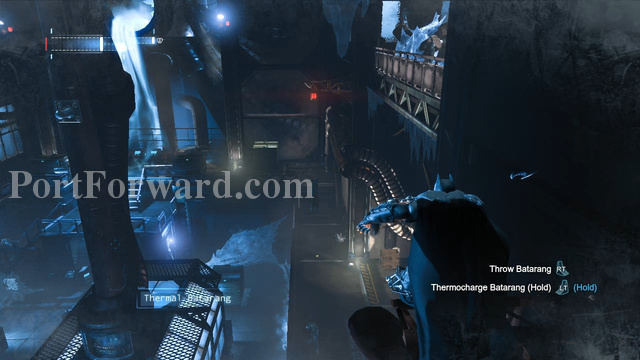
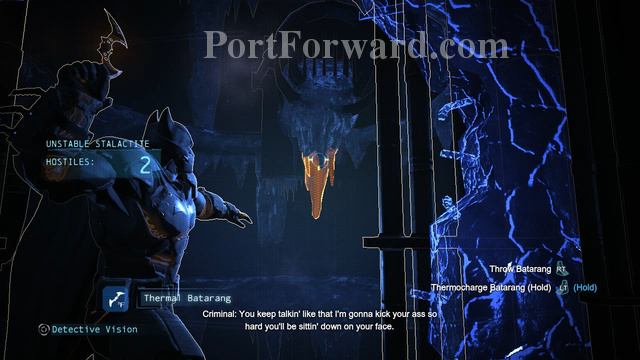
Inside My Alibi, head down the path and turn left where the enemies are. There's an open part of the wall at the end. Equip your Batarang and aim at the stalactite, let the heat charge up then throw the Batarang to knockout the guy below it.
Now drop down and start attacking the goons below. There's a new type of enemy here the guys in red and black suits who are capable of martial arts. You might have to press Y a couple of times to avoid their attacks as opposed to only once for the normal goons.
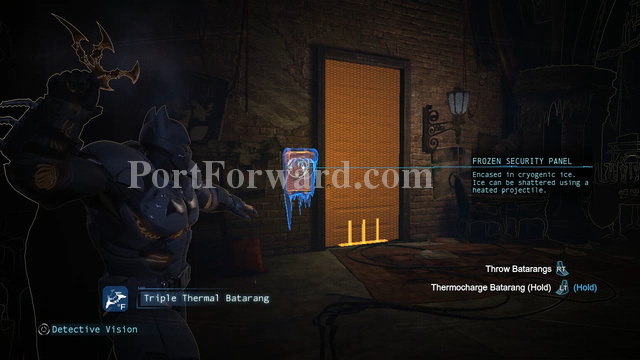
After taking them out head for the door and charge up your Thermal Batarang, then throw it at the frozen security panel to destroy the ice. Then approach it and use your Cryptographic Sequencer to open the door.
Head inside the room and interrogate the guy that's standing there. Funny as this guy is the same one you dropped off the roof in Arkham City.
Leave My Alibi and head west to find the first piece. Throw a smoke pellet near the 2 goons beside the stairs and drop down then take them out. Take the piece and proceed to the next location.
Now head towards the East towards the building near the edge of the water. You'll find a section on the right that's encased in ice. Drop down and take out the guards.
Throw a Thermal Batarang at the frozen Control Panel and head inside, then takeout Penguin's men and take the second piece.
Batman: Arkham Origins - Cold, Cold Heart DLC Walkthrough Return To GothCorp
Head back inside GothCorp and you'll find that a bunch of Penguin's men are at the lobby. Unfortunately you can't take them down silently so choose one to Takedown and beat up the rest of them.
After taking down the first group you'll have to fight 2 more waves of enemies. There's a lot of them but they aren't much of a problem. Just focus on doing counters to get by with the least damage possible.
Your biggest problem is that big guy who's attacks are unblockable. To take him down you'll need to jump behind him by pressing A twice then start beating on his back.
You won't be able to use the entrance at the right side catwalk right now, so head over to the frozen entrance near the front desk and press A near it to break the ice.
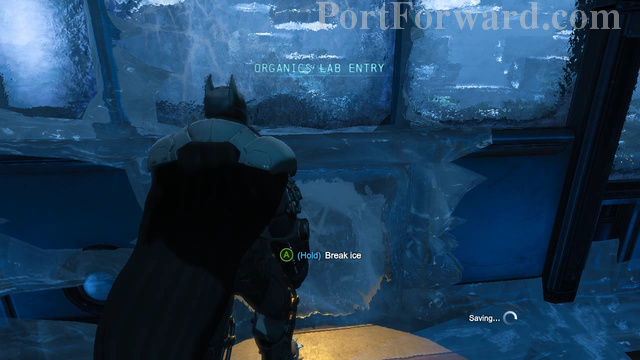
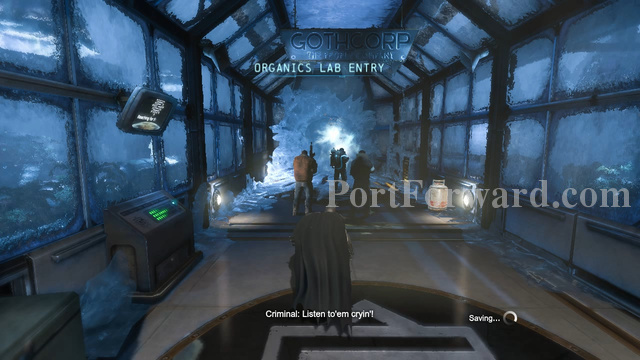
Head down the stairs and into the Organics Lab Entry. Don't try to break the ice on the door, you still wn't be able to break that. Just look at the right side and you'll find the vent that you previously used to pass through and it's frozen all over. Approach it and press A to break the ice.
Hide on the corner and charge your Batarang, aim and throw it at the stalactite to knockout the goon underneath it. Make sure to use the Triple Batarang so you can momentarily knockdown the other goon.
Wait beside the corner and the goon with the gun will come running at you. Wait for him to start climbing the stairs, then dash at him and start attacking him. Once he lets go of his gun you can just beat the remaining 2 goons up like normal. Don't let them retake the gun.
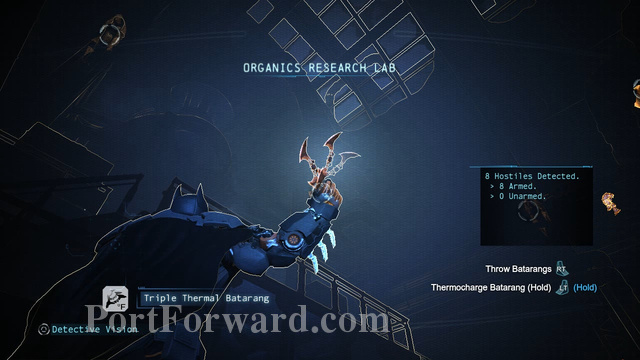
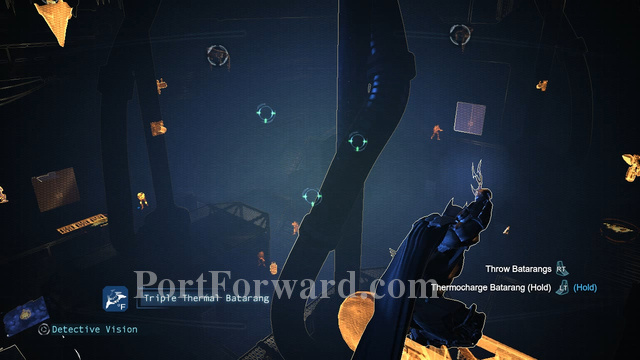
Enter the Organics Lab through the door and drop down on the lower floor of the lab. First activate your Detective Vision and you'll see 2 pipes each leading inside a greenhouse.
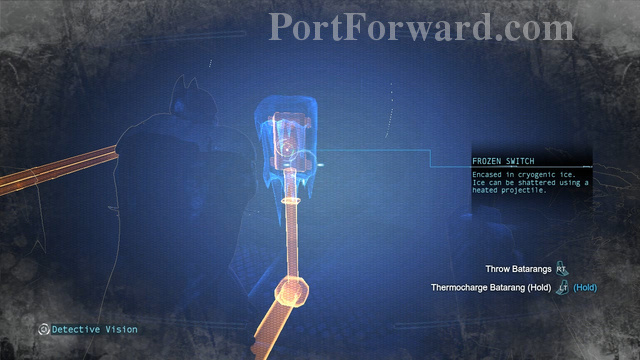
The entrances to the greenhouses are a little tricky to find because of the cryovapor obscuring your view, but they're just on the side of the building where the lines enter. Throw a Thermal Batarang at the frozen switch inside each of the greenhouses to disable it.
Now follow the lines over to the large computer and thrown another Thermal Batarang at the control panel to remove the ice, then equip your Cryptographic Sequencer and hack the control panel.
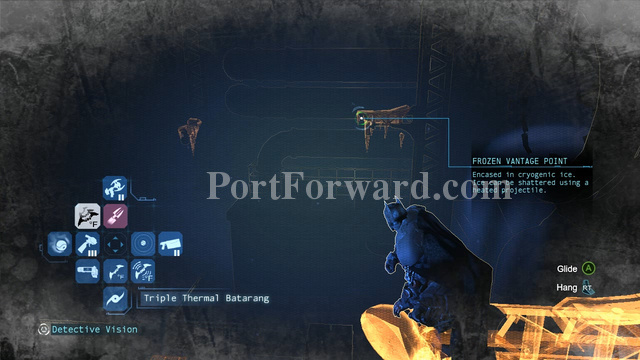
Penguin's men will soon enter the room, quickly look up and throw a Thermo Batarang at the post right above you. Once the ice is destroyed, use your Grapnel to climb up on the post.
Before you do anything go around the posts and break the ice on each one of them. This will make your life a whole lot easier in case you're seen or you need to climb back up after taking someone out.
Also you don't need to takeout everyone yourself. You can use those stalactites on the ceiling to bring down goons without having to approach them.
You should also be careful about that guy in the white armor. Like the previous sniper in this room, that guy can't be taken down silently. He'll break away from you and attack you.
The easiest way to take them down is to stay at a post and hang. Wait for a goon to pass underneath you, then hang him with an Inverted Takedown.
Then move to a different post and throw a Batarang at the rope that you used to suspend the goon, swing back to the post where you hung the goon and do another Inverted Takedown on one of the goons that have come to investigate. Rinse and repeat.
After taking the goons out, head up to the upper floor on the right and enter through the door that the goons came out from. Head for the next door to enter the Security room and look to the right to find an open vent.
Turn left as you exit the vent and charge up your Batarang, then throw it at the stalactite to knockdown 2 of the goons below. Then jump down and finish off the rest of them.

Keep moving forward and drop down where the cryovapor is condesed like fog. Activate your Detective Vision and throw a Thermal Batarang at each of the frozen switches near the door.
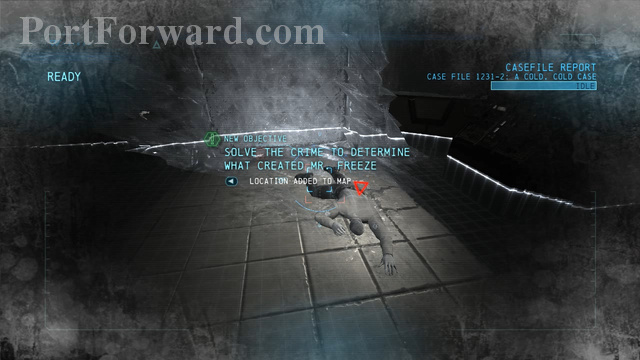
Then head into the door to 17 D and you'll find the Weapons Testing Lab. Enter the first room and you'll find a dead guard on the floor, activate your Detective mode and examine him.
Now analyze the marker on his foot and wait for it to reconstruct the crime.
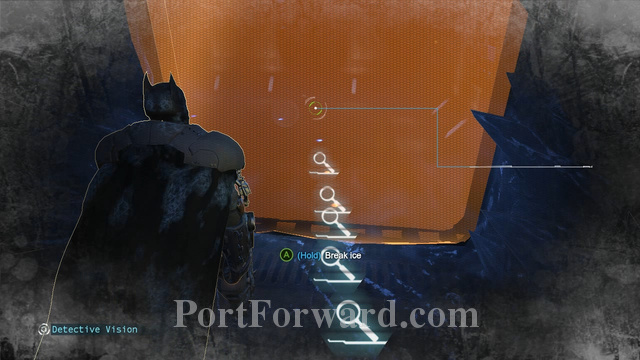
With the chemical trail now available, approach the frozen door and break the ice. Follow the trail all the way back inside the lab.
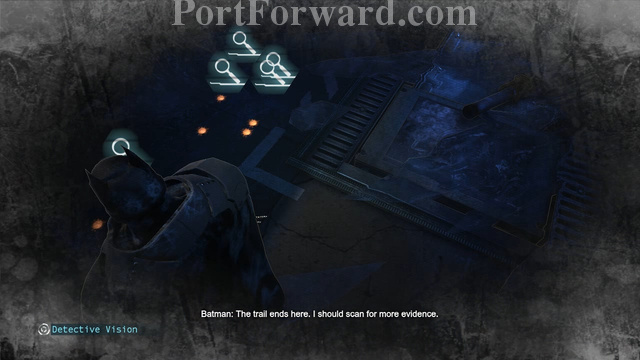
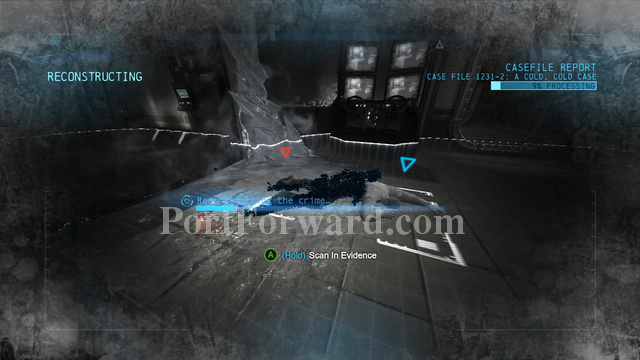
Follow the trail until you reach the glass windows on the left side at which Batman will comment that the trail ends there. Reactivate your Detective Vision and start analyzing the chemical trail at the end.
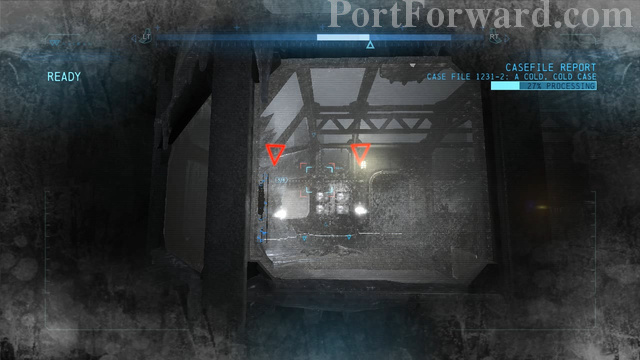
After completing the dramatization, head over to the window and analyze them, then follow Fries to the table and analyze the items on top of it.
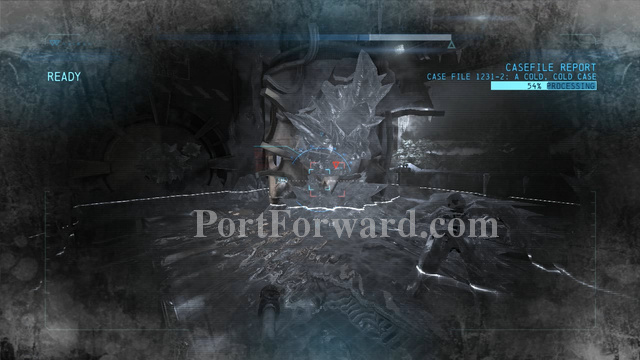
Now head back near the window and a new marker should have appeared on the machine behind the frozen guard.
Examine the machine, then examine the frozen guard in front of it to get a better angle on what happened in the lab.
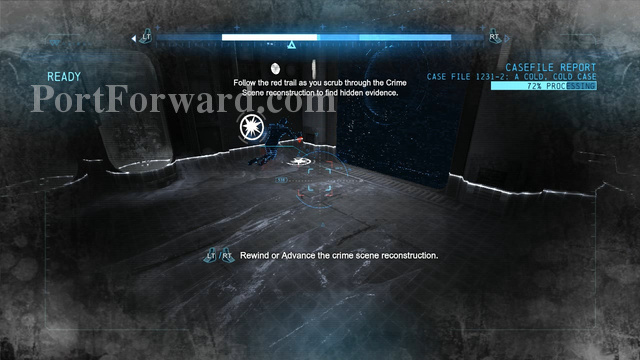
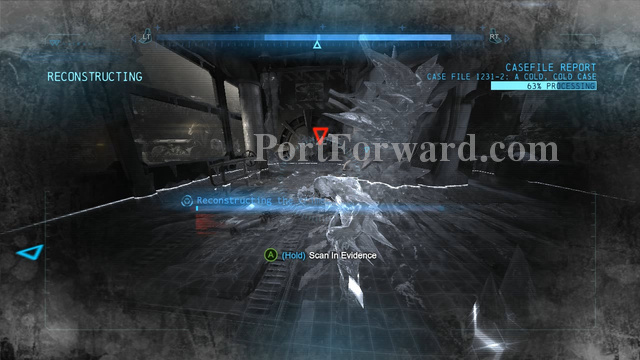
Head over to the door and rewind the crime until the part where the assailant hits the wall after the shock blew him away. A red marker will appear and you can analyze it.
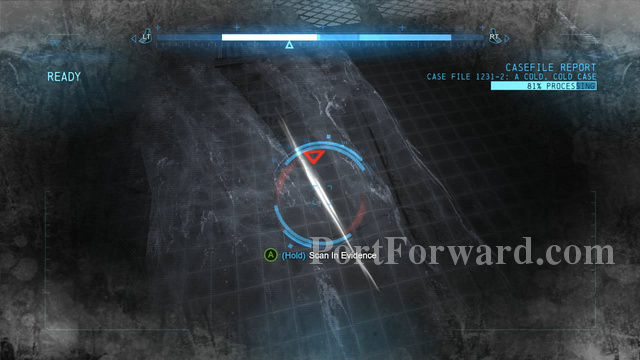
Turn around and you'll find another red marker on the floor, examine it then examine the machine near the frozen guard to finish up the crime scene investigation.

Take the cryocoolant and leave the lab. Walk back to the lab entrance and this time turn left and enter the other room in the area.
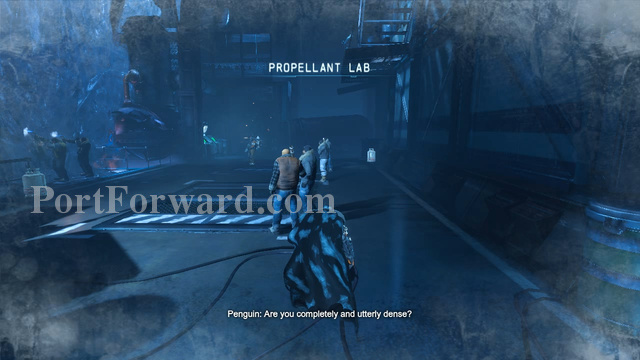
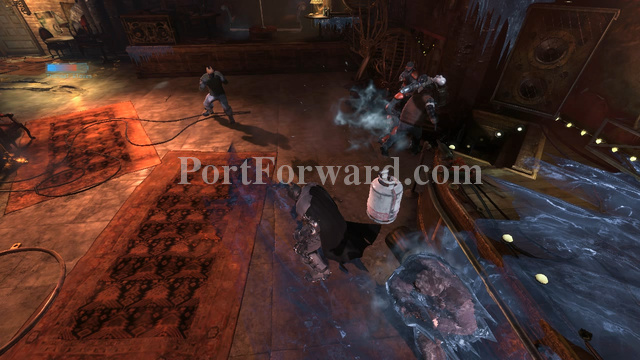
Head inside the Propellant Lab and sneak up behind one of Penguin's men, then do a Combat Takedown. Afterwards beat up the rest of the goons.
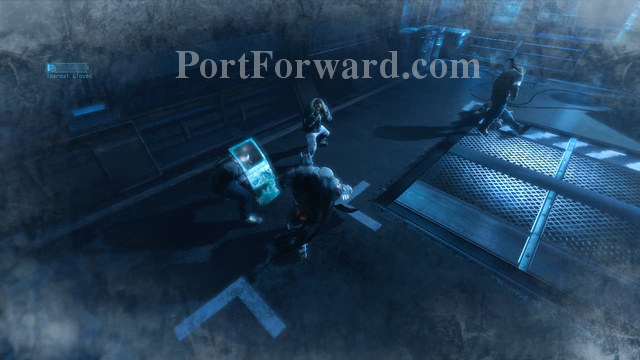
Enemies consist of one bladed goon, one shielded goon and a goon with a CW. The rest are ordinary goons, knockdown the bladed goon first, then the shielded one. Once those two are down, takedown the CW guy.
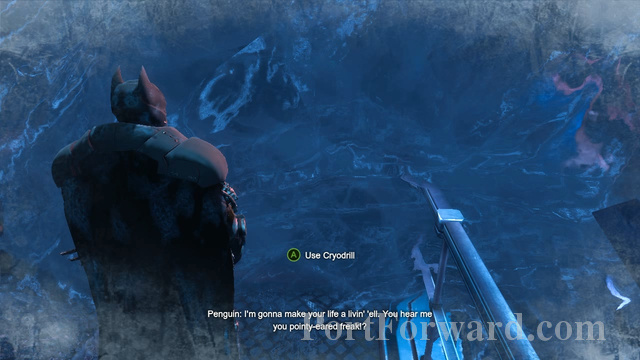
Once you've taken care of the goons approach the ice wall beside Penguin and use the cryodrill on it. Break the ice and you can talk to Penguin before proceeding. Just cause it's funny.
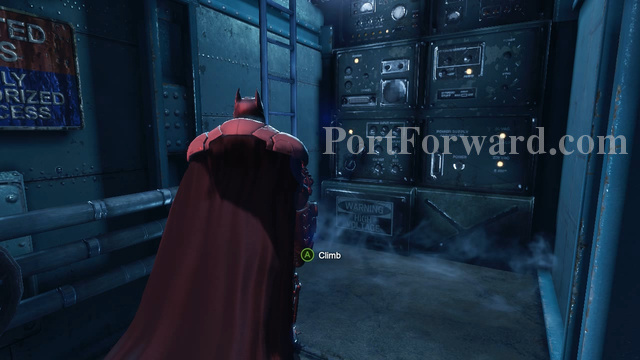
Head inside the door into the Secure Testing area and walk all the way to the end of the catwalk. You'll find a ladder that you can use at the end.
Above the ladder there's a vent, head inside the vent and open the grate at the opposite end to start a cutscene.
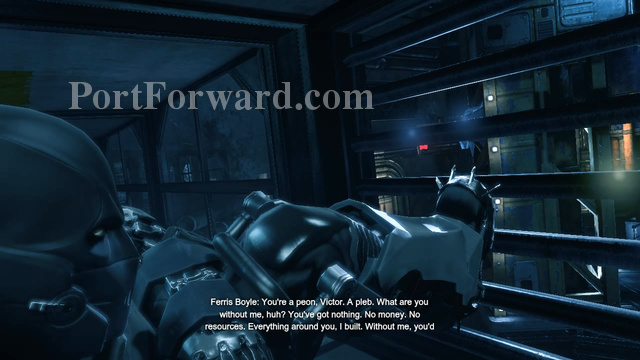
Batman: Arkham Origins - Cold, Cold Heart DLC Walkthrough Boss Battle: Mr. Freeze

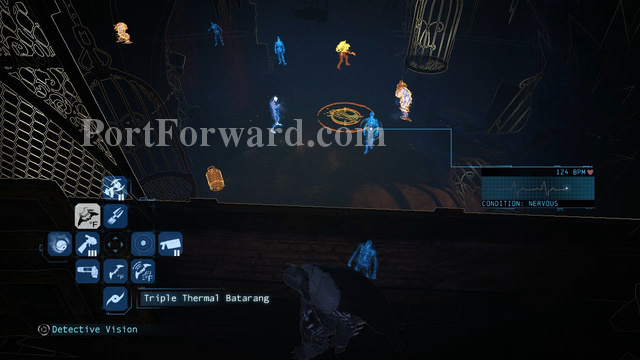
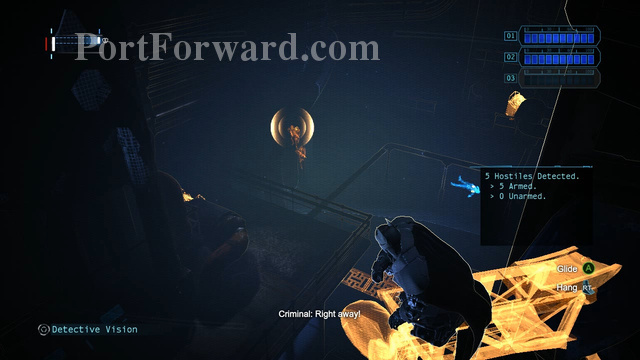
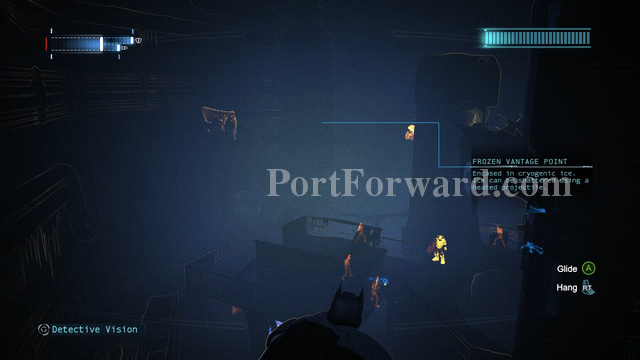
As soon as the battle starts find a post that you can climb on but don't go on a post that's going to be seen by Freeze. The ones that face away from the platform that he's on is ideal.

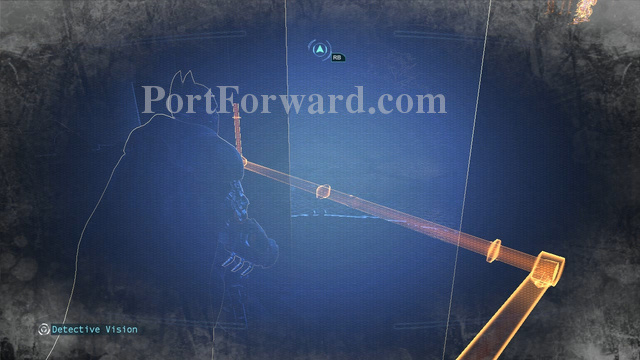
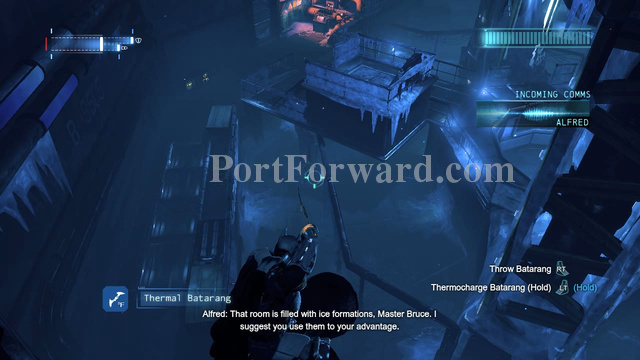
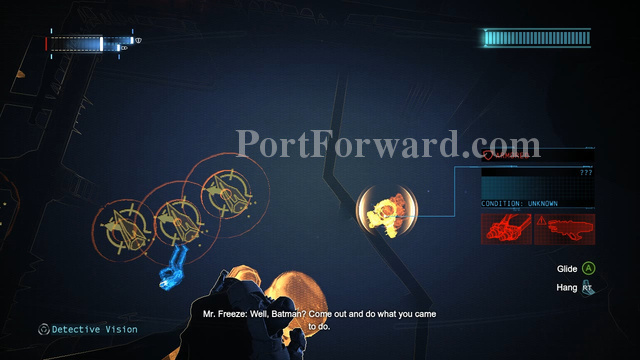
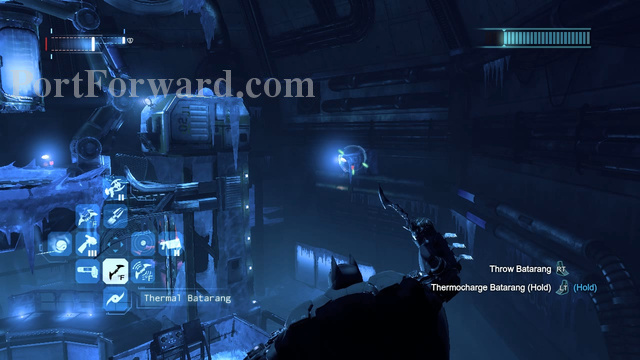
Once you're sure that no one can spot you and that you're safe, activate your Detective Vision and look around the area for machines that glow orange.

Now drop down to the machine and press A to heat it up and destroy it. Once you've broken it Freeze will immediately find you and you'll have to quickly move between posts to lose him.
You don't have to attack those goons at all. Just focus on destroying the machines, there's 3 in total. Destroy all of them to move on to the next part of the battle.
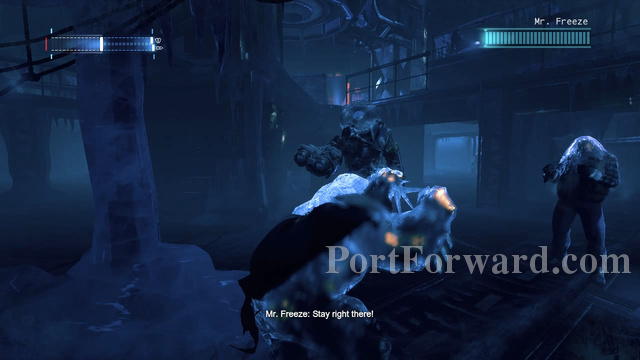
After all 3 machines are down, Freeze will come down from the platform and attempt to attack you while you're frozen. Mash A to break the ice then hide on the posts above until you lose Freeze.
He'll occasionally freeze some posts so make sure to destroy the ice every time he does.
This time you do have to takedown the goons that are with Freeze. You don't always have to jump down and get close to them, use the stalactites to quickly bring them down without having to move. Inverted Takedowns also work well.
Once you've taken care of all the goons, watch Freeze move around the area and drop behind him when you get the chance.
Approach Freeze from behind and perform a Takedown on him. Batman will then damage his suit and Freeze will call for reinforcements.
Quickly climb back up on the post after damaging Freeze's suit. Depending on how long you took he may or may not immediately call for back-up.
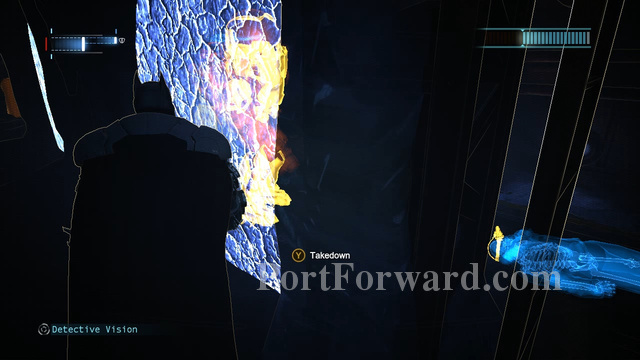
If he calls for back-up then you have to take them out first, then wait for Freeze to walk near a breakable ice wall and perfom a Takedown on him from the other side of the wall.
You're gonna have to do this twice. There's a breakable wall on each side of the room and chances are Freeze will always walk past them as he's trying to go around to look for you.
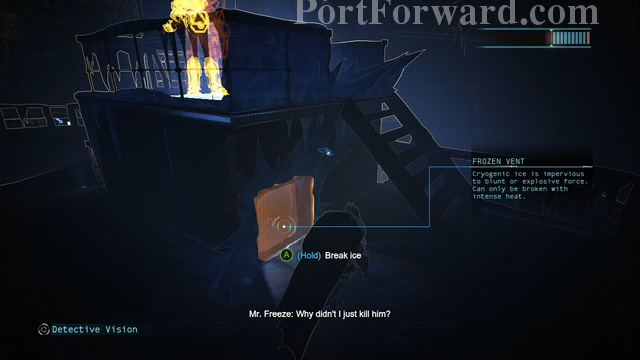
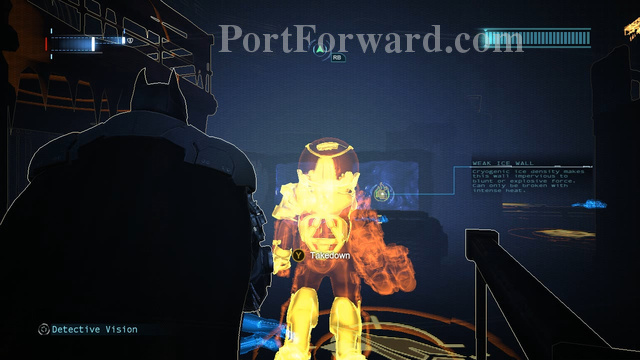
Now for the last part of the battle. Climb up to where Freeze is but don't go exactly on the platform he's on. Instead look to the left side of the platform and break the ice on the vent.
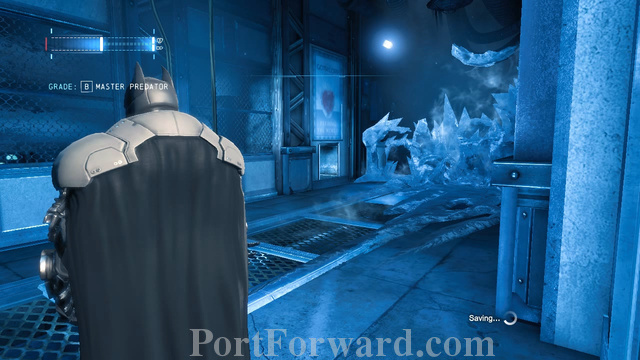
Enter inside the vent and Press Y to perform one last Takedown on Mr. Freeze. Now all you have to do is watch the ending of the story.
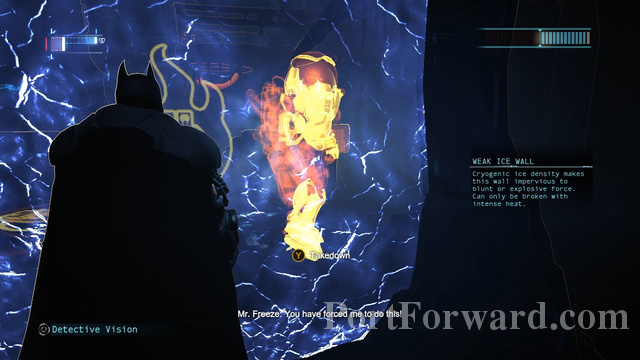
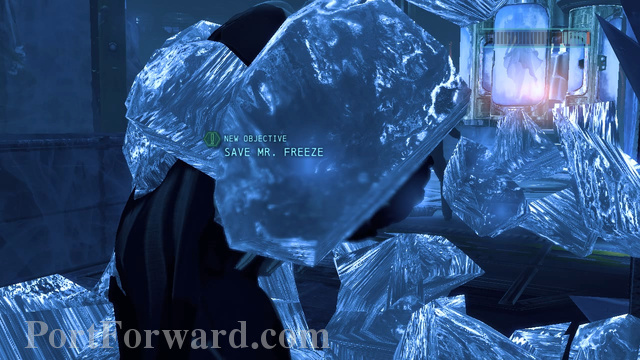
Or so you thought, but the game will give you one last thing to do and that is to save Mr. Freeze. Quickly mash the A button to break the ice, then perform a Takedown on the bastard. Semi-happy ending.

 Call Of Duty: Advanced Warfare Walkthrough Induction
 Blade Kitten Walkthrough War On Terra
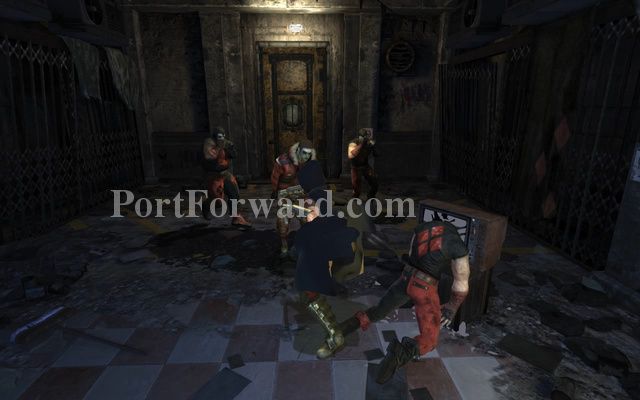 Batman: Arkham City - Harley Quinns Revenge Walkthrough Shipyard - Robin
 Battlefield 4 Walkthrough Chapter 1: Baku