Batman: Arkham Origins Walkthrough BlackGate Prison
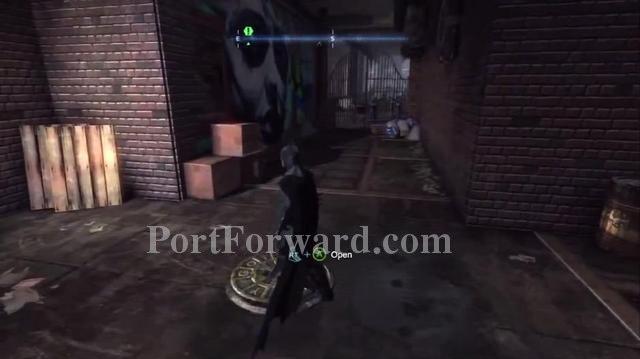
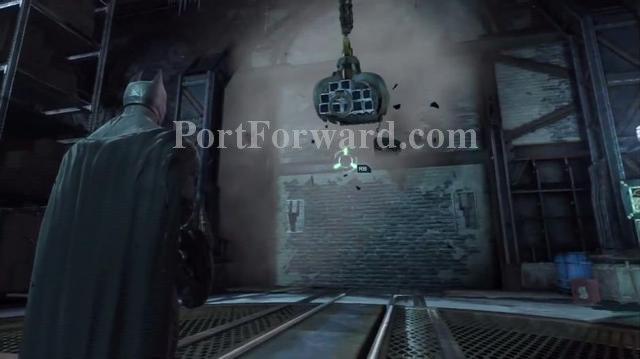
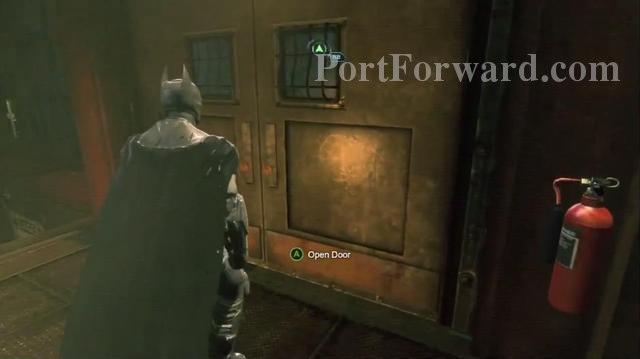
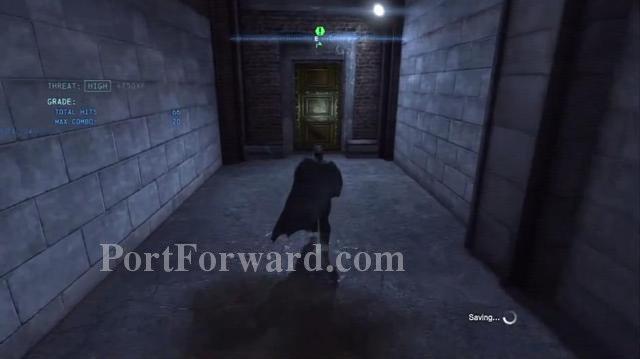
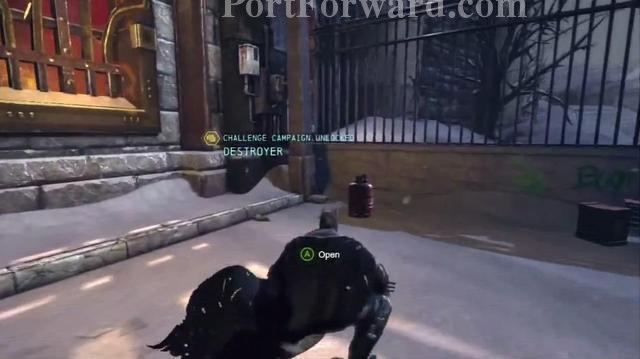
When the game starts Batman drops off at the Blackgate Prison, use the controls shown on the screen to move.
Nagivate Batman inside the prison, duck under the wreckage and move forward.
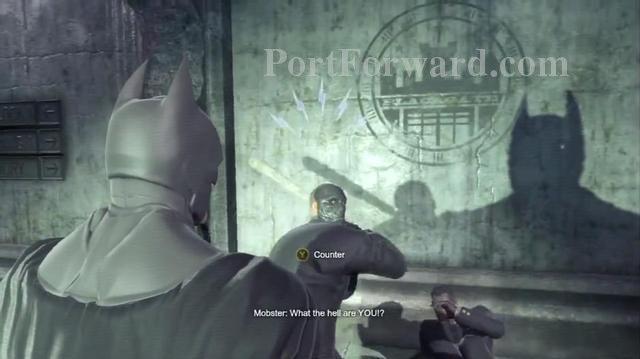
You will encounter a gangster beating up Warden Joseph.
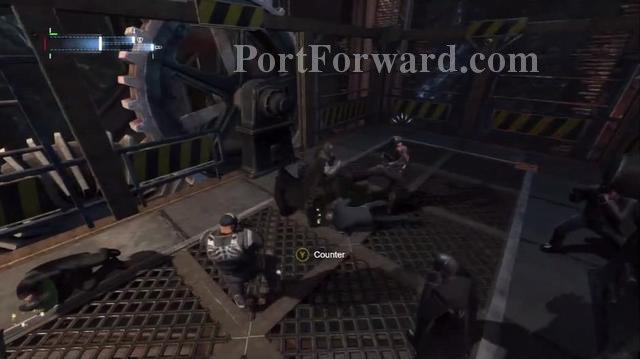
Use the appropriate button to counter the gangster's attack(Blue Sign Above Him).
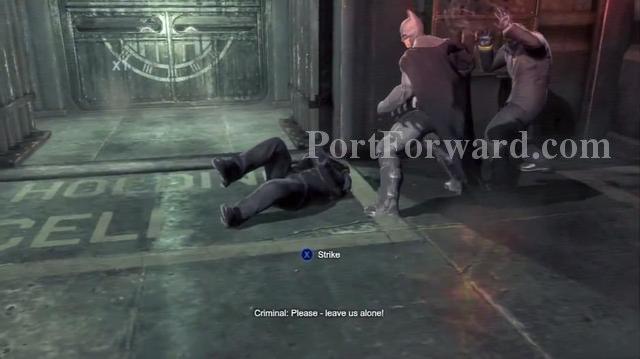
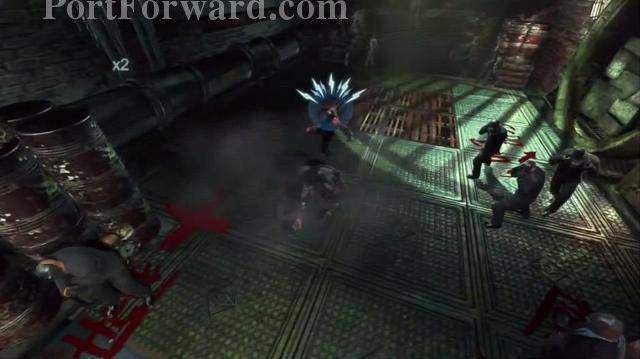
Continue forward to the Cell Blocks, use the appropriate button to attack the prisoners and counter their attacks(When the blue sign appears above them).

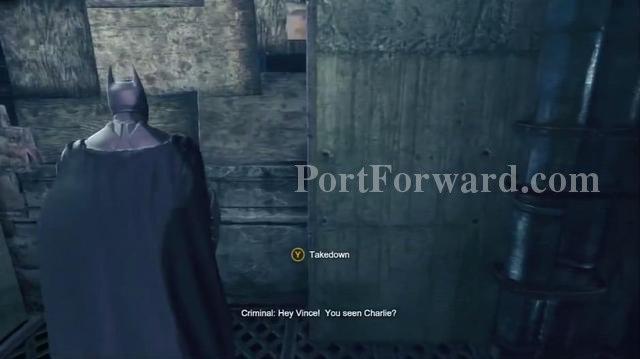
After disabeling the prisoners, walk up to the last remaining prisoner and press the appropriate button to interrogate him.
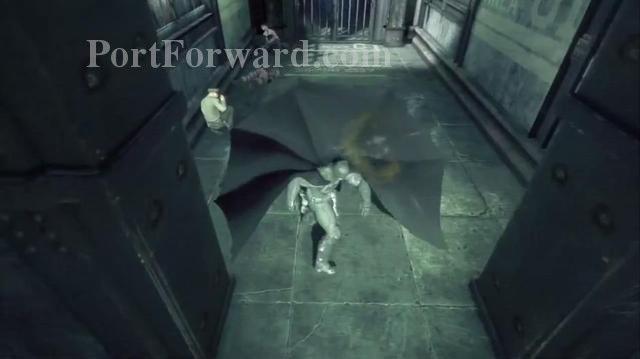
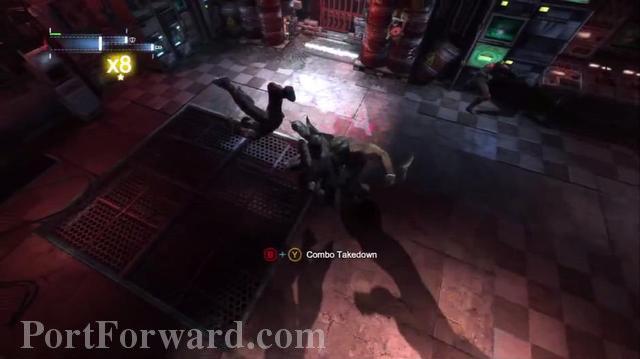
Move forward, you will face another set of prisoners, disable them and move forward, follow the Flying Droid and when prompt use the Grapple Gun to climb in between the gap to move forward.
You will then face a tougher enemy, one which has a strong armor, to be able to disable him, use Cape Stun Attack using the appropriate button to stun him then attack him normally.
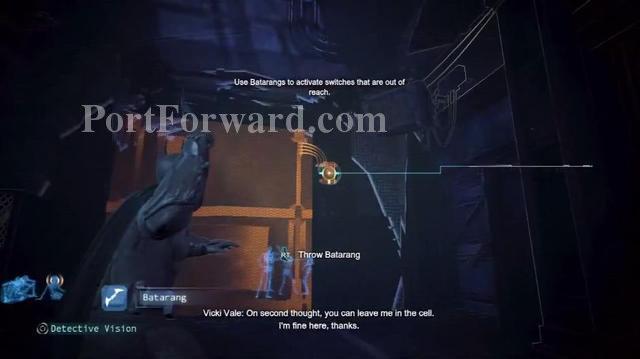
Moving forward you will encounter a Gate which opens using a button.Press the appropriate button to select the Batarang and throw it at the button.
The Gate will not fully open, you will need to run toward it and crouch to slide under it.(Using the appropriate buttons shown on the screen)
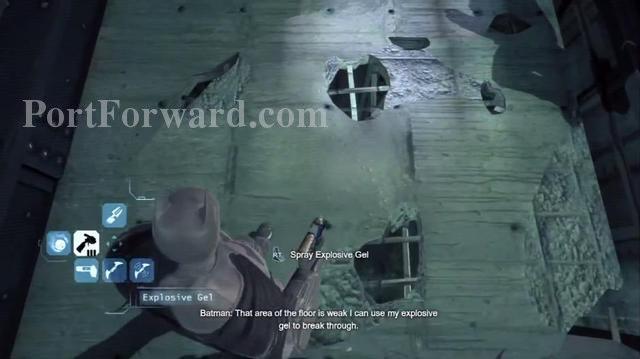
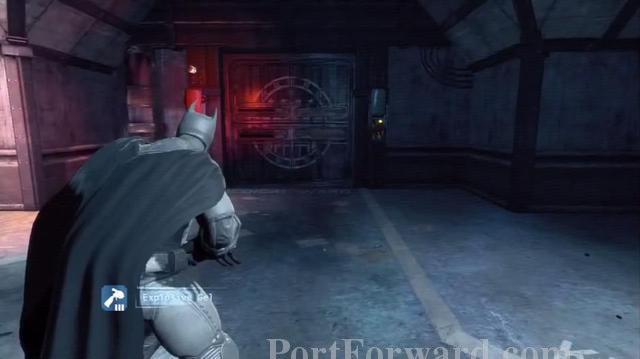
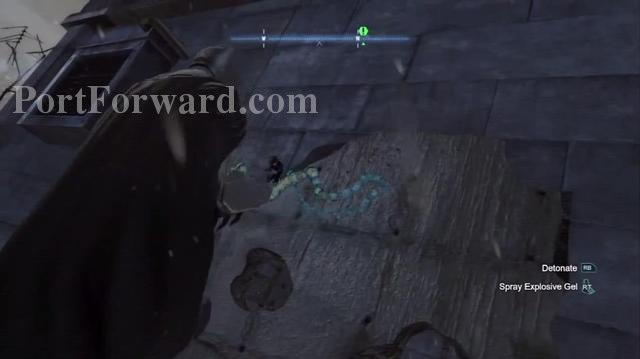
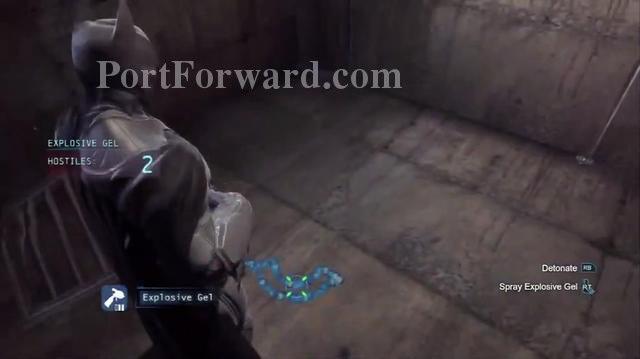
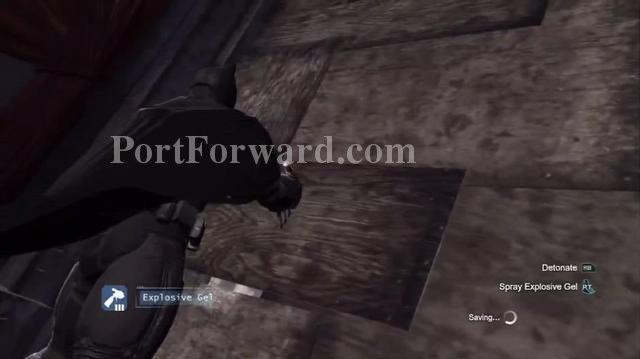
Follow the pathway and walk inside the Elevator Shaft, there take out your Explosive Gel and put it on the ground.

Then you will see an unreachable guard behind bars, look to your right.
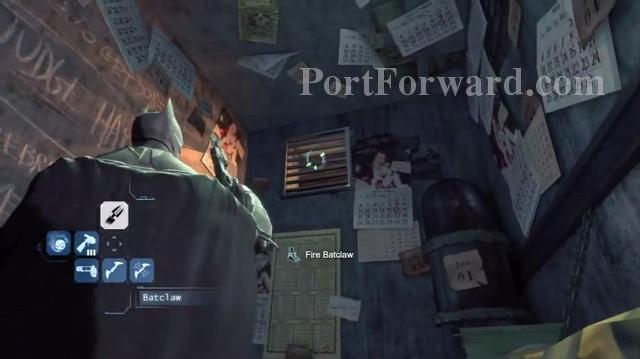
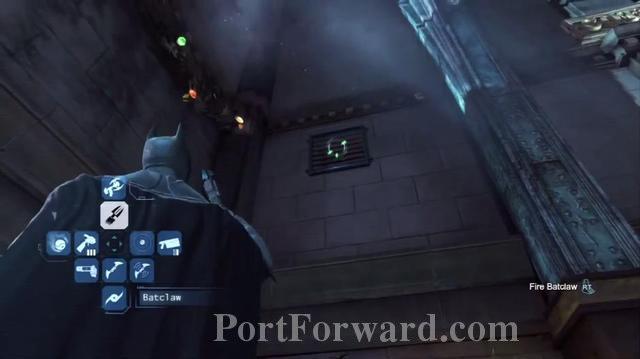
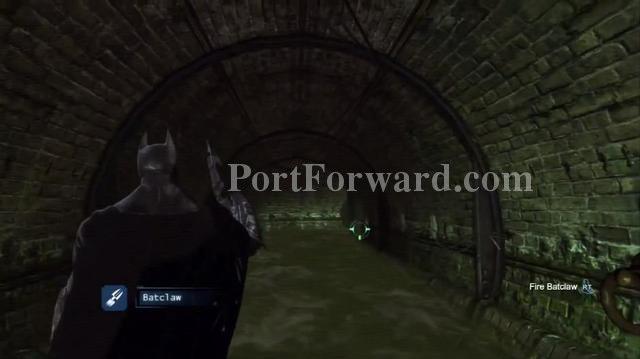
Pull out the Batclaw, aim it at the Vent and use the appropriate button to pull it down(by pressing repeatedly)
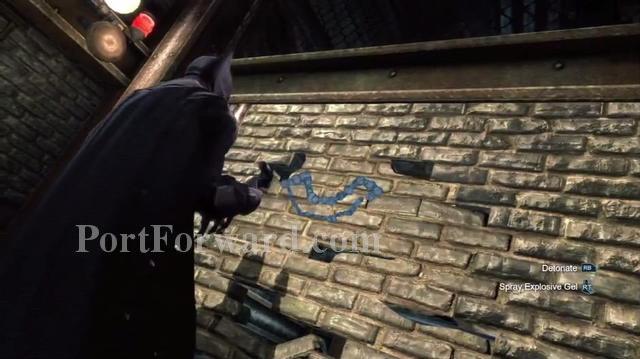
Exit the vent on the other side and walk up to the broken wall, use the Explosive Gel to destroy it and knock out the guard on the other side.
You will then face a Gate with 2 buttons(similar to the prior one) press the Batarang Button quickly 2-3 times to fire Batarangs quickly to hit the buttons and open the gate.Go through the Gate and open the Vent on the wall like you did previously

After the cutscene, using the appropriate buttons shown on the screen jump towards the glass to break through it.

After defeating the prisoners follow the pathway until you reach the point where Killer Croc destroys the Flying Droid.

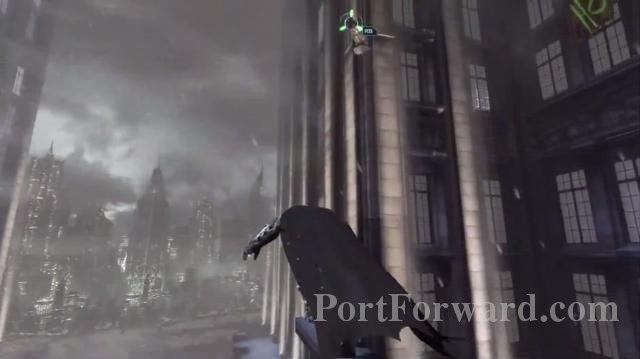
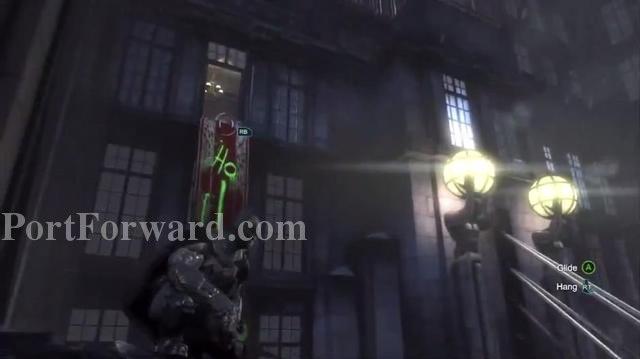
Look up and use the Grapple to pull yourself up on the platform.Use this method until you reach the top where you climb the stairs.
Batman: Arkham Origins Walkthrough Killer Croc Boss Fight
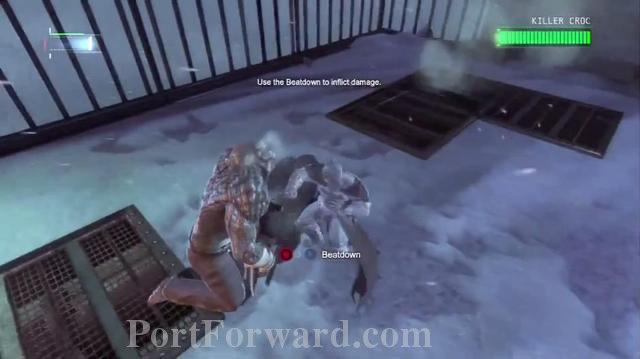
After the cutscene you will fight Killer Croc.
When there is a Red Marker above Croc's head use the appropriate buttons to evade he's attacks.(Same move as previously where you jumped through the glass)
Use the Cape Stun(3 attacks)to stun Croc and t

After the beatdown, Croc will grab a Gas Tank, using the Quickfire Batarangs(like at the gate with 2 buttons)throw a few at Croc to hit the tank and damage him.
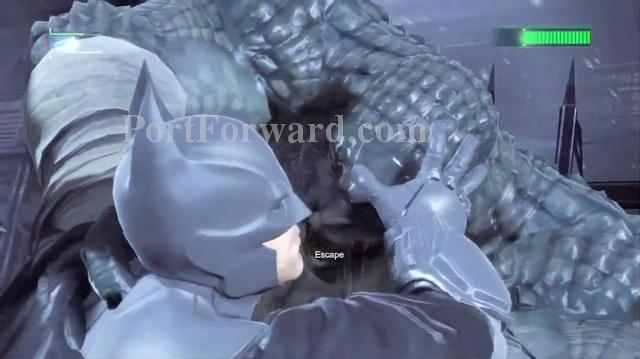
Keep using this method to damage Croc, after some time he will grab you and try to bite you, use the appropriate button to push him off.
Batman: Arkham Origins Walkthrough Finding Pengiun

After defeating Croc, Batman will escape and go to the Batcave, there walk up to the Batcomputer and use it.
Then walk up to the Batwing and use it.
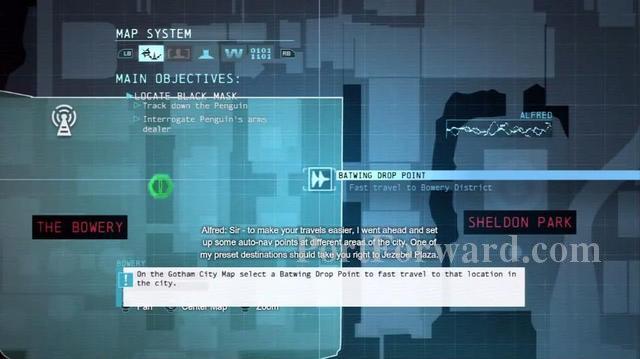
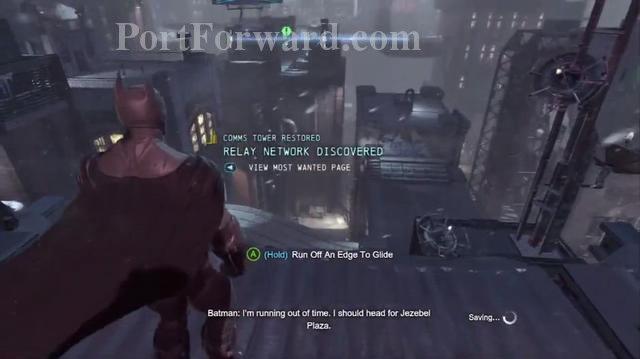
After the cutscene go to the Batwing, and select the waypoint to fly there.
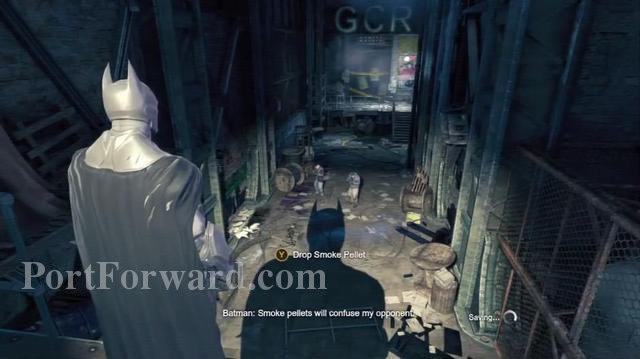
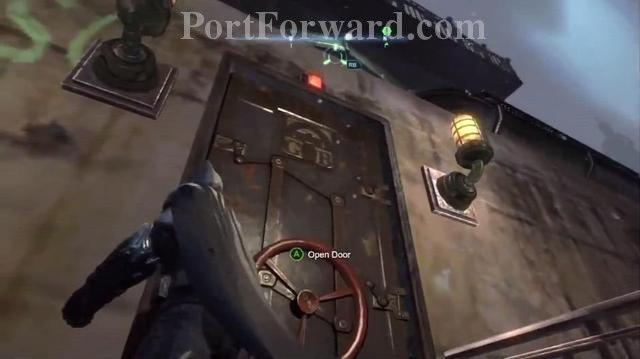
Instead of the waypoint, Batman will have to drop at a Relay Station, go through the door until you reach the guards.
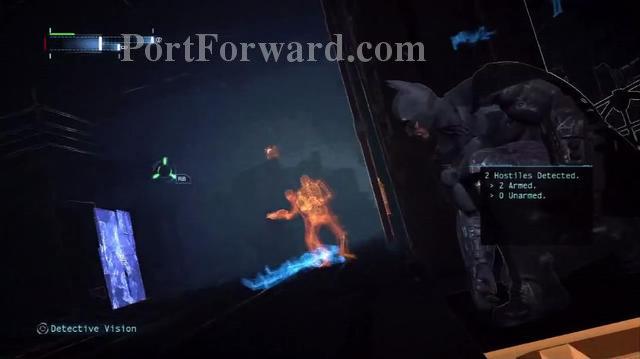
Press the appropriate button to drop smoke.
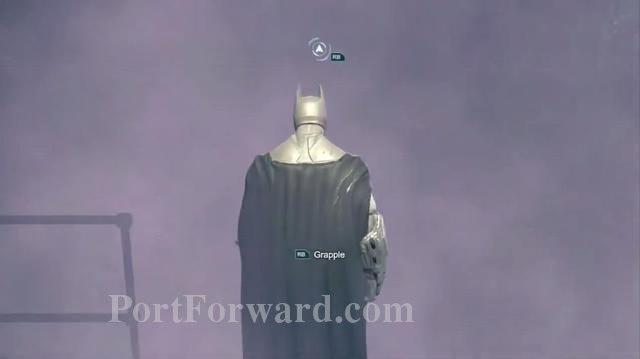
Then press the Grapple button to grapple up and escape the enemy's sight.

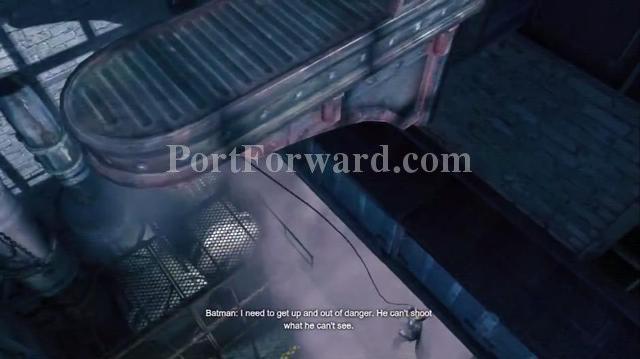
Using the Grapple Gun while on the platform, go across to the one above the enemy, then use the Inverted Takedown to take him out.
Then glide down and go through the vent, where you will reach a guard behind a vent, take him down using the appropriate button.
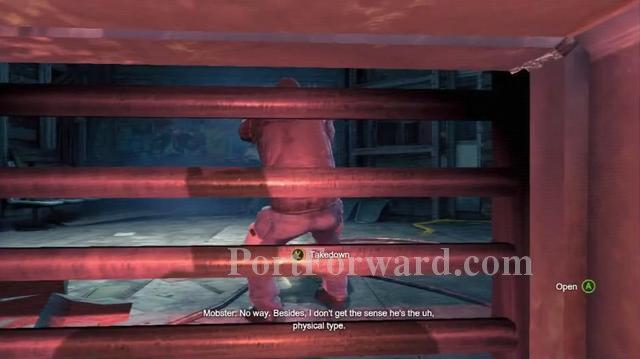
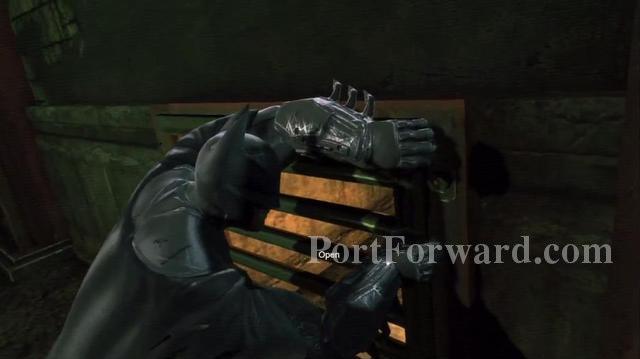
Go forward until you reach the guard behind the wooden platform, take him down through the wood using the appropriate button.
Go forward and use the grapple gun to reach the guard above.Use the appropriate button to take him down from behind the ledge.
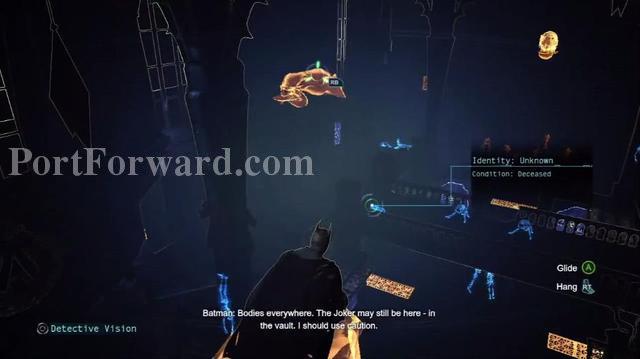
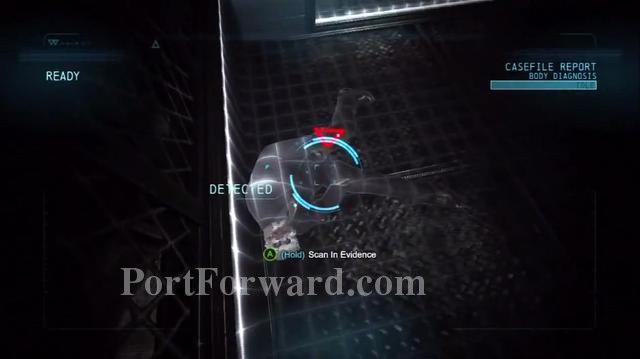
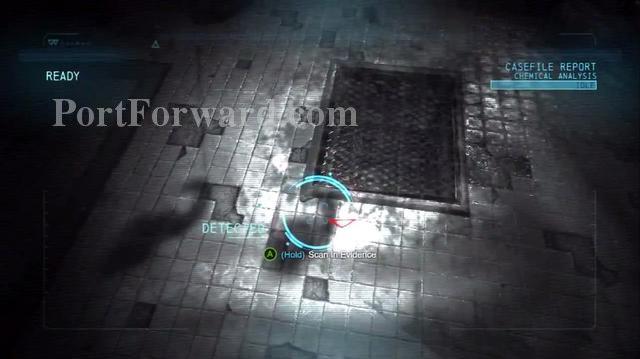
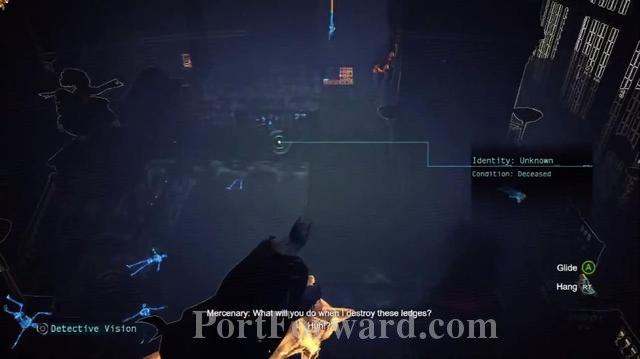
Go forward to the Relay Station door, using the detective vision scan the crime scene, first scan the body.
Then scan the DNA.
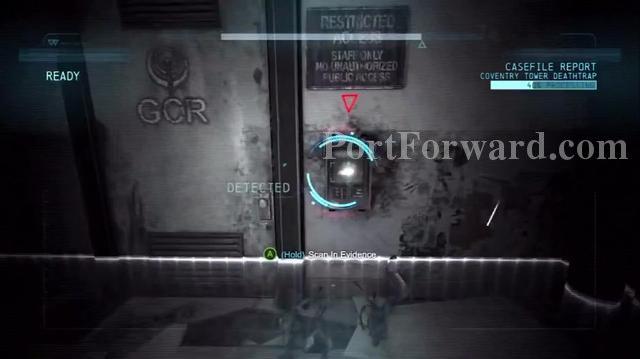
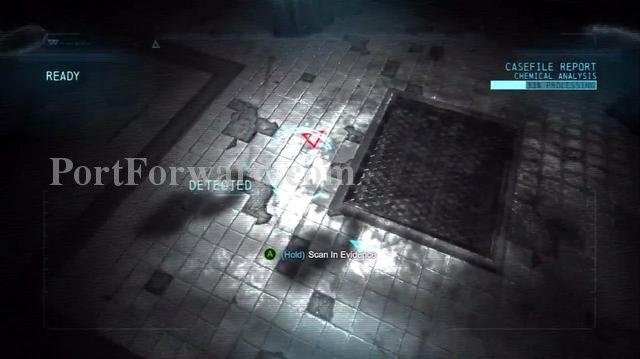
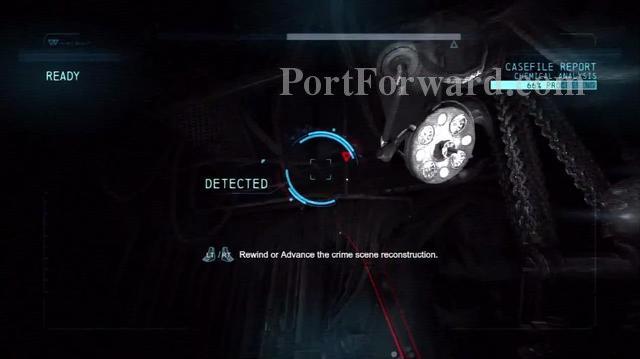
Reverse the crime scene time using the appropriate buttons and then scan the Lock Device.
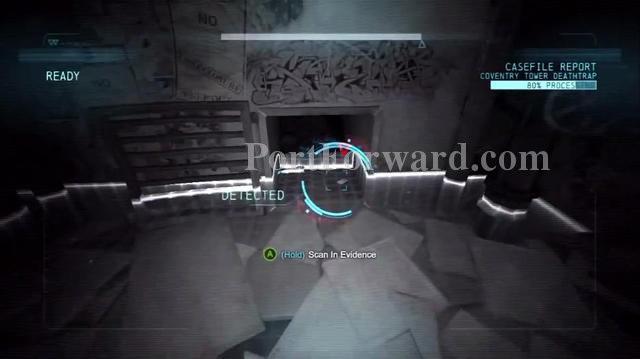
Then reverse and forward the time until you find out where the key card lands, open the vent and scan the card.
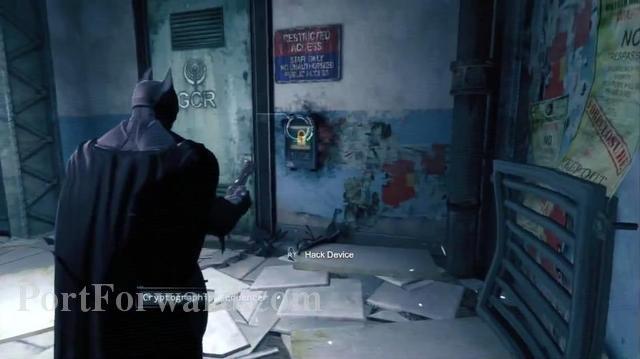
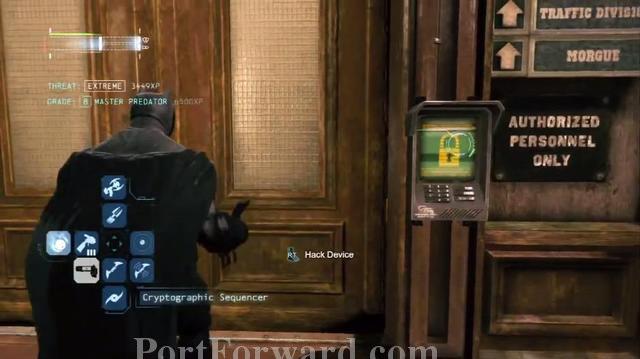
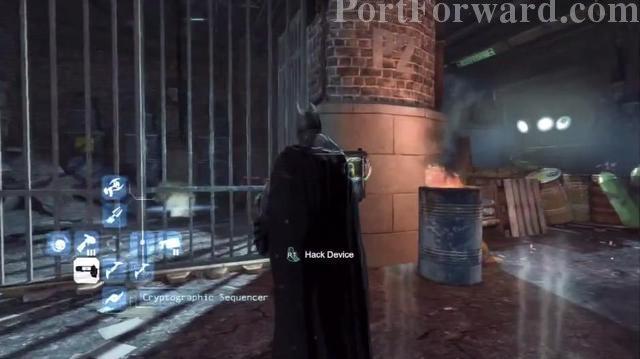
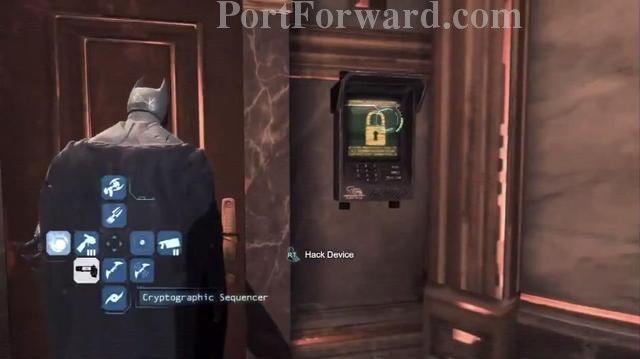
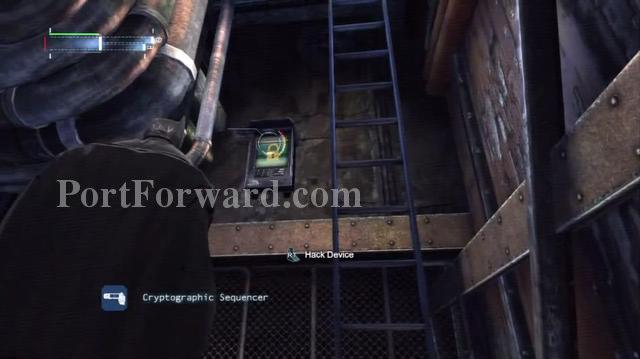
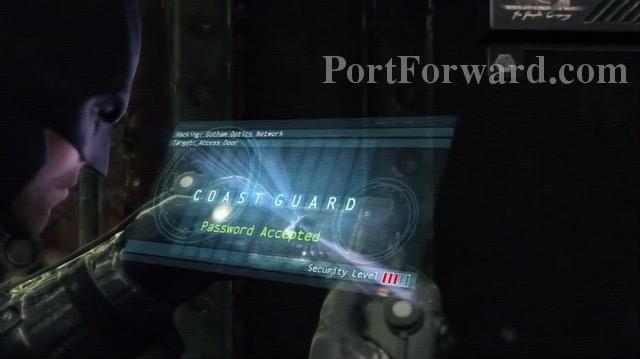
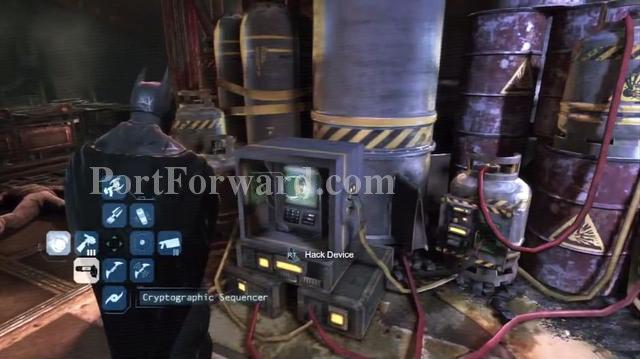
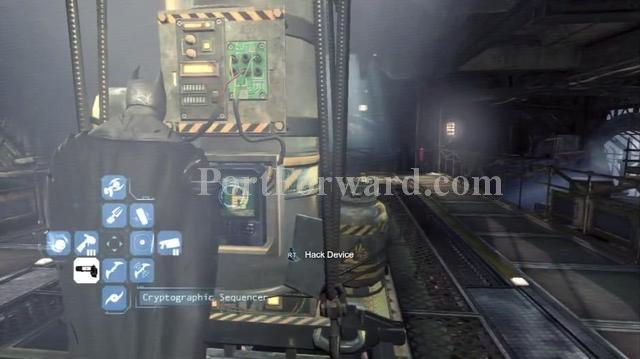
Then select the Cryptographic Sequencer and hack the device.
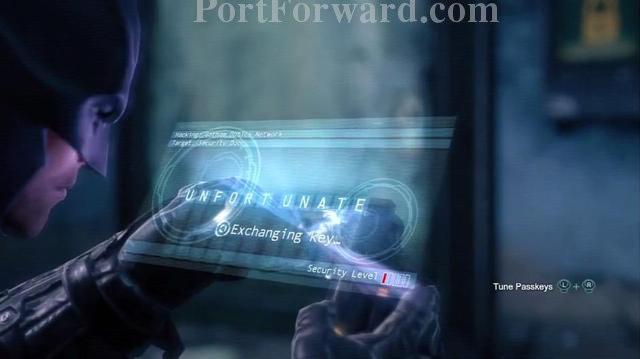
Use the appropriate buttons to find the correct password to hack the device.Then walk inside and go to the Relay Room, open the door and hack the device like before.
After hacking the device, get out of the room and go out to Gotham City.Follow the waypoint on the map to continue your mission.

Wait for the Arms Dealers to meet.

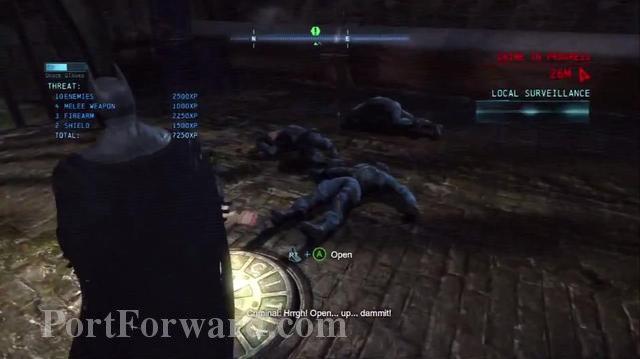
Then drop down and disable them.
Walk up to the last one and interrogate him.
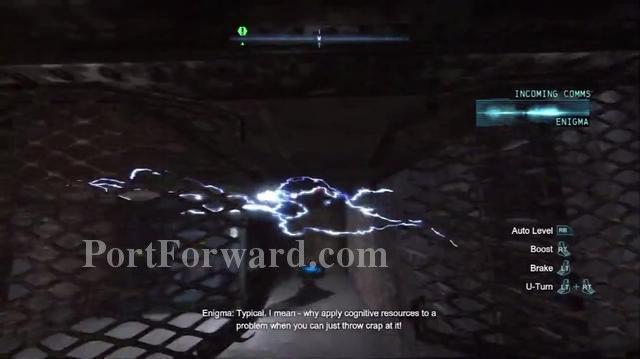
Follow the waypoint, defeat the guards there and select the Controlled Batarang.
Throw it through the Electricity.
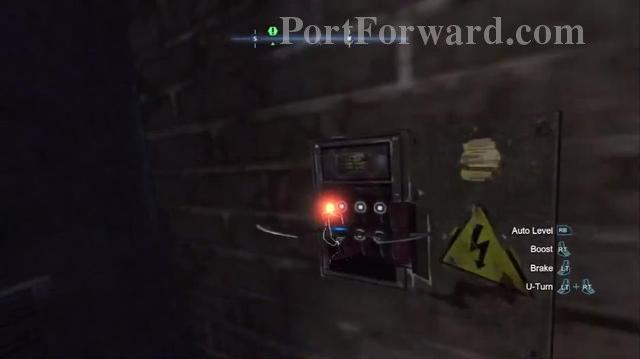
Then hit the Panel inside the room to open the door.Walk inside, open the door, and hack the device.

Then using the Cryptographic Sequencer find the source of the communication channel.
Follow the waypoint, defeat the guards and use the Laptop.

Then find another part of the location of the communication channel.Do this for remaining cards.

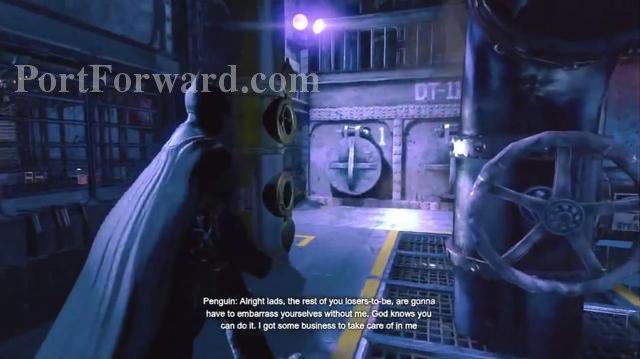
After you find Pengiun's location, you need to take out the snipers first before jumping down on the boat.
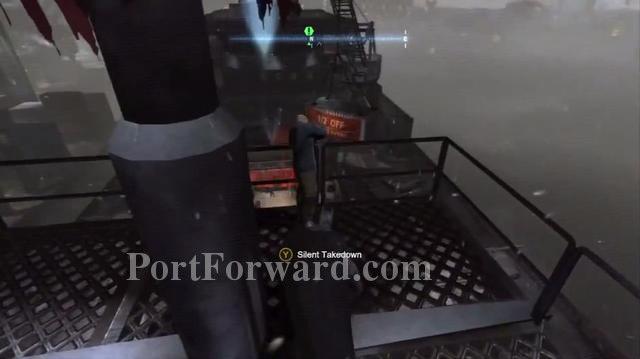
First take down the one on the Crow's nest.
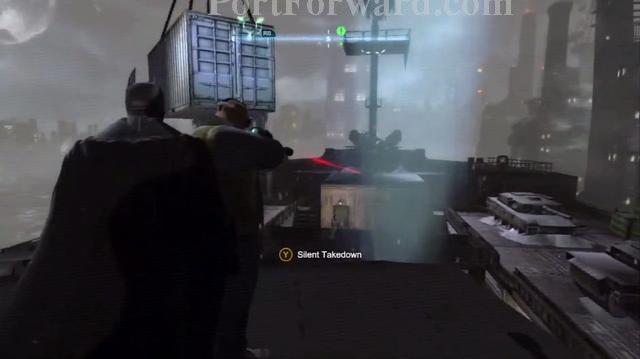
Then the sniper on the container.Then you can defeat the remaining guards.For the ones below the desk it is best to throw a Smoke Pallet at them and disable them while they are stunned by the smoke.

Walk inside and using the appropriate buttons evade he's blade attacks.

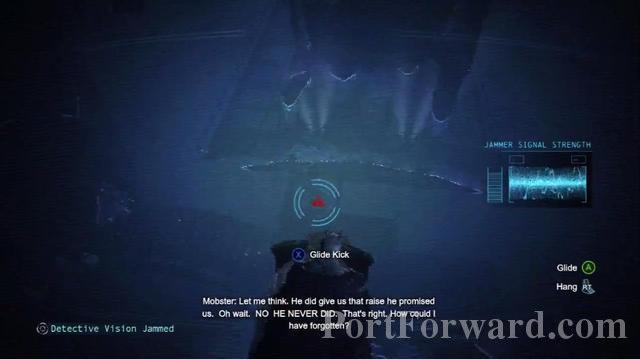
Go through the rooms, you will be engaged by guards, disable them.When you reach the point where you are above a group of guards use the Glide Kick to knock out the first guard and then disable the rest.
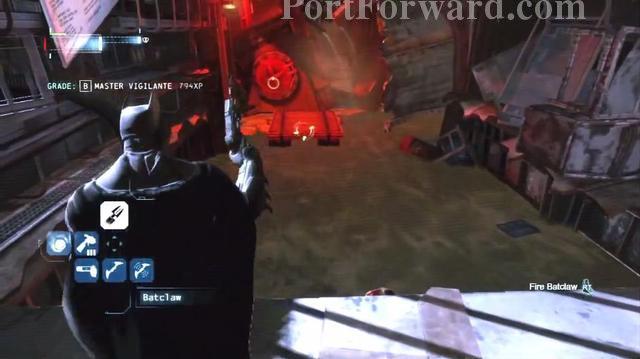
The use the Batclaw to pull the platform toward you, climb on it and pull yourself toward the rings on the walls until you reach the other side.
Using the same technique pull down the wall and then using the Grapple Gun climb up.
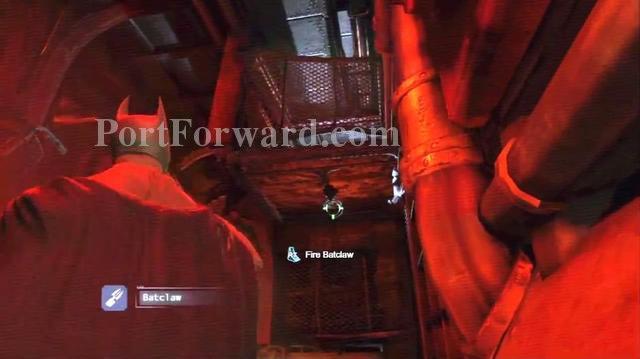
When you reach the open Gas Pipes, wait for them to stop blowing then pass through.
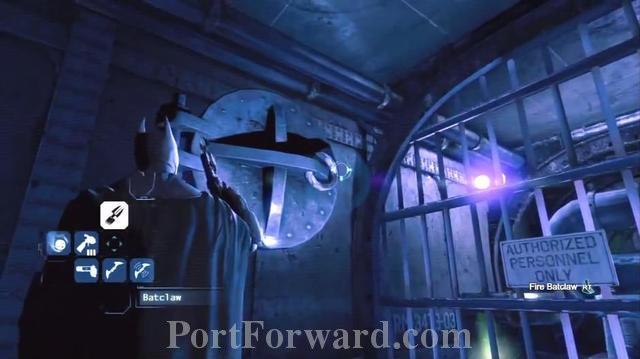
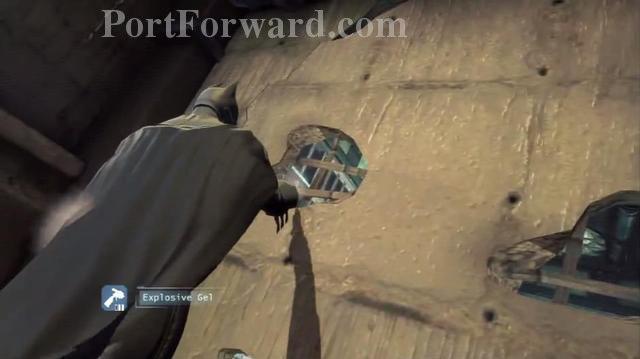
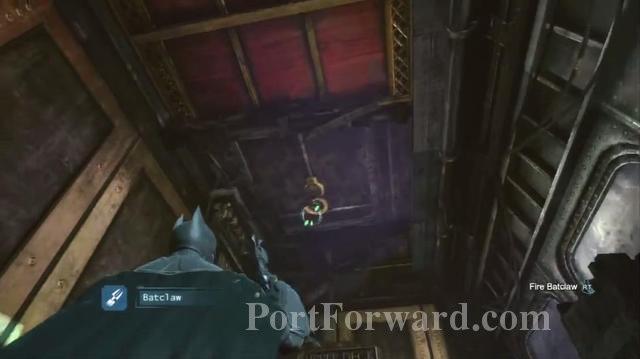
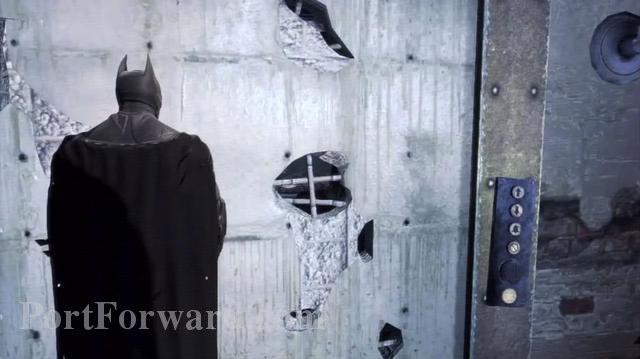
Climb up, then when you reach the opening like on the picture, use Batclaw to open it and climb through.
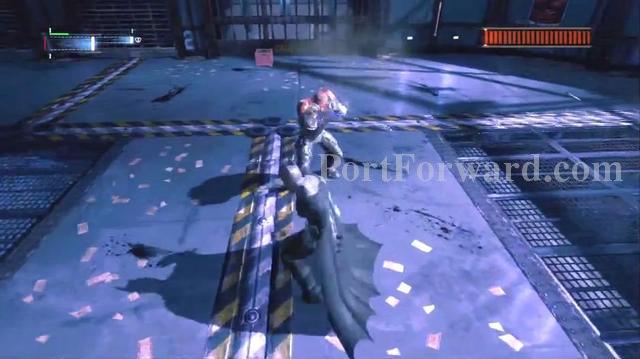
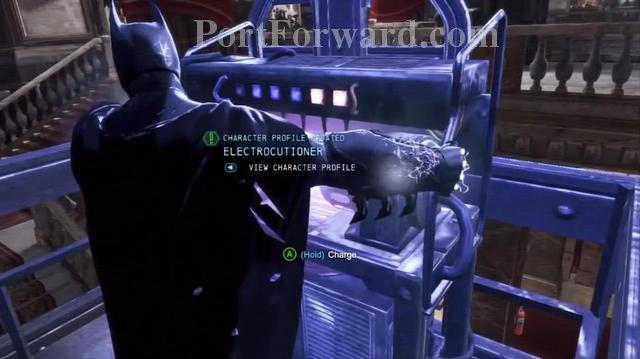
When you climb down from the vent, you will fight the Electrocutioner, jump walk up to him and hit him once and you will win the fight, then take care of the guards that will attack you, then walk up to the last remaining and interrogate him.

Continue forward, using the Explosive Gel destroy the Ice wall and move forward.
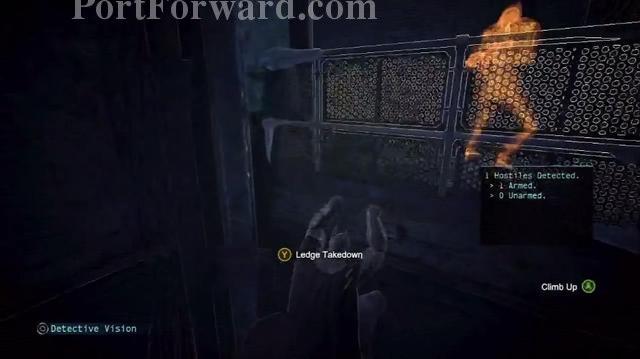
Using the Grapple Gun pull yourself on the ledge, then jump on the ledge, navigate around it and using the Grapple Gun pull yourself to the guards on the platform.
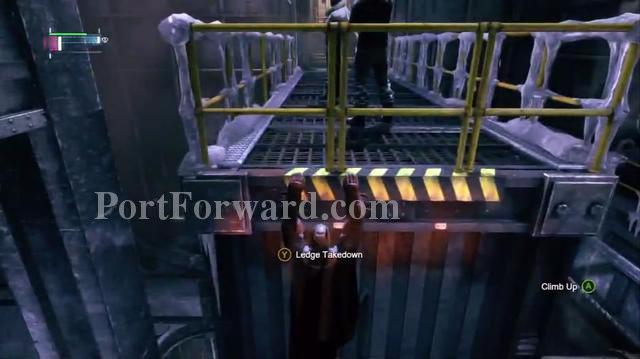
The like before, use the Ledge Takedown to remove one of the guards then disable the other and move forward.
Disable the guards at the entrance then pull down the wall like before using the Batclaw, then climb up using the Grapple Gun and go through the vent.

In the Casino room, disable the guards and find the vent, go through it.

Then hack the device.
Hacking the device will open the Hidden Locked Door, defeat the guards that came out of it and move forward, use the elevator to go up.
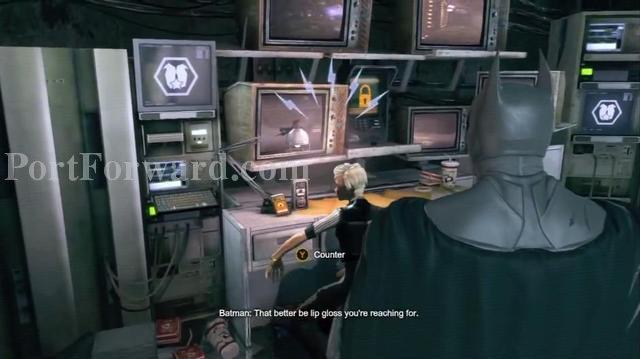
Batman will walk up to the woman, she will try to hit you with a Bat, use the counter button when the Blue Marker appears to counter her attack, hack the device on her computer to open the door.

Then jump through the glass like before and continue to the Theater.

You will face a tougher opponent this time, to damage the Big Enemy use the Cape Stun like on Killer Croc (3times) then take him down using regular attacks.

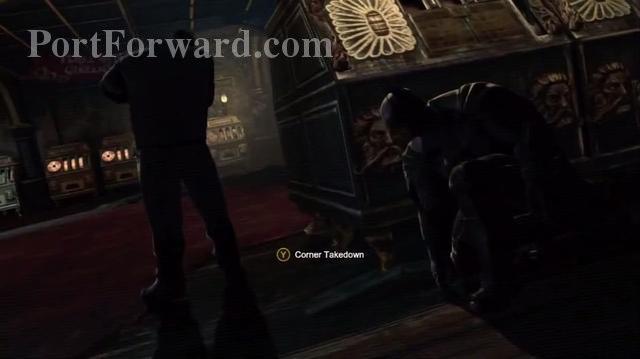
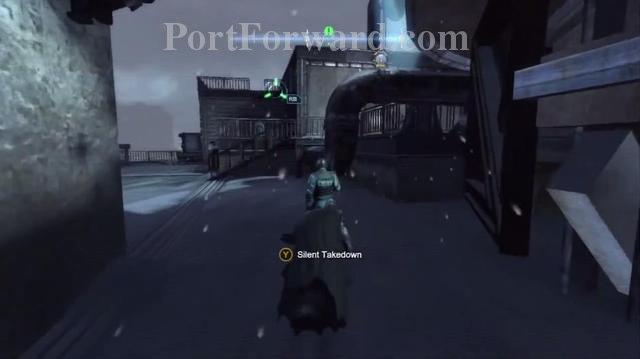
Moving forward you will be prompt with a Predator Room, using the platforms above, ambush your enemies by jumping down and taking them down one by one, try not to be seen, use the Silent Takedown from behind the enemy.

Go into Pengiun's office, disable the guards and interrogate Pengiun.
Batman: Arkham Origins Walkthrough Deathstroke Boss Fight

You will then fight Deathstroke.
The important thing to defeat Deathstroke is to counter he's attacks, whenever the Blue Marker appears, counter he's attack.

Deathstroke will hit you with a flashbang granade and the jump at you, at this time press the counter button repeatedly to counter he's numberous attacks and then when Batman stuns him, attack him.

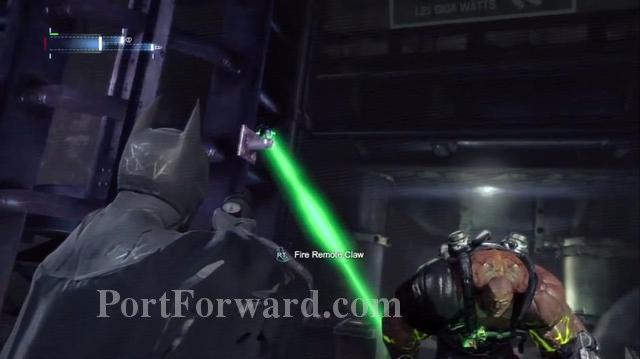
After some time, Deathstroke will hit you with the Remote Claw and attack a Gas Tank to it, when the Gas Tank almost reaches you and the Blue Marker appears, use the counter move to grab it and throw it at Deathstroke to damage him.
Continue this method
Batman: Arkham Origins Walkthrough Lacey Towers

After defeating Deathstroke, Batman will be equipped with the Bat Claw.
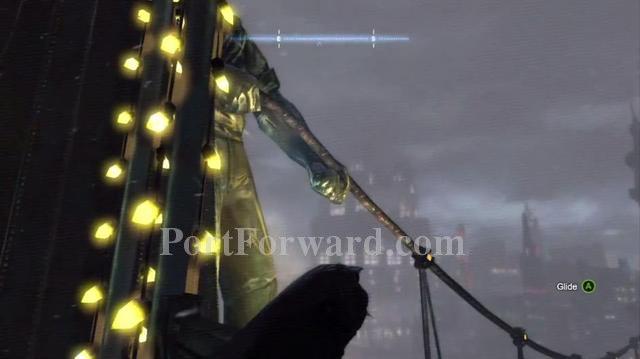
Look up and use the Remote Claw to create a line between the to points, the use the Grapple Gun to climb onto it.Use the same technique at the gap you will encounter to get across and exit Pengiun's base.
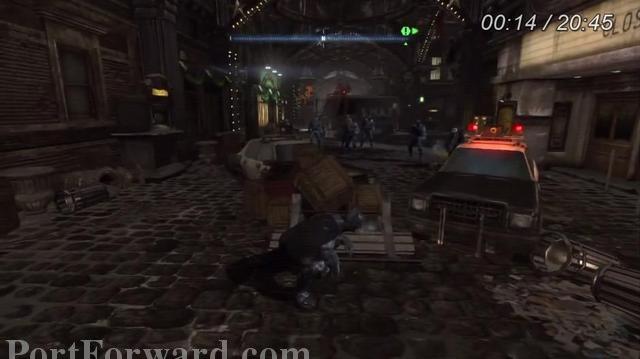
You will then be prompt with a mission by Anarky, go to the waypoint, defeat the guards and disable the bomb(There is a time limit you need to be fast!)

Go to the waypoint(Lacey Towers) and steal the Card from the police on the roof, then enter the Tower.
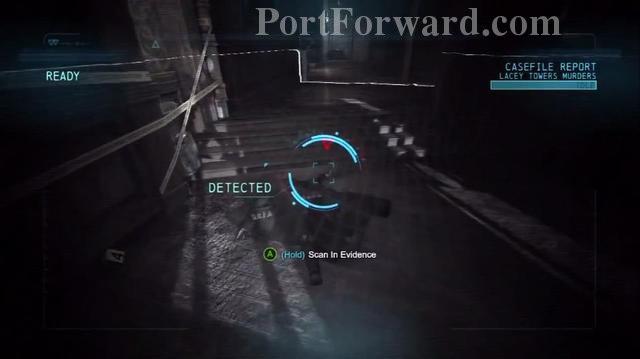
You will need to investigate another Crime Scene there.

Using the techniques like before, investigate the crime scene using the detective vision.
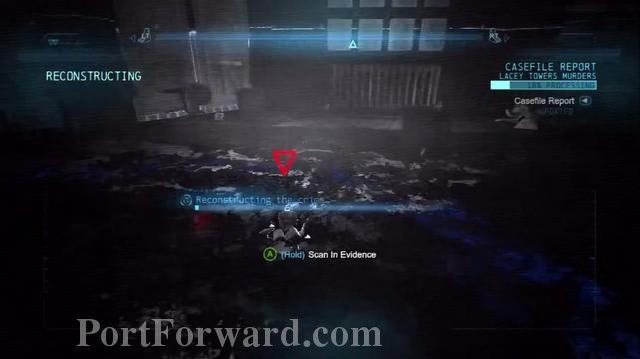
Reverse and Forward the footage to find glues throughout the crime scene.
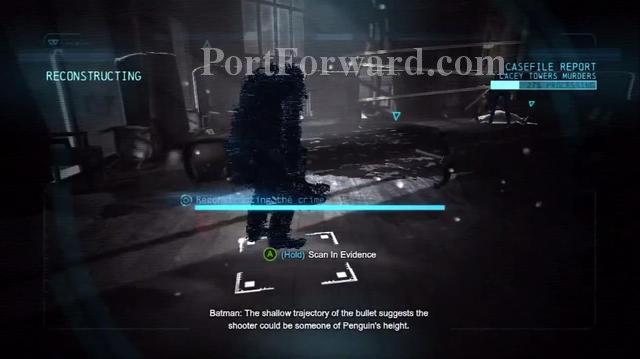
Then find the next clue.
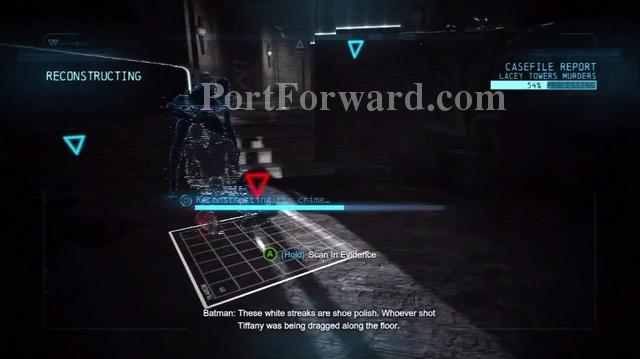
And then the last one.

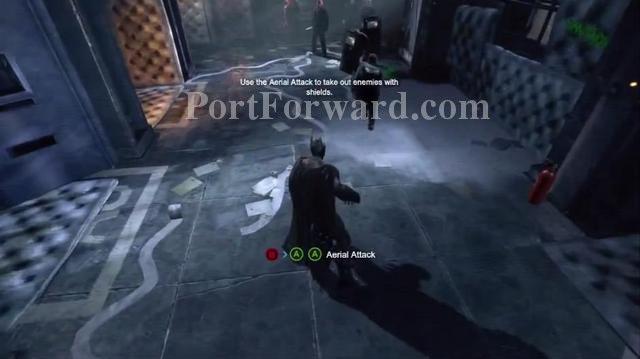
When you get out, you will be engaged by an enemy with a shield.To take him down, use the cape stun, then jump above him using the appropriate button to remove the shield from him and knock him out.
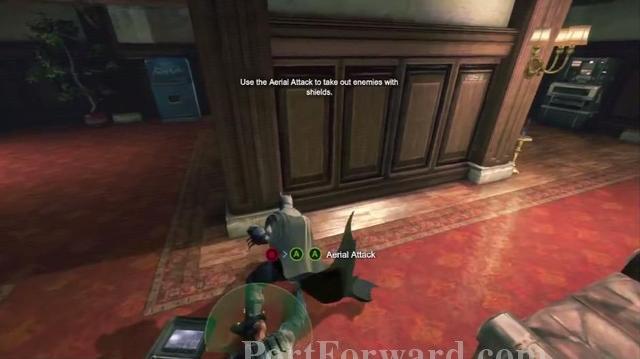
Use the Arial Attack to finish him.
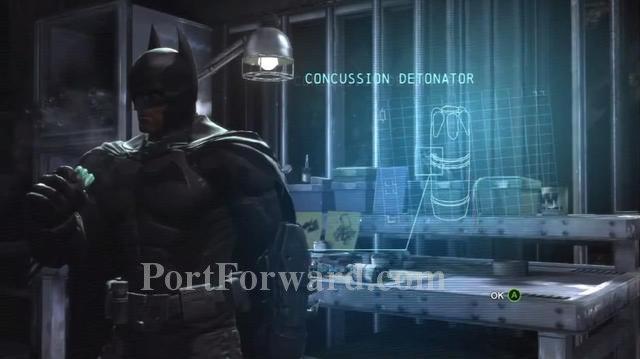
When you reach the Batcave, go to the workstation and grab the Concussion Detonator.
Batman: Arkham Origins Walkthrough Gotham Police Department
Leave the Batcave using the Batwing, and go to the waypoint(Gotham PD).
Take out the guards and go inside.
Use the Explosive Gel to take down the wall and continue.
Following the pathway, you will face another Vent Takedown like before, take down the Officer and continue forward.
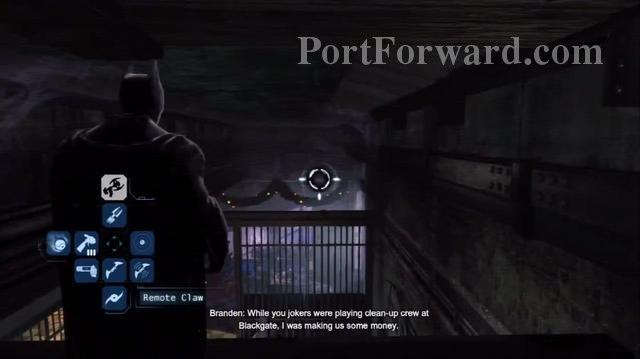
Go through the rooms, you will be encountered by Officers, take them down and continue forward, when you reach this location, use the Remote Claw to create a line and move forward, don't jump down because there are alot of enemies with weapons.

Hack the device to unlock the door.
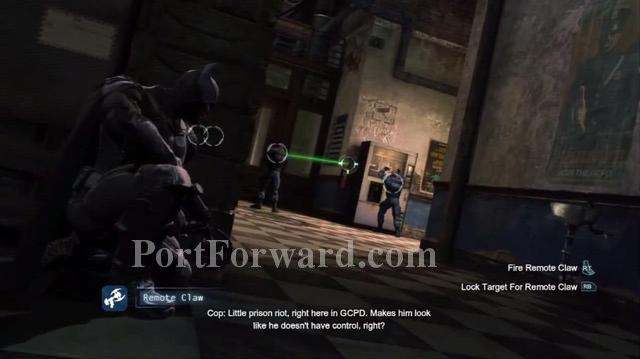
When you reach the guards, hide behind the Boxes, and use the Remote Claw to either hit an officer with a Fire Extinguisher or hit one officer with another.
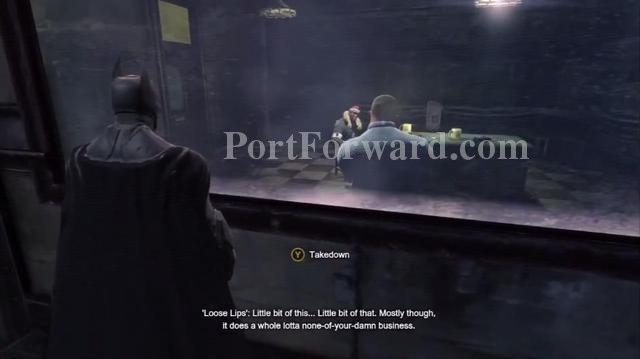
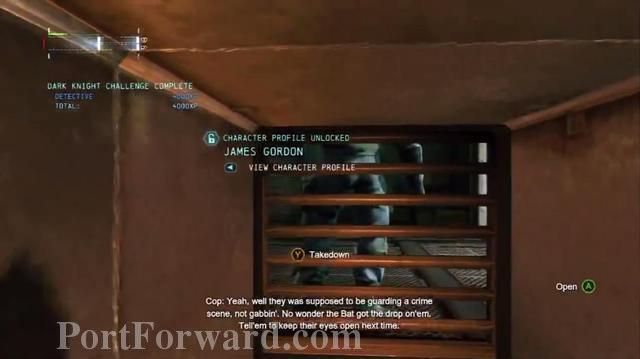
Go into the interrogation room, take down the officer from behind the glass and interrogate Loose Lips.

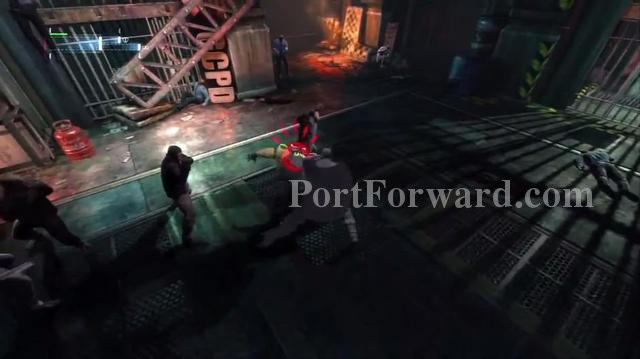
After defeating the cops in the other room, move forward, you will face another Predator Room, use the same technique like before to take out the officers and move on.
Hack the device like before to unlock the door and go inside.
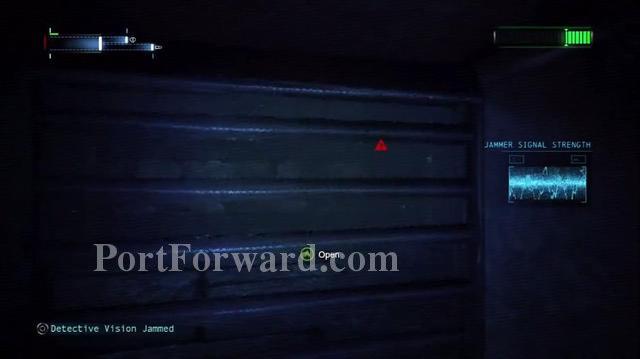
You will face another lock device, but you can't hack this one easily because there is a jammer above it.
You will need to go to the basement, you will see a device to hack there, hack it move forward, defeat the police officers and continue through the prison cells.
Use the Explosive Gel again to destroy this wall.
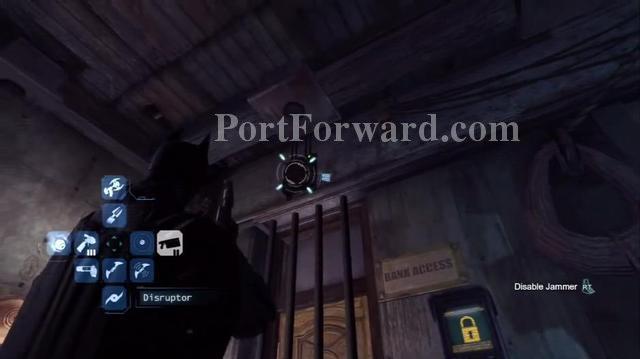
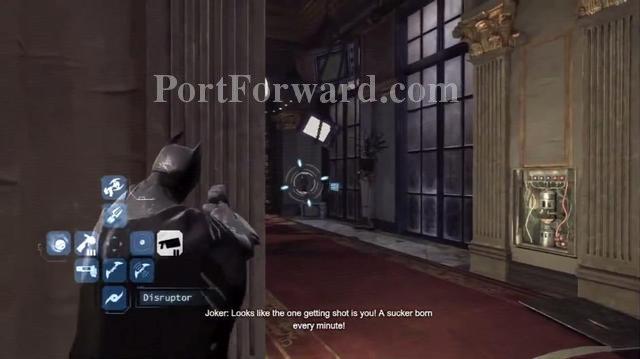
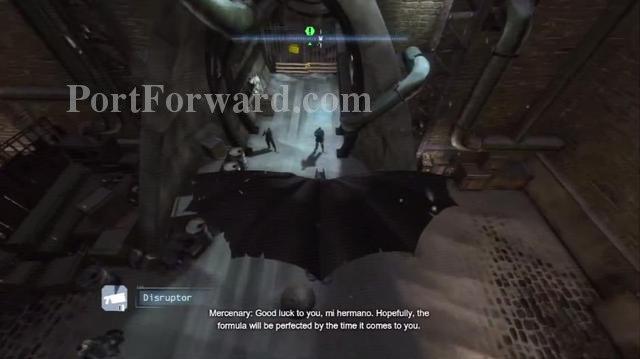
Continue down the path, look up and use the Batclaw to create a line and climb on it, move through the vent and find the Disruptor then return to the jammed lock device.
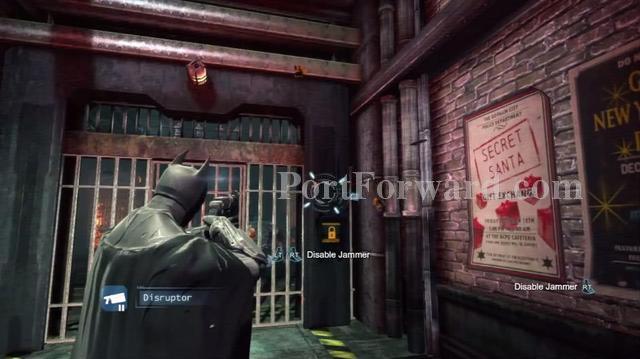
To use the disruptor, aim at the jammer and press the appropriate button to disable it and then hack the lock device.
You will face a tougher enemy like before, use the cape stun to stun him and then attack him.
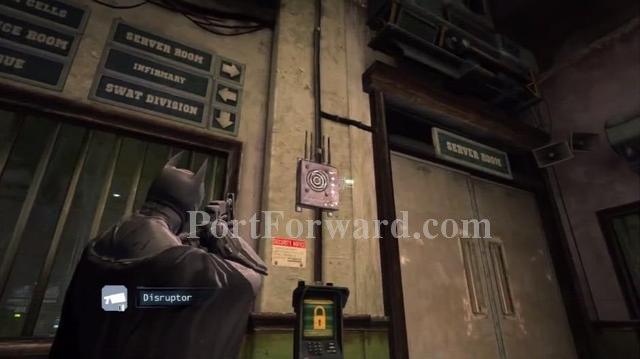
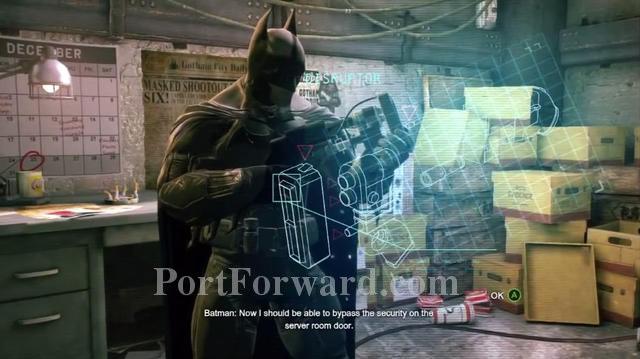
Continue forward to the Server Room, disable the jammer and hack the device then go in.

After talking to Barbara Gordon, you will have access to the Gotham PD files.

When you're about to leave, cops will storm in, all armed with guns, avoid them through the vent to escape.

After going in the elevator, you will be prompt with a cutscene and then you will need to drop a smoke pellet like before to escape the situation.
Batman: Arkham Origins Walkthrough Bane's HQ
Go to the waypoint on the map.
Stand above the sewer opening, and use the appropriate buttons to open it.
Follow the path, when you face the Ninja(enemy that counters your counters), you need to use double counter(when 2 blue markers appear above him), then when you attack him, he will counter you and attack you, when he counter's your attack you need to counter that counter, it's a back and forth game.

Move forward through the sewers, you will need to use the Grapple Gun a couple of times to climb up, when you reach the button press it.

You will then be prompt with another Glide Attack, use the appropriate button to attack the enemy and move forward through the sewer hole.
You will face another group of enemies, with another Ninja among them, use the same technique like before to defeat him.
Go up using the elevator, then defeat the Tough Enemy with the Cape Stun like before.

Then go to the Server and press the appropriate button to download files from it.
Batman: Arkham Origins Walkthrough Finding BlackMask
After receiving the message from Mat Hatter.
Go to the waypoint, the main door will be locked, on the right side, there will be a broken down wall, use the Explosive Gel to destroy it and move forward.
Use the Distruptor to disable the jammer and then hack the device to unlock the door.
Use the techniques like before to beat this Predator Room.
Pull down the vent and climb through.
Use the Explosive Gel to take down the wall below you.

After the cutscene, another Predator Room awaits you, this time there is a jammer on one of the enemies, marked with a Red Sign while using the detective vision, find the enemy and take him out to remove the jammer.

Interrogate the last remaining enemy.
When you get out you will face the police, take them out and move on to the waypoint.

There will be many guards guarding the Waypoint, take them out then move forward.
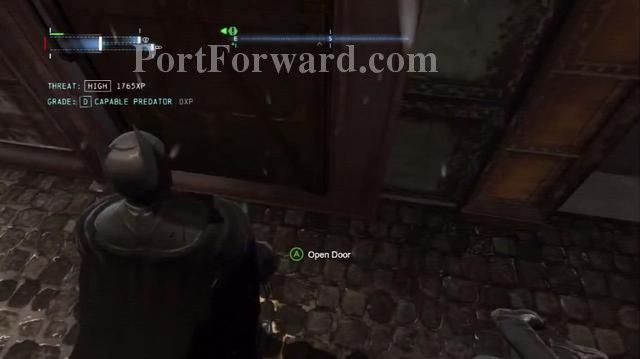
Go through the door to continue.
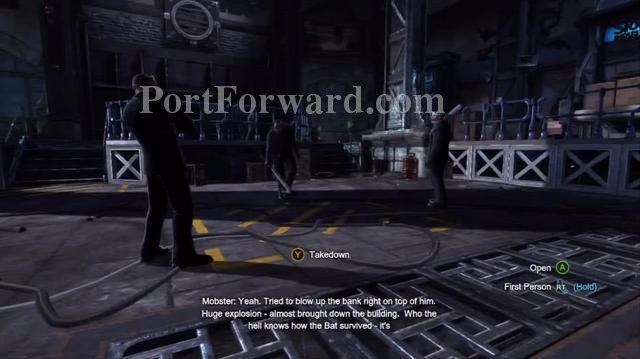
Inside you will face another set of guards, you can make a surprise attack using the vents below, simply climb down and move near an enemy then take him down.
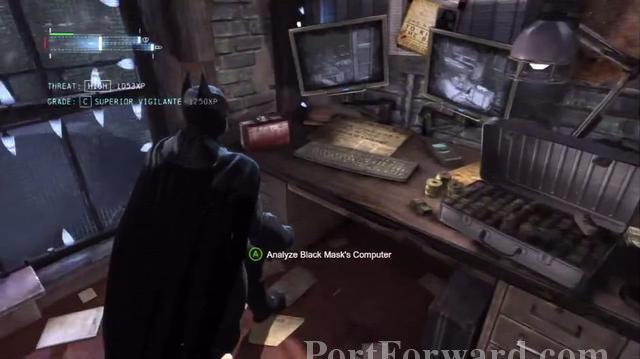
After disabeling the guards, find the computer in the upper floor and use it to download files from Black Mask's computer.
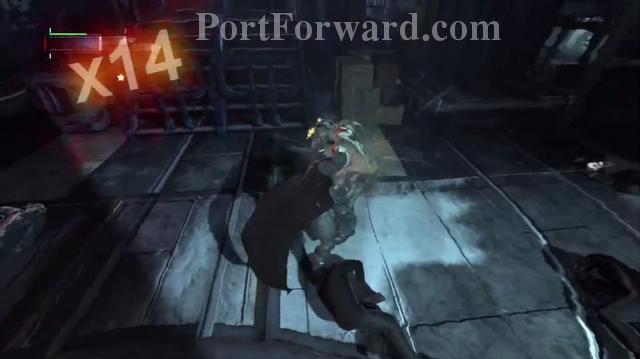
Moving forward you will face another Armored Enemy, use the cape stun 3 times to stun him then take him down using regular attacks.
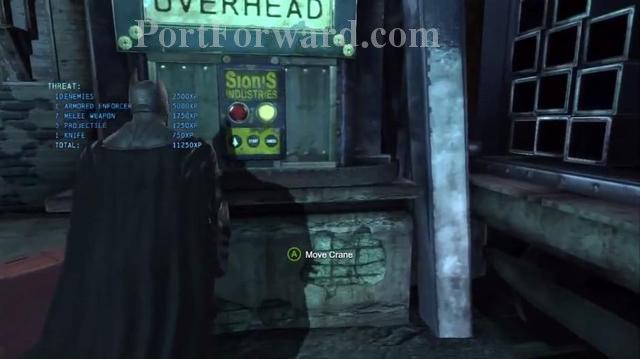
Then move to the Crane's controls, and use it.
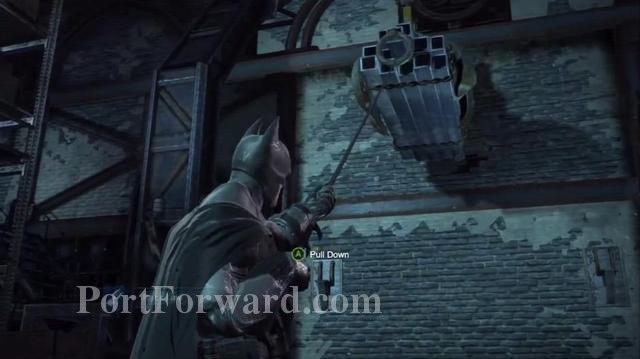
When the Crane stops, use the Batclaw to grab it and pull it backwards so it can smash the wall.
Climb up to the broken wall using the Grapple Gun.
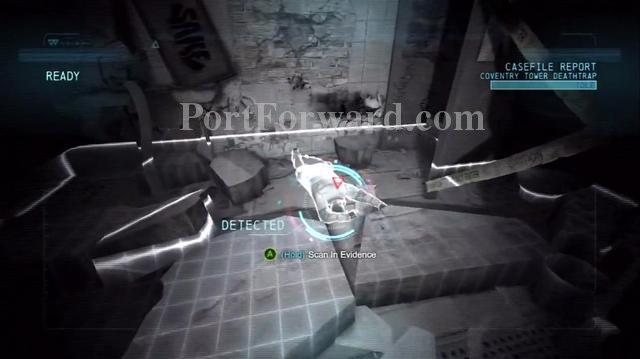
You will face another crime scene, use the detective vision and scan the body.
Use the elevator to go up, take down the jammer on the enemy then take care of the rest of the Predator Room.
Find the vent below the door and go through.
Go inside the door to face Black Mask.
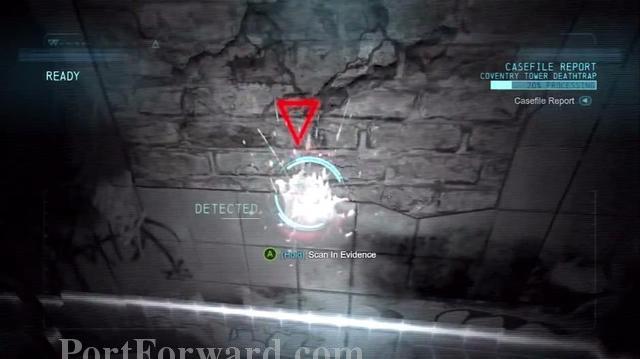
After the cutscene with Copper Head, scan the poison on the floor.
Next scan the poison near the first poison.
Then use the reverse and forward to skip through the crime scene and see where Copperhead jumped from, scan the poison she left there.
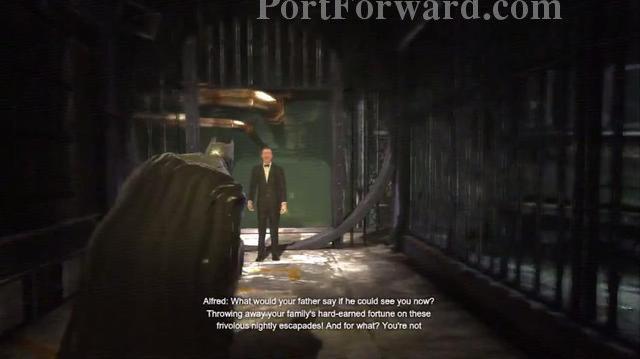
After talking to Alfred, move forward to get outside of the Warehouse.
Moving forward Batman will hallucinate, first a talk he had with Alfred.
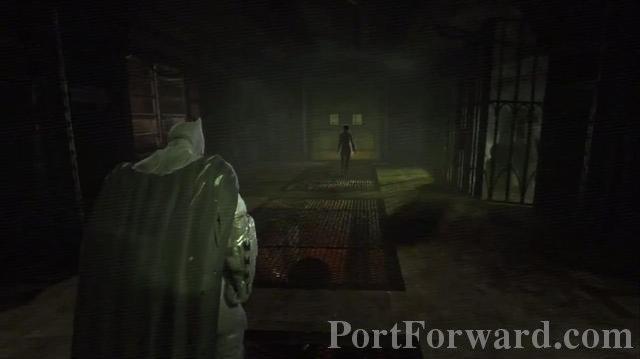
Then you will see Copperhead.

Moving forward you will be attacked by 3 Copperheads, they each have Sharp Fingers that are like blades, use the technique like before to evade each attack.

Then attack them.

After that you will face the real Copperhead, but she will have a few Copperheads on her side, so mind them too.
Some of them might jump on you, the key is to repeatedly press the appropriate button to throw her off, also keep in mind to evade the Yellow Marked attacks, and counter the Blue Ones to damage Copperhead.
Later on, when you go 1 on 1 with Copperhead, watch out for the speed-dash attack, you need to dodge this attack by jump-rolling around.
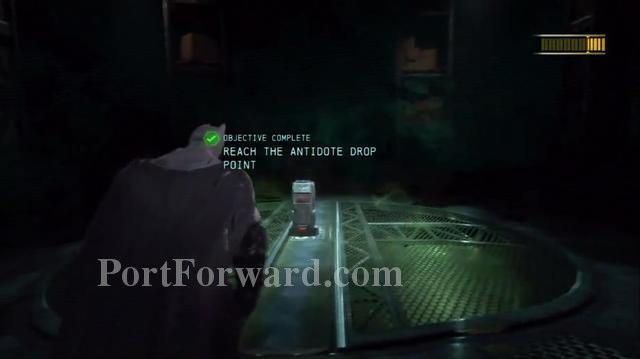
When the fight is over, a drop container will fall from the sky launched by Alfred, walk up to the Container to get the antidote.
After that you will face Copperhead once more, after she stops talking just hit her once and the fight is over.
Batman: Arkham Origins Walkthrough Finding Electrocutioner

After that, leave the Steel Mill, Batman will scan the area for Electrocutioner's signal to track him.
Follow the waypoint on the map to reach your next mission.
Go through the door.
After fighting off the enemies, hack the device to open the gate.
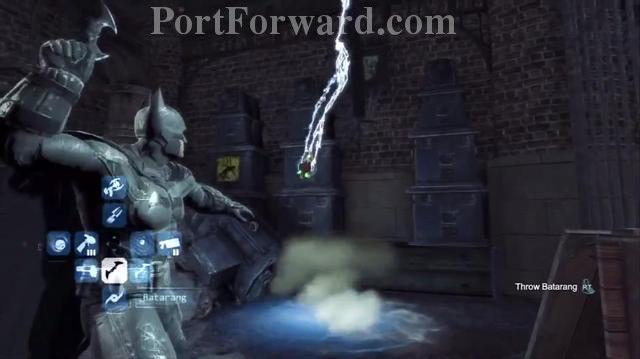
Next take out a Batarang and hit the button to disable the electricity.

Next Grappe up, after you've set a wire using the Remote Claw.
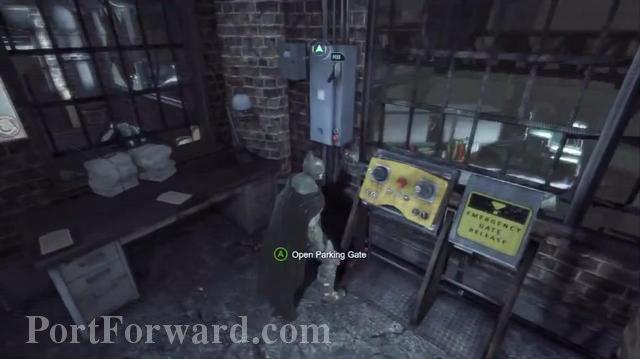
Then use the controls to open the Parking Gate.
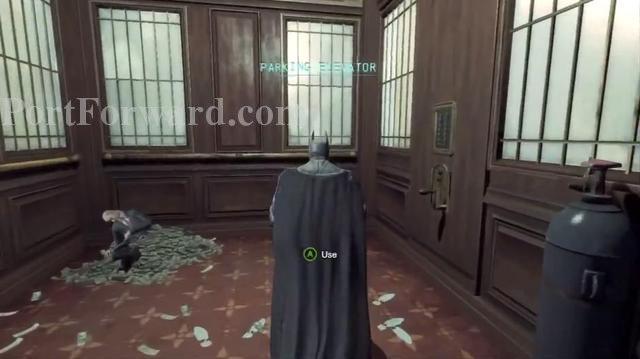
Then go inside the Elevator and go up.

You will face another Predator Room with a jammer, take out the jammer to be able to use the Detective Vision, then take out the rest of the guards.
Then go to the security room, hack the device and go inside.

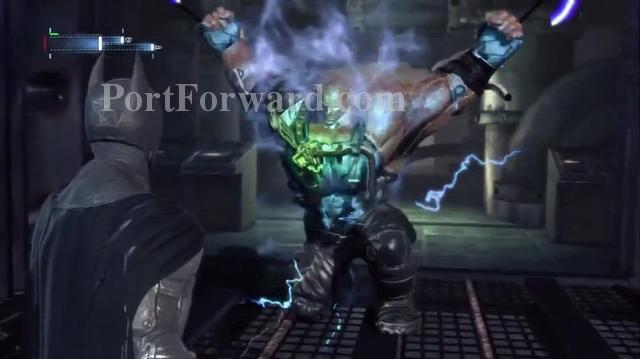
You will then receive Shock Gloves.
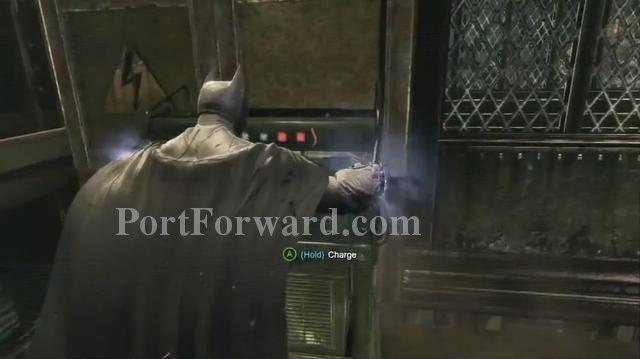
Now that you have the Shock Gloves, you can power up the small engines, to open doors, elevators, etc.
Press and hold the appropriate button to use the shock gloves to power up things.
After you reach the top with the escalator, look up and use the Grapple Gun to pull yourself up.
Then again at the open window.
Walk up to the open socket on the wall and power it up to open the gate at the end of the path.

Run towards the gate and crouch to slide under it.

After that, moving forward you will need to open another vent using the Batclaw, and power up another escalator.
Next watch out for the Automated Machine Gun, use the Disruptor to disable it, then power up the socket to open the gate.

After that you will need to climb a couple of edges to move forward.Then you will reach Joker's torture room.
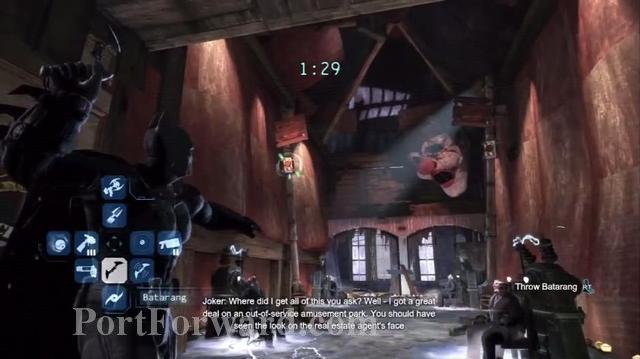
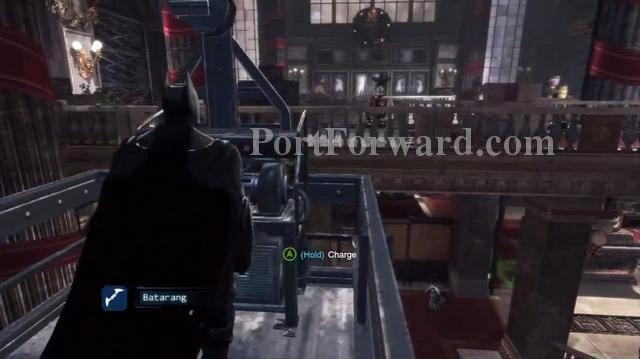
Then use the Batarang to push the two buttons above the people.
Then make a wire using the Remote Claw and grappe on it.

Glide off the wire to the small platform and destroy the wooden wall using the Explosive Gel.
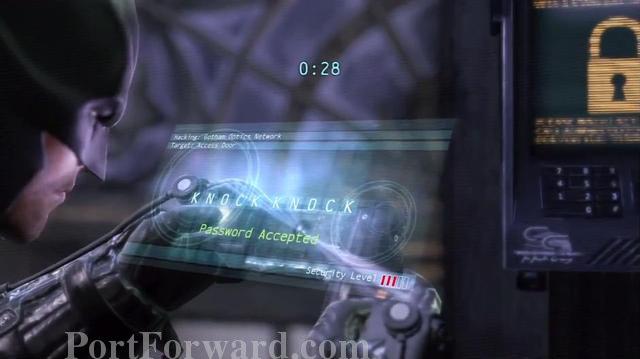
Then hack the device to stop the electricity.
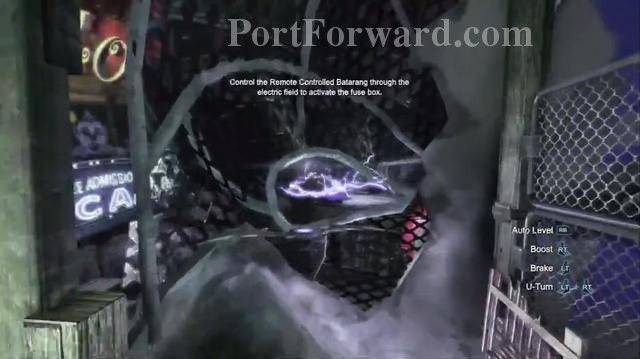
Then using the Controlled Batarang, throw it through the hole.
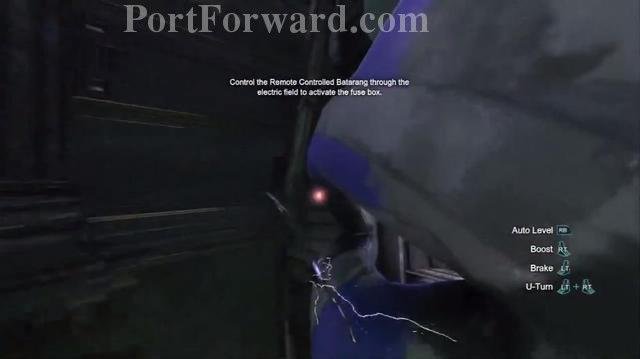
Then through the clown's eye.
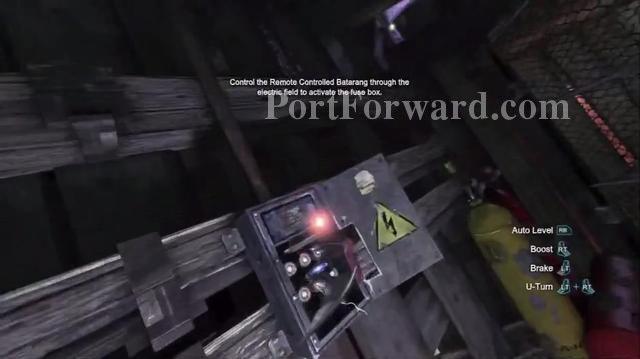
And hit the Fuse Box.

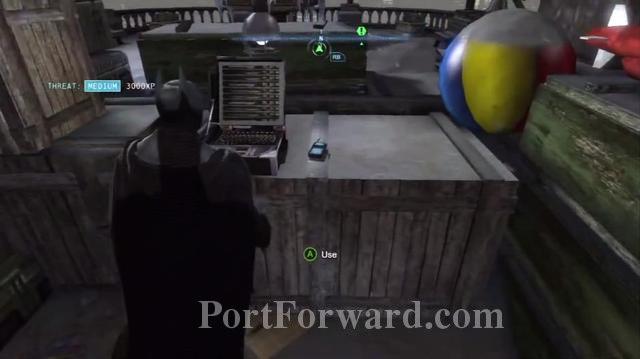
This is pretty easy, step on the Green Marker, and remember in which order the faces showed up, then pop the baloons with a batarang in the same order.
Then go inside the small ring and take out the guards.

Next create a wire using the Remote Claw, climb on it with the Grapple gun.
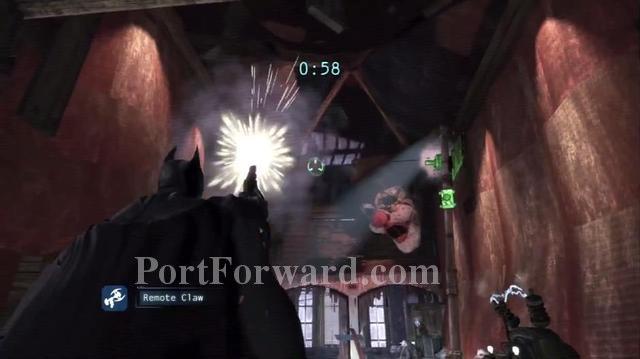
Then go to the door on the left with the fireworks.

Go through the door, and into the vent, take down one of the guards then the rest.
Then go to the wooden wall and destroy it with the Explosive Gel.
Then Grapple onto the ledge.
Then climb inside the open window.

Power up the socket and move past the gate, then hack the device the disable the bomb.

Then jump through the window to escape the explosion.

And while falling down use the Grapple Gun to grab onto the Helicopter.
You will then fight a few guards.
After you defeat the guards, go inside the door.
Same as before, take out the Predator Room.
Hack the device to unlock the elevator, and go up.
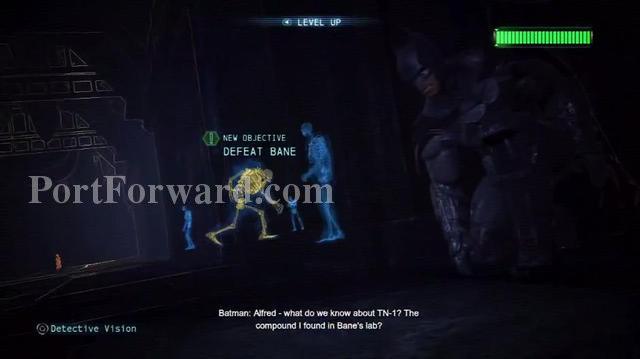
Batman: Arkham Origins Walkthrough Bane Boss Fight
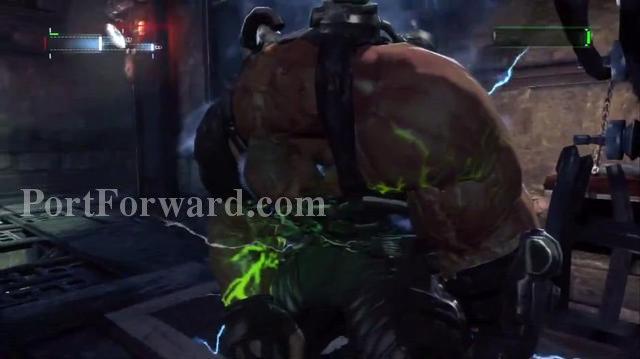
After the cutscene, you will fight Bane.
He has the same techniques as Killer Croc, when the Red Marker Attack appears, dodge/evade the attack by rolling to the side.

And when the Blue Marker appears counter he's attack.
After you hit him 3 times with the Cape Stun, attack him with regular attacks to take him down.

Continue using this method to keep damaging Bane.

When you get outside, keep fighting him the same way, it is also a neccessity to use the Shock Gloves against him, right after you perform a take down, Batman will disable Bane's venom with the Shock Gloves.
Batman: Arkham Origins Walkthrough Inside Joker's Mind

After the Bane fight, you play as the Joker.Use the same techniques as Batman to defeat the guards, with attacks and counter-attacks.
Continue down the pathway with the Joker.
Continue down the pathway with the Joker.
Batman: Arkham Origins Walkthrough Enigma's HQ
After the Joker gameplay, get out of the Batcave with Batman and go to the waypoint on the map.
Go to the Billboard, you can use the Detective Vision to find the exact location of the broken wall, then press the appropriate button to get through.
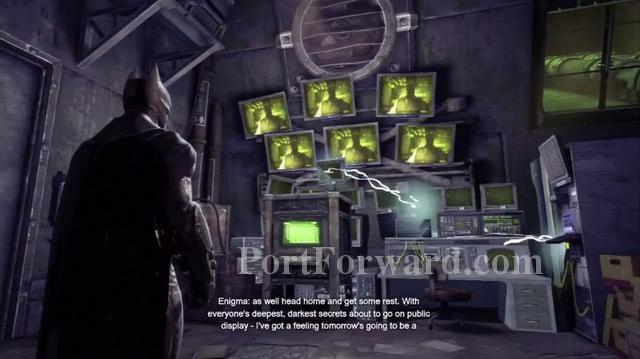
You will find Enigma's base.
Then go to the next waypoint and get down inside the sewer opening.
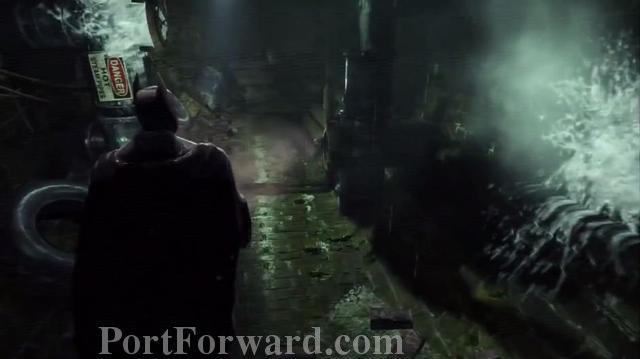
Use the Glue Granade to stop the gas on the opened pipes.
Go down to the Infirmary, through the Broken Wall, and continue forward.
Find the locked door to the morgue, hack it and go inside.
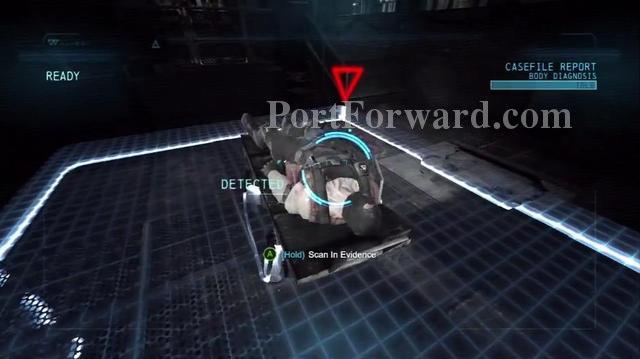
There will be a crime scene there, scan the body.

Then walk up to the computer and use it.
After that, get out of the PD, and go to the waypoint on the map.
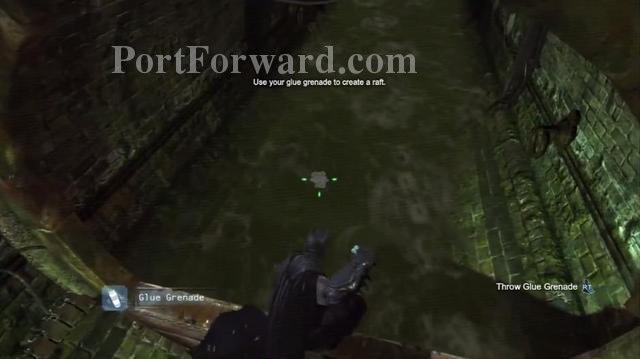
Inside Bane's base, at the sewer, use the Glue Granade.
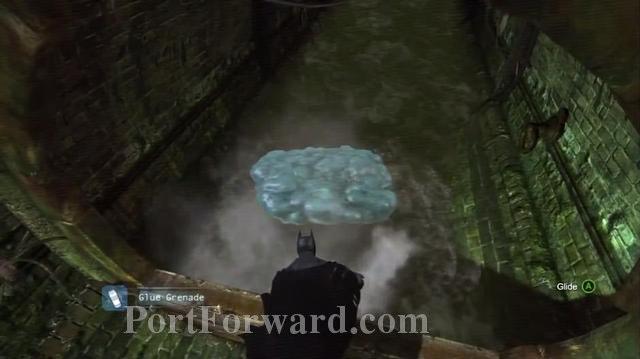
Get on the Floating Platform.
Then like before, use the rings to pull yourself forward.

After the cutscene, head back to the Batcave.

Follow the waypoint, while Batman is programming the Batwing.
Batman: Arkham Origins Walkthrough FireFly Boss Fight

After Batman draw's Fire Fly's attention with the Batwing, head down to help the officers.
Get inside the Maintenance room.

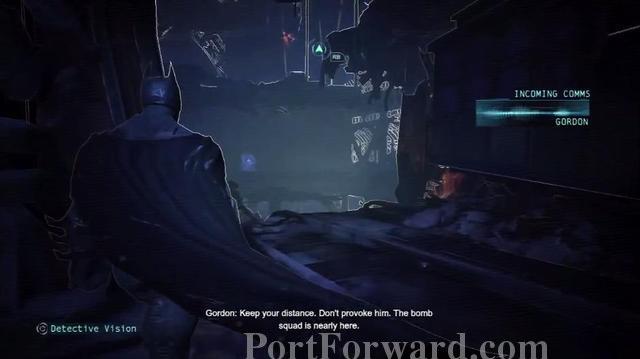
After the cutscene with Gordon.
Head to the lock device and hack it.
When the door opens, use the grapple gun to go up.Climb the stairs, go through the vent and power the engine.

Take down the Predator room like before.

Interrogate the last remaining guard.
Then hack the device to stop the bomb.
Get outside, and go to the door to enter the Control Room.
Inside there will be a small group of guards first, then a Predator Room.
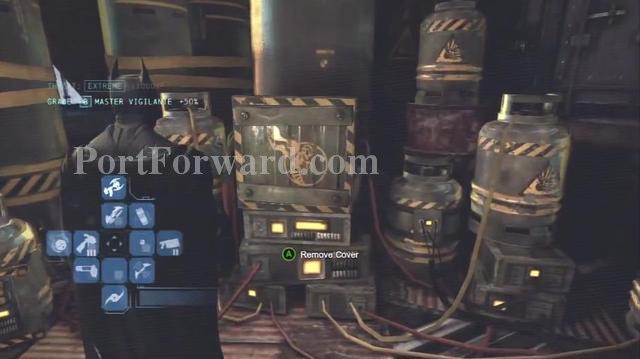
Go up to the controls and press the appropriate button to lower the train.
Remove the cover from the device, then hack it to stop the bomb.

Moving forward, you will need to navigate through the broken down bridge, using the grapple gun, gliding, and jumping, nothing too hard.

When you geto the Pioneer's Bridge South, you will face a group of enemies, armed with different types of weapons, you can counter the electric weapons when the Shock Gloves are on, same for the shielded ones.
Then find the other bomb, and disable it too.
Then you will need to get to the North Bomb, again through the wreckage.

Moving forward, you will face another Predator Room and you will need to power up an engine to open a gate.Then you will fight against Fier Fly and he's goons.

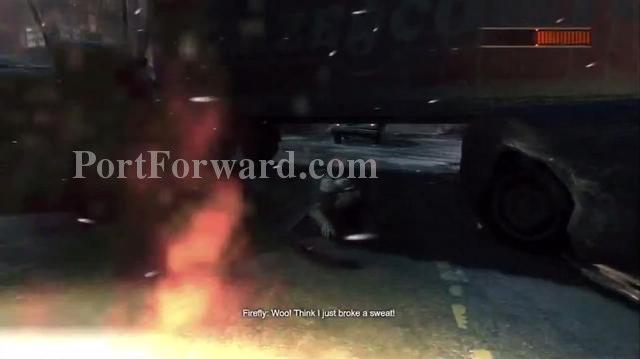
While fighting the guards, watch out for FireFly's flame thrower, evade the attack with the roll.

Then you will fight against FireFly 1 on 1.
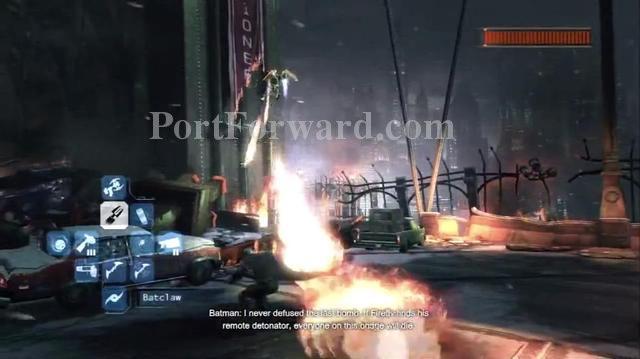
Evade FireFly's flame thrower by rolling to the sides.
Once he stops, use the Glue Granade to hit him.

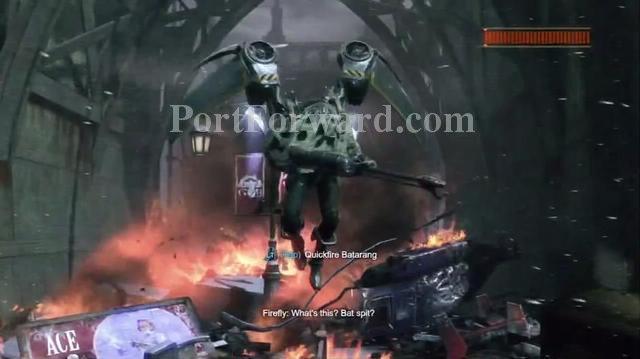
Then use the QuickFire Batarang to hit FireFly and damage him.

Once FireFly is stunned, use the Batclaw to pull him towards you using the appropraite button.

After the cutscene, you will need to navigate through some wreckage to evade FireFly's attacks.

Use the Grapple Gun to get on the ledge.
Then climb on the second wall.
When you climb up, go right to evade FireFly's attacks, jump across the gap, and then slide under the truck.

Then again avoid FireFly's attacks, hit him with the Glue Granade and then with the Batarangs, then with the Batclaw until you drain all of he's health.

After the cutscene the fight is over.

After returning to the Batcave, find Alfred.

After removing the wreckage from Alfred, use the Shock Gloves to revive him.
Batman: Arkham Origins Walkthrough BlackGate Prison #2
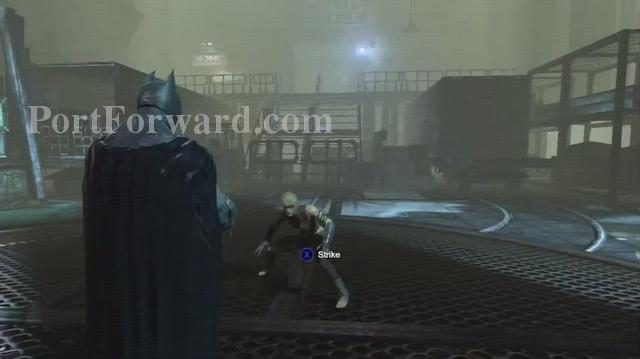
Once back at the Black Gate Prison, take out the prisoners outside.
Go down into the sewers to get inside the Prison.

Navigating through the sewers, you will need to use the Grapple Gun, Glue Granade and Batclaw to navigate and get on top.

Get inside the prison using the vent.

Inside you will face another Predator Room, with mostly armed guards.
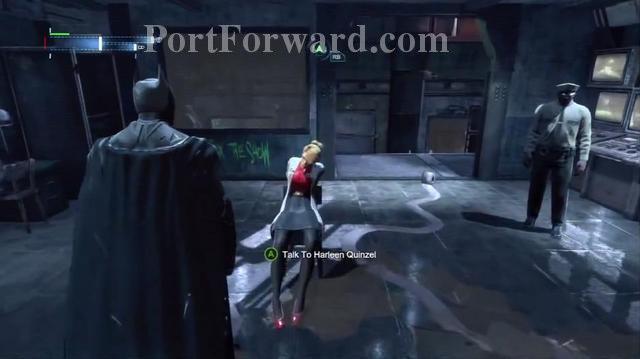
Get inside the security room, and untie Harleen Quinzel.
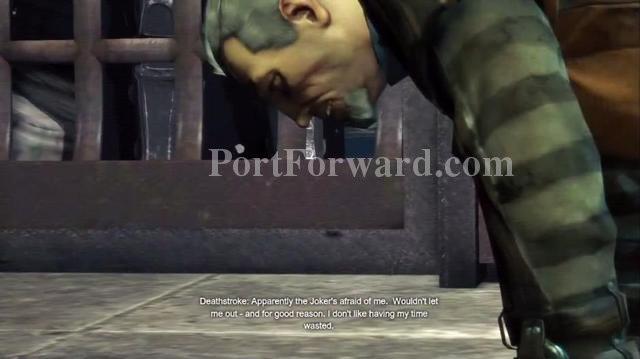
Go down to the Cellblocks, you will talk with Deathstroke there.

After the conversation with Deathstroke, defeat the guards in the next block.

Then you will face Bane's men along with some prisoners, defeat them and move forward.
Batman: Arkham Origins Walkthrough Bane Boss Fight #2

Then you will talk with the Joker.
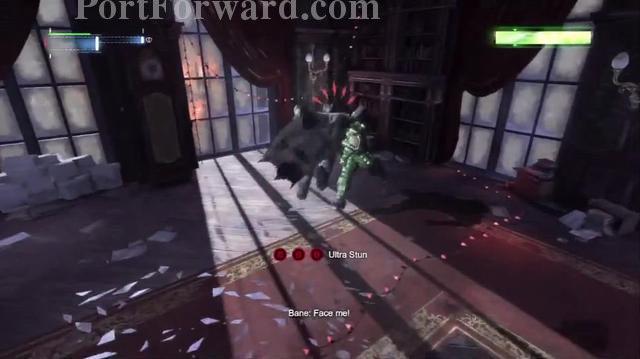
After the cutscene, you will fight against Bane again.
Use the same method like before, evade the Red Marker Attacks, Counter the Blue ones, and use the Cape Stun 3 times in a row to stun him and take him down.
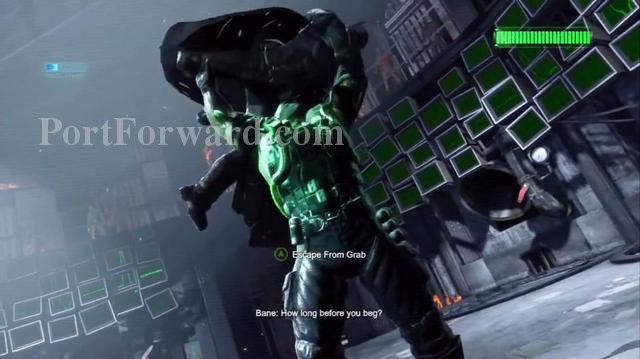
When Bane grabs you, press the appropriate button repeatedly to escape before he breaks you back.
Bane will call up some prisoners to help him, take care of them but watch out for Bane, also use the Shock Gloves as much as possible to defeat Bane.

Continue using the same method until you defeat Bane.
Then like on Alfred, use the Shock Gloves to revive Bane.
Batman: Arkham Origins Walkthrough Mutant Bane Boss Fight
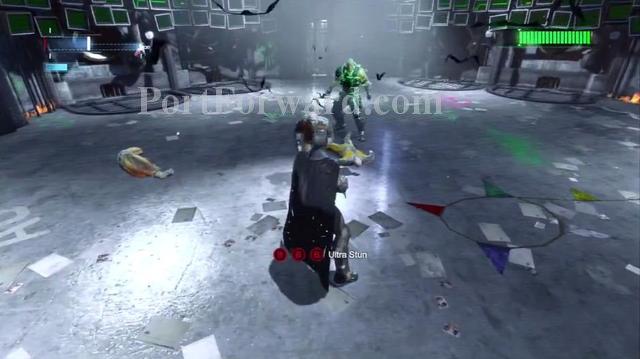
Bane will then transform into a mutant, and you will fight him.
You will need to hide from this Bane, use the vents and vents below the floor to hide and take him down from behind.
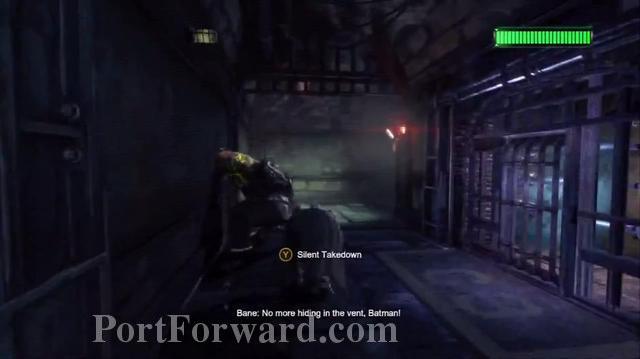
Walk up to Bane from behind and press the appropraite button.
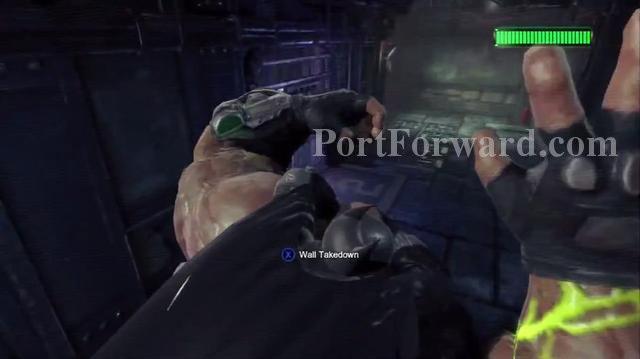
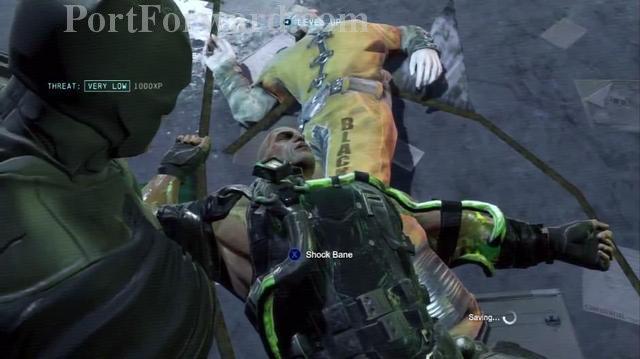
When you try to take down Bane from behind, you will jump on him and he will run forward, when near an electric wall, press the appropriate button to push him into the electricity and damage him.
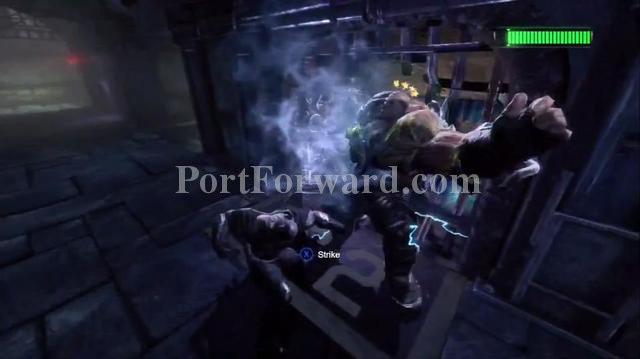
Then while he is stunned attack him.
Use the same method again and again to damage Bane, also you can run Bane into walls to damage him instead of the electricity but the wall does less damage.
You will also need to navigate without using the Detective Vision because of the jammer that is deployed.
You can also take down Bane near electricity walls from the vents below to damage him, keep using the method I showed you until you defeat Bane.
Bane will attack you one last time, use the Remote Claw to stop him.

And again on the other side.
Bane will then finally be defeated.
Batman: Arkham Origins Walkthrough Find the Joker
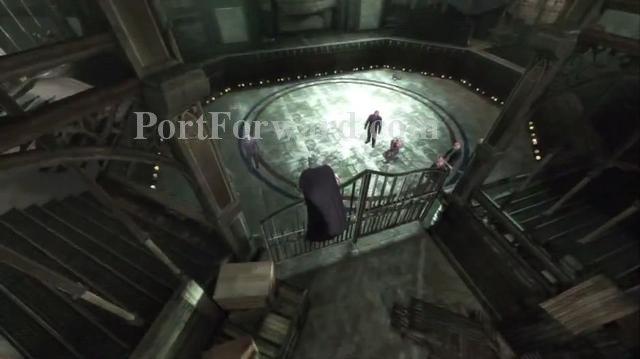
After defeating Bane move forward to find the Joker.
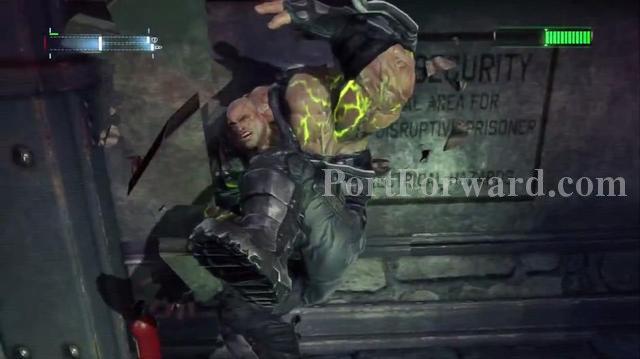
Then help Gordon defend the Warden from the prisoners.

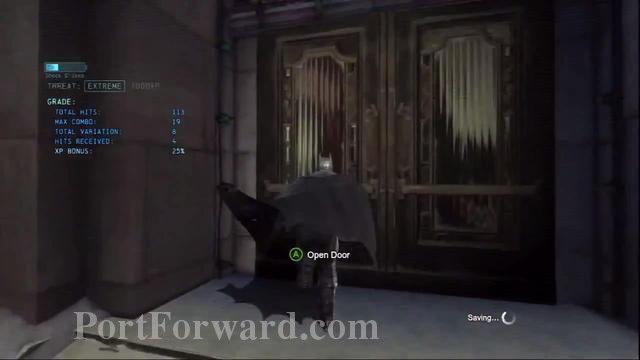
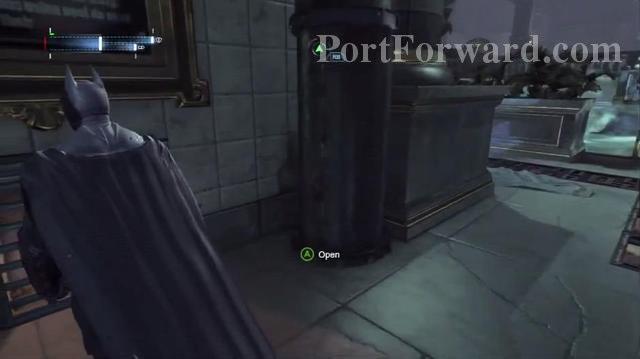
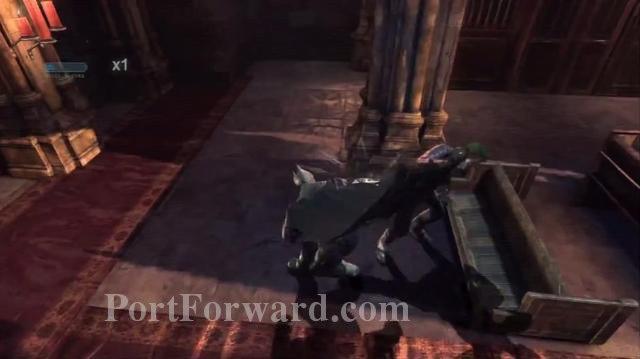
After defeating the prisoners go to the Chapel inside the prison to find the Joker

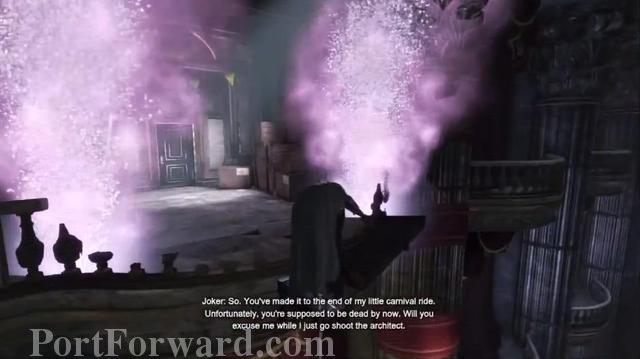
Then he will try to attack you with glass, counter he's attacks.
After defeating the prisoners go to the Chapel inside the prison to find the Joker
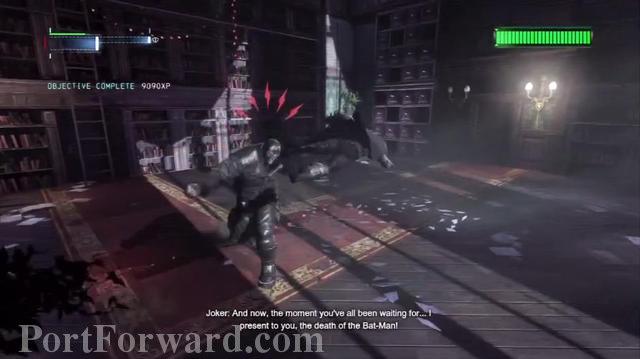
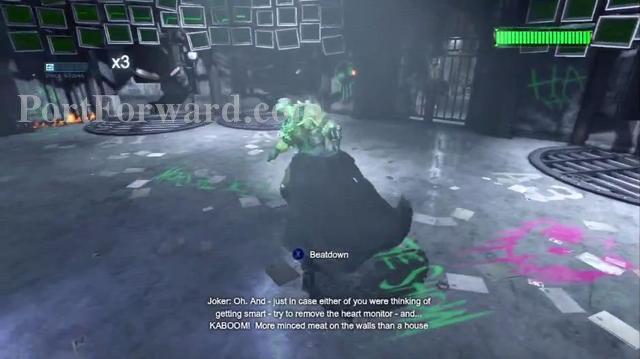
Attack the Joker.

Then beatdown the Joker.

Press the appropriate button repeatedly to beat the Joker down.
After defeating the Joker, the game is over and you are free to roam Gotham City and stop crime.


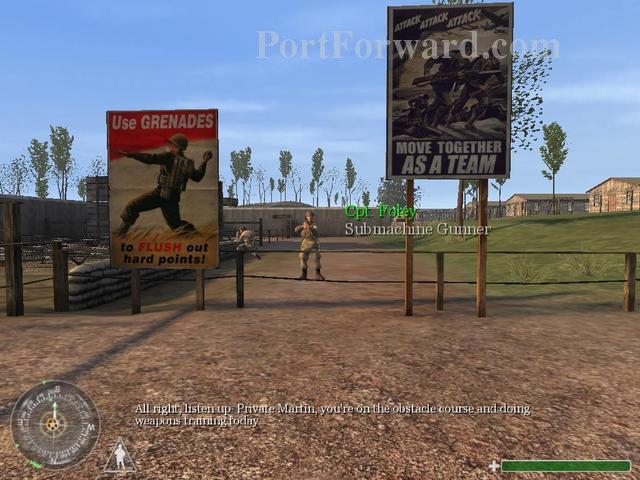 Call Of Duty Walkthrough Mission #1 - Camp Toccoa
 Banished Walkthrough Banished - Starting out
 Batman: Arkham City Walkthrough 1. INTRODUCTION
 Bioshock: Infinite Walkthrough Beginning