


The Helghasts have already received great damage in the second installment in the Guerilla Games studio franchise, but they still haven't said the last word. In fact the previous loss has increased their rage. Playing Killzone 3 on the highest difficulty settings is reserved only for veterans. Thanks to this guide, you can also be amongst them.
The guide contains a thorough description of every campaign mission. It's not only a record of sergeant Sevchenko's story, but also useful hints on how to get out of even the most dire situations. There's definitely no shortage of difficult moments - you will be fighting an ATAC, MAWLR and hordes of Helghasts. Using this guide, you will make your life on Helghan a bit easier.
The Killzone 3 guide has been prepared while playing on the highest difficulty setting, so you can be sure it contains answers to all possible obstacles and Helghast traps!
Szymon "hed" Liebert
Translated to English by Jakub "cilgan" Lasota
![Move forward [1] and stop by the left gate - A New Beginning - Walkthrough - Killzone 3 - Game Guide and Walkthrough](https://game.lhg100.com/Article/UploadFiles/201512/2015121610263687.jpg)
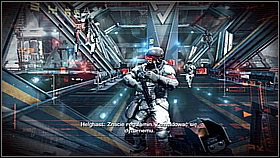
Move forward [1] and stop by the left gate. [2] After a while you will be allowed to pass.
![Wait for the prisoners behind the window to pass by [1] and move forwards - A New Beginning - Walkthrough - Killzone 3 - Game Guide and Walkthrough](https://game.lhg100.com/Article/UploadFiles/201512/2015121610263667.jpg)
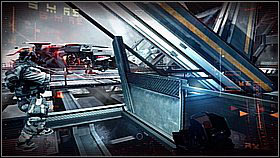
Wait for the prisoners behind the window to pass by [1] and move forwards. Once you reach a door, open it with the button (CIRCLE). [2]
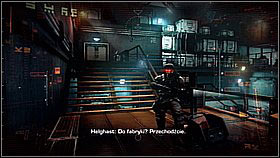
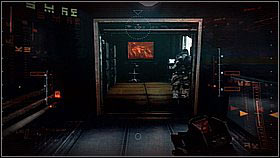
Move forward through the production hall to talk with the soldier. [1] Go test the weapons by following the only possible route. [2]
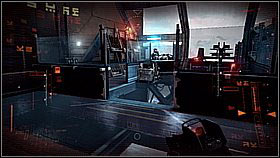
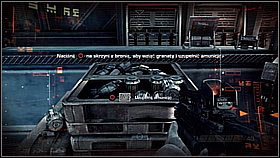
After getting to the shooting range, head to the left room. [1] Hear out the quartermaster and follow his orders: first restock on ammo, picking it up from the box beside the counter (hold CIRCLE). [2]
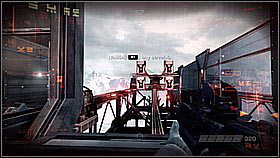
![Shoot the first four targets [1] and pick up the pistol from the counter (hold SQUARE) and shoot the targets once again - A New Beginning - Walkthrough - Killzone 3 - Game Guide and Walkthrough](https://game.lhg100.com/Article/UploadFiles/201512/2015121610263773.jpg)
Shoot the first four targets [1] and pick up the pistol from the counter (hold SQUARE) and shoot the targets once again. [2] Aim only at the humans and then reload your gun (SQUARE).
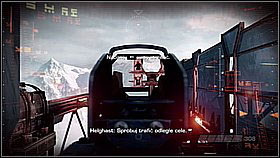
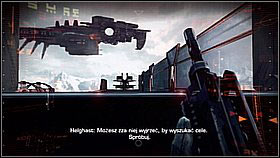
Switch to the machine gun (left on the D-PAD) and shoot down the next targets, once again focusing on the humans instead of Helghasts. In order to shoot the more distant targets, use the precise aiming (L1 or R3, depending on the setting). [1] Afterwards shoot while hiding behind the metal plate - while crouching behind it (L2) you can attack normally (R1), lean out (left analog) or use the sight (L1 or R3). [2] In the last phase of the training you will have to shoot the targets using the sight from behind the cover.
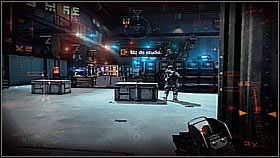
![Go out of the shooting rage and turn right [1] - head towards the open door on the opposite side of the hall - A New Beginning - Walkthrough - Killzone 3 - Game Guide and Walkthrough](https://game.lhg100.com/Article/UploadFiles/201512/2015121610263789.jpg)
Go out of the shooting rage and turn right [1] - head towards the open door on the opposite side of the hall. Outside, go up the stairs towards the lab. [2]
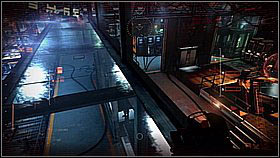
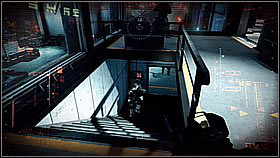
Move through the lab. [1] Afterwards go down the stairs and go into the studio. [2]
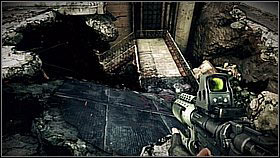
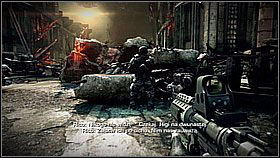
Run down the stairs and jump down. [1] Move on down the street. [2]

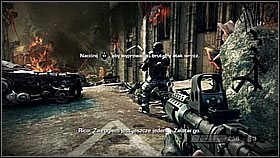
Your comrade will spot an enemy - approach and kill him (R3). [1] Behind the corner there's another one. [2]
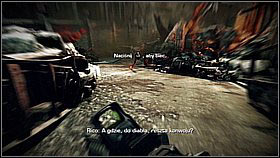
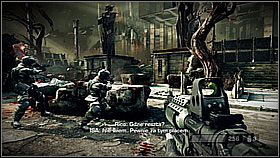
Run forward (L3), avoiding the rubble. [1] Eventually you will reach your allies. [2]
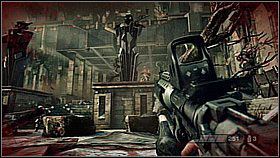
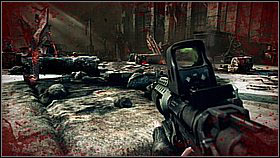
Hide behind the wall and eliminate three Higs who will appear upstairs. [1] Afterwards go up the middle staircase and hide - there are more soldiers on the left. [2]
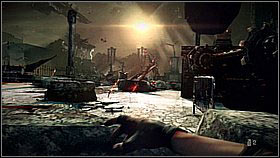
Hide behind covers and eliminate the enemies - slowly move forward. [1] A bog robot will appear - ignore him and focus on the soldiers. [2]
Eventually you will hear the characteristic sound of a missile flying by - two enemies wielding rocket launchers will appear on the other side of this part of the square. Eliminate them first (you can retreat if necessary). [1] Check the corner on the left before heading after Rico - there's an ammo box by the wall. [2]
![Open the building's door (CIRCLE) [1] and eliminate the enemy on the right - he won't notice you, so it'll be easy - Evacuation Orders - p. 1 - Walkthrough - Killzone 3 - Game Guide and Walkthrough](https://game.lhg100.com/Article/UploadFiles/201512/2015121610263993.jpg)
Open the building's door (CIRCLE) [1] and eliminate the enemy on the right - he won't notice you, so it'll be easy. [2]
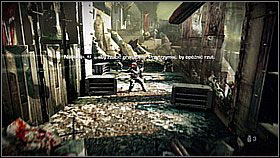
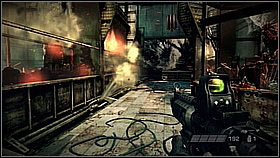
On the other side of the hallway, behind a small hill, there are a few enemies - give them a taste of your grenade and finish off the survivors. [1] Move on along the path between the glassed groves. [2]
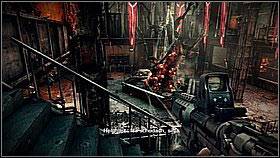
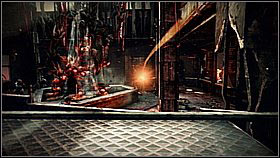
Be cautious while going down the stairs - there are enemies hiding behind the statue on the lower courtyard. [1] Run down and hide behind the cabinets. Use grenades. [2]
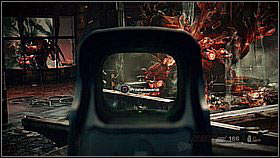
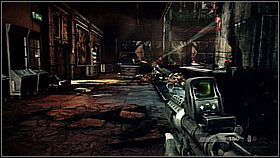
Shoot the enemies from a safe spot. [1] If you feel up to the challenge, you can try running to either side of the room and flank the enemies. [2]
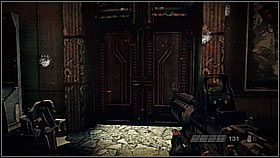
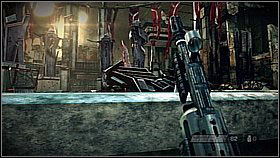
Use the door in front. [1] Run out onto the square and hide behind the wall. [2]
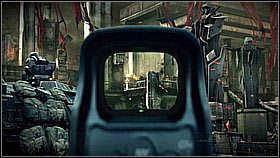
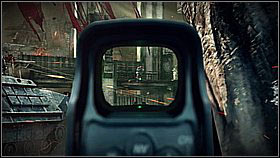
The battle can be won in many ways, but possibly the easiest way is to start off by heading to the left side of the square - behind the allied armoured vehicle. From there try to shoot two soldiers with rocket launchers [1] and the enemy behind the stationery machine gun. [2] Three are on the opposite side, on a wall.
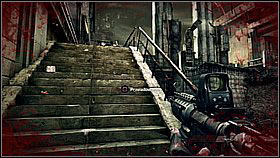
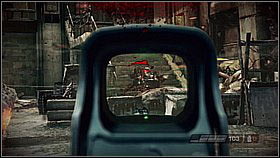
Now eliminate the enemies on the square. Once the crowd goes down, go up using either the left [1] or right staircase. [2]
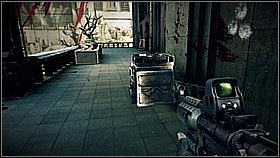
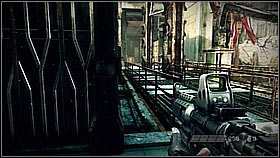
Going up the left, you will face less resistance. Upstairs restock on ammo [1] and hide behind the fragment of a gate. [2] From here kill the enemies and carefully cross the bridge.
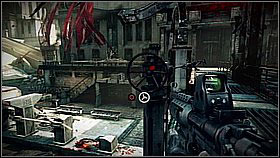
Once you clear out the area, go to the valve and turn it (hold R1 or L1 turn the controller left or right). You can take the rocket launcher if you want. [1] Run through the gate after the armoured vehicles - eventually you will reach a strange anomaly. [2]
![Go into the building on the left [1] and climb up together with Rico (CIRCLE once he offers you his help) - Evacuation Orders - p. 2 - Walkthrough - Killzone 3 - Game Guide and Walkthrough](https://game.lhg100.com/Article/UploadFiles/201512/2015121610264119.jpg)
Go into the building on the left [1] and climb up together with Rico (CIRCLE once he offers you his help). [2]
Run to the window through the gaps in the wall - you will see a big group of enemies outside. [1] Start off by shooting the two with rocket launchers, who will appear in the hole in the opposite building. [2]
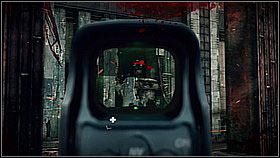
Take out the stationary gun and use its power to kill the enemies. While carrying it, you will be able to hide behind a wall (which is essential on higher difficulty setting). [1] Don't forget about the enemies in two holes in the opposite building - more will come after you kill the first two. [2]
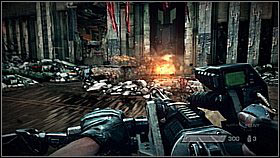
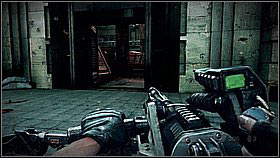
Once you clear out the area, Rico will blow out the museum door. [1] Be careful - you will get under enemy fire as soon as you step inside. [2] Take the minigun with you - even if you're out of ammo (you'll restock on it later).
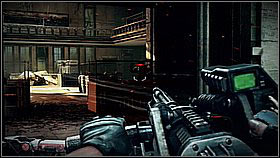
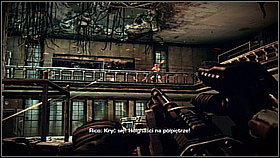
In order to easily clear out the museum, firstly kill three Helghasts below - do it standing right at the threshold (don't go in deeper). [1] Once you enter inside, stop - soldiers will run out below and on the upper floor. Retreat and firstly kill those above - they're hiding behind balustrades. [2]
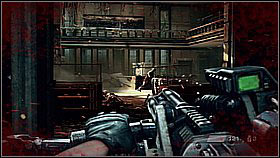
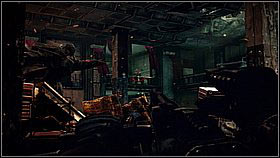
After killing the two enemies below, another two will attack you - get rid of them and go a few steps further. [1] Before you go behind the rubble dividing the room in half, kill one more enemy on the upper floor - he's in the left corner of the room. [1]
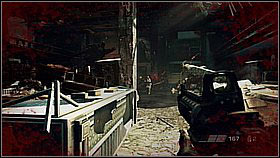
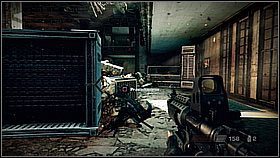
Time to clear out the second half of the ground floor - move on and turn left. [1] There are a few enemies here, but luckily covers are also present (and no one will surprise you from above). [2]
![After clearing out the area, take a look into the small storage (grenades) [1] and go up the stairs - Evacuation Orders - p. 2 - Walkthrough - Killzone 3 - Game Guide and Walkthrough](https://game.lhg100.com/Article/UploadFiles/201512/2015121610264303.jpg)
After clearing out the area, take a look into the small storage (grenades) [1] and go up the stairs. [2]
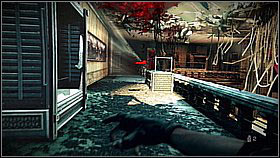
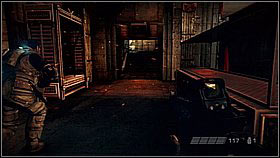
On the floor, run along the balustrade with a grenade prepared. Throw it once you see the enemies. [1] Kill them off and get onto the roof. [2]
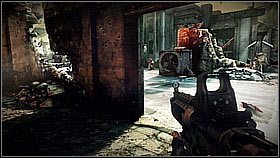
![After reaching the roof, kill the enemies you see [1] and run behind the opposite fragment of a wall - Evacuation Orders - p. 2 - Walkthrough - Killzone 3 - Game Guide and Walkthrough](https://game.lhg100.com/Article/UploadFiles/201512/2015121610264350.jpg)
After reaching the roof, kill the enemies you see [1] and run behind the opposite fragment of a wall. [2] Here you will find an ammo crate and a good shooting spot.
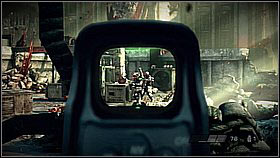
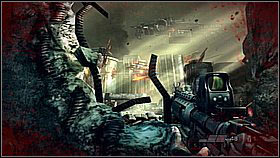
Eliminate the enemies from this spot - use the stationary gun (if you have it!) or any other weapon (you have plenty of ammo). [1] At some point a transporter will show up, together with reinforcements. [2]
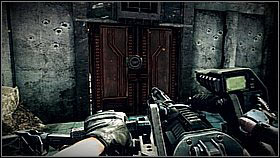
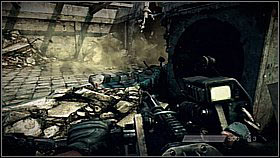
Finished clearing the square? If so, head to the opposite door and plant an explosive (CIRCLE and then move the controller to the left and right while holding R1). [1] Step back and detonate the bomb. [2]
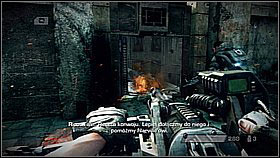
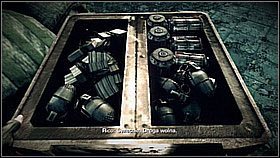
Look out, as when you detonate the bomb, enemies will come out of the hole by the door (behind you). [1] Kill the enemies behind the door and collect ammunition. [2]

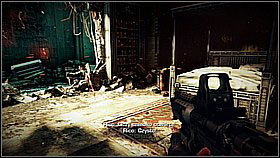
Smash the cracked door and go inside. [1] Move forward all the time, destroying obstacles on your way. You will go through a Helghan bedroom amongst others. [2]
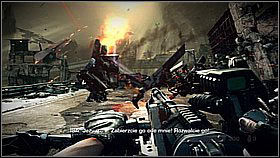
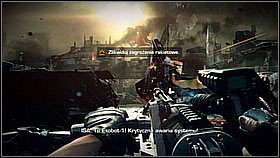
Follow the robots. One of them will be attacked - you don't need to help him, so don't waste ammo. [1] A bit further you will be asked to eliminate a rocket threat. The Exoskeleton cannot be saved either way, but focus on the enemy soldiers. [2]
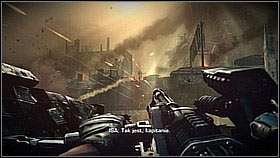
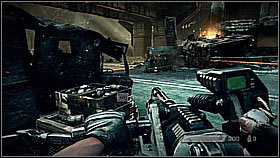
Eliminate the enemy with a rocket launcher on the bridge and three foes on the building on the right (you can make the ceiling fall down on them, aim at the pillars). [1] Move on forward. You need to get to the wreck on the left, with an ammo crate beside (including minigun ammunition). From here kill the enemies hiding behind the nearby cover. [2]
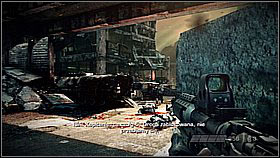
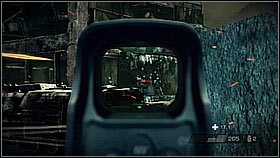
Approach the bridge. Hide behind the concrete wall on the right after going below the bridge. From here, you will be able to kill the enemies in the tall building in the front, on the left side of the road. [1] You have to shoot three enemies with rocket launchers and three ordinary ones. [2]
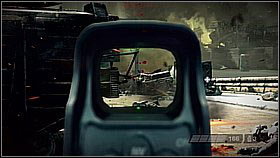
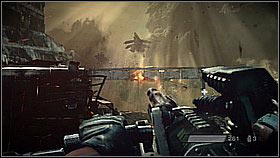
Now get rid of the enemies on the highway. [1] After killing a few of them at the end of this part of the highway a flying Helghast transporter will appear. Destroy it with the minigun (it will work even on bigger a distance). [2]
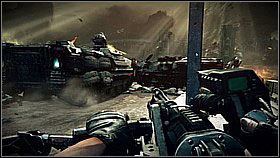
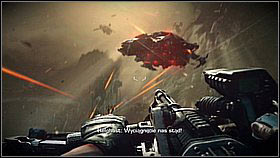
The allied vehicles will start moving - clear out the further way until the wrecks blocking the road. [1] After breaking through the ground vehicles, two more airborne transporters will appear. [2]
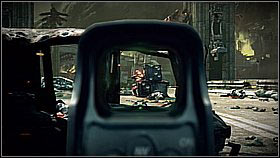
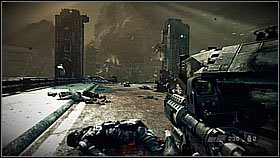
Move on - there's one more Helghan squad waiting for you. [1] Soon you will reach an open road. [2]
In the first part of the stage you will be mounting a gun - try to shoot as many enemies as you can, as it's connected with a trophy.
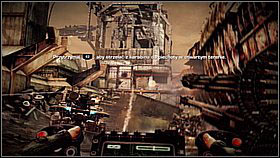
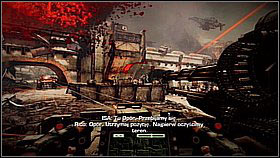
Firstly aim at the enemies with rocket launchers, who are guarding the bright building in the front. [1] Afterwards get rid of the group behind the brown covers. [2]
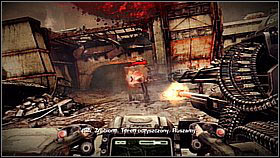
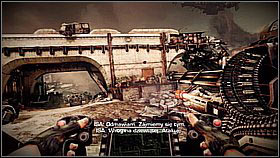
To the left of it you will see a transporter below the bridge and more soldiers. [1] Once you're moving again, note another machine gun nest. [2]
A couple seconds later the enemies will be hiding before the covers made of sand bags on the low platform. [1] Don't forget about the enemies on the balcony (behind the pillars). [2]
After clearing out the above fragment, look to the left of the vehicle - you will note two guns, two transporters and soldiers. Destroy them in that order. [1] Afterwards finish off the enemies with rocket launchers. [2]
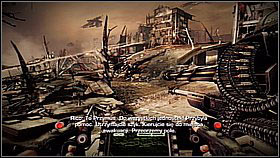
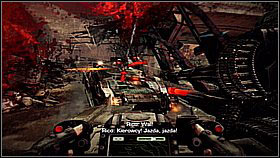
In the further part of the road, focus on the right side - you will see a broken road perpendicular to yours. Soldiers will appear below and on it. [1] Afterwards vehicles will ride down from it. Move the gun towards the back and destroy the enemies. [2]
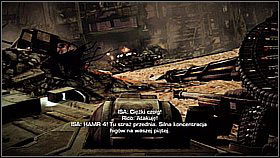
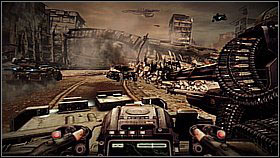
Once you hit the open space, get ready for fighting with tanks. One will appear to the right of the rubble hill. [1] Once you get around the hill, finish off the armoured vehicle. [2]
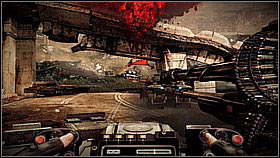
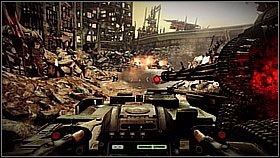
The second tank is below the flyover. [1] Also destroy the Helghan posts on the building in the front. [2]
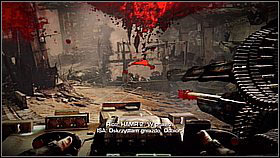
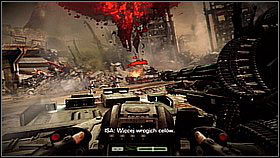
Quickly turn to the right - destroy the posts with two guns and kill the enemies. [1] Another tank will appear on the road. [2] Destroy it and defeat the soldiers.

In front of you there will one more tank and lots of enemies - focus on the vehicle and then kill off the soldiers. [1] Some of them might hide behind covers. [2]
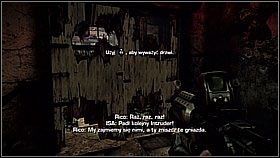
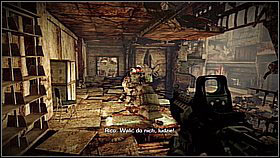
Go up the stairs and break through the door. [1] Ignore the enemies on the street below and go through the next door. Eventually defeat the enemy mounting the stationary gun. [2]
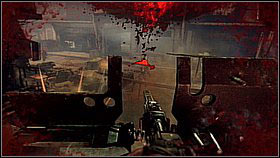
If you're playing on a lower difficulty setting, use the stationary gun to kill the enemies on the street. [1] In other cases, shoot from a cover. You have to take out the crew of the next gun and help your friends in breaking through. [2]
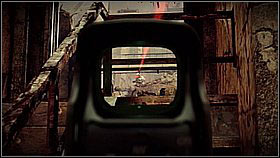
Once your companions reach the part of the road above which you're standing, move on (through the next door). Look out before the stairs [1] - there's a sniper lurking on the other side of the road, on the roof (you can recognize the moment he's aiming at you by the red laser beam). Kill him while standing before the stairs. [2]
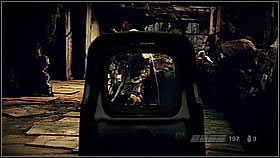
Move on along the highly upwards road. [1] Behind the corner are two sniper - take them out. [2]
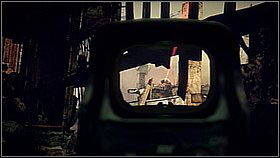
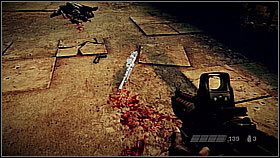
Before you move on, take out one more sniper - you will see him at the corner of the building on the other side of the street. [1] Pick up the sniper rifle and carefully move forwards - you will probably spot yet another enemy trying to shoot you. [2]
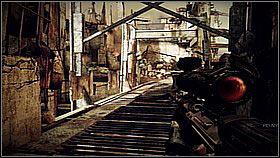
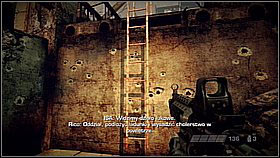
Eventually you will reach a passage above the street - there might be an enemy with a rifle lurking on the other side of the platform. [1] Move on and go up the ladder. [2]
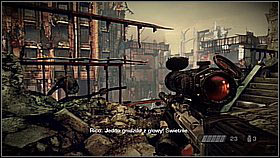
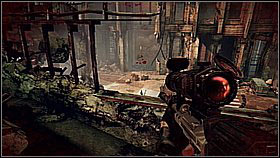
Make sure you have the sniper rifle. You have to eliminate the crew of two machine guns. The first is in the corner of the square, above. [1] The second can be found below on the left, behind the arch. [2]
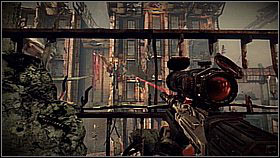
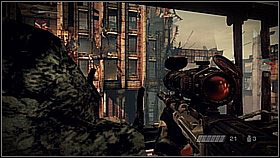
Now you will need to eliminate the snipers. The first of them is on the opposite side of the square - he can be found in one of the windows of the building. [1] The second will show up a bit later in the same building, but more to the right (and one floor higher). [2]
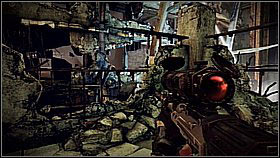
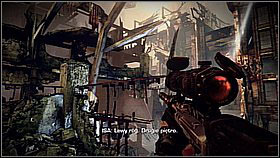
The third sniper is in the building to the left of the last two targets. [1] The fourth can also be found in the ruins of the building in the "rear" part of the square, but higher and more to the right. [2]
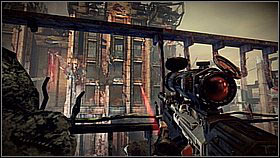
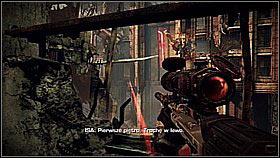
The fifth and sixth snipers will attack you at the same time - hide behind the fragment of the corner (below which the rifle was lying) and start off by taking out the enemy on the opposite side (in the same building in which the first two enemies were hiding). [1] Now lean out more to the left - in the narrow pass you will see "number six". [2]
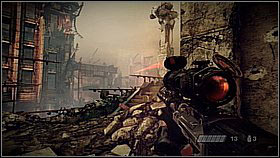
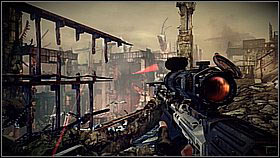
The seventh and eighth snipers will come out from an unexpected side - they will be in the white building on the diagonal side of the square. Back up a bit to avoid their shots and start off by taking out the left one from behind the wall [1] and then the right one [2]. In the end help the squad on the square - shoot the enemies there.
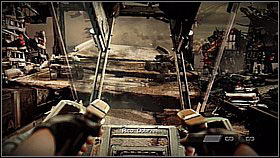
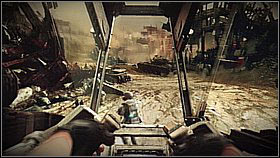
Move the war machine forward. [1] You will reach a convoy. [2] If you're playing on higher difficulty settings don't charge forward - you have to kill enemies with rocket launchers from afar. In other case you will get killed pretty fast. Once your machine gets damaged, be sure to retreat behind some cover and wait a bit. This way you will fix the exobot.
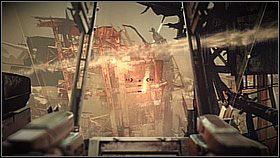
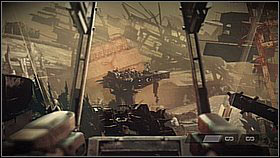
The first enemies can be found on the right side of the bright building in the distance. [1] Another squad is on the island made of a piece of a building on the left. [2]
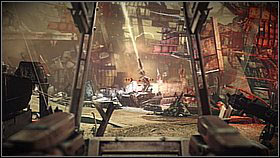
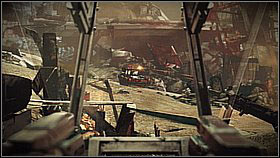
After killing the first enemies move to the right, while sticking to the wall. You will see arc canons in the distance. Destroy the first [1] and look out for the tanks. One will come from the left side of the destroyed cannon. [2]
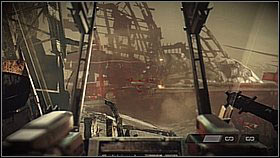
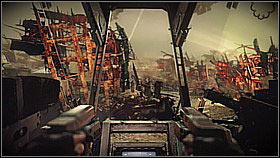
The second tank can be spotted on the highway above - around the next Arc Cannon. [1] If you have problems controlling the situation, retreat behind the last building and eliminate the enemies from there. [2]
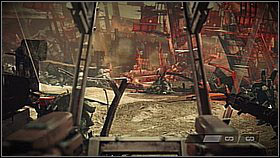
Make sure you've gotten rid of the guns and soldiers around the first Arc Cannon (of course destroy it as well). [1] Unleash rockets onto the second artillery post and head towards it. Keep an eye on the right side - the further road leads below a bridge. Before it there's a machine gun stand. [2]
On the bridge itself a soldier with a rocket launcher will appear. [1] Go under the flyover - behind it there's a path leading up onto a bigger square. On higher difficulty setting, it's best to stop here and firstly take out the enemies. The ones with rocket launchers are the most dangerous. One of them can be found on the upper floors of the building on the right. [2]
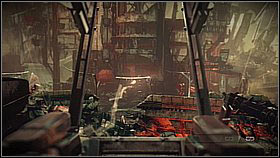
The second one is lurking behind the narrow strip of bright wall of the building on the left. [1] Now you can kill off the enemies with machine guns, shooting from behind the sandbags in the lower parts of both buildings. [2]
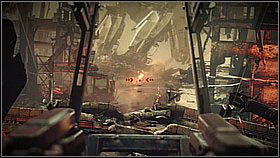
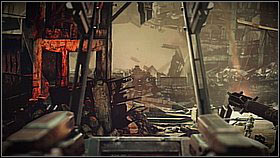
Before moving on, it's worth to destroy the cannon between two buildings in the distance. [1] After clearing the out the field from that early position, jump down and go round the area from the right side. From behind the building on the right you will have to destroy another cannon (deal with it from a distance). [2]
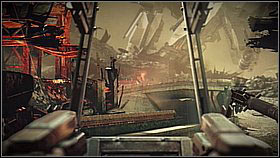
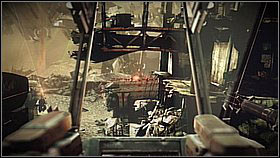
After destroying the cannon behind the right building back up to the middle - the road between the buildings leads below the bridge. On its both side there are two Helghan defence points, which previously were impossible to spot. One on the left [1] and the other on the right. [2]
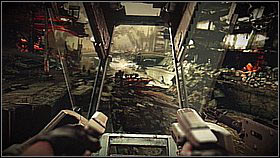
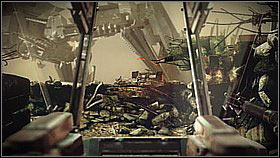
Going along the main road you will eventually reach machine guns, soldiers and above all - a tank - it should emerge across you. Back up and get rid of it in the first place. [1] Afterwards slowly move forward (preferably sticking to the right side), looking out for mortar fire and eliminating the Higs.
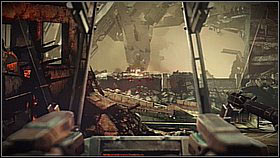
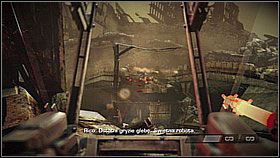
The last of the tanks will appear on the bridge in the distance. [1] You will be more or less safe only once receiving the information that all the enemy's armoured vehicles have been neutralised. In the end take care of the infantry. [2]
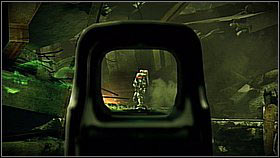
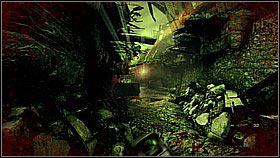
Once you reach trenches, quickly aim forward - you have to eliminate the Hig with a flamethrower who will appear on the slope. [1] Now move along the trenches until they turn left - a couple enemies with machines guns and two with shotguns (especially dangerous! they will charge at your position). Take care of them. [2]
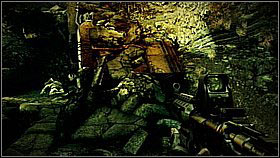
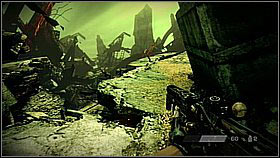
Return to the beginning - you can go up the slope to the top of the trenches. [1] Follow this path and take the flamethrower if you want. [2]
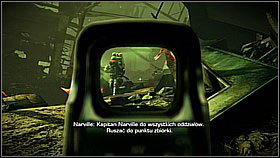
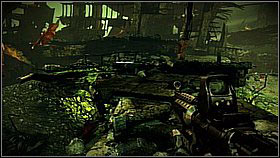
Stop behind the corner - further on the trenches you will see 1-2 enemies with flamethrowers and more with machine guns. Kill them from this position. [1] Move on while keeping an eye on the situation below - sometime single enemies tend to lurk there. Follow the upper path to the other side of the trenches and continue on. [2]
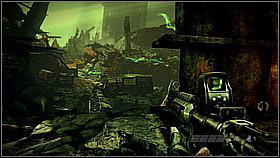
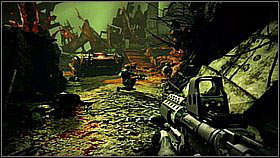
At the end of the road jump down into the trenches and move on. Behind the destroyed van standing on a wider area there's an enemy lurking. [1] Once you go beside the car, you will once again reach a narrower trench. An enemy with a shotgun will come out from the left - eliminate him first. [2]
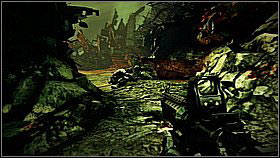

Here you will have to eliminate the enemies coming from the front and quickly fight your way forward. You can try using the flamethrower and killing off the enemies with a machine gun. [1] After moving forward, hide behind the last cover - an armoured transported will arrive. At this spot you're rather safe, but you have to eliminate the resistance fast. [2] After killing everyone head towards the stairs.
In this mission you will have to stay in the shadows - quite literally, as your character will be invisible to the enemies while in the grass and shadowy places. If you do get noticed, quickly kill the enemies. Otherwise they will call in reinforcements.
Also in that case you don't necessarily have to load the game - reinforcements will consist of the head hunters and a couple soldiers. Head hunters tend to charge at you and use melee attacks. Despite the appearance, they are rather easy to kill if you have good reflex. Once you note a hunter, wait for him to get near - right before his attack a prompt will appear onscreen (R3) - press the right analog stick (or any button responsible for melee attacks).
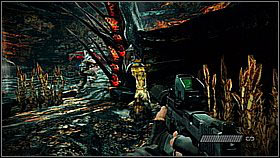
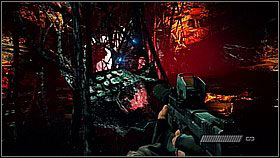
Follow Kowalski, he's a good scout. Look out for the thorny plants. [1] Go through the thickets. [2]
Surely you will come across Helghan spiders - kill them, they're dangerous. Not every single one will attack you, so you can ignore them later on. [1] You will reach more thickets. Behind them there will be some Higs - after a short consultation eliminate the one on the right on the mark (once he approaches the thickets) - you can do it at close range or with a headshot. [2]
Now shoot the enemy watching the area from above. [1] Follow Kowalski - hide in the grass (L2) and wait for the next enemy to approach. Eliminate him. [2]
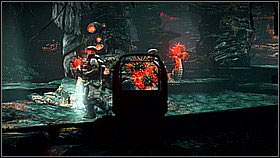
The next two enemies can be eliminated by shooting the Bursters (shining plants) - do it while the enemies will be passing beside them. [1] Follow your buddy and use his help by the rock ledge. [2]
Once you see the carriers, stay in the shadow and wait for Kowalski's order. [1] Kill the Hig beside the grass. [2]
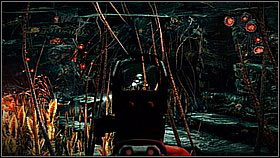
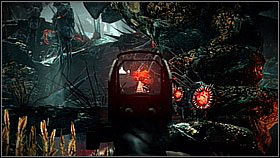
Shoot the enemy standing in the distance. [1] Follow Kowalski - eliminate the next two enemies using the Bursters as well. Eventually you will come across a harder nut to crack - a three-person patrol. Start off by killing the soldier who's going up (by e.g. shooting the plant). [2] Afterwards shoot the others (you can use the exploding plants as well) and move one.
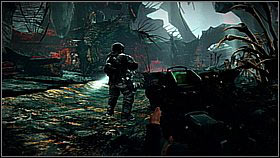
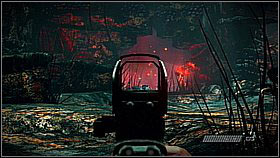
From now on you will work on your own. Run forward until you reach two enemies. They will split up rather fast - approach the first one and melee kill him. [1] Eliminate the second one using the machine gun before he enters the cave. [2]
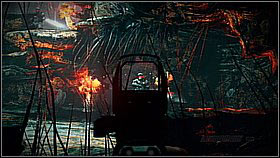
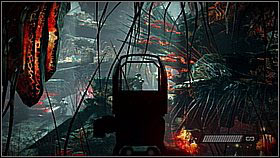
There are three Helghasts behind the cave. You need three headshots. The first to die will be the soldier who's going to exit from the lower cave on the right. [1] The second to fall should be the one on the stone ledge. [2]
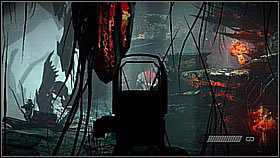
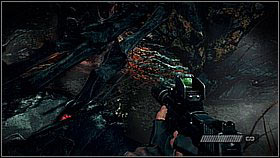
The third to die is the enemy on the left who went deeper into the location. [1] Move along the bone bridges. Look out for the water! [2]
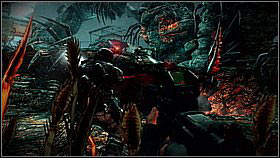
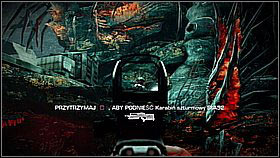
On the next glade between the stones there's another patrol waiting for you. Go round the waterfall from the left, hiding in the shadow. Approach the enemy in the grass and slit his throat while his buddy goes right. [1] Now shoot the soldier on the stone ledge. [2]
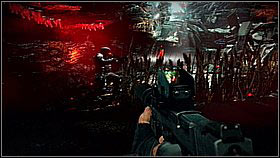
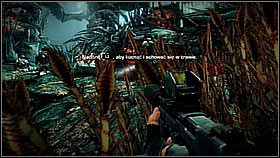
At the end of the nearby cave you will come across an enemy. Eliminate him [1] and move on while staying hidden in the grass (crouching). [2] This way you will go past a big patrol and carriers. Move on until you reach the wreck.
Start off with quietly eliminating the enemy beside the grass. [1] Turn right to the red, dark cave. Go to the end and wait for the second enemy. Once he approaches, kill him. [2]
![From this end of the cave, shoot the enemy on the left (once he stops) [1] and then the one on the right (once he starts patrolling) - Six Months On - p. 1 - Walkthrough - Killzone 3 - Game Guide and Walkthrough](https://game.lhg100.com/Article/UploadFiles/201512/2015121610265836.jpg)
From this end of the cave, shoot the enemy on the left (once he stops) [1] and then the one on the right (once he starts patrolling). [2] The road to the wreck is clear. You will watch a cutscene and fall into a trap.
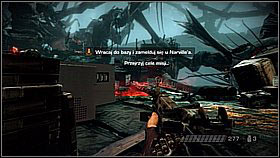
Immediately crouch and sneak to the machine gun beside the metal plate behind the ammo crate. [1] Kill the enemy who will appear in the distance to the right. [2]
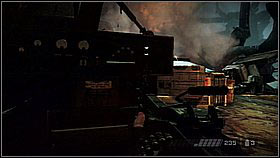
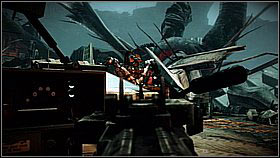
Back up to the left (there's a dark spot here). From this position, keep slowly leaning out and try to eliminate the enemies. [1] Don't lean out too much, as two carriers are firing rockets. If one of the robots jumps forward, shoot at it and move backwards (it should run). [2] Never stand directly beside a wall (in the dark spot) - this way you will have somewhere to move when the enemies throw a grenade.
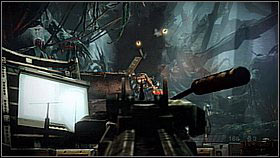
Be sure not to let anyone approach you from the right and search spots behind the crates from which you can shoot the carriers. [1] In case of rocket attacks, run to the dark spot. [2]
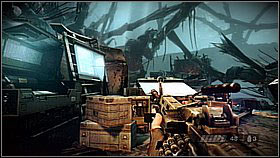
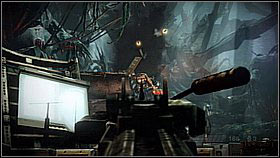
After a few soldiers the reinforcements will end - now you need to destroy the robots. Lean out slowly, shoot a couple times and hide from the rockets. [1] Once smoke starts coming out of a carrier, it means it's going to explode soon. [2]
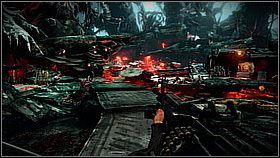
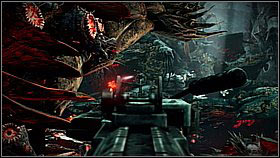
After destroying the two robots and the soldiers, collect ammunition, reload and move on. [1] Hide on the left, as there are two enemies lurking on the rocks on the other side of the road. [2]
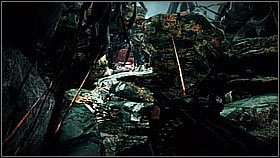
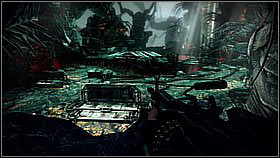
Climb up the rocks. [1] Be ready for a fight after crossing the cave and reaching a spot where you jump down. [2]
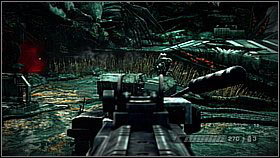
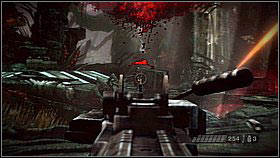
Immediately hide behind the cover and lean out with a gun - kill the flamethrower enemy who will come out of the fissure in front of you. [1] He's not the biggest of your worries - quickly aim to the right and kill two enemies with rocket launchers who will jump down off the transporter. [2]
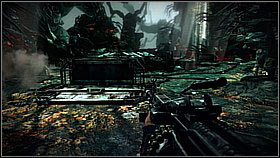
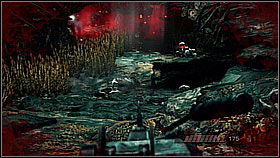
If you kill the flamethrower enemy and the two with rocket launchers, more will come from the fissure in front of you. Don't stick to one spot or the enemies will throw grenades at you. [1] Try to approach the descent carefully - there are 2-3 soldiers waiting there. [2]
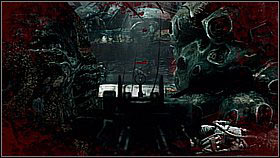
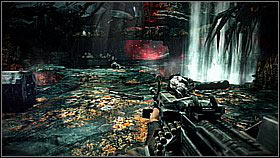
Go down while looking out for reinforcements. On the other side of the cave you will come across more soldiers, including a flamethrower enemy. [1] The Helghast group will be hiding behind a cover, but you better not get out of the cave - take them out from a distance (the heavy machine gun will do well). Afterwards go beside the waterfall [2] and go further along the stones.
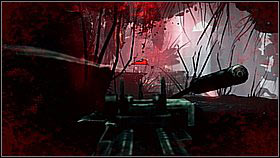
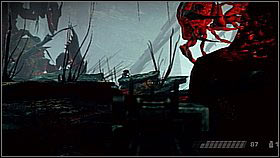
Increase your cautiousness once you go past a container fragment, you will come across enemies soon. You will see the first one behind the cave with red lightning. [1] More will be behind the rocks on the right, a bit lower. [2]
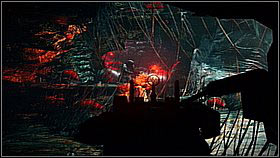
Go further and look out - two Higs will run out of the cave in front of you. [1] Move on. Look out for another patrol while going out of the cave. Shoot them from the exit. [2] A surprise - head hunters will jump out on you. Shoot them before they can get to you or retreat to the back of the cave and kill them in melee combat.
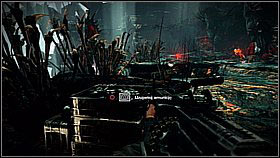
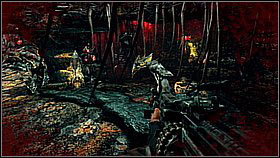
After clearing out the section, collect the ammo. [1] Look out for the attacking plants while going through the thickets. [2]
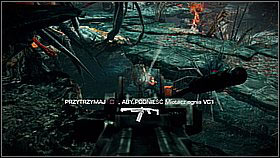
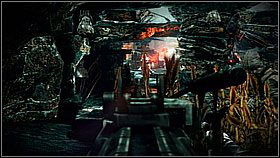
At some point you will come across allies below. OF course enemies will be there as well. Kill two soldiers from above and jump down. [1] Move along the left wall and keep eliminating the Higs. [2]
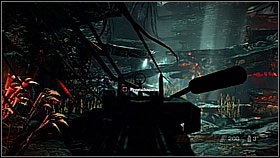
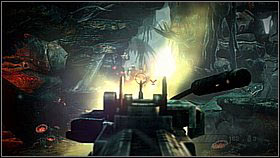
At the end of the tunnel network you will see a stone slope - two Helghasts will come down from it. [1] Get rid of them and go up yourself. Quickly turn to the right - three enemies will run towards you (including a head hunter). If you open fire, you will be able to eliminate them before they even have time to react. [2]
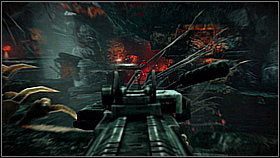
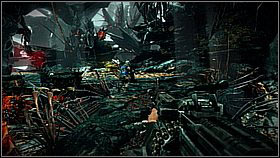
A bit further you will come across the last group of enemies in this part of the mission. [1] Take them out from a distance and run after you allies along the rocks. [2]
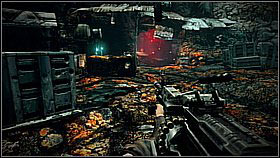
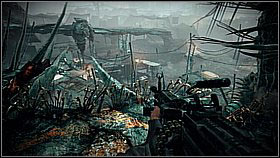
Eliminate the possible resistance - you will get closer to the camp, so there will be quite a lot of allies. [1] Replenish you ammo between the tents and afterwards go search for Narville. [2]
![Go down to the camp [1] and together with Narville go to its front part - Six Months On - p. 2 - Walkthrough - Killzone 3 - Game Guide and Walkthrough](https://game.lhg100.com/Article/UploadFiles/201512/2015121610270210.jpg)
Go down to the camp [1] and together with Narville go to its front part. [2]
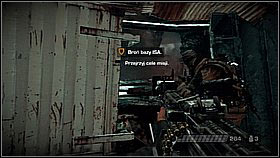
![In the camp there are a few stationary machine guns - you can help defend them [1] or use them a bit on the lower difficulties - Six Months On - p. 2 - Walkthrough - Killzone 3 - Game Guide and Walkthrough](https://game.lhg100.com/Article/UploadFiles/201512/2015121610270259.jpg)
In the camp there are a few stationary machine guns - you can help defend them [1] or use them a bit on the lower difficulties. [2] Enemies will be coming from the front and the upper rock ledges on the right.
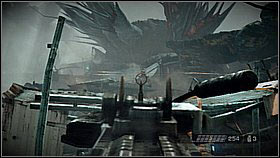
![At some point enemies with rocket launchers will appear (on the rocks on the right), [1] followed by carriers - Six Months On - p. 2 - Walkthrough - Killzone 3 - Game Guide and Walkthrough](https://game.lhg100.com/Article/UploadFiles/201512/2015121610270367.jpg)
At some point enemies with rocket launchers will appear (on the rocks on the right), [1] followed by carriers. [2] Focus on them.
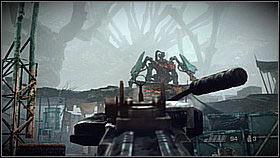
Keep gradually retreating - you don't have to kill all the enemies, but survive. Concentrate you fire on the most dangerous enemies (with shoguns, flamethrowers). Don't forget about destroying the carriers (there will be 3-4 of them). [1] Once the fog appears, try to survive - it's almost the end. [2]
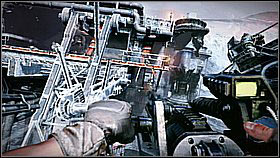
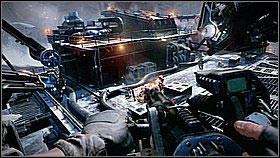
The first target on which you should focus is the cannon on the top of the platform. [1] Afterwards shoot the enemies on the top level. [2]
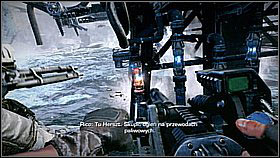

Once the ship goes down, shoot the blue fuses. [1] Afterwards try to shoot the enemies on the platforms. [2]
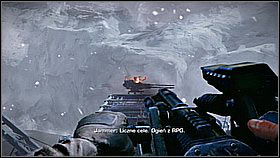
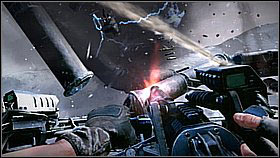
Proceed the same by the next platform - start off with shooting the cannon. [1] Once the vehicle goes down, aim at the enemies and blue fuses. Destroy the pipes above. [2]
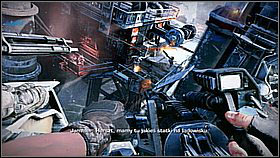
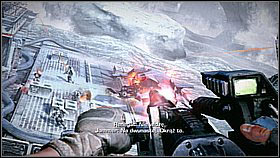
Shoot the enemies on the various platforms. [1] Above the landing zone, focus on the transporter. [2] Shoot another one in the air.
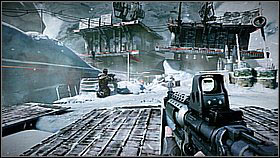
Follow Rico. Once you reach resistance, kill the enemies. [1] You can hide behind a cover, but look out for grenades. [2]
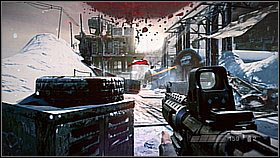
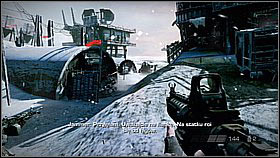
Move on, but look out - you will face strong resistance on the way to the tanker. The enemy will shoot at you from the long pass between the snow-drift and the tents. [1] More enemies await you behind the tents. [2]
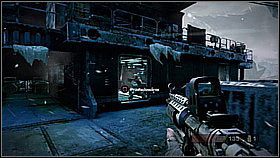
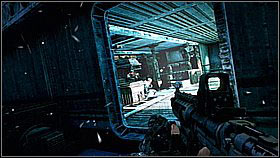
Keep your eyes open beside the tanker - there are two entrances. On one hand it's a danger - the enemy can surprise you. On the bright side, once Rico protects one of them, you can go to the other and surprise the Helghasts inside. [2]
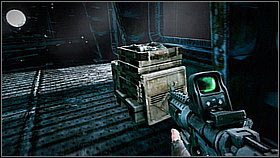
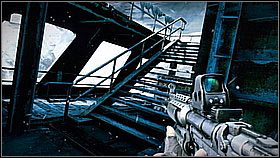
Restock on ammo inside. [1] Climb the stairs to the upper level. [2]
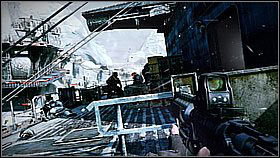
Don't immediately go behind the barrier - it's better to let Rico go first. [1] Eliminate the enemies and look out - behind you there's an entrance to another room full of enemies. [2]
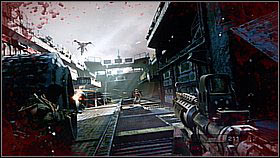
Go onto the main deck with the charge. [1] Three enemies with jetpacks will attack you below. [2] Hide behind the tall containers and kill them.
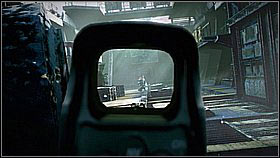
It's not the end of surprises - three enemies with rocket launchers will appear. Two on the lower deck [1] and one on the upper. [2] Shoot them and avoid the rockets. After the fight, go across the deck and go up with Rico's help.
You will receive a jetpack. Jump between the ice floats (L2 is for flying up, X for boosting). [1] You need to reach the wreck on the other side. [2]
Inside the wreck, jump onto the platform with an entrance. [1] Go through the warehouses, smashing beams on your way (R1). [2]
Outside, go onto the platform full of Helghasts. [1] Jump onto the footbridge and go up from it. [2]
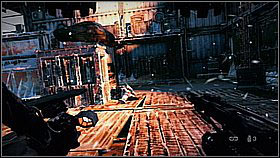
Shoot the Higs hiding behind the balustrade. [1] Afterwards turn right - another enemy will be hiding behind the crate. [2] Another one will probably shoot at you from above.
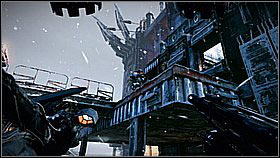
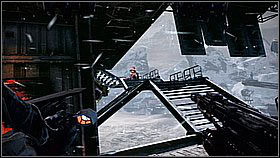
Fly up and kill a Hig here. [1] The further road leads along the stairs to the left - there's a soldier and an exploding barrel on it. If you destroy it, the stairs will collapse. [2]

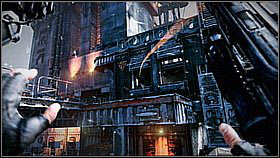
You need to fly up onto the higher deck. The problem is that it's swarming with enemies. Approach very slowly using the long good stairs while looking above and behind you. Shoot (as many as you can) the enemies on the platform. [1] Throw grenades into the windows [2] and wait - a couple soldiers will probably die or run out. [2]
Fly up and search for enemies - if you won't see any, fly onto the ledge and finish off the possible survivors. [1] Plant and launch the charges. [2]
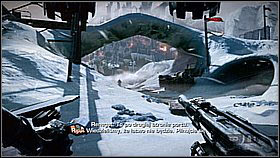
Jump between the ice floats using the jetpack (L2) and the booster (X). [1] You will reach a bigger portion of land with an icy arch. [2]
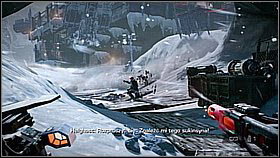
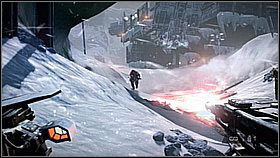
Quickly shoot the enemy who's coming into your direction. The second enemy will run out from the right, from behind the crates. [1] Wait a second and kill the third Hig, who will lean out of the snow pile. [2]
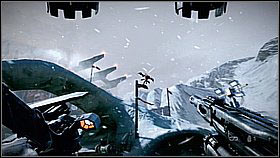
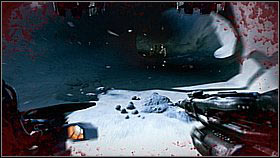
After these three enemies, one with a jetpack will fly into the air. [1] Try to shoot him and afterwards hide in the nearby cave. [2]
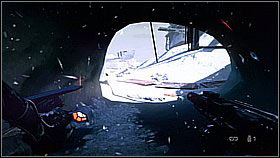
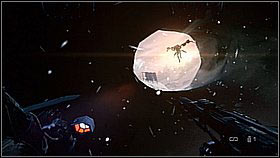
Inside the cave, you are much safer than outside. The Helghasts will send in a couple more soldiers with jetpacks aided by common ones. Keep an eye on the cave exits [1] and shoot if you see anyone. [2]
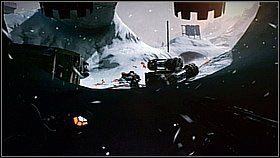
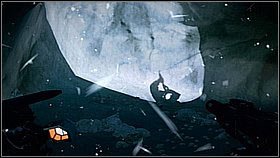
Infantry will start attacking you rather quick. They will try to approach you from both sides. [1] Keep cautious beside the hole in the cave's ceiling. Keep track of shadows on the ground - that way you can check if there's anyone lurking beside it. [2]
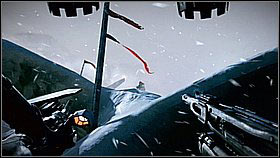
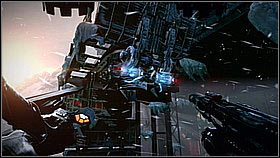
Slowly go out of the cave and search for enemies. One of the last enemies should be lurking on the snow arch above you. [1] Once it's clear, head towards the platform. Smash the two fuses. [2] Jump onto the deserted rig.
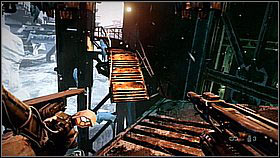
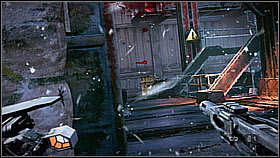
On the rig you will be attacked by Helghast soldiers. Kill them while hiding behind the crates [1] and using the strategically placed exploding barrels. [2] Restock on grenades if needed.
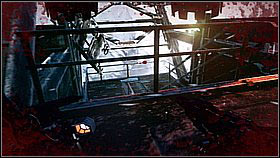

This time you will have to go down the stairs. [1] Of course on your way you will come across enemies. [1] Fly above the missing part of the footbridge. [2]
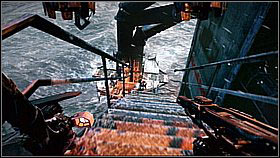
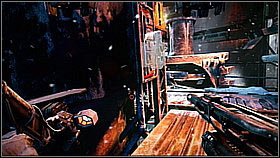
Before flying onto the platform below, kill the two enemies. [1] Plant the bomb on the cylinder. [2]
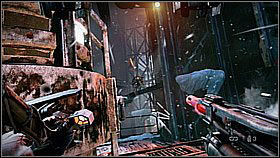
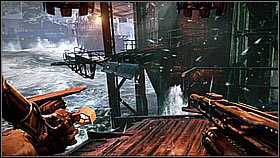
Hide behind the cylinder and shoot two jetpack enemies who will appear on the further platforms. [1] Move on along the scaffolding parts. [2]
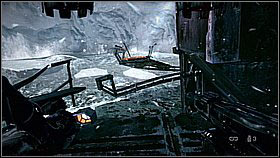
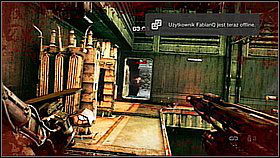
Look out before the above spots - after landing on the isolated platform you will have to quickly turn right and kill two soldiers guarding the cylinder. [1] Afterwards plant a charge o it. [2]
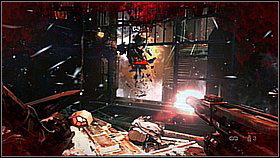
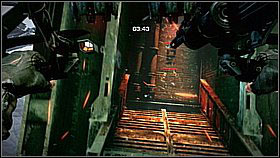
Time to get off the platform - get through the barred passage, eliminating the jetpack enemy beforehand. [1] Fly onto the upper platform and turn around. [2]
![Repeat the process, [1] but this time look out - an enemy awaits you on the stairs above - Icy Incursion - p. 3 - Walkthrough - Killzone 3 - Game Guide and Walkthrough](https://game.lhg100.com/Article/UploadFiles/201512/2015121610271006.jpg)
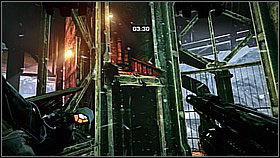
Repeat the process, [1] but this time look out - an enemy awaits you on the stairs above. You will have to quickly turn around and kill him. [2]
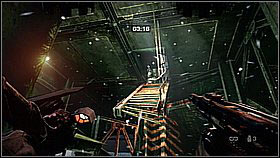

Be ready for a similar situation above. [1] After killing the enemy, go up the stairs and head up. You will come across an enemy on the door. [2]
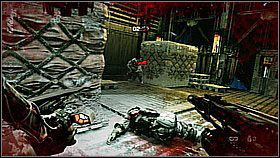
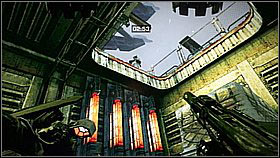
The next Helghast is inside the room. [1] Be careful while trying to get to the surface - the hatch is guarded by an enemy soldier. [2]
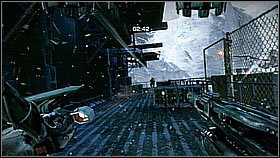
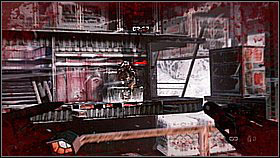
Upstairs defeat two incoming enemies. [1] Afterwards you will notice another "flyer", who will appear on the opposite side of the area. [2]
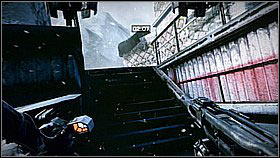
![Run up the stairs [1] and onto the outrigger - Icy Incursion - p. 3 - Walkthrough - Killzone 3 - Game Guide and Walkthrough](https://game.lhg100.com/Article/UploadFiles/201512/2015121610271117.jpg)
Run up the stairs [1] and onto the outrigger. [2]
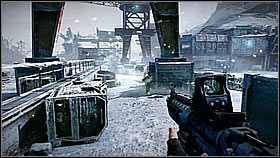
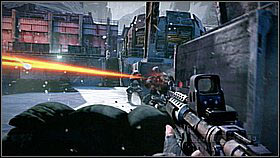
Follow Rico, hiding behind covers to avoid getting hit by the cannon. [1] At the end look to the right - you will notice a big amount of enemies. [2]
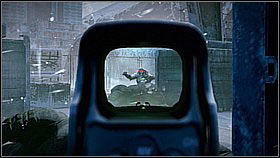
![Eliminate them slowly [1] and move towards the stairs - Icy Incursion - p. 4 - Walkthrough - Killzone 3 - Game Guide and Walkthrough](https://game.lhg100.com/Article/UploadFiles/201512/2015121610271122.jpg)
Eliminate them slowly [1] and move towards the stairs. You can smash the metal plates by the barriers to uncover enemies above. [2]
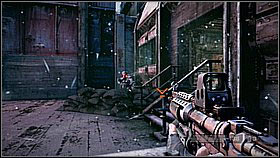
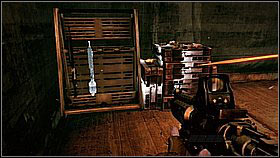
At the top of the stairs, look out for the enemy by the fortifications. [1] Go inside and kill the enemies. Restock on ammo before going up the stairs. [2]
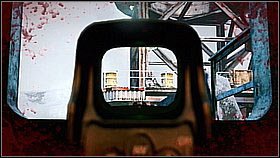
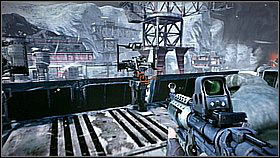
Look out while going onto the roof - you will encounter strong resistance, including a sniper on the opposite platform (shoot the barrels). [1] Use the WASP. [2] 1
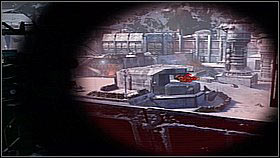
![Using the WASP, destroy the enemy's gun positions, [1] the transporter which will arrive and later on the tank - Icy Incursion - p. 4 - Walkthrough - Killzone 3 - Game Guide and Walkthrough](https://game.lhg100.com/Article/UploadFiles/201512/2015121610271226.jpg)
Using the WASP, destroy the enemy's gun positions, [1] the transporter which will arrive and later on the tank. [2] Before moving on, take this powerful weapon with you (TRIANGLE). You can restock on ammo by each ammunition crate.
![Follow Rico onto the battlefield (or just jump over the barrier) [1] Get to the opposite side - Icy Incursion - p. 4 - Walkthrough - Killzone 3 - Game Guide and Walkthrough](https://game.lhg100.com/Article/UploadFiles/201512/2015121610271296.jpg)
Follow Rico onto the battlefield (or just jump over the barrier) [1] Get to the opposite side. [2] On your way you may shoot the enemies using the WASP.
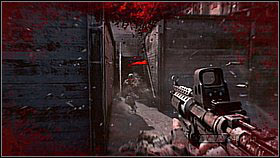
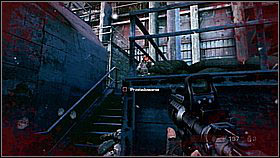
On the other side you will surely come across enemies - look out by the stairs. [1] Clear the upper floor of enemies. [2]
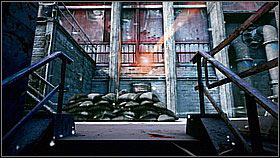
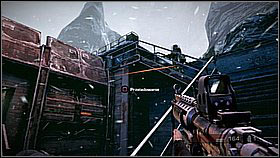
Use grenades to make the Higs come out of the cover. [1] Before going onto the roof, look inside the building and eliminate the sniper. [2]
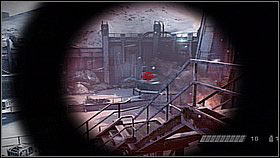
![On the roof, use the power of your launcher to get rid of the cannon [1] and afterwards the tank - Icy Incursion - p. 4 - Walkthrough - Killzone 3 - Game Guide and Walkthrough](https://game.lhg100.com/Article/UploadFiles/201512/2015121610271319.jpg)
On the roof, use the power of your launcher to get rid of the cannon [1] and afterwards the tank. [2]
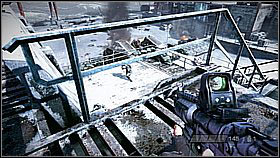
![Get rid of the enemies below from above (you can use the WASP, but do replenish ammo) [1] and slowly go down - Icy Incursion - p. 4 - Walkthrough - Killzone 3 - Game Guide and Walkthrough](https://game.lhg100.com/Article/UploadFiles/201512/2015121610271352.jpg)
Get rid of the enemies below from above (you can use the WASP, but do replenish ammo) [1] and slowly go down. [2] Eventually go inside the hangar.
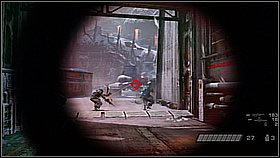
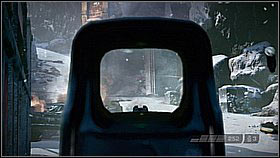
Replenish the WASP ammo if you need to and quickly destroy the tank. [1] Fight your way up. [2]
Beside the turn, go into the building and collect ammunition. [1] Destroy the tank which will come down [2] and use the most powerful weapon against the infantry as well. Before moving on, make sure you have the maximum amount of ammunition.
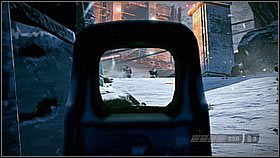
Keep climbing up - look out for enemy reinforcements. [1] Once you reach a heavily protected building, use the rocket launcher to destroy two fortified positions. [2] Kill the enemies outside.
Time to fight your way to the building. Firstly run to the small building on the right and kill the enemy inside. [1] From here run to the left side, behind the next building. From this position, try to kill at least one Helghast in the window. [2]
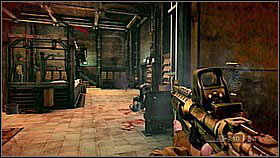
Reload and quickly run to the main entrance. [1] Inside, clear out the lower room. [2]
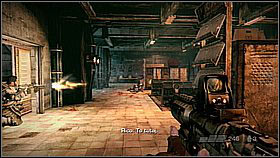
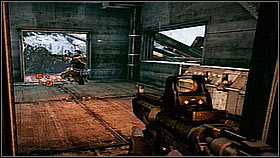
Go upstairs and kill the rest of the group. [1] Go inside the room behind the sliding door. [2]
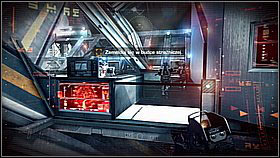
Approach the officer on the left. [1] Afterwards wait for the prisoner to arrive. [2]
Move on. Open the door using the button [1] and speak with the soldier. [2]
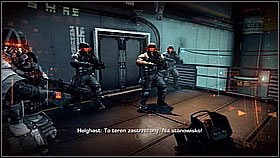
Go down to the factory. [1] The soldiers won't allow you to go any further. [2]
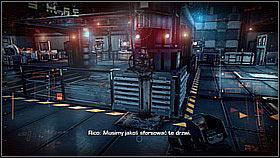
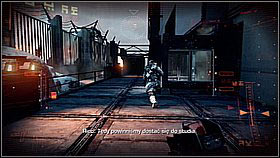
Go into the machine box and turn the valve (hold L1 or R1 and turn the controller). [1] Follow Rico. [2]
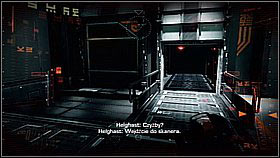
Nearby the server room you will be asked to step into the scanner. [1] Do it. [2]
![Move further through the medical room [1] and down the stairs - Stahl Arms Infiltration - p. 1 - Walkthrough - Killzone 3 - Game Guide and Walkthrough](https://game.lhg100.com/Article/UploadFiles/201512/2015121610271667.jpg)
Move further through the medical room [1] and down the stairs. [2]
Approach the guard. [1] He will let you into the lab. [2]
![Go through the laboratory, cold room [1] and enter the studio - Stahl Arms Infiltration - p. 1 - Walkthrough - Killzone 3 - Game Guide and Walkthrough](https://game.lhg100.com/Article/UploadFiles/201512/2015121610271768.jpg)
Go through the laboratory, cold room [1] and enter the studio. [2]
Kill the enemies using the new gun. [1] Reload if you'll need to. After a while another group aided by head hunters will enter the room. Fry them. [2]
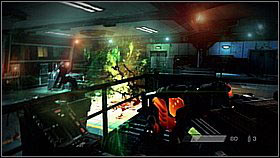
Inside the next room you will come across a big group of Higs - use the power of your new gun. [1] In case you need to, go back to the previous room and restock on ammo. Focus mainly on the soldiers equipped with electric guns. [2]
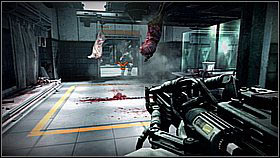
Once things settle down, go to the other side of the room and move on. Go across the cold room [1] and above the stairs. [2]
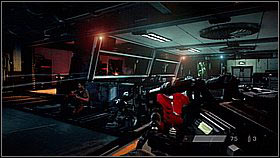
Kill a few enemies who will come from around the corner. [1] Enter the room on the right - you will find an ammo crate. [2]
Kill the enemies using the prototype weapon and keep coming back to the ammo crate to restock. Once a soldier with a rocket launcher appears on the platform in the distance, focus your attention on him. [1] When you clear out the area, Rico will go further. Follow him and look out for Helghast who will appear above, on the platforms. [2]
Right beside the door which you will try to open there's an ammo crate. [1] Kill the enemies form here. Watch your back - Helghasts will try to get up the stairs. [2]
After killing enough Higs, Rico will smash the panel by the door. [1] Go into the server room. [2]
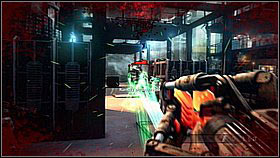
Go up the stairs. [1] Keep killing the enemies inside the factory, staying by the door at best. You can find some spare Arc Cannon here. [2]
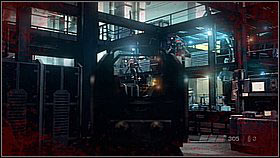
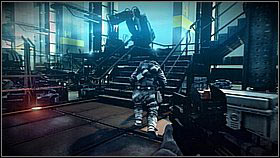
At some point jetpack enemies will appear. [1] After killing 3-4 enemies of that type, run up the stairs. [2]
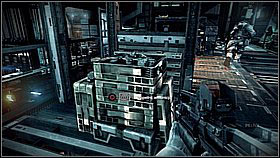
Be sure to replenish ammo upstairs. [1] Get higher and turn right. Kill the enemies without coming too close. Some of them are on the upper platform and a couple on the lower. [2]
More enemies can be found on the right side of the platform. [1] Move on only after killing them off from a safe distance. Behind the corner, before the elevator, you will meet one more Hig. [2]
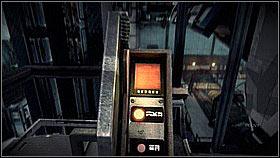
Go into the elevator after Rico. [1] Activate it by pressing the button. [2]
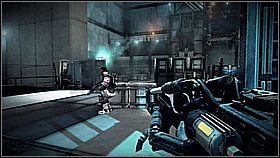
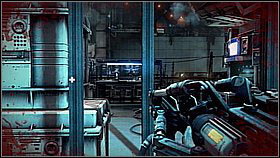
Once the elevator stops turn to the right - you will see another group of enemies. [1] Use the Arc Cannon to kill the rocket launcher enemy on the platform above. Kill off the rest of the soldiers from the elevator or from behind the crates. [2]
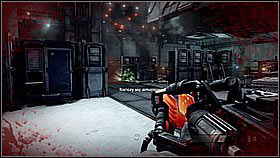
Look out for the enemy with the lightning gun - he's rather resistant. [1] After getting rid of the Helghast squad, move on [2].
![Inside the corridor, restock on ammo [1] and afterwards go inside the elevator and press the button - Stahl Arms Infiltration - p. 2 - Walkthrough - Killzone 3 - Game Guide and Walkthrough](https://game.lhg100.com/Article/UploadFiles/201512/2015121610272182.jpg)
Inside the corridor, restock on ammo [1] and afterwards go inside the elevator and press the button. [2]
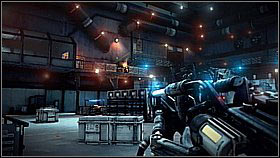
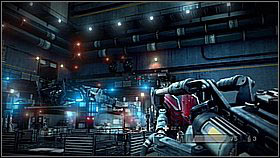
Below you will meet Narville and his men. Shoot two Higs on the upper platforms - on the left [1] and right. [2]
![In case you need to, reload before beside the entrance [1] and fight your outside - Stahl Arms Infiltration - p. 2 - Walkthrough - Killzone 3 - Game Guide and Walkthrough](https://game.lhg100.com/Article/UploadFiles/201512/2015121610272121.jpg)
In case you need to, reload before beside the entrance [1] and fight your outside. [2]
Hide behind the crate and kill the Helghasts who will run onto the platform by the right wall. [1] Now kill off the enemies lurking on the crates placed on the downward path. [2]
Before you go down, try to kill the rocket launcher enemies - they're hiding behind the equipment on the other side of the square. [1] Now slowly descend, while sticking to the right side, so that the crates protect you from the left. [2]
Get to the building and equipment on the other side of the square and circle the area while hiding behind them. Finish off the remaining enemies. [1] Some of them will hide behind the middle hangar (by the road leading up). [2]
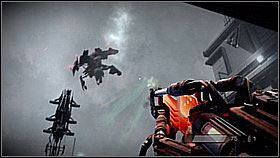

Time to fight the ATAC. It's rather easy irrespectively of the difficulty - hide in the middle hangar. From here, lean out, shoot a couple times and get back under the roof. [1] You can use any weapon you like - the Arc Cannon will work the best. [2]
Inside the hangar you will find an ammo crate. [1] Look out when the enemy charges onto your position - he might fire rockets. [2]
![Once smoke starts coming out of the machine, [1] the fight is nearing its end - Stahl Arms Infiltration - p. 2 - Walkthrough - Killzone 3 - Game Guide and Walkthrough](https://game.lhg100.com/Article/UploadFiles/201512/2015121610272222.jpg)
Once smoke starts coming out of the machine, [1] the fight is nearing its end. [2]
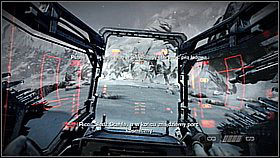
![Move forward [1] and shoot the enemies with the machinegun (hold R1), but most of all with the rockets (press R2) - Stahl Arms Infiltration - p. 2 - Walkthrough - Killzone 3 - Game Guide and Walkthrough](https://game.lhg100.com/Article/UploadFiles/201512/2015121610272374.jpg)
Move forward [1] and shoot the enemies with the machinegun (hold R1), but most of all with the rockets (press R2). The projectiles will only hit the target when the red pointer appears. [2]
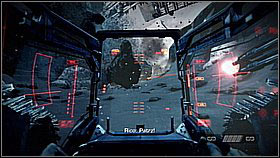
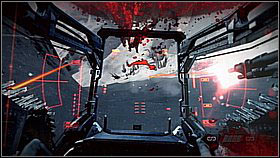
You will come across avalanches - don't worry, they won't stop you. [1] At some point enemy transporters will appear - destroy them as fast as possible with the rockets (R2). On higher difficulty setting you need to be really quick about it. Destroy three vehicles at first. [2]
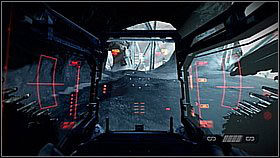
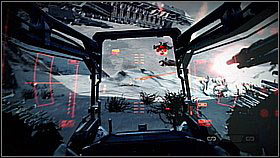
Afterwards one more vehicle will attack you. Once you go through the tunnel, [1] you will reach a big slope. Two transporters will appear here - you have to turn into their direction and destroy them with the rockets (R2). [2]
![Go down after Rico [1] and use his help by the fence - Scrapyard Shortcut - p. 1 - Walkthrough - Killzone 3 - Game Guide and Walkthrough](https://game.lhg100.com/Article/UploadFiles/201512/2015121610272302.jpg)
Go down after Rico [1] and use his help by the fence. [2]
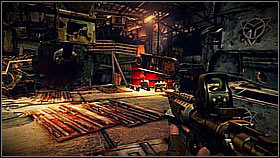
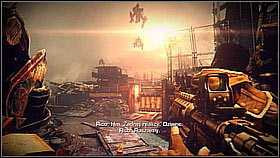
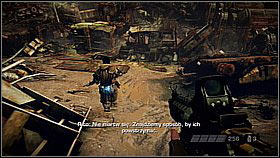
Once you reach a dead end, shoot the exploding barrels. [1] Soon you will see robots above your head - for now they will ignore you. [2]
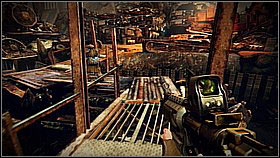
![Go across the narrow footbridges [1] and afterwards up - Scrapyard Shortcut - p. 1 - Walkthrough - Killzone 3 - Game Guide and Walkthrough](https://game.lhg100.com/Article/UploadFiles/201512/2015121610272474.jpg)
Go across the narrow footbridges [1] and afterwards up. [2]
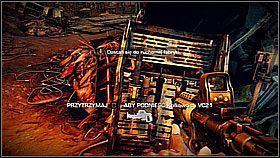
On your way down, collect the Boltgun - this gun can kill both the flying robots and soldiers with one precise shot. [1] Try it out on the three machines which will appear. Wait for them so start hovering and shoot. [2]
After you deal with the robots, infantry will arrive. Kill them with the Boltgun. Keep in mind that the projectiles explode. Look out when you're shooting from behind a cover - sometimes the bolts can hit it and you will detonate yourself. [1] After eliminating the enemy, move on downwards. [2]
Moving on you will come across enemies and another robot. [1] Get rid of the guards after reaching the enemy base. [2]
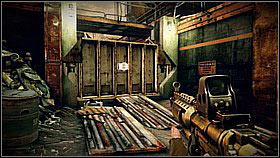
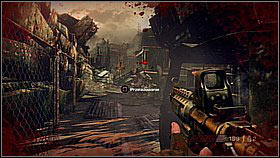
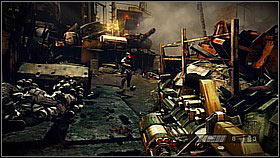
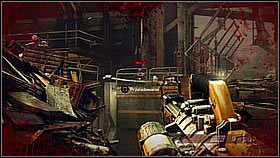
Blow up the gate (L1 or R1 and turn the controller). [1] Inside, look out for Helghast. [2]
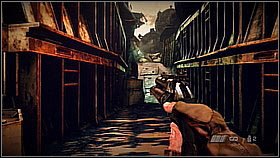
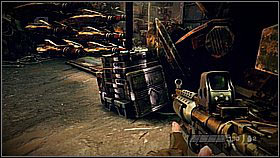
Enemies are also lurking inside the narrow corridor. [1] Restock on ammo by the crate. [2]
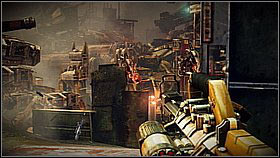
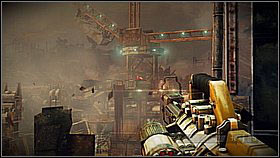
During the fight for the crane, first destroy the robots. [1] Afterwards get rid of the sniper above. [2]
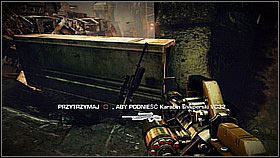
![Go lower - on the left you will find a sniper rifle (the Boltgun will also work well) [1] and on the right a crate and more weapons - Scrapyard Shortcut - p. 1 - Walkthrough - Killzone 3 - Game Guide and Walkthrough](https://game.lhg100.com/Article/UploadFiles/201512/2015121610272627.jpg)
Go lower - on the left you will find a sniper rifle (the Boltgun will also work well) [1] and on the right a crate and more weapons. [2]
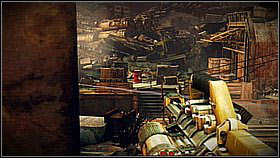
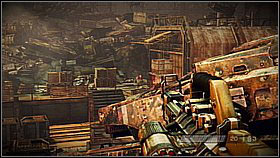
Stand beside the ammo crate - leaning out to the left and right you can aim at all the enemies. Kill a couple of them by shooting the exploding barrel. [1] At some point another sniper will want to get onto the tower, but you can stop him. Kill the soldier mounting the machine gun. [2]
![Once it's clear, move forward [1] and climb up the ladder - Scrapyard Shortcut - p. 1 - Walkthrough - Killzone 3 - Game Guide and Walkthrough](https://game.lhg100.com/Article/UploadFiles/201512/2015121610272644.jpg)
Once it's clear, move forward [1] and climb up the ladder. [2]
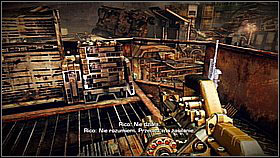

Restock on ammo choose a weapon - the Boltgun will do fine. [1] You will see an enemy transporter. Focus on the soldiers it will spit out. [2]
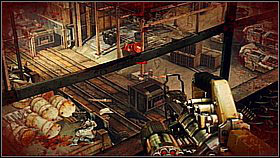
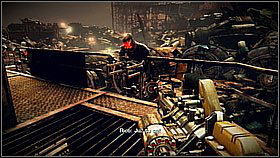
Kill the enemies below while looking out for their fire. [1] Once the Helghast draw near, back up and guard the ladders. [2]
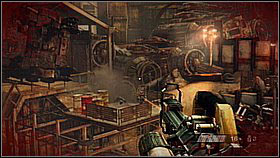
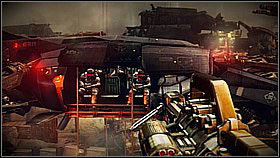
Enemies will start coming from the left as well. Amongst them there will be one with a rocket launcher. Focus your attention on him. [1] Once another transporter appears (this time closer), try shooting the Helghasts inside (before they jump down). [2]
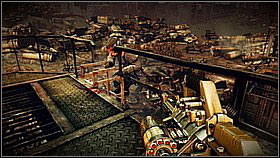
![Kill the remaining enemies [1] and afterwards destroy the 2 robots that will arrive - Scrapyard Shortcut - p. 1 - Walkthrough - Killzone 3 - Game Guide and Walkthrough](https://game.lhg100.com/Article/UploadFiles/201512/2015121610272717.jpg)
Kill the remaining enemies [1] and afterwards destroy the 2 robots that will arrive. [2] Go down from the crane and run towards the sun.
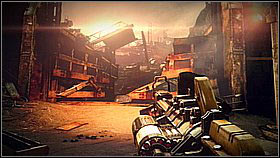
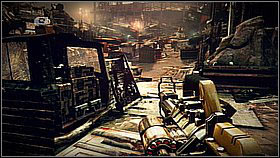
Go down from the crane and run towards the sun. [1] Collect ammo by the van wreck and look out for Helghasts. [2]
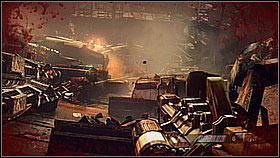
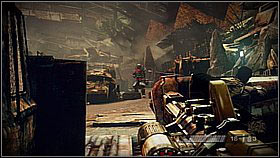
Shoot the enemies from afar. [1] Use the exploding barrels. [2] Slowly move forward (and return to the ammo crate if needed). Turn left two times (as the road leads).
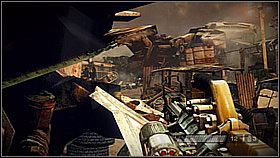
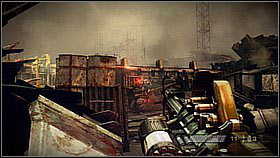
You will reach an armoured enemy. Hide in the back on the left. Take out the weaker enemies from here. [1] If you have the Boltgun, the case is easy - shoot the Helgan "walking tank" in the head. [2]
Once the enemy gets hit, he will turn around - shoot again into the glowing canisters on his back. [1] Afterwards kill off the rest. [2]
Follow Rico and get onto the platform together. [1] A crazy journey down awaits you. [2]
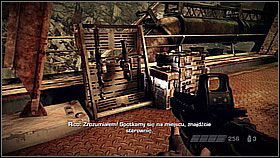
Before heading out, arm yourself beside the ammo crate. [1] Go inside the room - two robots will appear behind the windows. [2]
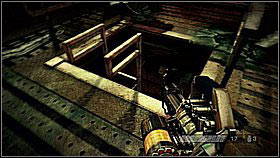
Defeat the enemy behind the window in front of you. [1] Afterwards go down the ladder. [2]
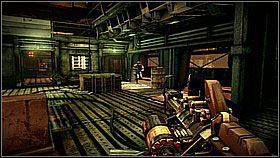
Look out below - once you step out of the room, a few Helghasts will run onto you. [1] Hide behind the wall on the left and get rid of them. [2]
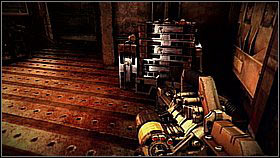
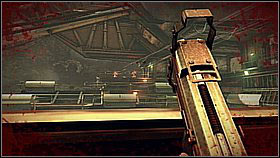
In the next room, beside the destroyed panels, you can restock on ammo. [1] Go out of the room and destroy the robots that will appear by the turbines. [2]
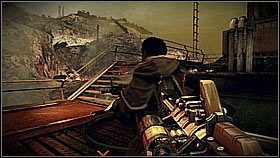

Go up the stairs on the outer part of the deck. [1] Enemies will appear on the other side of the moving blades. Hide behind the balustrade plates and kill a few of them. [2]
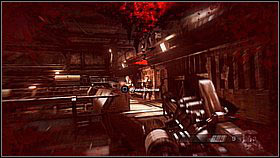
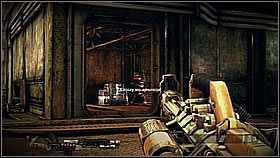
Move forward - the enemies will try to surround you, so keep an eye on them. [1] Before getting to the other side you will have to face an enemy with a rocket launcher. If you charge in, you will catch him in the room on the other side. [2]
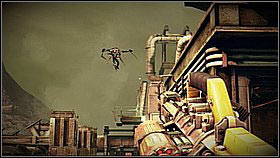
In order to fight your way along the side of the factory, kill three flying enemies. [1] You will come across soldiers from Rico's squad. [2]
Move on, but look out behind the next corner - there will be an enemy with a rocket launcher in front of you. [1] Another fight awaits you behind the next corner. In the Helghast squad you will both jetpack and rocket launcher enemies. [2] In case you have problems with them, back up behind the wall in the middle and slowly eliminate the enemies from there.

Once you clear the area, head up to the bright door. [1] There are 2-3 enemies hiding behind it. Rico will take care of the door - you should collect ammunition. [2]
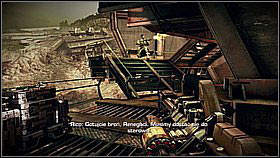

Go up the right staircase and hide behind the crate. [1] From here lean out to the left and take out the Helghast mounting the machine gun. [2] Look out for grenades.
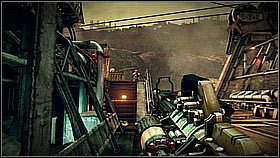
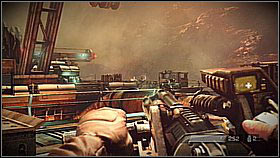
Kill a couple enemies below and afterwards run to the left - beside the wall turn towards the stairs and quickly eliminate the remaining Helghasts. [1] Before you move on, make sure the soldier mounting the machine gun on the other side is dead. [2]
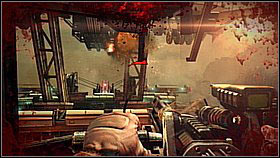
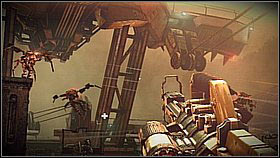
If you're in a hero mood, grab the heavy machine gun and destroy the enemy airborne units. [1] On higher difficulty settings it's better to back up a bit and kill them from the stairs using the Boltgun. [2]
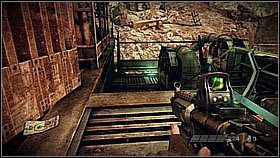

Make sure you've killed all the "flyers" and take the machine gun. Go along either the left or right side. [1] You will come across strong resistance, including enemies with rifles and rocket launchers. The best you can do here is go back to the two stationary guns posts and kill the rocket launcher enemies from here. [2]
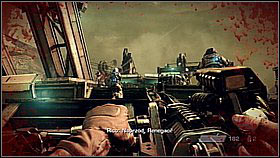
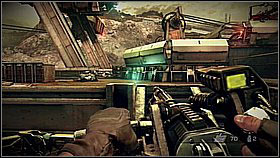
Once you've more or less cleared the area, take the second machine gun and follow the right side. Try to kill the enemies and flank them. [1] While sticking to the right side, keep an eye on the left - you need to surprise the Helghasts and break their defence. [2]
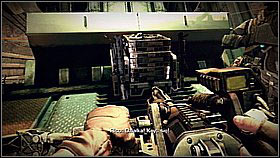
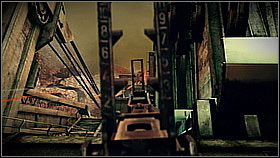
Once you get higher, hide behind the middle element and take the rocket launcher. [1] You need to lean out to the left and hit the gun below twice. [1] Afterwards repeat it with the right side.
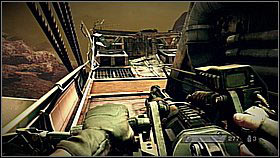
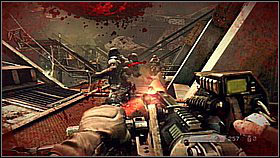
Take the machine gun, restock on ammo and head down. Another group of Helghasts can be defeated rather easily. Sneak by the left side [1] and in the end jump to the right - kill everyone using the machine gun. [2]
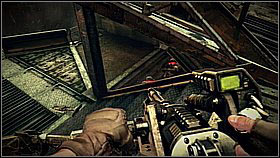
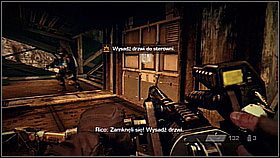
Get to the end of the factory and go down the stairs - look out, there are enemies lurking below. [1] Blow up the door to the control room. [2]
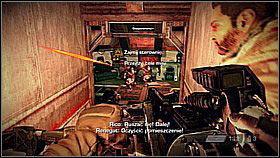
![Throw grenades inside [1] and finish off the survivors - Scrapyard Shortcut - p. 2 - Walkthrough - Killzone 3 - Game Guide and Walkthrough](https://game.lhg100.com/Article/UploadFiles/201512/2015121610273262.jpg)
Throw grenades inside [1] and finish off the survivors. [2]
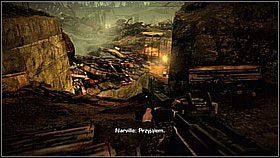
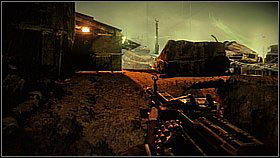
Run down. [1] When you see your allies, go uphill by the wall. [2]
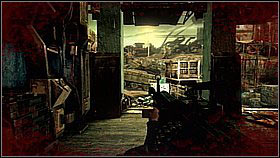
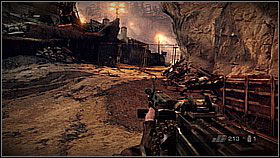
Run into the building in front and kill the enemies. There's an ammo crate at the end - kill off the enemies on the battlefield from here. [1] Afterwards eliminate the two snipers in the front trenches. [2]
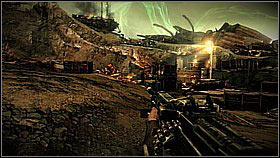
![Kill the remaining enemies [1] and head towards the gate - The Reckoning - p. 1 - Walkthrough - Killzone 3 - Game Guide and Walkthrough](https://game.lhg100.com/Article/UploadFiles/201512/2015121610273317.jpg)
Kill the remaining enemies [1] and head towards the gate. [2] Tanks will smash it. Follow them and team up with Narville.
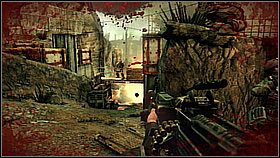
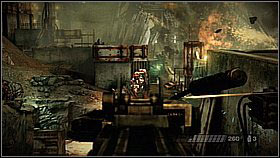
Run along the trench - look out for the soldier on the bridge behind the corner. [1] Afterwards you have to kill the enemies in the trenches and keep two soldiers with flamethrowers away from yourself. [2]
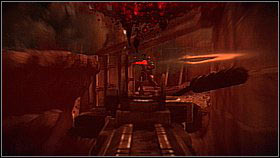
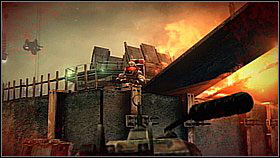
At the end of the part turn right, there's an enemy in the corner. [1] Going under the footbridge you will come across yet another flamethrower enemy. [2]
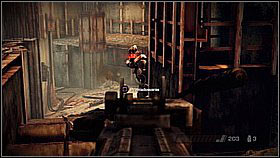
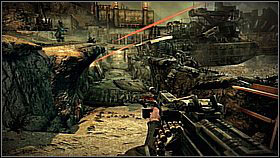
Go down the trench and look out for the enemy lurking behind the corner. [2] Get through the part of the trench under fire [2] and go talk with Narville.
![Go between the buildings [1] and arm yourself with the WASP - The Reckoning - p. 1 - Walkthrough - Killzone 3 - Game Guide and Walkthrough](https://game.lhg100.com/Article/UploadFiles/201512/2015121610273459.jpg)
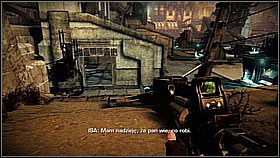
Go between the buildings [1] and arm yourself with the WASP. [2]
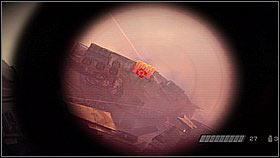
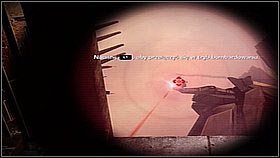
Shoot the radiators once they're uncovered (orange-red elements). [1] Don't stand in one place - the enemy will fire rockets at you and destroy buildings. Destroy its cannons and guns once they appear. [2]
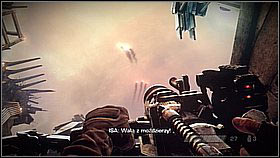
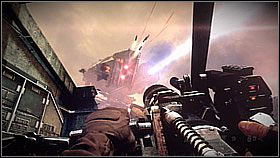
Look out for mortar fire - once again, don't stand in one place when the rockets are flying at you (look into the sky to see where they're going to fall down). [1] After destroying the radiators the enemy will "get mad" and turn around to attack with rockets - hide. [2]
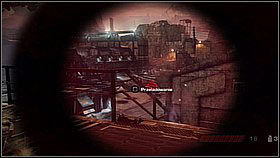
Attack the radiators on the other side. [1] At some point you will get a message that enemy transporters are coming. Stick to the top building and shoot the incoming vehicles and soldiers from here (also from the WASP). [2]
After getting the message that the enemy is aiming at the bunkers, run out of them towards the transformers. [1] However don't get too close, as the robot will soon damage them and they will start shocking with electricity. Destroy the last radiator. [2]

Run forward after the soldiers. Stop by the ammo crate and take the Sta14 rifle. [1] Turn left and go to the left flank. [2]
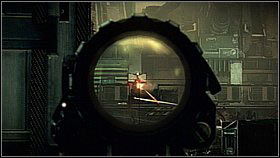
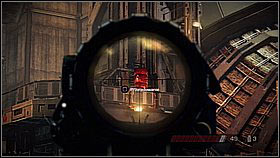
Your main task is to get rid of the stationary machinegun - you can hit the soldier mounting it by shooting between the windows. [1] Once you will get a message that the enemies are retreating, note the soldiers on the platform above - shoot the exploding barrels. [2]
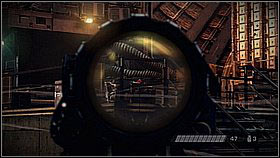
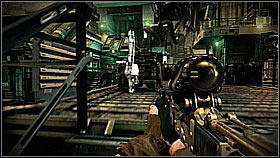
Now get rid of the enemies on the left wing and middle platform. You have to act fast, as the Helghast will get reinforcements. [1] Once you decimate them, go up the middle stairs for a minigun. [2] Take it and quickly retreat.
Return to the left wing - make sure that the foreground is clear and quickly run forward - as far as you can, however don't go up the stairs to the stationary guns. Instead place yourself in the left corner. [1] Kill the soldier operating the second machinegun from here and wait for the allied soldiers. [2]
Once your allies arrive, run up the stairs behind the screen and open fire at the enemies (use grenades if you have any). [1] You have to swiftly get rid of the enemies below and above! [2]
After getting rid of the first group, slowly go forward and keep your eyes open - behind the column there are stairs, from which more enemies can come down. [1] At the top of the stairs go into the elevator and push the button. [2]
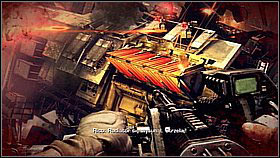
Keep constantly shooting and destroy the guns that will appear (marked with red lights). [1] Destroy the radiator once you see it. [2] Right beside it there's quite a bit of rocket guns - destroy them.
On the other side of the robot there are more guns and the last radiator. [1] The machine won't fall down - you have to destroy all the fuses around its foot. [2]
In the end focus on the "head" of the beast - smash the guns [1] and afterwards the red elements. [2]

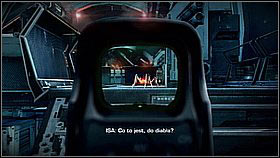
Go through the door. [1] Look out for the spiders inside the narrow room. [2]
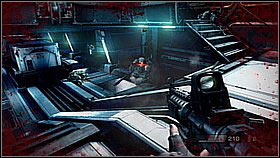
You will also come across Helghasts - you have to keep an eye above and below. [1] Don't charge, the enemies are rather aggressive. Shoot from a distance [2] and move on only once the area is clear.
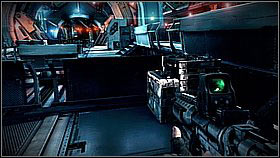
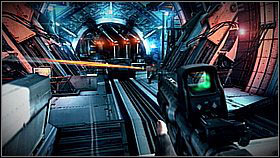
On the upper platform you will find an ammo crate. [1] Going further you will reach two enemies lurking behind the covers on both the left and right. [2]
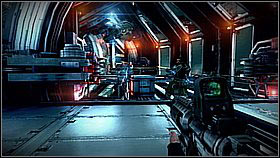
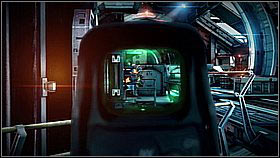
Behind them there is a footbridge onto which enemy soldiers will run. [1] Cross the bridge, but look out - Helghasts are present on the other side as well. [2]
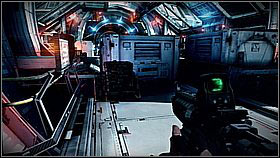
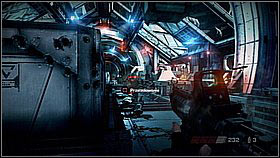
Take a position by the crate - here you have access to ammunition. [1] Use grenades to lurk the enemies out and kill them. [2] Slowly move forward.
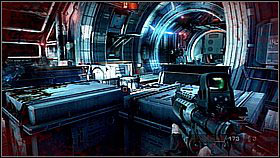
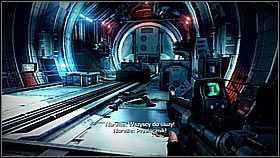
Once you get near the end of the room, move to the right onto the upper platform. From here you will have an easier time shooting the enemies. [1] Run into the gate. [2] Inside press the button on the right.
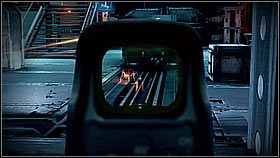
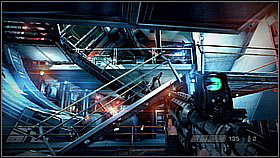
Go across the tunnel and shoot the spiders inside the room. [1] Go up the stairs - look out for more arachnids. [2]
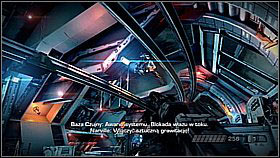
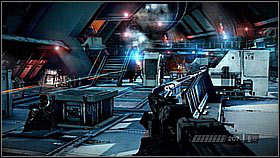
Upstairs, collect the weapons on the left (if you can) and smash the flying robots. [1] Take care of the enemies in the distance and fight your way forward. [2] After a couple metres the armed probes will attack again.
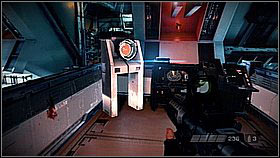
On the left you will find an ammo crate. [1] Go further along the right side until you reach another group of enemies. Focus on eliminating the enemy with the rocket launcher. [2]
Don't rush, the enemies don't respawn. The next weapons spot can be found on the left (you will recognize it by red light). [1] Behind it there's an uncovered ammo crate. [2]

Once the area is clear, turn on the gravity on one of the platforms back on. [1] The passage in the front will open up - on the left and right on the upper balconies there are enemies with rocket launchers. [2]
An elevator carrying enemies will arrive on the left. [1] Reinforcements will come from the right - two flying robots and an armoured soldier. [2]
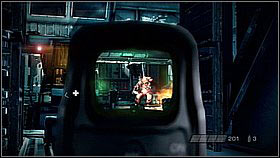
![The safest way is to kill him from a distance, firstly shooting him in the head [1] and afterwards in the back - Interception - p. 1 - Walkthrough - Killzone 3 - Game Guide and Walkthrough](https://game.lhg100.com/Article/UploadFiles/201512/2015121610274000.jpg)
The safest way is to kill him from a distance, firstly shooting him in the head [1] and afterwards in the back. [2]
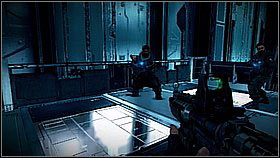
Don't rush forward; hold a position by the ammo crate. [1] Throw grenades and fire at the enemies from here. [2]
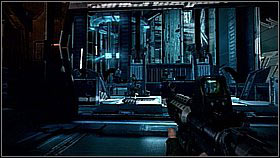

Once the area is clear, go into the elevator on the right. [1] Ride it up. [2]
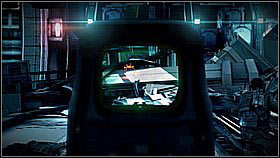
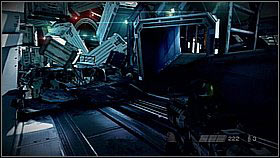
After going up the elevator, kill a few more spiders. [1] Go across the crumbling elements and through the container. [2]
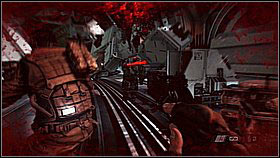
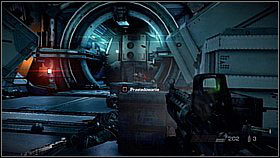
Once you see a body on the floor, keep your eyes open as enemies are to attack you. [1] Turn right into the gate. [2]
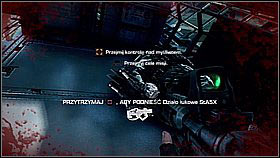
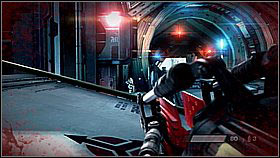
Jump onto the platform on the left - there's a body and an Arc Cannon by the screen. [1] Use it to kill the enemies on both sides of the room. [2]
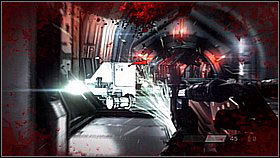
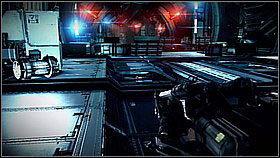
Jump forward and continue going along the top, eliminating enemies on your way. [1] Don't forget about the sniper lurking behind the crates below. [2]
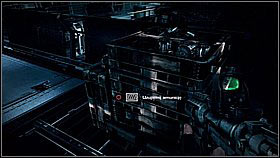
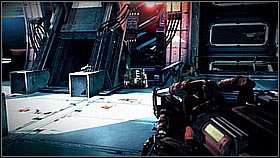
Get to the ammo crate (the tunnel bends a bit to the right here). [1] Quickly reload the Arc Cannon and finish off the enemies. Afterwards exterminate the enemies hiding behind covers, including the sniper on the right. [2]
Go a bit further (behind the corner) - at the end of the corridor there are two Higs with rocket launcher (rather hard to spot, they're on the upper balconies). [1] Shoot the enemies from the Arc Cannon and return for ammunition if you need to, or... [2]

... get to the crate a couple feet away (on the right side of the corridor). [1] The ammunition doesn't end, so use the prototype weapon to its maximum. [2]
Head hunter will attack you at the last straight - their attack won't have much of an effect, will it? [1] Run to the fighters. [2]
![Destroy the fighters [1] and don't hesitate to use rockets - Interception - p. 2 - Walkthrough - Killzone 3 - Game Guide and Walkthrough](https://game.lhg100.com/Article/UploadFiles/201512/2015121610274260.jpg)
Destroy the fighters [1] and don't hesitate to use rockets. [2]
Eventually you will set off towards the Stahl cruiser. [1] Quickly eliminate the incoming fighters while flying towards it. [2]
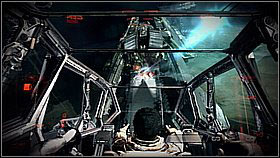
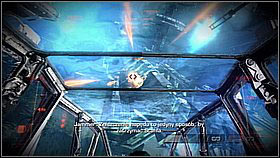
Flying from the bottom, destroy the docked fighters. [1] Afterwards concentrate on the guns. [2]
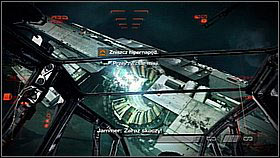
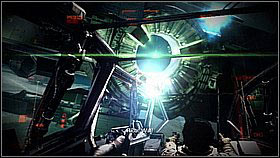
The key element here is destroying the hyperdrive - once you're beside it, aim at the three darker spots (they will be lightened with a red marker). [1] During the flight to the second turbine, shoot the defensive mechanisms and the fighters. Afterwards destroy the next drive. [2]
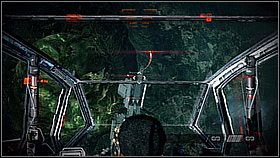
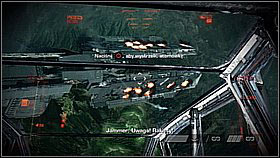
Flying down with the ship, you have to shoot down the rockets flying at you. In order to do that, aim at them (manoeuvring rapidly) and shoot with anything you've got. Don't shoot if you don't see any rockets! The guns/rocket launchers must be ready. [1] Once Rico mentions a nuclear bomb, keep cautious - a notice regarding the bomb will appear. Press CIRCLE. [2]
 Kings Quest Game Guide & Walkthrough
 Killzone 3 Game Guide & Walkthrough
 Kingdoms of Amalur: Reckoning Game Guide & Walkthrough
 Kane & Lynch: Dead Men Game Guide & Walkthrough
 Killzone 2 Game Guide & Walkthrough