Welcome to the guide to See the Future - the second DLC for Fable II. It contains a thorough description of the main missions which the developers created for the gamers. Additionally, you'll find information about secret locations and a well described map of the places where the statuettes and books are hidden.
Artur "Arxel" Justynski
Translated to English by Jakub "cilgan" Lasota
Prize: 150 renown points.
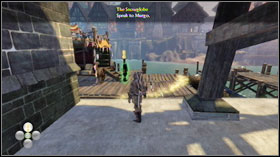
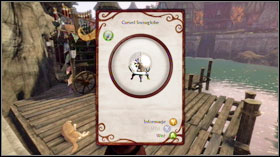
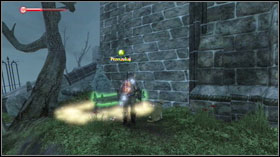
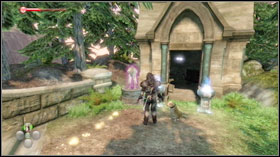
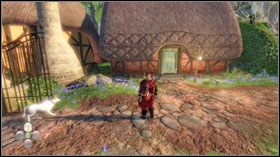
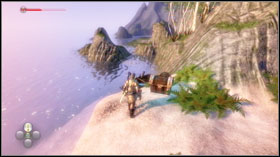
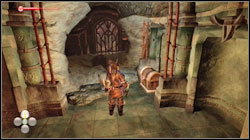
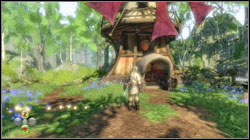
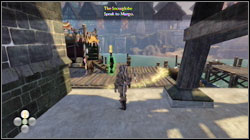
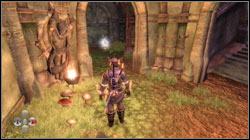
Head over to Murgo - the merchant who sold you the magic music box when you were still a child. You will find him in the docks at Bowerstone Marketplace #1. After the conversation, you will receive some new items: Welly's Soldier Helmet, Murgo "Pay Me" Model, The Braided Ponytail hairstyle, Psycho Jester Makeup, Trader's Game Book and Dog Tricks! The Backflip. Until now, the two last were available only after buying the Pub Games. Buy the Cursed Snowglobe for five gold coins #2 and use it from your inventory.
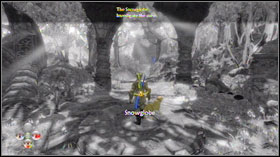
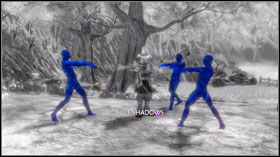
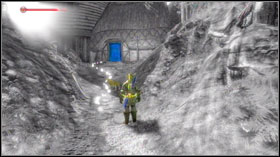
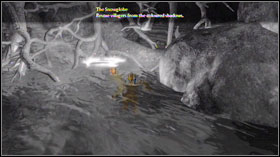
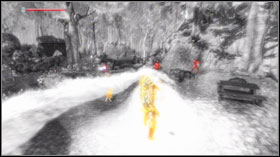
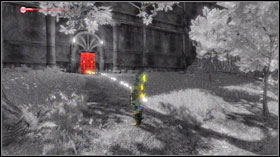
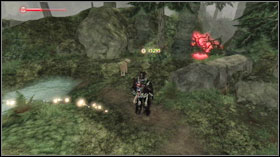
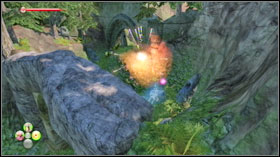
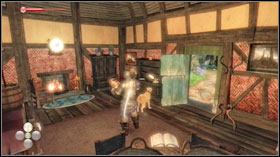
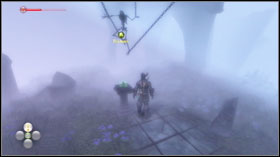
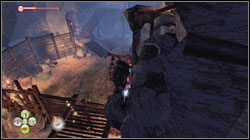
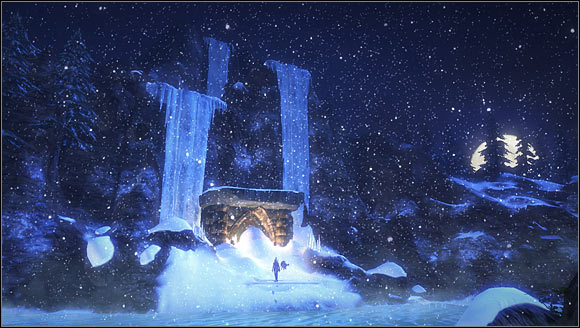
You will be transported to a new, black and white location. Take a closer look at your weapons - your melee weapon is shining with a blue light and long-range weapon - with a yellow #1. Your task is to get to know what caused the curse. Go straight all the way; you're not yet able to open the blue door in the house on the right. After getting on the bridge, you will notice Blue Shadows attacking a peasant #2.
NOTICE: The foe's colour represents the kind of weapon which will be effective against them. In this case, you can only deal damage with a melee weapon.
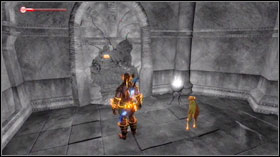
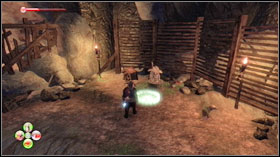
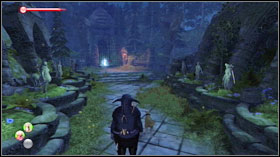
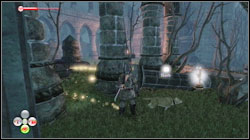
Speak to Tom. You will learn that the shadows have sucked all the colours from this land. You will receive a blue Oast House Door Key and your task will be to rescue the residents from the shadows. Return to the house that you have passed by a while ago #1. Use the key on the blue door - you will unlock a passage. Rescue another peasant from the Blue Shadows sing a melee weapon. The old man will show you a certain item in return for saving his life #2.
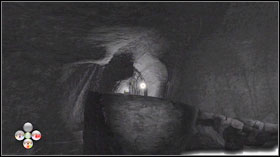
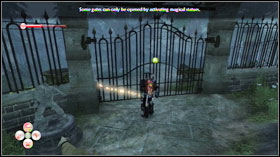
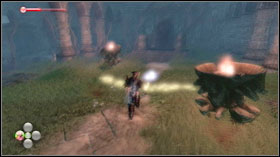
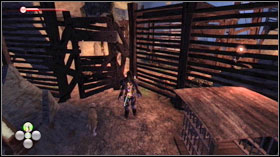
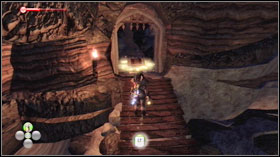
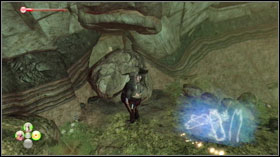
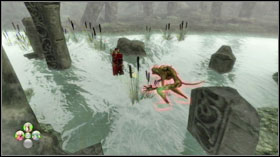
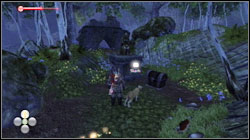
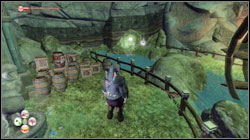
This item is a blue, shining sphere. Hit it with your sword and it will lead you forward. Follow and hit the sphere every time it stops. You will arrive at a gate #1, in front of which you will be attacked by Blue Shadows. Go through the gate and you'll find a well with a ladder. Once you're inside, follow the path. You will run a peasant surrounded by Yellow Shadows #2. Use a ranged weapon to get rid of them.
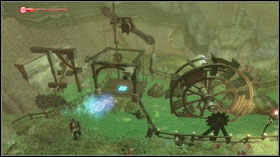
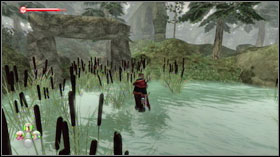
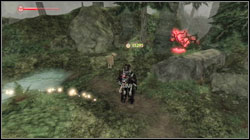
The man will pull the lever and release a yellow sphere #1 and some Blue Shadows that will attack you from behind. Shoot the sphere, follow it and shoot every time it stops. You will get to a flooded cave. The sphere will fly into the water - follow it by diving in the right spot #2.
You will find yourself in another well; in the distance you will notice the yellow sphere. You will get to a room with two passages #1. Once you approach the sphere, Blue Shadows will attack. In the room on the left there is chest which you cannot open until you return the colours to the land. Take Archie Loggy's Diary from the ground. More Blue Shadows will attack you. Go back and shoot the sphere. It will lead you to the exit #2.
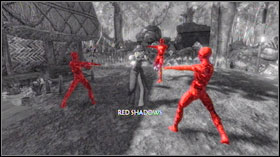
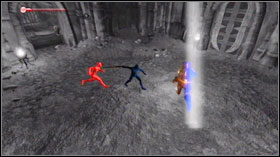
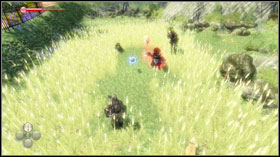
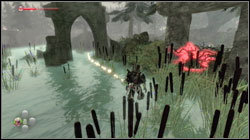
After returning to the surface, continue to follow the sphere. You will go through another gate and run into Red Shadows bullying a woman #1. This time around the enemies use magic and in addition it's Time Control, so they are able to dodge your attacks quite easily. The faster way to eliminate them is using Inferno on each of them #2, thanks to which you will be able to get rid of them - one at a time, but effectively. The distressed woman will ask you to find five kids that ran away, trying to avoid the shadows.

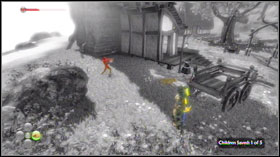
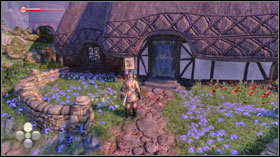
The first kid is on the 1st floor of the house on the left #1. The second is behind the house with a trailer nearby #2.

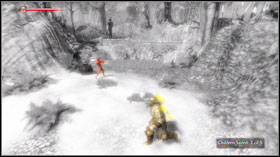
The next child is standing on the beach, near the boat house #1. In the further part of the beach, you will find the 4th #2.
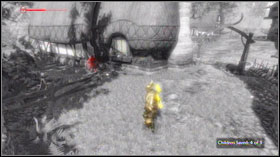
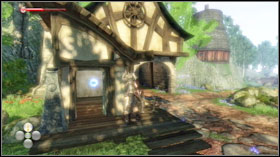
The last, 5th child is behind the house #1 opposite to the in which the 1st kid was. After saving everyone, return to the school and talk to the teacher. In return, you will receive a Red Seal painted by the kids. Follow the trail and head to the red door #2.
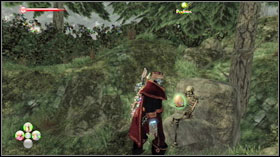
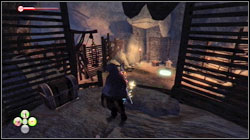
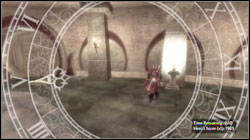
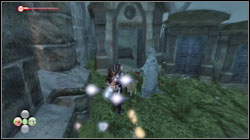
Go down. On the right there is a wall that you can break #1 and behind it lays The Grumpy Rabbit book, which will come in handy in the further part of the game. Eventually you will reach a gate #2 and a blue and Red Shadow will attack you. You can use the Raise Dead spell to draw their attention so that you can defeat them easier.
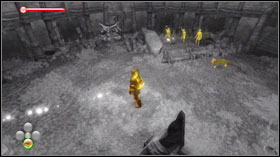
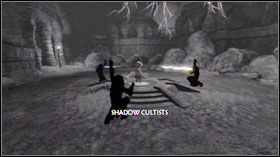
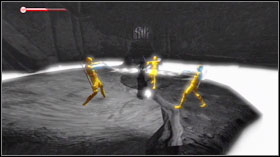
Go to the next room in which you will be attacked by Blue Shadows. In the next one there will be Yellow Shadows waiting for you #1 and afterwards, some reds. Eventually you will get to the last room, in which you will have to face three Shadows Cultists #2. But firstly, you will have to deal with yellow, red and blue shadows.
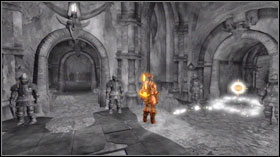
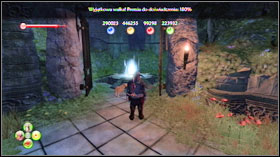
After killing the support, it's time for the main enemies. They aren't too much of a threat, so calmly eliminate each of them. Remember to use melee attacks on blue, ranged on yellow and magic on red. You will be moved to the city which will be colourful again #1 and receive a reward. Return to Murgo using the special portal which you will find at the beginning of the location #2.
Prize: 750 renown points.
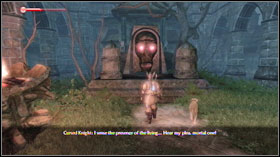
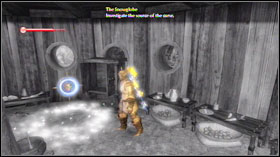
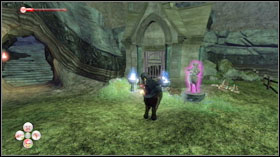
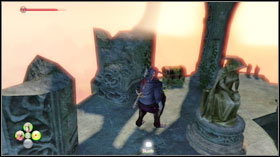
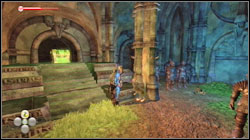
In order to begin this quest, you must firstly buy the Cursed Skull from Murgo (he's at Bowerstone Marketplace docks) for five gold coins. Use it in the inventory and you will be teleported to a new area #1. Your task is to investigate the mysterious curse. Go forward and you will begin a conversation with the Cursed Knight #2, who will ask you to free some wisps from the cell and bring them to him.
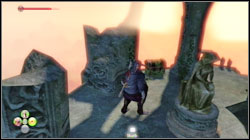
The trail will lead you to a sarcophagus #1, inside of which you will find a Hollow Man Suit. Wear it and go further. You will reach a closed gate #2, which will open only if you use the correct gesture on the statue next to it. Use "Bloodlust Roar" and the gate will open.
NOTE: You have to be wearing the Hollow Man Suit, otherwise the gate won't move an inch!
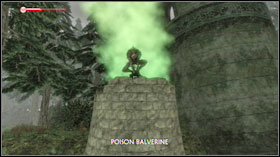
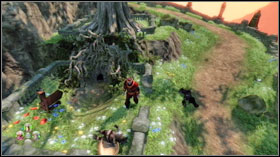
Eventually you will reach the wisps' cell #1. Unfortunately, in order to open it, you have to be wearing a Balverine outfit. Smash the bushes on the right and head forward. You will run into the first Balverine, which shouldn't pose a threat. A little bit further you will meet with a more powerful foe - a Poison Balverine #2. Once it's dead, some more Balverines will attack you. Deal with them, the gate will open and behind it you will find a chest containing the Balverine Suit.
Return to the wisps' cell, equip the Balverine Suit and use the "Growl" gesture. The gate will open before you #1. The Cursed Knight will give you a hint that the wisps are afraid of living creatures. Equip the Hollow Man Suit, enter the tomb and lead the wisps to the Cursed Knight #2.
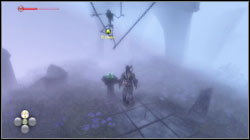
The more you have, the more you want, so you will be asked to bring even more wisps. Follow the trail; it will lead you to another gate #1. You will open it by equipping the Balverine Suit and using the "Growl" gesture. A little further you will run into some Hobbes #2. Enter the Mysterious Cave.
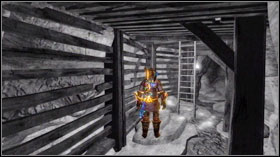
Firstly, you must smash some barricades #1, and afterwards eliminate a couple of Hobbes. Follow the trail and it will lead you straight to the chest containing a Hobbe Suit #2.
Now you just need to find the wisps. In order to leave the cave, equip the Hobbe Suit and approach the small statue in the middle of the room #1. A ghost of a Hobbe will appear. Lead it to the boulder and it will clear the path for you. After jumping down from the cliff #2, you will be attacked by a couple of Hobbes. They shouldn't difficult at all. Above all, don't walk into the river - it's poisoned!
You will find two Hobbe statues here, the first will have a backpack and the second will be wearing a hat. Approach the one with the backpack and afterwards head to the boulder #1. The ghost will destroy it and you will be able to use a ghost on stilts that will cross the poisoned river #2 and pull the lever. This way you will be able to reach the other side.
Approach the wisps' cell #1. Me sure you're wearing the Hobbe Suit and use the "Point and Laugh" expression on the statue next to it. Equip the Hollow Man Suit and lead the wisps to the Cursed Knight #2.
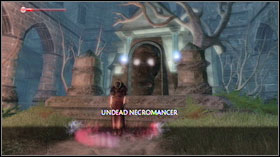
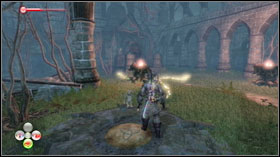
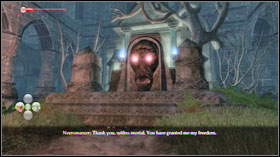
He will take human form and turn out to be a necromancer #1. He's a quite powerful and dangerous enemy. He teleports a lot and spawns Hollow Men, who disturb the fight. The best way to defeat the necromancer is combining three spells - Time Control, Raise Dead and one offensive, which would be my favourite Inferno - hit the Necromancer directly with it, as your minions will take care of the Hollow Men. After defeating the enemy and receiving the prize, teleport #2 back to one of Albion's main location.
Prize: Royal Suit.
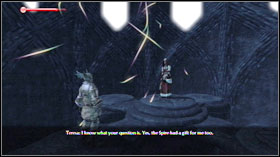
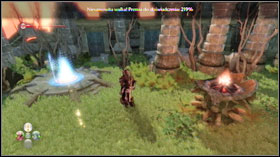
Go to Murgo for the last time and he will give you the Spire Model #1. By using it, you will teleport to the Spire and meet with Theresa #2. Grab her hand to get a glimpse into the future. What you see depends on the choices you have made during the story. Your good/evil level also has an influence here. After combining these factors, you will see your future in Albion...
Once you come back, you will be rewarded with the Royal Suit.
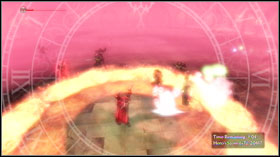
To begin this mission #1, you have to use the Colosseum Model that you received from Murgo. The Colosseum's structure resembled the Crucible. There are minor differences - Your task is to survive the oncoming waves of enemies #2, with a time limit of five minutes. There is also an additional handicap, as you cannot use potions or any other items after the battle begins. If you are knocked to the ground, you will lose the multiplier.
To increase the multiplier, you have to hit the shining spheres, which will appear on the arena from time to time. You will be informed about it with a notice at lower part of the screen. Of course you have to use different weapons, depending on the colour. Melee for blue spheres, long range weapons for yellow and magic for red ones.
Because of the heavy handicaps and no potions, surviving in the arena is quite hard. Having some Resurrection Phials is highly recommended, thanks to them you don't lose your multiplier in case of falling to the ground. As for the fighting itself, using three spells is enough to get to the necromancer. Here's the tactic (the numbers in brackets represent the spell's level):
Use Raise Dead (3-4) and afterwards, Time Control (3-4). Your minions will allow you to use Inferno/Shock (5) without having to worry about the enemies hitting you. Repeat this, spawning more minions once they disappear and using Time Control all the time, so that you can get more out of the basic 5 minutes. You can also use your ranged weapon from time to time, to kill the enemies that ran away from you.
15000 points - Ultimate Prize;
10000 points - First Prize;
5000 points - Second Prize;
2500 points - Third Prize.
After exceeding each amount, you receive prizes - starting from the lowest level to the one that you reached. It's different every time, apart from the highest prize, which is a legendary weapon - Royal Sceptre. If you have already obtained every item, the reward will be gold, in the amount of points gained.
Prize: Mystic Juice, Strawberry Blonde Hair Dye, "AAA" Teddy Trophy.
You can gain three teddies in the Colosseum, thanks to which you will receive one of the dyes.
Wizard Teddy
It's very easy to get. After entering the Colosseum, head to the telescope on the right side of the arena. Look in the direction in which the device is pointed. On one of the statues - the one above the door with candlesticks beside - you will see a teddy bear. Shoot it. You will find two numbers on him: one and nine.
King Teddy
This teddy is behind a locked door, opposite to the entrance. In order to open it, you must use Inferno to light up every candle nearby. The bear will have two letters as well - eight and five.
Captain Teddy
The hardest one to get. Your task is to score an exact amount of points during the arena fight. This amount is 1985, which you can get by combining the numbers found on the previous two teddies. The hood thing is that you can save your game at any moment during the fight. Try to avoid multipliers and attack enemies one at a time. Time Control is very useful here. After reaching the required amount of points, the teddy will appear where the telescope was. After collecting him, you will receive some more prizes.
If you haven't taken the "The Grumpy Rabbit" book from the Shadow Court (red door) during The Snowglobe mission, you will have to return for it. After reading it, use the Cursed Skull and teleport to Celestial Keep. Head to the place where you met the Poison Balverine #1. You will notice some rock portals #2.
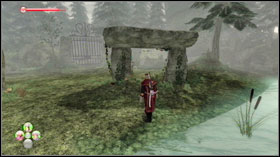
Your task is to go through them in the right order, exactly the same as the one described in the book. Firstly, choose the one to the left from the entrance #1. Afterwards, go through the one closest to the gate #2.
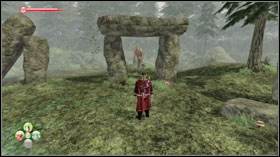
The third portal has bough behind it #1. The last one is to the right from the entrance #2.
Behind it, on a boulder, there will be a skeleton #1 with The Dingly Egg in his hand - if only you got the order right. Take the egg and go to the Mysterious Cave entrance, where you've been searching for the Hobbe Suit. Right next to the tree you will find a basket, a rabbit and a warren #2.
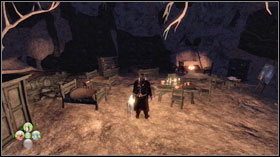
Once you put the egg into the basket, you will find yourself inside the warren. Follow the carrots on the floor. You will get to a big cave #1. Search everything and you will find the Ashfield House Key. Use the Cursed Snowglobe and teleport to Snowglobe. Go straight all the time, until you reach a second gate. The key will allow you to open the house behind it #2. A Commemorative Mug is waiting for you inside a chest there.
Use the Cursed Skull and teleport to The Snowglobe. Once you have the Hobbe Suit, head over to the pool where you were attacked by the Poison Balverine. Right before it, on the right side, you will see some bushes that you can destroy #1. Take the path behind them and you will reach a gate #2. Put on the Hobbe Suit and use the "Point and Laugh" expression on the statue.
Inside you will find a shining blue sphere; hit it with a melee attack. Afterwards hit it with a spell and in the end shoot with a range weapon. Approach the Hobbe statues on the left, to the one with the hammer to be precise #1. It will hit the sphere behind the gate. Use the ghost with the hat next. He will use magic on the sphere #2 and open the entrance in effect.
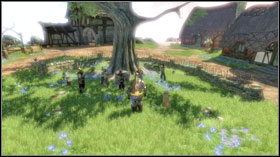
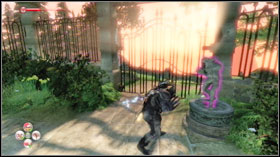
You will reach a garden with statues #1. Each of them represents a suit that you have in your possession. Approach the last one. It's dressed just like you, just before you have used the Cursed Skull. Use the "Heroic Pose" expression. After a while the statues will come to life and you will have to fight them #2.
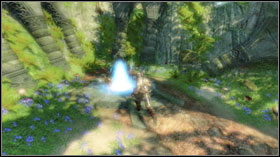
Once you're done with them, the gate will open. Behind it there is a portal #1. Use it to get to a hidden location - The Last Beacon. In the chest you will find an Ethical Green Dye #2.
Use the Cursed Snowglobe and teleport to The Snowglobe. Go forward all the time, in the direction of the first gate. In the house on the right you will find a shining yellow sphere #1. You have to repeatedly hit it with melee attacks and follow it. After you get to the field, Hobbes will show up #2. Afterwards the sphere will fly to the right. Walk under the bridge.
Follow the sphere to the next sphere to meet with some Hollow Men. On your way you will have to enter a small shed by the road #1. Continue following the sphere and eliminate Balverines, Hobbes and Hollow Men by the statue. Eventually you will reach the beach, on which you will find a chest #2. Chesty's Tea Party Invitation is waiting for you inside.
Go along the road to the beginning of the location. In one of the huts - on the square near the well - with a plaque #1, you will find a note telling you that the party is over, because of you being late. Additionally you will be sent to the upper floor, where you will find a mirror. Use it to teleport to a secret, foggy location. At its end you will find the Gory Glory Red Dye #2.
You can find ten new dyes added in See the Future. Collecting them gives you an achievement. The list is sorted alphabetically.
Balverine Brown Dye
Location: Costume Party
In a sarcophagus in the tomb with the first wisp group.
Cursed Grey Dye
Location: Snowglobe
Shadow Court (red gate), in a chest at the end of the location. You have to finish The Snowglobe mission first.
Ethical Green Dye
Location: Costume Party
In a hidden location - The Last Beacon.
Gory Glory Red Dye
Location: Snowglobe
In a hidden location - Mirror Mist.
Jaunty Jaundice Dye
Location: Snowglobe
In the well, in the room with armours - where a fork of the two passages was. You have to finish The Snowglobe mission first.
Night Blue Dye
Location: Costume Party
In a corridor of the Mysterious Cave, right under the chest with the Hobbe Suit, you have to jump to a lower level.
Performer Blue Dye
Location: Snowglobe
A chest in the mill, right behind a bridge after entering the location.
Strawberry Blonde Dye
Location: Colosseum
After collecting the three teddies in the Colosseum. Look in The Colosseum side mission description.
Well Red Dye
Location: Snowglobe
In a chest next to the statue. You have to head to the school and then continue forward. You have to finish The Snowglobe mission first.
Wisp White Dye
Location: Costume Party
In a crypt in front of the sarcophagus with the Hollow Man Suit.
You can collect ten Murgo Models is See the Future. They are hidden in locations which you will visit during the story missions. If you don't collect all of them during completing the quest, you can always come back using the Cursed Snowglobe and Cursed Skull. The list is sorted in the order in which you find the models during the story missions.
Murgo "Pay Me" Model
Location: Bowerstone Marketplace docks
You receive it from Murgo after talking to him.
Murgo "Chicken" Model
Location: Snowglobe
After entering the well with a ladder. Go straight all the time. You will find the model in a bigger cave, on the left, behind a stalagmite.
Murgo "Dancing" Model
Location: Snowglobe
On the left side of the beach.
Murgo "Dismissive" Model
Location: Snowglobe
There is a bridge on the road leading to the school, jump off it and dive. You will find yourself on a cliff near the school. The model is right in front of you.
Murgo "Begging" Model
Location: Snowglobe
In Shadow Court, after going down the second staircase. On the right there is a breakable wall, the model is behind it.
Murgo "Sycophantic" Model
Location: Costume Party
Between the pillars on the left, right after entering the location.
Mugro "Slanderous" Model
Location: Costume Party
After passing the wisps' tomb, you will bump into the first Balverine. On the right you will find some bushes - destroy them, the model is behind.
Murgo "Tickled Pink" Model
Location: Costume Party
By the pool where you met the Poison Balverine, behind some bushes.
Murgo "Optimistic" Model
Location: Costume Party
In the Mysterious Cave. After getting to the chest with the Hobbe Suit turn right and jump down. Go straight and jump down again to find the model.
Murgo "Mad Trader" Model
Location: Costume Party
After getting to the second wisp group, smash the boxes blocking the path by shooting the gun powder barrel.
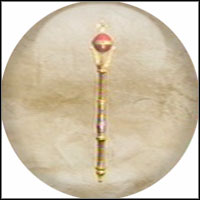
Royal Sceptre
Dmg: 90.0
The highest prize in the colosseum, received after scoring over 15,000 points.
Name
Requirements
Points
The Nutcracker
Score 25 groin shots, or see another Hero do so.
10
The Paramour
Make love 25 times, or see another Hero do so.
10
The Concierge
Open all the Demon Doors in Albion, or see another Hero do so.
30
The Visionary
Take a look into the future, or see another Hero do so.
50
The Con Artist
Find all 10 of Murgo's statues, or see another Hero do so.
25
The Howler
Scare five people while dressed as a balverine, or see another Hero do so.
10
The Ghastly Jester
Make five people laugh while dressed as a Hobbe, or see another Hero do so.
10
The Repugnant
Disgust five people while dressed as a Hollow Man, or see another Hero do so.
10
The Gladiator
Scare a total high score of 20,000 points or more in the Colossuem, or see another Hero do so.
30
The Multiplicator
Achieve a multiplier of 10 or more in the Colosseum, or see another Hero do so.
20
The Combatant
Defeat the necromancer in the Colosseum, or see another Hero do so.
20
The Fowl Player
Dress as a chicken and kick five chickens during the Colosseum battles, or see another Hero do so.
10
The Colourist
Collect the dyes hidden in Murgo's magical items, or see another Hero do so.
15
 Final Fantasy XIII Game Guide & Walkthrough
 First Encounter Assault Recon Game Guide & Walkthrough
 Football Manager 2015 Game Guide & Walkthrough
 FIFA 08 Game Guide & Walkthrough
 Fallout 3: The Pitt Game Guide & Walkthrough