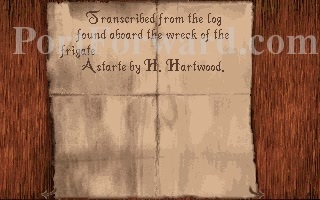
Alone in the Dark Walkthrough Alone in the Dark
I'll be playing Emily Hartwood since she makes more sense plotwise.
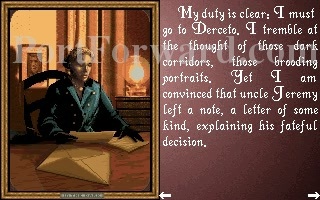
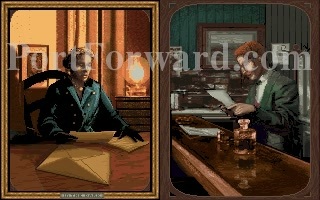
We find out that Mrs. Hartwood's uncle, Jeremy, has committed suicide inside of his manor, named Derceto.
We get a few hints playing as Emily that we wouldn't get playing Edward.

Emily feels the need to figure out exactly why Uncle Jeremy commited suicide, and so begins the game.

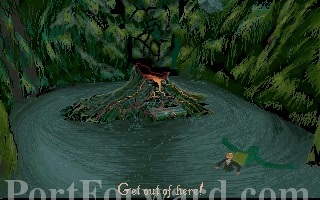
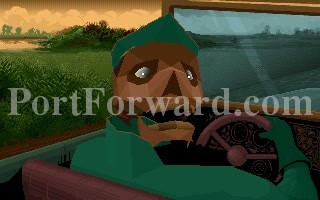
A car is seen, driving towards the camera.

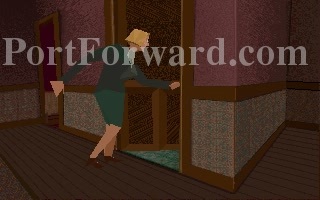
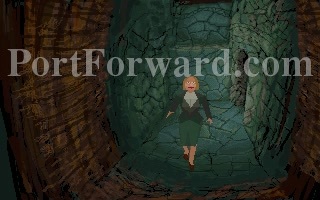
Emily is in a taxi, being driven to the Derceto manor.
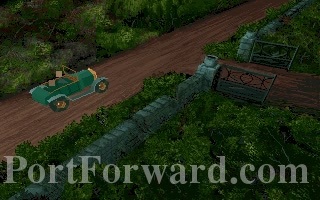
She arrives at the front gate.
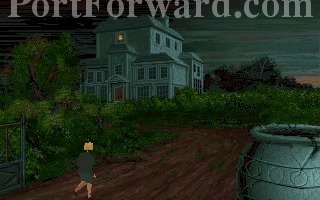
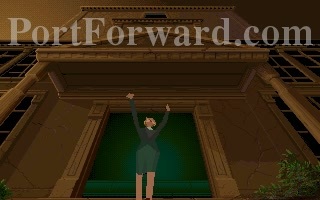
She exits the car, as it peels away, she stops to examine the large house...
...she doesn't know of the horrors she will have to face.
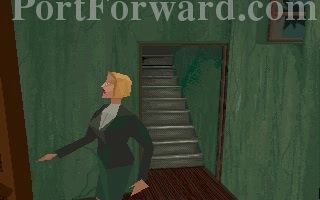
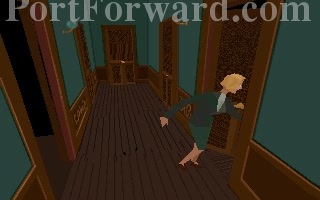
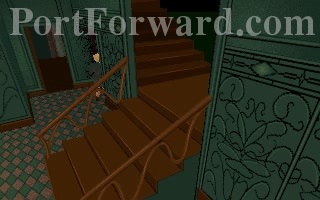
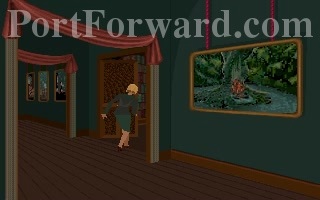
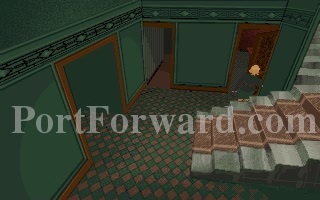
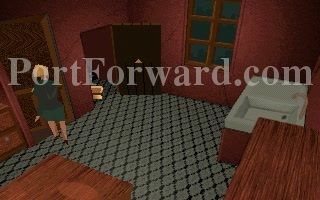
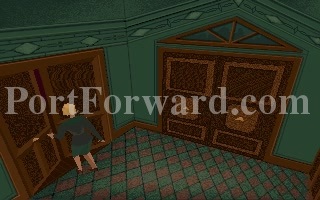
"The front doors close behind her, she has to stay now...

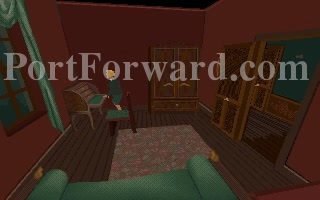
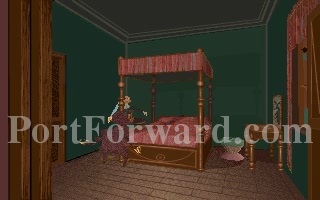
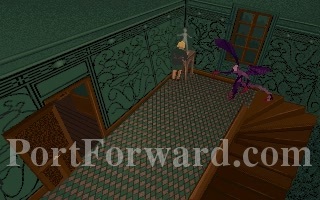
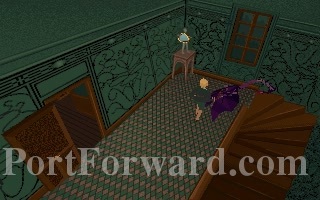
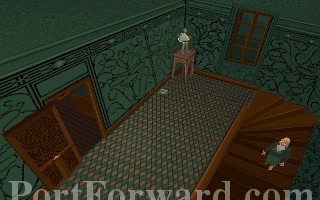
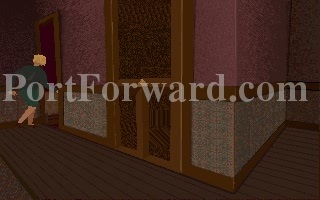
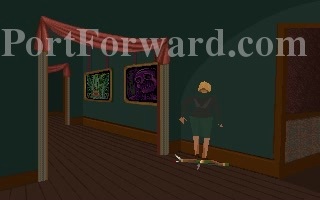
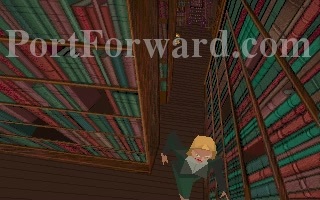
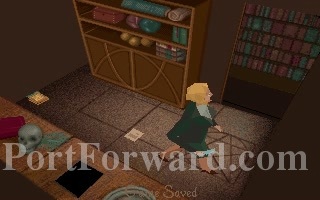
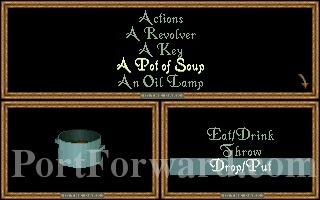
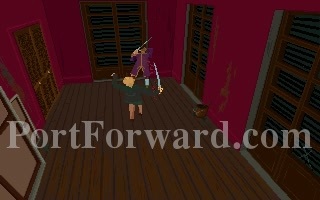
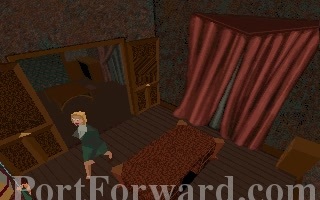
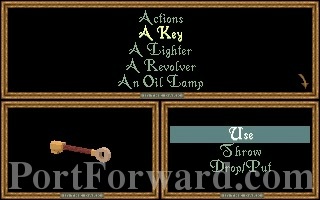
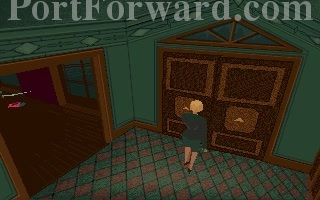
First order of business, move forward and grab the oil lamp.

Whenever you motion over an object that you can pick up, a confirmation box will pop up. Take the lamp.
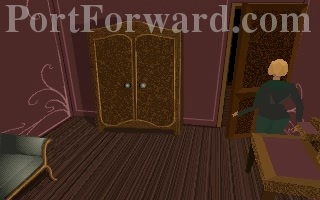
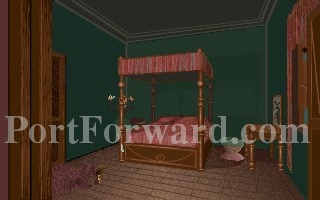
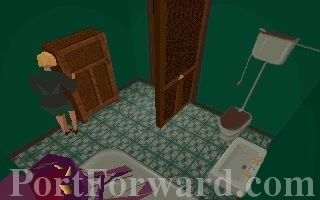
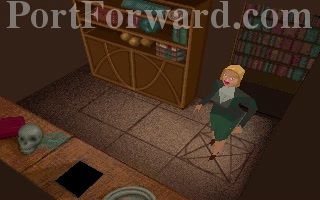
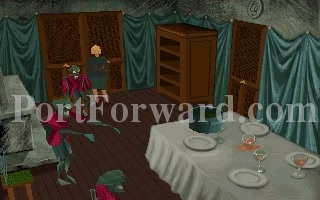
Emily said that the wardrobe was in front of the window when his body was found...
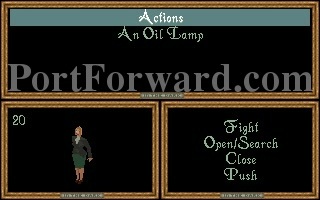
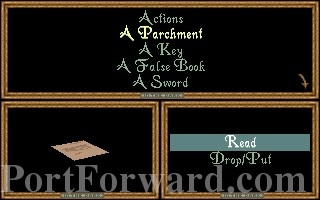
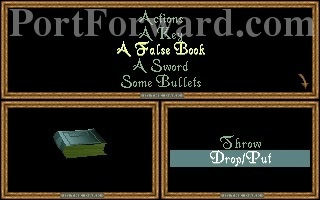
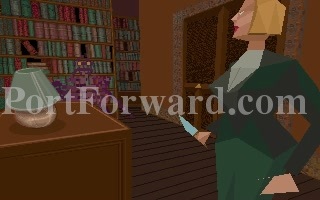
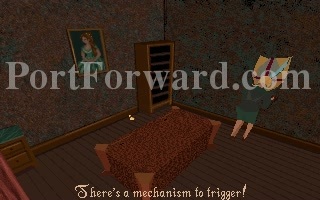
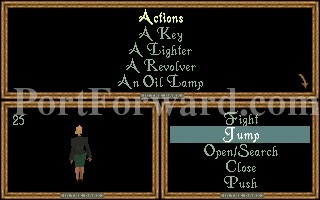
The inventory is accessed by pressing the enter button, an action is preformed by pressing spacebar. Hit enter to select actions. Select Push.
You need to quickly push the wardrobe in front of the window, an enemy will spawn and jump through it to attack us.
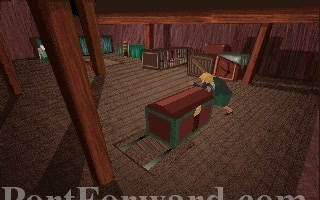
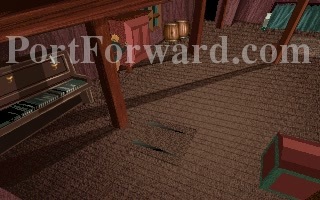
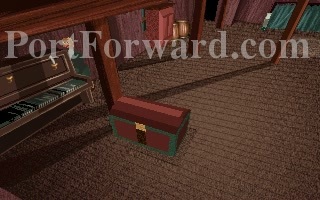
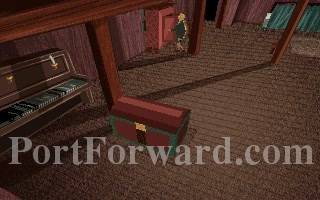
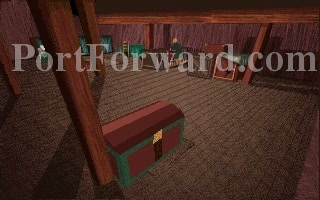
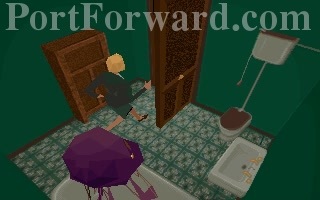
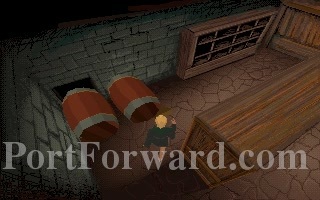
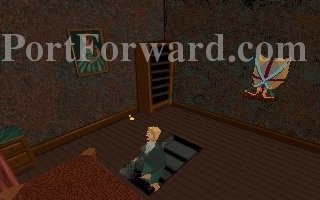
Shortly after it does that another enemy will spawn, coming up through a trapdoor. We need to push the chest over it to prevent the door from being able to open.
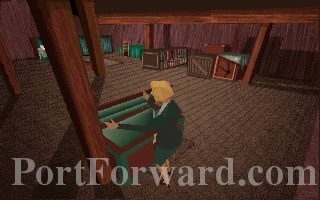
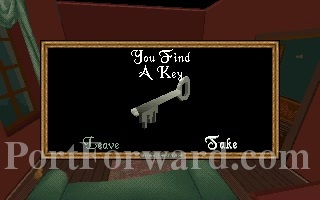
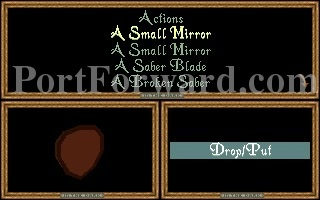
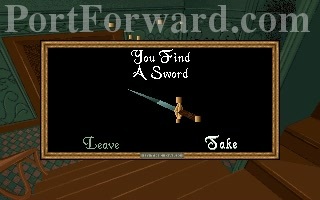
You can then Open/Search the chest to find...
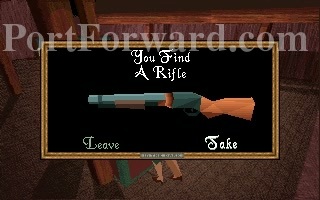
A rifle! This will come in handy so take it.
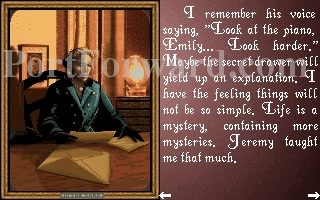
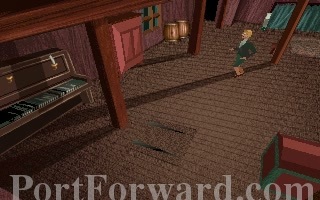
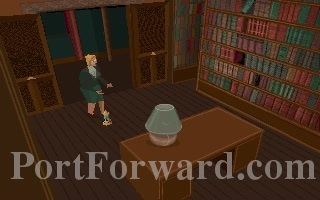
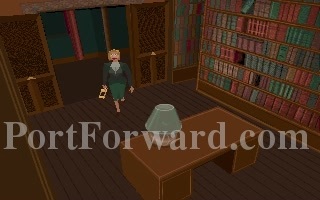
Jeremy used to tell Emily to look closely at the piano. If we walk over to the side here and search it...
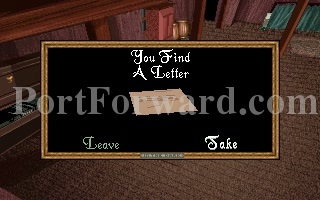
A letter, possibly Jeremy suicide note.
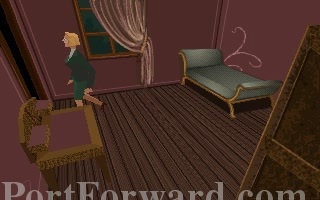
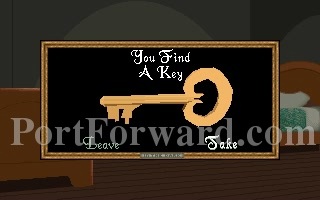
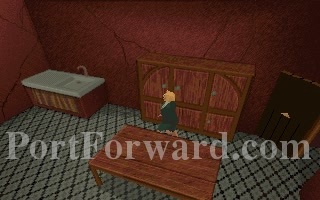
We should also go search the wardrope.
This will also come in handy so take it.
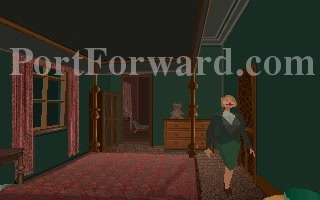
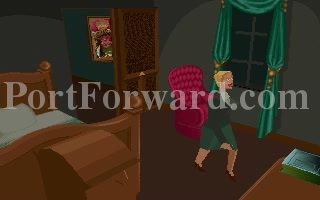
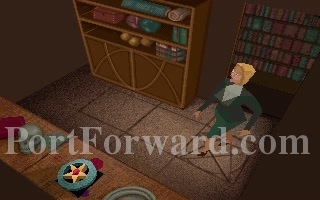
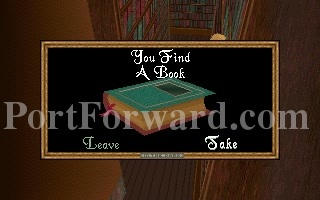
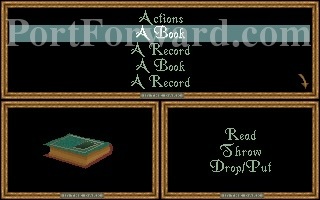
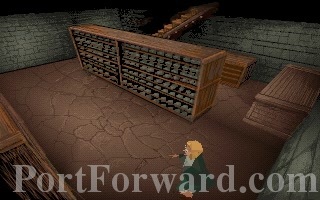
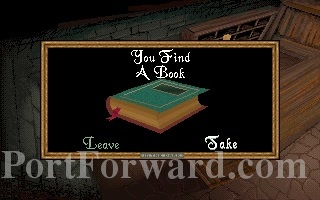
If you go over and search the bookcase you'll find, surprise surprise!
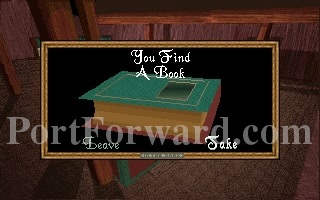
A book. Take it.

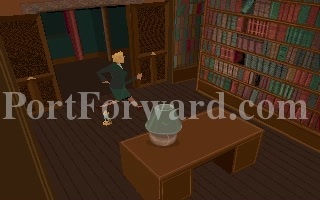
Let's take a look at that letter, hopefully it will contain some useful information...
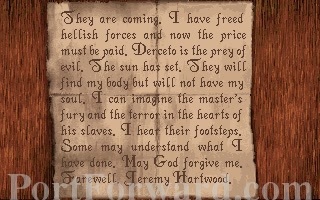
:( Well that didn't help anything.

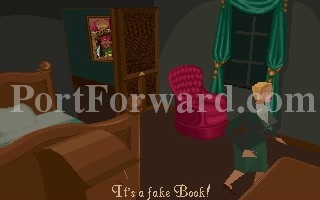
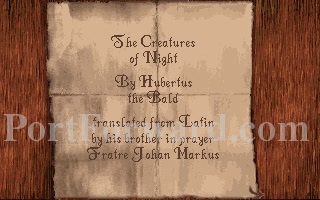
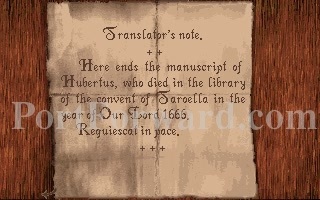
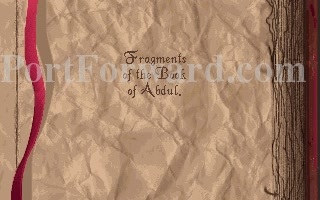
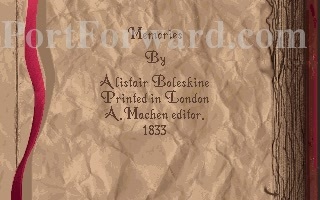
This book must be important...

"It appears to be part of the Golden Fleece.
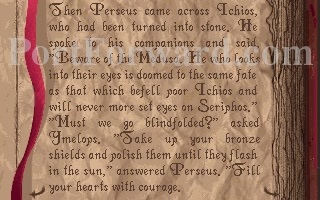
This is a hint for an upcoming "puzzle." The next page tells us that their shields will shine like mirrors...

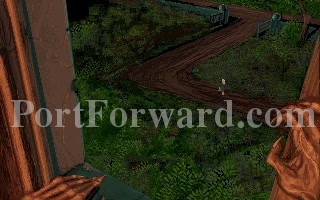
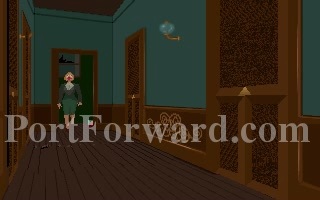
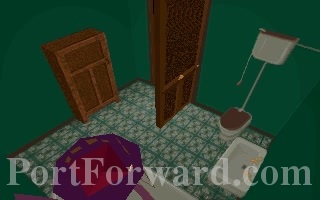
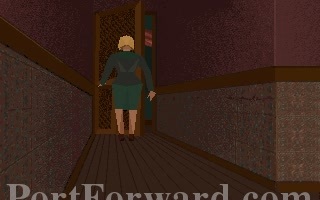
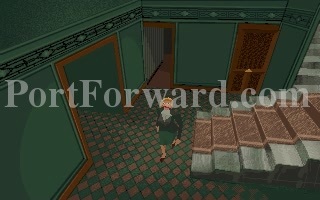
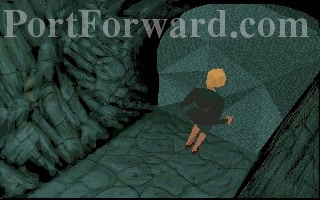
Head torwards the exit and turn right.
Alone in the Dark Walkthrough Floor 3
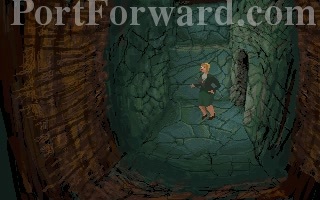
We arrive at floor 3. The floor isn't very large so this shouldn't take long.

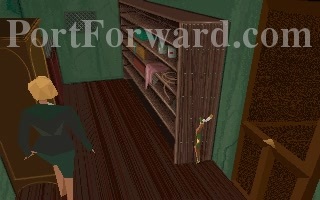
Go over to the shelves and search them.
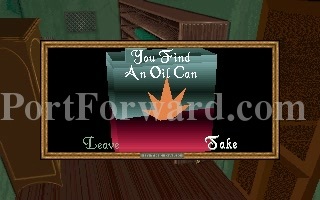
The oil can is used to fill the lamp, so use it when you get it.
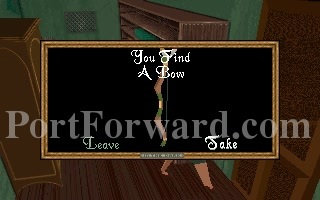
Move over and grab the bow.
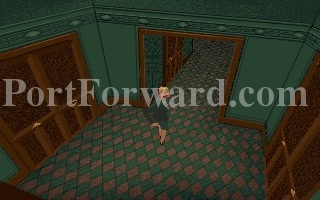
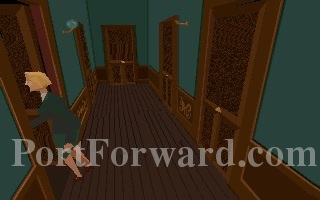
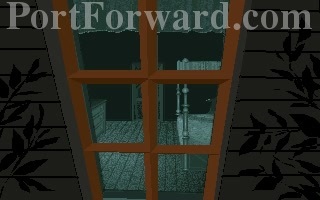
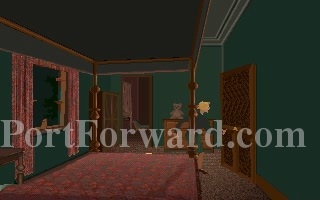
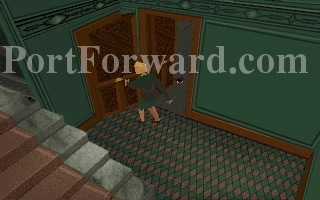
Open the door and go into the hallway.
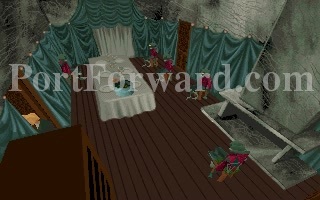
The middle of this hall is a trap, the floor in the middle will break if we try to walk over it.
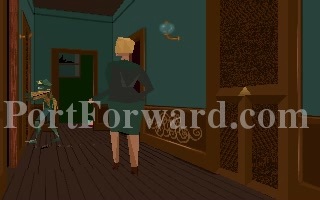
Take a left into this door.
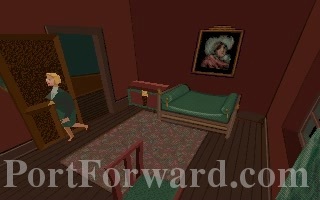
Be careful not to walk on the carpet, doing so would cause an enemy to spawn.
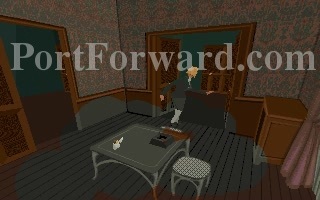
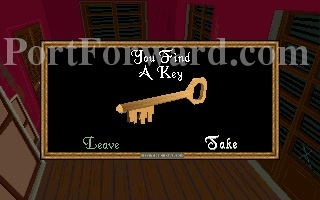
Walk over to this desk and search it.
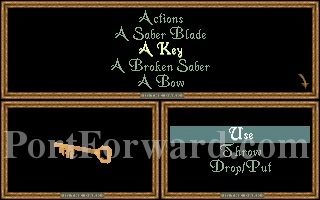
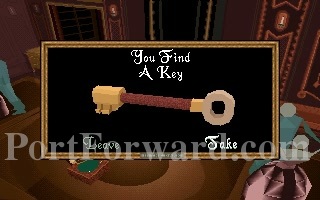
We find a key to the chest we just saw.
Select the key and use it.
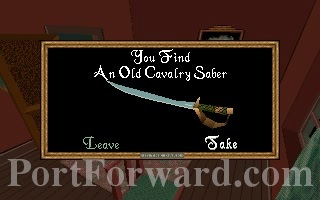
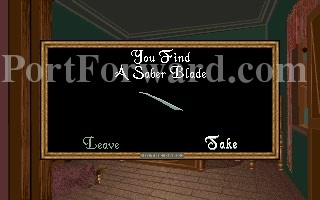
Take the Old Cavalry Saber, we will be using it shortly.
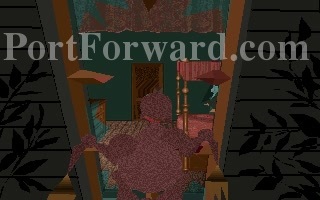
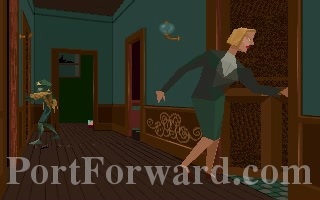
Go straight across the hall into the next room.
Make sure to close the door ASAP, an enemy spawns behind you.
Take a stroll into the next room.
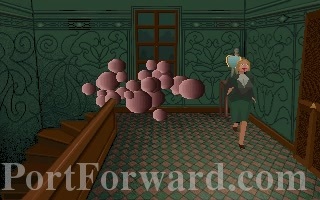
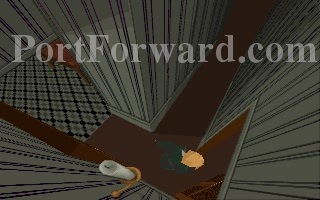
Now quickly go grab the vase in the corner of the room.
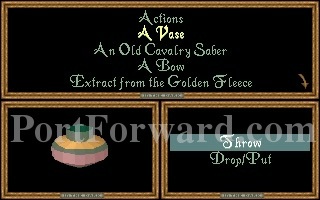
Throw it, you'll see why.
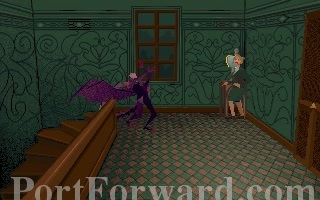
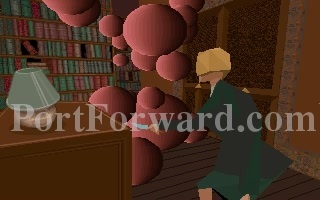
But wait, what's this?
CRAP
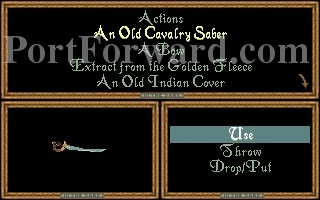
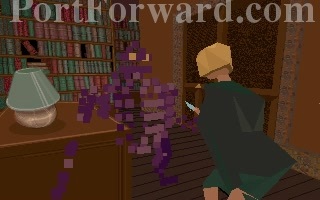
Get out the Saber, it will be VERY useful in this fight.
Hold down the spacebar and press a directional key to make an attack.
If I wasn't using the Saber this fight would be pretty difficult.
Three sucessful hits should take the bird monster down, but...
We broke the sword. Great.

Throwing the vase breaks it, and within lies...
The dresser key. It should be kind of obvious where to use it.

Go over here and use that key.
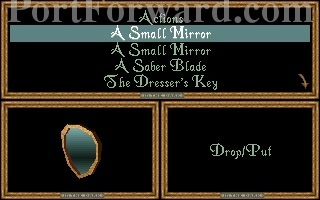
We get two small mirrors, you're probably wondering what crap will be used for... remember kids, this is an adventure game! Where you had to combine a stick with glue (specifically in this order) then combine glued stick with paper to open a door!
Right, lets get back out into the hall.
That's why you want to close the door behind you.
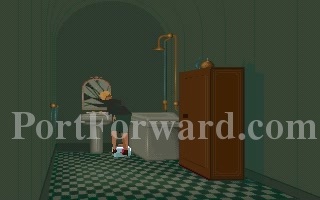
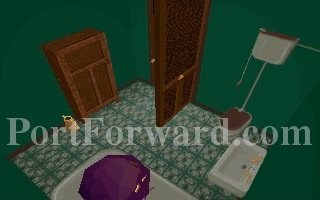
The next room here is a bathroom.

Come over here and open the cabnet.
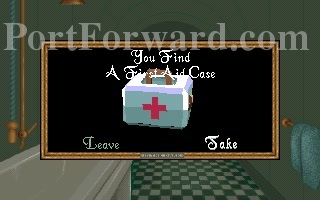
A First Aid case, the only one in the game....
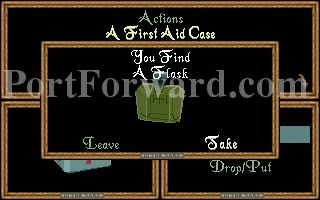
Open it up and you get a flask! Feel free to drink it immediately, there is no health limit in the game.
Now is a good point to throw away everything you don't need: Empty case and flask, any keys you've already used, the book...
We're finally at the end of the hall, go through the door.

What even is this.
Remember the book? It contained a hint for this bit here.
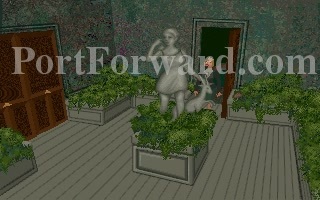
Go over to the statue and place your mirror.
Then go over to the other side of the room and place the other mirror on the other statue. The monsters start having a freak out.
They both die in a puff of smoke.
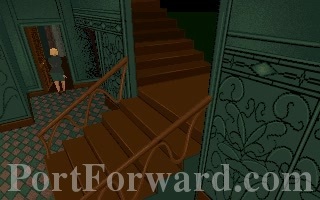
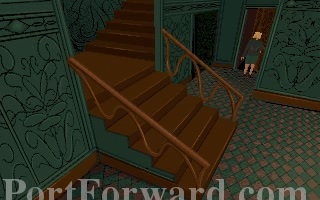
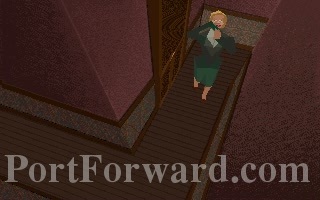
We are now able to go down to the second floor! WOOOOOOOO
Both characters take their sweet old time walking up and down stairs in this game.
Alone in the Dark Walkthrough Floor 2
The door to the library closes and...
...I think that statue just laughed at me... I'll make sure to pay it back later.
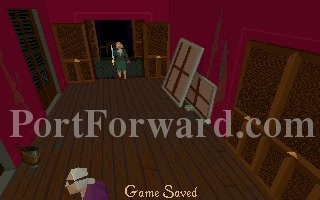
Now is a good time to save your game by the way...
Head over to the right and open the door.
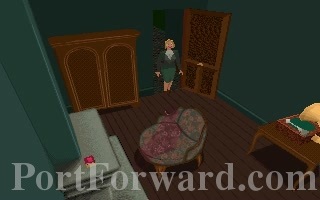
Uh oh... there's a ghost in the middle of the room, if we touch it, it stands up and turns into a swirling vortex of doom! So yeah, stay far away from these things.
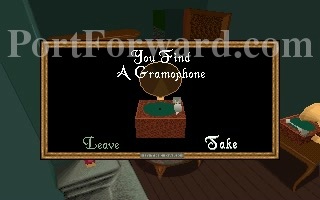
Go over to the right and pick up the gramophone, we need it.
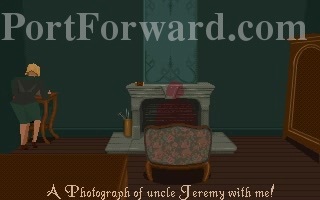
Continue over to the right, around the ghost. Examining the photo, Emily reminisces about days long gone.
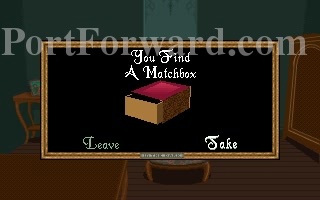
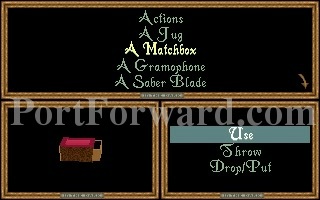
Take the matchbox on the fireplace, but not the poker, we don't acually need it!
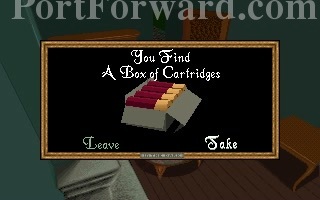
The cabnet at the front of the room also has some rifle shells. So if we ever need to use our gun, we have some backup ammo. There is almost always a way to get rid of enemys without shooting them...
Walk all the way back across the hallway and open the door.
Hallways lead into hallways in this game... get used to it. There is another door once we go through the first, open it and go into the room.
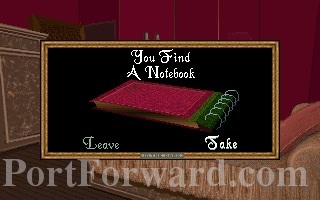
There is a notebook, take it.
You may want to quickly reload your gun and pull it out...
Don't be discouraged if you die here, this is probably the hardest fight in the entire game due to the very akward camera angle, and bad aiming system.
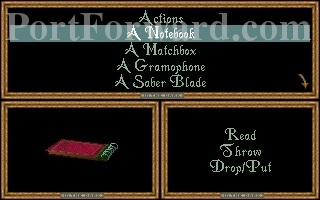
Right, lets read that notebook.
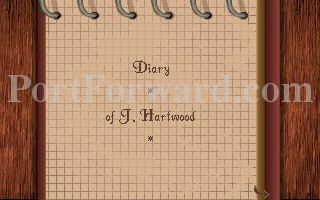
It appears to be the Diary of Uncle Jeremy... It would seem that he started having terrible nightmares. He was reading books found in the library of Derceto, most of which covered topics of some sort of occult. Some sort of "Dark Man" started to try and use Jeremy as a host body, so he continued to read the book in an attempt to find a way to rid himself of the "Dark Man." His father had been looking for some sort of treature buried in a cave system for many years, ironically, he found it underneth the house where he became trapped and then died. With Jeremy's mental health declining, and knowing that the "Dark Man" would take over his body eventually, he went up to the attic and hung himself. Man this is dark... alone in the dark WOOOOO
Lets go through the next door in the this hallway.
Hey look, a jelly fish!
We want to avoid this thing at all costs, it can't be killed. Pick up the jug and search the cabnet. Do it VERY quickly.

A First-Aid case, great, now RUN!
Move it Emily, you can make it!
*RARGH*
Feel free to drink up, you probably lost some health in that room.

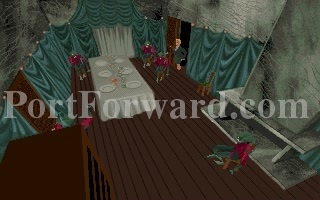
Drop everything you don't need and open the third door.

...And we are alone in it!
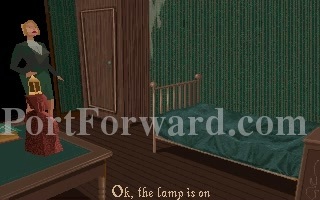
Use the matchbox here. Emily will automaticly pull out the lamp.
Looks like this is where Jeremy was sleeping the past few days to get rid of the "Dark Man..."
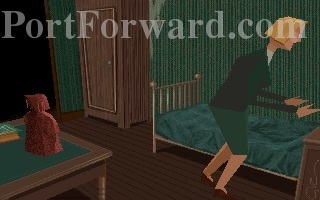
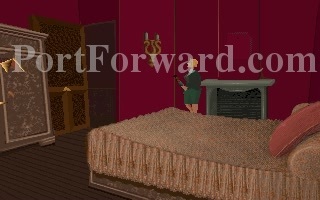
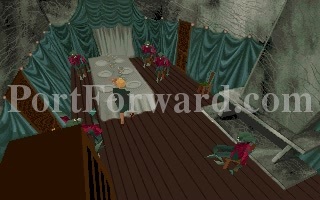
You can set down the lamp and the room will continue to be lit. Note however that it also continues to burn fuel. We DO NOT want it to run out. Motion over the this dresser and search it.
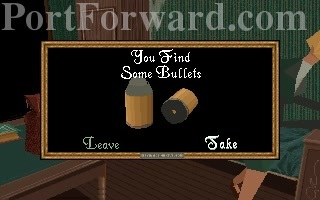
Some bullets? Well I don't have any other guns so these are useless for the moment.
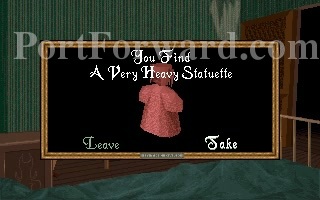
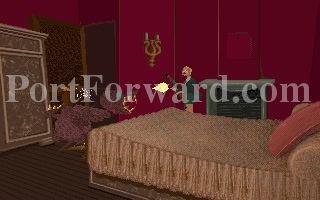
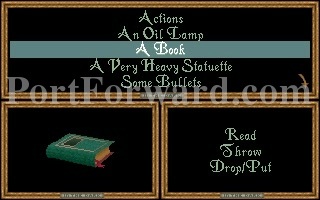
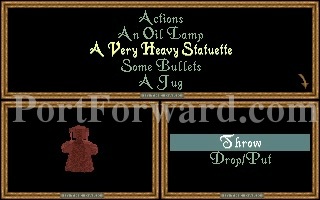
The desk contains a couple of items: A very heavy statuette and a book.
Take the lamp and get out the bedroom.
The staple of the original trilogy of Alone in the Dark videogames: BOOKS BOOKS BOOKS

This book is acually just a way to tie this game together with another game they made called "Shadow of the Comet." There's nothing interesting in the book.
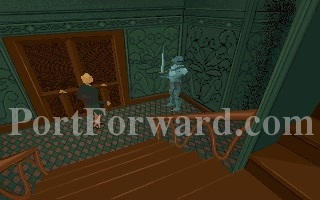
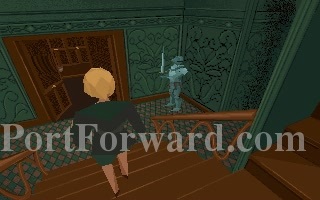
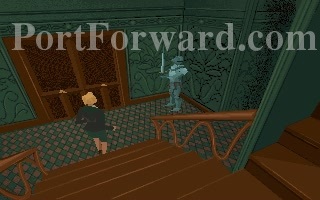
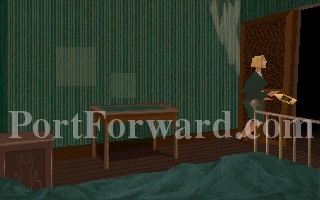
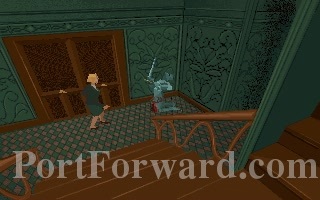
Remember that suit of armor?
Lets throw that statue at it >:D
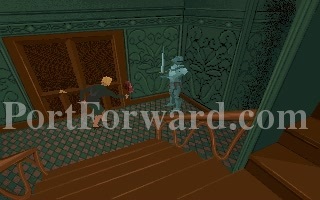
Man I clocked that one at 90 miles an hour!
Ohhh right in the nuts. That's low Emily.
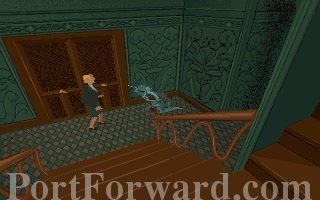
If you go near it, it will acually take a swing at you.
We get the suit's sword, great!
Anyways, go back to the last door in that other hallway.
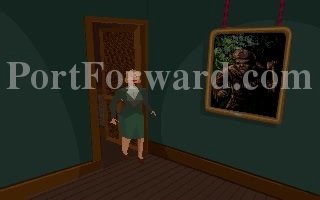
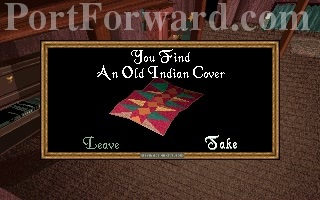
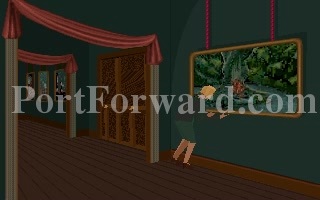
Hmmm... I don't like the look of that painting...

Lets put the Old Indian Cover over it.
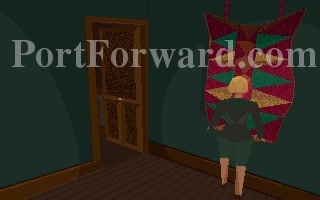
Right... if I didn't do that, it will throw axes at you till you die.
We need to go downstairs for a second.
Once we are at the bottom, take a right.
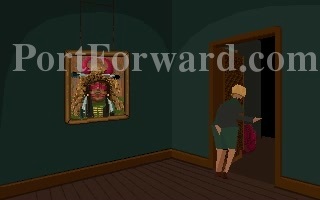
Open this door and walk in.
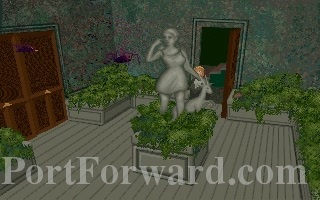
See, there is a another painting at the end of the hall. In order to get rid of it, we need to fire arrows at it. Walk up to this statue and make sure your back faces the door. Search it.
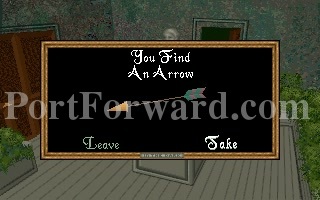
We get three arrows, but...
OH GOD SPIDERS
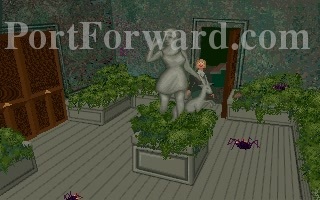
SPIDERS EVERYWHERE
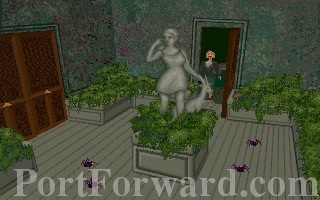
Simply back out of the room, they can't follow you out into the hall.
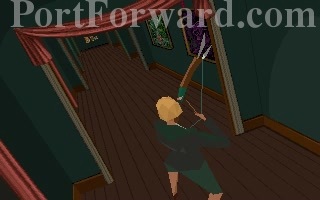
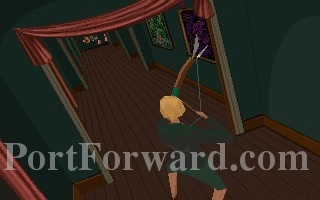
Go back upstairs and take aim with the bow. We need the arrow to go straight down the middle of this hall.
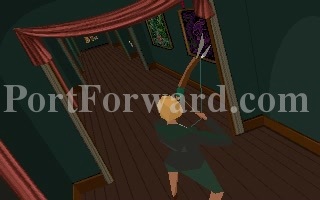
You may miss once or twice, that's why we got three arrows.
Emily must have practiced with this bow as a kid, she is a pro with it!
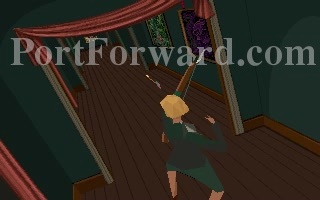
The painting dies... you can tell because of the signature puff of smoke that appears when enemies die.
You can now toss away any remaining arrows and the bow, we don't need them anymore.
It looks like a tree on fire in the middle of a canvern, strange...
Go all the way across the hallway past the double doors.
I still can't get over that... we killed a painting... Open the next door.
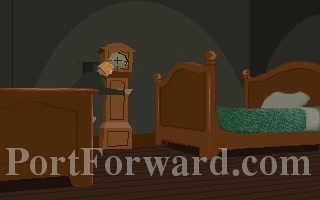
Oh a book! Lets read it.
It's acually used for a puzzle and... say... something seems strange about that clock...
We push it over and what's this?
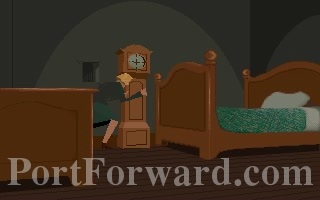
There's a hole in the wall!
A key and a piece of parchment. Uncle Jeremy sure was a strange guy, he kept all sort of secret places for this stuff.
I imagine this parchment isn't fake right?
I can't really make this letter out... it is very strange. We do however get this particularly creepy message.
The year: 1666. Brilliant.
We can now open the library doors.
Now is probably a good place to save your game.

Oh great, the library is in the dark!
Pull out the lamp, then very quickly drop it on the ground.
Now very quickly run to the right.
Go to the end, then to the left. You see that purple monster in the background? It's out for blood.
Run to this space that looks like a hole inbetween the books.
We need to place the fake book is this spot.
"A secret is revealed!"

Walk into there.
Woah. This is weird. Pick up the tailsman.
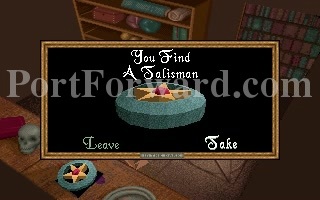
Weird looking thing isn't it?
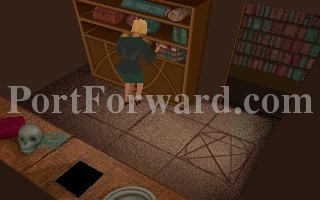
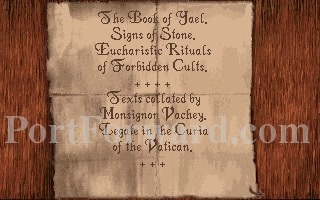
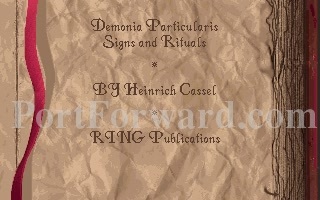
Now search the bookcase for a few useful books.
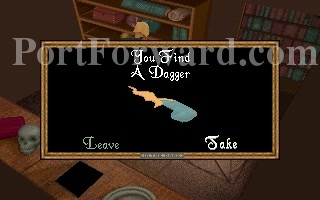
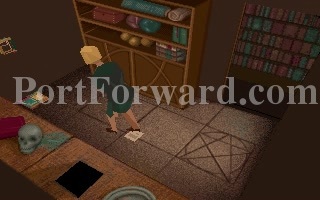
Take this dagger and leave the rest. Take all the reading material.
Most important step: stay over this pentigram. It protects you from the evil in some of these books.
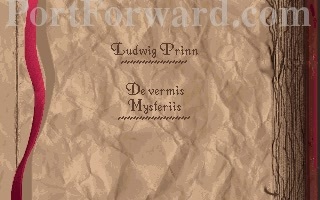
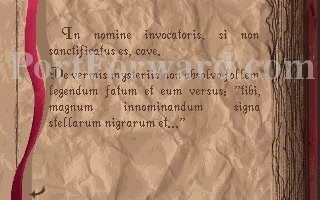
The first parchment definetely links this game to the Cthulhu mythos.
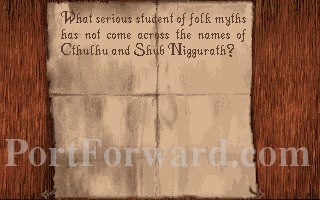
You might recognize the name of Sub-Niggurath if you ever played id Software's Quake.
Look, it's the tailsman we picked up...
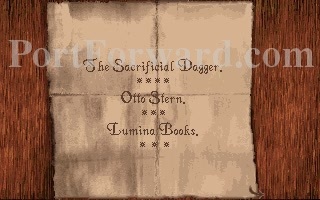
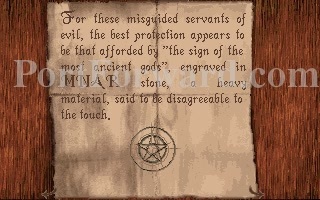
The next parchment talks about sacrifical daggers.
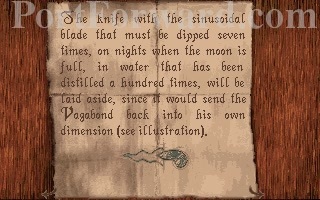
It talks about raising a monster called the Vagabond... guess what the monster in the library is! The one dagger we picked up happens to be the only thing that can kill it.
This doesn't look strange at all.
If you weren't standing on the pentigram, reading the book would kill you instantly.

This book tells us that books can be dangerous! Thanks for telling me too late!
Lets go kill us a monster!
There he is!
But enough talk, have at you!
*poof*
Now quickly run around the library looking for any books that you can find, remember, the lamp is still on, and it is still burning fuel.

Here's another!
Great! Once you've got the books head back into the tailsman room. Take the lamp with you.
This one is another book that tries to kill you if you don't stand on the pentigram.

This one is the story of how the first iteration of this mantion came to be. We find out about a man named Pickford, who appearently must of been some sort pirate, built this house with blood, sweat, and tears, but mostly lots and lots of blood: slave labor and all that.
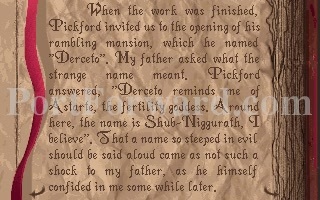
It's interesting that Pickford should say that... you'll find out at the end of the game.
Anyway, we can now throw away all of our books; we don't need them anymore.
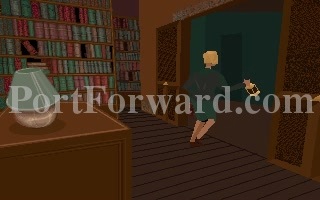
Take the lamp and head out the other double doors.
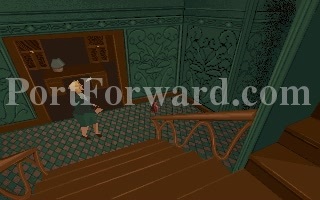
We're back in the main hallway on the second floor.

That's all there is to this floor, go down the stairs.
Alone in the Dark Walkthrough Floor 1
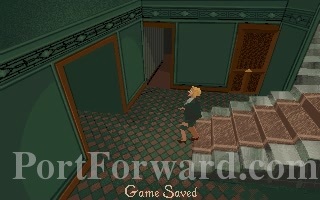
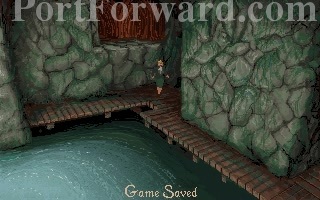
It's probably a good time to save if you haven't already.
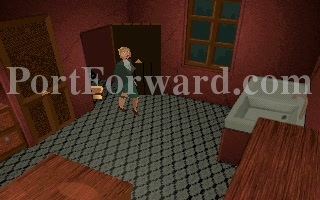
Head through the first door you see.
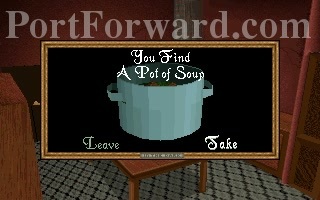
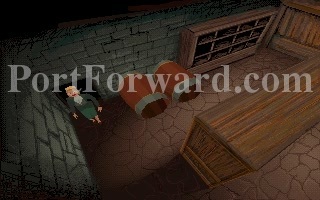
Turn right and take the pot of soup.
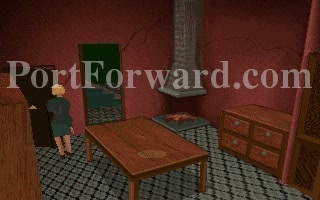
Open the other door in this room and go in.
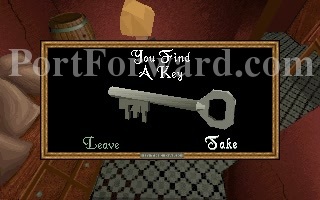
Take the key.
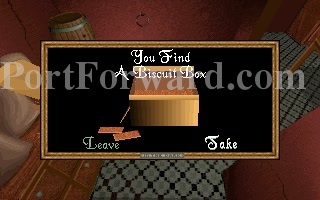
There is also a biscuit box, eat them for health.
There are some knifes in these drawers, but we probably don't need them.

Now is a good time to break out the rifle. Open the door.
Go into the room backwards; a zombie spawns in behind you.

It takes only two shots but I end up taking about 4 here.

Take the oil can in the corner.
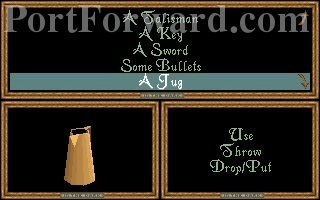
Fill your jug with the barrel of water.
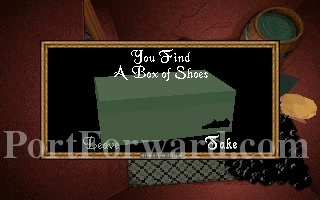
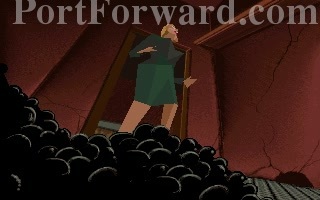
Search the pile of coal for... a box of shoes?

Why would somebody stick a box of shoes among a pile of coal?
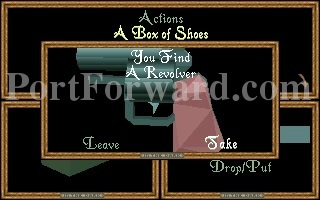
That's why! The bullets we got earlier go to this gun, so reload!
This game has some cool cinematic angles.
If you have any empty items, throw them away now.
That's all for this room, go through this door.
...then this door.
That's a lot of zombies.
Go to the end of the table.
Put the pot of soup on the table. (Spoiler Alert: IT'S MADE OF PEOPLE!!!)
The zombies all get ready for a good meal.... You can open this door if you want.
Go through this door.
Quickly run over to the double doors over here and open them.
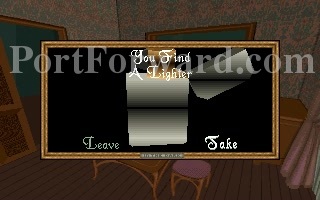
Take the lighter, it will replace the matchbox.
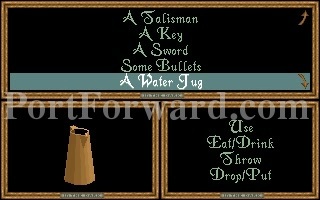
Position yourself near the ashtray (it's trying to kill you) and use the water jug to put the flame out.
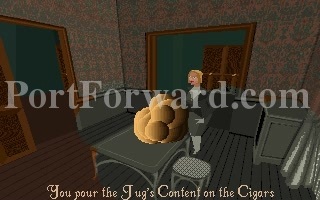
We killed the smoke monster. The folks on LOST would be very grateful.
Our gold key opens the door to Jeremy's study.
Go back across the hall and open the other double doors.
Now is another good time to study. Pull out your sword, we are battling a pirate.
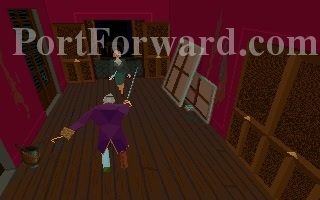
This is by far the most difficult fight of the entire game.
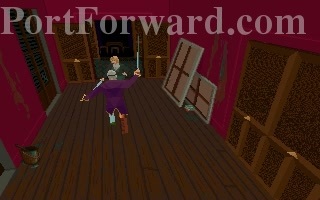
He will counter all of your attacks. The trick is to fake him out by moving to attack with one direction key, but then quickly holding down another.
He finally dies in a shower of blood, cursing the day he decided to pick a fight with master swordsman: Emily Hartwood!
He drops a key. It belongs to the doors he was guarding right next to us.

There is a book back near these paintings. Lets read yeah?
Further things to connect this game with Chtulu.
You can throw away anything you don't need: used keys, books, the sword we used against the pirate, ect.
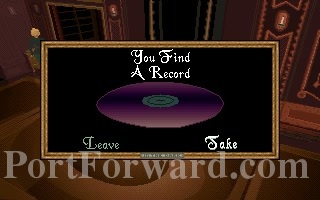
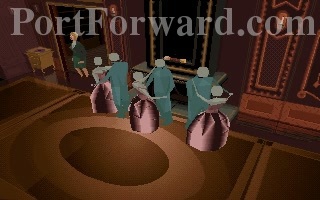
It is acually better if you leave this record here.
We need to get those ghosts away from a key by playing music. Unfortunatly this is the wrong record.
Come back and search this case, we get a book and a record. Leave the record.
Now search this bookcase. Do take this record.
Hooray for reading! You feeling any smarter guys?
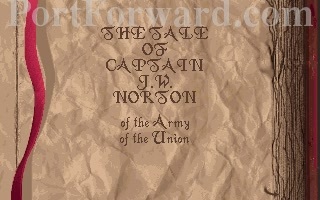
This books contains the story of Captain Norton who killed Pickford and burned down the orginal Derceto Manor.
More stuff to connect the game to H.P. Lovecraft.
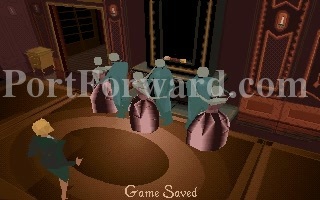
Now is a VERY good time to save your game. Use the green record to play the Dance of Death.
The ghosts start moving around the dance floor; we can move in and grab the key.
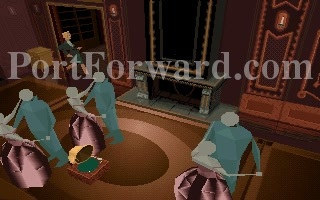
We need to get back out this door. It can be pretty difficult but try not to panic and you can make it.
Come back to the door on the right of the stairs. Use your silver key.
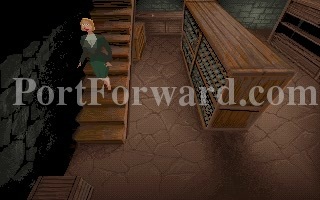
We are now in the wine cellar. There are a couple of things we need to grap from here.
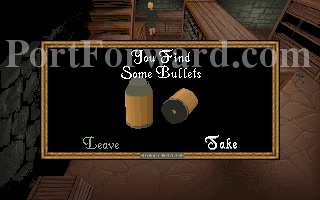
The shelf all the way at the back of the room has some bullets lying on it.
Turn right from there and run to the end of the room, we want to avoid having the rats gnaw off our ankles.
There is a block holding these barrels in place. You don't have to pick it up, but can if you want.
There is a book hiding in the shelves next to the barrels, take it and get out of the cellar.
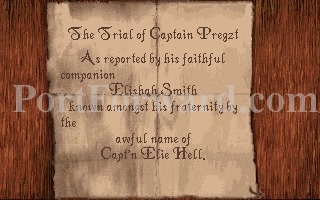
This tells of a pirate known as Bloody Pregzt and how evil he was.
Astarte... isn't that...
Come back to Jeremy's study.
The coat of arms has a mechanism... we kept the broken saber for a reason. Put both pieces on it.

The desk moves aside, revealing a staircase...
I think we all know we this is heading...
Alone in the Dark Walkthrough The End
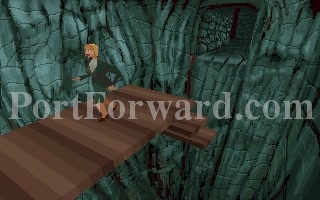
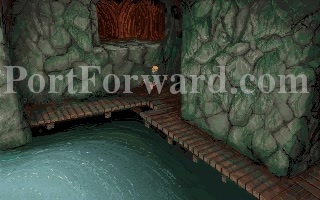
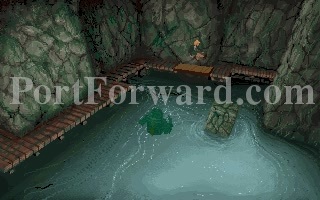
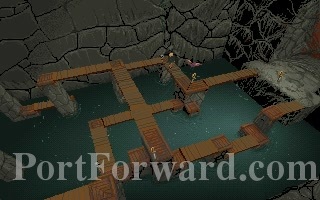
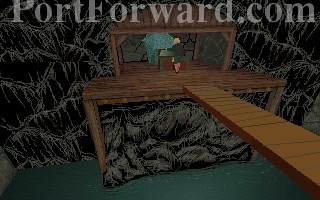
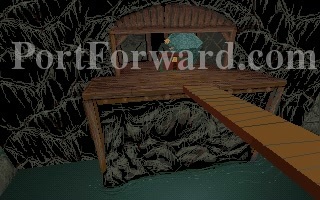
Simply double tap the up arrow key to run across this unstable bridge.
RUN RUN RUN
Well there's no way back... continue forward.

We reach the end of this hall when...

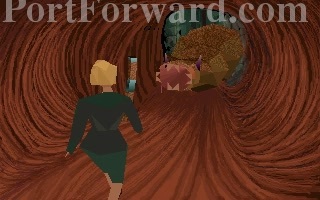
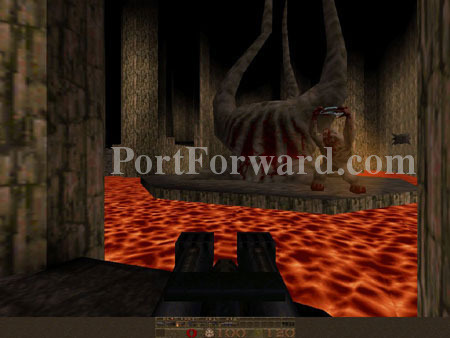
The Cthonian appears of course!

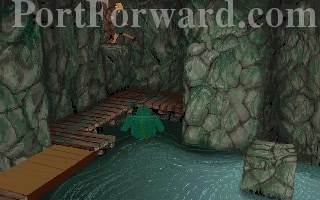
Run away from him and make a right.
Bring out your rifle and shoot the bird monster.

The Cthonian goes right past us...
Lets just get as far away from him as possible.
Whoops. Looks like he cut us off.

Go back where we found him and take the left this time.
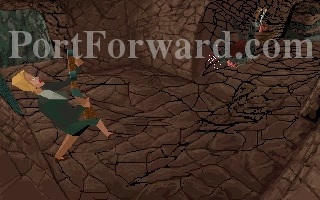
Turn left and into this room. The game just did a very sneeky thing.
It just added a jump button.
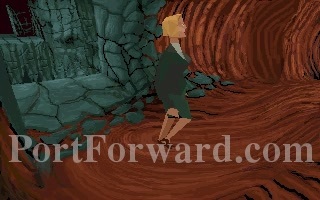
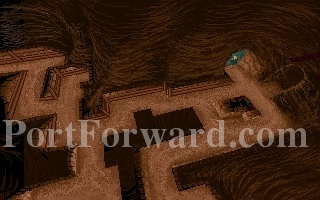
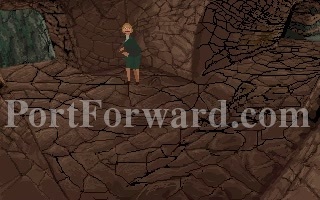
Save as often as you can down in these caves. The game becomes very difficult at this point.
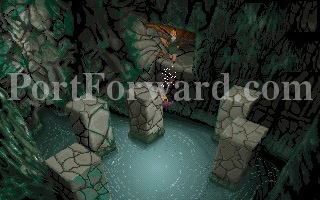
Stand at the left edge of this platform, jump from there.
Emily will automatically climb up these edges.
Pull out the rifle, then shoot and kill the spider.
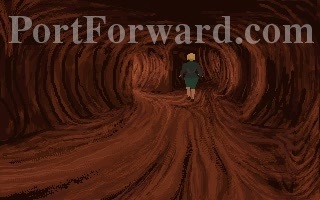
Continue down the cave, pull out the revolver and shoot the bat.
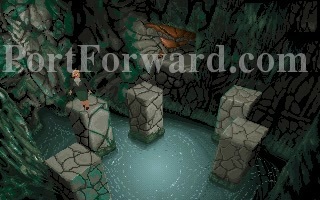
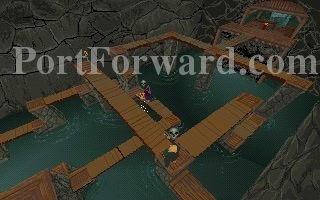
Hop across the pillars on the left. Don't worry about falling off, just take your time.
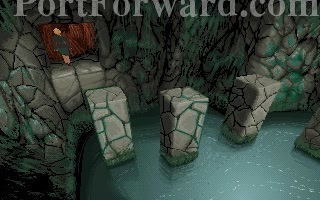
You'll eventually reach the end.

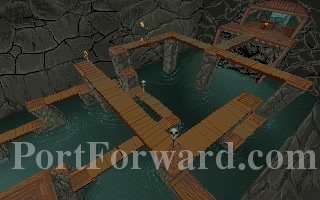
Once you reach this part, take the left path.
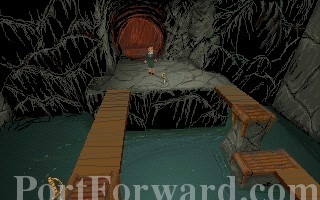
We are now in this room. SAVE SAVE SAVE
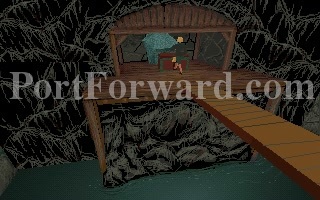
Take the left path.
Turn right.
Shoot the bat and take the left path.
Head up here and go all the way to the treature chest.
Remember that massive key we got?
Use it here.
The chest opens. Within it is a gem and a book, the last one of the game.
It turns out that Pickford and Pregzt is the same person. He has been alive all these years and his soul is trying to take over a host body.
Push aside this rock and go through the open door.
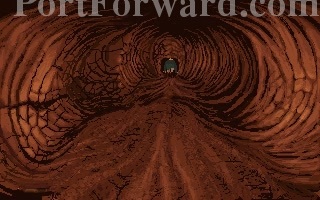
We continue down the path...

Oh great. Pull out the lamp.

For the most part the "hug the right wall" trick should work.
Eventually we will reach this door.
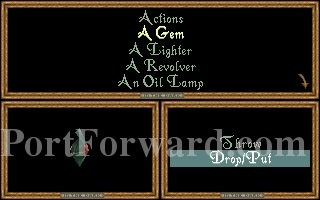
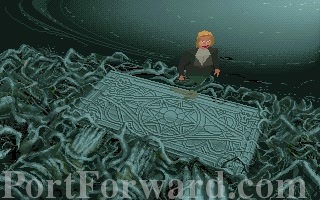
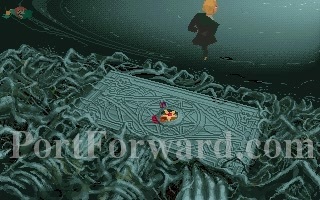
Put the gem into the door.

Remember Shub-Niggurath? Doesn't this look familiar?

I mean look at this thing!
They are one in the same!
You need to run up to him and grab the hook.
In return place the tailsman.
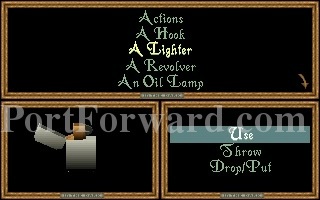
Use the lighter to light the lamp.

Throw the lamp at Pregtz.

BURN IT DOWN! BURN IT ALL DOWN!!!
The game is right, we really need to get out of here!
If you died at all in the game, this will look quite familiar. Use the hook we picked up from Pregtz.
Hey, we're back here! Turn back down the lower path into the maze.
Looks like he had the power to control darkness... turn left and use the hook on the door.
We are also back here... turn left.

Keep going back, we are now where the Cthonian was...
We came from the left there, but the path straight ahead is open now.
Keep heading down the path till you hit the end.
Now we are back in the cellar!
The front door... lets get out of this nightmare.

It opens...
Emily makes it out of Derceto alive.

She thumbs for a taxi, it is all over...
OR IS IT?!!?!?
Thanks for reading, and remember to support PortForward.com! These guys do alot of work!


 APB Reloaded Walkthrough All Points Bulletin: Reloaded
 Alien: Isolation Game Guide & Walkthrough
 Age of Wonders III Game Guide & Walkthrough
 Alan Wake Walkthrough Alan Wake Game Guide
 Alan Wake Game Guide & Walkthrough