Alien: Isolation Walkthrough Closing the Book

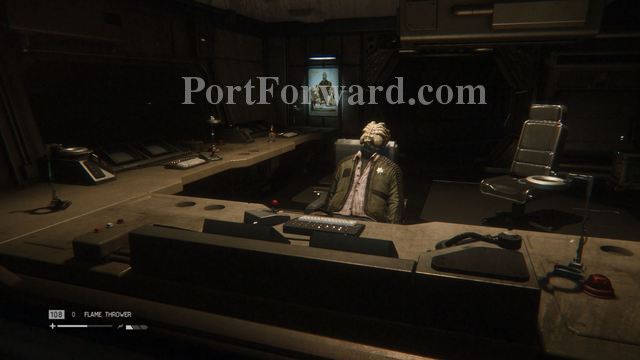
Welcome aboard the Torrens! Wake from your stasis and stand in front of your personal computer. Sign in, then head for the door.
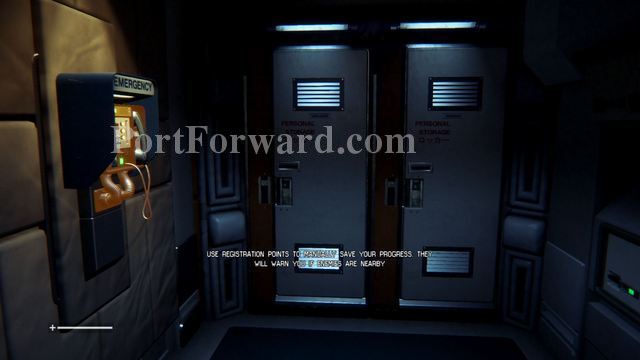
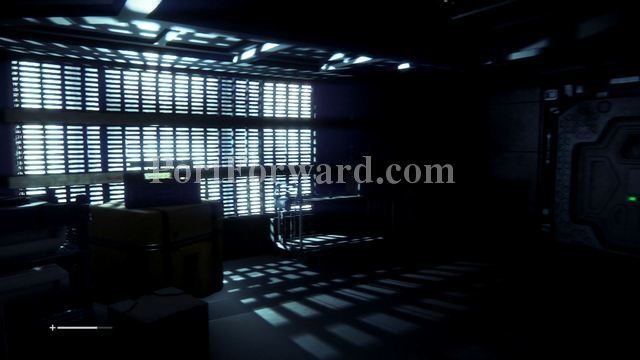
In the hallway, head through the first door on your left. Enter the bedroom area and head your personal locker with your name on it. Walk inside to jump out of your pajamas and into some more respectful clothes. Take advantage of the save station nearby.

Archive Logs: There is a computer you can use to look up several files in the dressing room.
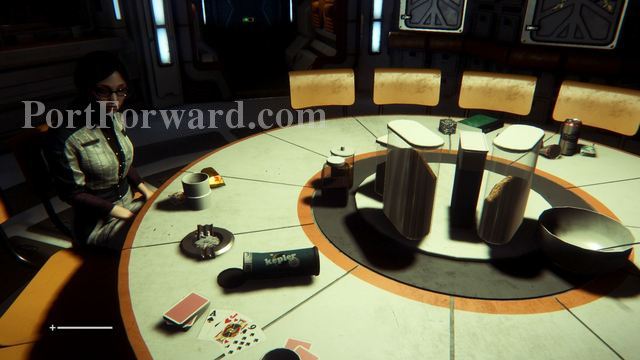
Return to the main hallway and enter the next room. Walk through the hallway on the right to enter the dining area. Here you'll meet Taylor, one of the six crew member on the Torrens.
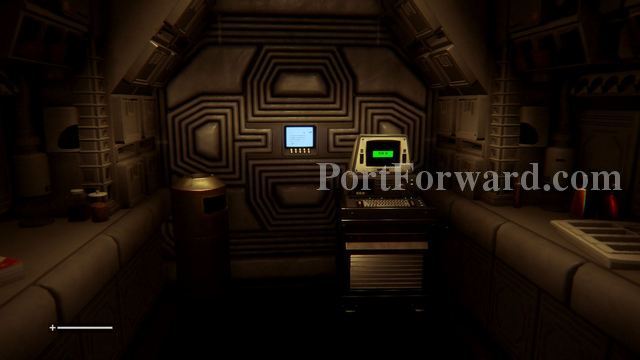
Archive Logs: In one of the smaller rooms of the dining area is a computer. Two archive logs can be found here.
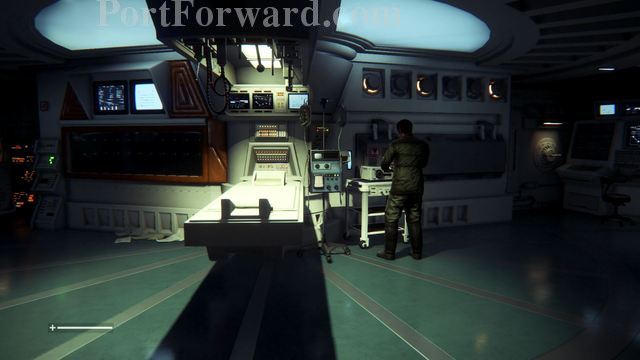
Head back through the hallway and into the room with the space gear. Head down the hallway that curves to the right. You'll eventually reach the medial room, along with Samuels.
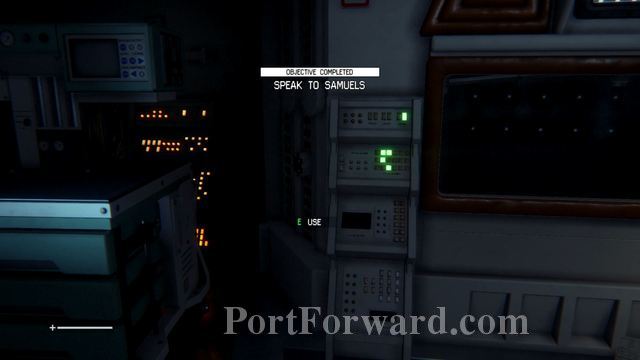
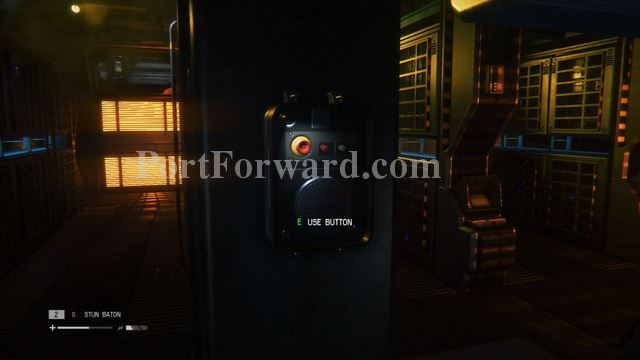
Talk for a bit, then agree to meet up with the crew at the Bridge. Hit the button on your left to call the entire crew to the Bridge.

Return to the dining area to find one of the previously locked doors open.

Head through there to enter the Bridge.

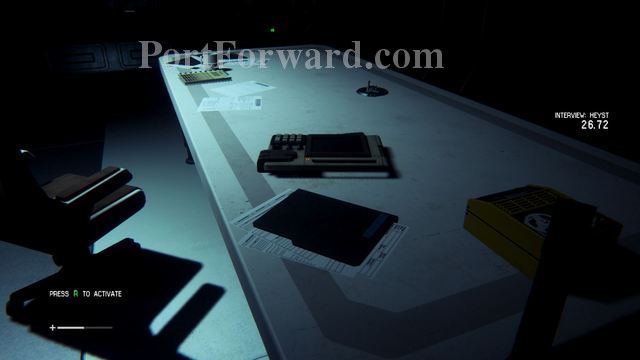
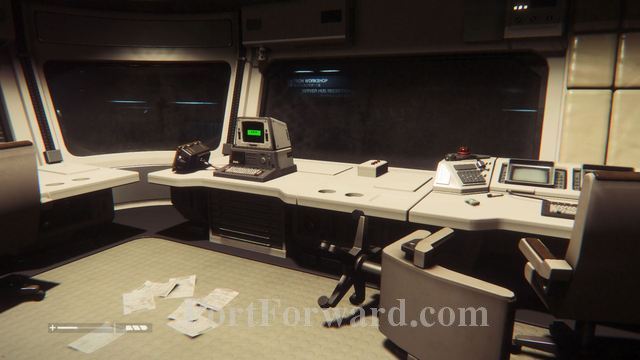
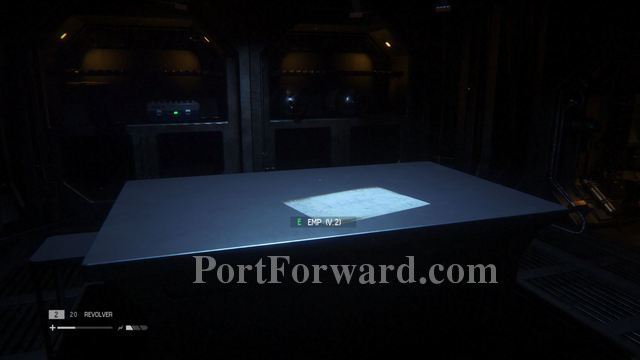
Meet up with the crew, then walk over to the desk in the center of the room to collect the briefing file.

Watch the next cutscene to see Ripley get separated from Samuels and Taylor as they attempt to enter Sevastopol.
Alien: Isolation Walkthrough Welcome to Sevastopol
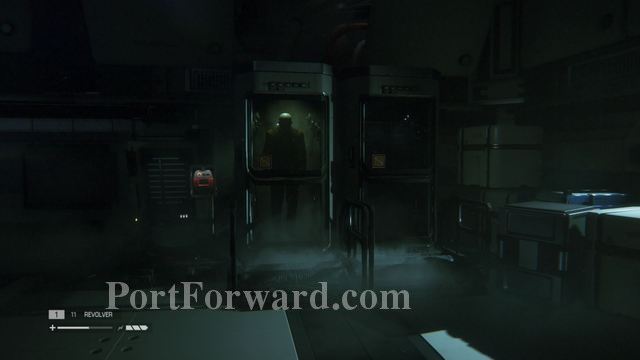
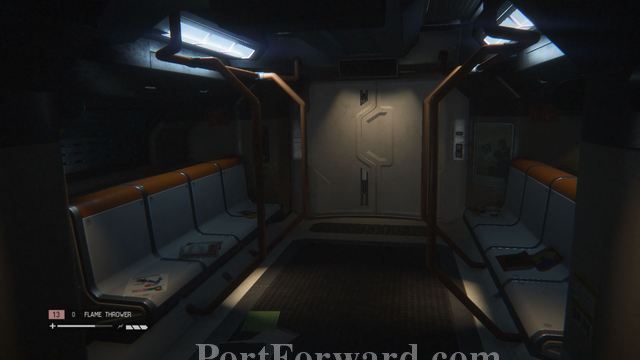
After getting separated from the rest of the crew, Ripley manages to enter Sevastopol through one of the escape doors.
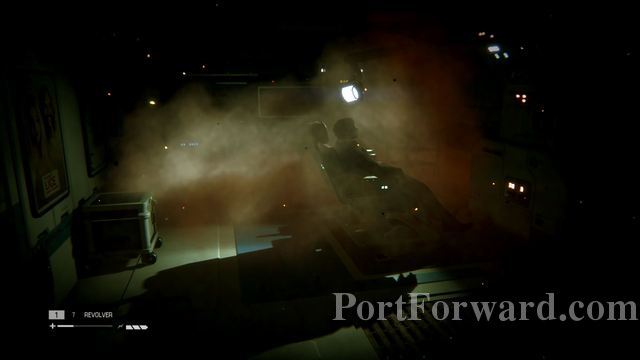
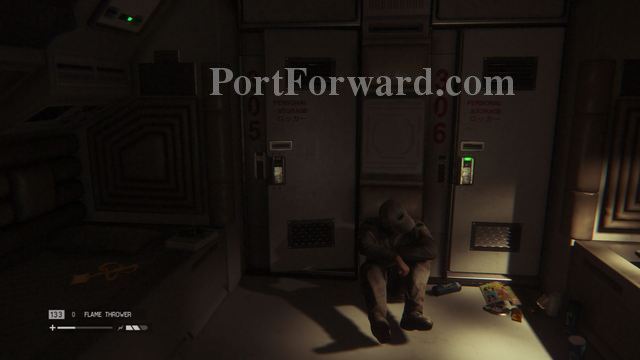
Surrounded by darkness, get up and make your way into the ship.

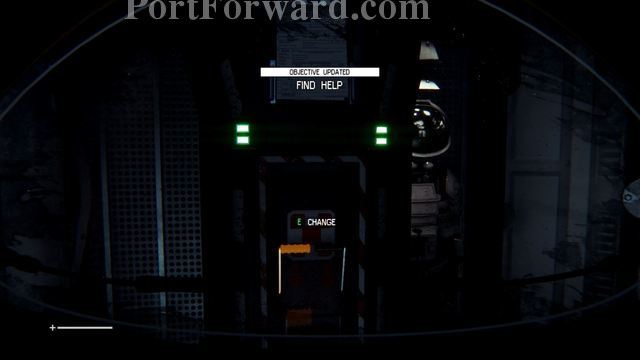
Change out of the space suit and into something a little more comfy. Enter the only door in the area, then save in the next room.

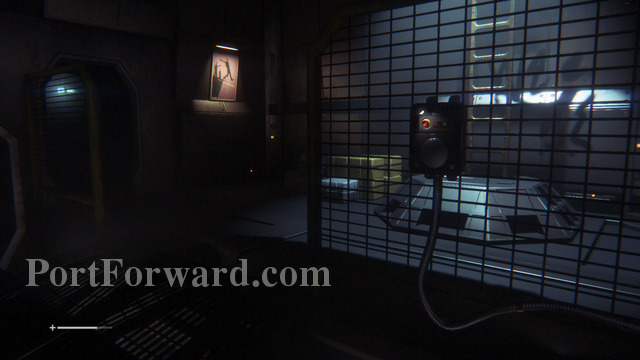
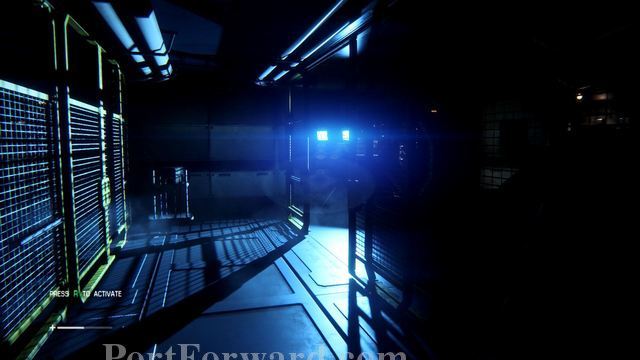
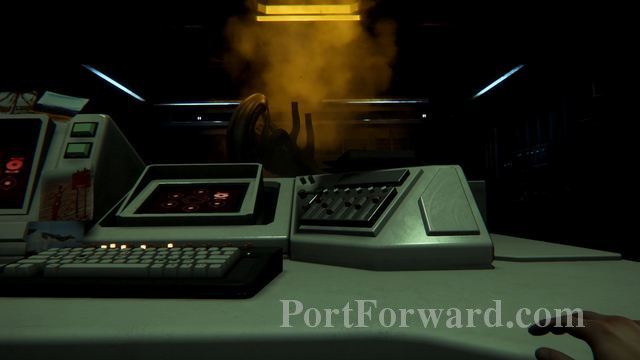
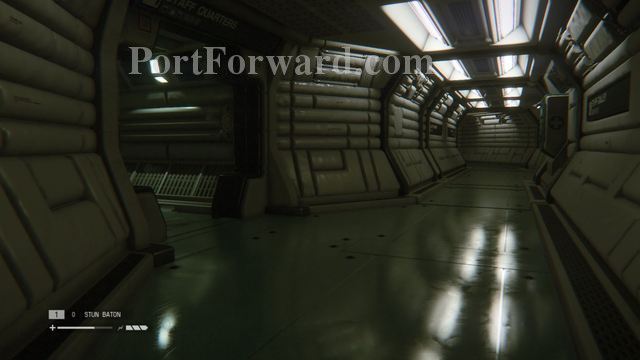
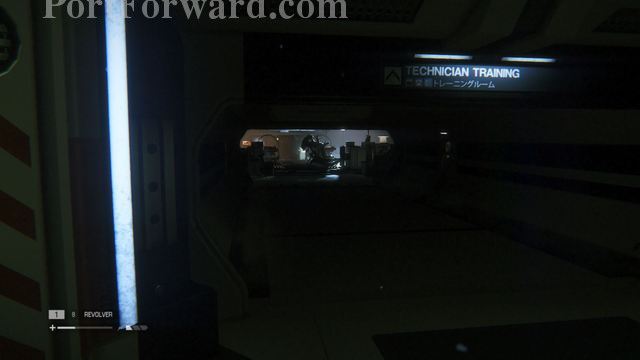
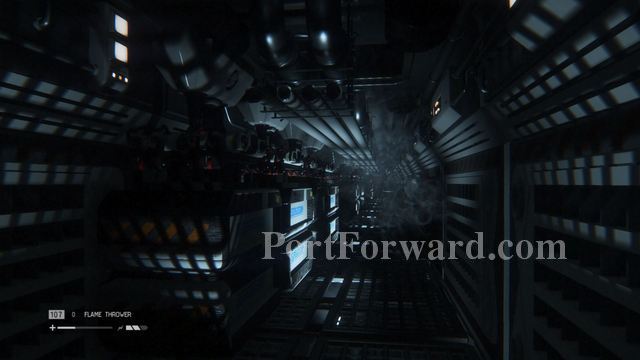
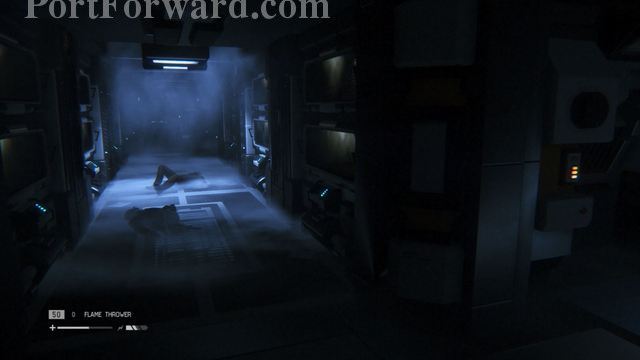
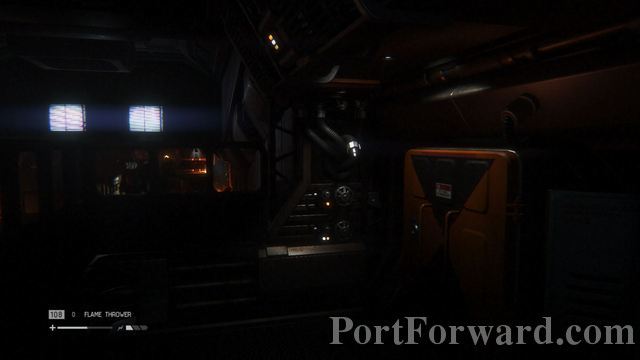
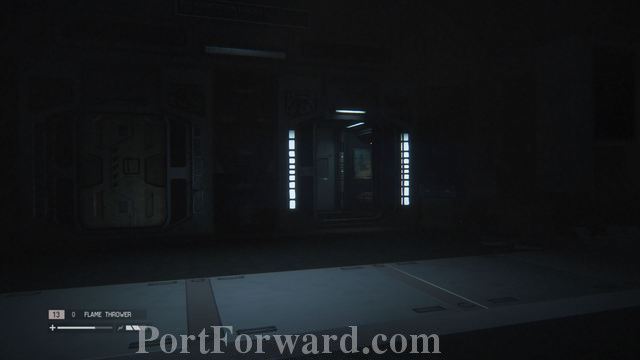
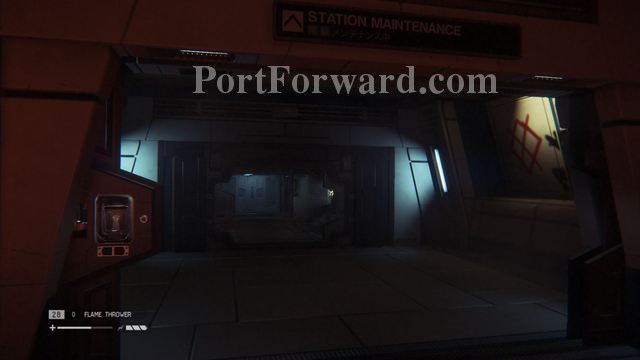
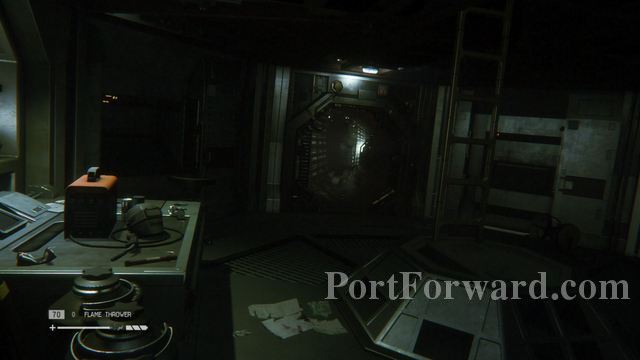
Walk through the next hallway and don't get spooked by the sudden blackout. This is only temporary, so you'll be able to see the rest of the hallway in a few seconds. Once you reach the end of the area, watch as the valve explodes and a tower of fire bursts from the pipe. Again, don't get spooked!

Crawl through the vent on the left as this is the only way to get past the cloud of fire.

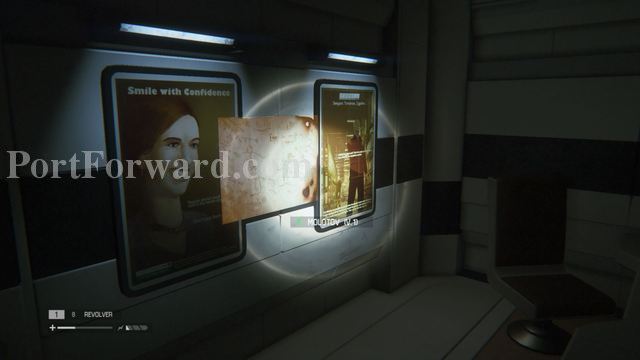
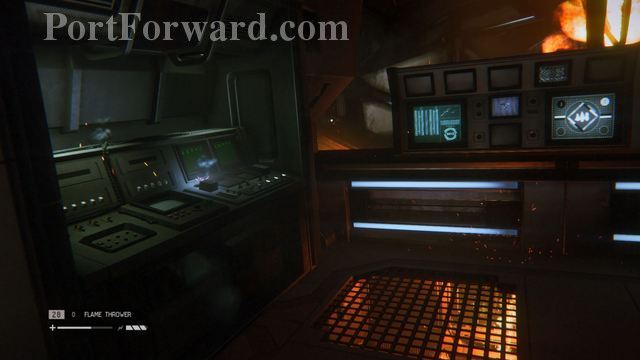
Exit on the other side and continue on into the next room. Make sure to collect any items you see for Crafting.

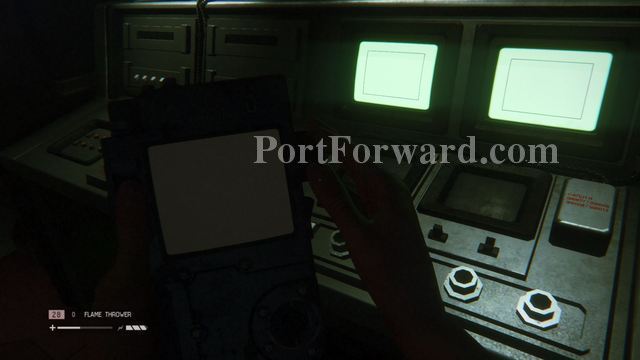
Archive Logs: Hop onto the computer in the room after the flaming pipe to find one archive log
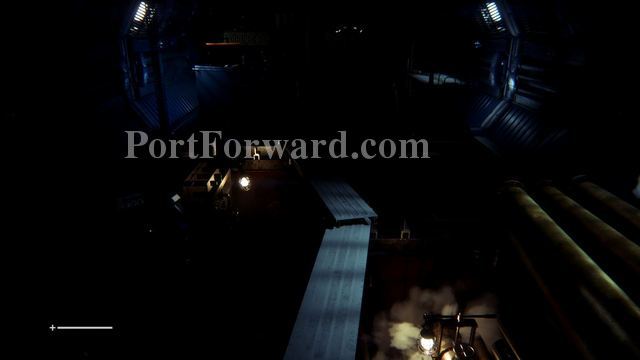
Cross over the planks to make it over to th- oh no, yup, you fell down the pit.

Stand up and grab the Flare sitting on a nearby crate. Throw it into the darkness to see your next path.

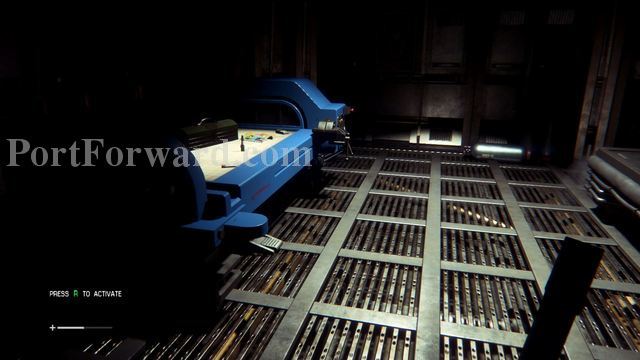
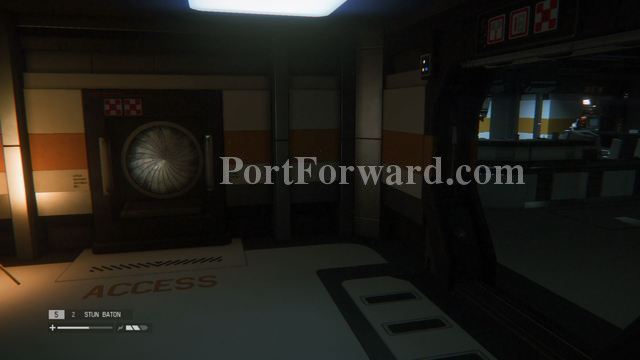
Crawl through the bag check machine and notice two paths.
Take the larger path to a suitcase and some craft material.
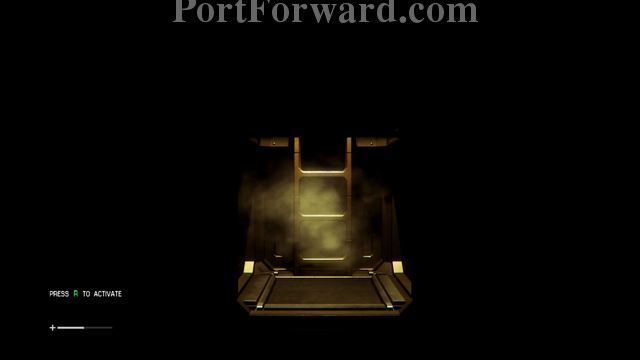
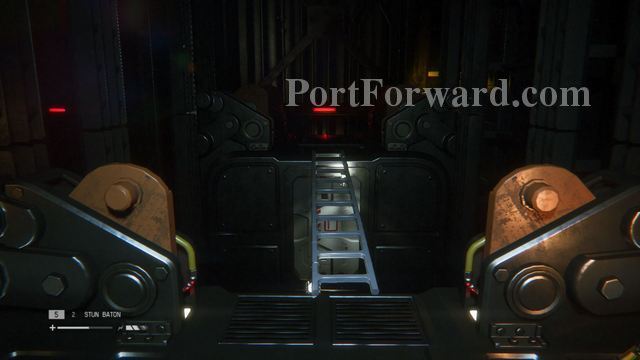
Then turn around and hit the button in front of the ladder to lower the luggage ramp.

Climb up the ladder. Collect any materials you see and head through the door.
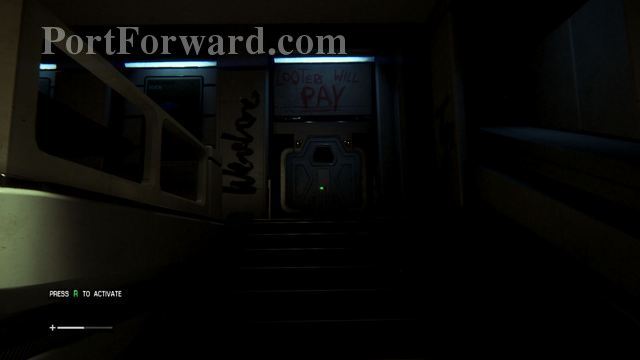
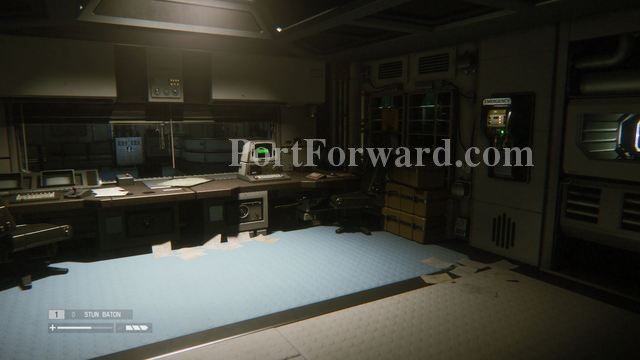
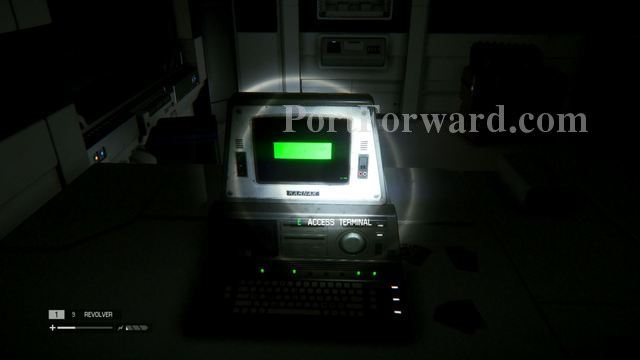
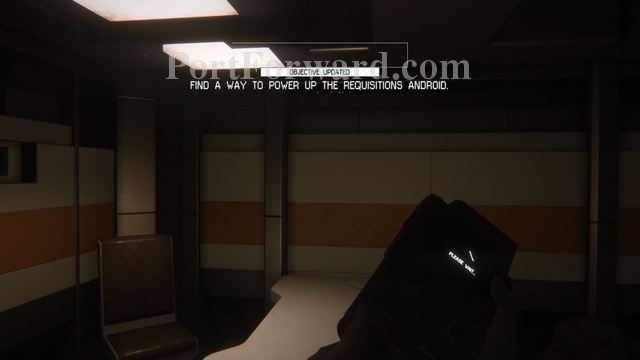
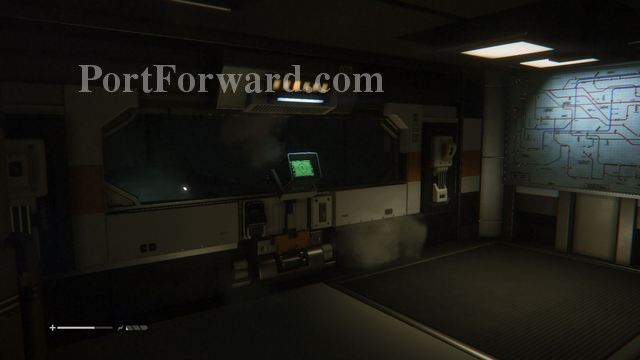
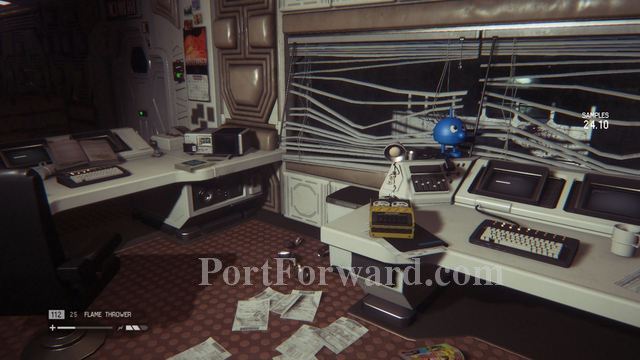
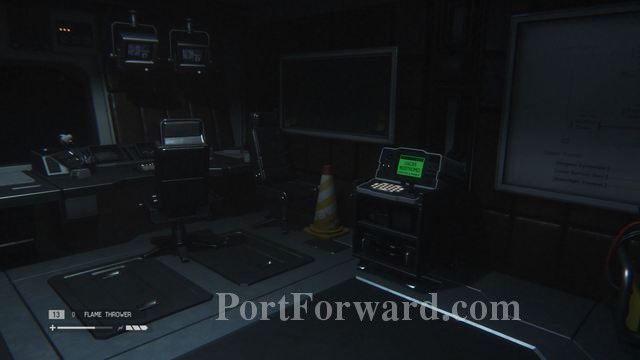
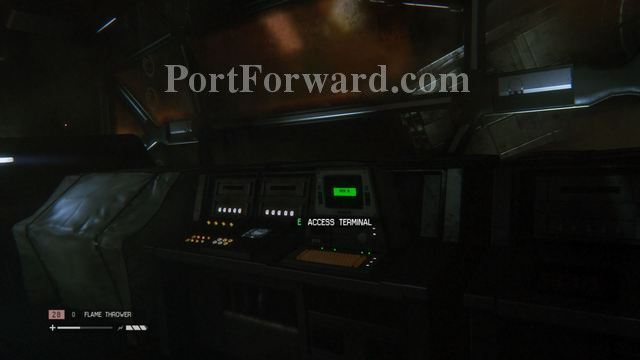
This next room is a little dark, so you'll need to find a way to restore the power. Head to the back of the room and turn to see an office in between the two sets of stairs.

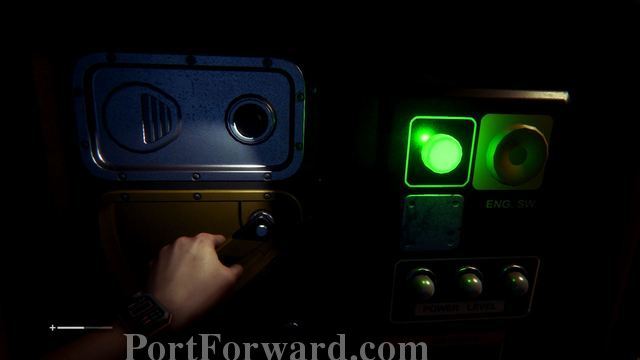
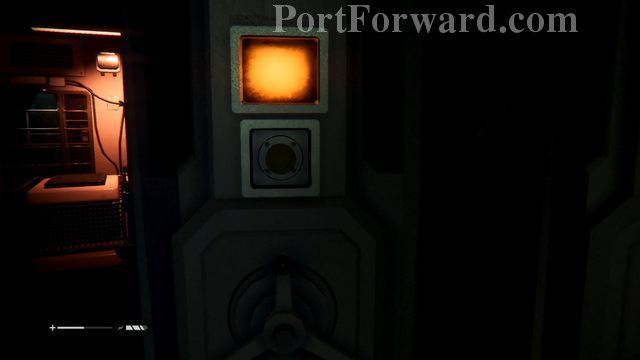
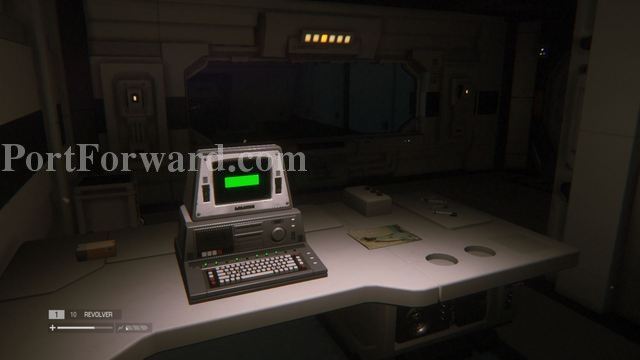
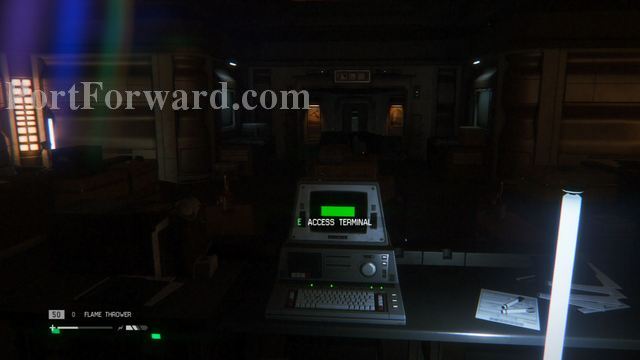
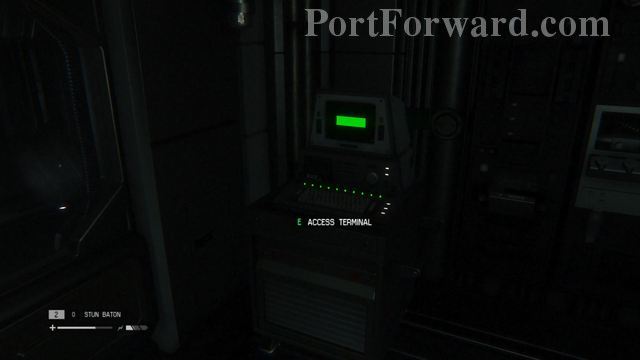
Press on the lever several times to turn on the computer, then use the computer to restore power to the room.

Archive Logs: On the computer used to restore the power, four other archive logs can be read.

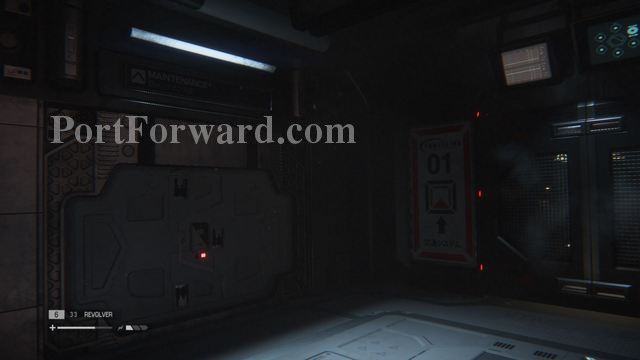
Schematics: Use the passcode (0340) you learned from one of the logs to open the locked door in the same room.

The schematics can be found inside.

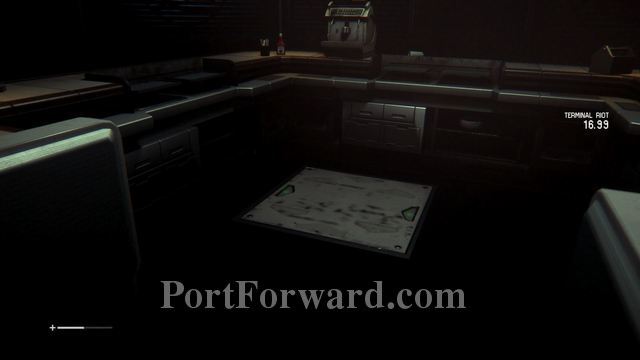
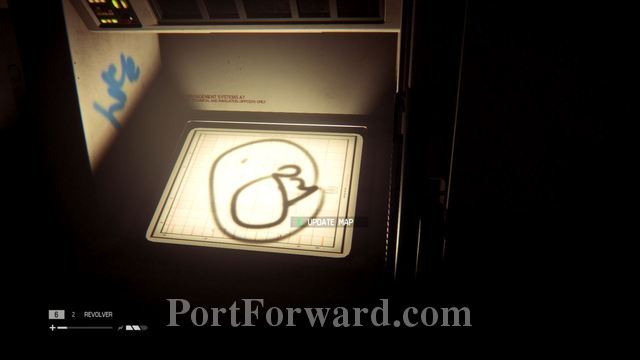
Map: To the right of the entrance into the next room is a map.

With the power restored, head into the next room. Crawl under the wire and walk through the doors.

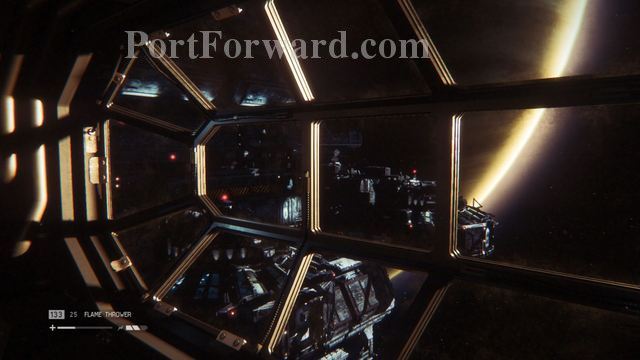
Enter the lobby area and watch as the Torrens passes by outside.
Walk up the stairs in the lobby, then back down the second set of stairs on the other side.

"Enter the arcade room and restore power from the generator. Enter the nearby convenience store.
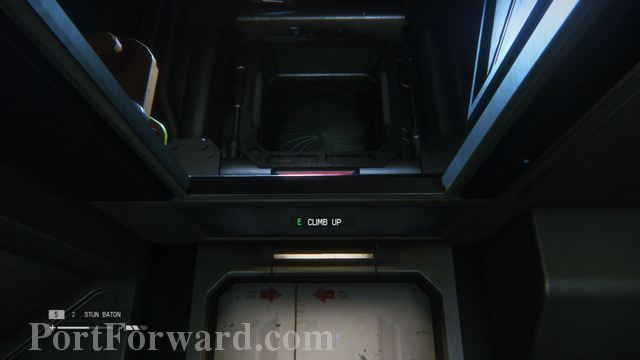
Open the hatch on the floor in the center of the convenience store. Hop inside and crawl into the next room. This room is filled with barricades, so try to find an opening wherever you can.

Start by pushing the machine out of the slanted tunnel, then crawl inside.

Make it to the other side and lights out! Body bags litter the floor, but don't mind those, just walk over to the big door with the giant lock.
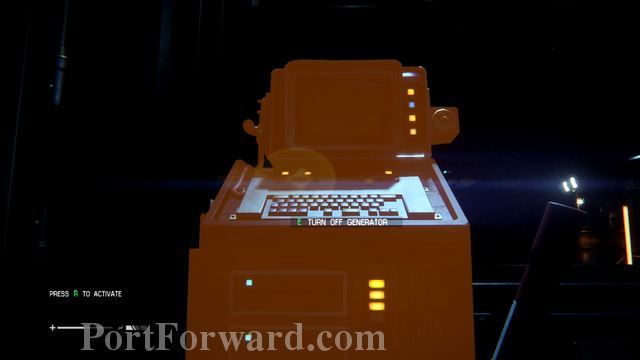
You're going to need to find something to open it with, so head into the room on your right. Activate another generator to open up some of the doors in the area.
Return to the main area with the body bags and head up the stairs on the left to enter a now opened door.

"Save at the save station, then walk into the next room. This control
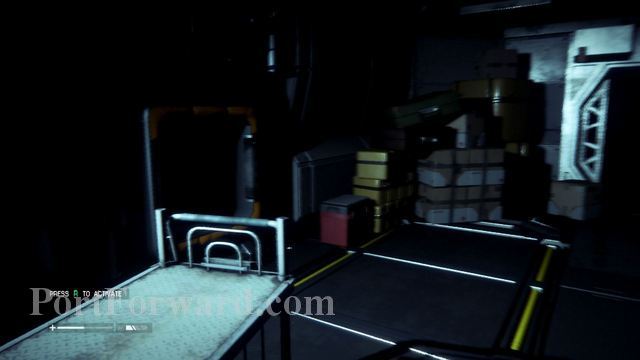
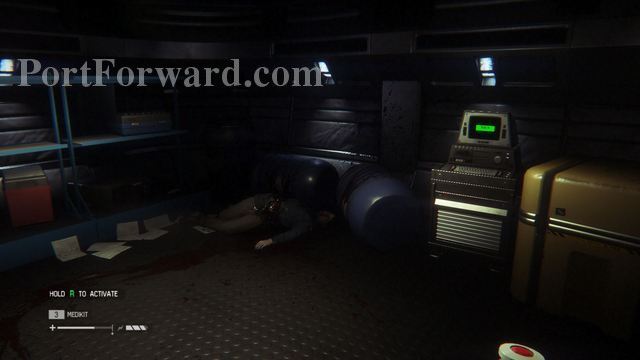
Walk into the supply closet to see a dead man holding the Maintenance Jack you need.
"Enter the vent on the right to get on inside the room. Grab the jack and any other supplies you may want.

Archive Logs: On your way back to the main area, notice another door with a giant lock.
Break through and enter to find some material and a recorder.

You can also go back to the rooms on the left.
Open the door with giant lock to find some supplies.

Now that you have the jack, return to the main room with the body bags and open the big door.

This is where you'll meet Axel.
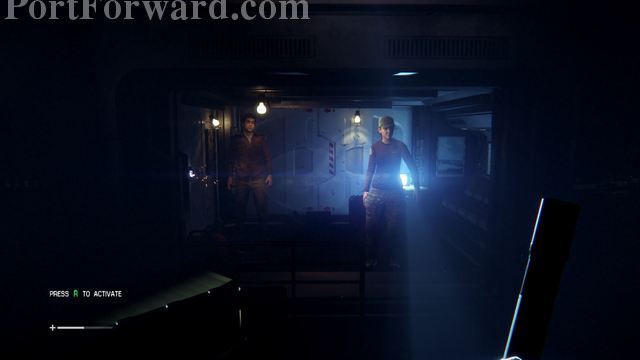
Open up the door to find two other people trying to leave.

After letting them go, head into the next hallway and let Axel call an elevator.

You've reached an area with human enemy characters. Sneak around and enter the vent to get to Axel's pad. Save at the save station and grab the Flashlight.

ID Tag: In the dark area, find the ID Tag in front of one of the unusable vents.
Find the next vent to crawl through in the back of the darkened area.

Watch the two guys you saw earlier through the vent, then continue on.

Reach the main room where your enemies have gathered. Crouch and sneak over to the room on the right. Turn on the generator, then hop into the vent on the ground. Wait to hear the enemies walk into the room with the generator, then escape through the next hatch.
Archive Logs: There is a computer on your way to the two buttoned machine that will have three logs to read.

Make your way into the next room where you'll have to have power up the door by pressing buttons in separate rooms at the same time.

When the door opens, a man attacks Axel. Run over and take him down!

Run into the next room and watch as the Alien violently murders Axel. As calmly as you can, make your way into the next room and call the transit station.

As you wait ages for the transit to arrive, try not to make too much noise or they Alien will find you. Enter the transit, hit the button, and get out of there!
Alien: Isolation Walkthrough Encounters

Walk up the stairs labeled "Workplace Solutions." Go through the room and back down the second set of stairs. At the bottom you'll find a locked door and a dead man holding higher quality materials. Break off the lock on the door and enter back into the main room.
From there head in the opposite direction and climb up the stairs. Head through the only open door to enter a large open room. A lady is making noise on the opposite side of the room, and she will attack when you enter.

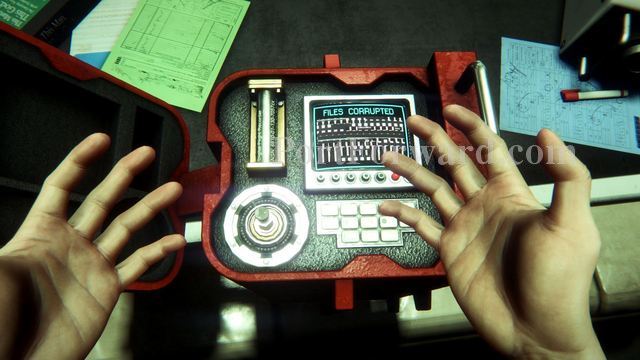
Leave the room and wait a bit before coming back. The lady and everyone else should be gone. Walk over to the door on the other end to find a busted Access Tuner.
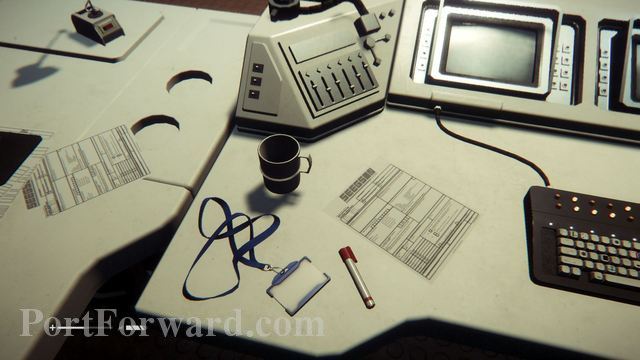
ID Tag and Archive Logs: There is an ID Tag and a recording at the desk in the center of the room.

After you pick up the Access Tuner, the people that were here before will return. There are three of them, and they all walk out of the back door on the right of the second floor. This is also where you want to go. Nearby is a Rewire System Control that you can use to activate the speaker system, distracting your enemies.

Sneak up the stairs on your right and pass through the dining area. Creep into the small room and take a look out the into the next room. Make a run for the door, or sneak past the single enemy. There is a save station in the stairwell.
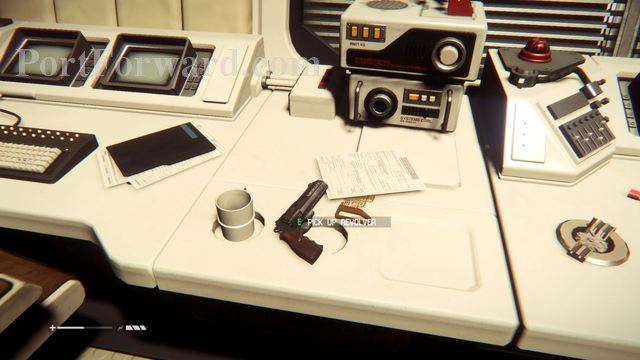
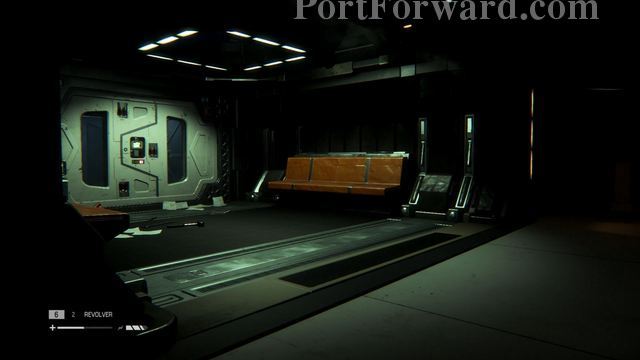
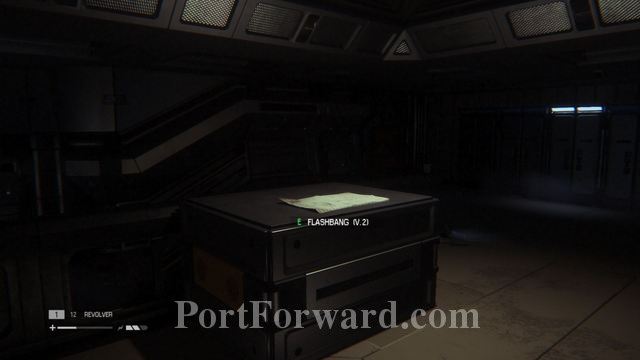
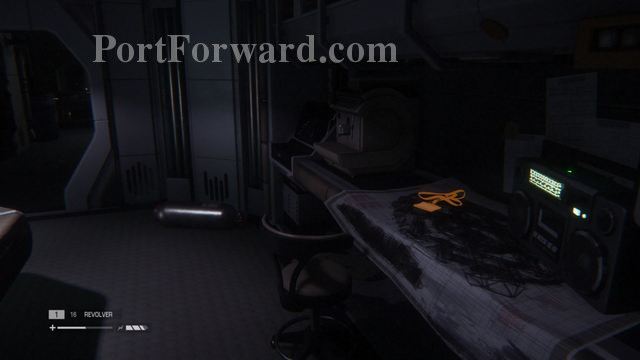
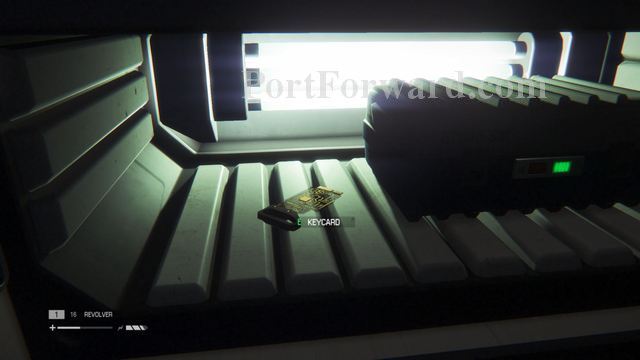
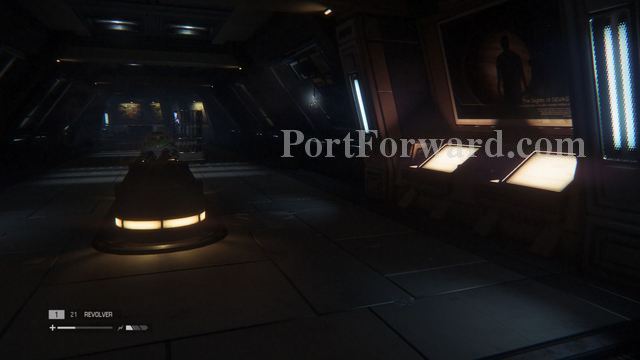
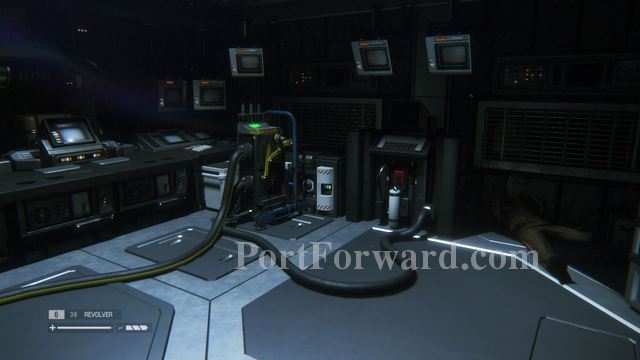
"Climb down the stairs to enter the next area. Pick up the Revolver and the Keycard from the desk, then open the door in the small hallway behind you.

Schematics: Go down a hall labeled "System Monitoring" to discover a body from a recent Alien attack. Grab the schematics off the wall.
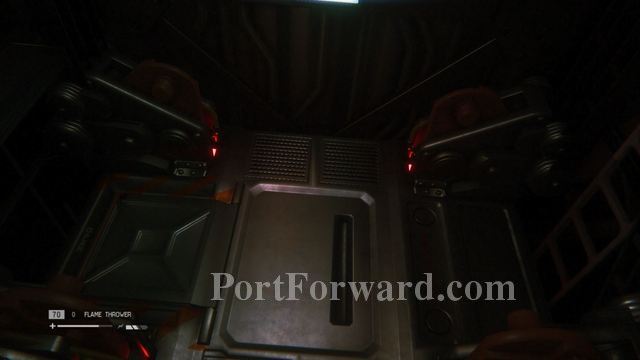
Enter the next room to find the broken flight recorder. At that moment, you'll hear the bangs of the Alien above you. The Data Cell you are looking for is behind a couple of moveable walls.
Simply hit the buttons to have them move. Grab the Data Cell to fix your Access Tuner and open up the door.
ID Tag and Archive Logs: There is a meeting room that can be unlocked with the Access Tuner. Open it up to find the ID Tag inside along with a recording.
Return back to the area where you got the Revolver, then head down the hall to open up another door with the Access Tuner.

One of the computers in this room will disable the alarm system.

Archive Logs: There is a computer with two recordings here.
But it won't disable that Alien. Cower in fear as it enters the room and leaves on the left.

"Calmly make your way back to the stairwell.

Go up a flight of stairs and you'll see a door you can hack through. Now back in the room where you found the Access Tuner, watch or listen as the Alien takes out the foes you were faced with earlier. Now it's time to make your escape.
The Alien will wander around the room, so you will always want to know where the Alien is. Your goal is to get back to the door the girl was trying to open earlier. Go back to the dining area and down the stairs to make it. As soon as you finish hacking the door, run inside and slam the elevator shut.

Remember, if the Alien even catches a glimpse of you trying to pass by, you're going to have to be very lucky to try and ward it off with the current weapons you have.
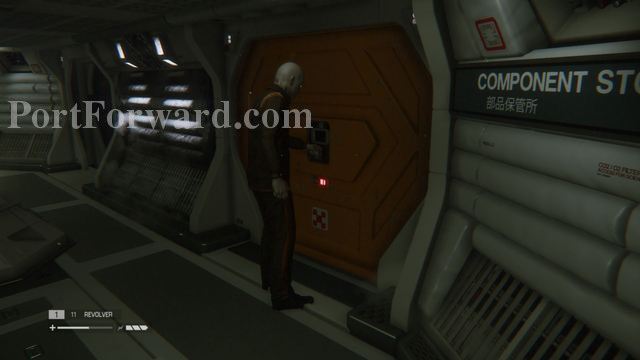
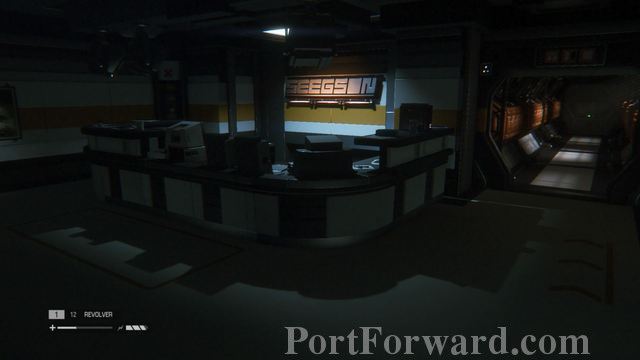
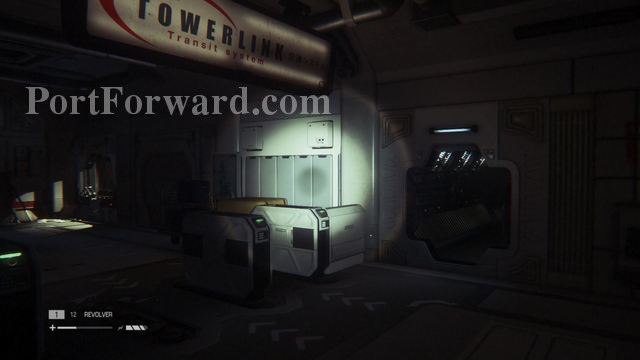
Alien: Isolation Walkthrough Seegson Communications

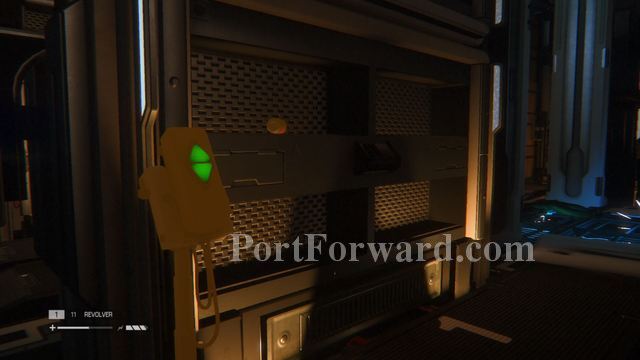
Walk over to the reception area to be greeted by a Working Joe android. Nothing creepy, right? Head down the hallway and go to the rewire panel to open a door filled with material.
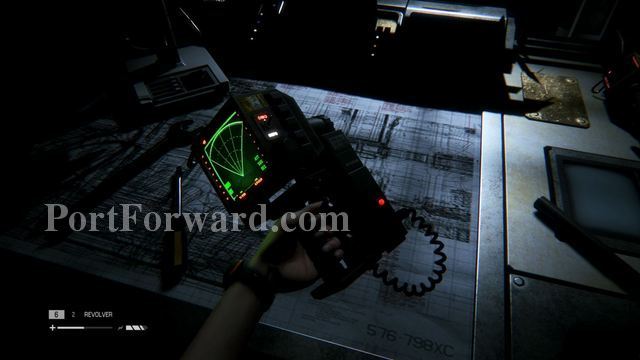
Keep going down the hallway, passing another android. At the end of the hallway you'll find a Motion Tracker, a device that will let you detect any movements around your perimeter. It also has a handy tracker that points to your next objective!

Archive Logs: In the room where you find the Motion Tracker, hop onto the computer to read through four logs.

Use the computer to open the nearby door. Walk up the stairs and save at the save station. Walk into the next room and break the lock on the door in front of you.
"From there head into the next room and collect all the materials you can find.
Continue on down the hallway. Go and beg the android to open up the doors to Comms Control to no luck. Enter the vent on your right and keep going until you see an android kill another human.
ID Tag: Just before you reach the computer that disables the camera, turn to your right to find an ID Tag sitting on the desk.

You need to get past the camera, so head inside the next room. At this point, androids are hostile so you want to avoid them at all costs. If you do run into one or if you're spotted, run. Androids are very difficult to defeat.

Sneak over to the computer with the camera feed, then disable the camera. Head over to the elevator and ride up to Comms Control.

Archive Logs: There are two logs in the computer in the room near the camera.

Map Locations: As soon as you enter the next room after the elevator, pick up the map on your right.

The entire next section is swarming with androids. Take the stairs on the left and access the External Comms Link.

As luck would have it, the link doesn't work, so you'll have to find an alternative source.

Archive Logs: There is a room upstairs with a computer containing three logs.

Go downstairs and crouch your way over to the big open area. Avoid the two androids on either side of the room. They both have a basic routine where they will stand in front of a computer for about 10 seconds before switching to another. Use the time where his back is turned to make your way to the door on the right. There is a also a vent system within the ground that you can use to get through or escape.

Take the path down the stairs to enter what looks like a computer lab. Sneak around the androids and enter the door on the other side.

Enter the door to reach and office. Watch out! Behind the desk a crippled android. Shake it off, then unlock the door using the rewire system.

This will lead you to a room with a central desk.

Complete the three hacking games at the computers at the desk to initiate a cutscene.

Watch as you finally get in contact with Samuels and Taylor.

Agree to meet them by returning to the transit station.
Run over and use the save station in the back room. Androids have been alerted so run into the next room and climb into the vent. In the next room, crawl through another vent to make it back into the hallway.

"Schematics: You can find a page of schematics on the table in the room with the save station.

"Archive Logs: After you climb through the vent, access the computer to find a single log.

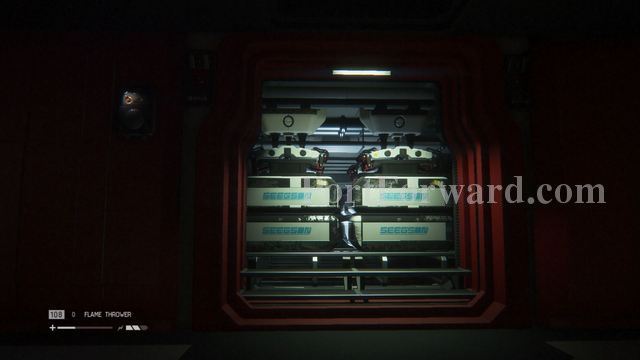
"Nostromo Log: The first Nostromo Log can be found in the Relay Facility, the room with all the computers. It's in the corner on the right side of the room.

Once back in the main room with the elevator, you'll notice an android guarding the elevator. Let him walk close to you, but at the last minute, enter the vent on your left that will take you upstairs.
From there, walk down the stairs. If done correctly, the android will be on the other side. This should give you time to save and enter the elevator in peace.

Ride the elevator back to the previous area. Keep backtracking as you avoid androids in the area. If you see water dripping from above, stay clear of the area!

The Alien is waiting right above. Keep going until you reach the Departure Bay. Use the elevator to return to the transit station.

Crouch and begin your very slow movement towards the across the room.

The Alien is lurking so have your motion detector on at all times.

If the Alien is near, freeze and wait for it to move.
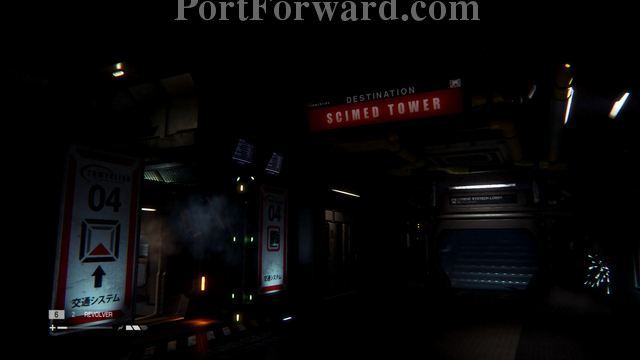
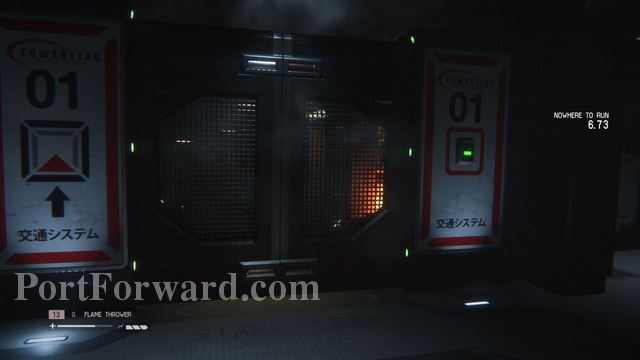
Once you make it back to the transit station, enter the transit that takes you to the Scimed Tower.
Alien: Isolation Walkthrough The Quarantine
"When you reach the Schimed Tower, find Samuels and an injured Taylor in the main lobby. You'll need to find supplies to heal her, so whip out your Motion Tacker to see what direction you need to head in. Start heading towards the Medical Facility through the door on the right, keeping an eye on the Motion Detector.
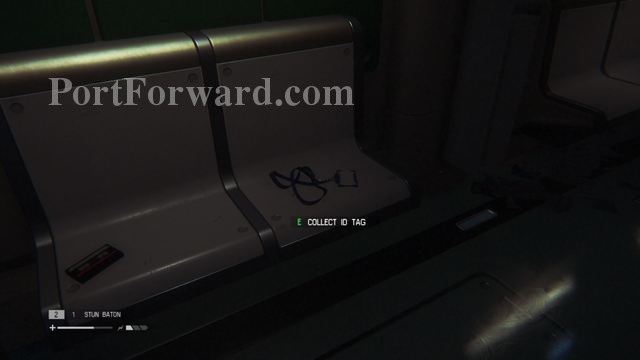
ID Tag: In the transit station lobby, look for an ID Tag on one of the benches.

Map Location: To the right of the locked entrance to the Medical Facility.

At a certain point you'll hear a voice come over the speakers. A man will open a nearby elevator that you'll take to his office.
"Climb into the vent to get there.
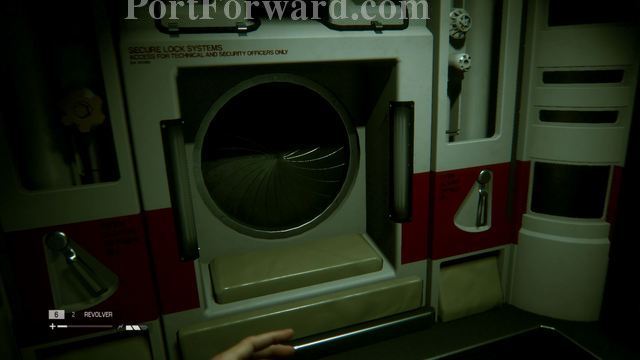
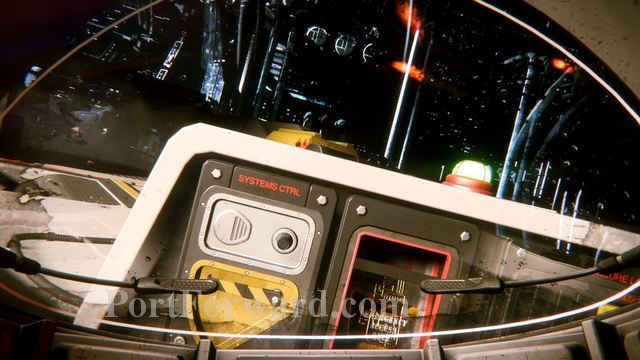
"Meet with the Doctor Kuhlman at his window to figure out a deal. Since both of you need supplies, you'll find the passcode for the elevator, then both of you will go down to get the supplies. Hit the Emergency Override switch and head into the hallway. Follow the marker on your Motion Detector.

ID Tags: An ID Tag lays on the floor of a blood stained isolation room.
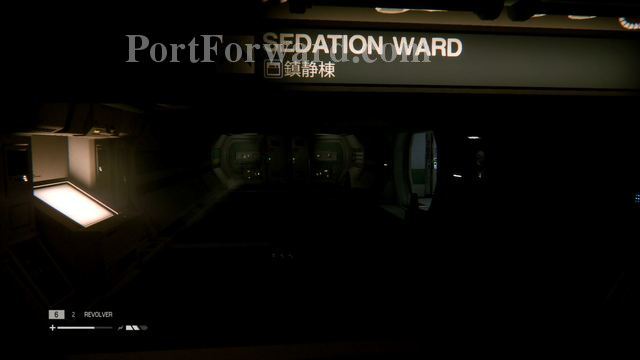
Map Location: A map can be found near the Sedation Ward.
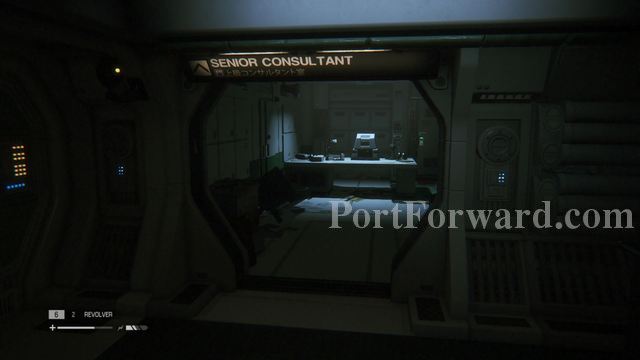
Enter the room labeled Senior Consultant to find the office.
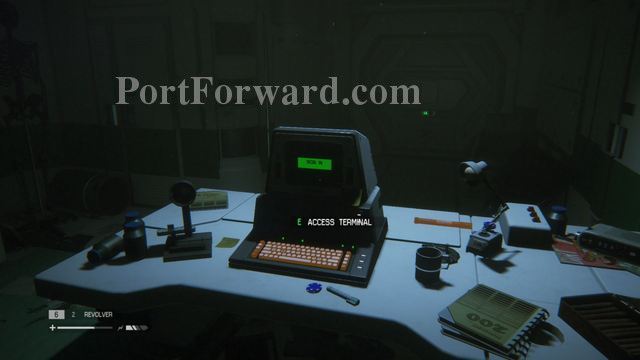
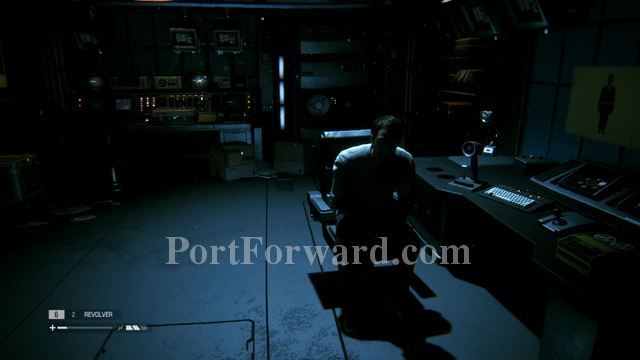
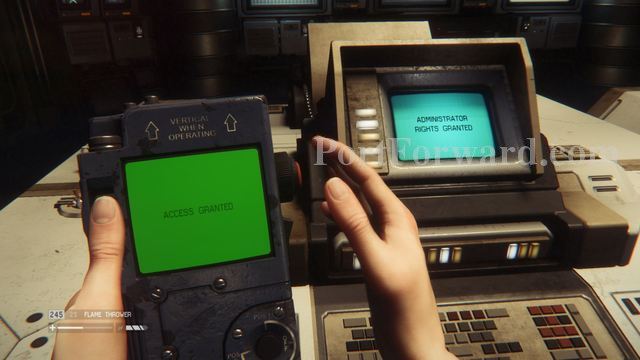
"Hop onto the computer to find the passcode (1702). This will also trigger an alarm.

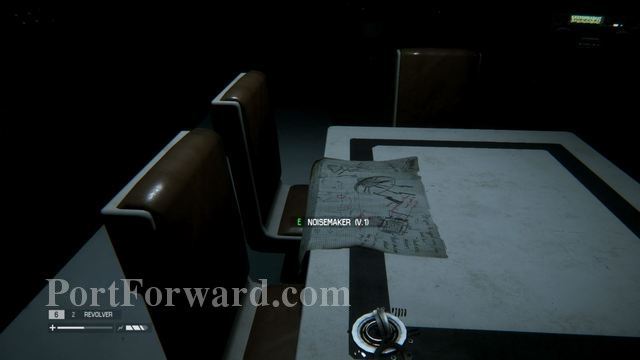
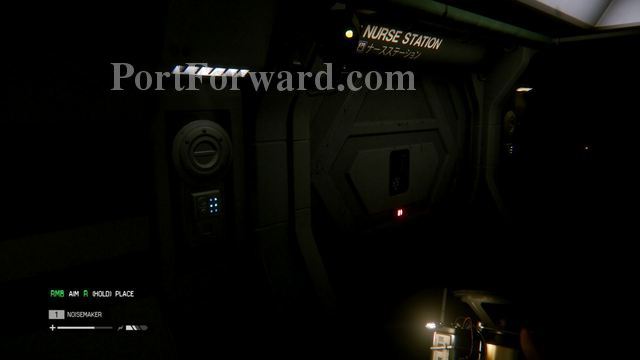
As you make your way over to the locked door across from the Day Room, the alien will drop from above. Throw a Noise Maker to distract he alien or stay hidden to have it walk in the other direction. Once you reach the locked door and that you know the Alien is not near, punch in the code and head inside.
ID Tags: There is a locked room on the left that holds an ID Tag. You have to punch in the passcode (1702) to get in.

Map Location: Once you get inside the locked door, you'll see the map on your left.
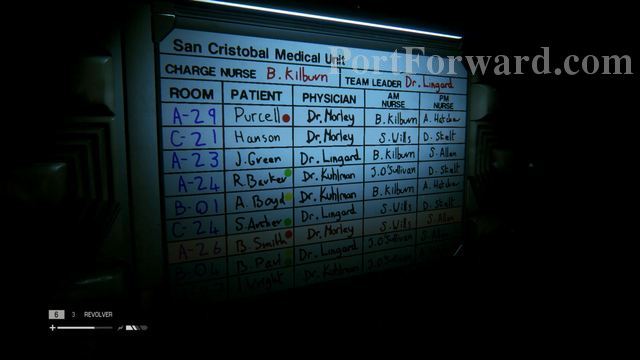
Go through the hallway on the right and keep going until you reach a kitchen like area. From there continue on into the bedroom area where you will see a list of doctors and their patient's rooms.

ID Tags: An ID Tag can be found on the back counter of the kitchen.

Map Location: There is a map you can collect in the kitchen.

From that room, walk back into the hallway and go to the right. The room on the right has a save station. There is a vent you can use to skip through the hallway, something especially needed if the Alien is nearby.

Schematics: In the room with the save station, look on the table for some schematics.

Enter the next hallway to find a giant circular hallway with rooms attached all around it. If you're just looking for the Keycard and don't care for the collectibles, head for room A-29. Search the body on the floor for the Keycard.

Map Locations: As soon as you enter the circular hallway, look to your right to see the map.

There is another map to grab at the end of the hallway on your left.

If you are looking for collectibles, your best way to do so is through room hopping. The Alien will wander the hallway, but it only comes into a room if it hears a noise. When you know the Alien is in the other direction, leave the room and walk into the next one. Do this until you have all the collectibles you want.
"For a quick guide for what is in each room:

"ID Tags: Found in room A-27.

Return to Kuhlman and give him the passcode. Go all the way to the left end of the circular hallway and unlock the door. This will take you back to his office. He'll activate the elevator and start heading your way. But wait, no, he gets killed by the Alien. Make a run for the elevator on your left.
Alien: Isolation Walkthrough Outbreak
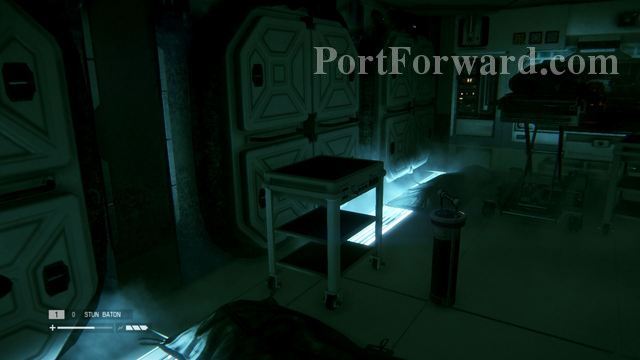
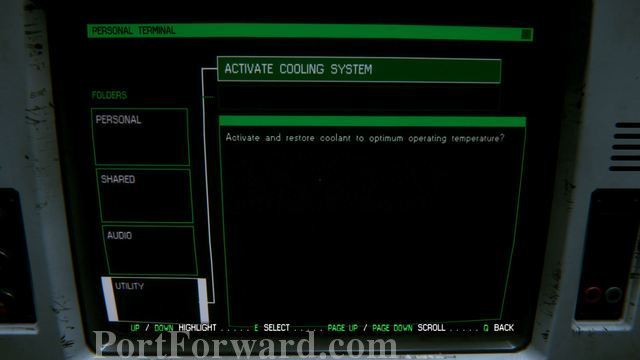
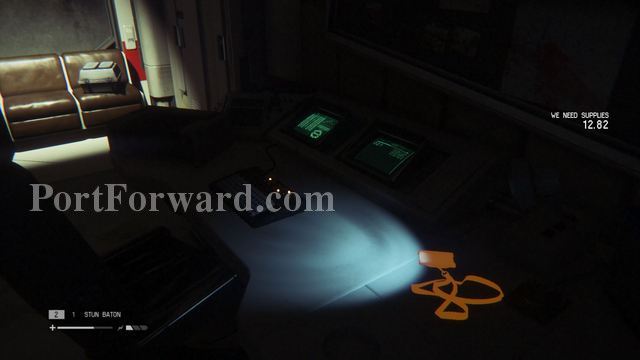
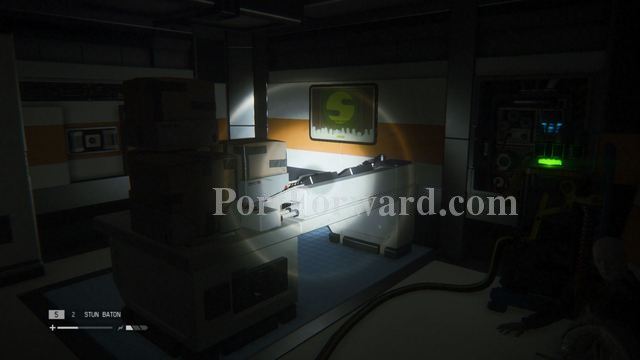
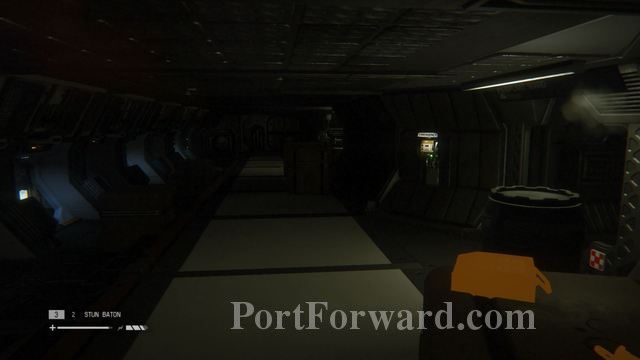
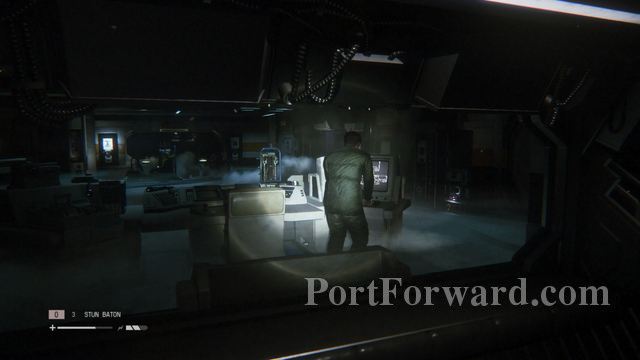
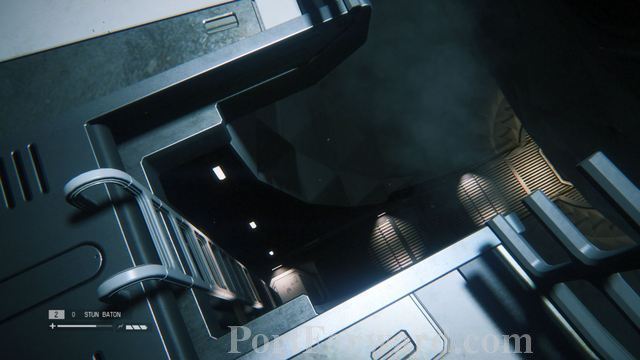
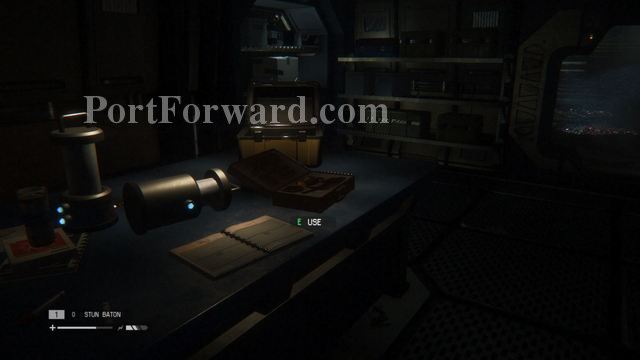
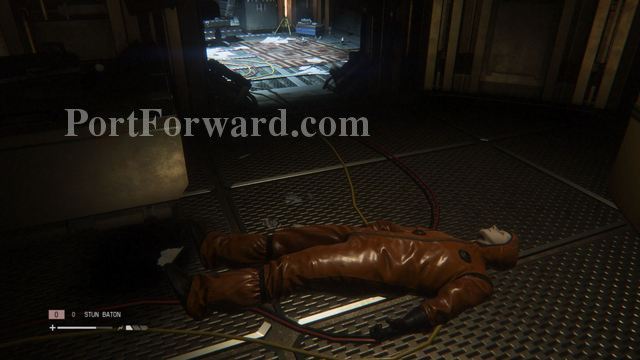
As soon as you exit the elevator, use the save station. The Alien is still lurking around, so keep that in mind! Enter the middle room on the right and pull out the Stun Baton from the door. Use the computer to see an error in the cooling system.

Head into the last room on the right and pick up the cooling vent. Place it into the spot in the middle room. Activate the cooling system on the computer and press down all four vents.

Archive Logs: There are two logs on the computer with the cooling system information.
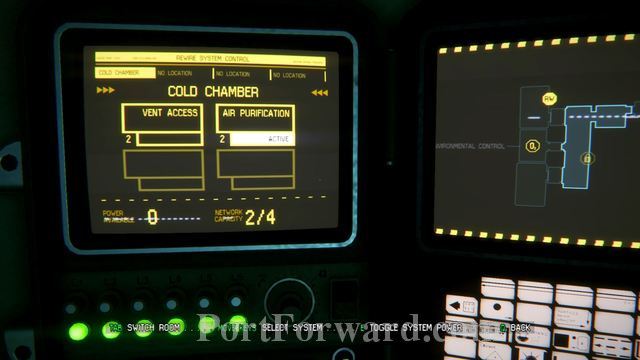
Walk into the now opened room and use the rewire system to open up a nearby vent.
Enter the vent and climb up the long stairs. Check for the Alien, and then drop into the room below.
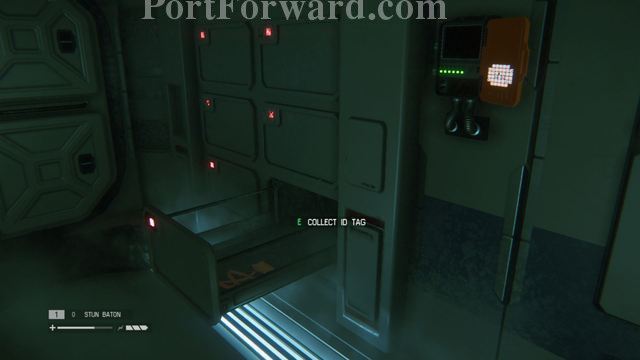
ID Tag: To the left of the rewire system is an open drawer with an ID Tag inside.

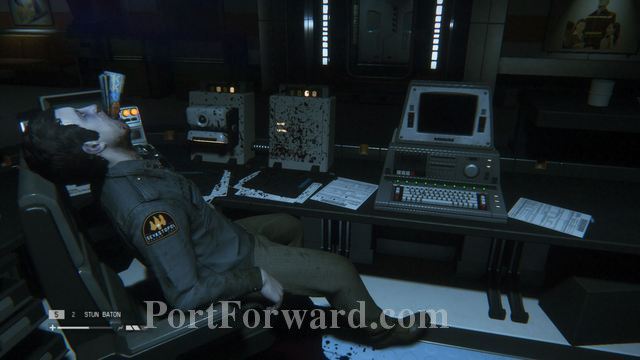
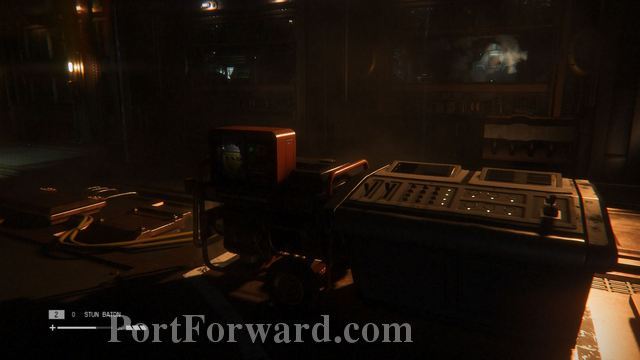
Exit the room and head to the left. Go down the hall and enter the first door on your right. Use the computer to look up a video of Dr. Lingard giving her confession of her involvement with something that happened in the medical center.

Archive Logs: There is a single log on the personal computer with the video.
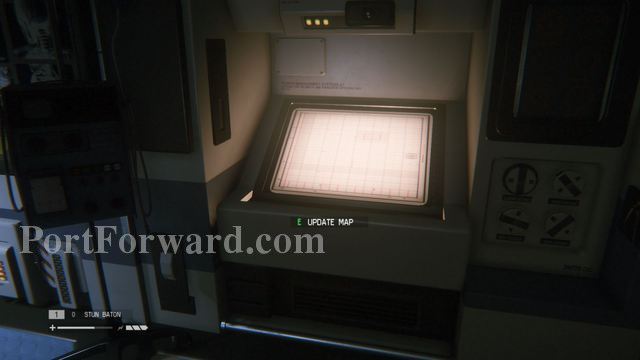
Map Location: The map can be found in the same room as the computer with the video.

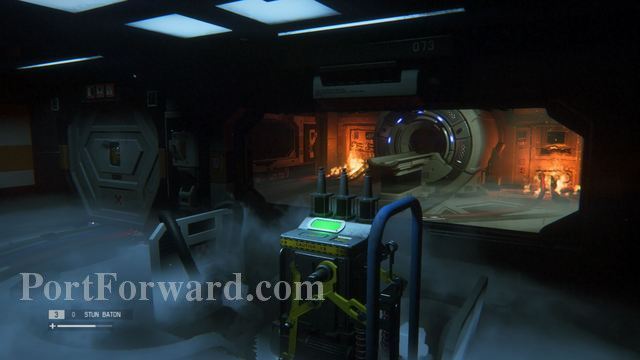
As you try to exit, a pipe will burst and block your way.
You're going to have to take the long way, going through side rooms whenever the Alien is in the hallway.
Archive Logs: Inside the Security Desk is a computer with four logs.

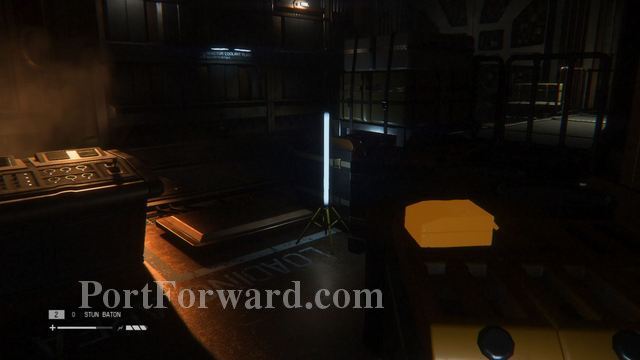
When you reach the last room, use the save station, then get the passcode (2505) from the computer. Open the case next to the save station and grab the Keycard inside. Head into the next room and use it to open the door.

rom there, move to the right and down the hallway on the left.
Pass the first door and enter the door on the left. Here you will find your trauma pack.
Map Locations: When you enter the large area, look for the map on the left. Another map can be found in the east hallway.
ID Tag: Behind the trauma pack and the dead patient is an ID Tag inside one of the storage boxes.
Archive Logs: There is a computer in the room with the trauma pack that holds two logs.

"Archive Logs: If you go to the west hallway and follow it to a room at the end, you'll find a computer with five logs.
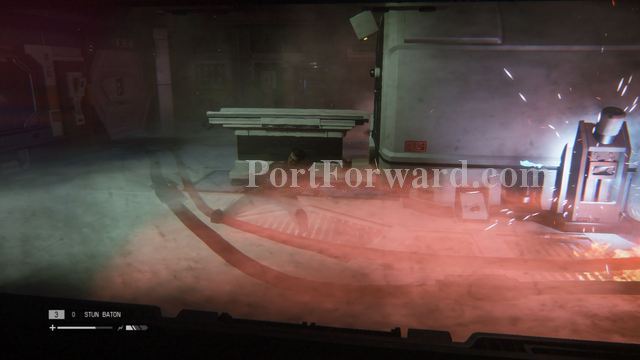
Keep walking and make it towards the east hallway. There is a group of Human Enemies here, so keep that in mind as you wander the halls. Look out for vents in the floor. Hop inside and wander through the vents until you reach the Power Plant.
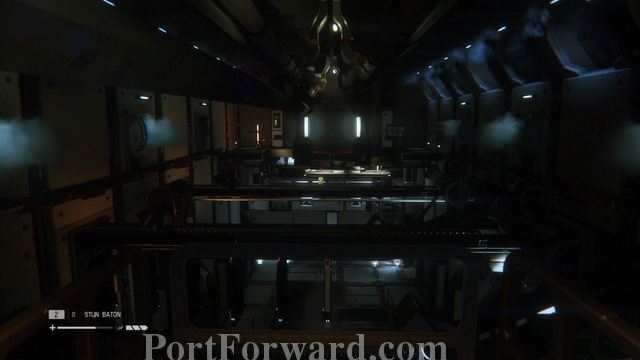
There are two power generators on either side of the power plant. Start them both. This will activate our good friend, one of the Working Joe androids.
You need to get to the front of the power plant and hack the computer to start the evacuation sequence. Wait for the android to walk past the power plant, then do your hacking. Keep in mind there is a save station in this room.

Time to escape. You'll have two threats as you try to make it back to the main lobby where Samuels and Taylor wait. First, the human enemies are still roaming around. Avoid them or take them down yourself. The Alien is also wandering the area, but you have to keep an eye out for the vents above. If you see goo dripping from above, that means an Alien is ready to snatch you up the moment you walk under. If you see an Alien in the vent, don't think you're safe. Apparently the Alien has crazy magic and will appear all over the vents and roam the rooms.

Once you reach the reception area, an Alien will ambush you.

Just when you are about to meet your fate, an explosion tears apart the room, knocking the Alien back as well.
Archive Logs: After the explosion, run over to the back room to find a recorder.

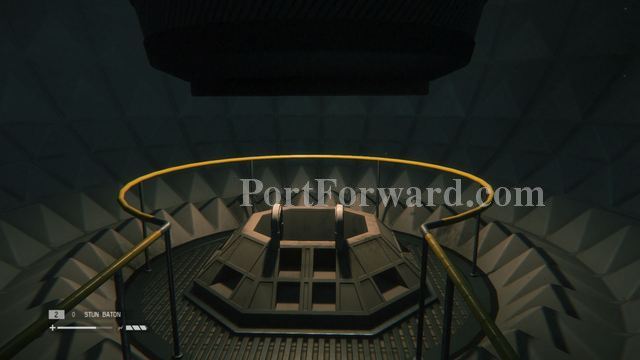
Start climbing up the ladder in the center of the room by following the action commands.

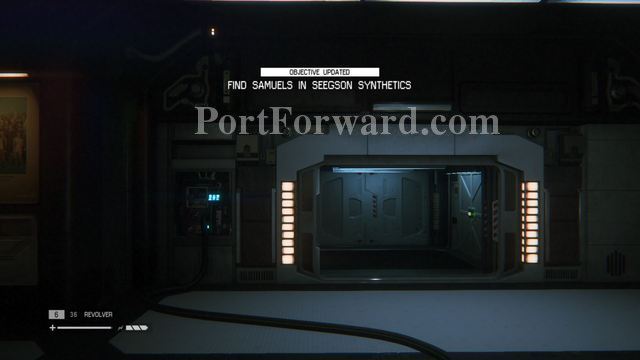
"Crawl through the vent and take the alternate elevator to Seegson Synthetics.
Alien: Isolation Walkthrough Seegson Synthetics

Exit the elevator and save at the nearby save station. There is a group of humans up ahead. Enter the vent on the left, exit the vent and listen to the conversation by those nearby.

Crouch and sneak over to the floor vent on the left. Crawl through until you reach another floor vent to exit through. Climb up the stairs to the second floor. The humans are downstairs, so feel free to walk around in this area. Go to the right and follow the hallway. There is a save station in the second room.
Map Location: There is a map to collect upstairs in the room on the right.

Archive Logs: Two logs can be found in the computer in the upstairs room on the right.
Schematics: Inside the room the room with the save station, look at the exit door to see the schematics on the wall.

Archive Logs: Find two logs on the computer in the room with the save station.
Keep walking until you hear the Alien attack the other humans. Walk into the next room and head past the ladder.
Schematics: You can find this one on the wall behind the computer in the room left of the ladder. This is just after the Alien attacks the other humans.
Archive Logs: In the same room as the schematics, look up the computer to find two logs.

Walk into the large room and head to the back. There, find a room holding an upgrade to the Access Tuner, along with a save station.
ID Tag: In the room where you find the upgrade, look on the floor to see an ID Tag next to a dead body.

Walk back to the start of the large room and return to the hallway with the ladder.
Climb up, hack the terminal to return power to the area, then use the save station.
Archive Logs: Use the now restored power to hack the door to the left of the ladder. Inside is a computer with three logs.
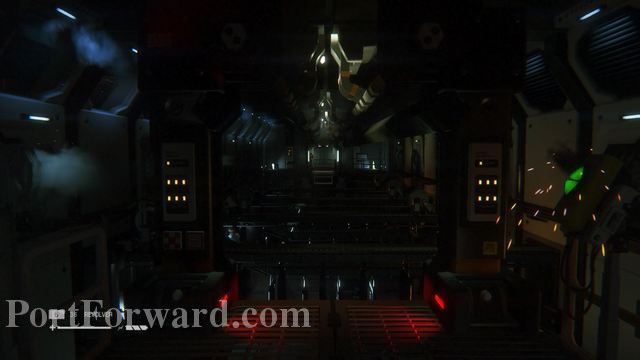
Wake the android and have him unlock the door to the warehouse.
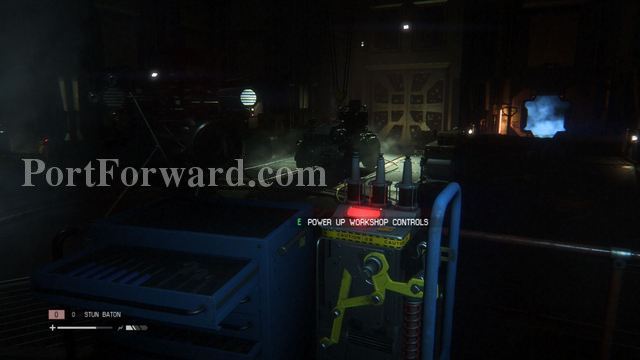
After watching the android fry itself on faulty wiring, figure out a way to get to the other side of the room without killing yourself.

Go all the way to the right and push the down button to its fullest. Now that the space is clear, walk over to the back of the room and head all the way to the left.
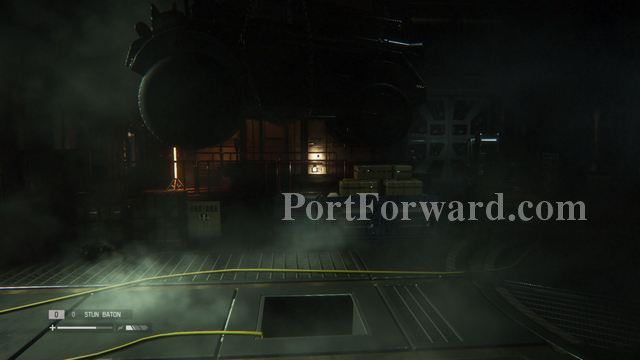
Hit the down button until you see the Compression Cylinder.

Head all the way back to the area where you started.

Place the Compression Cylinder in the correct spot, then ride the elevator up to another floor.

ID Tag: One of the men that were killed by the Alien will leave behind an ID Tag.

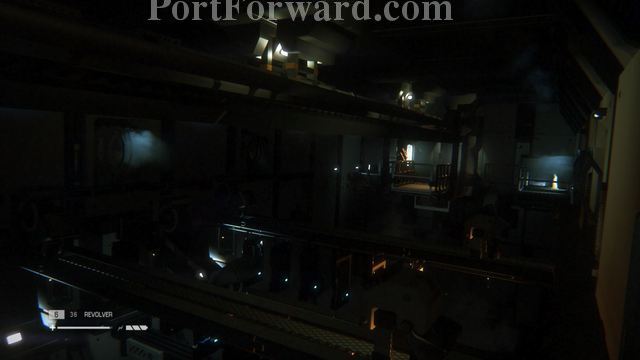
Enter the large room and try to go undetected by the two people shooting from above. You can take the ladder and most likely get killed, or you can use the rewire system on the right wall to deactivate the camera and unlock the nearby door.

Run through the door and through the hallway, then either take the vent or walk all the way to the door.

Archive Logs: There is a computer with a single log in the room with the save station.

Crouch and sneak past the two enemies as they look over the edge. Calmly make your way to the door on the other side.
Enter the elevator to return to the SciMed Tower.
Your job now is to head back to Samuels and Taylor. There you will meet a marshal and his partner who will protect your crew members while you go to the Transit Control to get the transit system working.
Alien: Isolation Walkthrough Haven
After meeting up with Samuels and Taylor, pull out your Motion Detector and see which direction to go next. Follow the path and you'll reach an elevator that can be accessed by breaking off the giant lock. Enter the elevator.
Schematics: As soon as you walk out of the elevator, grab the schematics off the crate.

Ignore the banging on the door on your left and walk over to the security controls on the right. Interact with them to find out they have been disabled, then hide when a man walks through the elevator.

Killing the man is optional, but it will make getting to the control lever easier.

Once you pull the lever, the android will be released. The best option here is to kill the android as you will need him out of the picture in a few minutes.
If you have an EMP Mine, throw that and electrocute the android, then give him a few whacks until it's down.

Go back to the computer you used earlier to turn on the power once more.

"This will open up the door on the right, allowing you to get to the save station and the Gas Torch.
Archive Logs: There are two logs to find on the computer in the room where the android was locked up.

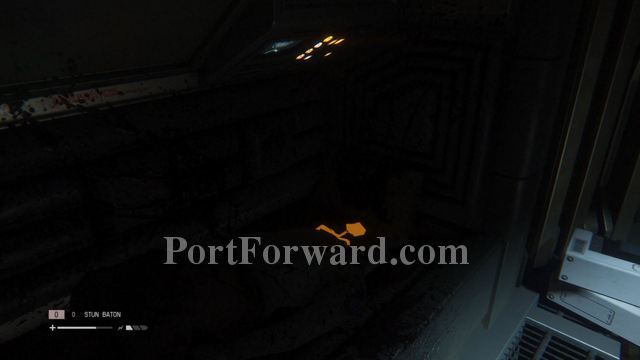
Use the Gas Torch to open the vent near the stairs. Head inside and exit into the next room.

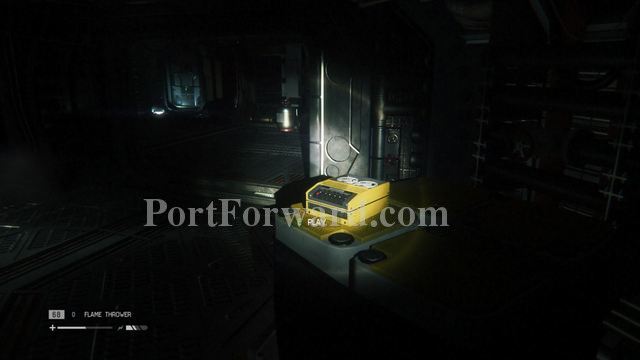
Archive Logs: After you exit the vent, play the recorder on the table.
ID Tag: In the same room as the recorder, snag the ID Tag off the other table.

Open the door by pulling down the latch and head back to the transit station. Your friends are gone, but you can call for another transit car. As you do, three human enemies will walk down from the right. Take them all out or sneak your way onto the transit car.
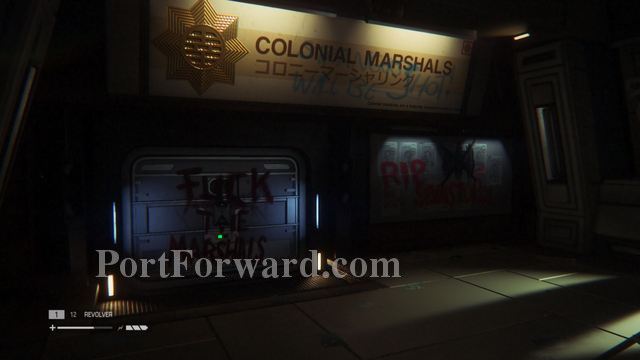
Now in the Solomon Habitations Tower, follow your objection marker on your Motion Detector until you reach the Colonial Marshal Bureau.
"Map Locations: There is a map to collect right before you enter the Bureau.
Alien: Isolation Walkthrough Beacon
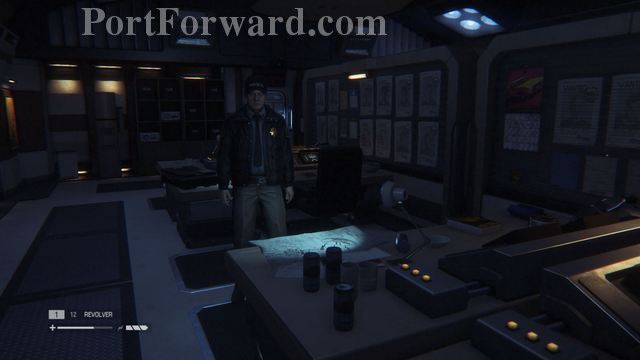
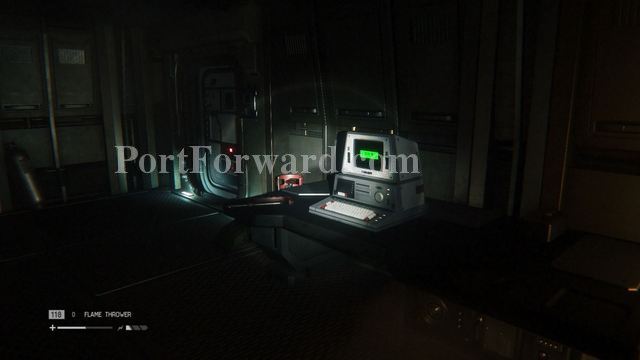
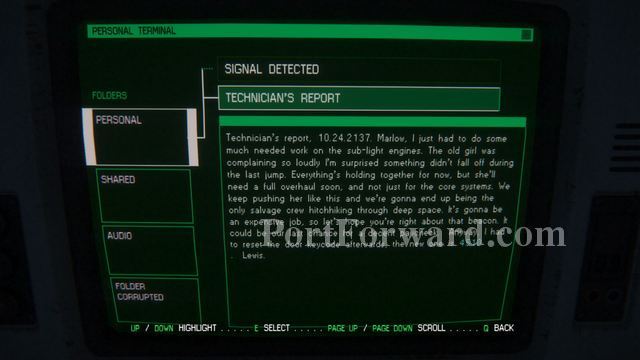
After talking to the Marshal, head over to talk to Marlow. This will start a mission where you play as Marlow looking for a distress signal on some kind of planetoid.

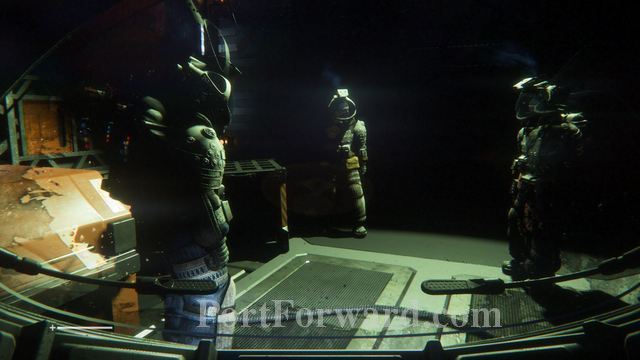
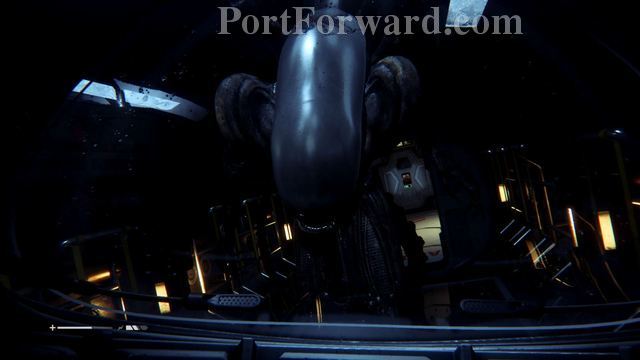
This mission is very simple, so follow the on-screen instructions and enjoy the ride. After you place the bomb and create a path for the rest of your crew, you'll discover the Alien spacecraft in the distance.

Enter the Derelict and discover the dead alien. Not long after, you'll find traces of the Nostromo crew nearby, along with some tracks.

Go look for the distress signal so you can shut it off to avoid others from discovering this place.
After disabling the distress signal...

return to the main room with the dead alien and enter the winch.

Down in the caverns, watch as one of your crew gets attacked by a Facehugger.

This will end the mission.
Alien: Isolation Walkthrough The Trap
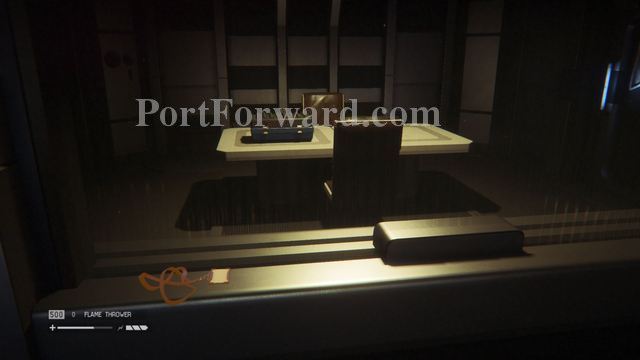
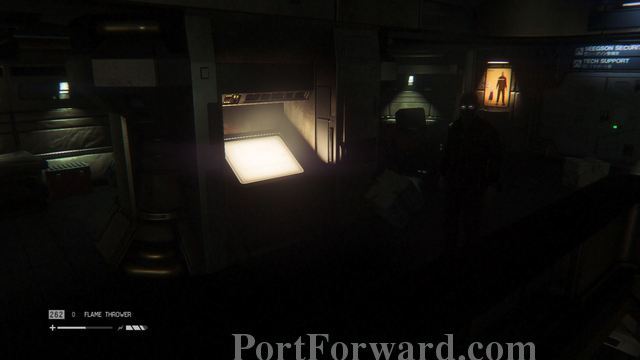
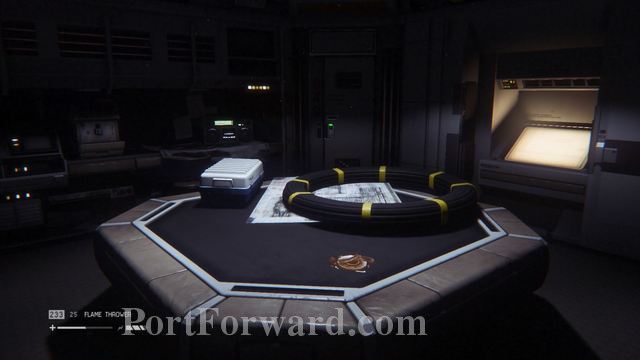
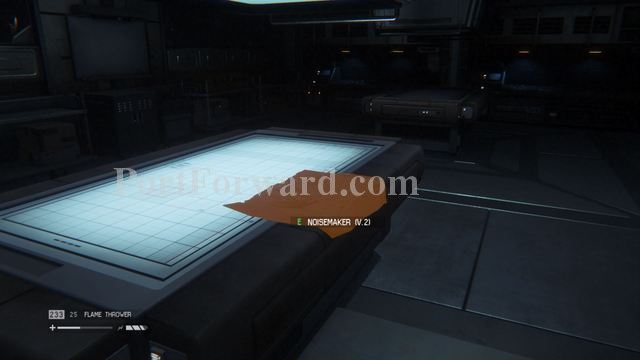
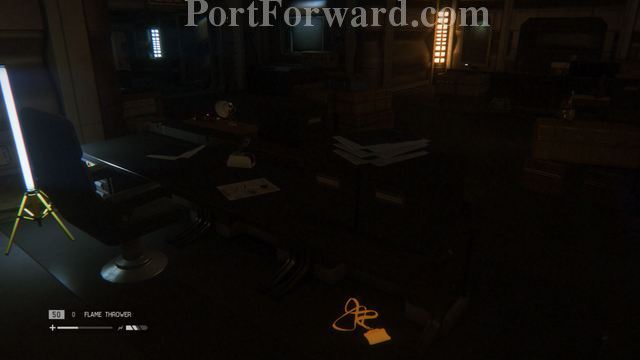
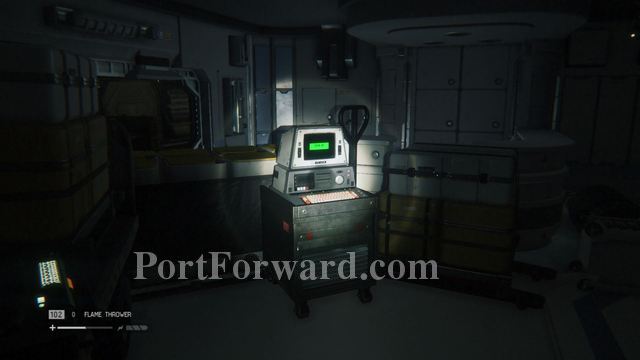
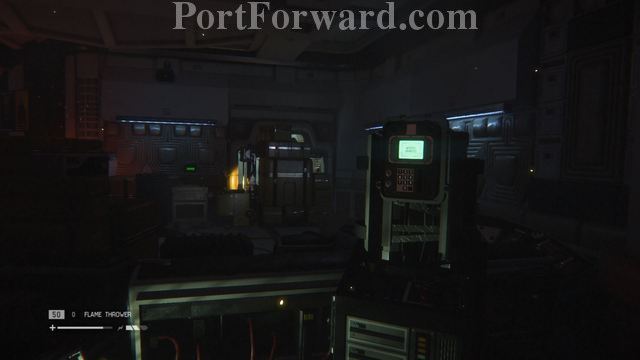
"After the flashback mission, follow the Marshal to a room where you'll get the Flamethrower. Before you follow the next marker on your Motion Detector, take a look at some of the rooms in the area and look for collectibles.
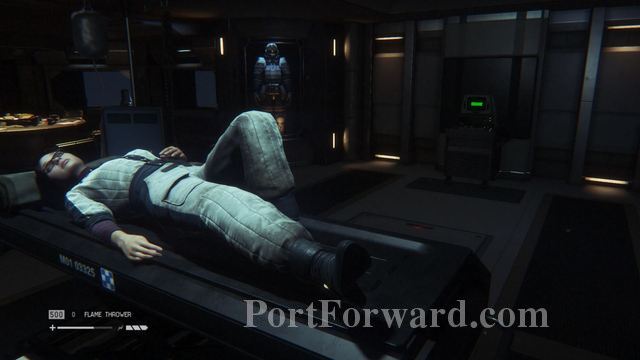
Archive Logs: In the room with Taylor, look up two logs on the computer.
Archive Log: In the same room with the computer and Taylor, look for a recorder on the table.

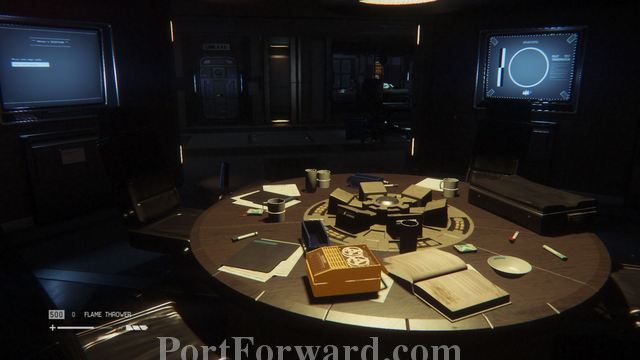
Archive Logs: Walk into the room that acts as a reception to the lobby. The computer there will hold two logs.

"Walk back to the transit station and call for the Lorenz Systech Spire transit car. Enter it and head out.

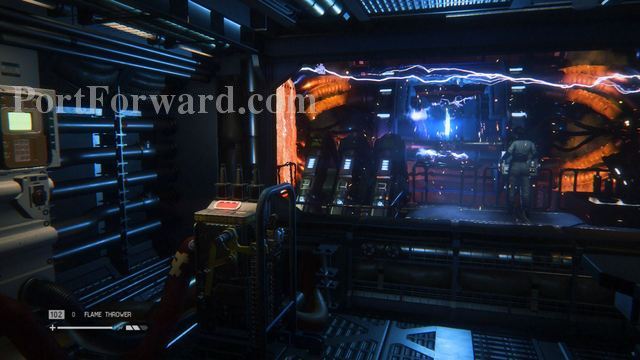
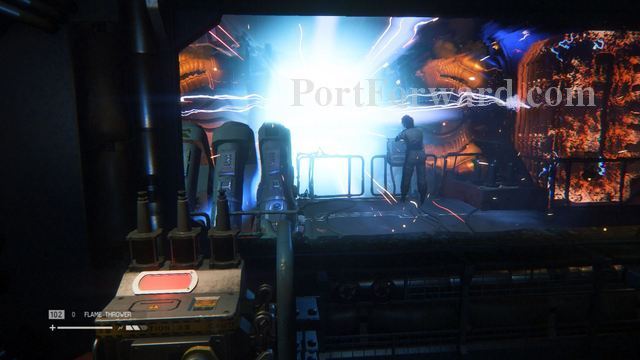
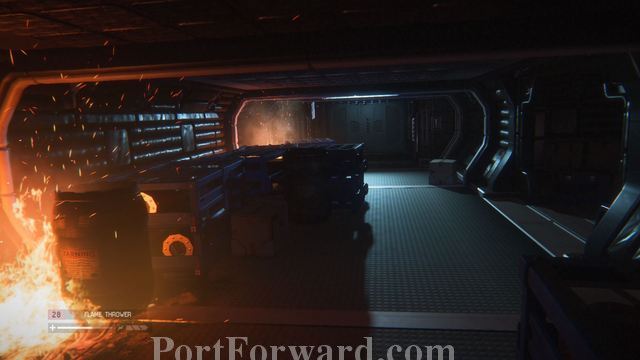
Follow your marker and enter the door. An explosion will rock the entire room, setting it in flames. Before you get up and walk through the room, wait for the android inside to burn up and fall to its death.

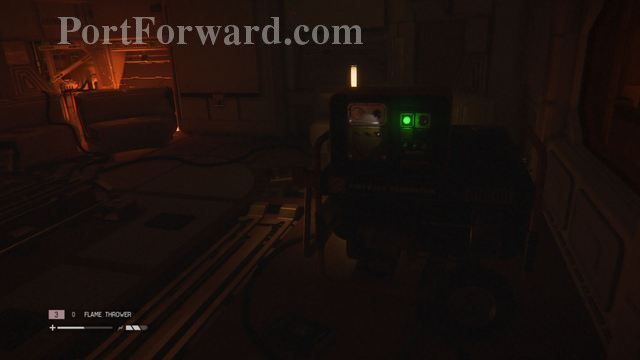
Walk over to the next room and hit the button to activate the sprinkler system and put out the fire.
Keep following the Motion Detector into the room where you first found the Access Tuner. Other survivors can be found here, but it won't last long as the Alien soon arrives. As the Alien takes the others out one by one, make your way upstairs and into the stairwell. From here, walk over to reception and use the computer to open the nearby door. Make sure to save at the save station. Walk into the next room and go all the way up the stairwell and into the top room. Don't mind the android.

Archive Logs: On the computer you use to access the nearby door, take a look at the three logs as well.
Map Locations: There are several maps to collect in the stairwell, as well as in the room at the top of the stairs.

Archive Logs: In the room at the top of the stairs, go to your right to find a computer with two logs.
"In the top room, go ahead and hit the lockdown switch to seal the door nearby. Head back downstairs and into the room on the right. Another lockdown switch can be found here.
Archive Log: A recorder can be found in the room with the second lockdown switch.

"Head over to the left side of the stairwell to find the third lockdown switch. Use the computer to initiate a final lockdown.
ID Tag: Walk over to the area with the android and keep going until you reach a small room with a large roll of wire on the table. The ID Tag can be found on the counter nearby.
Map Location: There is also a map in the same area as the ID Tag.

Enter the maintenance area with the poisonous gas. Use the rewire system to deactivate the access to the door across the gas, then deactivate the gas. Walk over to the two doors and unlock the door on the right. Return to the rewire system and put back the gas and the door access. Now you can go through the door you just unlocked to reach the next door. Inside, hack the terminal to get inside the glass storage where a Keycard rests. From there, walk into the room to the right of the android.
Archive Log: After you shut down the area, head over to the computer to access three logs.
Schematics: In the room to the right of the android, grab the schematics off one of the tables in the center of the room.

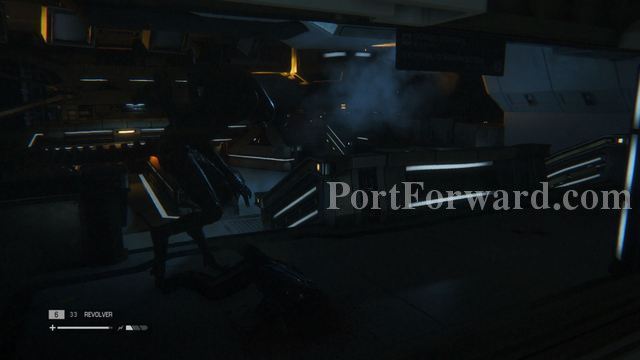
Now following your Motion Detector, save at the next save station. Walk down the hallway and into a large room. The Alien will be lurking through these next two rooms, and an android waits in the second room. Walk over to the back of the first room and enter the vent instead of walking through the small hallway.

Exit the vent, crouch, and slowly make your way to the end of the second room by going along the right wall. When you reach the end, walk through the middle door to reach a room with two doors with giant locks. Break them both of, then go through the one on the left to save at the save station you used earlier.
Return to the room with the android and use the Access Tuner on the other door. Hack the terminal in the control room, then make it out of there as quietly as you can. After the power goes out, both the Alien and the android will walk into the room. Find a place to hide nearby and wait for the power to turn on so you can get through the doors. Save at the save station once again.

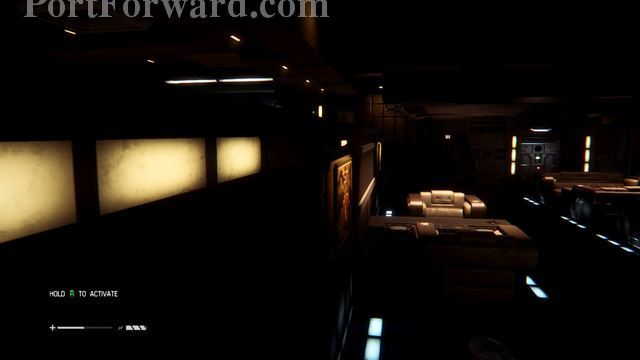
Turns out you weren't able to keep the Alien locked away. Bummer. Head back to the area where you first found the Access Tuner and ride the elevator in the upstairs room with the couches.

There are other survivors here, so keep your distance and let the Alien get them if need be.

Once you enter the new area, save at the nearby save station. Enter the next room, pass the girl and enter the hallway. Since the power is gone, keep going until you reach a room with a camera.
Disable the camera using the rewire system, then grab the Plasma Torch from the dead body nearby.

Open up the door with the Plasma Torch and enter inside. Use the computer to call over the android. This will allow you to go to the next computer and bring back the power.

Archive Logs: There are two logs on the computer you need to access to call over the android.
"Map Location: In the room where you need to call the android is a map.

With the power back on, head through the now opened door. Breathe a sigh of relief and save at the save station. Climb up the stairs and enter the room on the left. Disable the security camera and continue on to the next room.

Map Location: There is a map in the room with the camera.

Archive Logs: If you went into the room on the right, check the computer for two logs.
ID Tag: To the right of the breaker is a bloody vent. Follow it to find an ID Tag next to a dead body.

In the next room, hit the breaker and return down the stairs. Follow your Motion Detector until you reach a vent. Crawl all the way through and start heading back to where you started. Disable the now active camera.
Archive Logs: Near the other breaker is door that you can access with the Plasma Torch. Inside is a computer with two logs.

Follow the Motion Detector to the next breaker.
From there, return to the room with the ladder so you can initialize the distribution conduit.
Use the computer to call the android to work the computer while you pull two levers around the machine.

Once both are down, head through the now opened doors in the back.

Keep going until you reach the elevator that will take you to Project KG348.
Thought the mission was over? Nope! It keeps going.

In Project KG348, head through the door on the right to find a save station.

Archive Logs, ID Tag, and Keycard: Walk through the door opposite the save station and pass through a control room.

In the next room you will find a man cowering in his room.
Grab the ID Tag from the bed, then read the log from the computer. You can also pick up a Keycard from the dead body on the pool table.
Walk into the area where the windows begin to open. Head to the left and use your Gas Torch to open up the door. Climb down the stairs.

Archive Log: Before you climb down the stairs, open the door on the left with your Keycard.
There is a recorder on the desk.

Now downstairs and in the circular room, enter the first vent you see. As the Alien roams around above, try to reach as for down the hallway as you can.

When the area is clear, exit and enter the next vent. Go to the end and exit so that you enter the center room of the giant area. Save at the save station.

Pull the breaker and head for the next objective in the other room. Once you get there, use the Access Tuner to return power to the area.

Head back to the entrance of the area. Just as you are about to leave, the door slams shut by the Marshall, and Ripley is stranded in the room with the Alien. Head for the airlock system.

Once you pull the lever, wait for the airlock to pressurize. This means you'll have to hide from the Alien for a bit.

With the airlock open, run inside and lock out the Alien. Throw on a suit and get launched into space.

Watch the cutscene to finally end the mission.
Alien: Isolation Walkthrough Hazard Containment
"With the Alien gone, feel free to run over to the first save station. From there, run down the hallway until you reach a blocked off room. After the people on the other side start shooting at you, activate the nearby machine.

Follow the machine into a vent. Crawl through to find a storage room, and enter the next vent. Exit the vent and open the next door to enter Supply Corridor B.

Enter the door in the middle of the room on the right. Save at the save station.
Schematics: Inside the storage room, look for the Schematics on the table.

Archive Log: In the bar area, look for a recorder on a small table.

Enter the floor vent in the supply room and use it to reach the room with the generator.

Once the power is back on, the androids outside will start taking out the people you encountered earlier.
ID Tag: There is an ID Tag on the desk in the room with the generator.

"Walk out in the big room and take down the android in front of you. A combo of fire and Shotgun should do the trick. Keep following the path until you reach some stairs that take you to the lower floor.

"Map Location: Go up the stairs to find a map on the right.

After hearing Waits fighting with an android, follow your Motion Detector to the next location. This will take you up the stairs, through a door on the left, and into a locker room with a save station.

Archive Logs: The terminal in this locker room holds two logs.

Enter Supply Corridor A and either sneak past the android or take it out. You can also use a Stun Baton and a few good whacks to take it down. Enter the only door in the area and walk down the stairs.
Archive Logs: Open the door in the long supply hall on the bottom floor. Enter the next room and hop inside the floor vent. Climb through, exit into an abandoned store, and head back into the storage room. There you will find a computer with four logs.

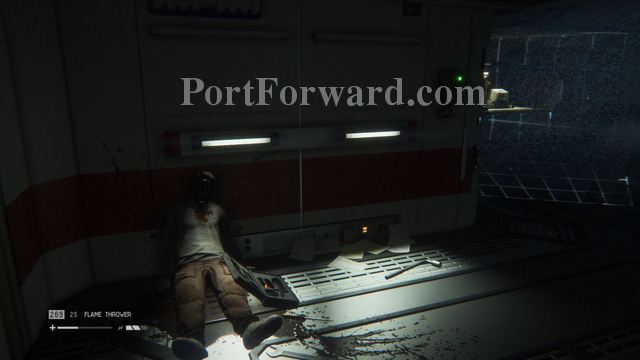
nter the vent at the end of the hallway. Exit through the floor vent and into the room where Taylor once rested.

Find a shocked Ricardo among the dead and ask him to look after you from the control room while you go find Samuels. Save at the save station.

Head back to the transit station and head for the SciMed Tower.
Alien: Isolation Walkthrough A Synthetic Solution
"Now in the SciMed Tower, follow the marker on your Motion Detector to the next elevator. Use it to reach Seegson Synthetics.
Archive Logs: There are two logs in the computer where you get the passcode.
Climb into the vent and start walking across and climbing ladders. And right on cue, the last ladder you cross will fall, along with the elevator you just walked on. Nice.
In the broken and smaller elevator, hop through the hatch above and enter the vent.
Exit the vent to find a wasteland of dead androids. Some are still alive, and you can tell by their glowing eyes. Make it over to the save station.
There are four generators you need to reach in the next area. Two are in separate rooms, while the other two are in the central room.

After you turn on the second one in the two rooms, an android will wake up, so be warned!

Archive Logs: There are two logs in the computer found in the center room with all the beds for androids.

ID Tag: In the room where you have to turn on and off the four generators, go to the end of the hall and enter the room full of desks. The ID Tag will be on a desk on the left.

With all the generators changed, enter the now opened door. Hop into the vent on your right, then witness Samuels completely take out an android. Should we be concerned?

Enter the next room to be greeted by a line of offline androids in various poses. The door is locked, but you can activate it by hitting the button hidden behind the pole to the right of the computer.

As you make your way back to the door, the androids will wake. Get through the door to have it shut, causing all eight androids to pound on the door.

"Archive Logs: The computer in the room with the eight androids has three logs.

Schematics: Before you enter the room in the back, grab the schematics from the dead guy by the door.
ID Tag: This ID Tag can be found under the desk right next to the save station in the room with supplies.
Archive Logs: Two logs can be found in the computer in the room with supplies.

Walk back to the door to see the androids walk out and into the fire. Let them burn for a bit, then throw an EMP Mine that you found in the room with supplies. Repeat this with a Molotov and whatever else if they are still not dead. The last android you kill will have the Keycard you need to get through the next door.
Walk into the room you saw Samuels in previously and turn on the generator to open the elevator. Take it up to the Seegson Synthetics where you'll be met with a malfunctioning machine. Go to your right and start sidestepping along the wall.
Stop in front of the air vents to avoid getting hurt. Once you make it to the other end, don't worry about going down the stairs. That is a place you've been to previously.
Walk down the hallway and save. Walk inside the next room to see a camera. First take care of the android on the bed, then sneak over and disable the camera through the rewire system.
ID Tag: Enter the floor vent in the office to find an ID Tag inside
Archive Log: On a crate next to the save station is a recorder.

The next two rooms are identical to the first, but there are more androids in the others. You have two options.

You can kill all the androids and disable each camera, or you can go through the vent system located in the offices and sneak your way through.
Enter the next area to find Samuels. Circle around the long hallway as he shares his plan.

Save at the save station before you enter the room he is in. Something is about to go down.

As Samuels is being rejected by Apollo, you need to stop the system by turning off each transmitter in the correct order. Make sure to get a good look at each of the five transmitters so you know which is which.
"Samuels will guide you through, but here is a quick checklist anyway:
"Samuels gains access to Apollo for you, but takes his own synthetic life in the process.
Head back to where you started, this time using the transit car to get across to the elevator.
Fight off any androids you run into and take the transit car to APOLLO Core.
Alien: Isolation Walkthrough Consultation
"Walk into the next room and try walking through metal detectors. After the alarms settle down, place your weapons on the line like a respectful employee and head on through.
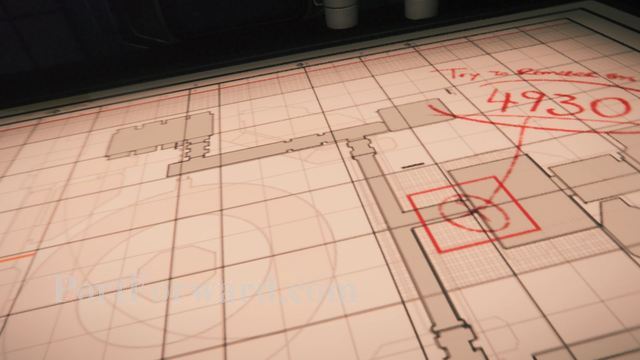
Open the door with the code on the map (4930). You need to power down the two different conduits at either ends of the area. Both of the rooms look the same and require an Access Tuner to hack.

Archive Log: Near the ventilation shaft is a room that holds a computer. You can find a single log here.
Archive Log: When you make it to the Right Hemisphere Overview, play the recorder near one of the terminals.
Go to the Left Hemisphere Overview and shut off the turbine ventilation. Enter inside, climb the stairs, and enter the vent.

Drop into the room below.

Go to your left and enter the side room to find the Gas Mask. From now on, entering a gas-filled area will have you automatically put on your mask.
Enter the gas room and make it to the Right Hemisphere Servers.
Archive Logs: In the room where you find the gas mask, hop on the computer to find two logs.
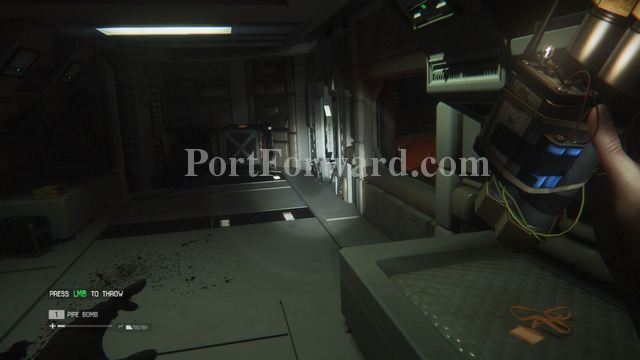
There are two androids in the server room. They are much harder to kill, so you might want to sneak past them instead. An EMP Mine won't work, but a Pipe Bomb should do the trick.
Get to the computer on the other side and activate the cooling system, then hit the button on the pole.

Enter the next hallway and sneak behind the android to take it down. Keep going until you reach the main area.

Use the Access Tuner on Human Consultation Control to activate the left and right servers. Save at the save station.
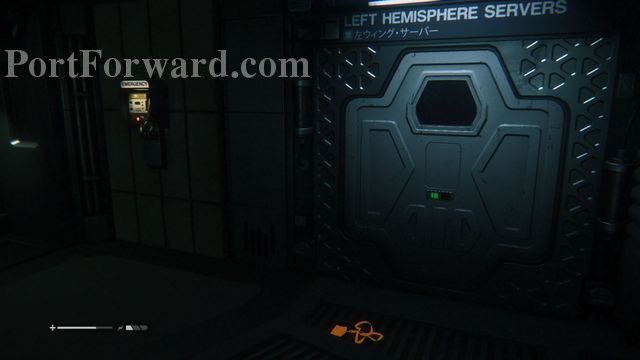
ID Tag: In front of the door to the Left Hemisphere Servers and to the right of the save station is an ID Tag.

Go to the left and head for the next set of servers. Deal with the android in the hallway and another in the server room, and then activate the terminals in the room.

"Archive Log: As you pass through the hallway onto the Left Hemisphere Servers, go into the side room to find a recorder on the table.

"ID Tag: If you head back towards the first room you entered in the area, you'll come across a poisonous hallway. Head into the side room to find the ID Tag on a crate.
From either server room, head inside the vent. Try to use the Access Tuner to get inside APOLLO, but the hacking mini-game game won't give you enough time to finish the puzzle.
Hit the three buttons in the surrounding area (check your map) and try to hack it again.
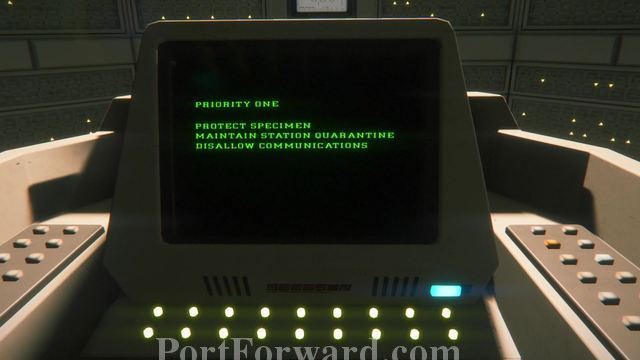
Once activated, the core will rise and a door will open. Enter to watch a cutscene.
Turns out Weyland-Yutani is at it again, trying to preserve the Alien aboard the ship, despite the fact that it is no longer there. Those scum.
Anyway, exit and head down the ladder to get to the reactor core.
Keep going until you reach the elevator to Engineering.

Archive Logs: Look up two logs on the computer to the right of the elevator at the end.
Alien: Isolation Walkthrough The Descent
From the elevator, walk into the next room and power up the Tram system. Hit the button to get it moving, then use the save station and enter the next room.
Archive Log: Near the area where you have to hit the button is a recorder.
Avoid the camera by entering the vent. Once you exit, you're going to have to take down the lone android.

Use the rewire system in this room to deactivate the camera, then keep walking down the hallway.

Map Location: In the room with all the fog, look for a map on the right.
In the hallway, enter the room on the left to find an upgrade to the Plasma Torch, the Ion Torch. Up ahead are two cameras. To get past them, simply walk underneath each one when their line of sight is clear.
Use the Ion Torch to open the vent at the end, then save in the next room.
Your best option is to kill the android in the next room, otherwise it'll just get in the way.
Go around the room and activate all three of the transmitters, then power up the generator to move the car blocking the route in the floor.
Drop down to the vent below to reach the next hallway. Follow the path until you reach another room with androids.
Enter the room on your right, then make a decision about fighting off the next android or simply sneaking by. I say take it down. You have to live a little!
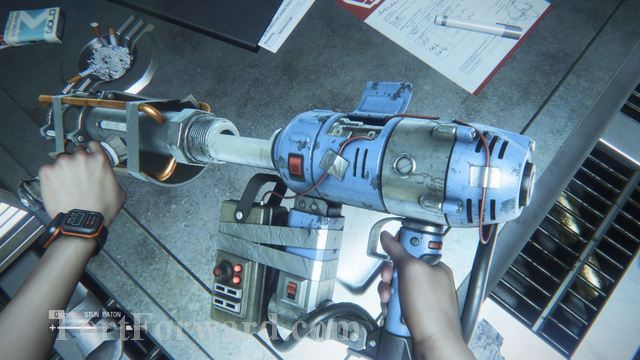
In the next room, pick up the Bolt Gun and prepare to take down some androids! Hop on the computer and enter the passcode (6832) to open the security shutters. Head back to get to the now opened area.

Archive Logs: There are three logs to check out on the computer that you use to open the security shutters.
ID Tag: In the back of the room where you find the Bolt Gun is a dead body accompanied by an ID Tag. Sad.
"Walk through the next area until you reach an elevator. Use it to reach a higher level. Walk down the hallway to find your Shotgun and Revolver sitting at the base of a ladder. Climb the ladder to find a save station above.
ID Tag: In the room where you got your Shotgun and Revolver back, look for the ID Tag on the shelf in the back.

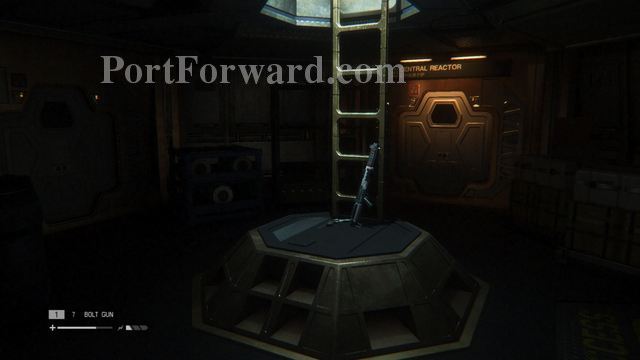
Enter the area with the reactor core and take the elevator down. A higher level android awaits you at the bottom, so be prepared to fight! Remember, don't use an EMP Mine on this kind of android, it doesn't work! Your best bet is to use the Bolt Gun as each android approaches. Keep it aimed at the head to ensure an instant kill. The noise will attract the other androids, so be ready to take them out one by one.
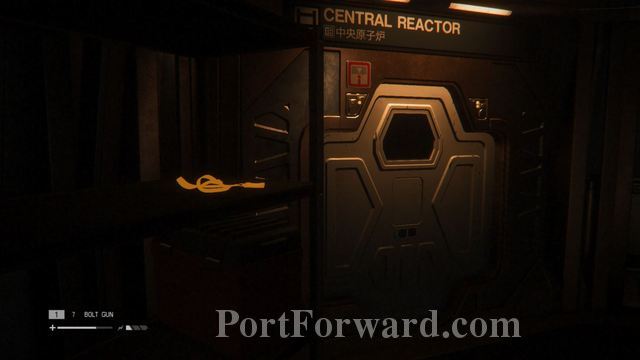
Once the androids are down, run all the way through the area and into the elevator that'll take you to the Central Reactor Maintenance.

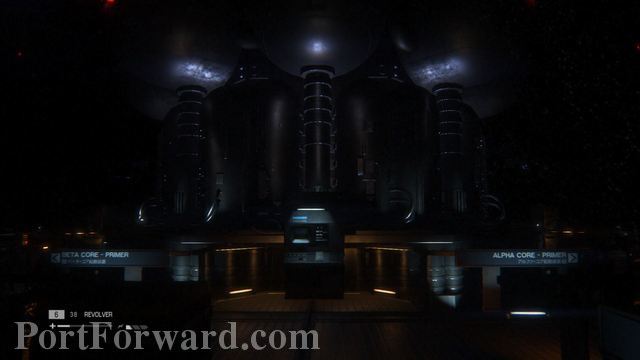
And here we go. The entire place is a nest made by the Alien. Remember all those disappearances you've been hearing about? Yup, they're all down here being used as hosts. Grab your Flamethrower and head over to the main room to save.

Follow the only path available. As you go down the hallway, watch out for the bud like forms on the ground. A Facehugger may crawl out of one, so be prepared to incinerate when it starts chasing you. Enable the conduit interface, then disengage the locking mechanism in the middle, and finally activate the Alpha Conduit.

This will alert a horde of Aliens. If you haven't already run down the hallway and hid in the small locker, you're doing it wrong.

Enter back into the main area where you started. Head down the hall, but don't go too far down. There is a small hole on the right wall that you can take to the other hallway. Things to keep in mind. If you see a closed alien bud on the ground, blast it with fire to take care of it before a Facehugger can get out.

This is a little morbid, but you can always search for loot from the people attached to the walls. And the Alien is everywhere, so keep that in mind. Always have your Flamethrower out.

In the next hallway, use your Motion Detector to guide you down the right path. When the Alien is nowhere in sight, save at the save station. You need to repeat the same process here with the beta conduit as you did with the alpha conduit, but of course, the power is out.
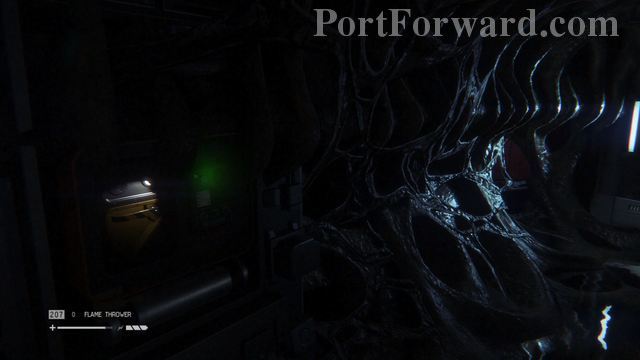
Find another small hole to crawl through to get to a small area with a generator. Restore power and enjoy this tiny room, as the Alien cannot get through.
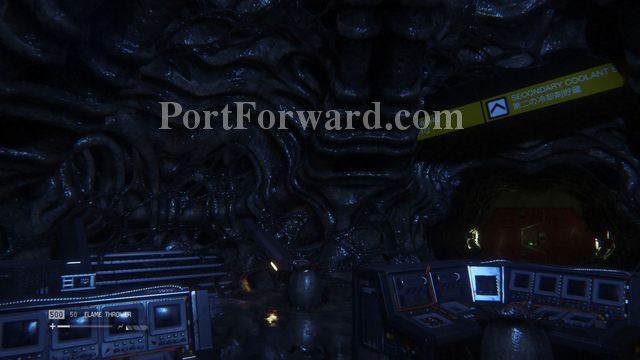
Once you activate the beta conduit, time to book it out of here. Save whenever you pass a save station, as long as the coast is clear. Take the elevator back up to the reactor core, leaving the nightmare behind.

Our good friends the androids are back. There are four of them again, so use the same method you used the first time, drawing them in and taking them out one by one.

After the androids are gone, follow the instructions in overloading both the beta and alpha cores. Once this is done, you'll have to run back to the starting point where the previously locked door is now open. But of course, some more androids show up.

They'll burn up on their own, so just run the other direction and get around that way.

Climb through the vent to get to the room above. Initialize the purge sequence and ultimately start it.

Watch as the core destroys the hive.

"Please, did you think it would end here? Aliens start showing up outside the room. Looks like you brought them all in. Now we've got more than one running around the Sevastopol.

Head back to the transit station and make a course for the SciMed Tower.
Alien: Isolation Walkthrough The Message

Once in the SciMed Tower, follow your Motion Detector to a locked door using your Plasma Torch. Take the elevator across from you down to the San Cristobal Medical Facility. This is the area where you and the Alien were hit by an explosion, and you had to

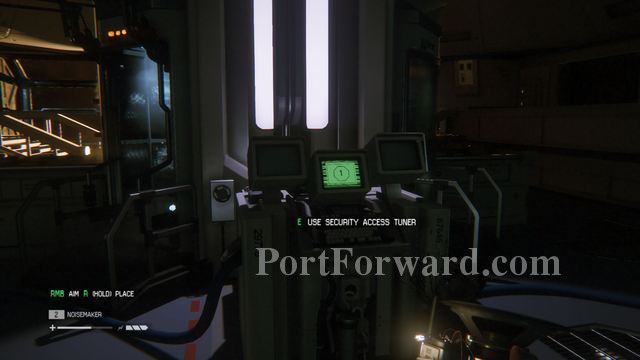
Once you reach the designated room, head to the back to find an upgrade to the Access Tuner on your right.

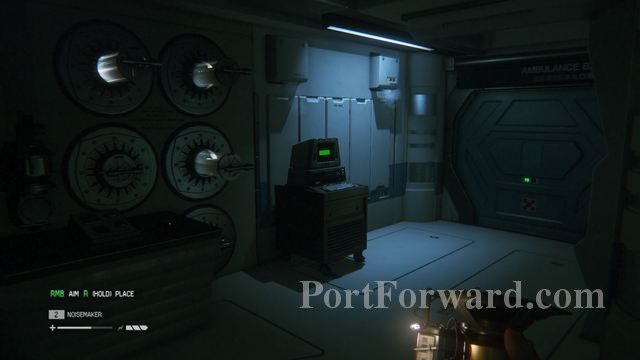
Use it to enter the Ambulance Shuttle. Once inside, take off and head for the Anesidora!

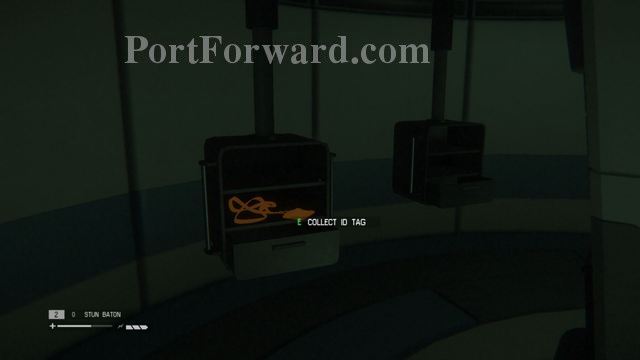
ID Tag: In the opposite corner of the upgrade to the Access Tuner is an ID Tag laying on the floor.

Now in the Anesidora, save at the save station and head through the open door.

Since there are no enemies in the spacecraft, don't worry about anything popping out on you. Keep going until you reach a room with a computer.
Archive Log: On your way to restoring power to the Anesidora, look out for a recorder on top of a crate on your right.
Archive Logs: On the computer with passcode to open the door, make sure to read all three logs.
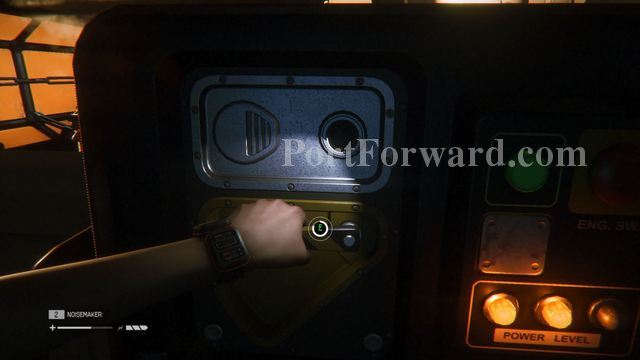
Use the passcode (4510) on the door and turn on both generators. Use the Access Tuner to fully turn it on. Start heading back to your starting point so you can save.

On your way, Marlow will come over the speaker system. Time to find him!
"Go through the now opened room to hear Marlow once again, this time with Taylor in the background. Blast the Facehugger with your Flamethrower that charges at you from behind the stacked boxes in front of you as you enter the next room, then continue on through the next door.
Keep walking down the halls, listening to what Marlow has to say. You'll eventually reach the Nostromo Flight Recorder Data.

Take a deep breath and listen in.

The data contains a message from Ellen Ripley addressed to you, her daughter, talking about the destroyed Nostromo and the deadly Alien.
After listening to the recording, Marlow will appear with Taylor on the other side of the window.

With Taylor at gunpoint, Marlow plans to destroy the entire ship along with the Sevastopol to completely rid the creature and prevent it from getting to Earth.
After Taylor knocks Marlow out, work with her to try to get the power core stabilized.
Work together as Taylor activates the different parts needed to stop the power core. If you don't do it fast enough, the thing will blow!

The power core has been overloaded, so there is no saving the ship.
After Taylor gets slammed into the window, start your run back to the ambulance shuttle. Get inside and take off.
Alien: Isolation Walkthrough Transmission

"Now back on the Sevastopol, get in contact with Ricardo. Your last hope to get off the ship is The Torrens, thanks to a broadcast sent out by Verlaine. Other survivors who have conveniently discovered riot gear, are looking to take The Torrens for their own, so stay out of their path! Sneak through the control room with all the computers and wait for a clear path before crossing back into the hallway. Make your way up the stairs and to the save station.
"From here, you can now backtrack to whatever area you have previously been to. While you could always go back to older areas, now it's different because your Ion Torch and Access Tuner have been fully upgraded, allowing you to reach previously inaccessible areas. The next few collectibles are all part of the backtracking.

Nostromo Logs: Return to the Lorenz Systech Spire and head for the server room where the power went down and an Alien and android both appeared at the same time. Do you remember the room full of gas? Now that you have your Gas Mask, enter the room to get to the Nostromo Log.

Nostromo Logs: Head for the Gemini Exoplanet Solutions, accessible from the room where you found the Access Tuner in the Lorenz Systech Spire. Go all the way to the area where you found the Plasma Torch, then enter the hallway on your right. Go into the next room and climb the stairs. Enter the room on your right, then use the Ion Torch on the locked door to get to the Nostromo Log.

Nostromo Logs: Travel to Seegson Synthetic and head for the storage section (the area where you had the android help you open a door). Climb up the ladder and enter the gas room to get to the Nostromo Log inside.

"Nostromo Logs: Make your way to Engineering, specifically the Maintenance Deck (the area where you lifted the car to get into the floor vent. There is a locked door here that can be accessed with the Access Tuner. The Nostromo Log is inside.

Find Ricardo and have him open up access to Comms Control. Your goal is to find the Sevastopol Observatory. Enter the elevator and ride up.

There are more survivors in this room, so stay low and use the vents to reach the hallway on the left. Enter inside to find the observatory.

Climb up the stairs and hack the three terminals to find the location of The Torrens. You're going to have to go outside and set some of the inputs manually, so leave and head for your next destination.

"The next destination is actually the room next door! Head inside and use the elevator to reach a dressing room. Throw on a suit and prepare to go outside.

Enjoy the beautiful. and more importantly peaceful, outside world as you make your way up the walkway and into the elevator.

Try inputting the coordinates, but you'll soon discover that you need to manually move the satellite dish.

Head into the maintenance room...

And pull down the clamp.

From there, pull the other three emergency clamps and finally the big one near the window.

Return to manually input the coordinates. Simply match the number on the left screen with the meters on the right screen (35 and 75).

This will allow you to get in contact with Verlaine who will then direct you to fix the docking station to allow The Torrens to dock.
Start making your way back to the station. Throw off the suit and head up the stairs while you make contact with Ricardo. After getting cut off, watch as an Alien attacks the survivors you saw earlier.
Avoid the Alien and especially the confused survivors who clearly find you more of a threat than the deadly beast running around the room. Enter the elevator and go to the lobby to find a Facehugger wrapped around Ricardo's neck and face.
Keep moving, going down the stairs and into the area with all the guards.

Continue to try and sneak around, but let the Alien do all the dirty work. Use vents when at all possible.

Reach the elevator to end the mission.
Alien: Isolation Walkthrough Desolation
Now in the Solomons Habitation Tower, find a way for The Torrens to dock. There is a single guard in the room. You have several options. You can wait for the Alien to take care of him or you can go over and take him down yourself. You can also use a distraction (like those useless Flares), but make sure to throw it to the right side of the room.

Go to the left side of the room and use your Ion Torch to get through the door. Inside, find the passcode (1851) on the computer.

Archive Logs: There are three logs total on the computer where you get the passcode.
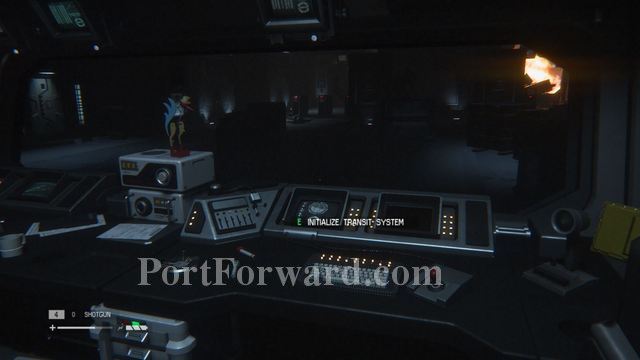
Use the pass code for the room on your left. Inside, reboot the systems, then head over to the door near the save station in the main area. Inside, kill the Facehugger then initialize the transit systems.

Archive Log: Inside the room where you initialize the transit systems, find a recorder in the back of the room.
Head over and call the transit car.
Since there is an Alien running around and the transit car will take some time to get here, walk into the room on your left and wait here for the transit car.
Now in the Upper Transit, head inside the elevator to reach the Spaceflight Terminal.
Nostromo Log: There is a Nostromo Log recorded by Ash in the office near the Spaceflight Terminal elevator.

ID Tag: In the room area with the Spaceflight Terminal elevator, walk down the steps and find an ID Tag on the seats nearby.
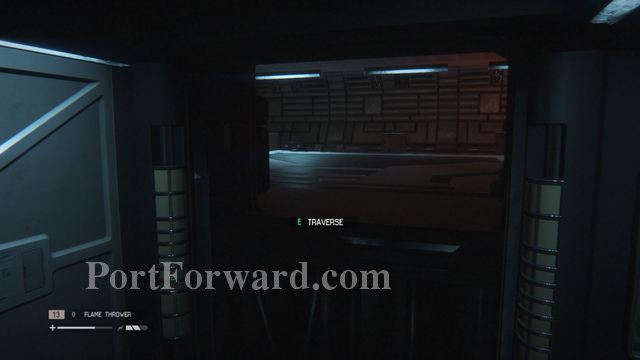
Right on cue, the elevator will break down and you'll have to find an alternative path. Save at the save station.

A flaming android will come after you in the next room, so hop into the vent on your right and wait for it to pass before continuing on.
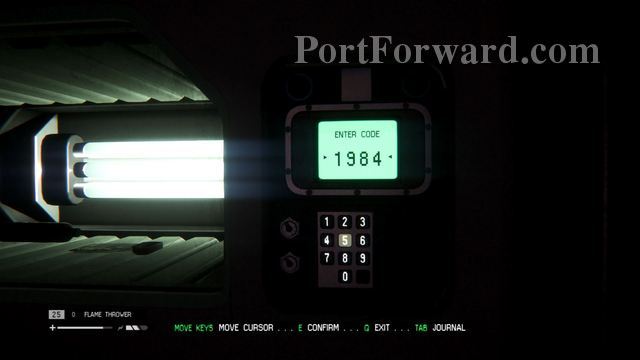
In the next area, you need to have the lifter move the crates blocking the door. Go to the computer, find the passcode (1984), use it on the glass locker to get the Keycard, use the Keycard on the transmitter, and finally crawl under the now lifted crates.
Archive Log: Take a look at the computer in this room to find some more logs.

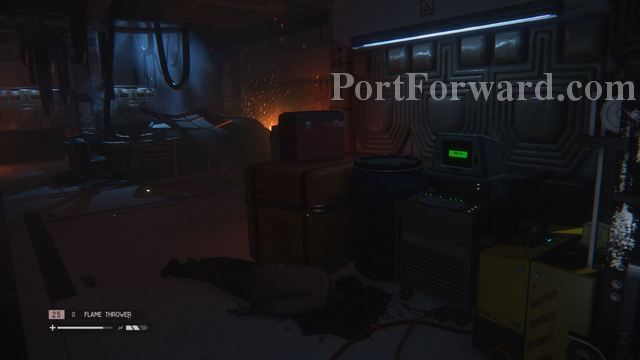
In the next hallway, use your Ion Torch to get through the door on the left. Walk all the way down this long hallway until you reach the next destination. Save at the save station.
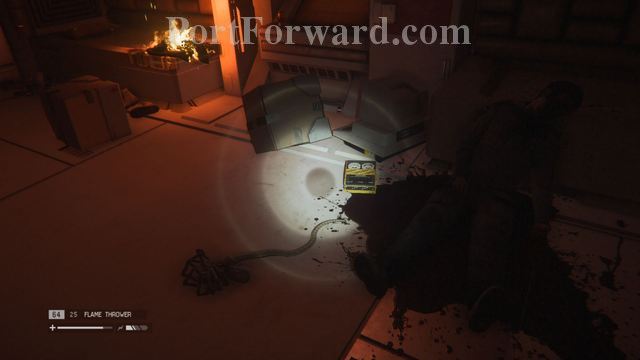
Follow the trail of blood to a dead body holding a Keycard, and watch out for the Facehugger in the same room. Use this Keycard on a power generator in the previous room.
Archive Log: Next to the dead body is a recorder

Follow your next waypoint to another room. Get your Flamethrower or a Molotov ready, as the Alien will ambush you in the next room. Pull down the lever near the door and watch as the power goes out.

Hurray! Now you have to go back to the area you just came from to redo the generator. The Alien will appear as soon as you reach the generator, so keep that in mind. Also, take advantage of all the save stations in this area!
This section can be very difficult, provided you do not have an arsenal of weapons at your disposal. The Alien is really out to get you, so have something to shoo it off at all times.
Head back to the lever that caused the power to go out, then enter the vent. From there, use the elevator to get to the Spaceflight Terminal.
"ID Tag: On the bed beside the vent that will take you to the elevator is a lone ID Tag.

Now in the Spaceflight Terminal, use the save station. You'll find yourself in an area that you passed through at the start of the game.
This time you can use the Ion Torch to access the elevator to the Tow Platform. Head there to end the mission.

Nostromo Logs: The final Nostromo Log! When you reach the lobby area from one of the first missions in the game, go down the stairs on the left, then take a right when you reach the bottom. Use your Ion Torch to get through the door that blocks your way to the Nostromo Log.
Alien: Isolation Walkthrough Tomorrow, Together
Time to finally escape the Sevastopol! Head into the next room and get back in contact with Verlaine to try and get The Torrens docked.
You need to get two different computers on each side of the upper area of the room hacked. The one on the right can be hacked from the start, but the other one has the power missing.

ID Tag: The dead body near the powered down computer has an ID Tag next to it.

Enter the vents and head for the center to find an open vent that takes you deeper inside. Follow this vent to a lever that will power up the computer. Once that's taken care of, hack the second computer.
Now head to the computer closer to the windows. A barely alive android lays nearby, so be ready to whack it when it grabs your leg. With the computer on, head to the now opened door.

Archive Log: The computer you use to open up the door has a single log to view.

Head up the stairs and enter the next room with the save station. Walk into the control room and access the terminal to open the airlock. With that done, time to head back.

Archive Log: The next computer you have to use also has a single log.

Hopefully you've been stocking up on supplies and crafting weapons, because the Alien will be at full force in trying to stop you. The Alien will return every few seconds, so you will always need to watch your guard. Keep in mind that walking under vents in the ceiling will also have you killed.

When you reach the airlock, go ahead and start changing. And just when you thought you were safe and the game was finally over, an Alien from above will cause you to crash down through a vent and into another hive. Of course.

Pull yourself off the foreign wall and head out of the room. There are Aliens all over the place, so keep that in mind as you walk under vents.

ID Tag: As soon as you break free from the wall, grab the ID Tag on the bench to your left.

Two Facehuggers will storm at you from the hallway, so give them both a fireball from your Flamethrower. Keep walking on. You'll come to a point where you need to crouch to get through a wrecked hallway.

Do so, but be prepared to blast off several Facehuggers that come your way.

At the end, you'll come across two (!!) Aliens. One will run off, while the other one will have to be attacked with fire.

Make your way over to the next room, only to have it tumble down and crash.

Climb down the stairs of the next room and witness nearly getting hit by a runaway transit car.

Hop onto the tracks and try to make your way to the next area, avoiding any more transit cars that might pass through. Really, don't get hit, it's terrifying.
Now that you're safe from the transit cars, enter the vent in the office.

This vent is crawling with Facehuggers, so be prepared with your Flamethrower.
Exit the vent and onto the top of an elevator. Climb down using the ladder, then prepare to take out another Facehugger.

In the next room, run through the fiery inferno and get to the airlock chamber.

You've finally made it outside.

Ride across the platform and prime the release mechanisms by using Keycards locked away by a lever.
Time to release The Torrens.

Blow the four emergency release bolts, then watch in horror as multiple Aliens appear. After an intense scene, you'll make it back to The Torrens.
Alien: Isolation Walkthrough Isolation
As you wander the familiar halls, notice that Verlaine is not responding to you. Oh boy. Open up the door to the bridge to find an Alien. Back up into the airlock and hit the button to eject both you and the Alien out into space.

After the credits roll, Amanda will be seen floating in space, just before lights begin to flash on her face.

You've completed the game! WOO-HOO!!!


 Anno 2070 Game Guide & Walkthrough
 Alien Rage - Unlimited Walkthrough Infiltration
 Assassins Creed: Revelations Game Guide & Walkthrough
 Americas Army 3 Walkthrough Introduction
 Assassins Creed (PC) Game Guide & Walkthrough