- Distress
- Battle for Sulaco
- No Hope in Hadley's
- For Bella
- One Bullet
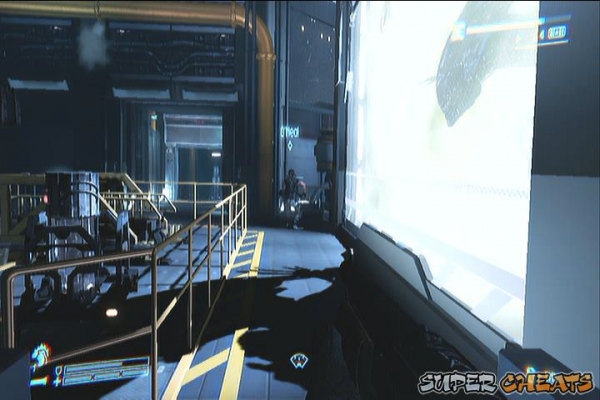
- Rampart
Distress
1. After reaching the gravity well, fight your way through more enemies until you reach a control room. There audio log should be immediately visible on the table.
Audio Log
Battle for Sulaco
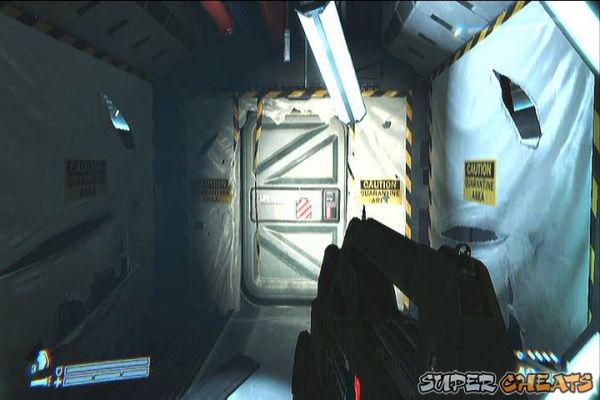
1. Once the door is opened using the powerloader, follow the path through the winding corridor until you reach the next room. Turn to the right and proceed to the locked door to find an audio log on the crate nearby.
Transfer request denied
2. Once you've reached the engineering room, turn to the right from the entrance to find the last audio log of this mission on top of a machine.
Not for your own safety
No Hope in Hadley's
1. After entering the building, go straight in the corridor and enter the first room to the left.
Worry
For Bella
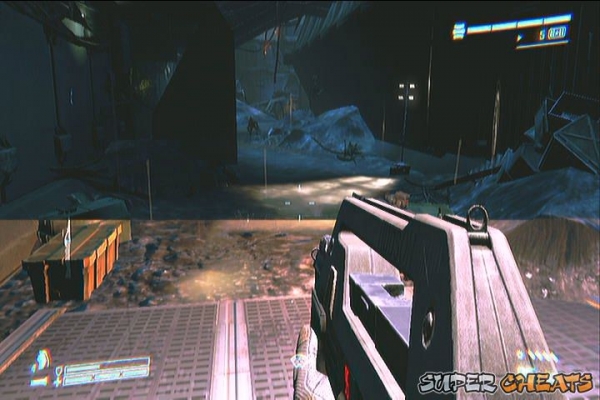
1. Once you've reached the part where you have to jump through the opening on the floor and use the debris as platforms, instead of heading left, turn to the right to find this laptop in the corner.
Supply Manifest
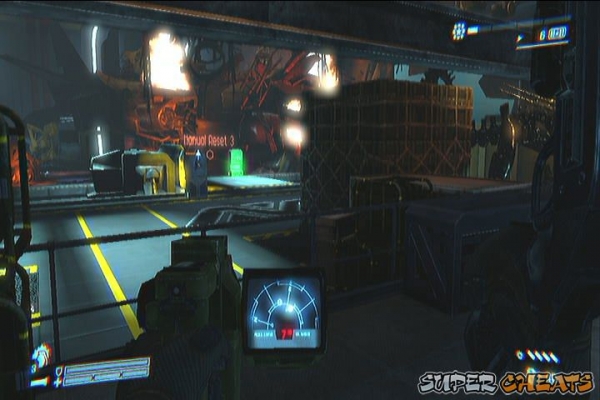
2. Once you've reached the next facility with an auto-turret inside a room, get past it and turn to the left to find it. Disarm it and you should find another audio log on the yellow supply cache ahead.
Supply Request
3. After getting the second audio log, continue ahead and you'll encounter a couple more turrets. Run past the second turret then enter the vent to the left. This will take you to an enclosed room. Jump on the crates to jump over the next room. Open it and you'll be able to get behind the second auto-turret. Disable it then run straight ahead the corridor. At the end you'll find a sealed door. Cut it open and grab the full body armor and last audio log in the next room.
Abandoning Facility message
One Bullet
1. After the scene, continue upstairs and deactivate the security lockdown to enter the lab. Check the corner near the window to find the audio log.
Laboratory Lockdown Dog Tag and Laboratory Audio Log
2. After getting the first audio log, go downstairs to find more host subjects. Open the door and kill the two guards. Proceed to the operating room where you'll find another laptop near the operating tables. Examine it to get the second audio log.
Extracting the fetal xenomorph log
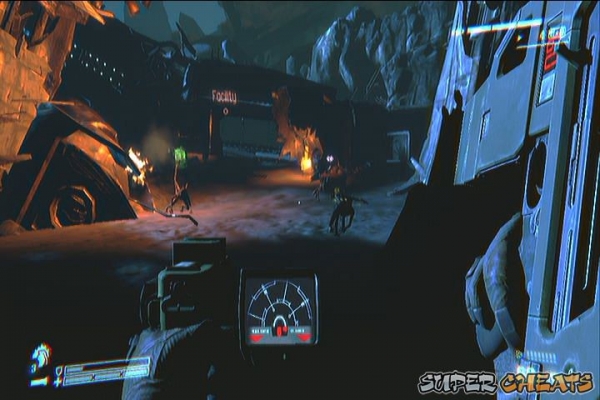
3. After destroying the enemy APC using a crane, head inside the next facility. Continue past two doors until you reach an area with several smaller rooms. Turn to the left to find a monitoring room and the mission's last audio log.
Requisition request
Rampart
1. Once the mission starts, continue along the hallway then enter the door to the left. Then, enter the next door to the right to find an audio log in a small room.
Queen Recording
2. After entering the derelict alien ship, make your way to the first research outpost inside. Kill the personnel inside then check the first room to the right to find the last audio log there.
Origin