If you’re new to Minecraft and you don’t yet have the weaponry necessary to brave a cavern, branch mining is an effective way to obtain lots of stone and minerals.
Follow these steps to dig a simple branch mine:
Dig your way underground.
You can dig any way you want, but do not dig straight down; you might fall into a pit, or into lava. A common technique is to use staircase mining.
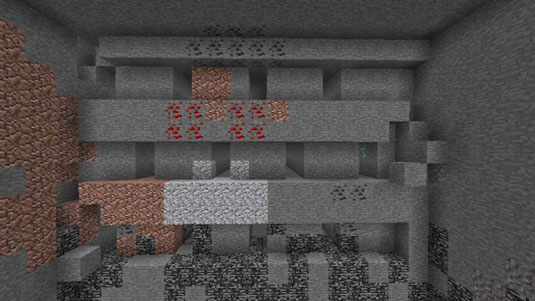
At the bottom of every world is a layer of unbreakable bedrock. Statistics have proven that ores in Minecraft are most commonly located only a few blocks above this layer, so dig until your character’s y-coordinate is 11. (Press F3 to see this value.)
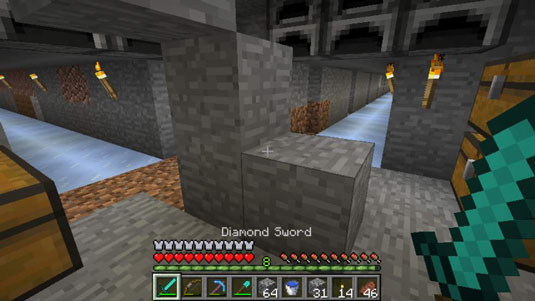
Dig a tunnel.
The smallest tunnel that your character can fit into is 1 block wide and 2 blocks tall. Use torches to light the area, or else your tunnel will attract unwanted guests.
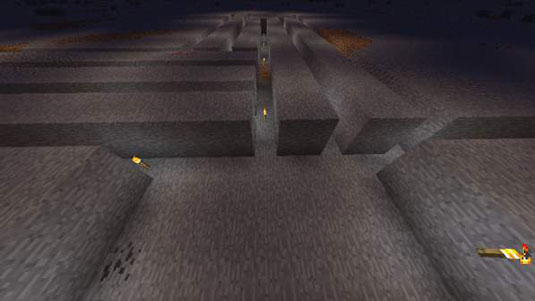
Build more tunnels that branch off from the first one.
By building extra tunnels that split off from the main route, you can look for ores over a large area. Position the tunnels two blocks apart to be able to inspect a large surface area and not miss anything.
Branch mining is effective because you can acquire a lot of ores efficiently. However, this type of mining consumes many tools because of the volume of stone you dig through and produces much more cobblestone than valuables. Branch mining is a helpful method if you have patience and a project in which you can invest your fortune of cobblestone.
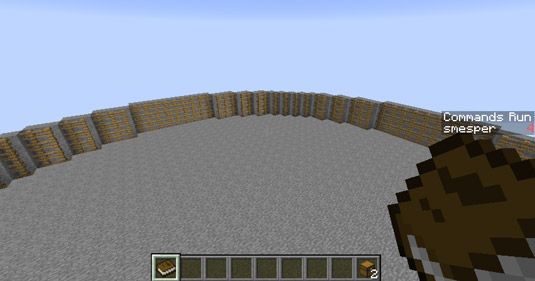
A simple way to set up a lot of branch mines is to use a pinwheel mine. Follow these steps:
Make a small 4 x 4 area.
Use this space as a staircase to get to the surface along with your chests, bed, and furnaces.
Make 2 x 2 tunnels in all four directions.
This step determines how many branch mines you have, so dig a reasonably big tunnel. Make sure the tunnels are centered with your base. Dig one of the tunnels until your inventory is full.
Make tunnels in the “corridors” you created in Step 2.
The spacing is up to you, but for maximum efficiency, put them about six spaces apart. If you want to be thorough, put them two spaces apart. It will get all the ores for sure, but you might find that you’ve already collected all the ores from half of the tunnel. Keep digging until only three spaces remain in the inventory. Then head back.
Emerald ore can be found only in the Extreme Hills biomes and spawn only 1 ore instead of a vein. Only 3 to 5 emerald ores in one chunk. Emerald ore isn’t the only ore that is found only in a certain biome. Nether quartz ore is found only in the Nether (the “Hell” biome), but unlike emerald ore, nether quartz spawns in veins.
This method of branch mining is to not miss a single ore in your branch mine. Tiered branch mining can be quite efficient. Tiered branch mining is basically a strip mine on separate levels.
Follow these steps:
Dig 16 blocks once, down to Level 11.
This is the base of your tunnels. Mining at Level 11 gives the most ores.
Dig four tunnels.
Make sure that the four tunnels are 3 blocks apart. Dig one tunnel until the inventory is almost full. When coming back, dig out all the ores you missed.
Dig 4 blocks under the main shaft you made in Step 1.
This is the second level of your branch mine.
Dig another 16 blocks for the second shaft.
The second main shaft is for another layer of the branch mine.
Dig another four tunnels in the second shaft.
This should be offset from the first four tunnels: Where the first tunnels are spaced is where the second tunnels should be. On the second space of the first tunnel’s spacing is exactly where the new tunnel should be.
Repeat Steps 1 through 5.
Repeat until you get down to bedrock. If this happens, lengthen the shafts to create more tunnels.
 How to Build a Minecraft Building on an Existing Natural Structure - For Dummies
 How to Purchase and Install Minecraft - For Dummies
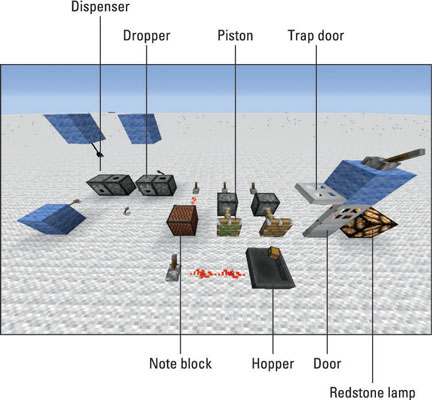 How to Power Minecraft Machines with Redstone - For Dummies
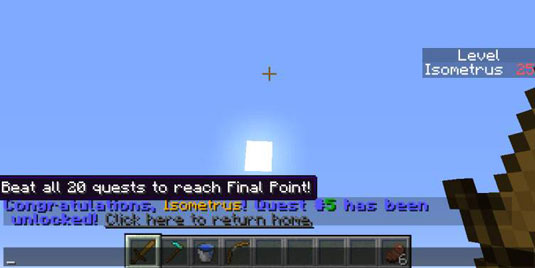 How to Apply Basic Commands in a Minecraft Command Block - For Dummies
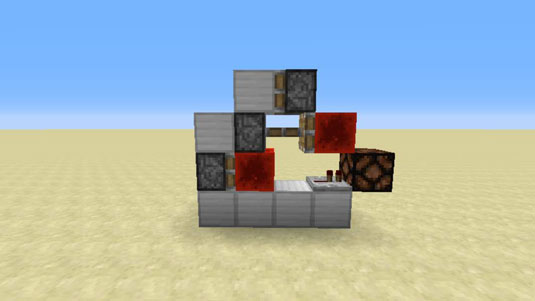 How to Create Hidden Inputs in Minecraft Redstone - For Dummies