

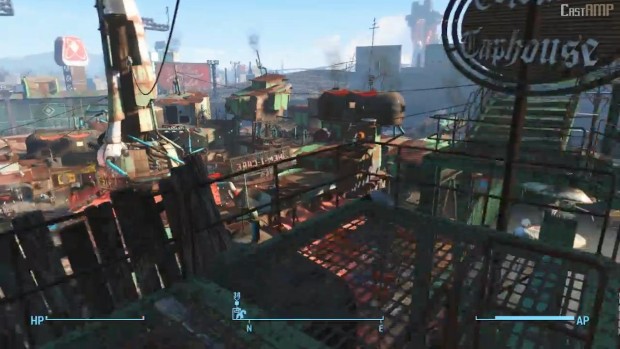
Settlements in Fallout 4 are specific areas which you can turn into your own home. These places are specific locations in the Fallout 4 universe that you can take control of. In order to do so, you’ll need to unlock a specific settlement’s workshop, which can be done in numerous ways.
For more help on Fallout 4, read our Fallout 4 Character Builds, Romance Guide, Fallout 4 Magazines Locations and Companions Locations Guide.
Once you unlock a workshop, the workshop can be used by you to create a utopia or stronghold of your choice in the settlement. It can be a daunting task at first, but once you get the hang of it, you’ll be wanting to have multiple settlements across the map.
If a settlement is occupied by an enemy gang or dangerous creatures, you’ll need to eliminate all the threats before you can access a workshop and create a settlement in that region. There are also regions occupied by friendly NPCs.
In such cases, you’ll have to earn their trust by doing quests in order to use the workshop, after which the workshop can practically be yours. In rare cases, unlocking a workshop is as easy as walking up to it and activating it.
There are plenty of settlements in Fallout 4 to discover. As stated above, you’ll need to unlock their workshop in order to gain control of the settlement and influence it. Here are all the settlements in the game, along with their prerequisite:
Abernathy Farm
Prerequisite: Complete the quest “Returning the Favor.”
Boston Airport
Prerequisite: Complete the quest “Shadow of Steel.”
Bunker Hill
Prerequisite: Complete the quest “The Battle of Bunker Hill.”
Castle
Prerequisite: Clear the area of hostiles.
Coastal Cottage
Prerequisite: Clear the area of hostiles.
County Crossing
Prerequisite: Complete the offered radiant quest.
Covenant
Prerequisite: Complete the quest “Human Error” or defeat the current residents.
Croup Manor
Prerequisite: Clear the area of hostiles.
Egret Tours Marina
Prerequisite: Placate or defeat Phyllis Daily.
Finch Farm
Prerequisite: Complete the quest “Out of the Fire.”
Graygarden
Prerequisite: Complete the quest “Troubled Waters.”
Greentop Nursery
Prerequisite: Complete the offered radiant quest.
Hangman’s Alley
Prerequisite: Clear the area of hostiles.
Jamaica Plain
Prerequisite: Clear the area of hostiles.
Kingsport Lighthouse
Prerequisite: Clear the area of hostiles.
Murkwater Construction Site
Prerequisite: Clear the area of hostiles.
Nordhagen Beach
Prerequisite: Complete the offered radiant quest.
Oberland Station
Prerequisite: Complete the offered radiant quest.
Outpost Zimonja
Prerequisite: Clear the area of hostiles.
Red Rocket Truck Stop
Prerequisite:
Sanctuary Hills
Prerequisite:
The Slog
Prerequisite: Complete the offered radiant quest.
Somerville Place
Prerequisite: Complete the offered radiant quest.
Spectacle Island
Prerequisite: Clear the area of hostiles.
Starlight Drive-in
Prerequisite: Clear the area of hostiles.
Sunshine Tidings Co-op
Prerequisite: Clear the area of hostiles.
Taffington Boathouse
Prerequisite: Clear the area of hostiles.
Tenpines Bluff
Prerequisite: Complete the offered radiant quest.
Warwick Homestead
Prerequisite: Complete the offered radiant quest.
Building a settlement is a time and resource-consuming process.
It’s extremely difficult to gain control of all settlements without spending around 300 to 400 hours in the game. For this reason, for the largest part of your adventures you’ll need to restrict yourself to specific settlements.
In order to do this, you’ll need to know which ones are the best settlements, and which ones provide little-to-no advantage until later on. We’ve chosen a few specific settlements that we think are the best targets in earlier parts of the game.
Abernathy Farm
The Abernathy Farm is near Sanctuary and Red Rocket Truck Shop, and is one of the best settlements to get access to.
The reason for this is its fertile land. The area is far away from most powerful enemies, and is relatively safe. The added bonus is that you don’t have to do much to obtain it.
The biggest advantage in this settlement is the food supply. If you’re having trouble generating food for your other settlements.
The Abernathy Farm’s food production will encourage settlers to quickly come in, and the surrounding area where it can be expanded allows you to build houses, defenses and more.
Boston Airport
Boston Airport isn’t really a full settlement, as its concrete floors and lackluster surroundings don’t make it a feasible ground to grow crops on.
It can’t support any stores, salvage stations, artillery pieces, or recruitment beacons. However, what it lacks in versatility, it grants in scrap, and scrap is extremely important for you.
While your initial central base for crafting might be either Sanctuary or Red Rocket Truck Shop, the Boston Airport will help you a lot as it contains plenty of items to scrap and store.
Bunker Hill
Bunker Hill has a lot to offer, but its settlers won’t trust you with the workshop unless you complete the quest ‘The Battle of Bunker Hill.’
It’s certainly going to be worth it though, as Bunker Hill serves as a base of operations for various caravan traders, and has plenty of vendors that offer a good amount of stuff.
The Castle
The Castle was once a stronghold for the Minutemen, so you can expect some intact goodies there when you step foot into it. It has a functioning first aid station by default, along with a few guard posts.
You already have interior lights and industrial water purifiers. There are plenty of beds, and the open courtyard is idea for growing beds. This makes The Castle an attractive and easy place to settle.
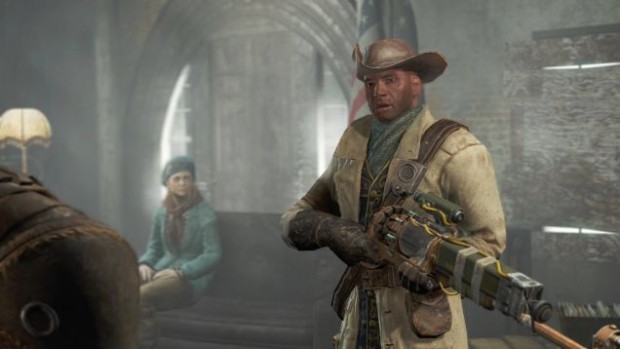
It also plays a very important role in the minuteman quests, so constantly talk to Preston if you want to secure The Castle and use it as a safe haven.
Red Rocket Truck Shop
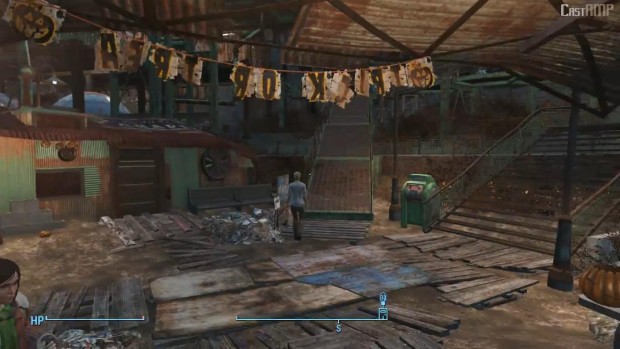
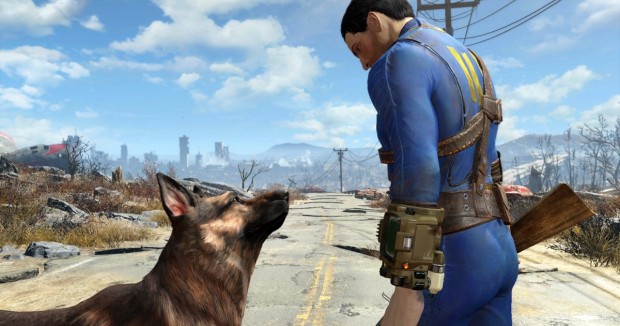
Ah yes, the good ol’ Red Rocket Truck Shop. It’s here where you’ll find your canine companion, making it the earliest workshop you unlock.
You can quickly use the workshop to build a settlement around the area. There isn’t much of a threat, and it serves as an excellent place for crafting and working.
At the start you’ll probably use the Truck Shop to store and utilize the Power Armor. With time though, you can convert this place into a thriving settlement.
Sanctuary
Sanctuary was your hometown before the war, so it’s natural you’ll have ties to this place. It’s one of the first settlements you unlock, and quickly becomes arguably the most important settlement, as it allows you to learn how to manage.
It’s also fairly well placed with irradiated water surrounding three of its four sides. This makes it a fairly safe place for settlers to come in and have a good time.
The Slog
When Ghouls aren’t Feral, they’re actually very kind and decent folks (most of them, at least). The Slog is a settlement occupied by Ghouls, who tend to welcome any and all settlers once you acquire the workshop.
The Slog provides a considerably large amount of crops, but the buildable area isn’t as big as some of the other locations. Regardless, it’s a tight, fairly secure, and well-productive place, and the humble Ghouls are great at keeping the crops up.


 Fallout 4 Settlements Locations, How to Unlock Workshops, Best Settlements
 Fallout 4 The Railroad Faction Quests Guide - Objectives, Tips
 Fallout 4 Computer Terminals Hacking Guide - How To
 Fallout 4 The Minutemen Radiant Quests 'Recruitment and Ownership Guide
 Fallout 4 Radios Locations Guide - Know More About Wasteland