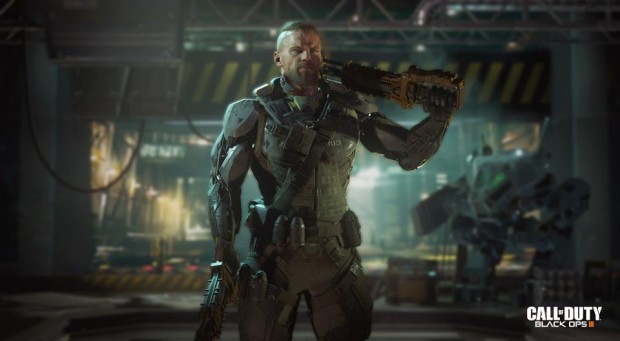
Call of Duty: Black Ops 3 introduces various classes in the game to choose from. These classes are known as ‘Specialists,’ and each one comes with a unique set of abilities at their disposal.
For more help on Call of Duty: Black Ops 3, read Shadows of Evil Buildable Parts Locations, Shadows of Evil Perks Locations and How to Build Pack a Punch Machine.
Each class is highly unique, and though it doesn’t limit your build and loadout, it certainly does influence it by suiting certain weapons more than others.
Each Specialist has two ‘abilities’ to take use of. One ability is essentially just a unique weapon associated with that specialist. The second ability is a unique special power – either offensive, defensive, or purely utility-based.
Specialists and their respective weapons and abilities unlock like other gear options, so you’ll simply need to reach the appropriate level and spend an unlock token to gain access to the new power.
During combat, your specialist power is shown in the bottom-right corner of the HUD with a circular meter. This meter automatically fills over time, and the process can be sped up by killing enemies. The progress is however lost when you die.
Once an ability is activate, it has a time limit that automatically drains. Weapon-based abilities on the other hand are also limited by ammo, and firing sots drain both your timer and the ammo of the weapon.
War Machine
This is a Grenade Launcher that fires bouncing grenades. These grenades detonate after a few bosses, or immediately when hitting an enemy directly.
This grenade launcher gives you to the ability to instantly clear out crowded places, especially interiors and objective areas.
Most of the times you could probably take out a standard enemy with the War Machine in a single hit, though perks like Flak Jacket and certain Specialist abilities could reduce the impact.
You should activate the War Machine in dense areas where enemy presence is well-known. It also acts as a great way to prevent enemies from accessing a specific area or objective.
Kinetic Armor
The Kinetic Armor is a reactive armor that deflects enemy bullets from the body. It does not however reduce damage from headshots or explosives, so keep that in mind when you engage it.
Kinetic Armor grants you doubled health for a few seconds provided you are being hit on your body and not the head.
It’s an especially useful ability in firefights or 1v1 situations to give yourself the added advantage. You should also consider using it to score an objective or survive distant shots in exposed areas.
H.I.V.E
The H.I.V.E deploys trap pods that release a deadly swarm of nano-drones whenever enemies are within proximity. This is an indirect offensive weapon, and can easily kill any enemy that comes near the trap.
The H.I.V.E is a fairly easy weapon to use, and has great tactical advantage in defending objectives and important locations on a map. Simply lay down all the pods from the weapon in key locations where you’d expect enemies to be.
The weapon tends to work best when used on ceilings near entrances, doorways, near ledges, and partially hidden areas near objectives.
Rejack
Rejack is basically reincarnation, or being brought back to life. Though this may sound like an overpowered ability at first, the animation effect is excessively (and deliberately) conspicuous – a very visible green colored cloud appears when you activate it, alerting any enemy close by.
This makes Rejack an opportunistic ability, and one that should be used carefully. It’s useful if you’ve been killed by a sniper who may have changed his/her position, but don’t expect it to be effective when you’ve been mowed down by a close-quarter enemy; they’ll simply shoot you in the face again once you get up.
Sparrow
The Sparrow is a compound bow that fires explosive bolts. The range of these bolts increases the longer it is drawn.
The arc on these bolts when fully drawn is next to zero, making them useful precision weapons. The Sparrow however does have a rather steep learning curve though, as it requires good natural accuracy and understanding of when to use it.
At close ranges, a short draw is sufficient to hit your target, but using the bow for long ranged shooting is both the harder and more rewarding option.
Thankfully, the explosion is large enough that you can use it as a collateral damage weapon. Its explosion is strong enough to kill multiple players in the blast radius, though it is affected by the Flak Jacket perk.
Vision Pulse
This allows you to pulse the surrounding area to reveal enemies within range, including those behind walls. Yeah, this is basically a legalized form of wall-hacking.
It’s important to note that the Ghost perk does not protect anyone against the minimap signature that appears if an enemy uses Vision Pulse. It can even reveal Spectre even if it has Active Camo running. Pages: 1 2

 How to Get Black Ops 3 Zombies The Giant Annihilator Secret Weapon
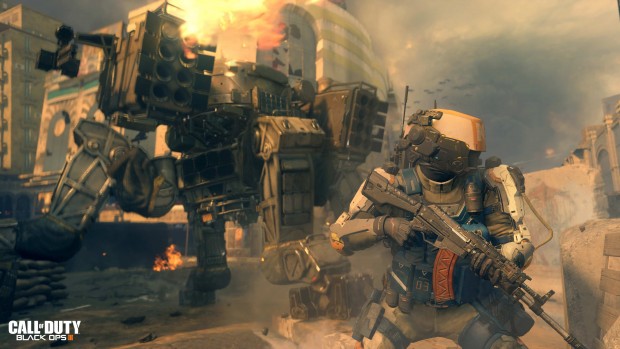 Black Ops 3 Best Weapons, Attachments and Equipment Guide
 Black Ops 3 - How to Unlock Dead Ops Arcade 2 Secret ModeBlack Ops 3 Zombies Shadows of Evil Gobblegum Flavors, How to Level Up Fast
 Black Ops 3 Zombies Shadows of Evil Wall Weapons Locations Guide